

With the right job in Windows 7, unforeseen errors and failures rarely happen. However, sometimes serious system malfunctions occur, because of which the operating system cannot even be loaded until the end. One of the consequences of such a situation is the "System Recovery Options" window, indicating the transition to "System Recovery Settings". Careful experienced users do not know what to do with this window and how to return the usual OS load. Let's deal with how it can be done.
Remove the System Recovery Options window when downloading Windows 7
It is logical that if the system opens this window, it means there has been a certain error in its files, which does not allow downloading in normal mode. The user will need to perform several actions that must eliminate the failure and normalize the operation of the OS.System Recovery Options requires a password
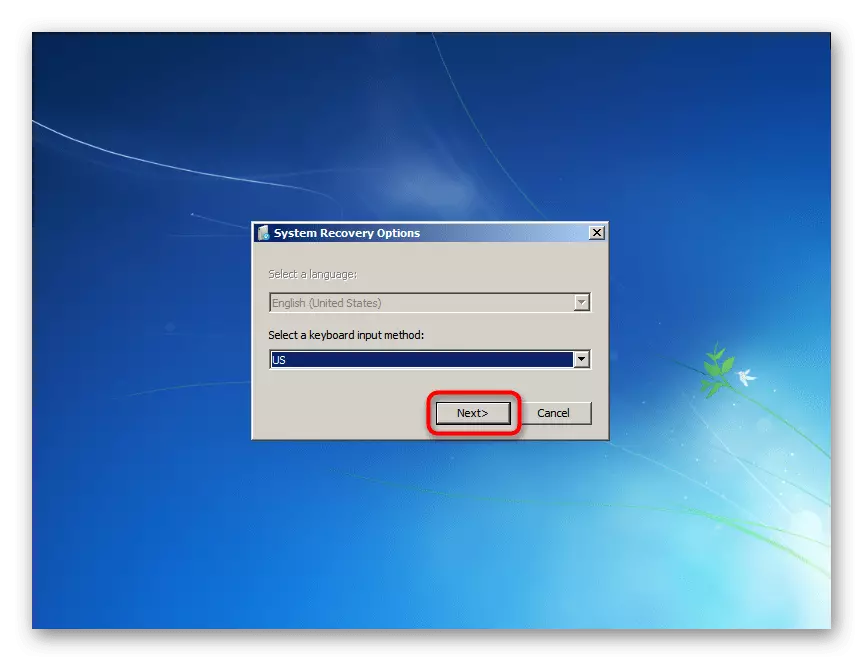
Often, users can not even get into the recovery menu itself, since they stop the window displayed in the screenshot below. The first step simply asks to select the keyboard layout for further input. Here you can leave everything as it is and just click on "Next>".
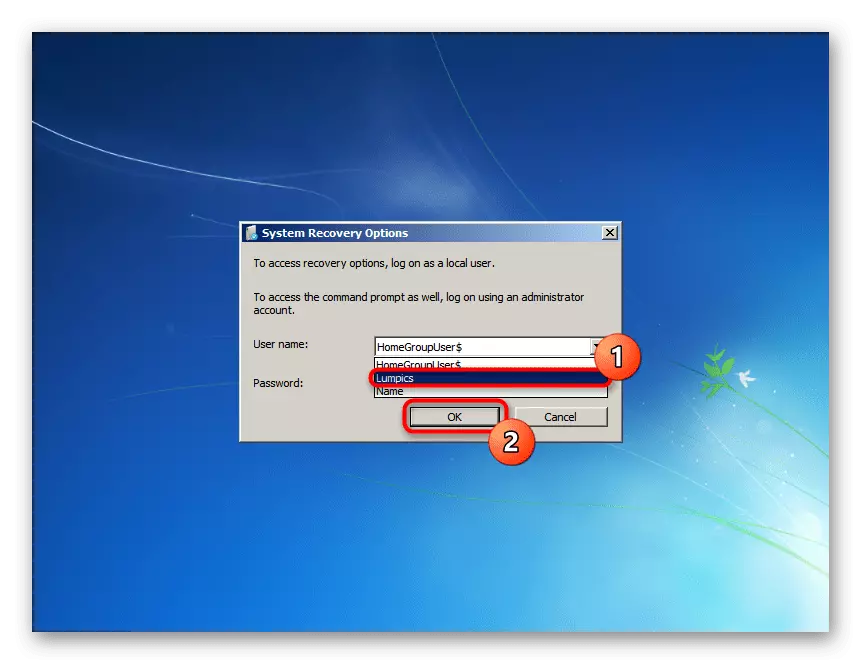
It comes here and the difficulty comes for most newcomers, as the system asks a password, which seems to be with us and not. However, it is enough to change the username to the one that is displayed during the running Windows (the name of your account), and then click "OK", and you will fall in the recovery menu.
Selection of utilities for recovery
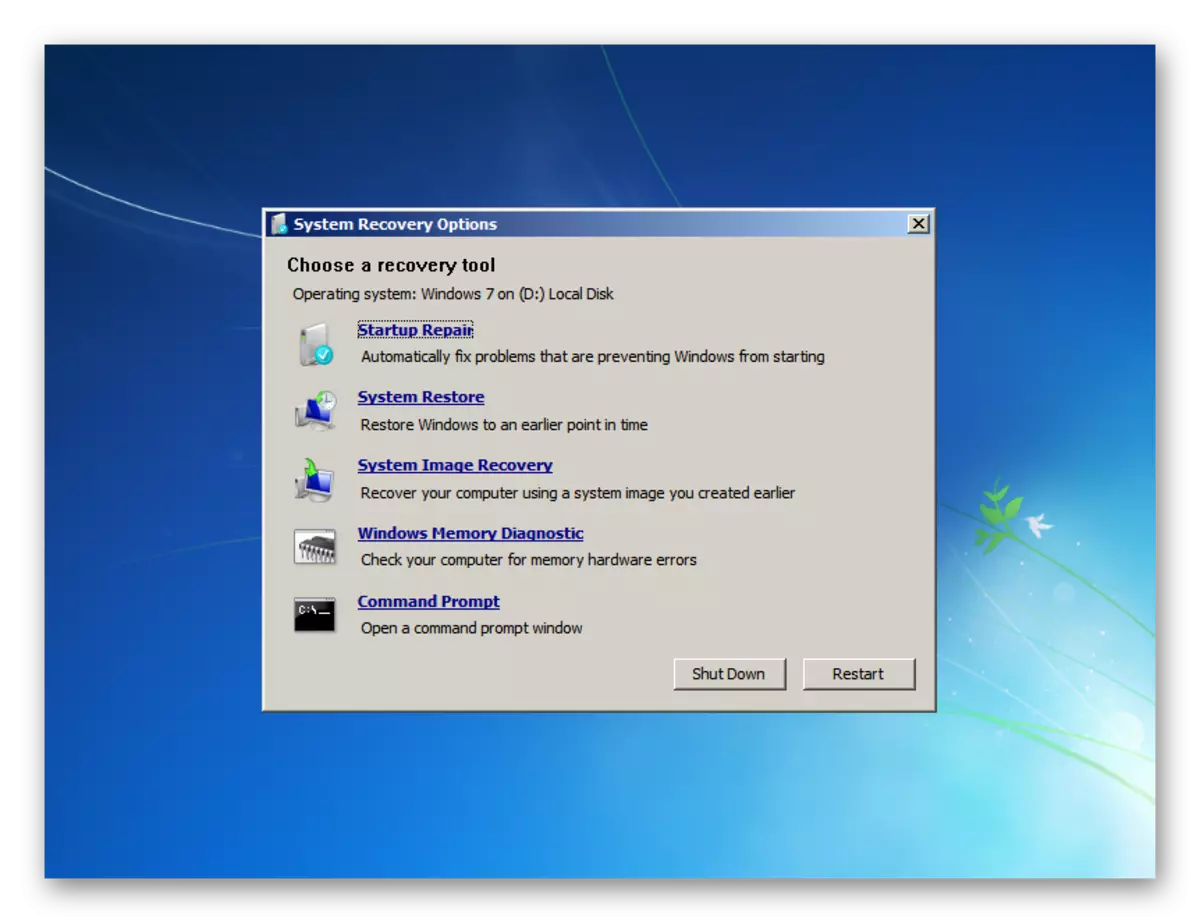
Well, if a user knows what preceded the appearance of the System Recovery Options window. Thanks to this, he can choose the necessary utility to correct the error. However, if you do not know why they got into Recovery mode and you have no knowledge at all regarding how to resume the work of "seven", you will need to immediately launch the submitted applications, until some of them have a success.
Startup Repair.
Automatic search utility and troubleshooting.
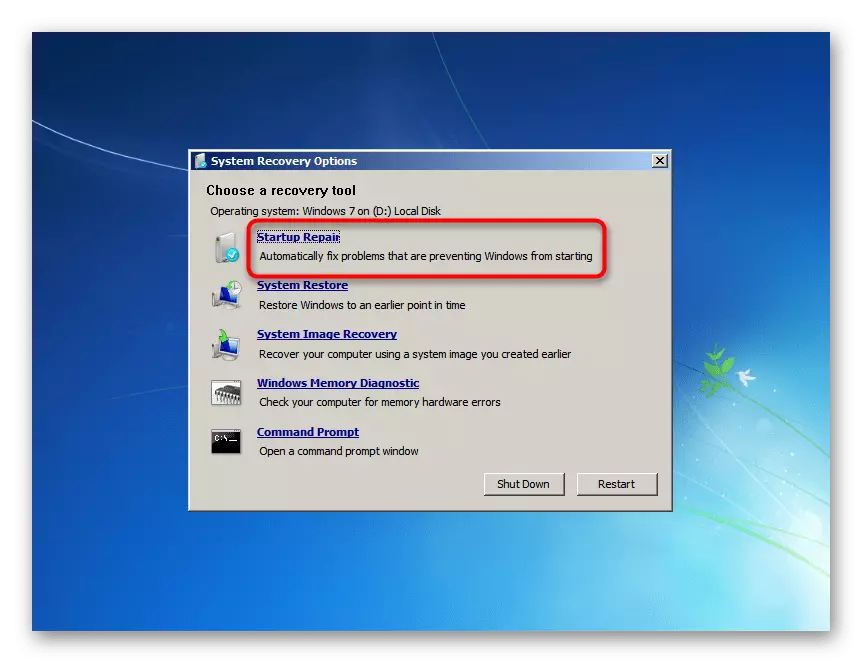
Run it so that the component can scan the important system files and restore them yourself. Consider that when restoring the PC can reboot several times.
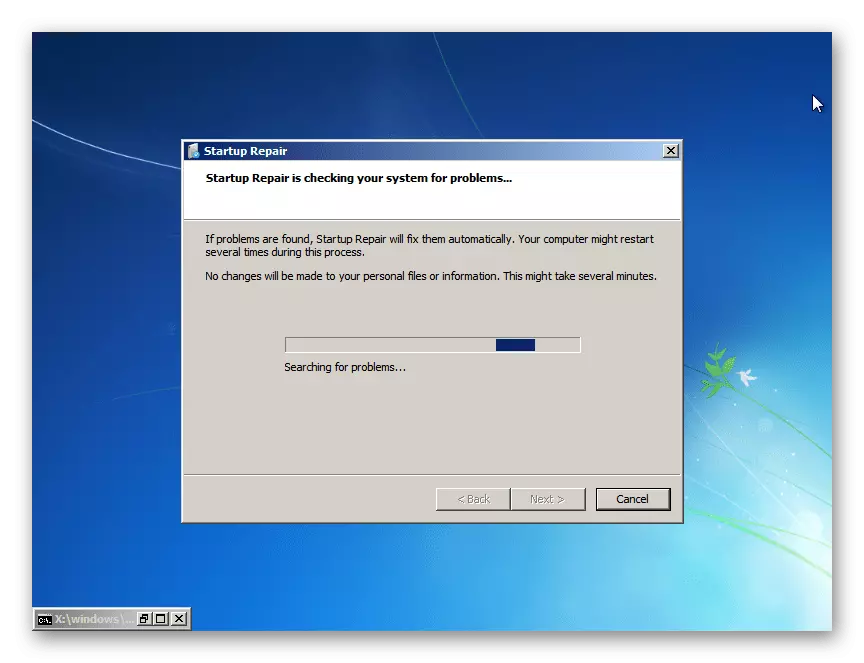
With the successful development of events, you can get to the Windows 7 desktop within a few minutes. In principle, quite often this option is triggered and corrects all the problems that have arisen. However, during the scanning system, the system can not detect anything by notifying you about it. Click "Cancel" and go to the next option.
System Restore.
Familiar to many tool recovery system.
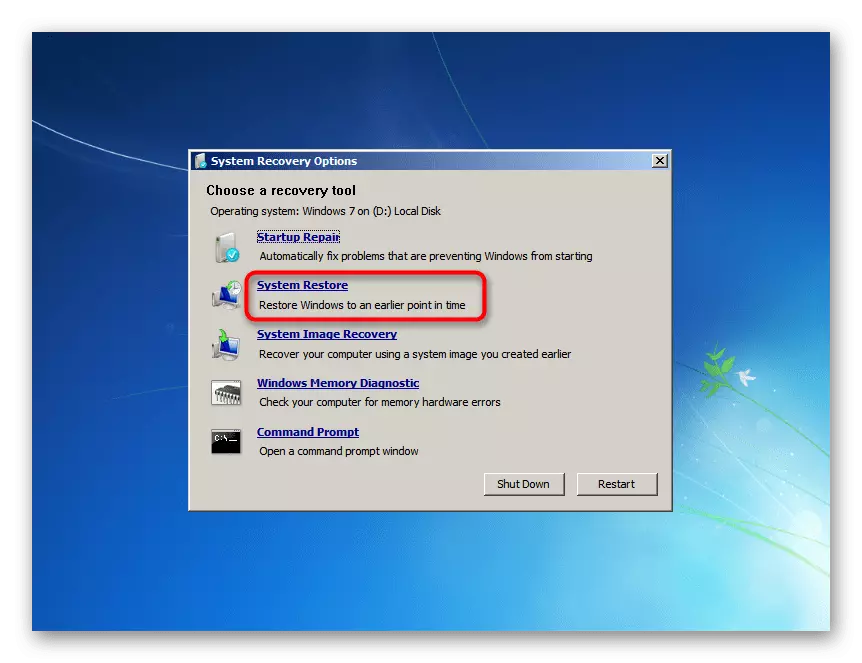
It will be relevant only when the "Restore System" function has not turned off in Windows and there are automatically created or manually recovery points. So you can roll back to the previous state of the OS, when there were no failures in operation. Read more about how to enjoy the restoration of the system, read in another article - the method 1 will help in this, starting from step 5. And although the action is shown from the launched Windows 7, in fact, this process does not differ from that What happens in the recovery environment.
Read more: Restoration of the system in Windows 7
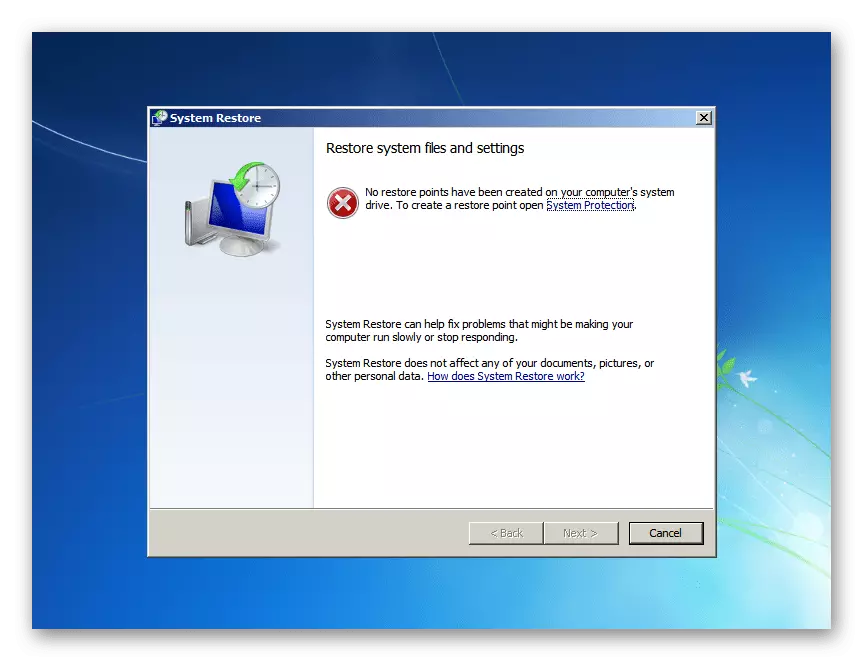
In the absence of recovery points, you will receive an appropriate notification. It remains to click "Cancel" and go further.
System Image Recovery.
The system recovery utility through its backup image created earlier.
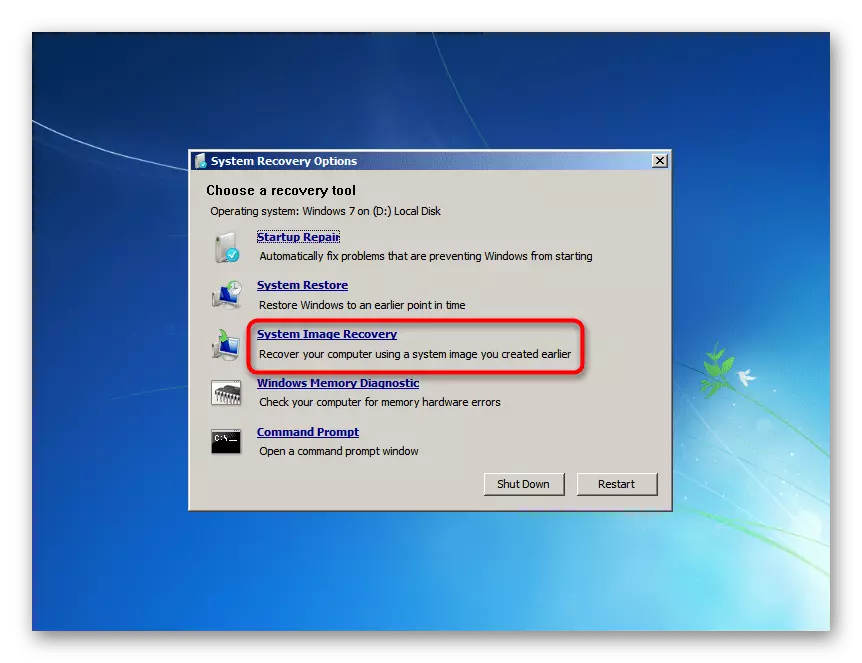
This method is only suitable for those who manually created the previously archive image. How to do this, we have shown in a separate instruction, namely in the method 2, starting from step 10 of the article on the link below.

Read more: Restore system through archive image in Windows 7
All the rest, who did not do anything like, should be resorted to other available methods.
Windows Memory Diagnostic
Check the computer's RAM.

It is possible that you have fallen into this restore window due to non-resistant memory errors. The system offers either to check the memory immediately after the automatic reboot ("Restart Now and Check for Problems") or at another time. Of course, choose the first option. About how the RAM is tested, we told in a separate article. It will be useful for you, starting with method 2, step 6.

Read more: Check RAM on a computer with Windows 7
Unfortunately, if errors are found, the system will not be able to fix them on their own - this utility serves solely for diagnostic purposes. However, ram hardware errors will not succeed in any software, so if you received a notice of the presence of problems, you will have to buy a new RAM. To deal with how to choose new planks for RAM and install them yourself, our articles will help below.
See also:
How to select RAM for Computer
Install RAM modules in PC
Command Prompt.
Running a classic "command line".
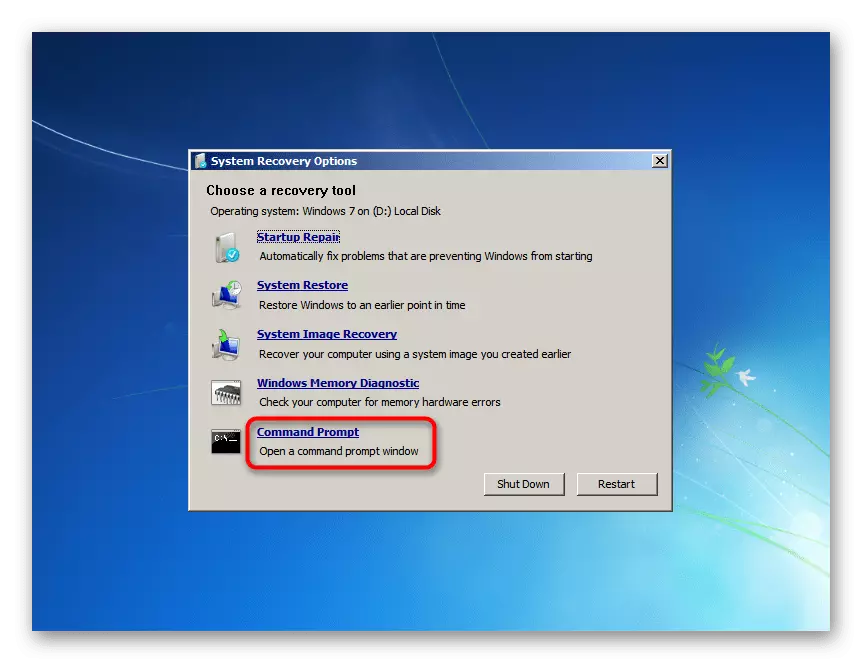
The "Command Line" window allows the user to eliminate the problems that have fallen on the computer by entering different commands. Since we do not know what caused a failure, we will try to launch various funds alternately. After entering each of them, wait until some action occurs, for example, scanning or correction.
Do not close the window ahead of time and do not restart the computer without waiting for the end of the cantilever utility! Find out what she finished working, you can at the appearance of a line X: \ Windows \ System32> _ which will be located at the bottom of the window.
- bootrec.exe / fixmbr - a command that corrects the main boot record;
- bootrec.exe / fixboot - fix the boot sector;
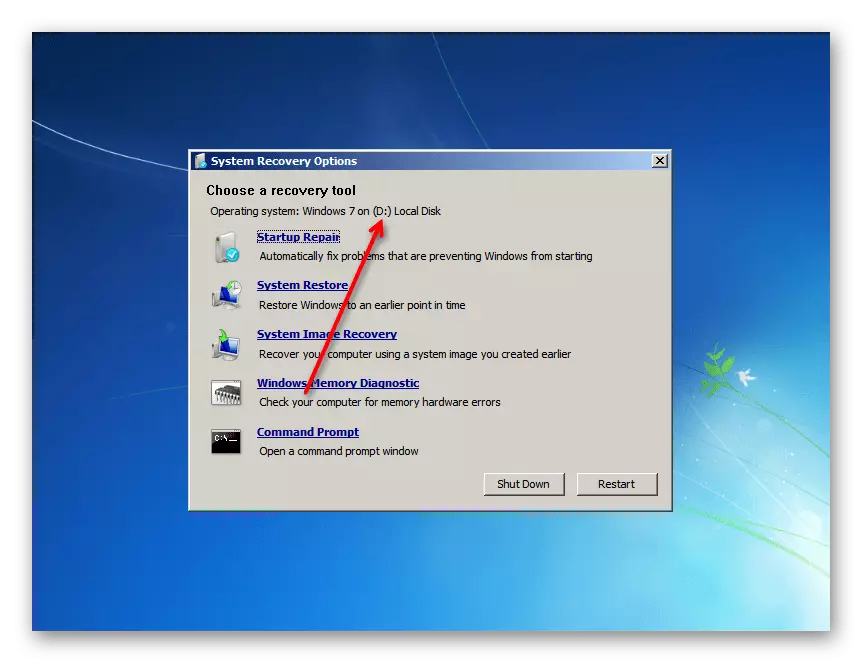
- SFC / SCANNOW / OFFBOOTDIR = X: \ / offwindir = x: \ Windows- Check the integrity of system files. Instead of x, you need to substitute the letter of that disc on which the operating system is located for the recovery environment (that is, if the OS is always installed for us, then until we downloaded in Windows, the section has another letter with it). You can find out this in the System Recovery Options window - at the top there is a line "Operating System: Windows 7 ON (X :) Local Disk". Letter in brackets and use as a basis;
- Dism.exe / CleanUp-image / RestoreHealth - Restoration of damaged system components. Actually when the utility previous SFC utility has found errors, but could not correct them due to damaged storage. Use the reference below if you first want to see how it functions (steps 1-3), and then be sure to go to SFC again.
Read more: Restoring damaged components in Windows 7 with DISM
We disassemble the main ways to restore damaged Windows 7, starting the window with the system recovery parameters. The presented tools should be enough to be able to eliminate the problems that have arisen and return the operability.