
Almost every user of the operating system Windows 7 occurs from time to time facing the need to view photos located on a local or removable medium. In most cases, this process does not cause any difficulties at all, and the embedded image of the pictures allows you to do without prior to third-party software. However, some users are still faced with problems when all or only certain images do not open. As part of today's article, we want to talk about the available methods of solving this situation.
Eliminate problems with opening images in Windows 7
The following methods we placed in the order of the complexity of execution and efficiency, and it was done so that you could quickly and easily find a suitable option for yourself. To give an unequivocal answer about the solution of the resulting difficulty will not work, because without preliminary diagnostics of the system here is not to do. In this regard, we recommend starting from the first method, gradually moving to the following, if no result is observed.Method 1: Check File Extensions and Cleaning Anti-Virus System
Often in the difficulty appearing are to blame the viruses that for any reason fell to the computer. In such cases, they are encrypted under the guise of ordinary files, changing their extensions or other parameters. For example, when you try to start the image, you will only provoke the process responsible for the spread of the virus, but the snapshot itself will not be opened. Because of this, first need to check which formats have problem files, which is the easiest to do this:
- Open the Start menu and in the right list, select "Control Panel".
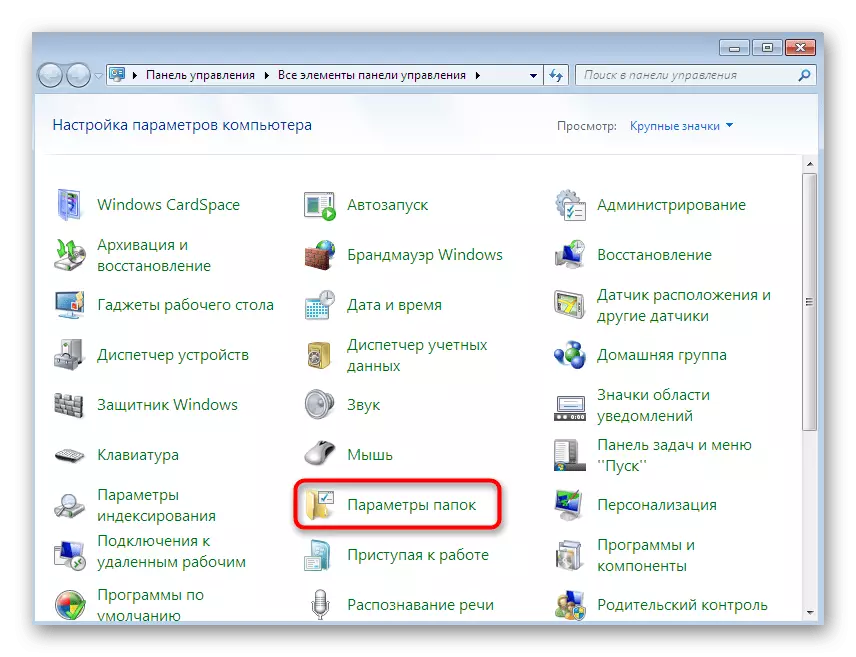
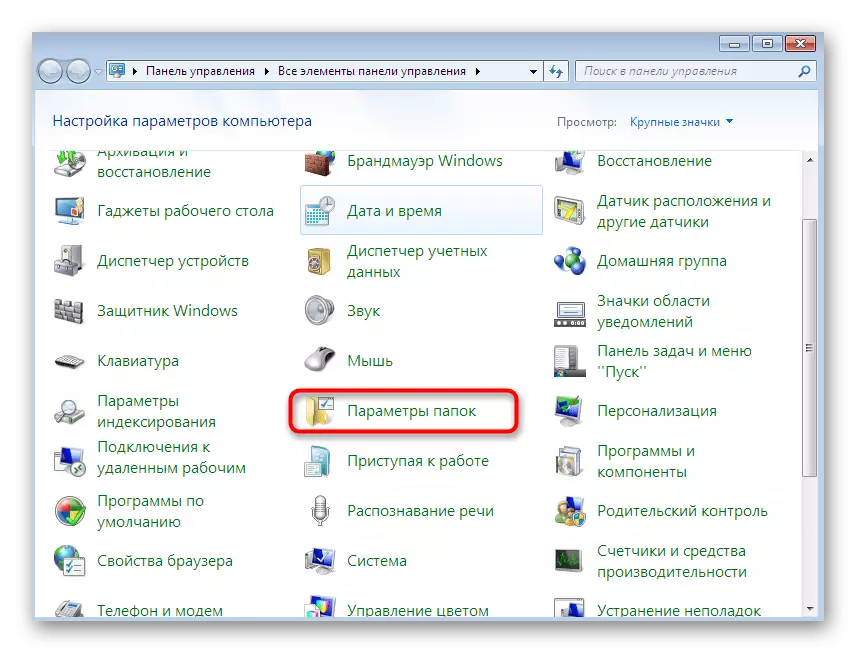
- Here you are interested in the section "Folder Settings".
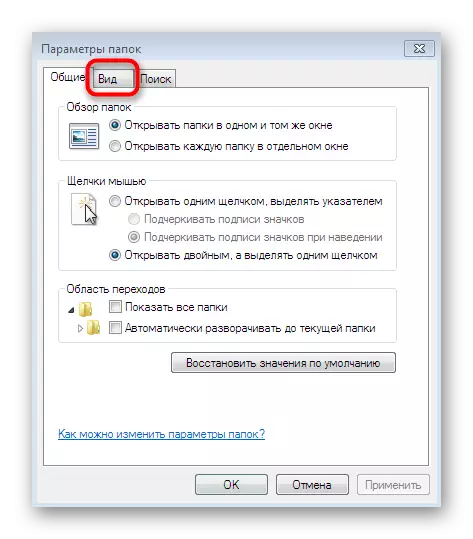
- In the window that opens, move to the "View" tab.
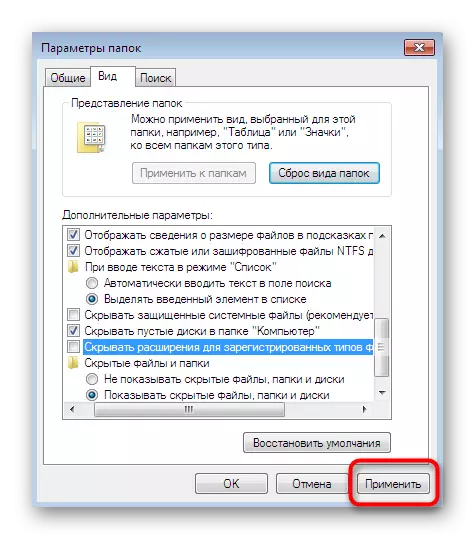
- Source down the "Advanced Settings" list and remove the checkbox from the "Hide extensions for registered files for registered files".
- Apply the changes and close the window.
- Now you can open the directory where the photo is stored to familiarize yourself with the type of each of them. If suddenly something does not match the standard image parameters (PNG, JPEG, JPG and others), you will have to resort to antivirus help.


You can use the protection installed on the computer or choose any other software to combat malicious elements. After the scanning is completed, information on found and remote viruses will appear on the screen. Infected files are sometimes restored, but if they were badly damaged, you will have to part with the pictures. Detailed instructions for performing this task are looking for in the material further.
Read more: Fighting computer viruses
Method 2: Setup File Association
The most banal and simple advice that appears when such problems occur - checking the association of objects. The situation is quite likely when for some reason the image viewing tools simply cease to interact correctly with existing media files, ignoring their expansion. Then you have to manually check and change the parameters through the "Control Panel".
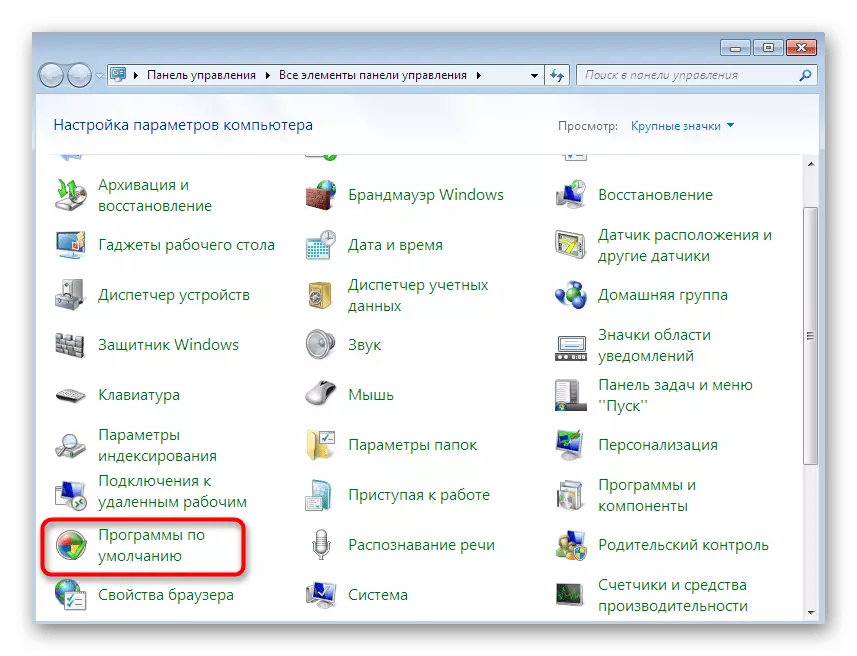
- While in this menu, click on the default program.
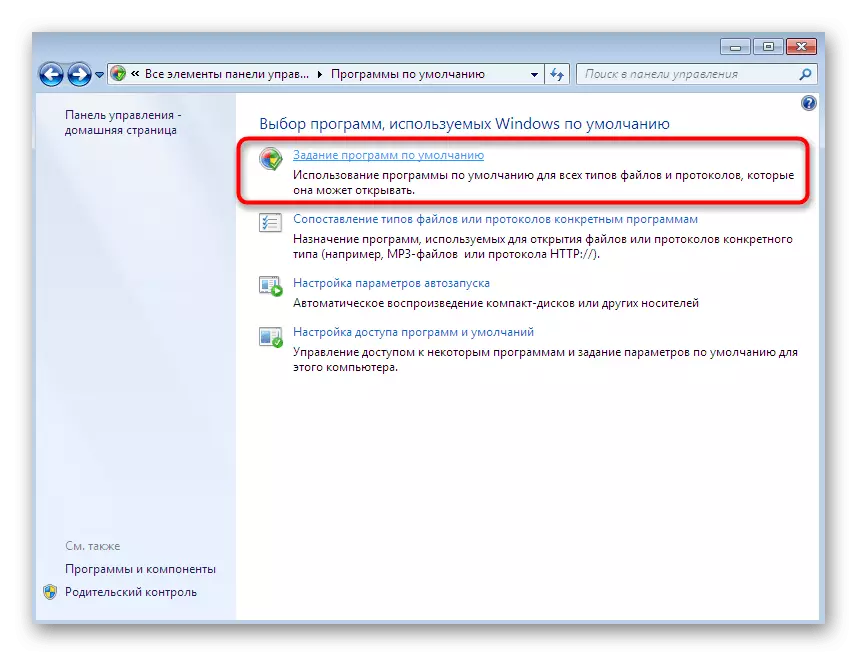
- Here, click on the "Default Program Specifications" option.
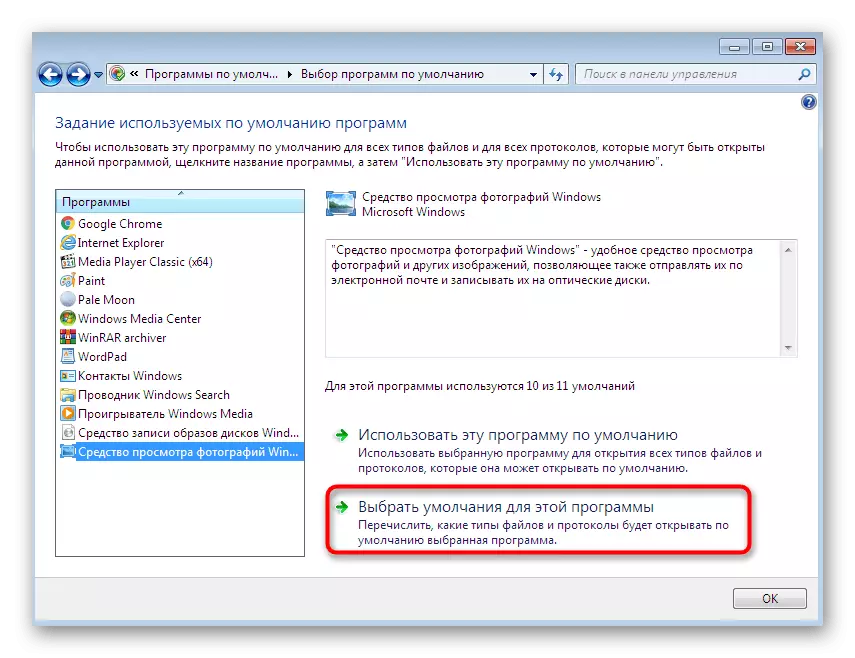
- On the left, select the installed viewer. If you use standard software, highlight it.
- To check the current types of files, click on "Select defaults for this program".
- Tick all items, if any of them or all are missing, and then click on "Save".
- After that, re-assign this tool to the default tool by clicking on a special button.


Now you can safely move to testing photo viewing. Restart the PC is not necessary, since the changes come into force in the current session.
Method 3: Editing Access Rights
With an error about the absence of necessary rights, when opening images, users are mainly encountered, which have just installed the operating system. The fact is that sometimes objects are assigned a certain owner, and this entails the imposition of certain access restrictions. At the form of a new user, the OS can issue an error, banning the photo to view. It should also be noted that the appearance of such a problem is sometimes associated with the action of viruses, so perform the method only after careful cleaning system.
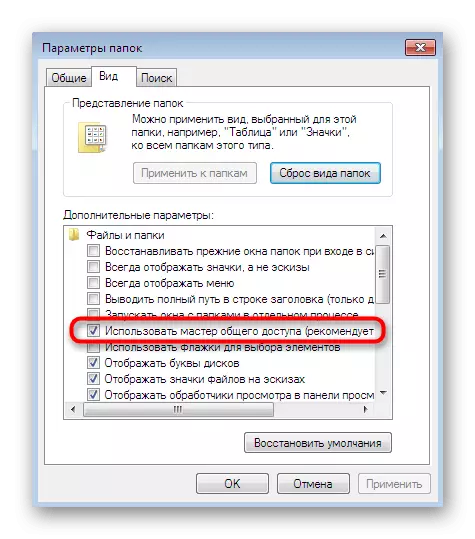
- First, let's turn off the function of the general access wizard to simplify the provision of necessary rights in the future. Open the "Control Panel" and here go to the "Folder Settings" menu.
- On the View tab, remove the checkbox from the item "Use the Sharing Wizard (recommended)", and then apply the changes.
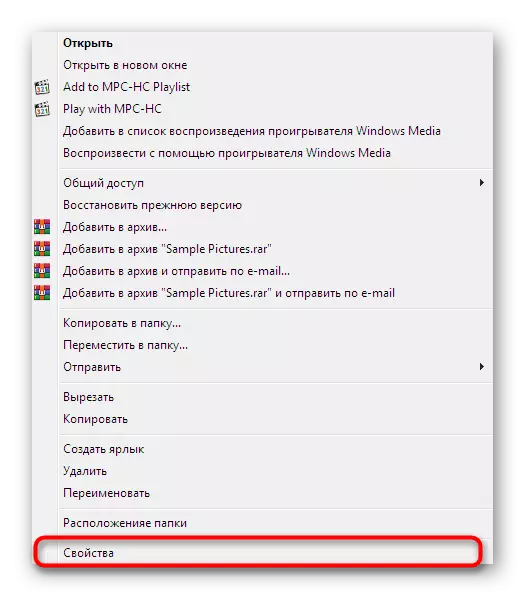
- Lay the folder with photos that do not open. Make the right click on it.
- In the opened context menu, go to "Properties".
- Move in the Safety section.
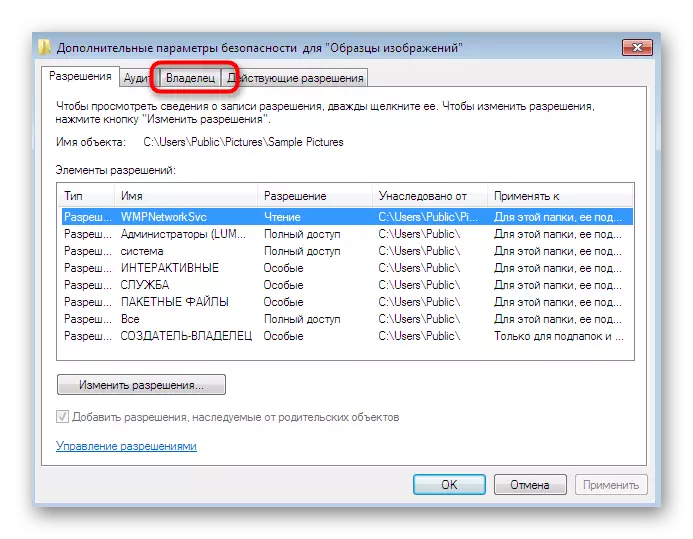
- Here click on "Advanced".
- Open the "Owner" tab.
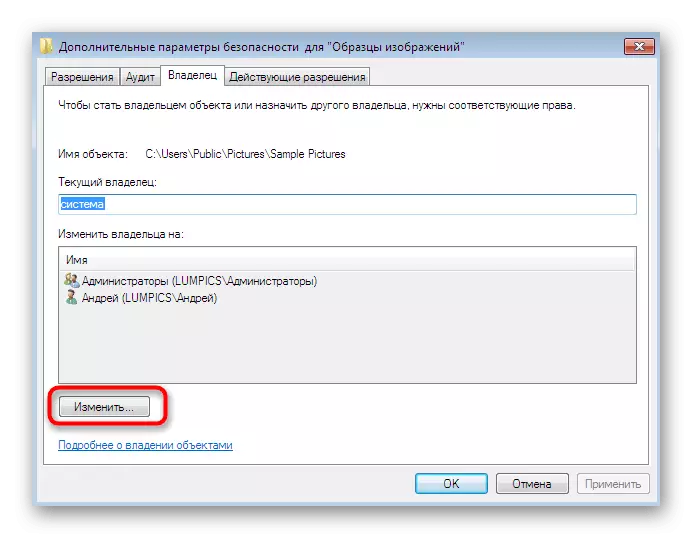
- Go to the owner changing by clicking on the corresponding button.
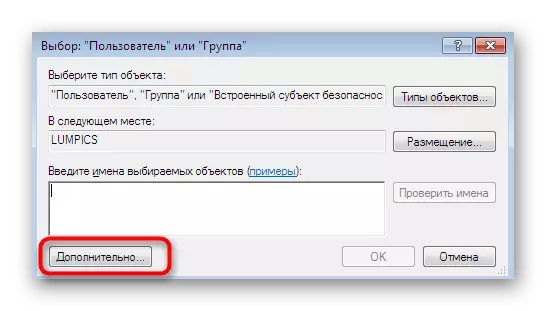
- You can choose the name of the owner from the proposed list, but often there is no necessary account, so you have to open a separate menu.
- Here it is easiest not to enter a name manually, but to use an automatic search by turning to the extended parameters.
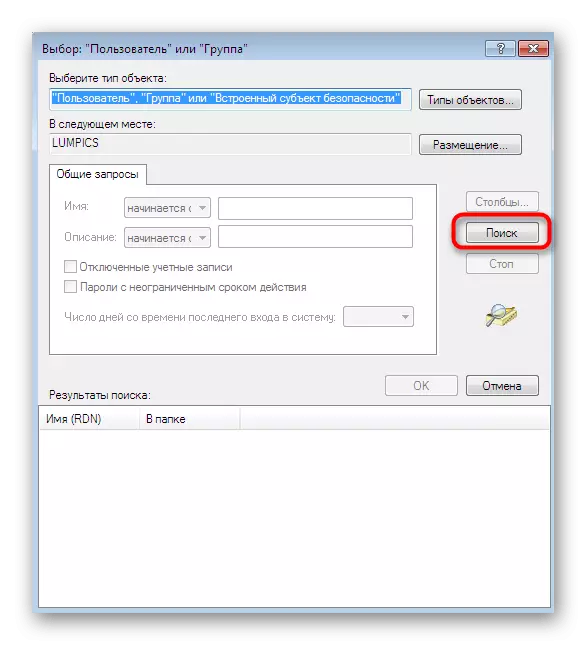
- Click on "Search" to launch the required operation.
- From the list that appears, select the appropriate account name by making the LKM double click on it.
- Apply the changes made.
- You will be notified that the owner of the object has been changed.


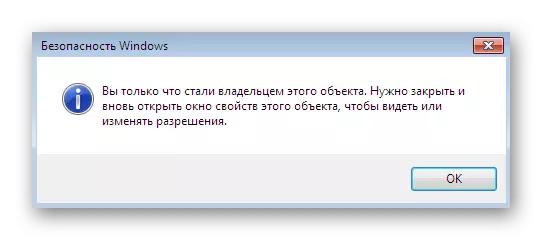
After that, if the problem really consisted in the absence of the required rights, it should be successfully solved, and the pictures will open without any difficulties.
Method 4: Checking the integrity of system files
We smoothly go to methods that are not always effective, as well as some part of the execution. The first such option is to automatically scan the system for the integrity of the files through the default utility set by default and suitable in those situations when no photo does not open on the PC through different tools for viewing. To begin with, you should use the SFC utility, as in the deployed form, read in a separate material on our website by clicking below the link below.

Read more: Restore system files in Windows 7
Carefully follow the notifications that appear on the screen during scanning. If it goes successfully, you will receive the appropriate message, and when the error occurs, the content will be: "" Windows resource protection has detected damaged objects, but cannot restore some of them. " This means that there has been damage to system components, and only the DISM utility will cope with their restoration, the other article further is devoted to the interaction. Only after the successful completion of the DISM needs to go to SFC, running the re-scanning.
Read more: Restoring damaged components in Windows 7 with DISM
Method 5: Editing Registry Settings (for Windows 7 x64)
Finally, we left the most difficult way that turns out to be effective mainly when problems with the standard photo viewer. However, in the event of failures in the registry, the appearance of problems and using third-party software, which takes as the basis of the work algorithms installed by default means. In the title, we clarified that this option is only suitable for the owners of the 64-bit OS. This is due to the fact that in this bit there is duplication of the DLL library responsible for the media file association. In 32-bit versions there is no alternative, therefore this method is not suitable.
All the actions below follow only at your own risk. When you assume errors, problems are possible in the operation of the OS, as well as errors when it starts it. It is better to prepare a recovery point in advance if you still decided to resort to the radical method.
Read more: How to create a recovery point in Windows 7
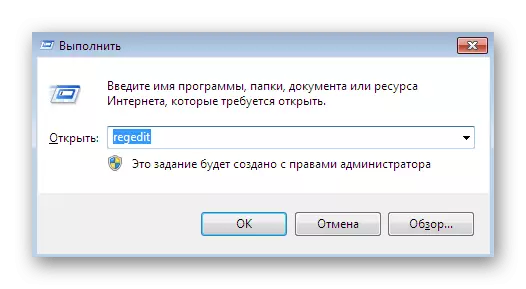
- Run the "Run" utility by the standard key combination Win + R. In the line, enter the REGEDIT and press ENTER.
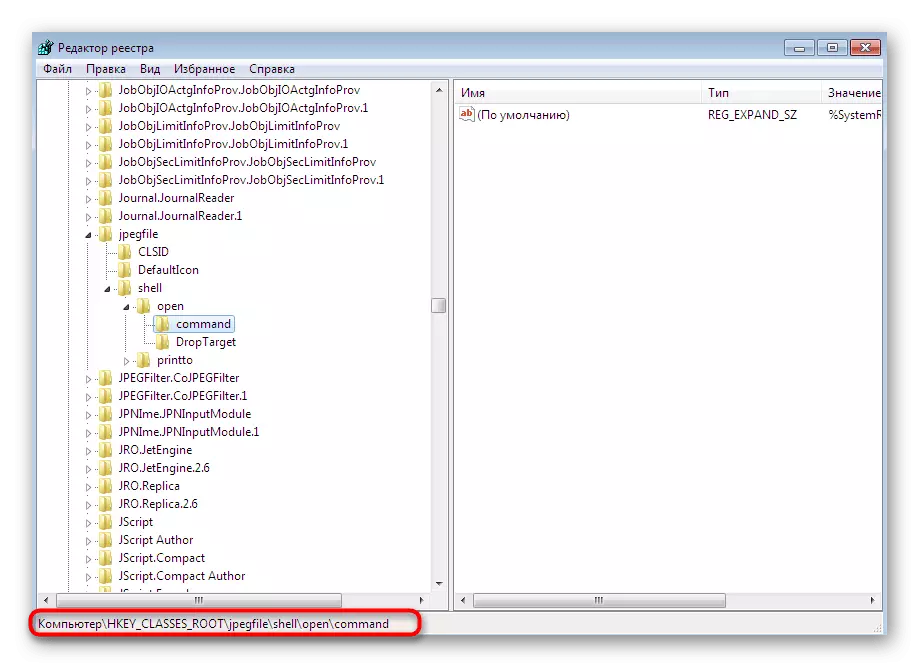
- Go along the path HKEY_CLASSES_ROOT \ JPEGFILE \ SHELL \ OPEN \ COMMAND.
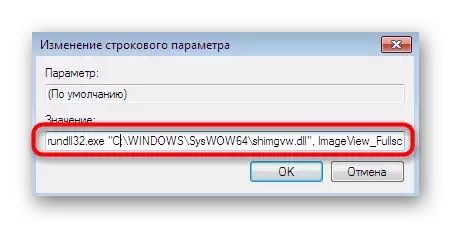
- Double-click on the parameter located there to open its properties.
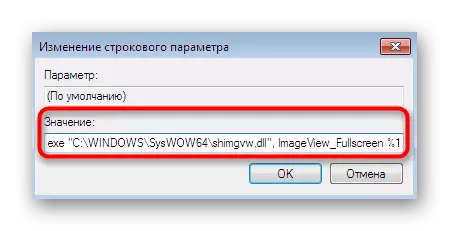
- Change the value to runllll32.exe "C: \ Windows \ Syswow64 \ shimgvw.dll", imageview_fullscreen% 1 and confirm the action by clicking on "OK".
- Next, open HKEY_CLASSES_ROOT \ PNGFile \ Shell \ Open \ COMMAND.
- Here also go to the properties of the displayed parameter.
- Set the value Rundll32.exe "C: \ Windows \ syswow64 \ shimgvw.dll", imageview_fullscreen% 1.
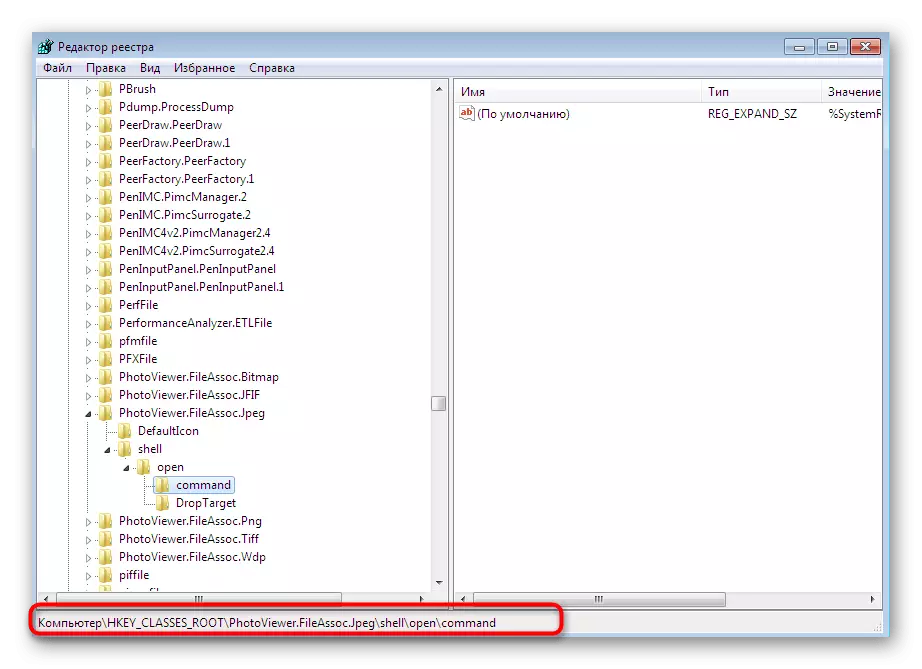
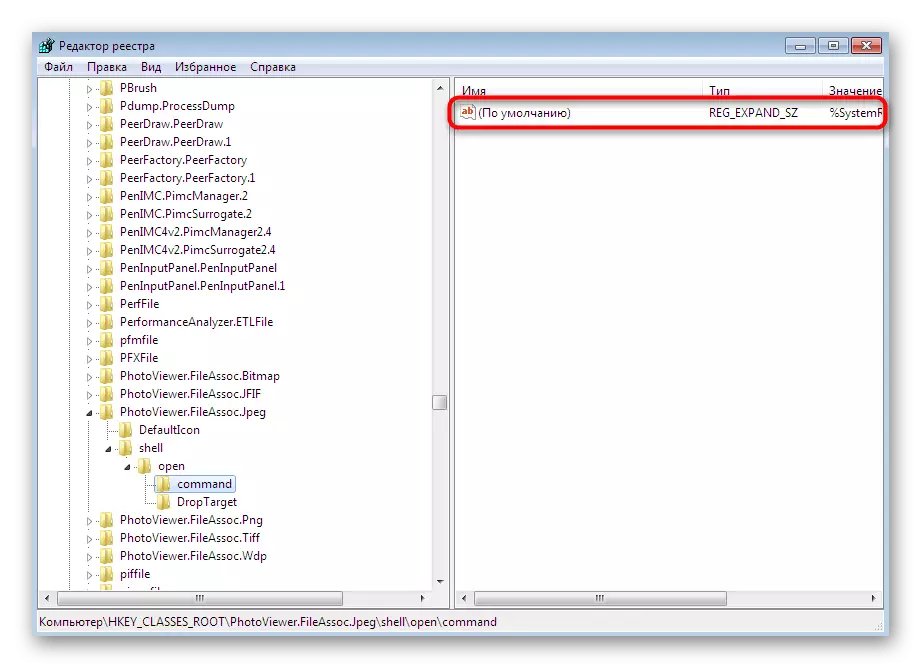
- As the last association, find the HKEY_CLASSES_ROOT \ PhotoViewer.FileAssoc.jpeg \ Shell \ Open \ COMMAND as the last association.
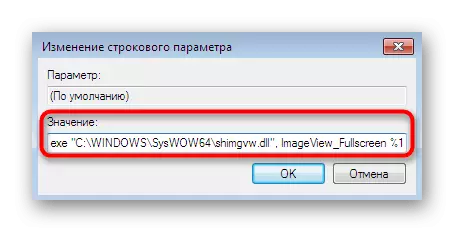
- In the same way, open the properties of the parameter.
- Change the value to Rundll32.exe "C: \ Windows \ syswow64 \ shimgvw.dll", imageview_fullscreen% 1.


The changes made will take effect only after rebooting the computer. Only then proceed to testing the opening of pictures through the software used.
Now you are familiar with all the basic methods of solving the problems with watching photos in Windows 7. As you can see, the algorithm of each method is fundamentally different, as well as the level of efficiency in certain situations. Additionally, we note that if this problem is still left, it is recommended to return to that backup, when it still worked fine or you can choose a third-party program to view pictures. If the backup does not exist, it remains only to reinstall the OS in case of errors with the opening of absolutely each image.
See also:
Restoring the system in Windows 7
Select the program to view photos
Re-install windows 7 without disk and flash drives