

At the current time, almost every active browser user establishes any extension that adds new options to the web browser, which is initially absent in it. However, not all such additions are published in official stores, while others simply are small scripts. They are much easier to implement through special management managers. One of these tools is called GreaseEmonKey, and today we want to tell about it in more detail, taking the Mozilla Firefox browser for an example.
We use the extension GreaseEmonKey in Mozilla Firefox
The essence of GreaseEmonKey is to install or create custom scripts that will work on specific sites. This extension acts as a special mechanism that ensures the execution of a pre-harvested code. Next, we want to tell all about interaction with this addition, starting from its installation and ending with the creation of user scripts.Step 1: Installing Extensions
Most users who have already come across the procedure for installing add-ons know how it is made. The following instruction will be designed for those users who first faced a similar purpose. Experienced users can simply skip it by installing independently.
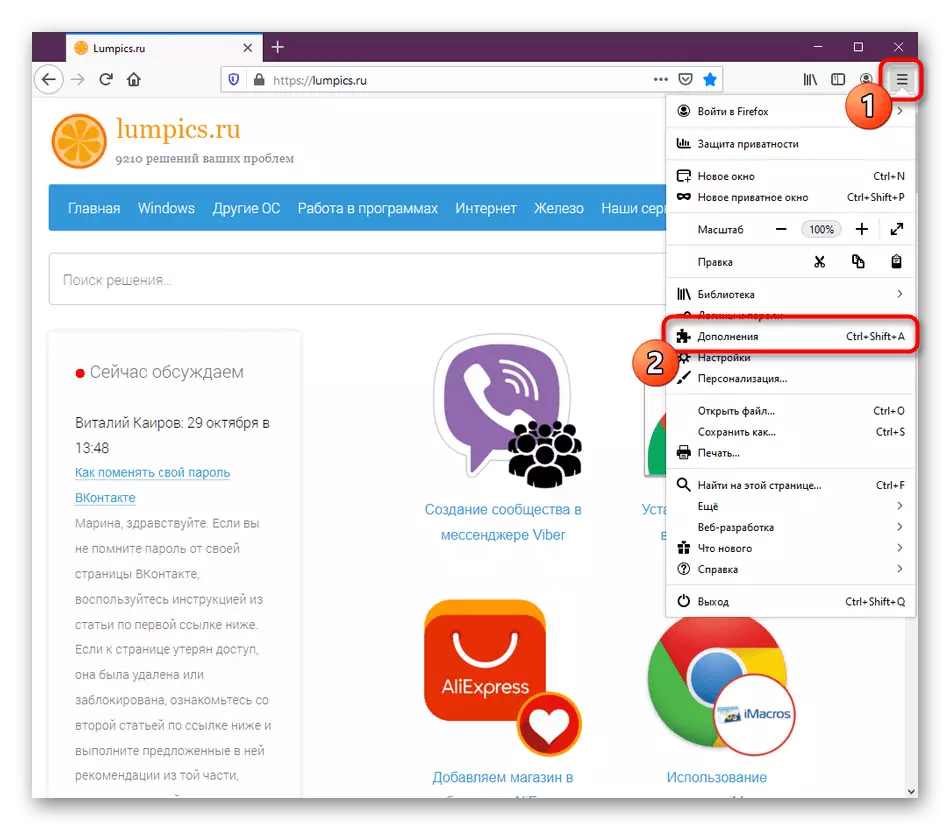
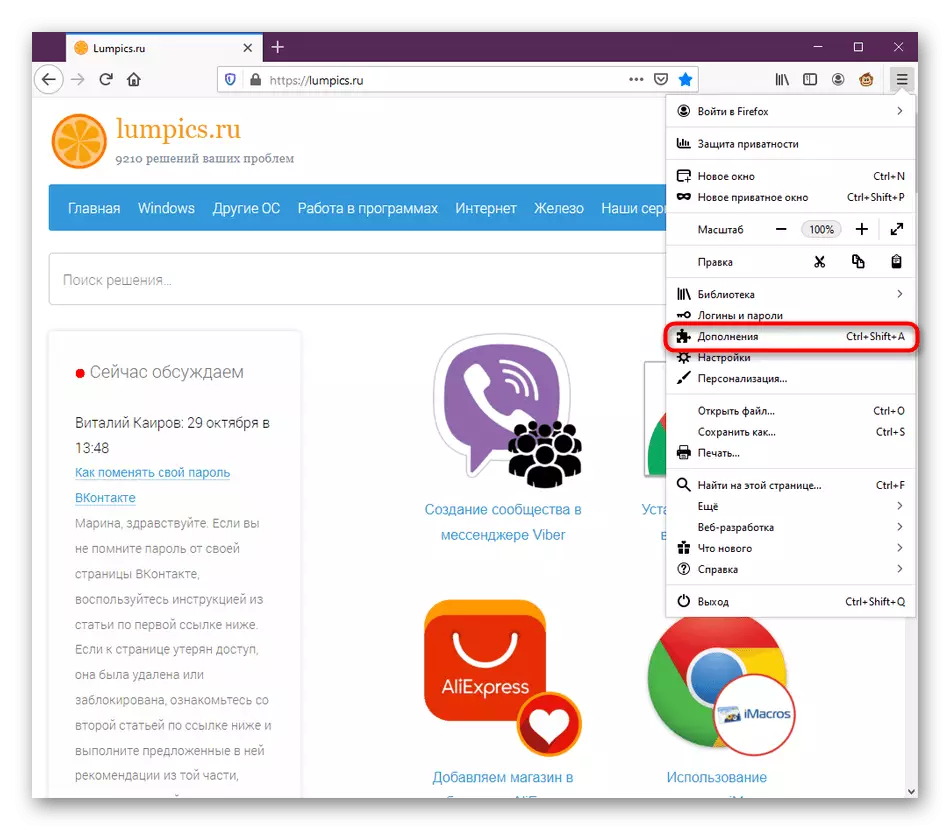
- Open the browser's main menu where you go to the "Additions" section. This action can be performed by pressing the CTRL + SHIFT + A. Hot key.
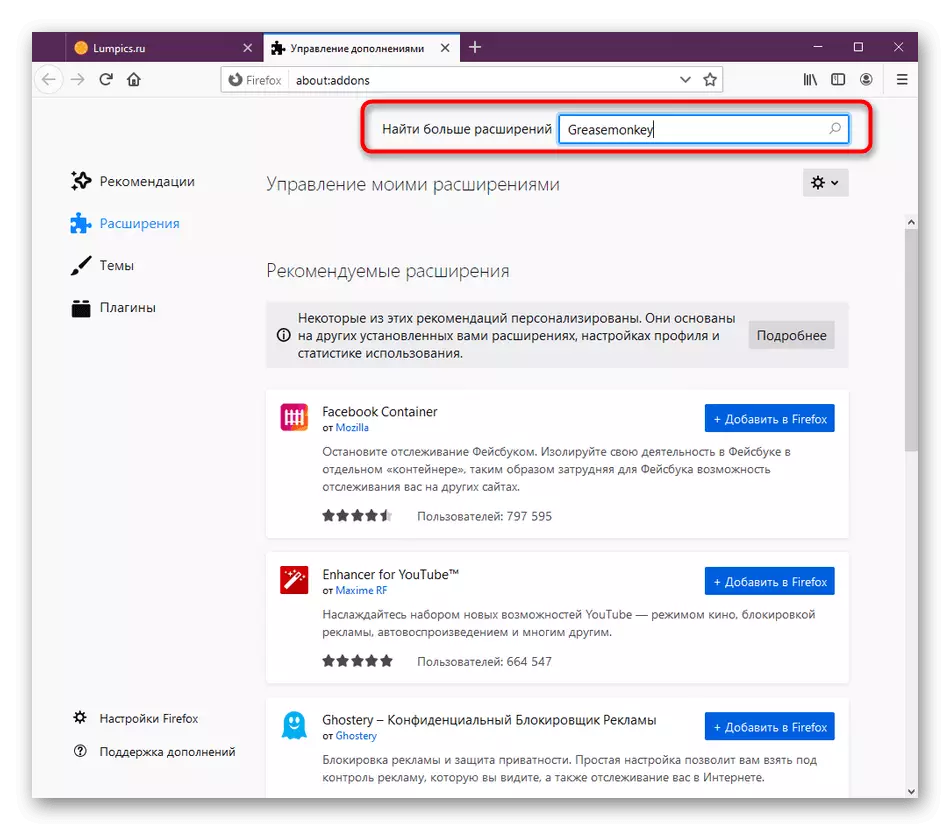
- On the tab that appears, you are interested in the input field where you write "GreaseEmonKey" and click on ENTER.
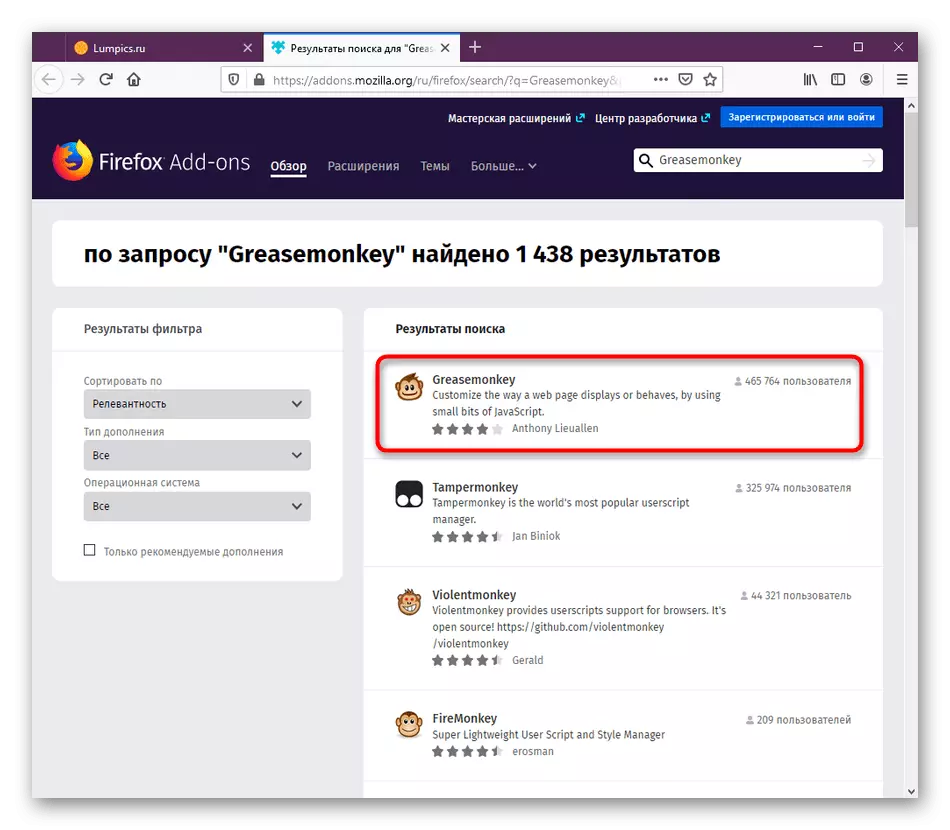
- There will be an automatic transition to the Firefox Add-ONS page. Here, click on the appropriate search result, which is displayed first in the list.
- Click on the blue button with the inscription "Add to Firefox".
- Familiarize yourself with the necessary permissions for GreasemonKey, after which you confirm your intention of installation.
- You will be notified of the successful completion of the addition. If you are interested in working the scripts and in the background, be sure to check the checkbox "Allow this expansion to work in private windows". If you accidentally closed the notification, without having to make the edit, below we will show how to configure this parameter otherwise.


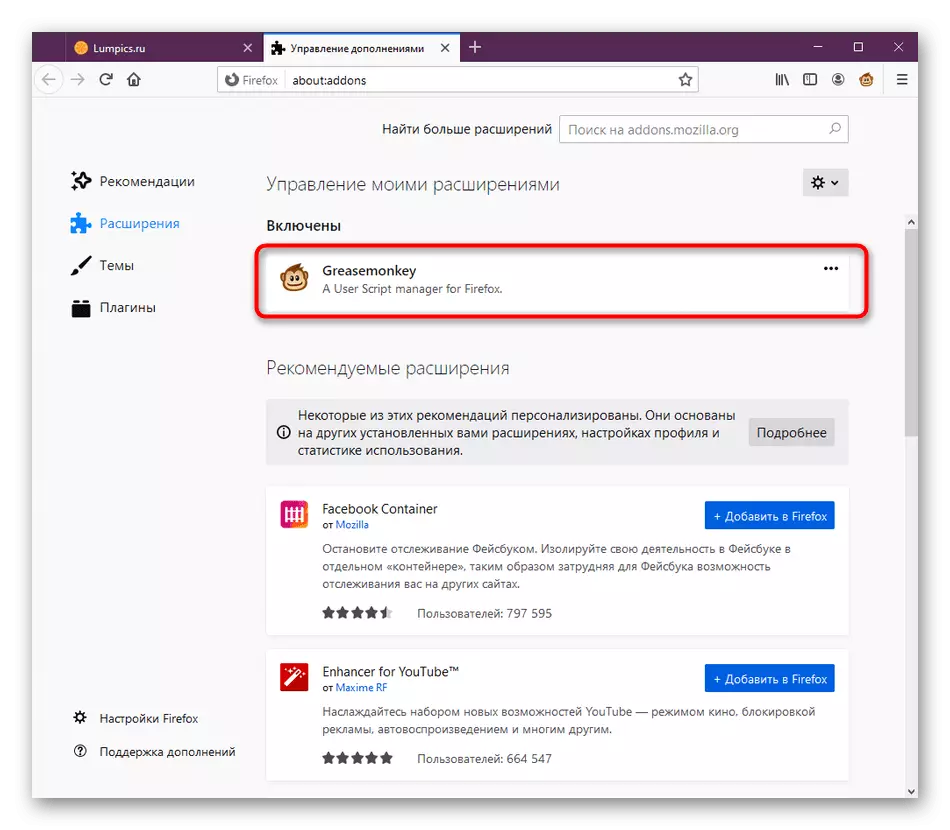
Upon completion of the installation, the addition is immediately activated and ready to install scripts. Now it does not fulfill any functions in the browser, because there has not been added custom codes, which we will talk about.
Step 2: Installing user scripts
In most cases, the user sets GreaseEmonKey already knowing which scripts it will add. On official websites, where such applications are subject to, there are information on their installation, so there will be no problems with this. However, if you have not yet found a script to add, we suggest this to do now.
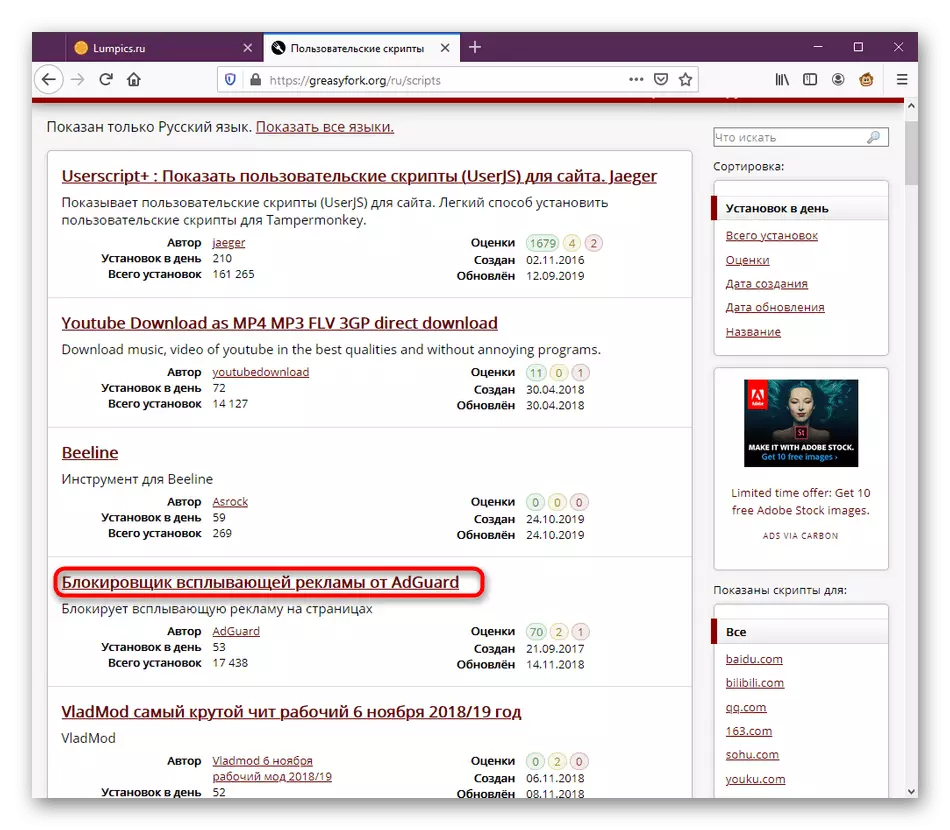
Go to the official site of the GREASY FORK
- The above is the reference to the official resource from GreaseEmonKey, where custom scripts are laid out. Watch out there appropriate on topics tool and click on it to go to the page.
- Here, click on the button "Set this script".
- Select additional installation option in a disconnected state and automatically open the editor after installation, if required. After clicking on the Green "Install" button.
- Now open the GreasemonKey by clicking on the icon on the top panel. Here you will see a list of added scripts. It will be updated immediately after clicking on "Install."


Any script available for GreaseEmonKey is added in this way. Additionally, you can copy the code itself and create a new workpiece via the editor by inserting the contents there. We will tell about this in the last stage of our today's article.
Step 3: Setting up GreaseEmonKey
Sometimes the user needs to perform the extension setting by specifying certain parameters. The GreasemonKey functionality is built so that there are simply no mass of options that are available to change, since it is not even required. The main menu should pay attention to such items:
- When you open the application menu, the first string is responsible for its inclusion or disconnection. In this case, all scripts, respectively, will vary depending on the state of the expansion.
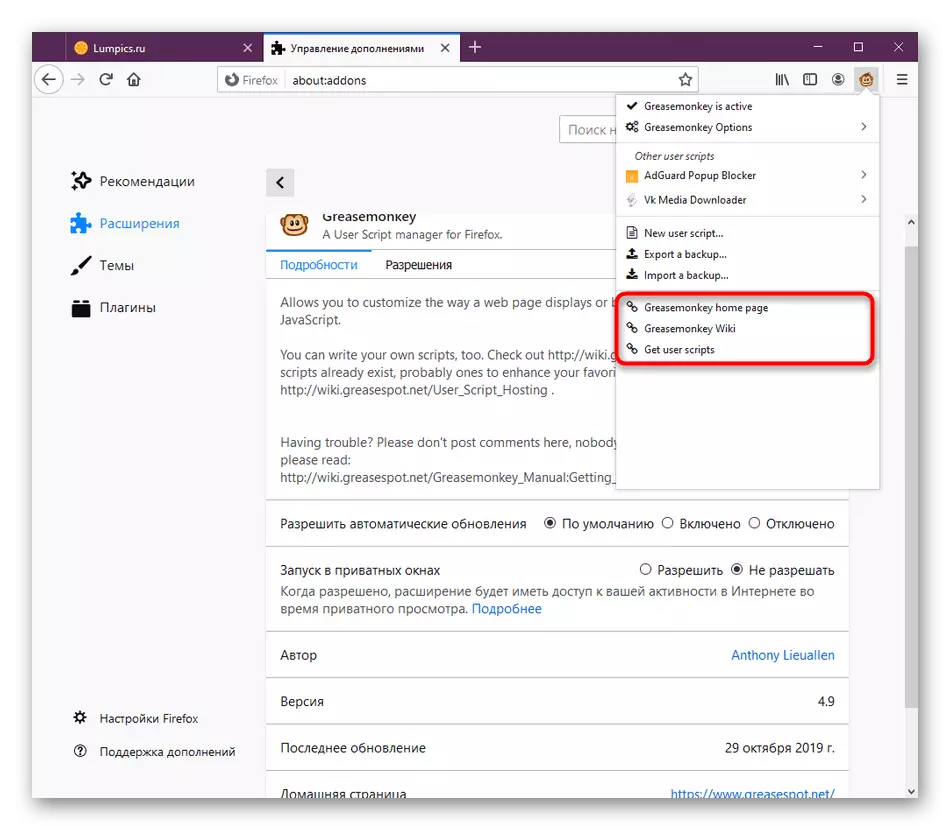
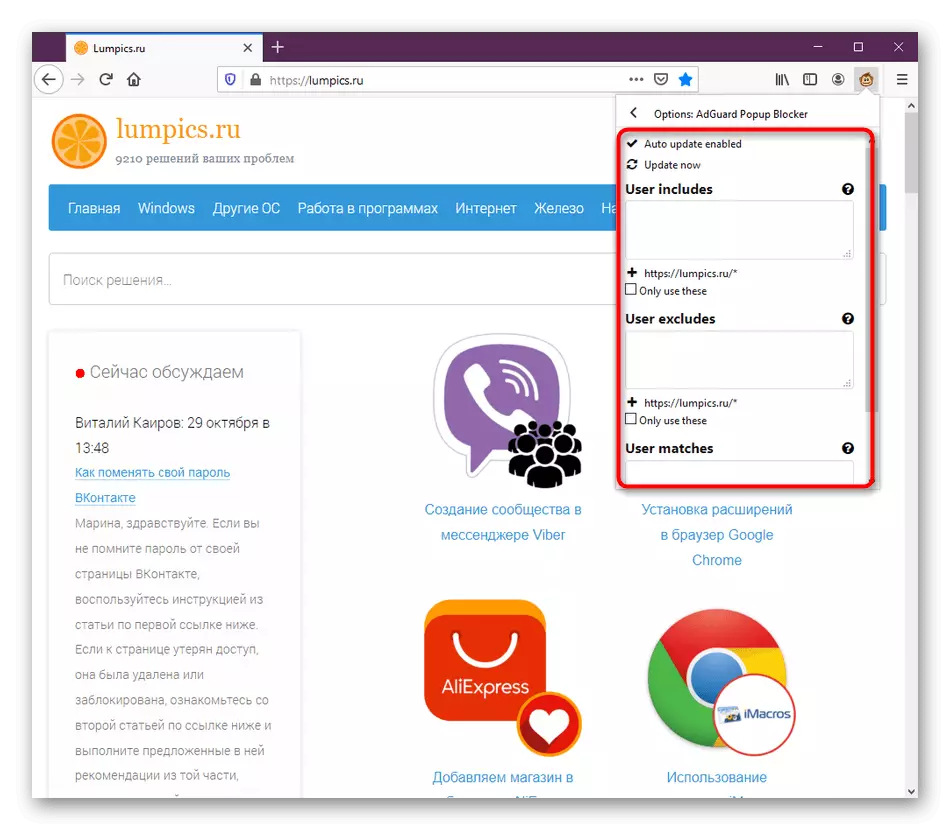
- Next, look at the block, which is highlighted in the screenshot below. Here you can go to the editor, export or import settings where all installed scripts will be included.
- The last block contains useful links that can be useful during interaction with GreaseEmonKey.
- At the end, let's quickly consider how to make GreaseEmonKey scripts work in private windows if this parameter has not been installed in advance. To do this, open the web browser menu and go to the "Add-ons" section.
- Here, find GreaseEmonKey and click on the expansion tile.
- Source down the tab, where in the "Startup in Private Windows" section, set the marker near the "Allow" item.
- Special privacy icon near the supplement indicates that it will function in this mode.


These were all useful buttons and menu items. The last block, about which we did not tell just, are allocated specifically for scripts. This topic will be devoted to a separate paragraph further.
Step 4: Management of installed scripts
If you installed one or more scripts in the supplement under consideration today, the situation will certainly happen when you have to manage this tool, let's say, it will want to disable it, edit or remove it at all. All this is done through the same GreaseEmonKey menu.
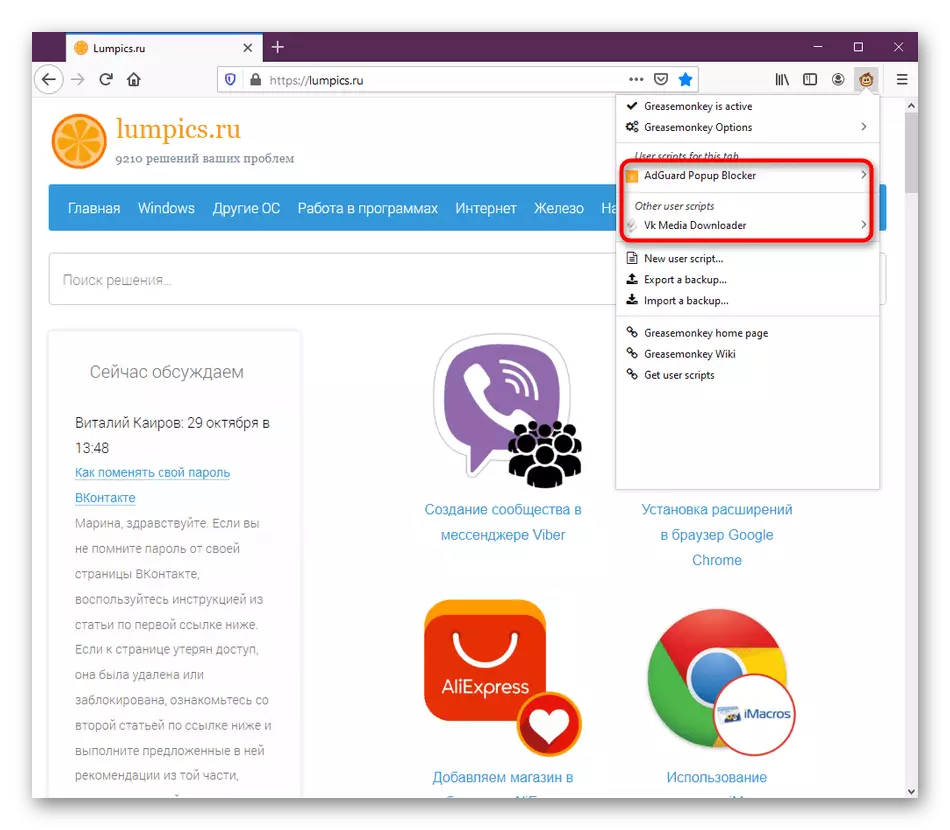
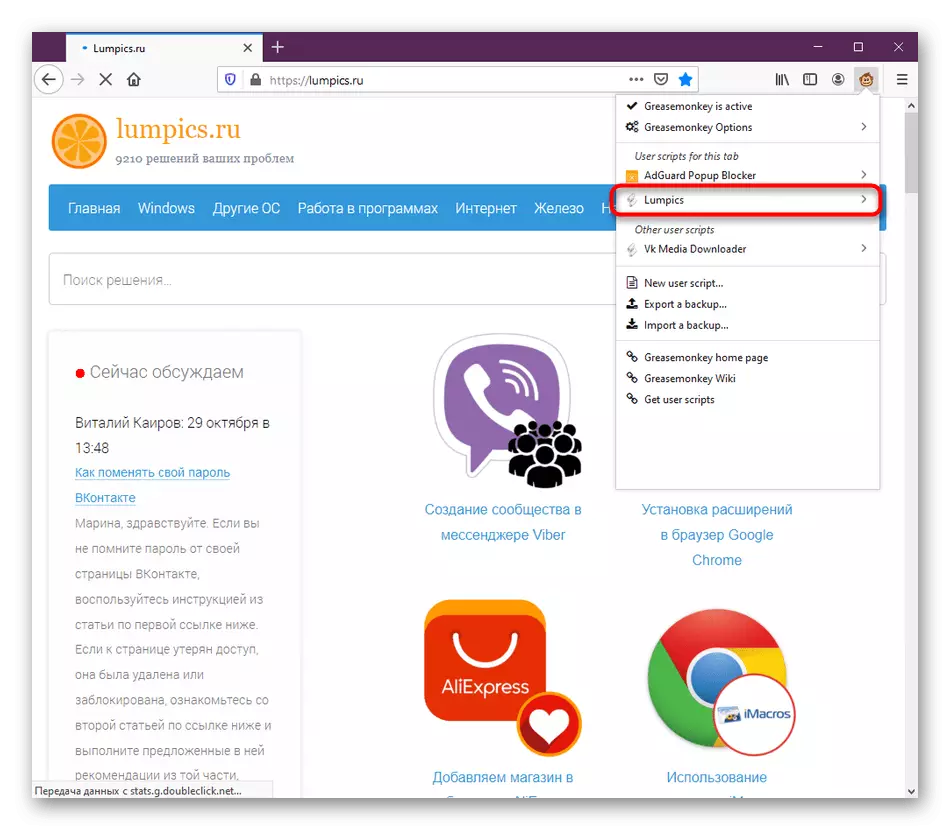
- Open the expansion control window. Here you will see the division of scripts. Some of them are used on the current site, while others are inactive. Press the left mouse button to go to control.
- Here you can, for example, enable the script, edit it or delete it. All this is done by pressing the corresponding buttons. The following information about the application version and its last update is displayed.
- Go to "User Script Options" to configure additional script parameters. This is necessary in extremely rare cases, which is usually written on the site where the code is distributed.
- If you need to make edits, use the EDIT option.
- A separate editor window opens, where all the contents are present responsible for the work of the script. Performing some changes, do not forget to keep them before closing the window.


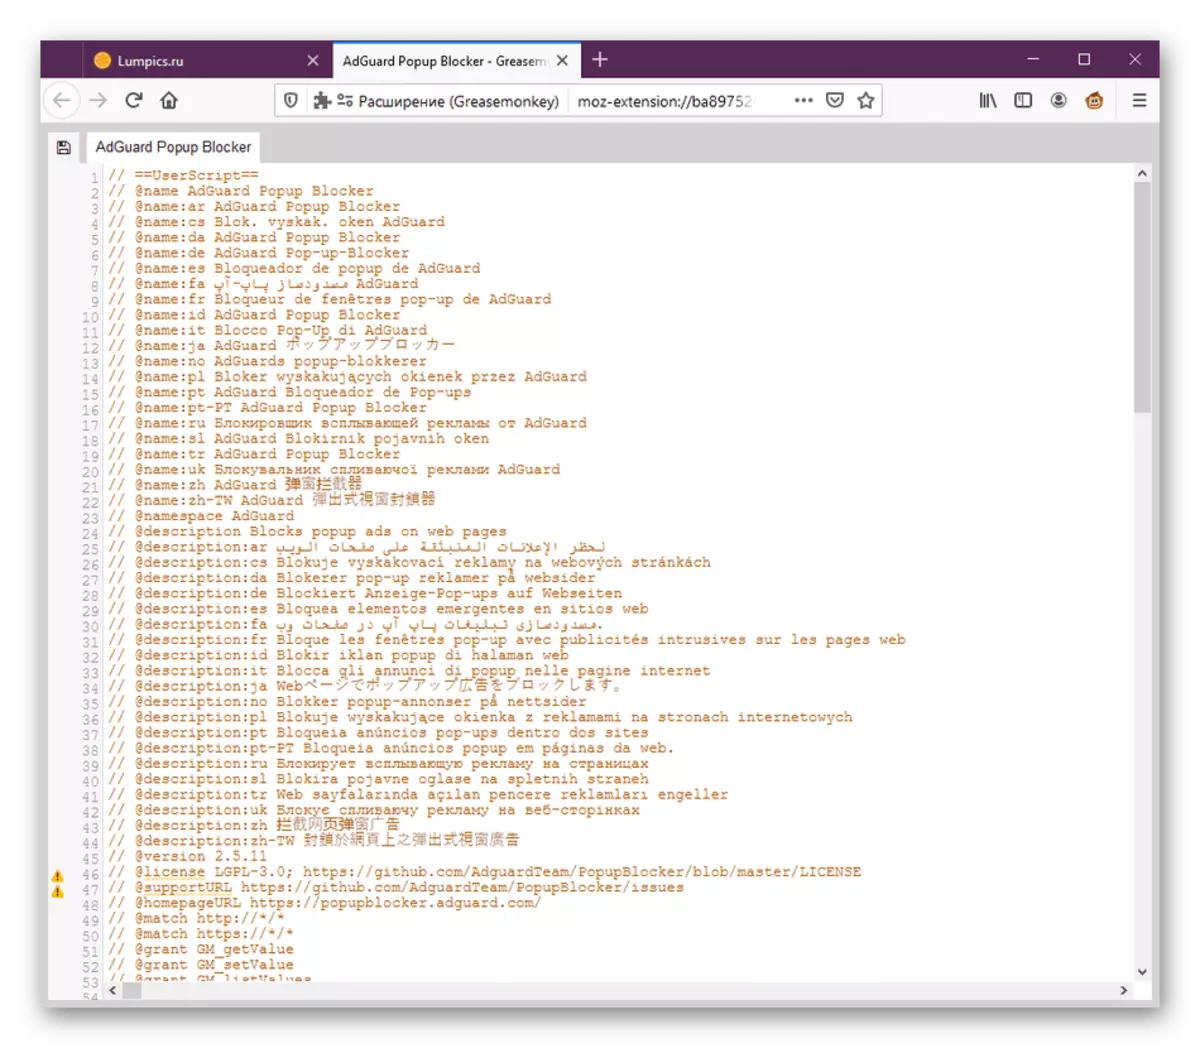
Do not make some edits just like this, because because of this, the performance of the entire script can be disturbed and it will have to reinstall.
Step 5: Creating your own scripts
The topic of creating its own scripts includes copying someone else's code, since it is implemented in exactly the same way. Now we will not give any recommendations about writing an application, since these are engaged in people studying programming languages. As for the GreaseEmonKey documentation, it is available for reading on the official website. Now we just want to demonstrate how to open the editor and insert the code there.
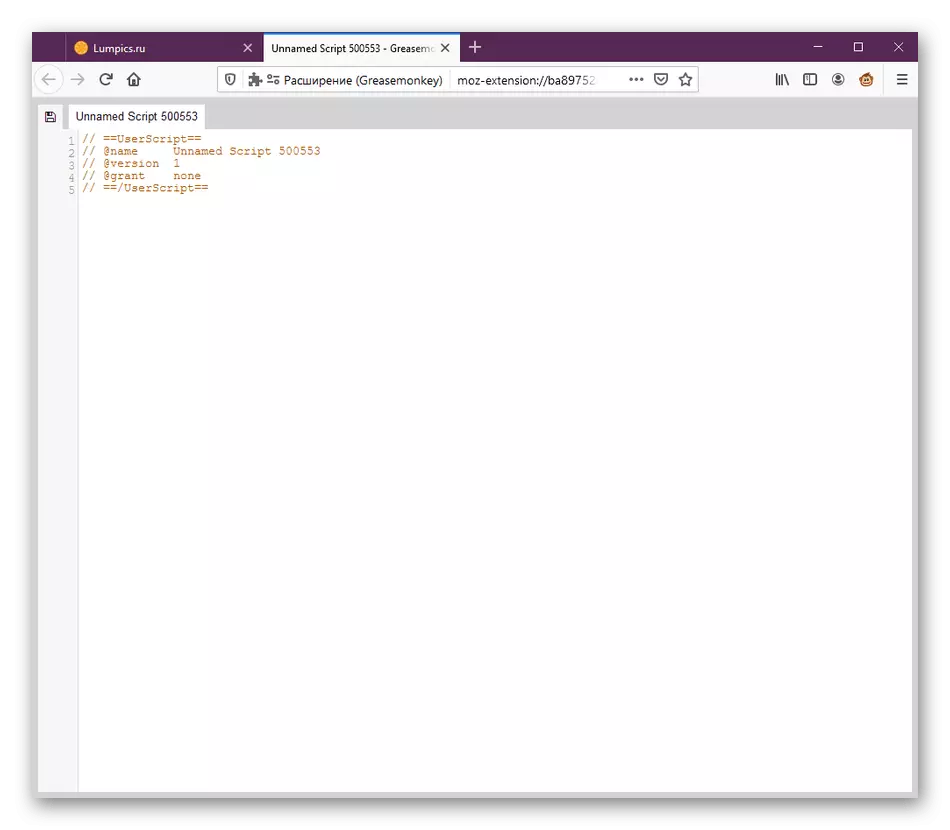
- Navigate to the main extension menu, where press the "New User Script" button.
- A editor window will open, where the code is already recruited.
- Insert the contents there and save the changes. Optionally, you can change the name of the script so that it is easier to find it.
- Now in the GreasemonKey main menu, you will see that the user script has been successfully added.


As you can see, GreaseEmonKey is a very convenient and useful extension that allows you to implement all sort of user scripts in Mozilla Firefox. It is thanks to this that now enthusiasts create a lot of useful solutions that simplify interaction with the browser.