
Each user with a Distribution Ubuntu faces the need to switch the keyboard layout. In most cases, this is due to the fact that the usual input is carried out by Cyrillic, and the terminal commands completely consist of Latin characters. However, sometimes more complex tasks appear before the user, for example, adding a new input language in order to make the switching function correctly. As part of today's material, we just want to talk about this topic, as detailed as possible by the work of the goal in a step-by-step idea.
Switch the layout in Ubuntu
Initially, in Ubuntu, the layout switching occurs by pressing the super + space combination. The Super key is represented on the keyboard in the form of Windows (Start). Not all users want to get used to such a combination, because most often it is even impossible to do because it is not comfortable at all. Then the user enters the settings and sees that there are no parameters responsible for changing the hot key on Ctrl + SHIFT or ALT + SHIFT. This contributes to the emergence of another question. Next, we will try to deal with all the tasks set, and begin with adding a new input language.Step 1: Adding a new input language
At the Ubuntu installation stage, the user is invited to add an unlimited number of input languages that it will use when changing layouts. However, some users skip this step or forget to include any language. Then you have to refer to the "parameters" of the operating system, which looks like this:
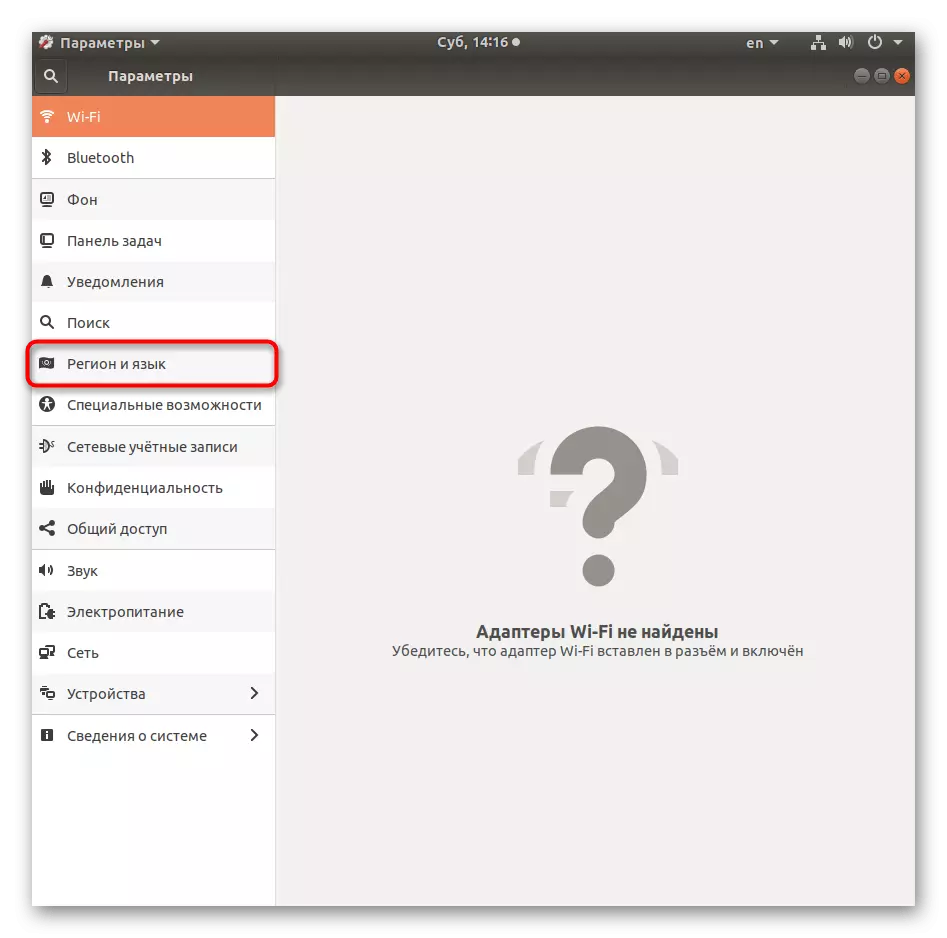
- Open the main menu of the applications and select the "Parameters" icon there.
- Take advantage of the left pane to move to the "Region and Language" section.
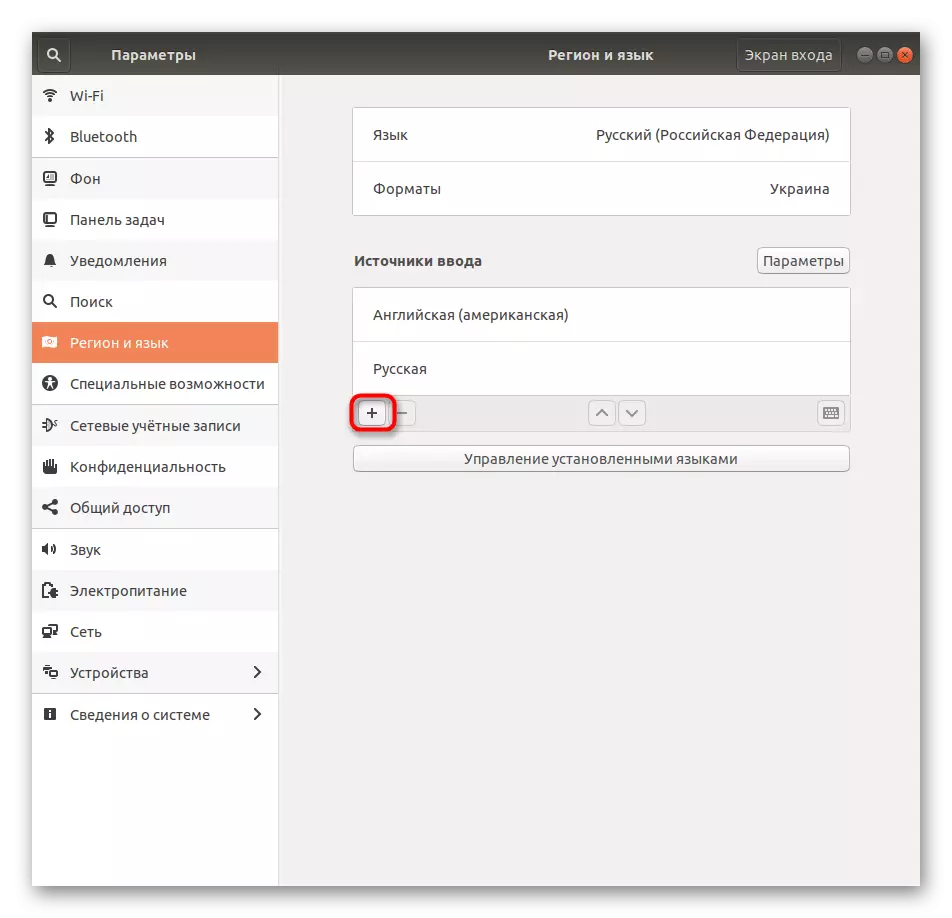
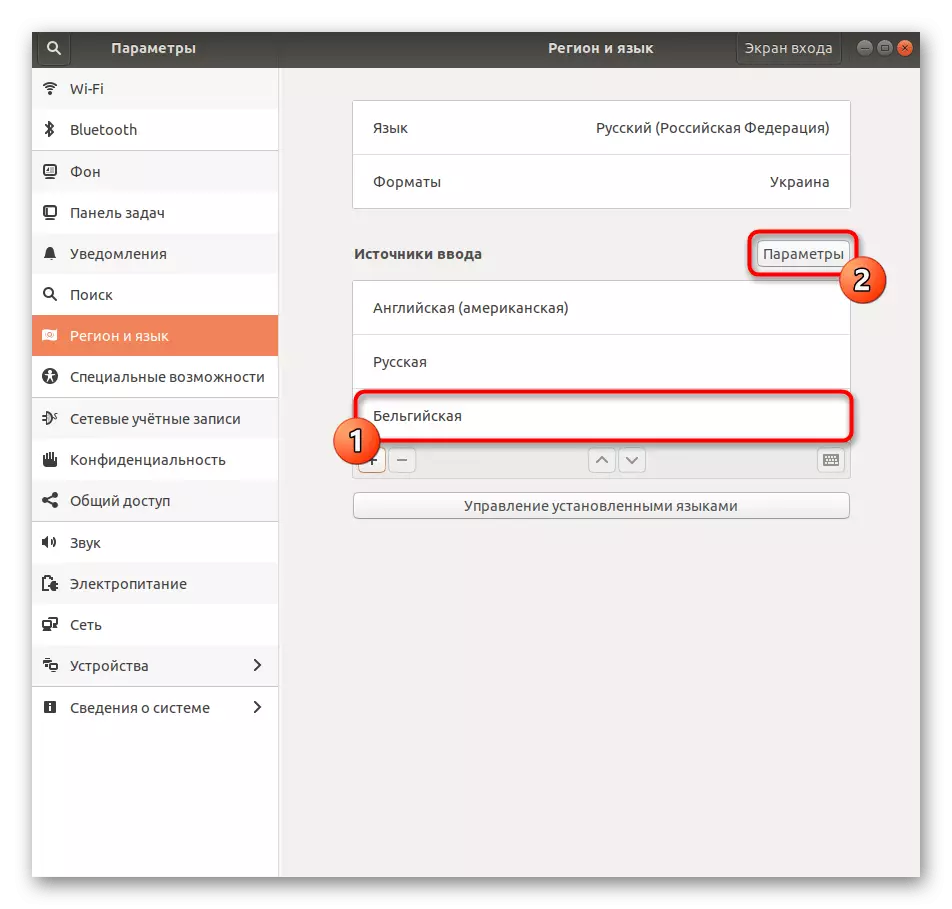
- Here you are interested in the "Sources of Input". Click on the icon in the form of a plus to add a new language.
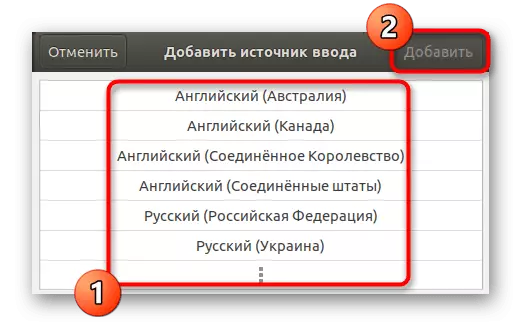
- Select one of the options in the table, and then click on Add.
- Now you can select the layout and view the parameters.
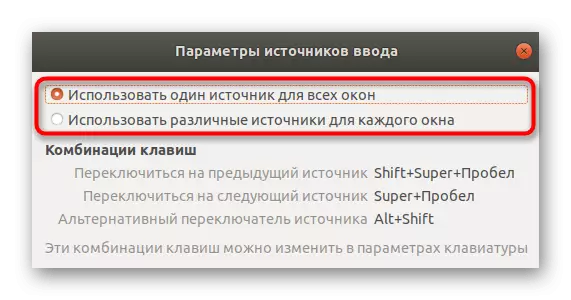
- Available to use one source for all windows or automatic saving each for individual applications, which will allow you once again not to clamp a hot key.
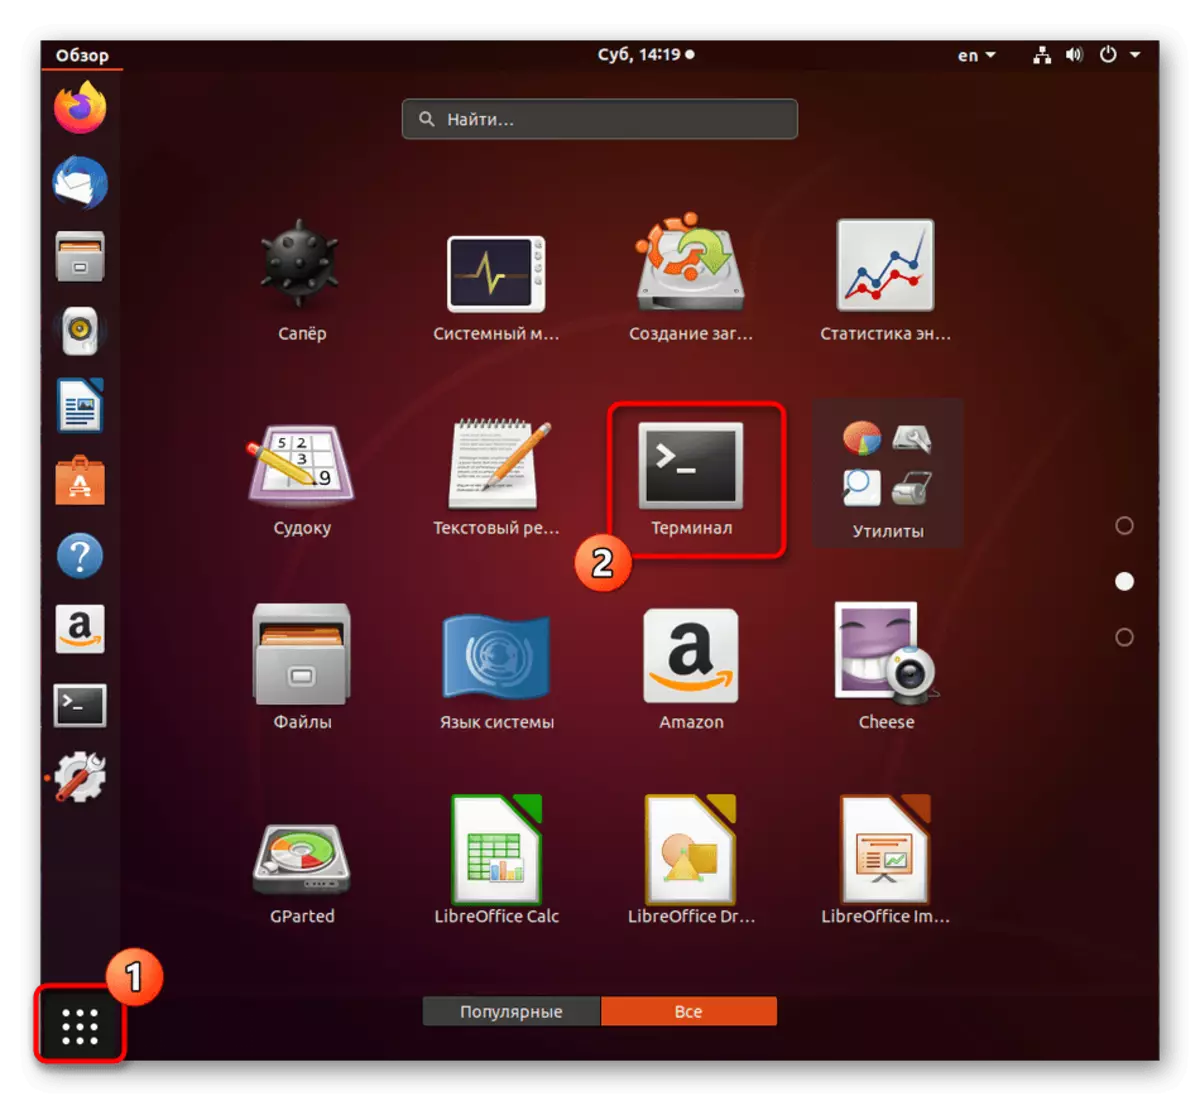
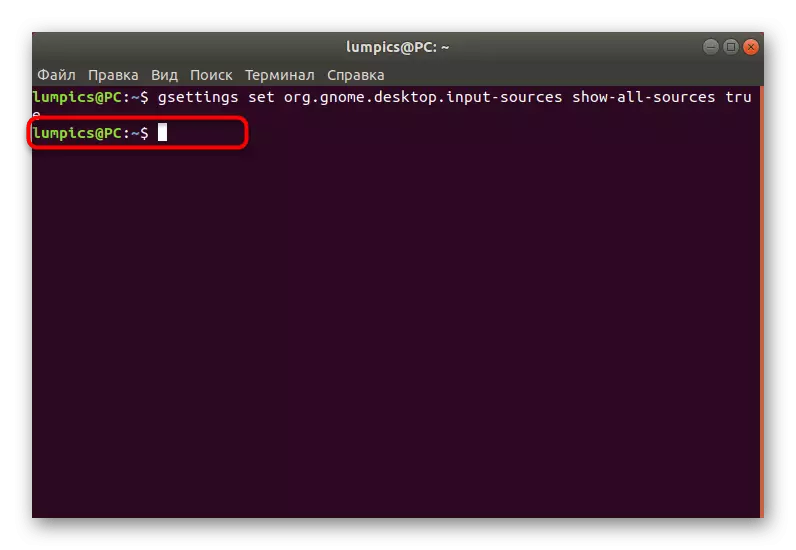
- If when searching for layouts in the table you did not find the necessary result, you will have to turn on the display of additional languages through the console. To do this, open the application menu and run the "Terminal".
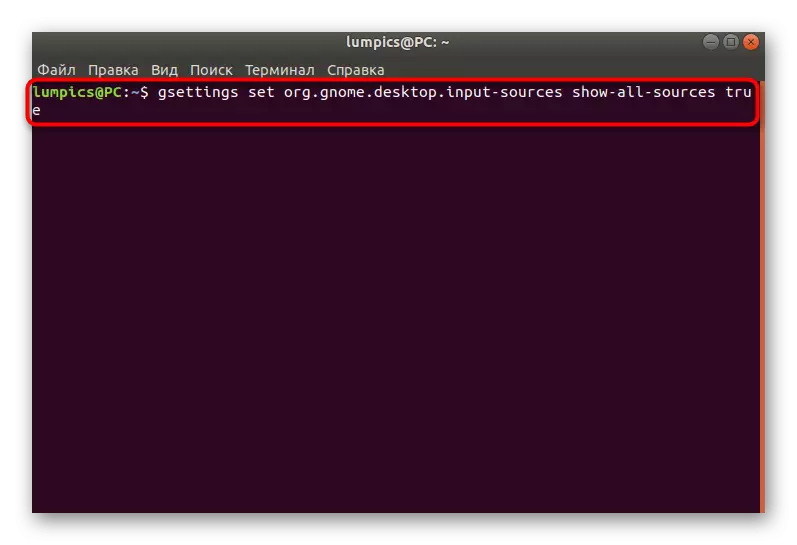
- Enter the GSETTINGS SET ORG.GNOME.DESKTOP.INPUT-SOURCES command in it, and then click Enter to confirm.
- The new line appeared to enter suggests that the setting has passed successfully. You can return to the table and select the desired input source.
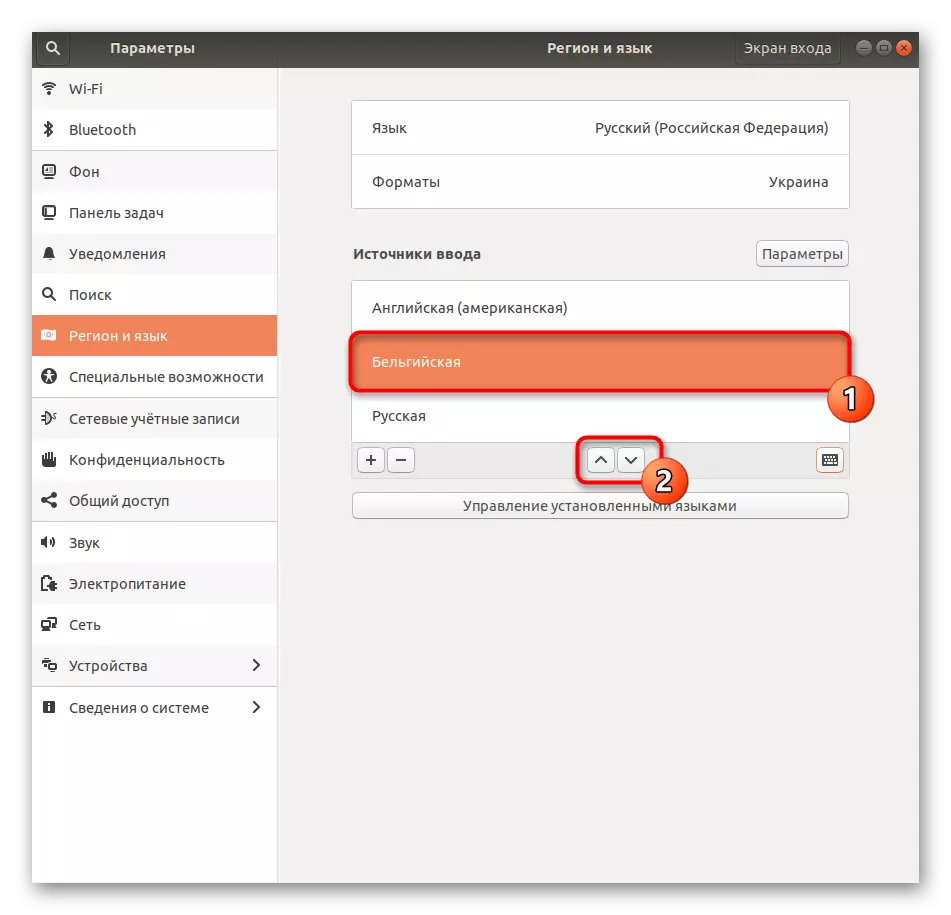
- Move the items in the list using the specially designated arrows to adjust their location when switching the layout.

In the same way, you can add an unlimited number of input sources to switch between them in the future with hot keys or special buttons. It is about this that will be discussed below.
Step 2: Setting the combination for switching layouts
As already mentioned at the beginning of this article, not all suggests the standard method of switching layouts in Ubuntu, so the need to change this setting. Today we want to present two available options for this purpose. The first will focus on changing standard combinations, and the second will allow using Ctrl + SHIFT or ALT + SHIFT.
Option 1: Setting through "Parameters"
In the previous step, we have already affected the topic of interaction with the "Parameters" menu. Now we will return to it again to view the keyboard configuration and change it some parameters in favor of convenience of combinations for switching layouts.
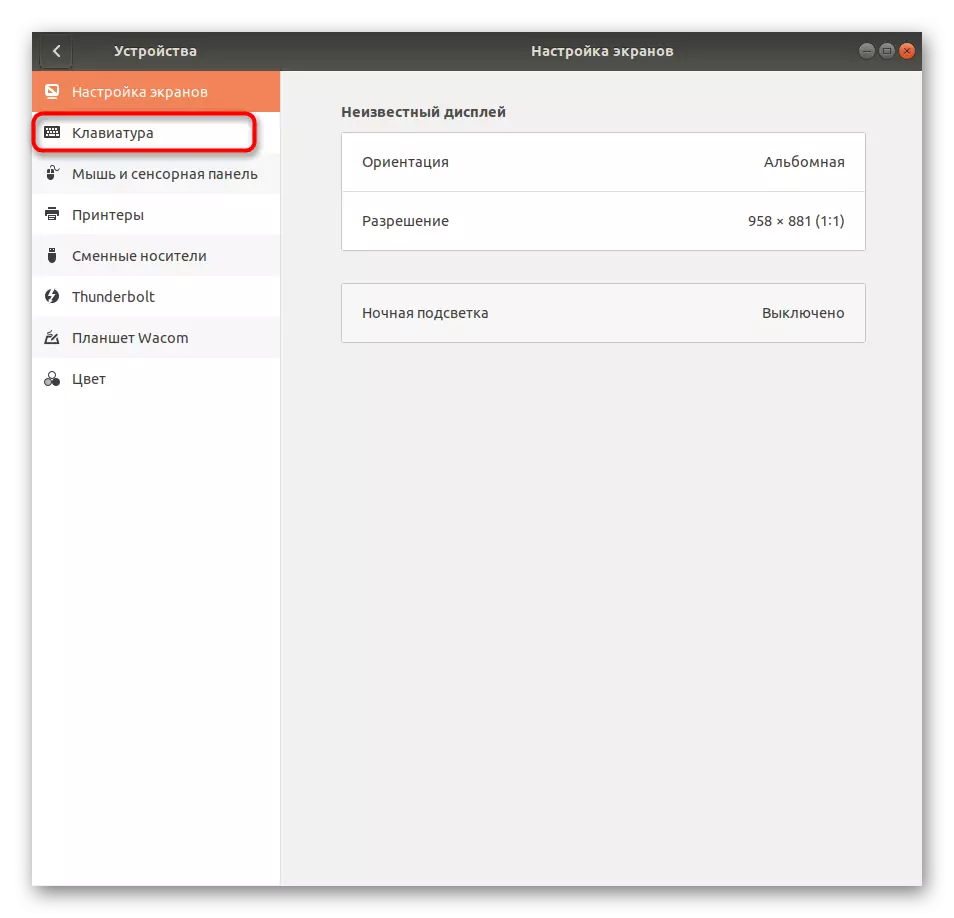
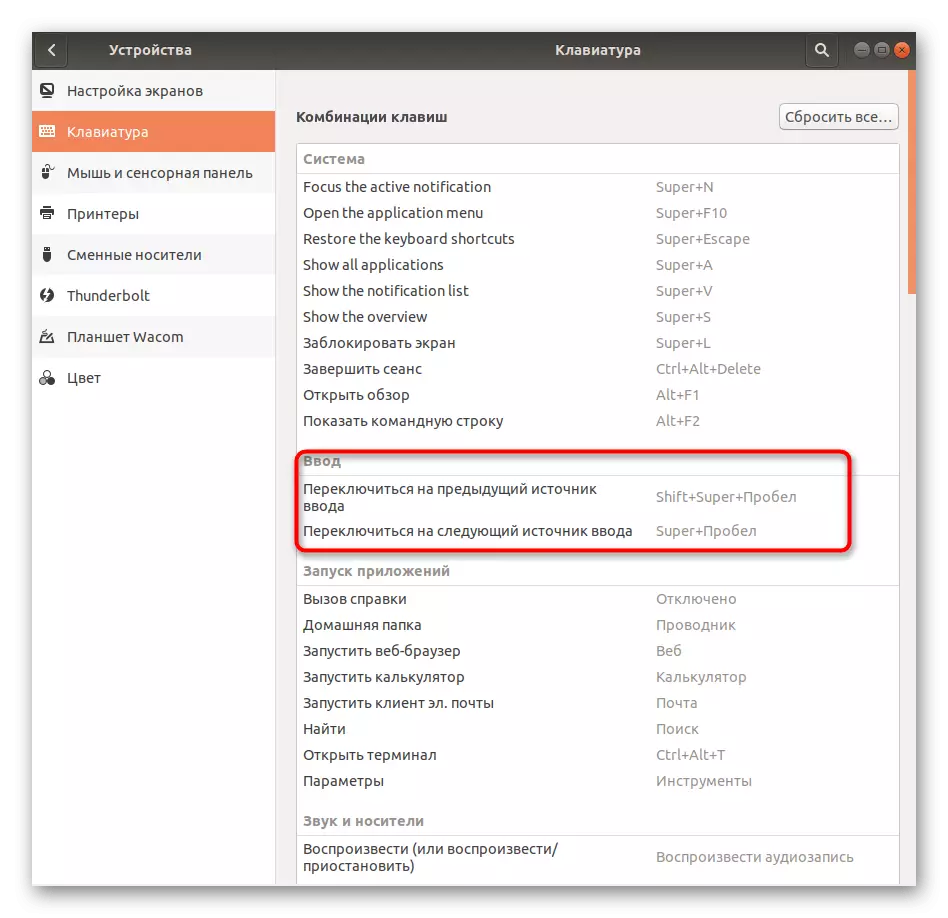
- Through the left panel, go to the "Devices" section.
- Here Switch to the "Keyboard" section.
- In the "Enter" category, pay attention to the two parameters present. They are responsible for switching between input sources.
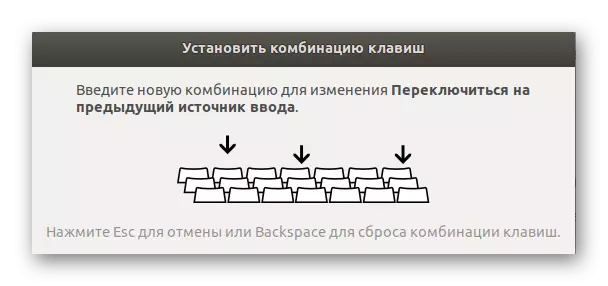
- If you click on one of the lines twice, the input form will open. Hold a new combination to set changes.
We will specify that here you will not be able to establish the above-mentioned habitual combinations, since the standard functionality of the operating system does not imply the implementation of such actions. Especially for those users who wish to go to a convenient method for switching layouts, we prepared the following option.
Option 2: Utility GNOME TWEAKS
An additional GNOME Tweaks utility for Ubuntu is greatly popular because adds a variety of useful features to the OS. We advise it to use it in cases where you need to flexibly configure the combination to switch the keyboard layout. You should start with the installation of the utility.
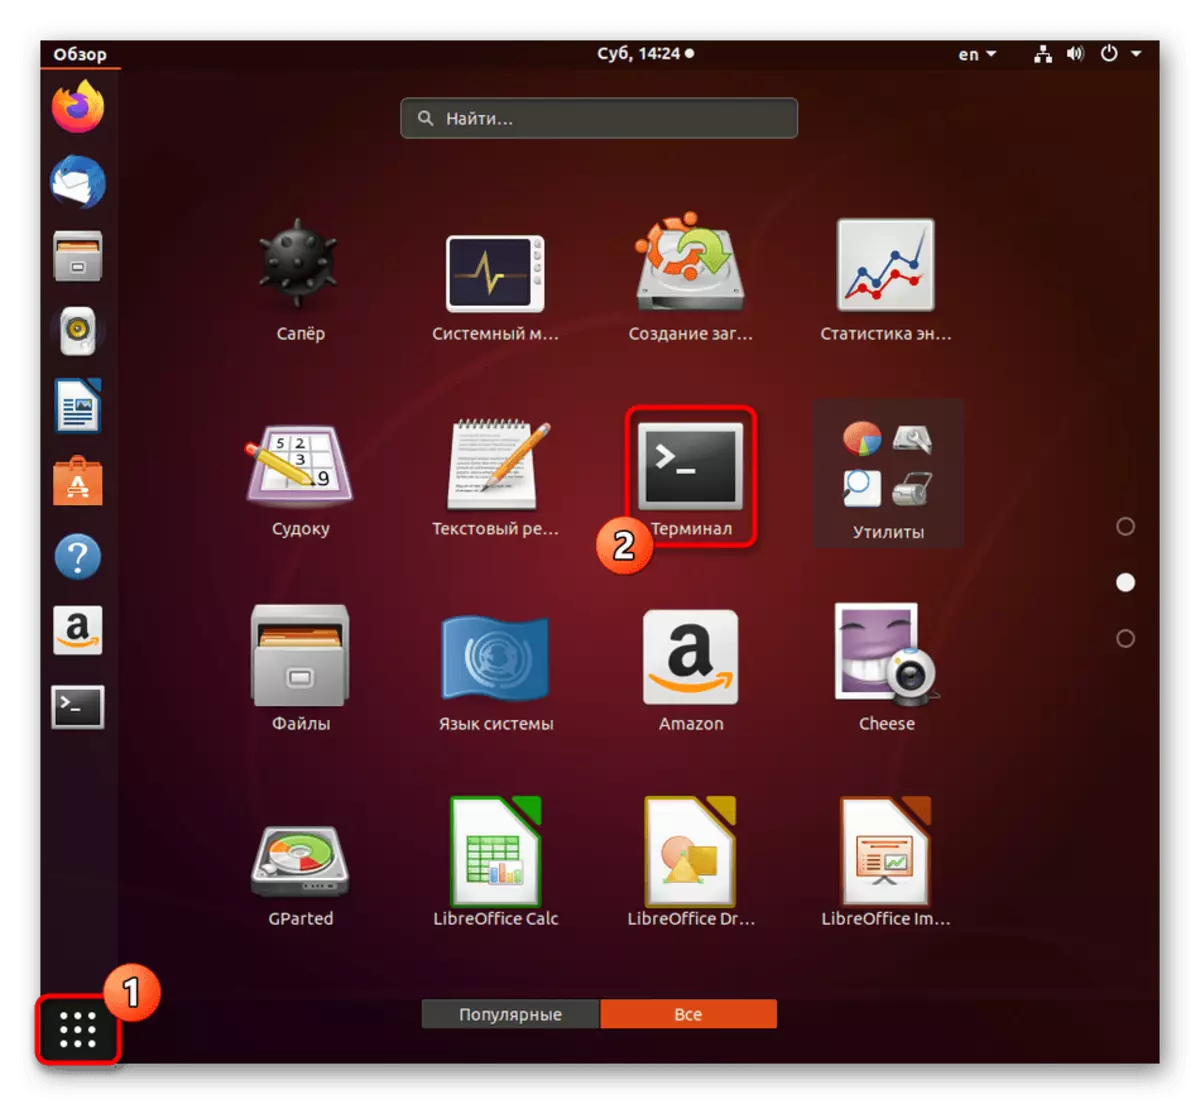
- Open the menu and run the "Terminal".
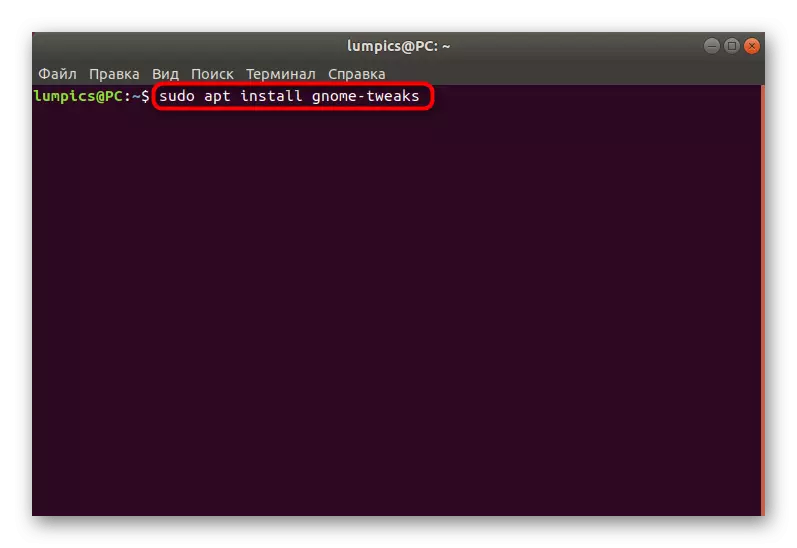
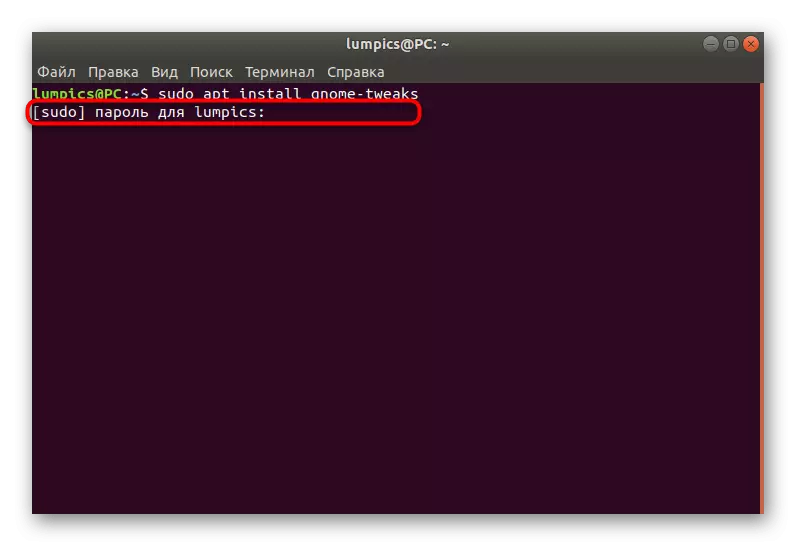
- Use the Sudo Apt Install Gnome-Tweaks command to start the installation.
- Be sure to confirm the superuser rights by entering a password in a new line when requesting. The characters entered in this way are not displayed on the screen. Consider this when writing.
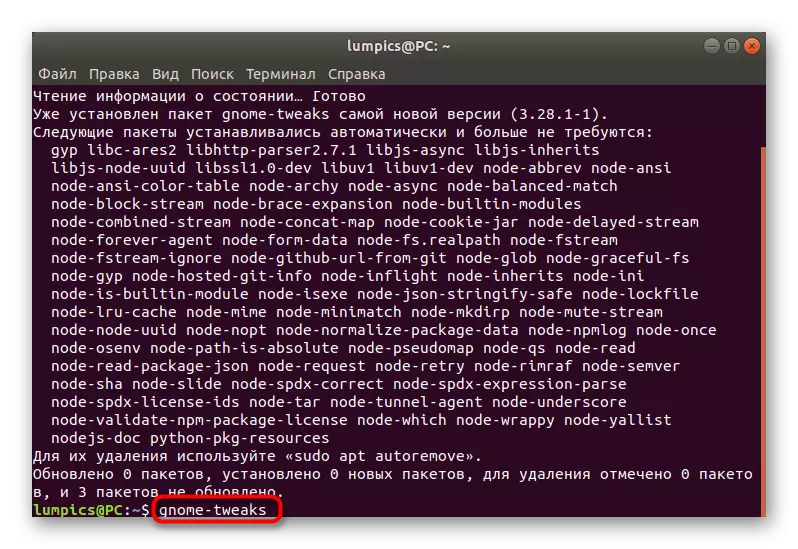
- You will also need to confirm downloading archives, and upon completion, activate the GNOME-TWEAKS command to start the utility.
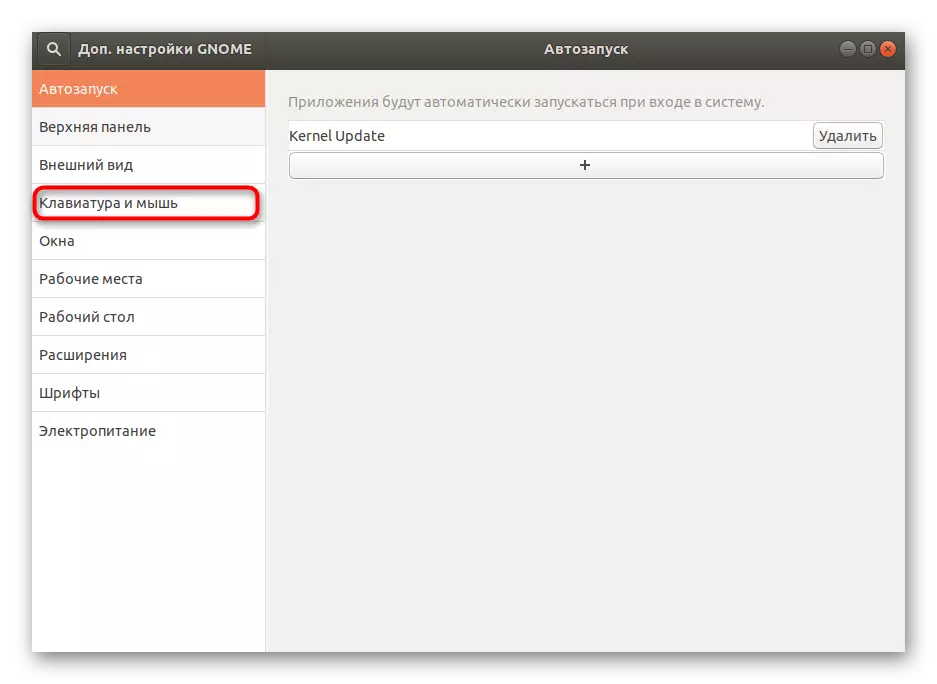
- Go to the "Keyboard and Mouse" section.
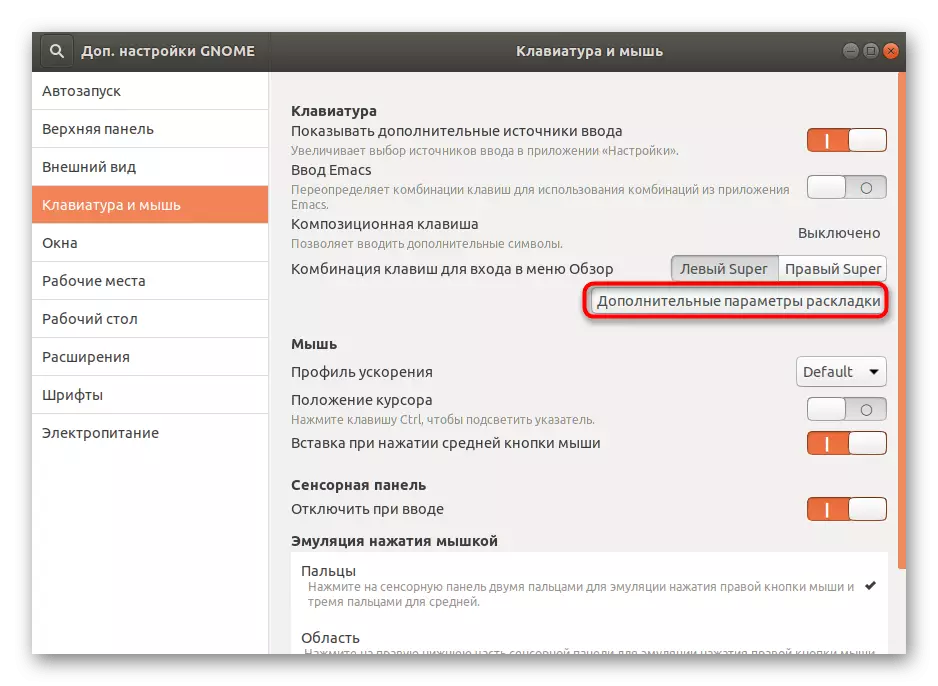
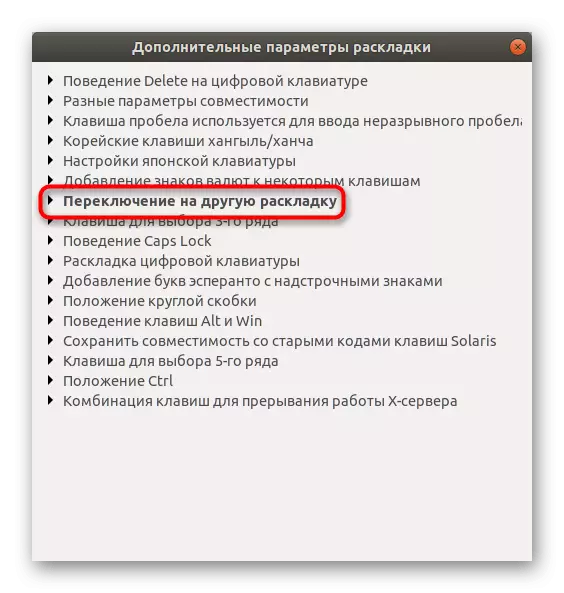
- Find the "Advanced layout options" from the keyboard settings.
- Expand the "Switch to another layout" list.
- Tick the combination you are interested in so that all changes immediately entered into force.

As you can see, there is nothing difficult in changing the key combination under your needs, and the additional means in the form of GNOME TWEAKS will present a huge number of useful settings that can be used to each user.
Step 3: Switching layouts
All previous steps were focused on the preparatory work that make the folding process as comfortable as possible. Now let's briefly consider ways that allow you to change the input source.
- All this material we talked about combinations, therefore, this is the most convenient method for changing layouts. Use the standard or manually set combination to quickly switch the input language at any time.
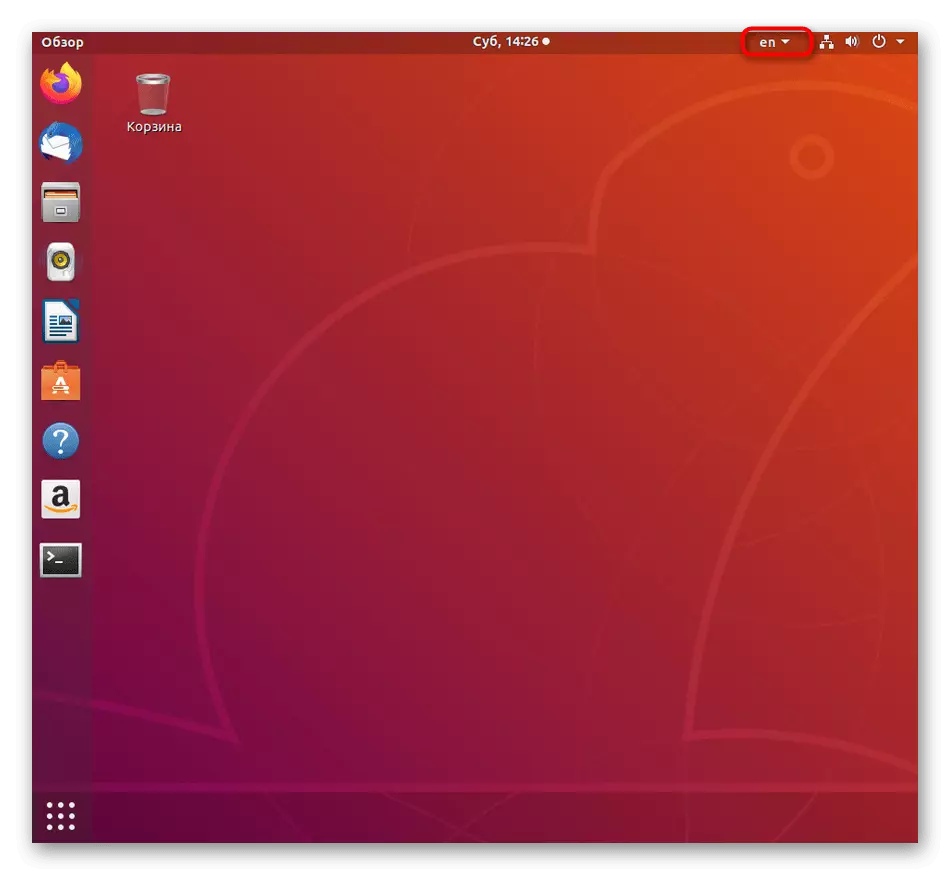
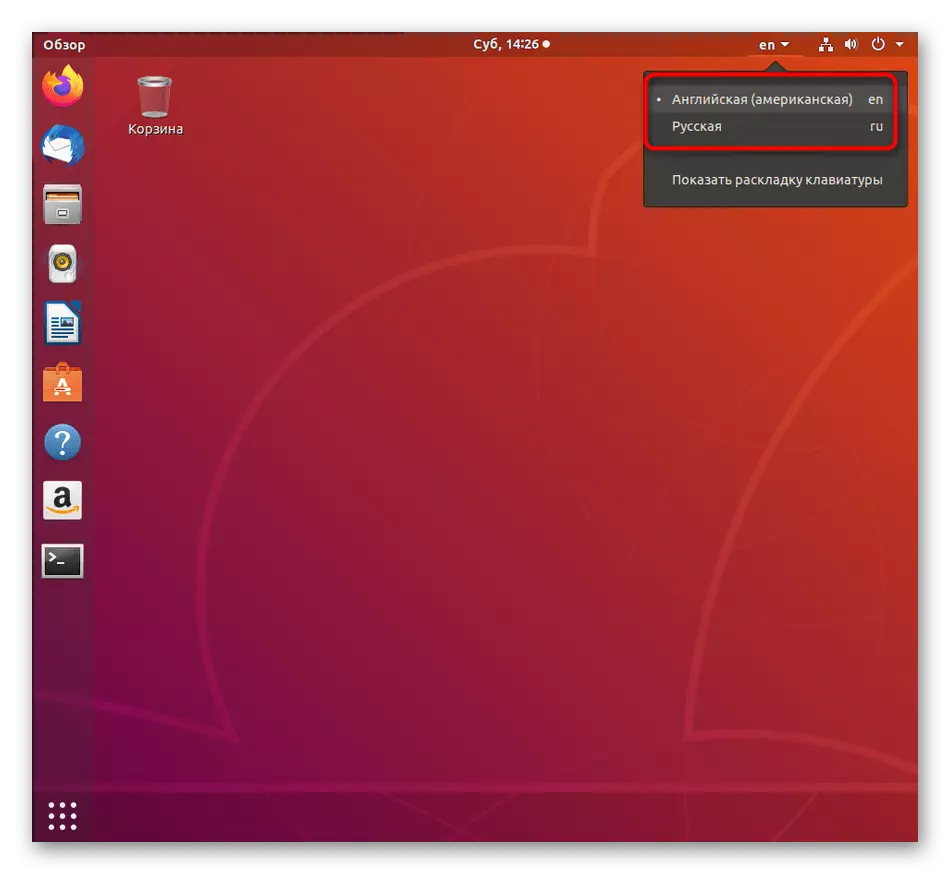
- On the top or bottom panel of the desktop you will see the current language. The icon will immediately change after changing the layout.
- You can click on this icon to switch the input source using the mouse, checking the corresponding item.
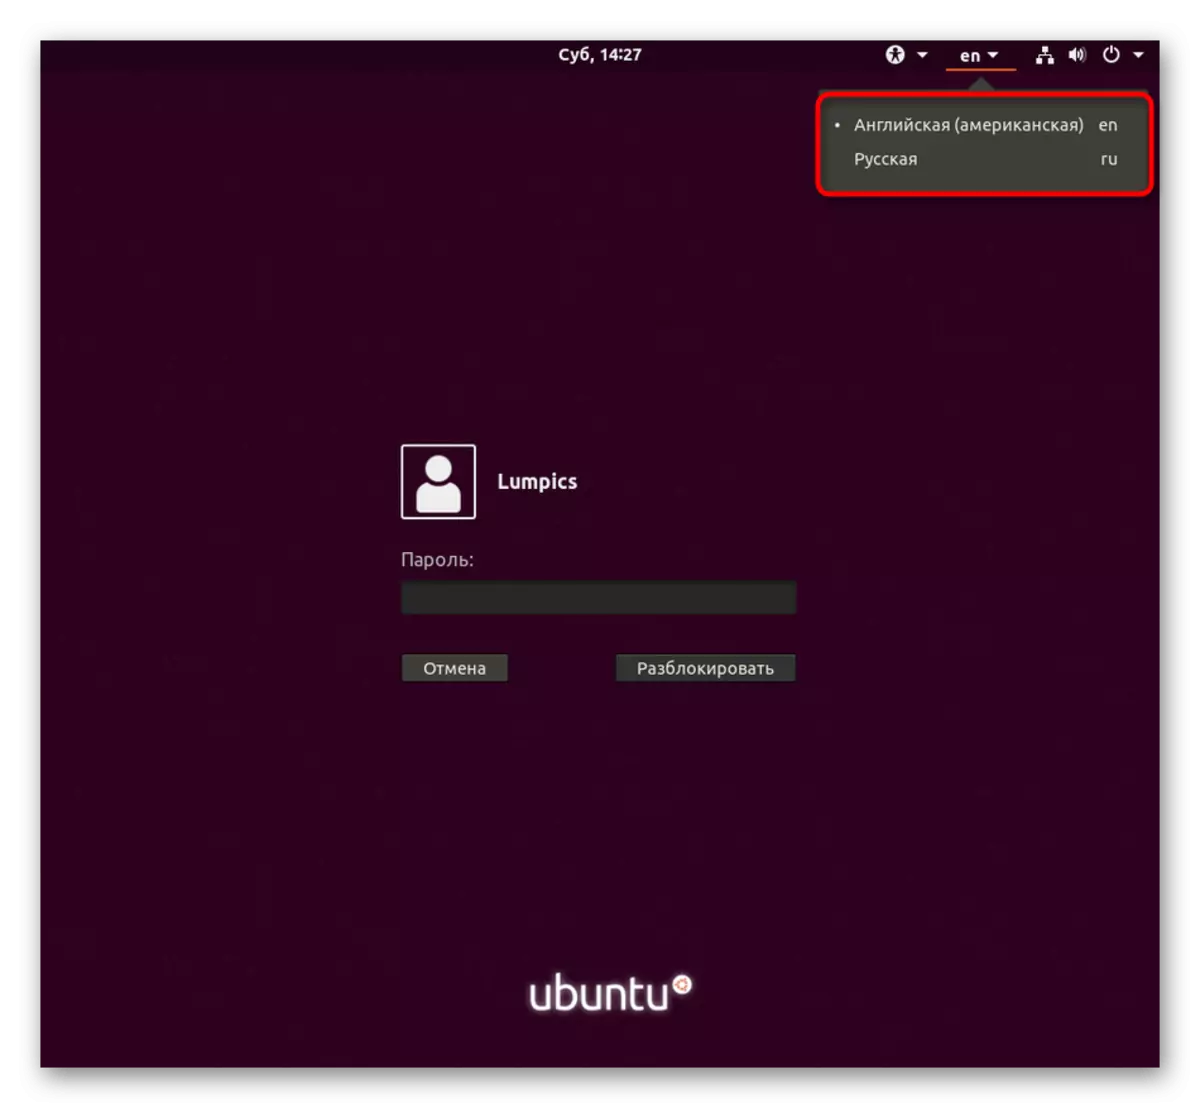
- This functions in the same way when authorization in the system has not yet been completed.
The above recommendations will become excellent instructions for those users who are first faced with the task of switching the layout in Ubuntu.