
MySQL is rightfully considered one of the best database management systems, therefore is actively used by both professionals and lovers in working with websites and various applications. For the correct operation of this tool, it will have to be installed in the operating system and set the correct configuration, pushing out of the existing servers and additional components. Today we want to show exactly how this process is carried out on computers running CentOS 7.
Install MySQL in CentOS 7
The information in our current article will be divided into stages so that each user can understand exactly how the component under consideration is being added to Linux, as well as which parameters should be paid first. Immediately clarify that for installation and further interaction with MySQL you will need an active Internet connection, since the archives will be obtained from official repositories.Step 1: Preliminary actions
Of course, you can immediately proceed to the next step and perform installation, however, it will be necessary to determine the host name and make sure that the CentOS now has all the latest updates. Adjust the following instructions to prepare OS.
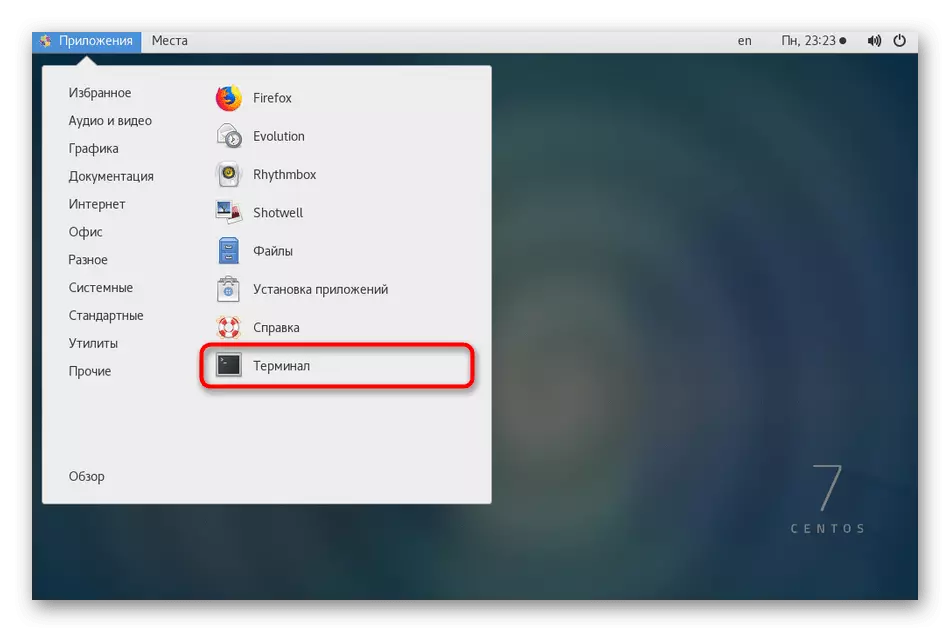
- These and all subsequent actions will be made through the Terminal, respectively, it will be necessary to run convenient for you. You can do this through the application menu or shrinking the Ctrl + Alt + T. key combination.
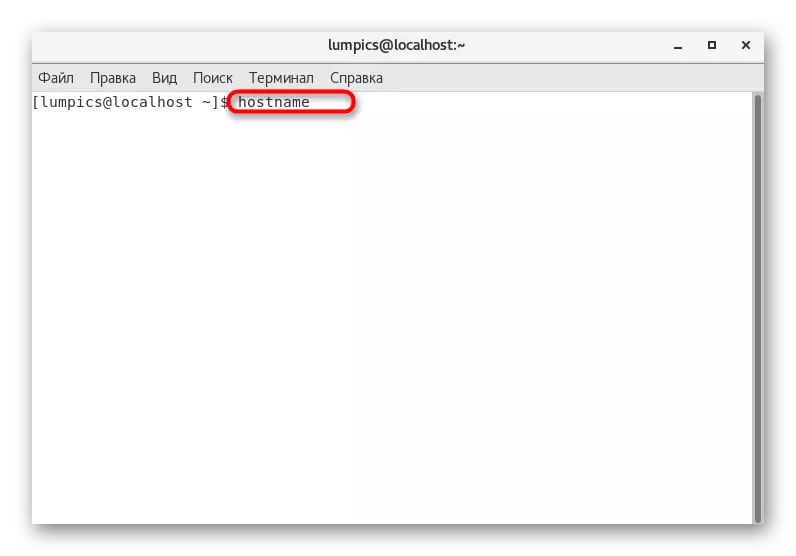
- Here enter the hostname command and click on ENTER.
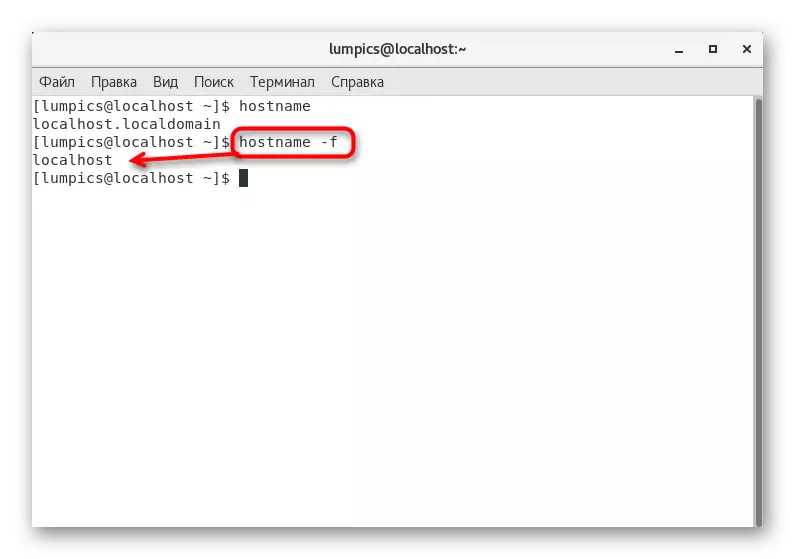
- Additionally, specify HostName -F and compare two results. The first is complete, and the second - abbreviated. If it suits you, go further. Otherwise, you will have to change the host name by using instructions from the official documentation.
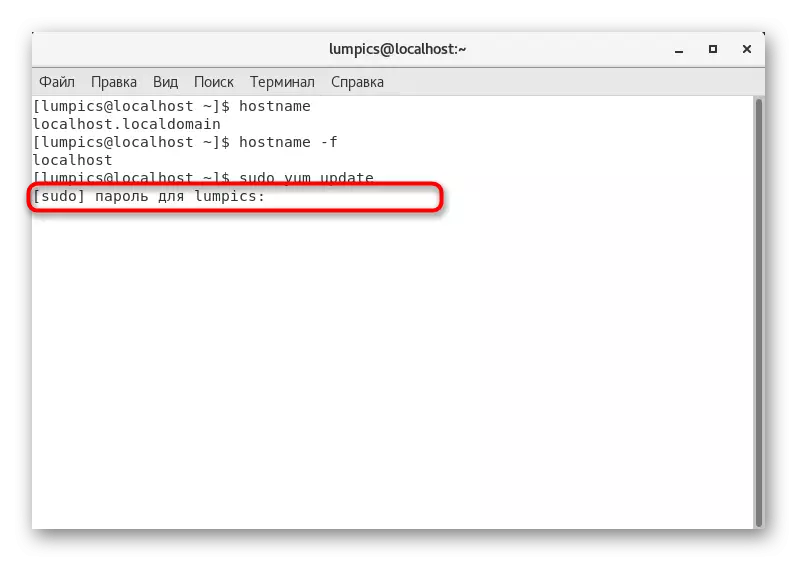
- Before installing any application, it is recommended to check the availability of updates so that all subsequent processes go correctly. To do this, enter Sudo Yum Update and click on ENTER.
- This option is executed on behalf of the superuser, which means you need to enter a password to confirm the authentication of the account. Consider that when writing characters, they will not be displayed in the console.
- You will be notified of the need to install updated packages, or an alert that updates are not found on the screen.


After installing all updates, it is recommended to restart the system to change the changes. If the updates were found not, immediately go to the next stage.
Step 2: Downloading and installing packages
Unfortunately, you will not be able to download MySQL from the official repository and simultaneously install it with one command. This is due to a huge number of versions and certain nuances with the addition of archives, so first the choice of a suitable package must first.
Go to official warehouses MySQL
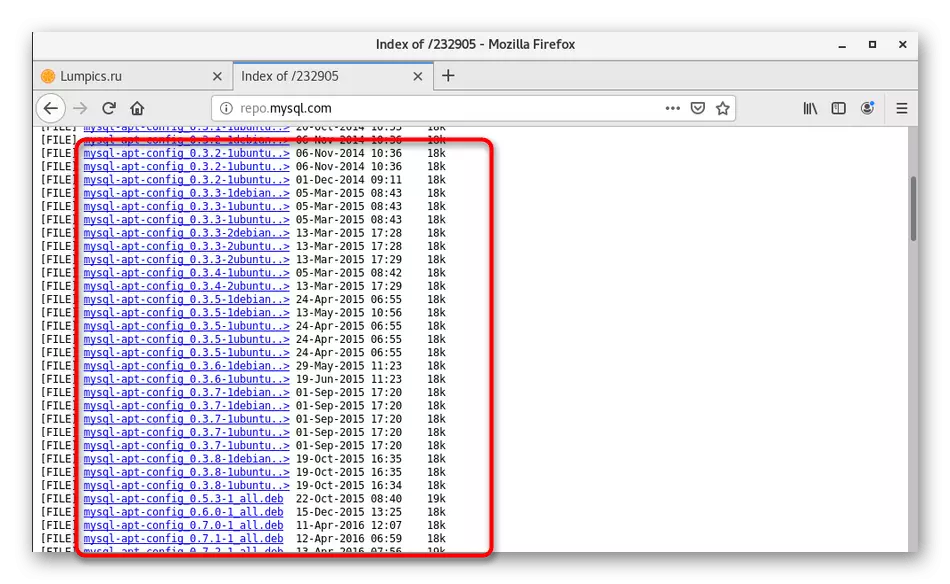
- Go to the above link to familiarize yourself with all the existing versions of the database management system under consideration. Select the package of interest in the RPM format and copy the link to it by calling the context menu by pressing the right mouse button.
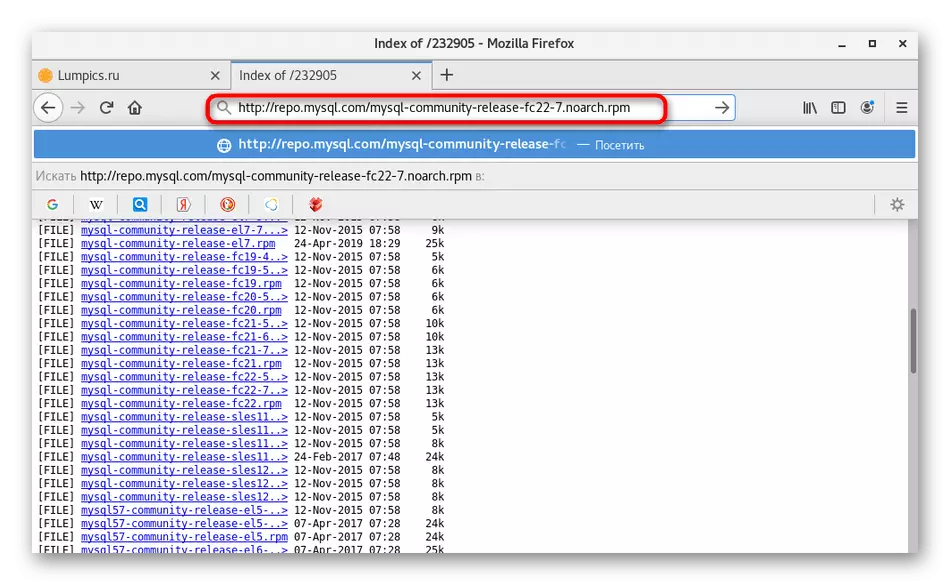
- When you insert, you will see that the link was copied correctly, and if you go through the browser, you will download the RPM package, but now it is not necessary for us, so we will move to the console.
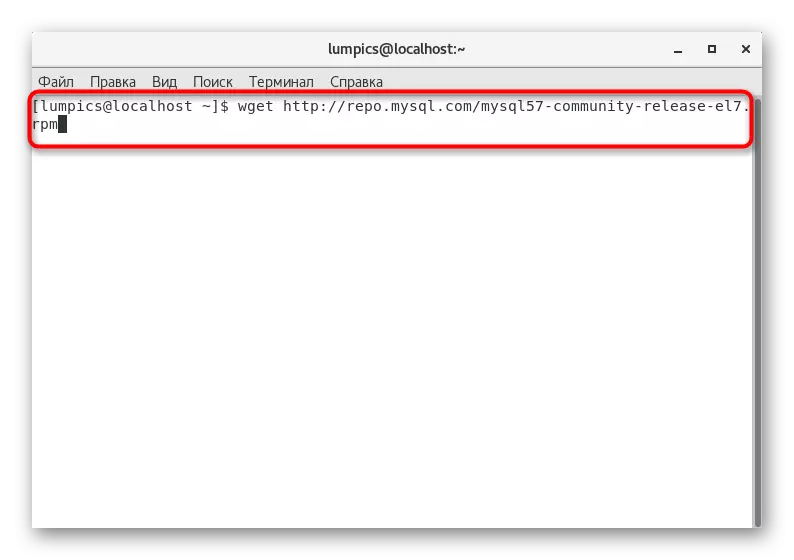
- Once in the Terminal, enter the WGET + copied previous link and click on ENTER.
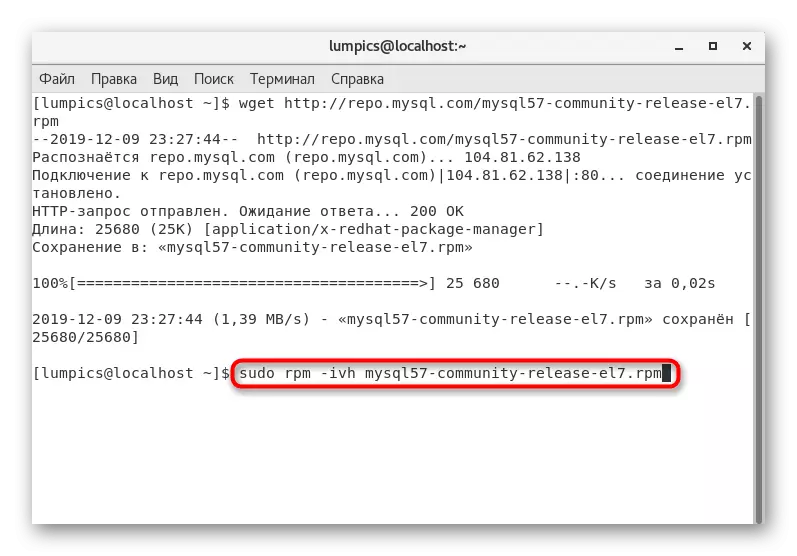
- Next, use Sudo RPM -IVH MySQL57-Community-Release-EL7.RPM, replacing the mismatch in this line to the numbers specified in the existing link.
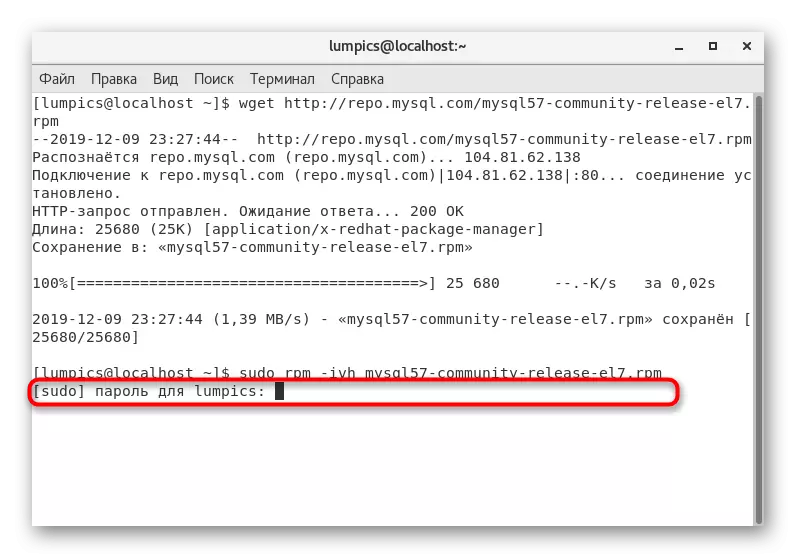
- This operation is also carried out on behalf of the superuser, and therefore you have to re-enter the password.
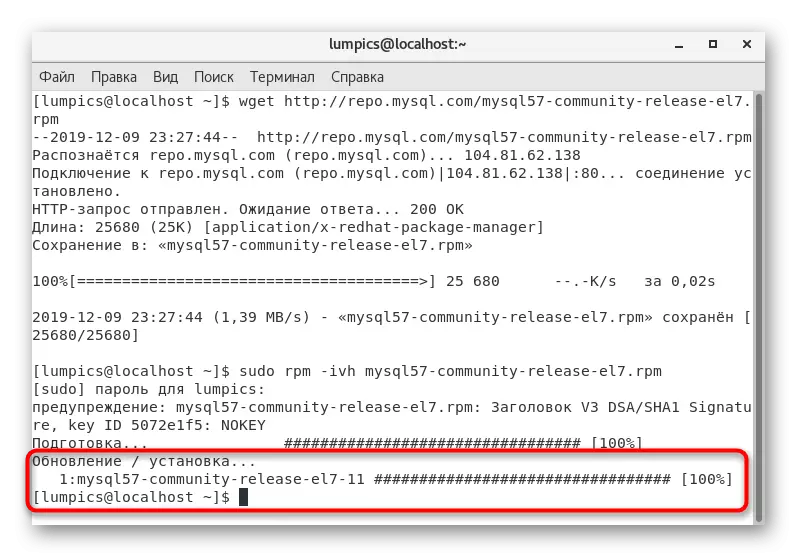
- Wait until the repository update is completed and install the package.
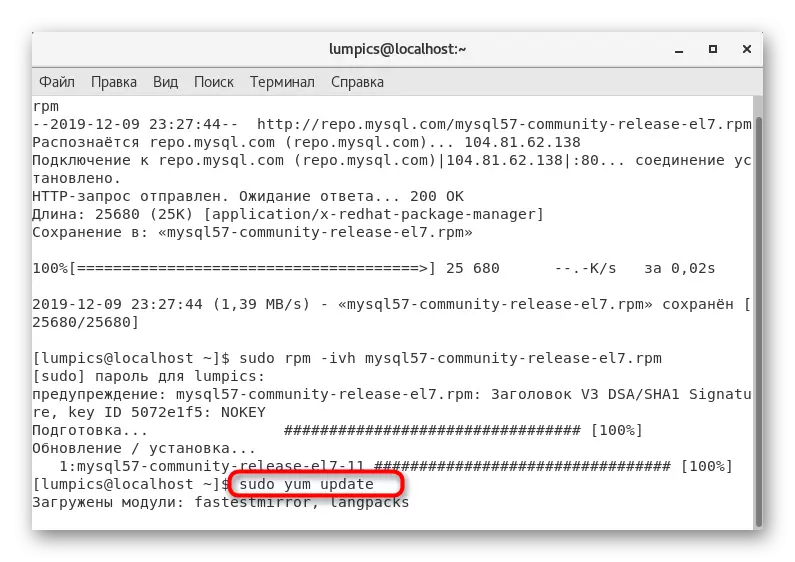
- Before starting the main installation process, update the repository list by specifying Sudo Yum Update.
- Confirm the action performed by selecting the Y version.
- Do it again when you repeat.
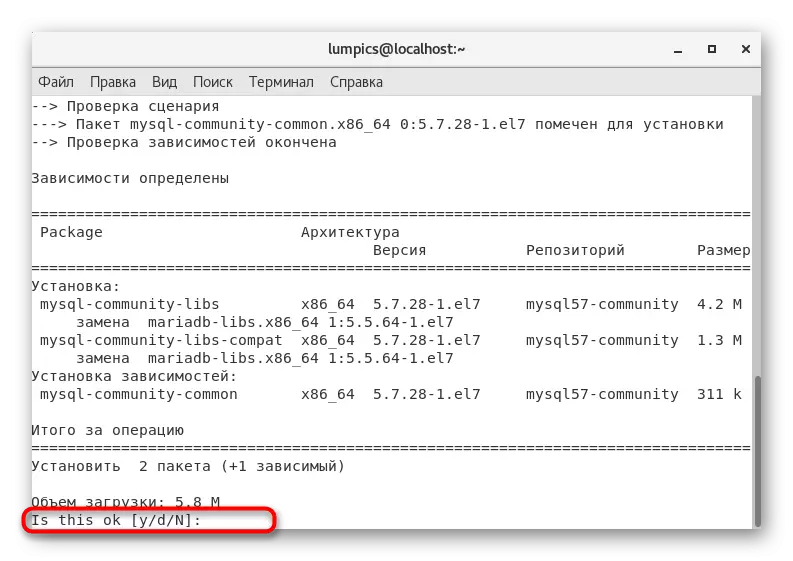
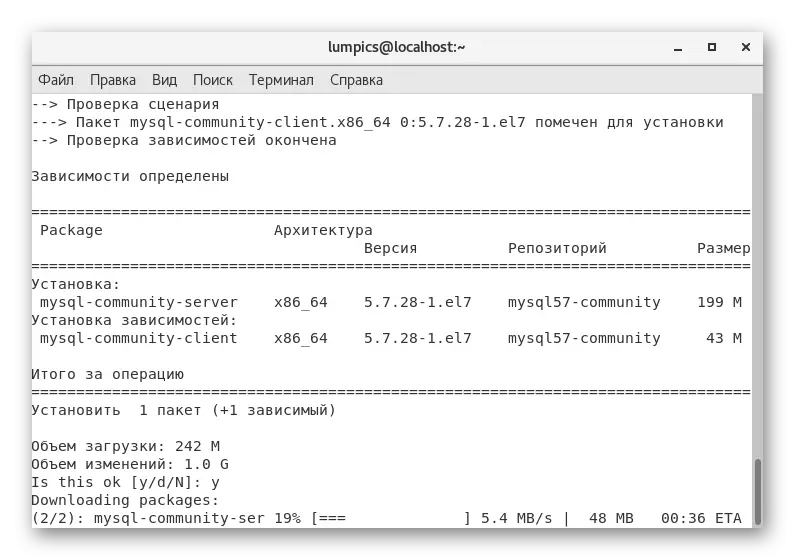
- Only the process of installing the system itself remained. This is done using the Sudo Yum Install MySQL-Server command.
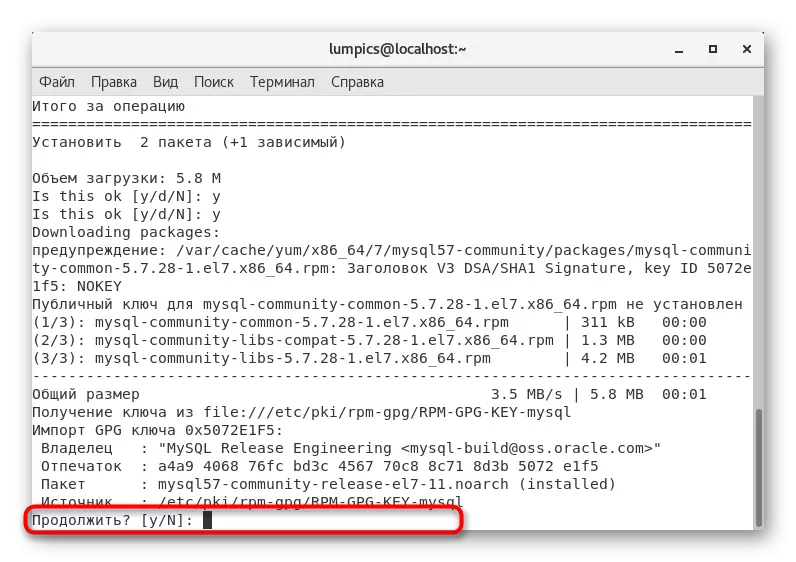
- Confirm absolutely all requests for installation or packet unpacking.
- The download procedure may take a few minutes, which depends on the speed of the Internet. During this, do not close the terminal session so as not to reset all the settings.
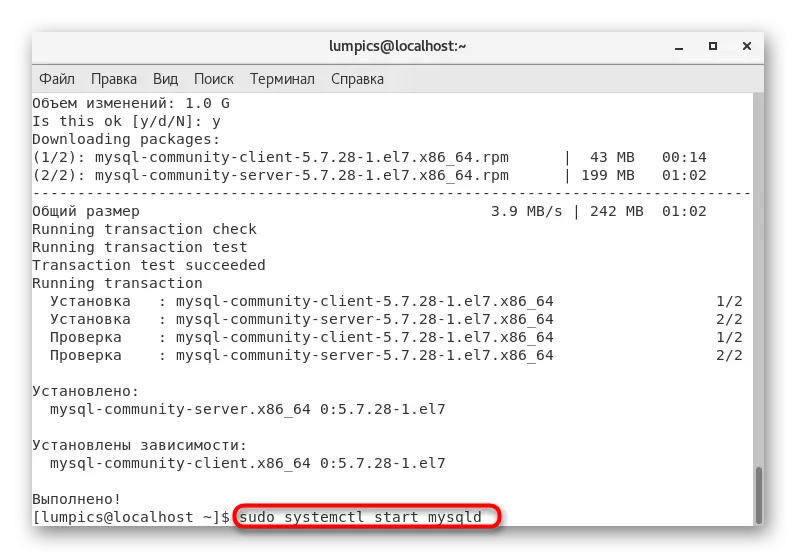
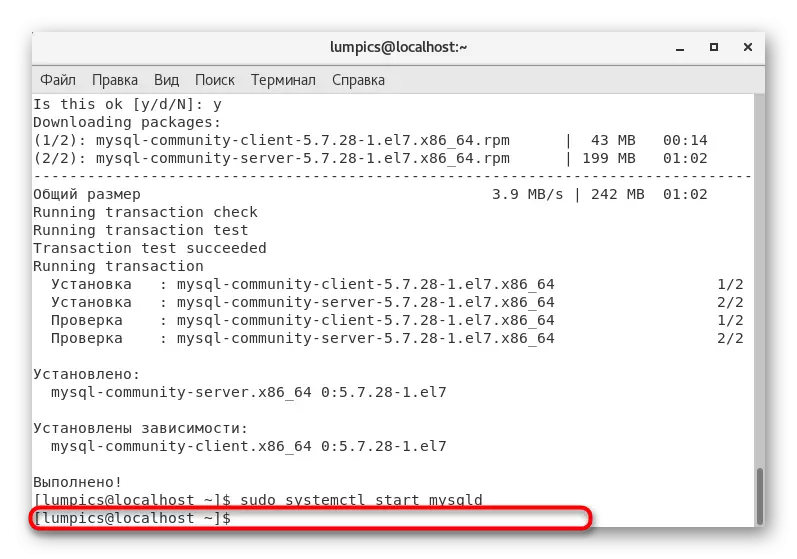
- After successful installation, activate the server through the Sudo SystemCTL Start Mysqld.
- If there are no errors with turning on, a new line for input will appear on the screen.

As you can see, installing MySQL in CentOS 7 took just a few minutes, and the user it took not so many commands, most of which can be simply copied and insert into the console. However, for correct interaction with the DBMS, it will be necessary to produce an initial configuration, which will be discussed below.
Step 3: Initial Setup
Now we will not affect absolutely all aspects of setting up the database management system, since this does not apply to the subject of the article. We just want to tell about the basic actions that need to be done to check the performance of the utility and assign standard rules for it. To do this, you will need to follow such a guide:
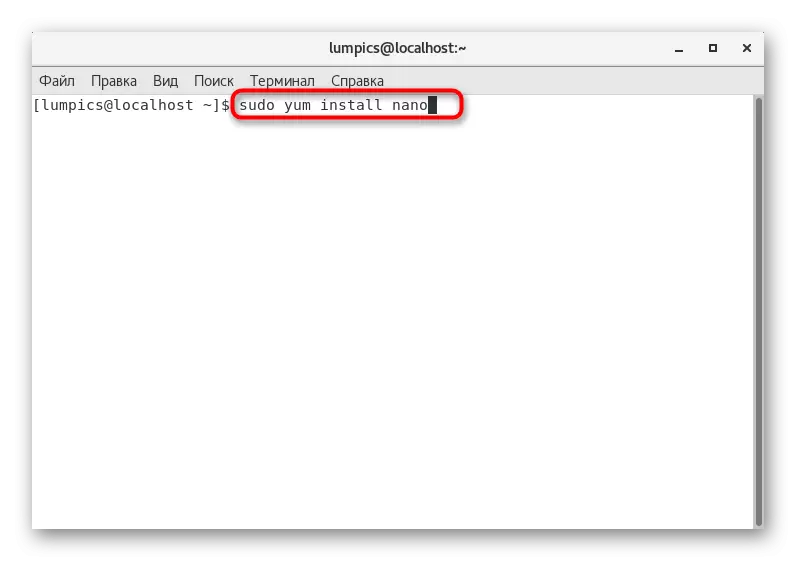
- Let's start with the installation of a handy editor, since all settings are changed in the configuration file, which opens through such a software. It is convenient to use Nano, so in the console, sudo yum Install Nano.
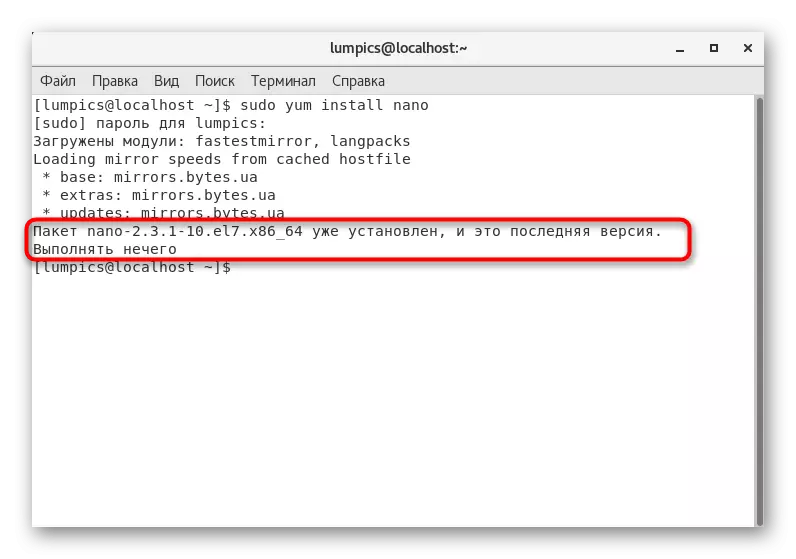
- If the utility has not yet been established, you will have to confirm the addition of new archives. Otherwise, the string "perform nothing" will simply appear, therefore, you can move to the next step.
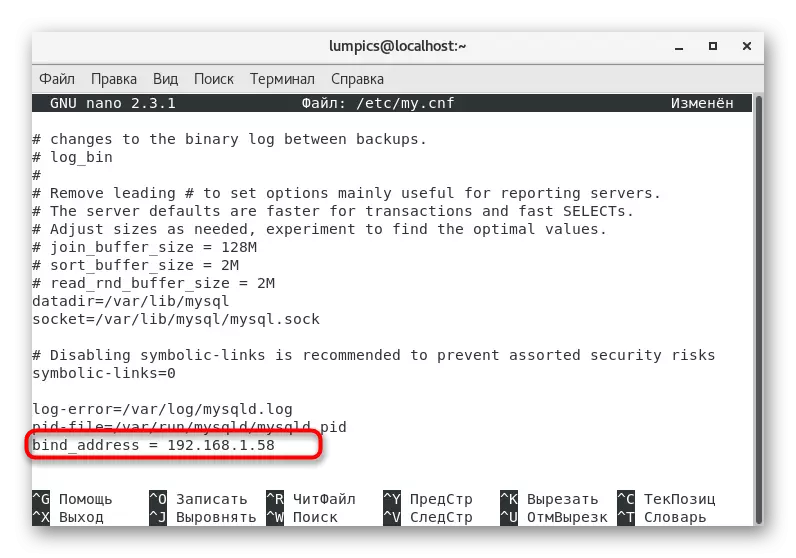
- Insert the sudo nano /etc/my.cnf and activate this command.
- Add the bind_adddress = string = and specify the IP address to which you want to connect and open all ports. You can additionally specify other important parameters. Read more about them in the official documentation, the reference to which is shown below.
- After the changes, do not forget to write them down by clicking on Ctrl + O, and then exit from Nano via Ctrl + X.
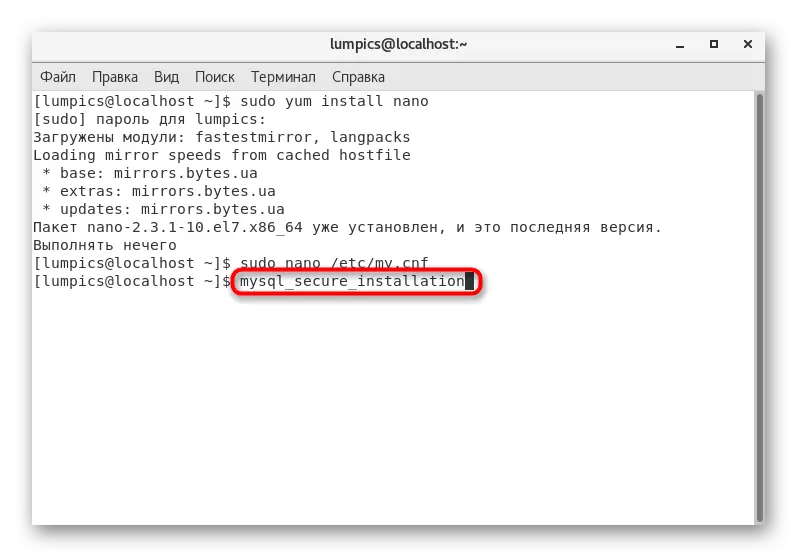
- Initially, the configuration file also contains parameters affecting the security of the network. They can be a potential weak place during hacking, therefore it is recommended to eliminate them by performing mysql_secure_installation.
- To confirm this operation, enter the administrator password.


As mentioned earlier, we only demonstrated the basic principle of configuration. More detailed about this is written in the official documentation of MySQL Next.
Jump to reading MySQL documentation on the official website
Step 4: Root Root Password Reset
Sometimes users when installing MySQL set a superuser password, and then forget it or do not know which it was chosen initially, so we decided to finally decide on this article to reset the access key, which is carried out like this:
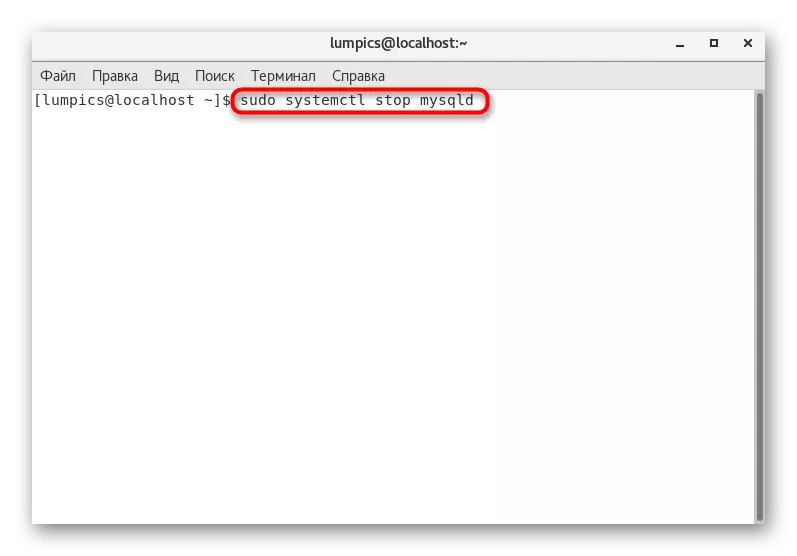
- Open the "Terminal" and enter the Sudo SystemCTL Stop MySQLD there to stop the execution of the service.
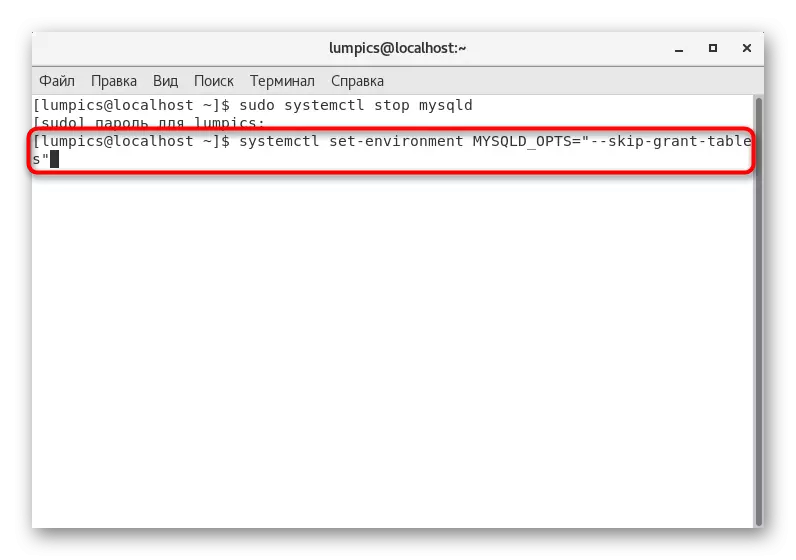
- Go to the secure mode of operation via SystemCTL Set-Environment MySqld_opts = "- Skip-Grant-Tables."
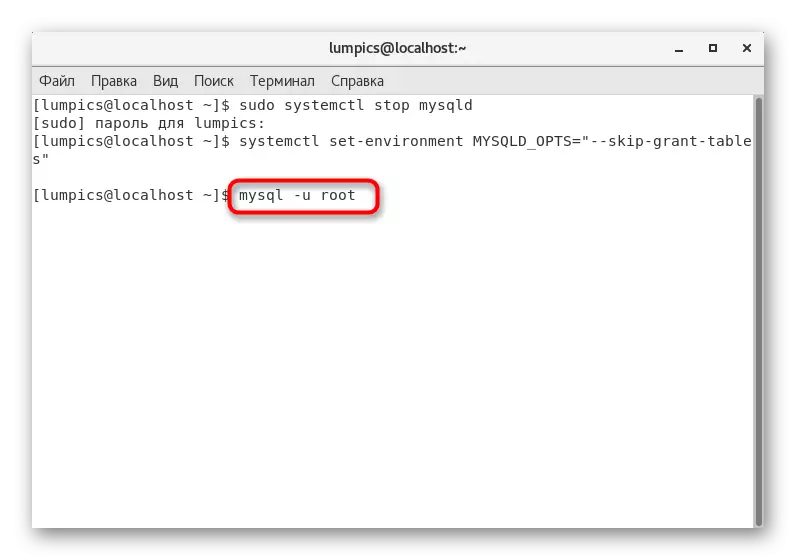
- Connect from the name of the superuser by entering MySQL -U root. The password will not be requested.
- It remains only in turns to execute the following commands to create a new access key.
MySQL> Use MySQL;
MySQL> Update User Set Password = Password ("Password") WHERE User = 'ROOT'; (where password is your new access key)
MySQL> Flush Privileges;
Sudo SystemCTL Unset-Environment Mysqld_opts
Sudo SystemCTL Start MySqld
After that, try connecting to the server again using the new password. This time there should be no difficulty.
You have just been familiar with the step-by-step manual for installing and surface configuration MySQL in CentOS 7. As you can see, there is nothing difficult in this, but you should not consider the above recommendations with a full guide to connect the database to further interact with the web server or the application. All this will have to be done manually, pushing away from the specifics of the site, the program and studying the official documentation of all components used.
See also:
Installing phpMyadmin in CentOS 7
Installation PHP 7 in CentOS 7