
GPU-Z is a free program that collects detailed information about the computer video card or laptop and allows you to familiarize yourself with all the technical characteristics of these devices, sensors and other data.
How to use GPU-Z
The application in question is intended to study the characteristics of graphic equipment and perfectly helps in its diagnosis. It does not allow you to change the parameters of the map and perform it overclocking. If multiple adapters are connected to the computer, you can switch between them and consider each separately.View shared information
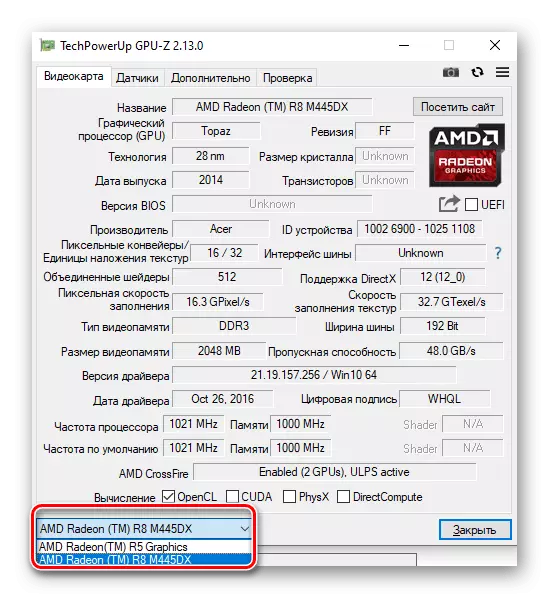
The first tab of the program is designed to display all the technical characteristics of the adapter. To begin with, we recommend to make sure that the desired device is analyzed. Its name is displayed at the bottom of the menu in the form of a drop-down list available for shift.
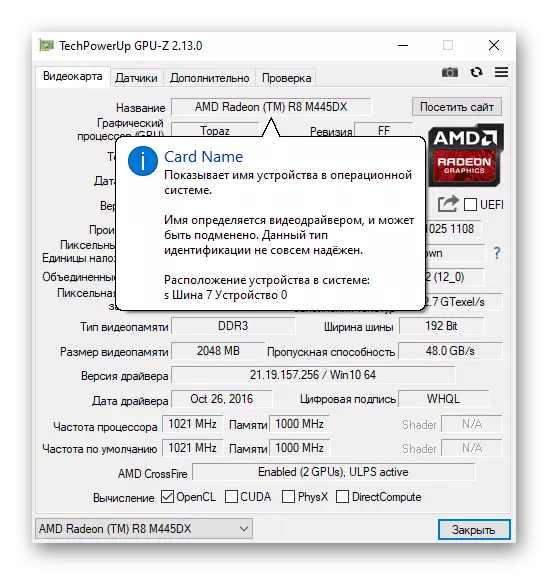
This section is designed to view characteristics such as video memory, processor and memory frequency, device name, supported by DirectX version and much more. If some characteristic is incomprehensible, try to bring the cursor to its value to open the window with additional information.
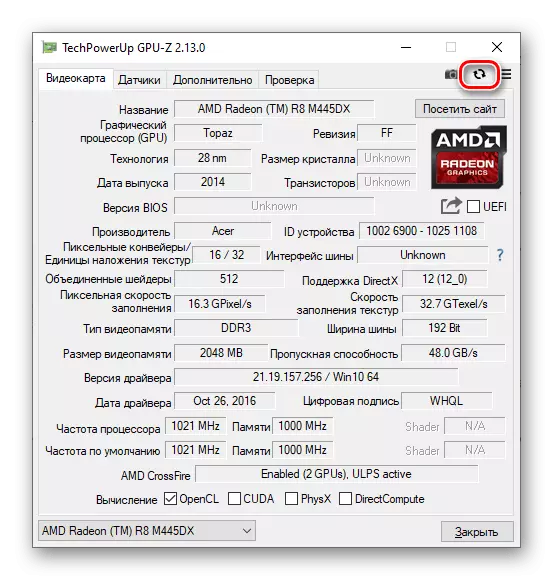
If the data is displayed incorrectly, it is necessary to update the properties of the currently selected video card - for this click on the corresponding button and wait a few seconds.
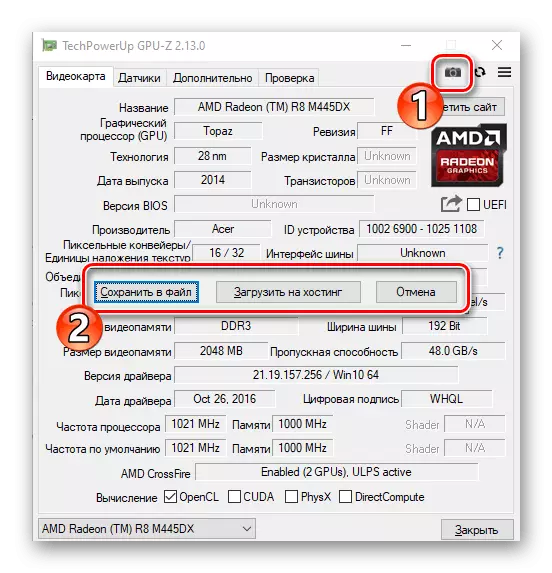
The developers have provided a tool for creating screenshots. The finished image is saved to the computer, it can also be downloaded to hosting and get a link. A special server is used for storage.
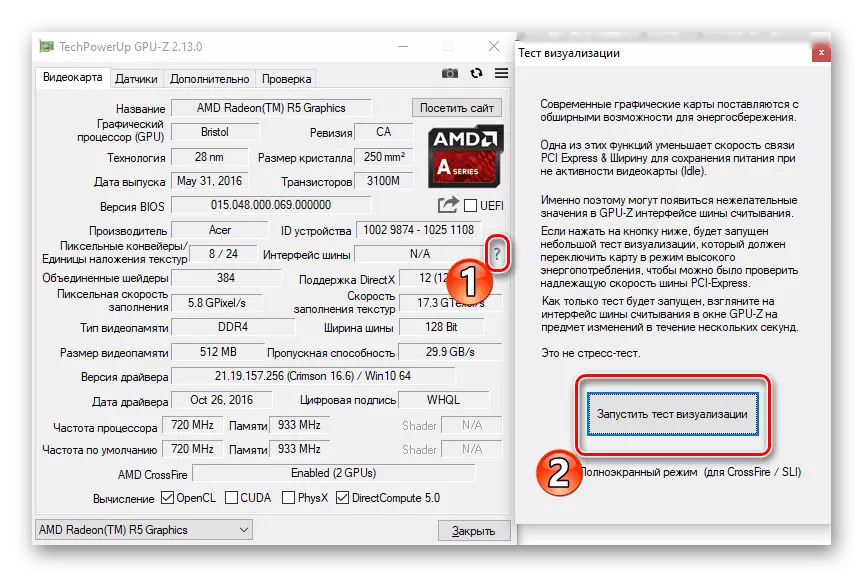
In the same tab, the visualization is diagnosed. This is not a stress test for the performance of the video card, but checking the maximum speed of its tire. To do this, the system switches the adapter to high power mode. To start the function, you must click on the question mark to the right of the "Bus Interface" item and click on the "Run Visualization Test" button.
Read also: Determine the parameters of the video card
Sensor check
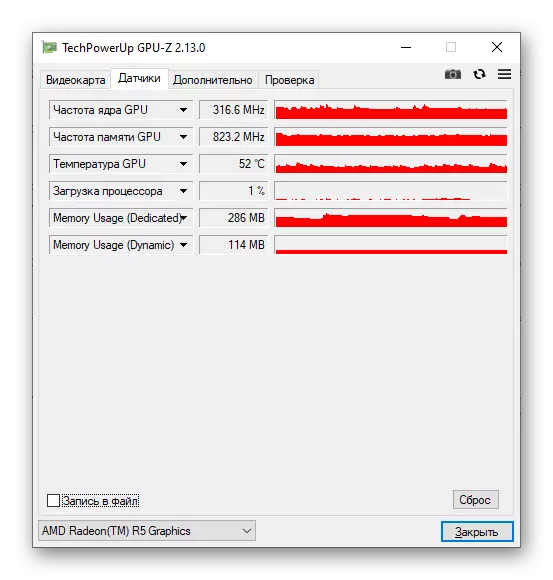
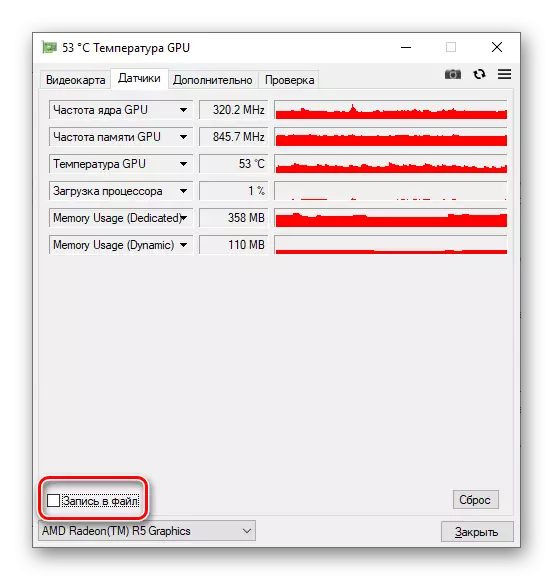
In the following tab, the application analyzes all the video card sensors and displays their values. If you need to find out the current frequency, temperature, the load of the graphics processor and the video memory used, open the "Sensors" tab and hover over the red infrared to see the testimony from the start of the application.
By clicking on a small arrow of one of the items, set additional parameters - you can hide some sensors, output them to the window header, display the maximum, minimum or average value for the analysis period.
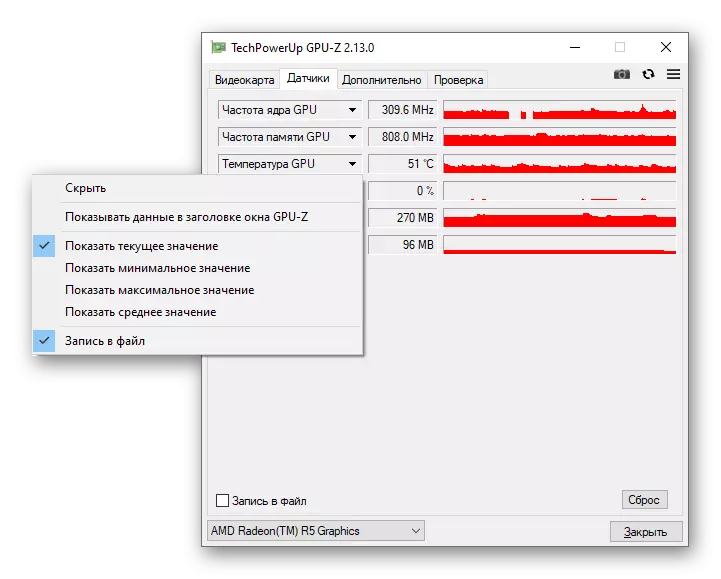
There is not only a screenshot, as well as on the first tab, but also export data to a file. To do this, check the box "Record to File" and specify the path for the report.
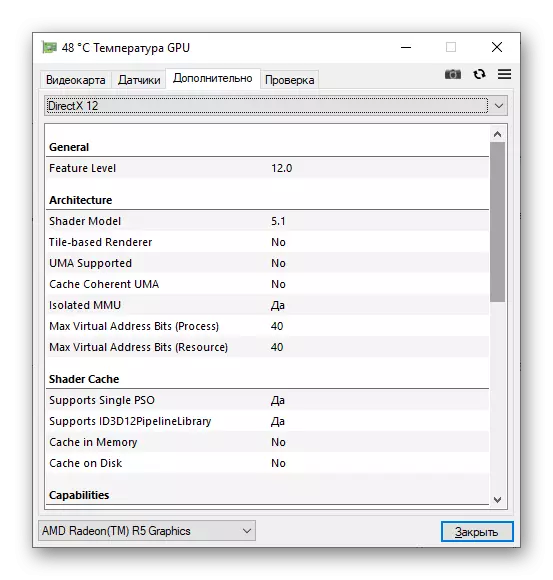
Characteristics of software components
This is an additional tab provided for the characteristics of the drivers used and libraries. In the drop-down list, you must select the component of interest, after which the details of it will open.
Communication with developers
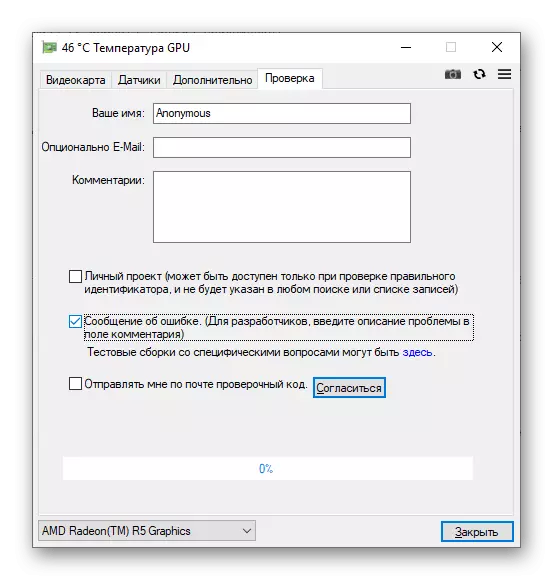
In case of occurrence of any questions or proposals in the program itself, a special embedded service is provided. To use it, you must specify:
- Your name (any combination);
- Email (optional);
- A comment.
Next, select the appropriate option (Personal Project or Error Message), allow you to receive verification code on the mail if it is specified, and click on the "Agree" button. If you have the latest version of the application and there is a stable Internet connection, the query will be sent within a few seconds.
Conclusion
We reviewed GPU-Z and all the possibilities of its latest version. Possessing this information, you can easily use the application for your needs and be aware of the status of a graphics adapter.