

The card reader as a highly specialized device for reading the SD, MicroSD and CompactFlash format cards and others is useful in the work of many users. On how to connect the card reader to the motherboard, it will be discussed in this article.
Connecting internal and external cartriders to the system board
Connecting the cartrider is different in whether the device is internal and located directly in the system unit, or it is external and can be freely installed at any convenient place for the user.
Such are the internal devices mounted on the front panel of the system unit instead of the drive or below / above it, in the presence of free places:

They are similar to an additional USB panel, although in cheap models, connections are usually used only for reading SD and MicroSD.
And so look external devices, which, depending on the length of the wire and your desire, can be placed almost anywhere, even at a significant distance from the system unit:

Such models also have different functionality, which depends on the price and needs of the user, and in addition, they can, if necessary, connect not only with the computer, but also with the phone.
Connecting both types of devices to the board is drastically different. The first are connected with the USB internal connector board, the second, respectively, by external.
Option 1: Internal Carder
Most often, the internal models are connected by the built-in USB version 2.0 or 3.0 plug depending on the price and year of release. Therefore, after installing the device itself, make two simple steps:
- Take USB 2.0 Device Plug.
- Insert it into the appropriate internal connector of the motherboard, signed "F_USB", simply "USB" or otherwise, but necessarily containing the word "USB".

Or USB 3.0 plug:


Or to the corresponding connector for USB 3.0, signed as "USB3".

Note: Some models have a SATA cable that connects to a similar connector on the motherboard as well as, for example, a hard disk, although it is more optional, because the main connection goes via USB, and the SATA connection is used in a bundle with it.

When the computer is turned on, the device must automatically determine the operating system.
Option 2: External Cartrider
Like any external device, this device is connected via USB ports, in our case of the motherboard. So, the connection algorithm is as follows:
- Take the USB device wire.
- Connect it to any USB version 2.0 or 3.0 socket.
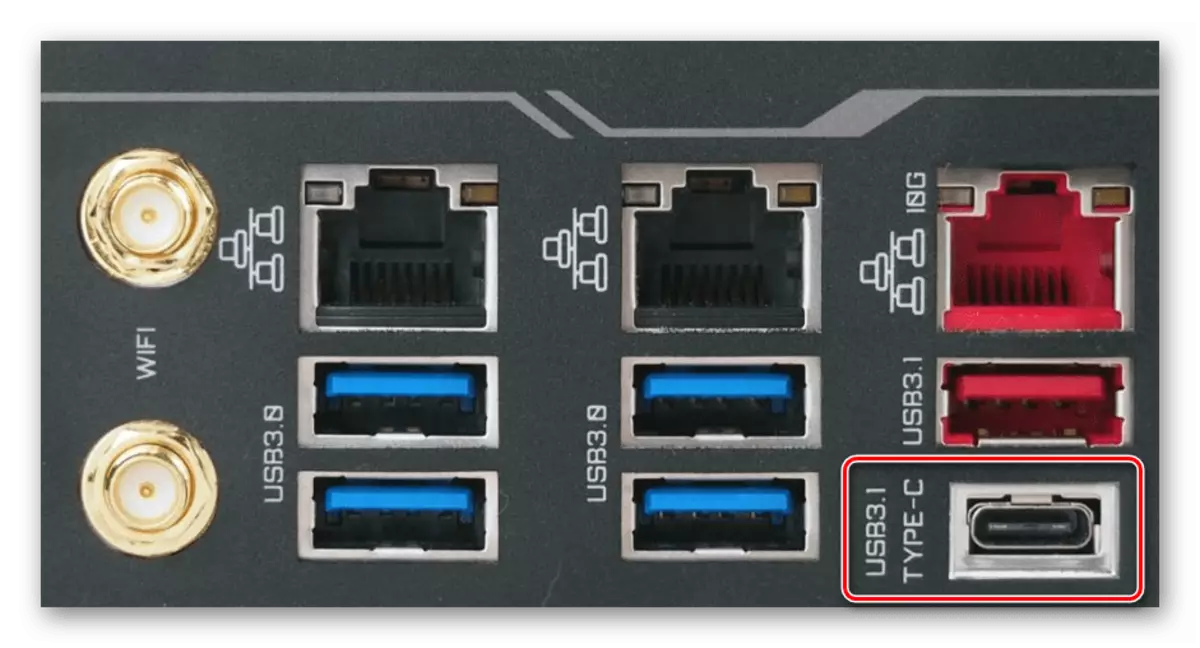
- Thus, even without turning off the device, you can start using an external cartrider. Some such devices are connected via USB Type-C, to connect to which you will need or the desired connector on the back panel of the motherboard.
- Or use the USB Type-C adapter on USB version 2.0 or 3.0.


This article covered the methods for connecting the cartriders of both internal and external. The connection occurs by USB connectors, and in specific cases - SATA.