

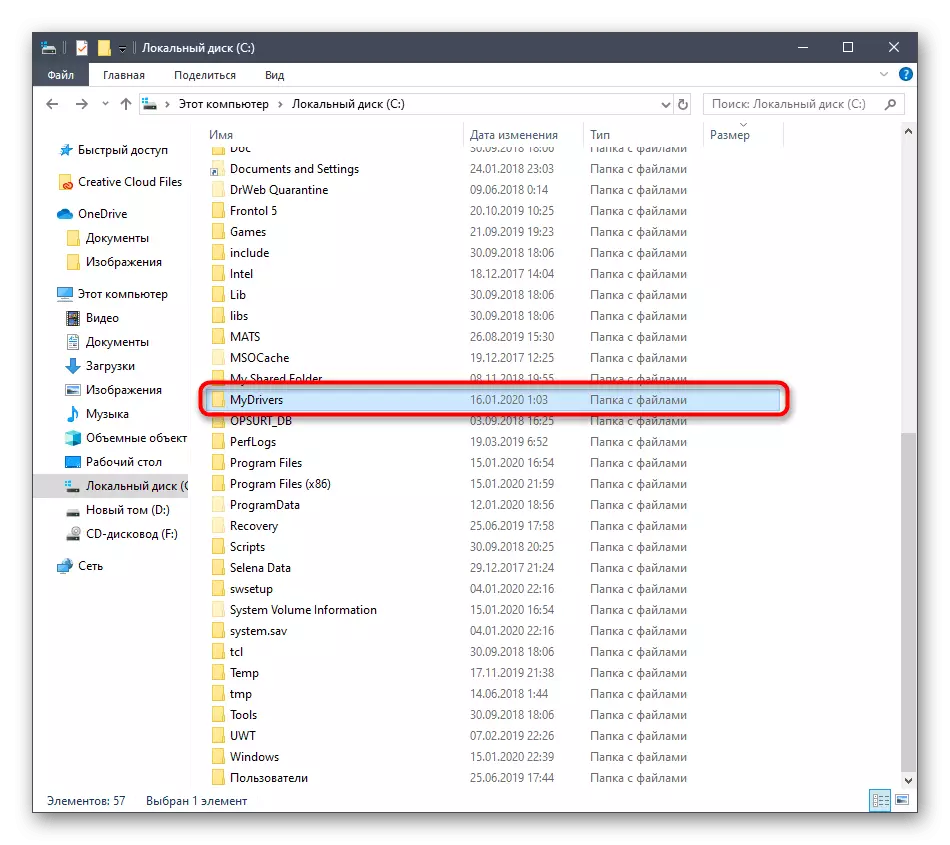
Sometimes the user needs to receive drivers that are already installed on the PC, for example, to preserve them and need to be installed again. At first glance, it may seem that to fulfill this operation will be problematic, but in fact everything is much easier. Today we want to demonstrate methods, the meaning of which is to receive files for further interaction with them.
Download the installed drivers
Next, we propose to explore the five methods of implementing the task. Three of them will be similar to each other and are carried out through console commands. The fourth, about which we will tell first, will suit the users who want to quickly download only one required driver for its use in the future. The fifth is based on devices identifiers, and it will be discussed in the final section of the material.Method 1: Equipment manufacturer official website
The official website of the component manufacturer is a place where you can find the necessary version of the driver without any problems, and then install absolutely to any computer, for example, storing the files themselves on removable media. This option is particularly convenient if you want only one software. Immediately clarify that we chose this method in return to banal copying objects directly from the OS, since this approach is not always effective and correct. However, before starting, it should be determined which version of software and to which device it is required to download. Read about it in detail in the article by clicking on the link below.
Read more: View list of drivers in Windows
After all the necessary information is obtained, you can safely go further. We offer to familiarize yourself with it on the example of the printer from the company HP. You only need to take this instruction as a sample, adapting to your needs, for example, pushing out the differences in official sites.
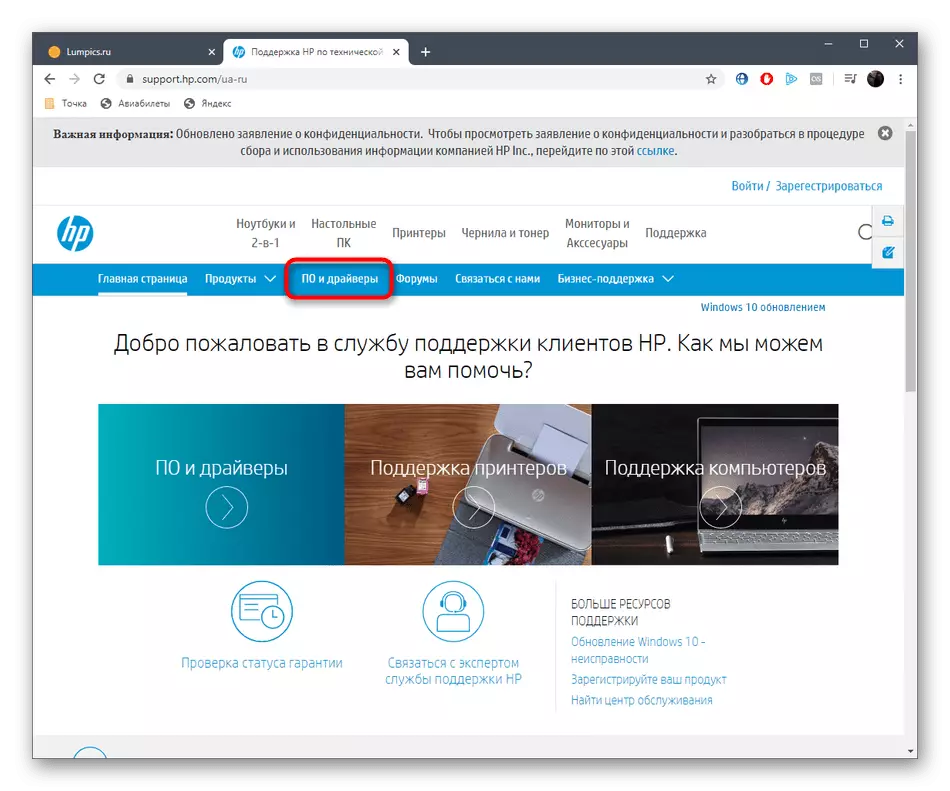
- Go to the manufacturer's support page, from where you can download drivers, and select the corresponding partition there.
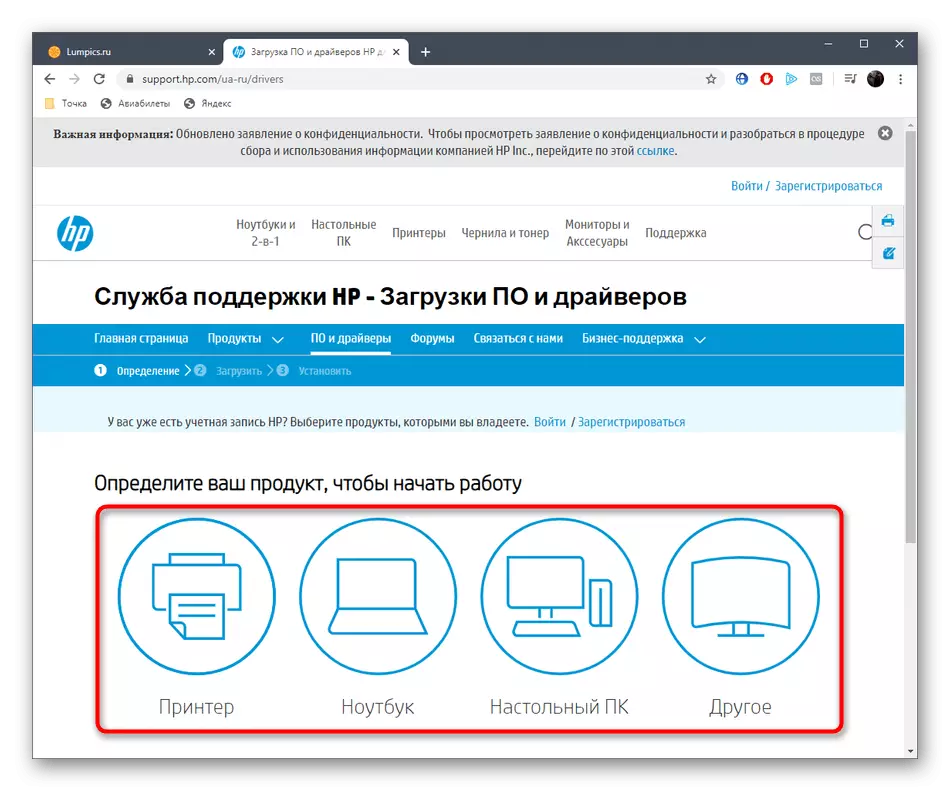
- Specify the type of device itself to go to the search. In our case, it will be a printer.
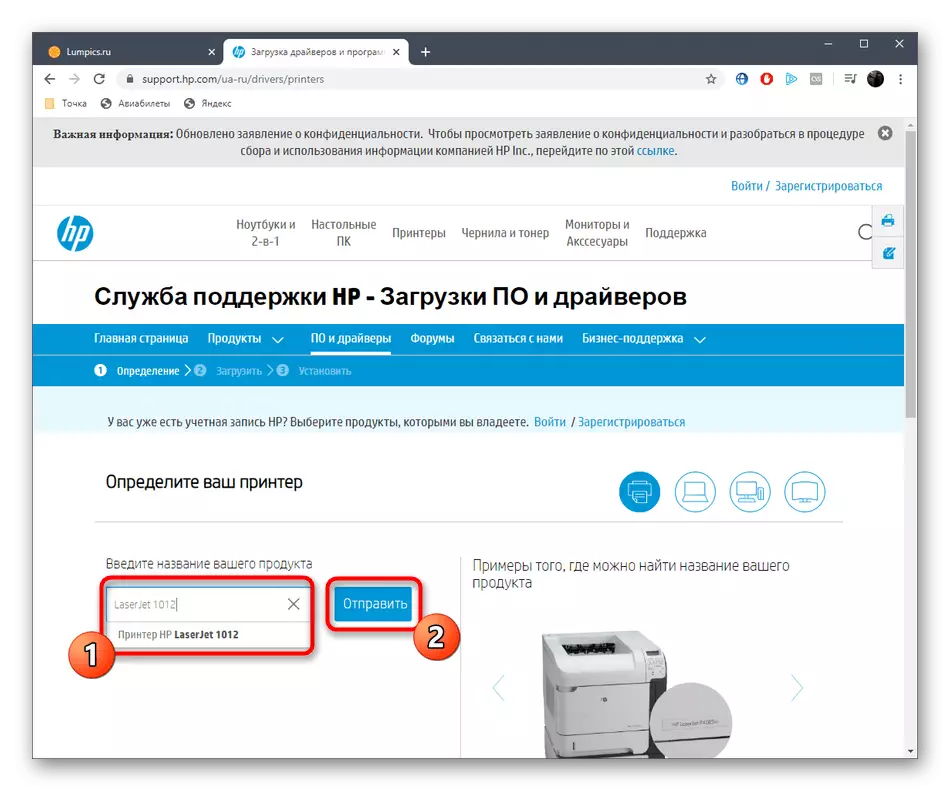
- Use the search bar to quickly find the desired model.
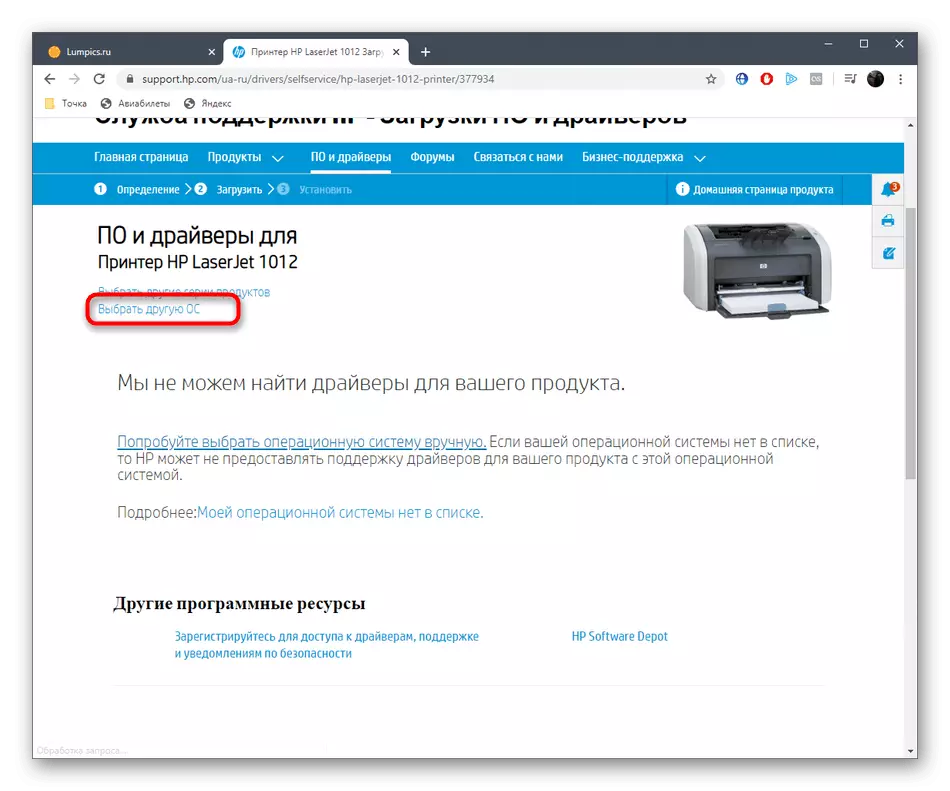
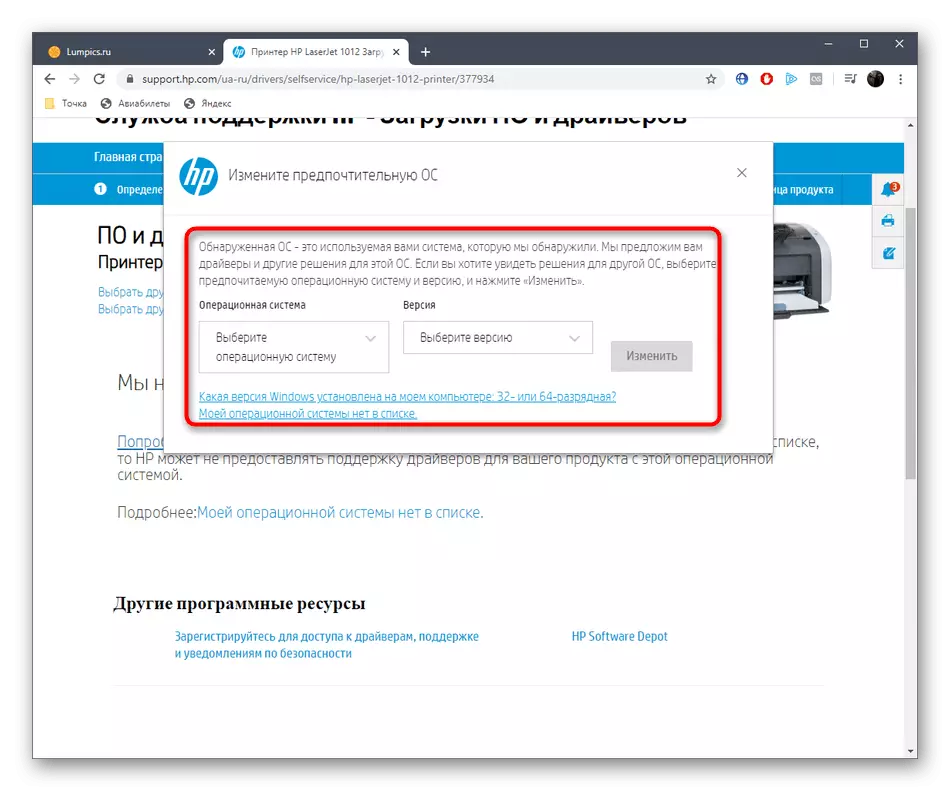
- Be sure to choose the version of the operating system for which the files are loaded.
- A separate table should be opened, where a similar choice is carried out. Consider not only the assembly itself, but also the bit.
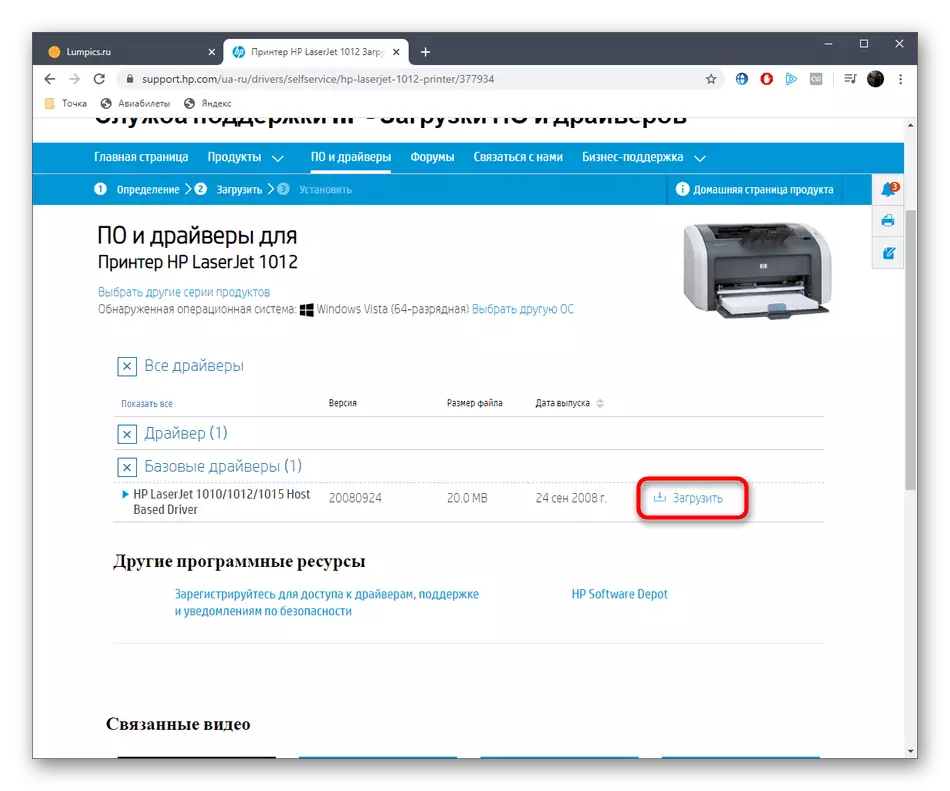
- After that, expand the list of all drivers and find the appropriate version. On some sites to download are available as EXE files for automatic installation, and individual for manual. You can choose any type, pushing out personal preferences.
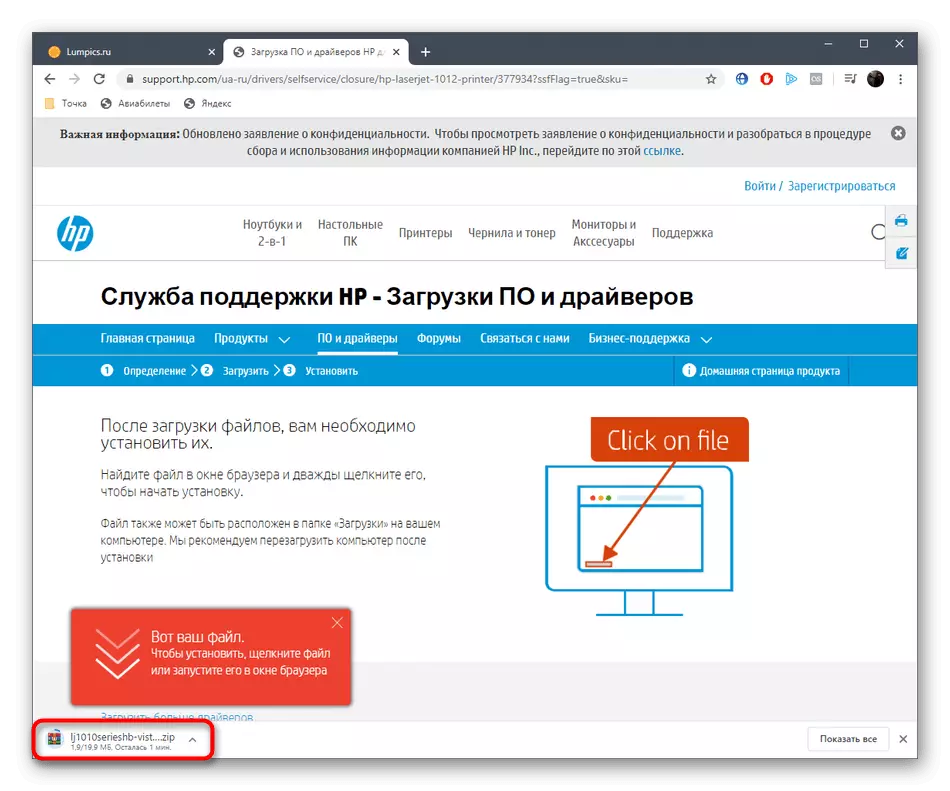
- Download starts, and upon completion, you can safely move the driver or produce other necessary actions with it.
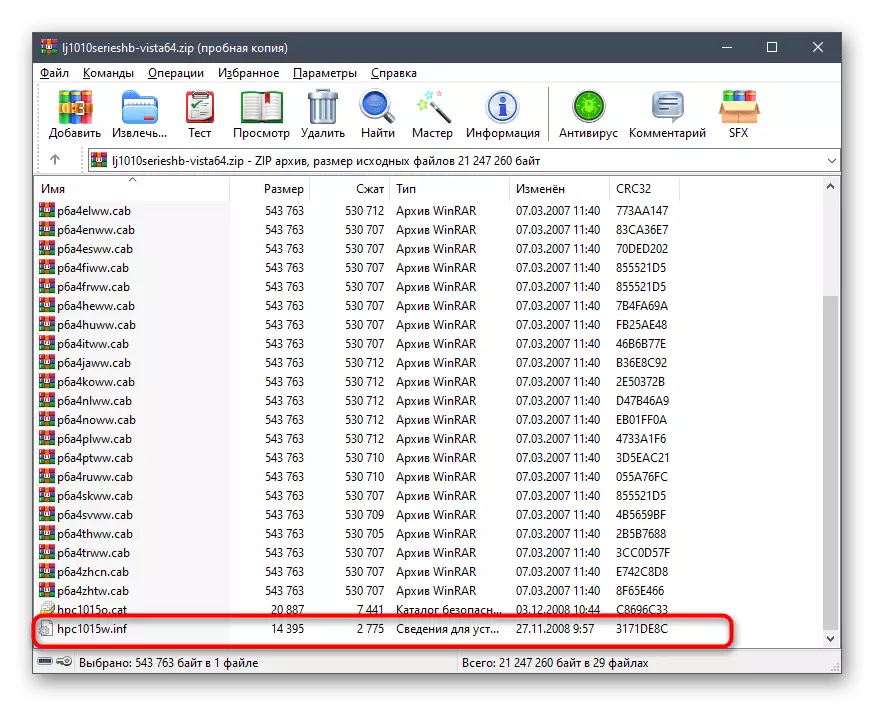
- As you can see, we have just received an archive with an object of type inf. He is the driver itself. This will allow you to move it to the desired folder in the future or use the standard Windows tool to quickly install.
As can be seen, there is nothing difficult to implement this method. Already installed on the computer driver can be downloaded without any consequences, moving it to a removable medium or stored in a local location for further installation if necessary.
Method 2: DISM utility
Windows has a utility called DISM. It allows you to perform a wide variety of system actions in automatic mode, for example, restore damaged objects or, as in our case, create backup copies of installed drivers. That is what we suggest to do in the framework of this method.
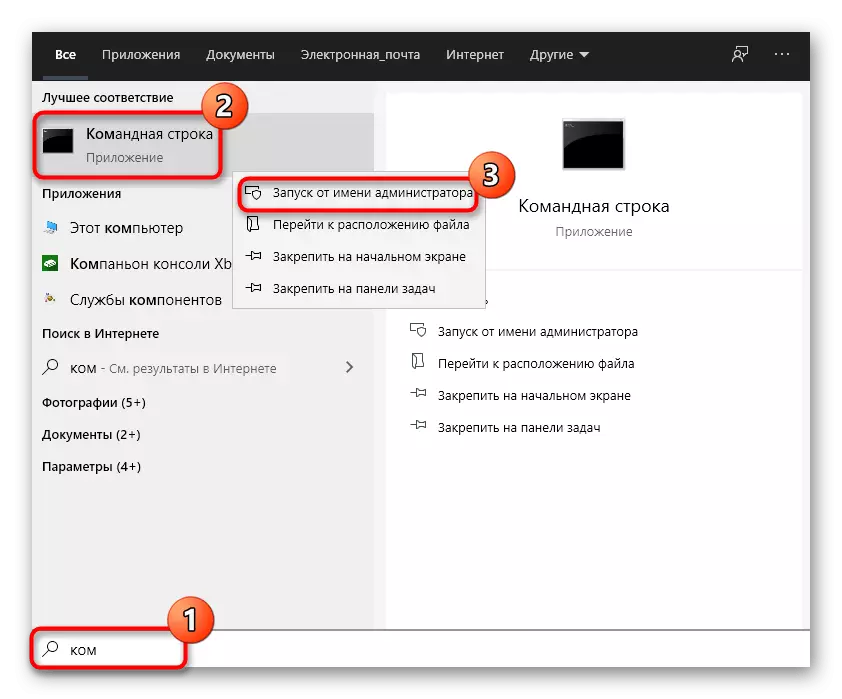
- To start at a convenient location, create a new folder where backup copies of the software will be moved. Then open the "Start", find the "command line" there and run it on behalf of the administrator.
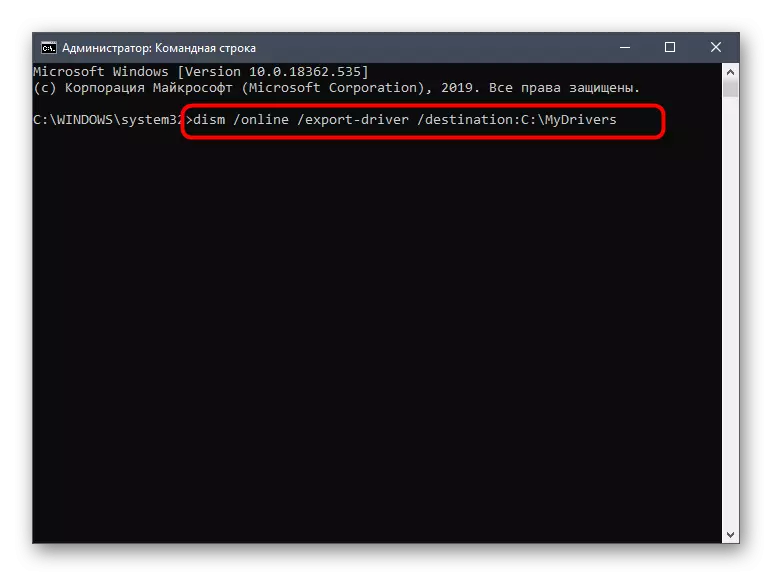
- In the string that appears, enter DISM / Online / Export-Driver / Destination: C: \ MyDrivers, where C: \ MyDrivers replace the location of the directory created earlier. Press ENTER to activate the command.
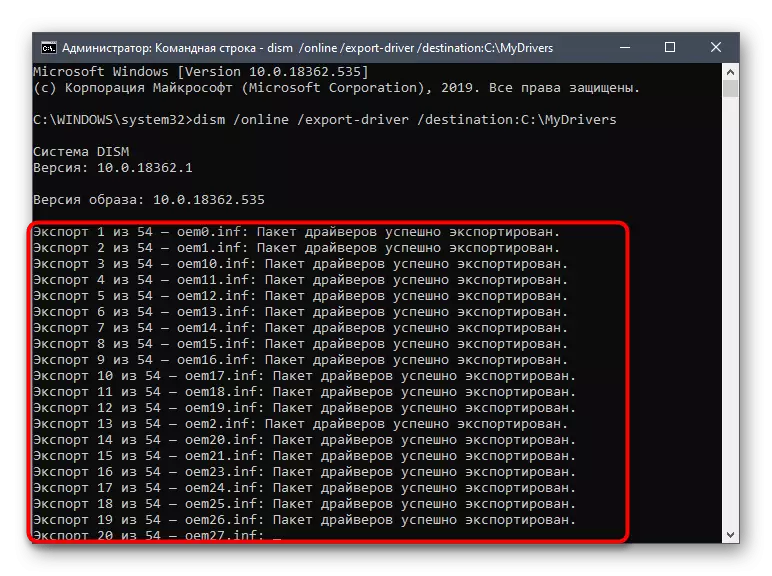
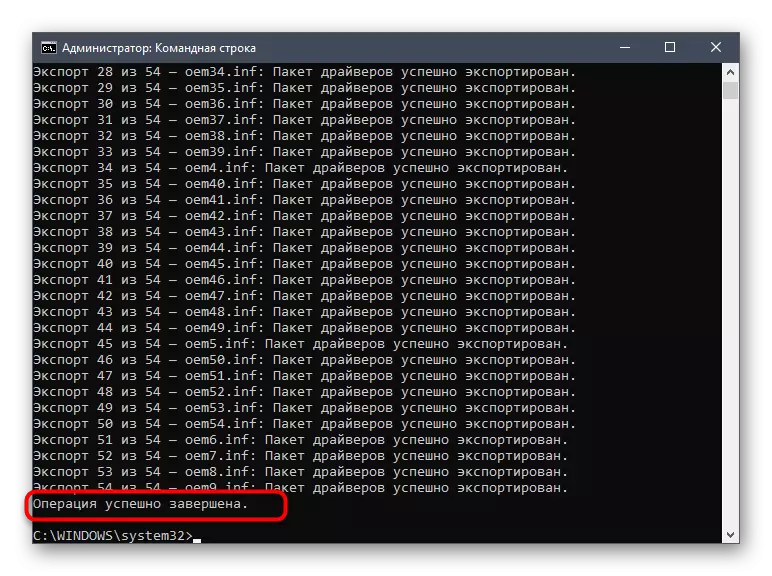
- Export operation will begin. Its progress will be displayed in new lines, and the final copy time depends on the number of drivers and computer speed.
- Upon completion, you will receive a notice of the success of the operation.
- After that, through the "Explorer", go to the folder where export was performed.
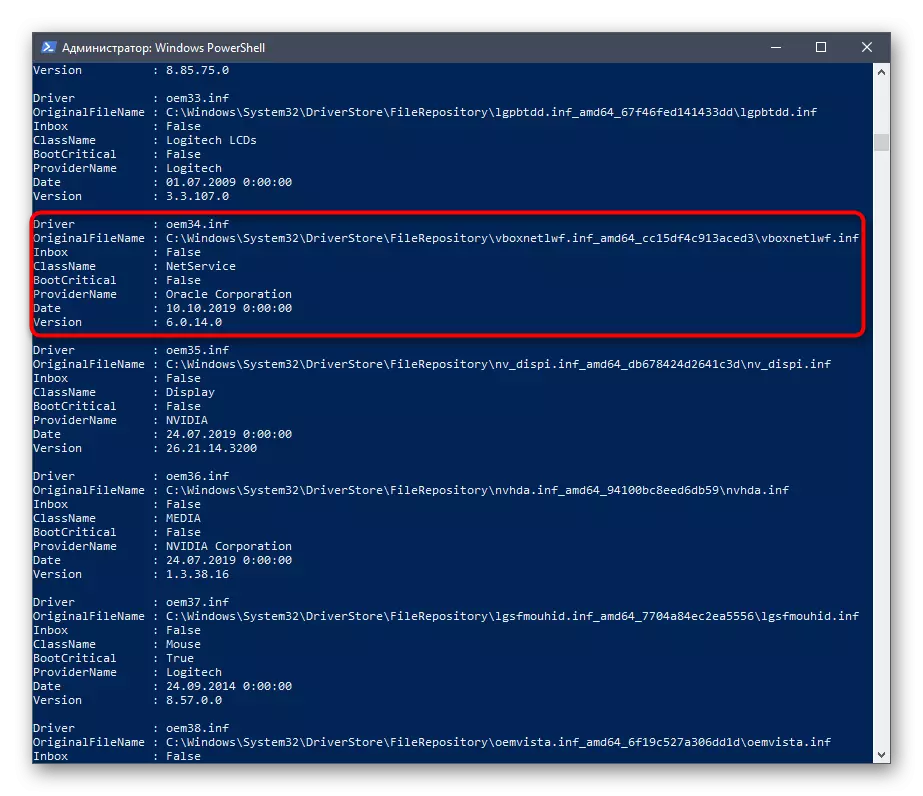
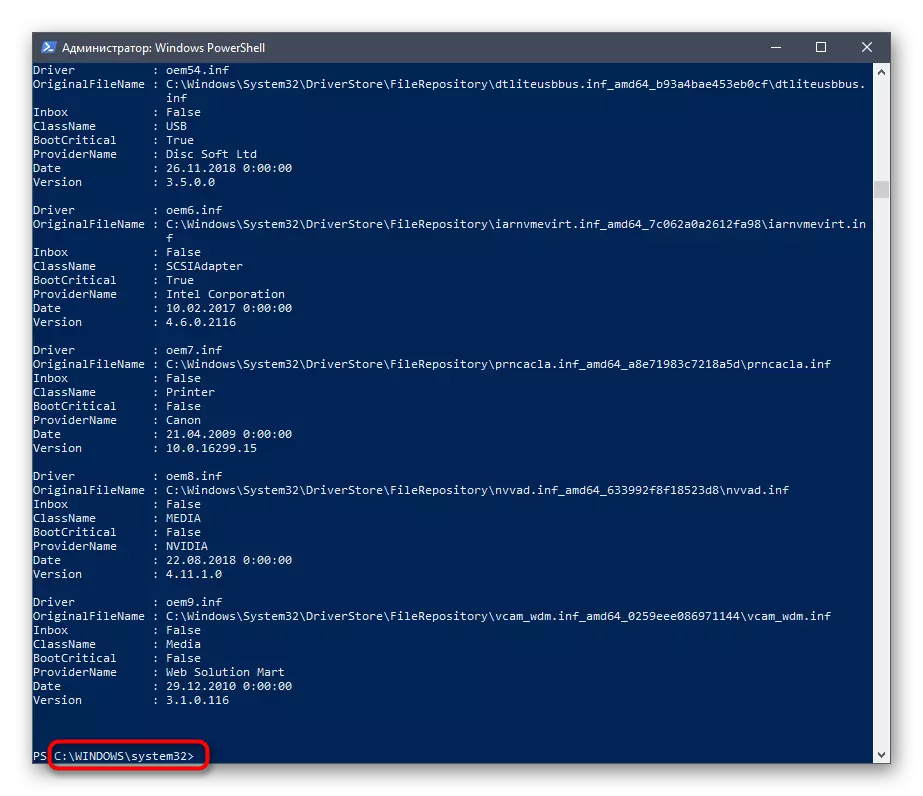
- View its contents. All drivers will be divided according to directories with the corresponding name. When it turns out, these files can be re-installed in the OS, ensuring the correct operation of the device.
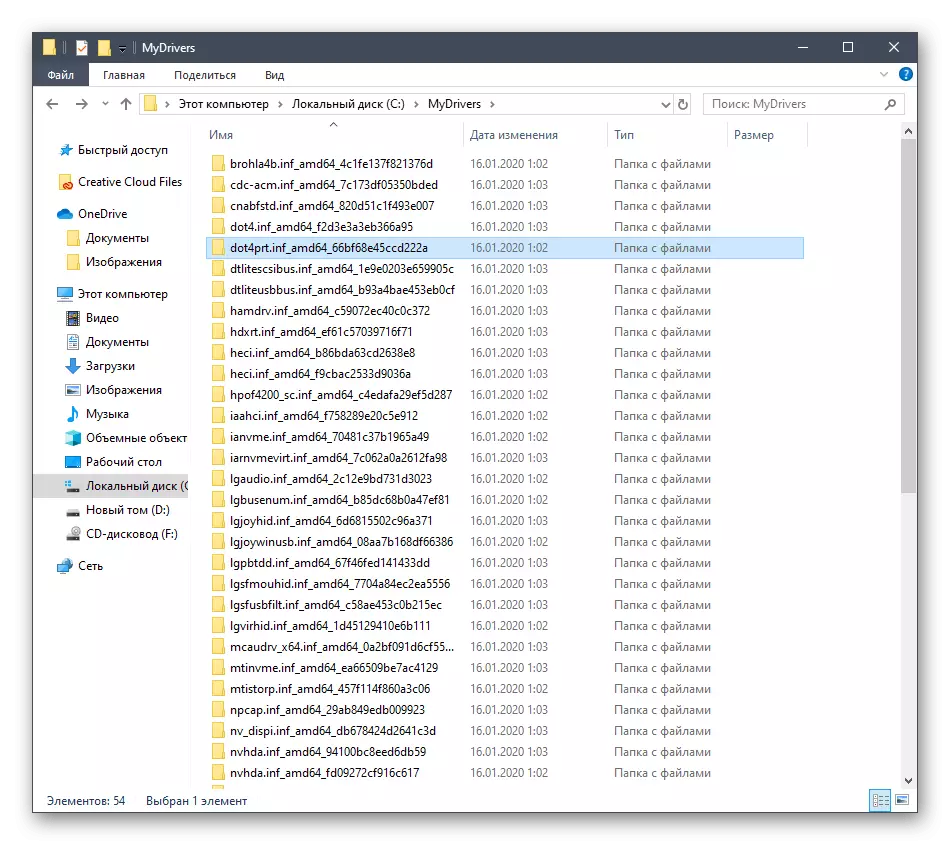
It is advisable to store a folder with backup drivers not on the system partition of the hard disk to accidentally lose everything. We will talk about their re-installation in OS a little later, but for now, let's go to the following available options.
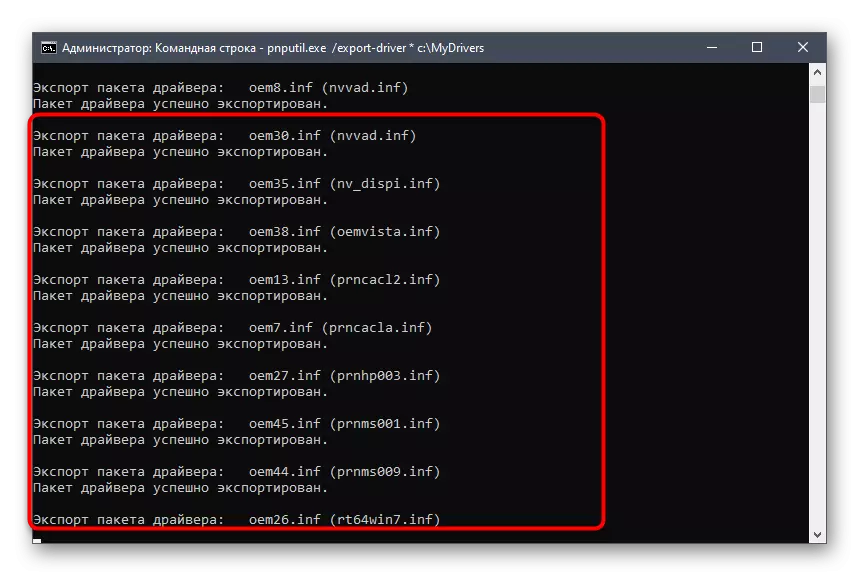
Method 3: Utility PNPutil.exe
This method, as accuracy, as before, is based on the use of the console utility. Differences from these two options are minimal, but we decided to consider each so that any user can choose the optimal means.
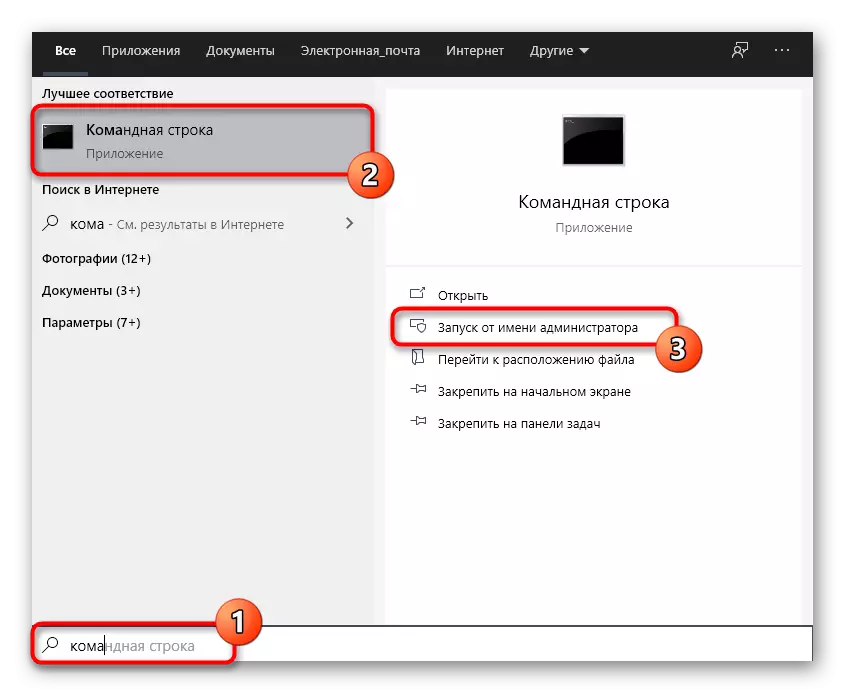
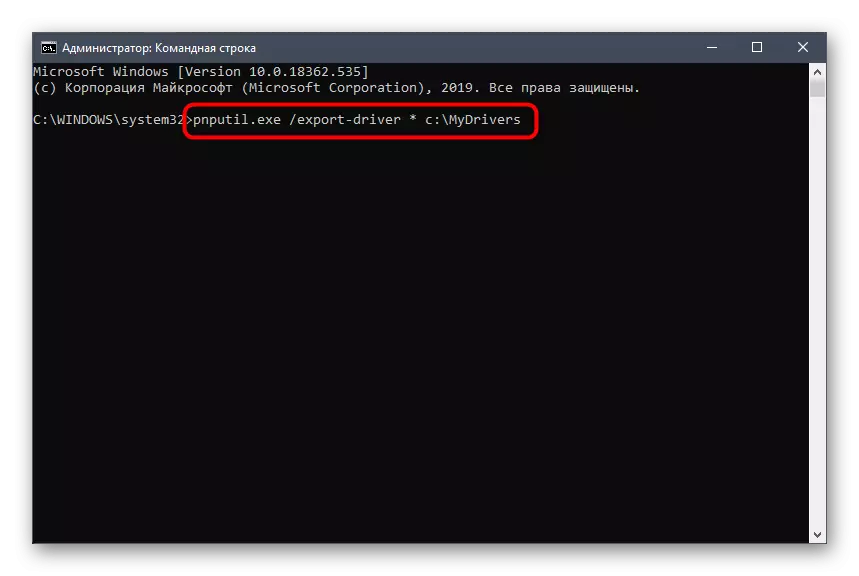
- To begin with, run the "command line" on behalf of the administrator.
- Here enter the PNPutil.exe / Export-Driver * C: \ MyDrivers command, where you replace C: \ MyDrivers on the path to the folder to save drivers.
- Expect the export of the driver's package, follow the progress in the console.
- You will be notified of the successful transfer of packages. Additionally, their total number will appear here.
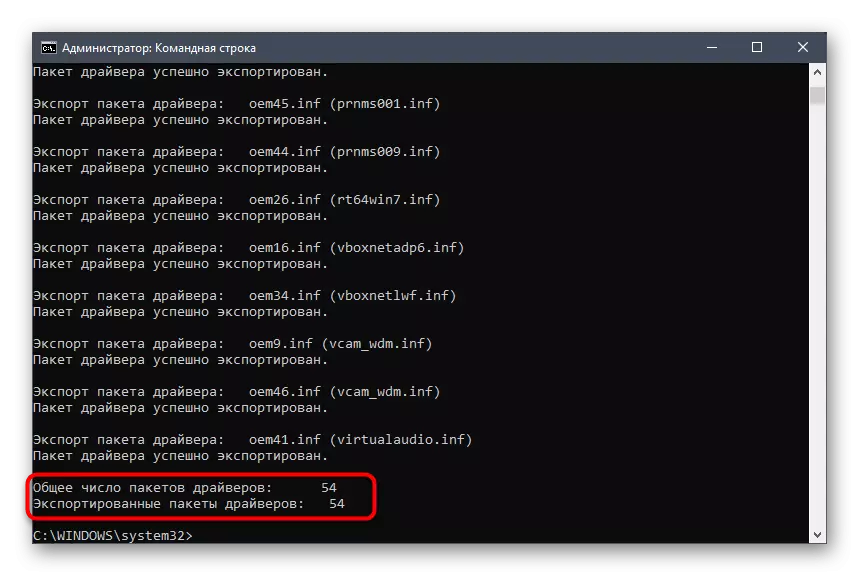
Now it will not hurt anything at any time to use backups to restore or transfer to another PC with identical models of components or peripheral devices.
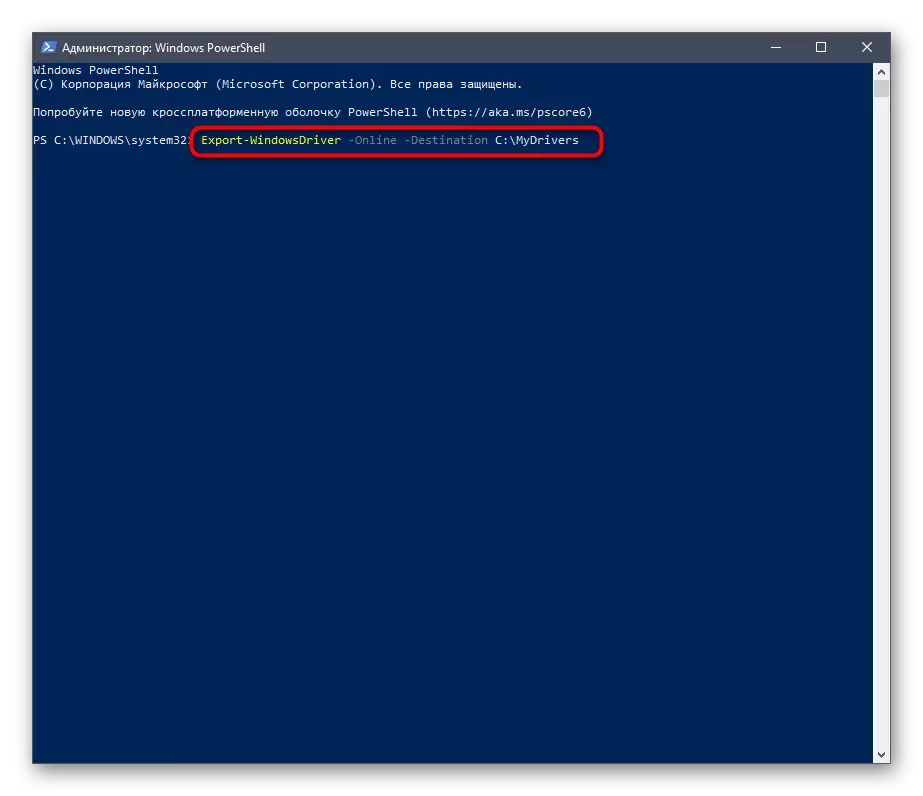
Method 4: Utility in PowerShell
Many users have heard of the PowerShell snap-in, which is an improved version of the standard command line. If you wish to cope with the task through this application, one simple team will help in this.
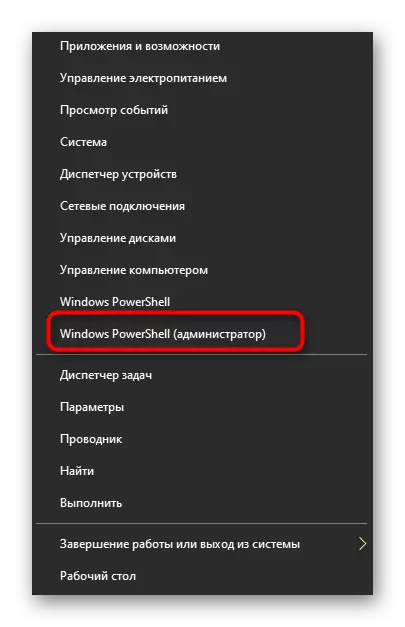
- Click on the PCM Start button and in the context menu, select "Windows PowerShell".
- Here enter the Export-WindowsDriver -Nline -Destination C: \ MyDrivers command, replacing the final path to the desired as it has already been shown earlier. Confirm the action of the Enter key.
- Wait until the end of the process. PowerShell shows more detailed information about each exported driver. At the end, you can explore it in more detail.
- The new input row appeared indicates that everything went successfully.
Method 5: Unique device identifier
This method will suit all those users who wish to get a driver of one or several devices separately. Its essence is to use the unique code of the equipment itself and special sites where software collected in accordance with these identifiers. This method allows you to get a working software for a hundred percent, taking into account the desired version. Another our author in a separate article painted how to find out the ID and engage it on special web resources. If you are interested in this way, we strongly advise you to move to the detailed leadership.Read more: Search for hardware drivers
Installing drivers from backups
Let's briefly focus on the procedure for installing drivers from backups. Most often, it is for this operation that they are created, so this procedure is important to tell a little more expanded.
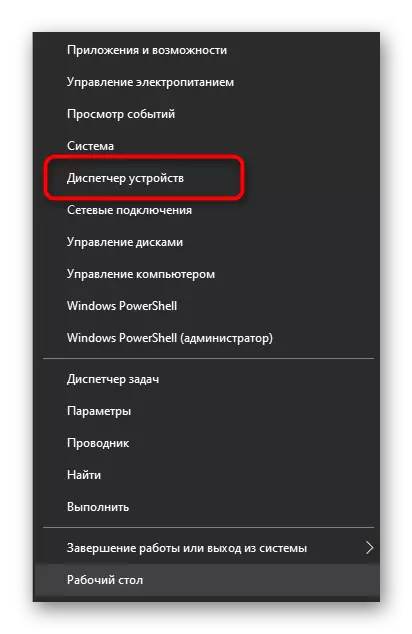
- Right-click on the Start button and find the Device Manager string there.
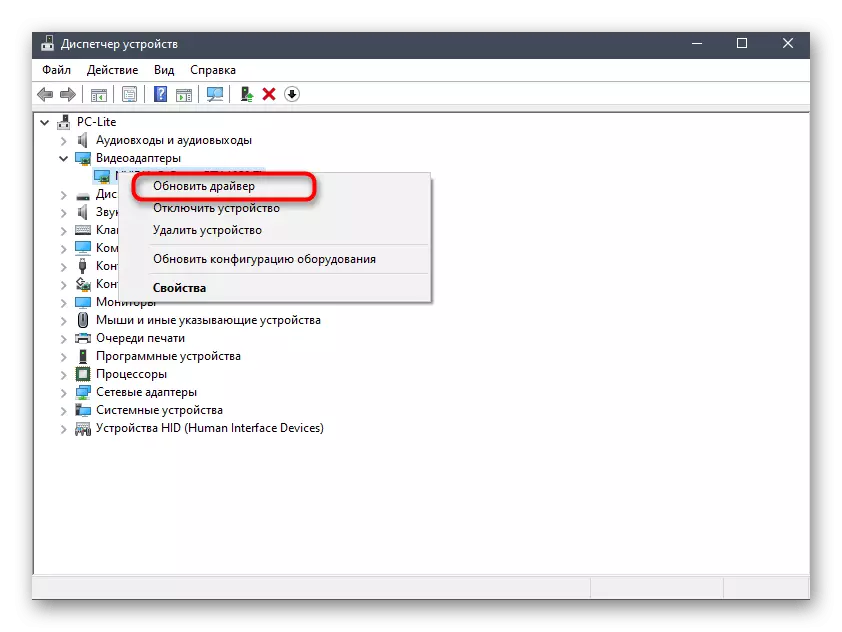
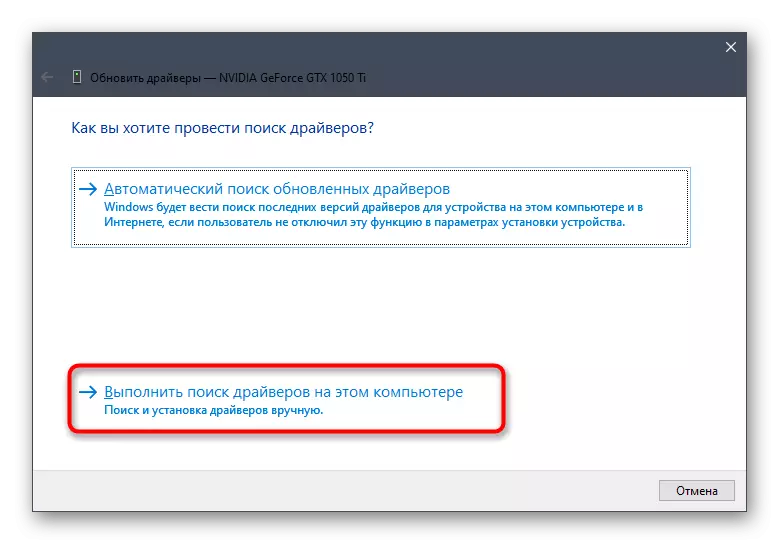
- In the window that opens, find the hardware for which you want to install the driver, click on it by PCM and select "Update Driver" in the menu.
- Here you are interested in the section "Run the driver search on this computer." Follow the instructions displayed on the screen by specifying the backup copies of the files.
However, this fund has its own nuances, as well as alternatives that are useful, for example, when the component is not displayed in the Device Manager. Read all this in a separate manual on our site further.
Read more: Methods of manual installation of drivers in Windows
From this article you have learned about the options for downloading already installed drivers, and now only remains optimal for yourself.