

The local network is a technology that is fully implemented in the Windows operating system family. Computers that are within the same network can exchange each other files, transmit other data and even manage joint devices. However, sometimes this technology is incorrect, for example, a PC connected to the home or working group is simply not displayed in the catalogs. This situation requires an appropriate solution. It is about this that we want to tell further, taking for example Windows 10.
We solve problems with the visibility of network computers in Windows 10
Let's start with the Council, which concerns the general configuration of the local network. Sometimes users skip some settings or do not pay attention to the details, which ultimately leads to the emergence of various problems, including today. Therefore, we first advise you to make sure that the parameters are set correctly. A separate article will help in this site, where you will find suitable illustrated instructions and can understand how an error was made at what step. If everything is configured correctly, proceed to the analysis of the following methods.Read more: Creating a home network on Windows 10
Method 1: Checking the name of the Working Group
The rules for using the local network oblige for each device to assign the same name of the working group so that no connection problems occurred. If this value is not set correctly, the computer is simply not displayed on the network. This is the first reason for the appearance of the problem under consideration. We advise you to check this parameter and, if necessary, change it, which is as follows:
- Open "Start" and go to "Parameters".
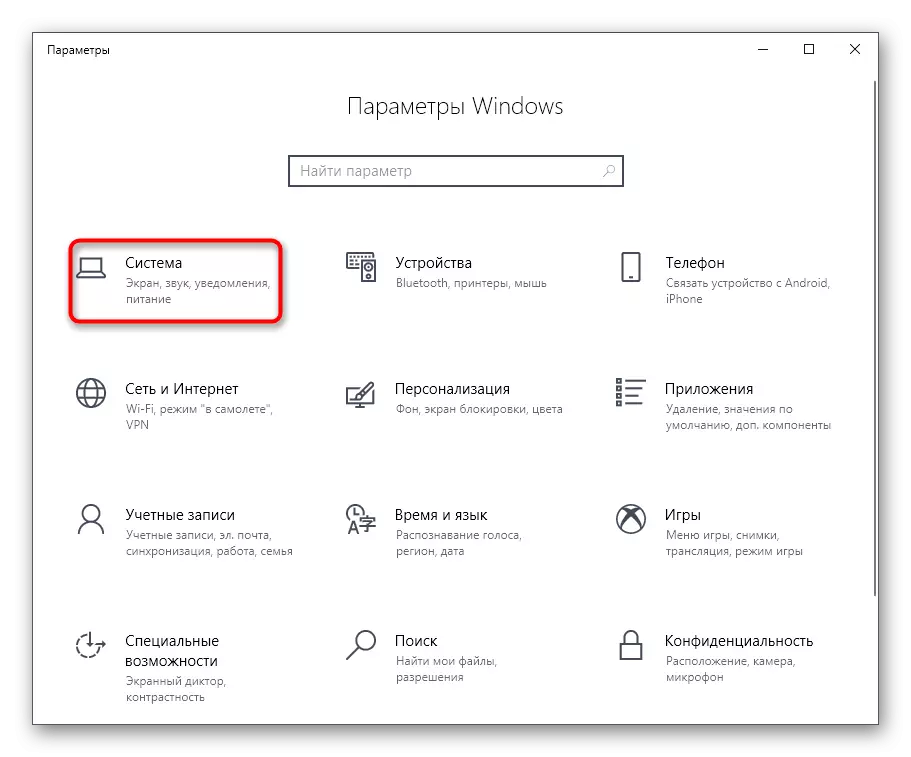
- Here you are interested in a tile called "System".
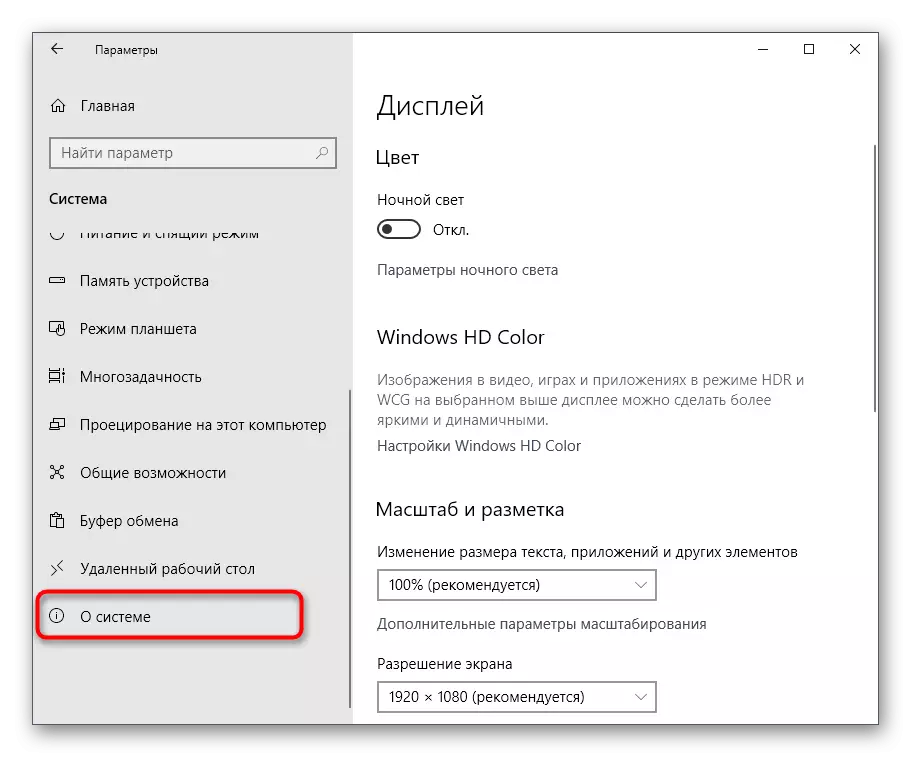
- Take advantage of the left pane to move to the category "On System".
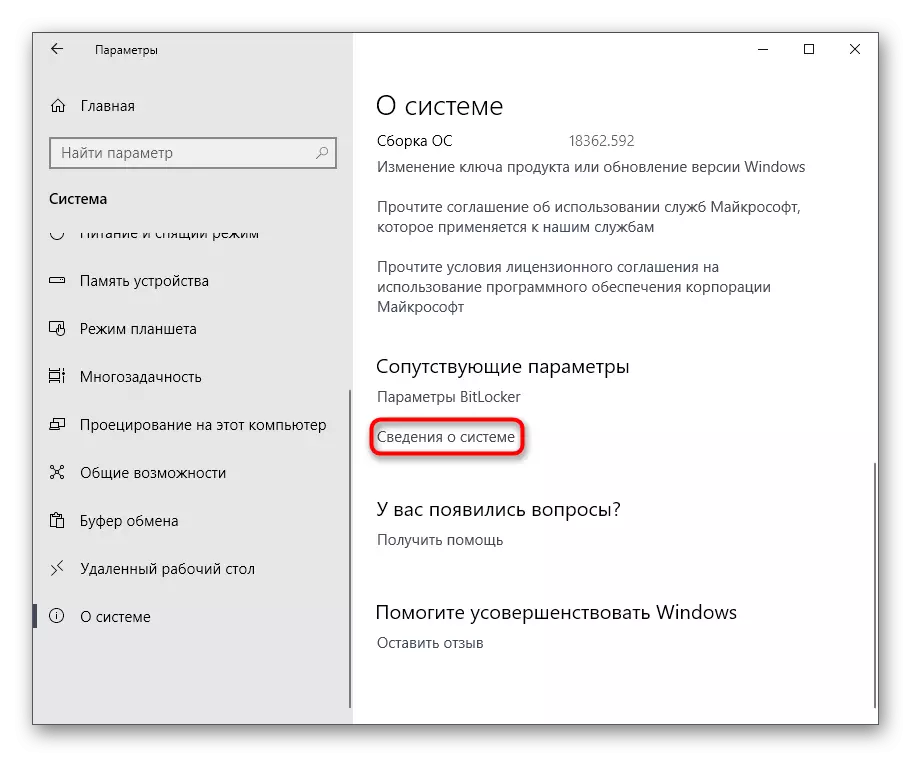
- Left-click on the Inscription "System Information".
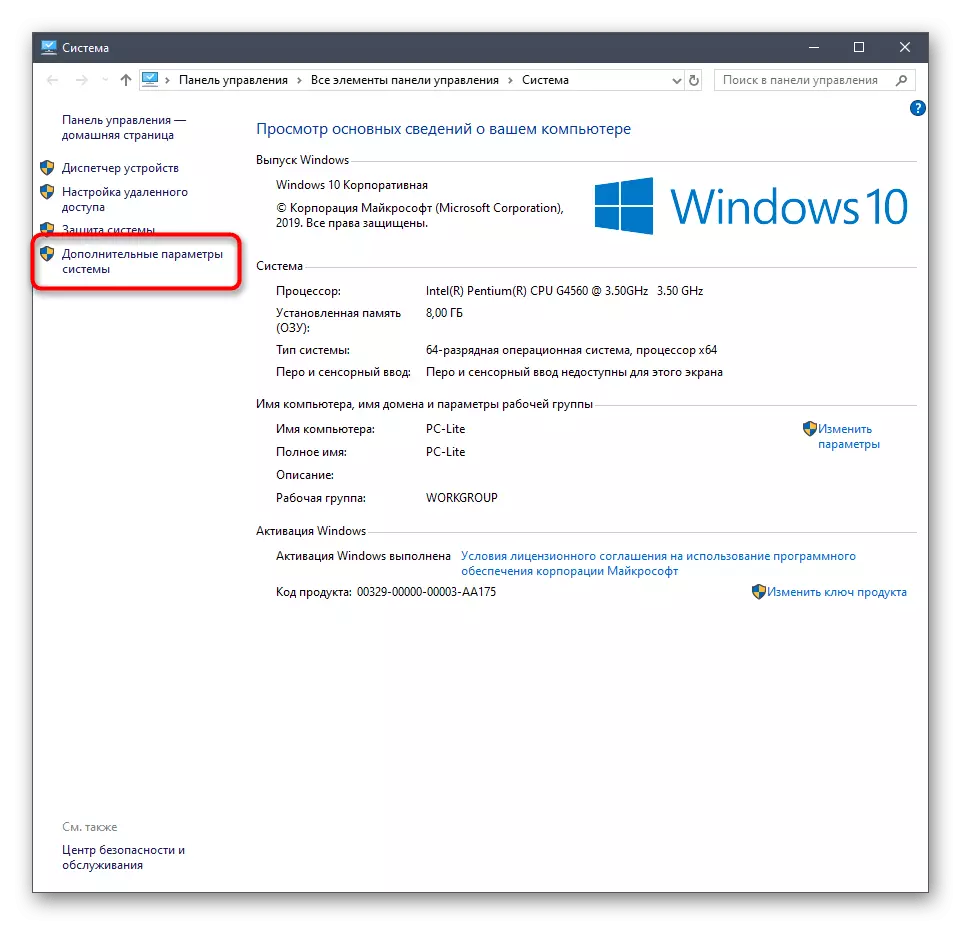
- Go to the category "Advanced System Parameters".
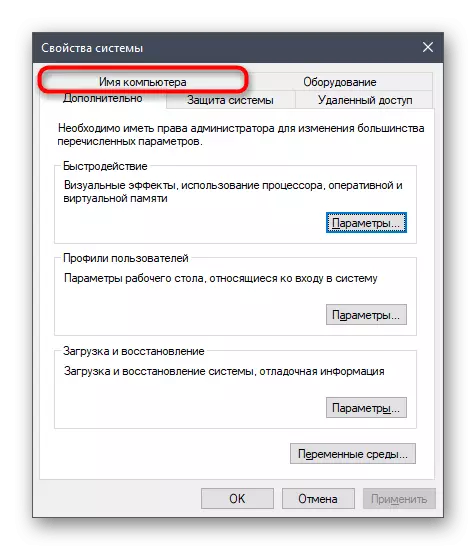
- Move to the "Computer Name" tab.
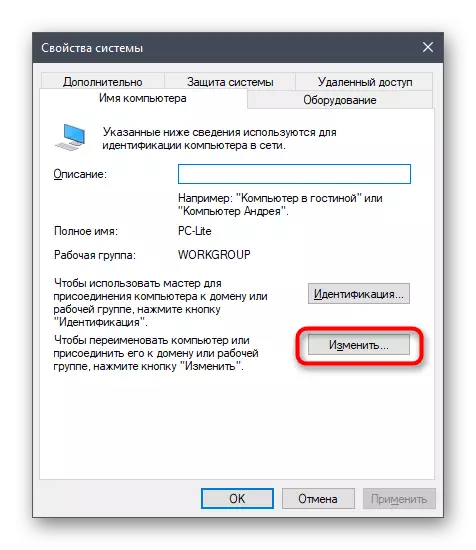
- Click on the Edit button.
- Mark the "Working Group" point marker and make sure that the name is the computer that is the creator of the local network.
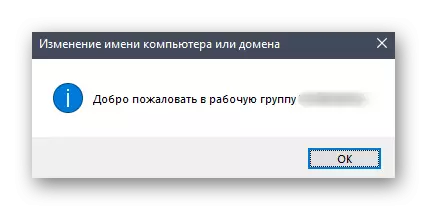
- You will be notified of the name change.
- To access all changes, you will need to restart the computer.
- A separate notification will appear. Click on the "Restart Now" button to send PC to reboot.


Make a similar check on each PC that must be connected to the local network to make sure that the selected settings are correct.
Method 2: Checking General Access Parameters
The general access parameters briefly written in the material that we recommended to familiarize themselves as an instruction for creating a local network. However, we would like to stay in more detail on this aspect, because from the settings installed here directly depends on the visibility of the PC on the network.
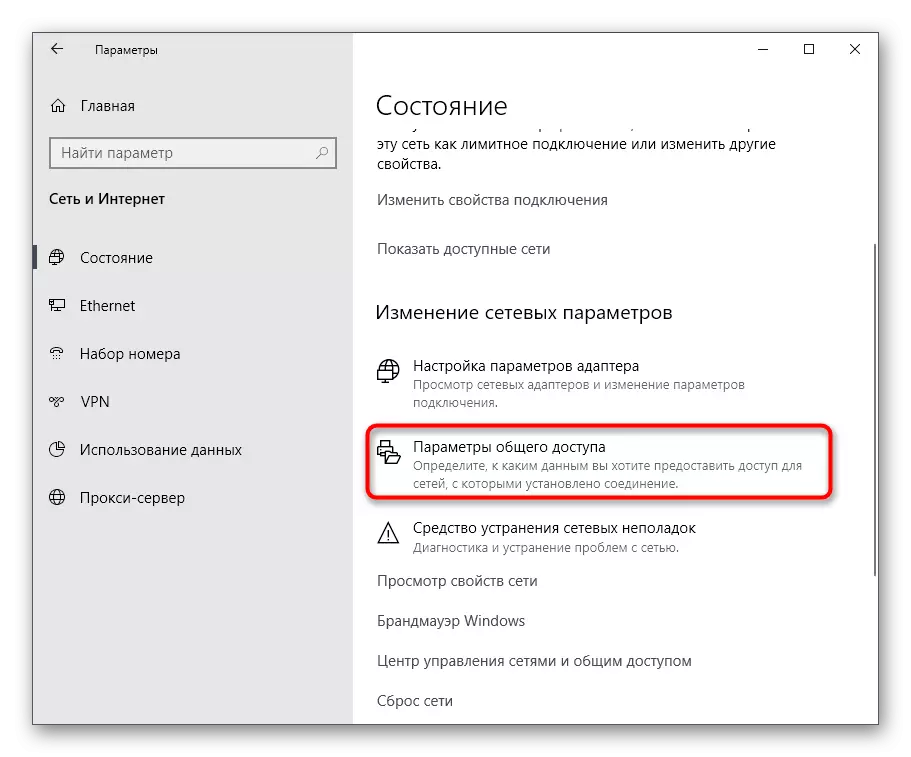
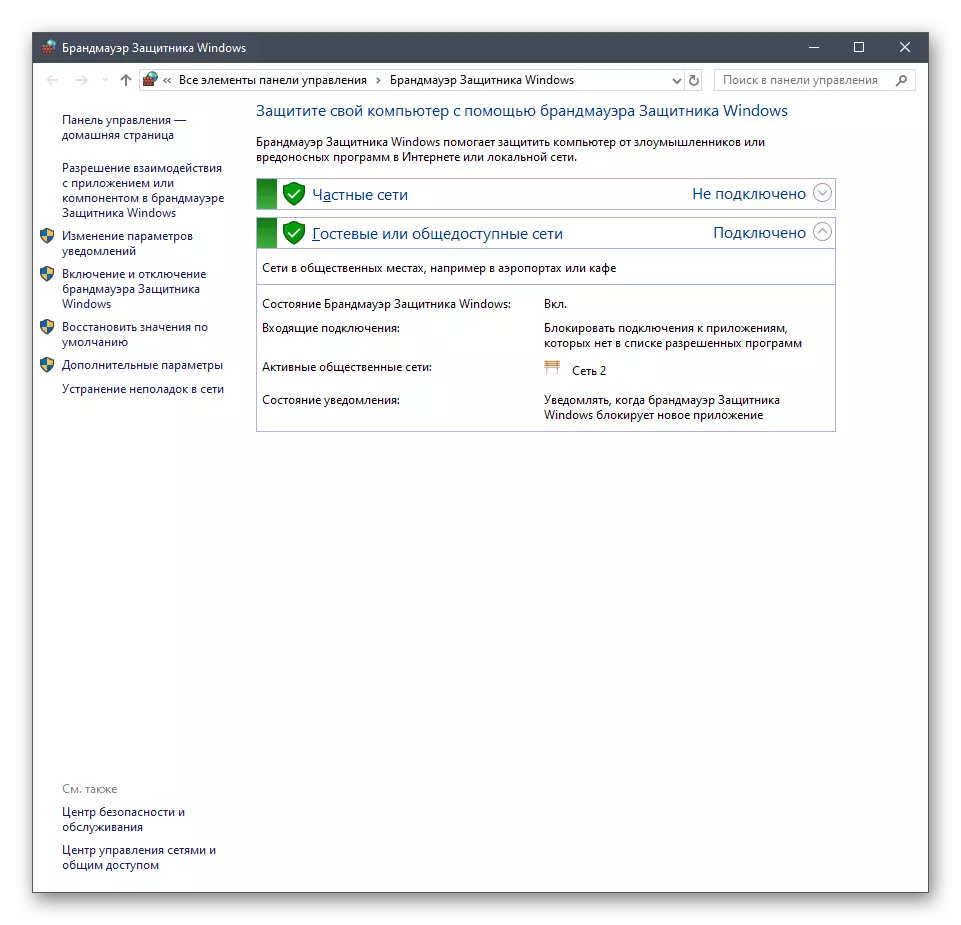
- Open the "Parameters" menu and go to the "Network and Internet" section.
- Here in the first category "Status" Click on the "General Access" inscription.
- Make sure that network detection and access to folders for all necessary network types are activated.
- If any changes were made, do not forget to click on "Save Changes" so that they come into force.


These actions, in the same way as described in the previous method, should be made on each device, which is a member of the home or working group. After that, go to check the display.
Method 3: Setting the Routing and Remote Access Service
For the correctness of the functioning of the local network in Windows, a separate service called "Routing and Remote Access" is responsible. It is from it that the visibility of the equipment and the possibility of sharing files depends. It is important that this service is always in active or controlled automatically, which can be achieved as follows:
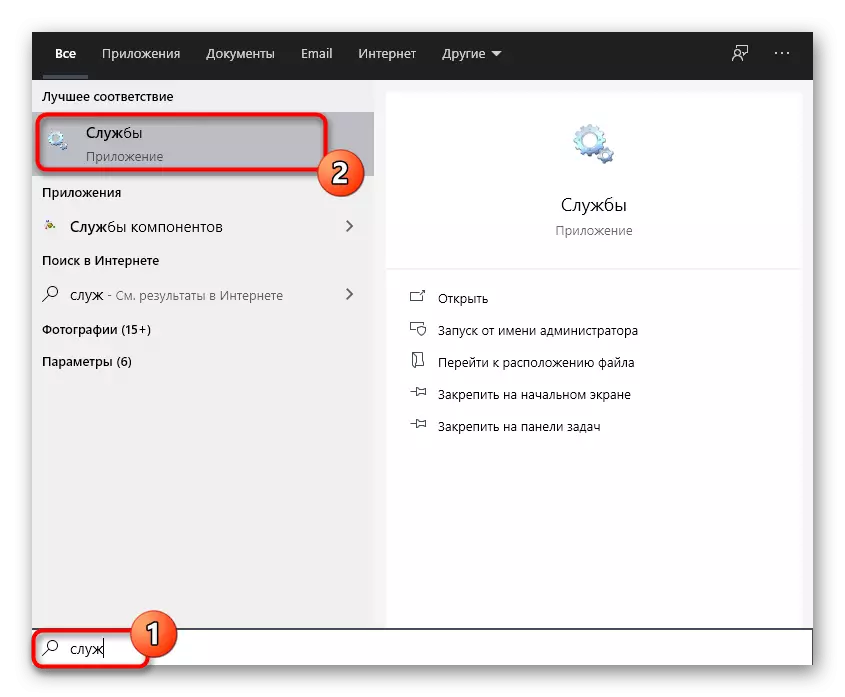
- Open "Start", find it in search "Services" and run this application.
- In the list, find the one mentioned just the service and double-click the left mouse button on its row.
- Set the start type to the "Automatically" state.
- After that, click on the "Apply" button.
- Now the "Start" button will be active, so click on it or restart the operating system so that it happens automatically.


Make the same actions on each computer included in the local network, including where it was created. If the reason for the problem under consideration really consisted in non-working service, it should disappear, and all PCs will be visible.
Method 4: Reset Routing Settings and Restart Network
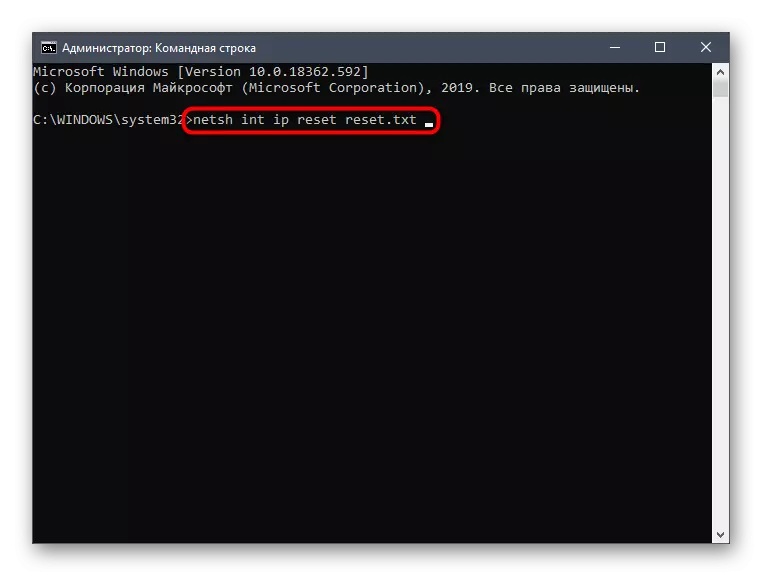
Sometimes various network problems provoke incorrect routing operation, which was caused by small system failures or software settings. You can check and correct this situation through the console by entering there several commands responsible for resetting the settings and restart the network.
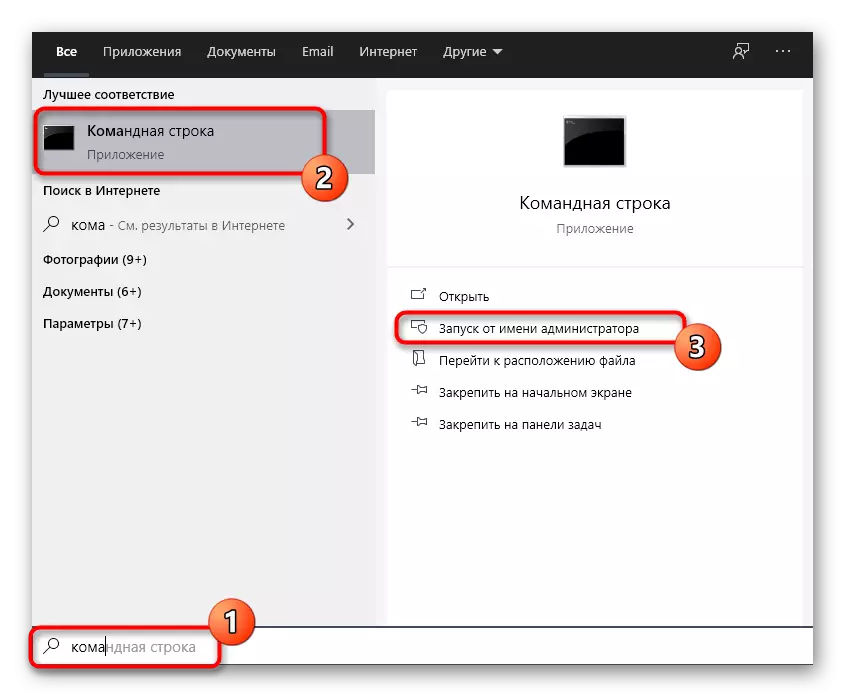
- Open the "Start", find the "Command Line" application and run it on the name of the administrator by selecting the appropriate point on the bar on the right.
- Alternately, enter the following commands, activating each press on the ENTER key. This will help reset the settings and restart the network.
Netsh int ip reset reset.txt
Netsh Winsock Reset.
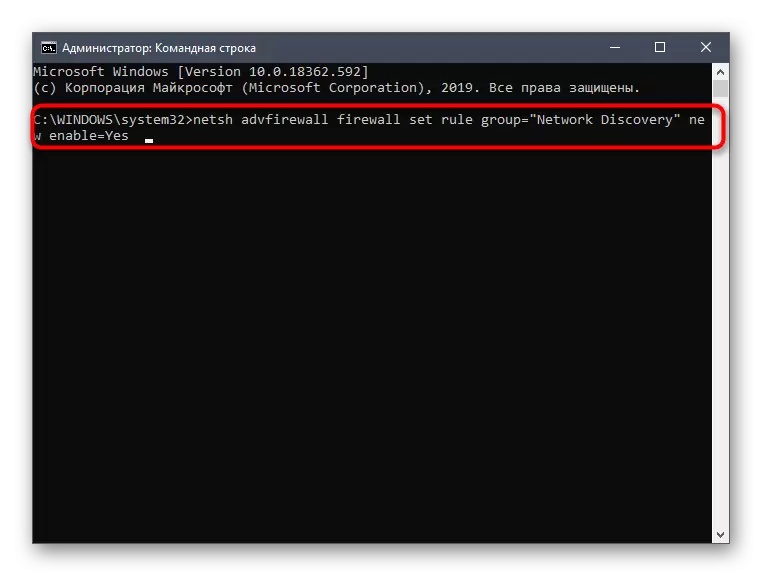
Netsh Advfirewall Reset.
- After that, on each device in the console, enter the Netsh Advfirewall Firewall SET Rule Group = "Network Discovery" command New Enable = YES, which is responsible for visibility on the network.
Method 5: Deactivation of Firewall and Anti-Virus
As is known, the standard firewall and manually installed antivirus have certain rules that do not allow to pass by some incoming or outgoing compounds. Sometimes this can lead to the fact that the PC will simply not see other devices on the network or it will not be displayed there. Check whether such rules really exist, you can, temporarily disabling the firewall and antivirus software. For more information on the implementation of this task, read in separate instructions on our website by clicking on the links listed below.
Read more:
Turn off the firewall in Windows 10
Disable antivirus
If suddenly it turned out that the firewall or antivirus is really to blame for the occurrence of an error occurrence, you can forever leave them in a disconnected state, but the user configuration is also available for firewall, as written in another material on our website. If you do not want to refuse antivirus, select a more reliable solution.
Read more:
Wirewall Setup Guide in Windows 10
Antiviruses for Windows
Now you are familiar with the five methods of fixing the problem with the visibility of the local network computers in Windows 10. It remains only alternately to perform each of them to find the optimal solution that will make rid of the problem forever.