
Many users somehow face the need to use boot drives with Windows 10, but not everyone knows that they can be accommodated not alone, but at once several images. Next, we will tell how to create a multi-load flash drive with Windows 10 and another operating system or Live CD.
Important! For normal operation of the multi-load media, the latter must have a memory capacity of at least 16 GB! Also during the work of the programs below, it will be formatted, so copy all the important information in advance!
Method 1: WinsetUpFromUSB
One of the most convenient programs for solving our today's task is a means called WinsetupFromusB. Among its features there is also the creation of multi-load flash drives.
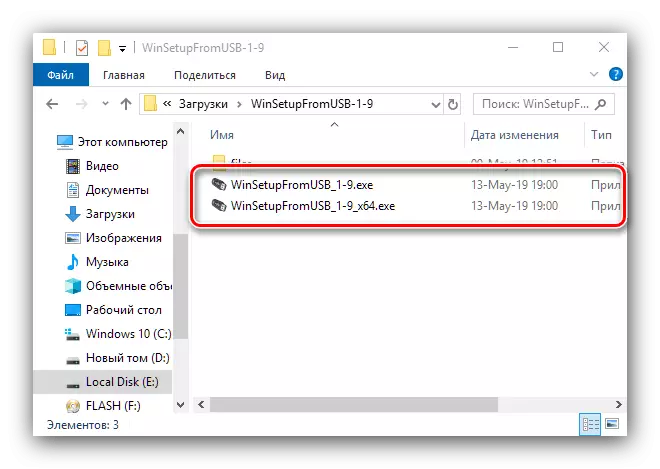
- The application does not require a full-fledged installation - it is enough just to unpack it at any convenient place.
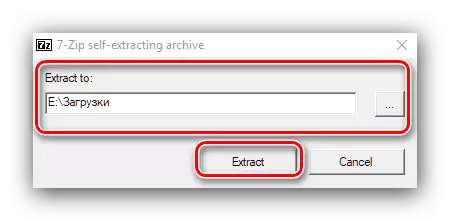
To get started, open the unpacking directory and use one of the executable files, observing the size of the system.
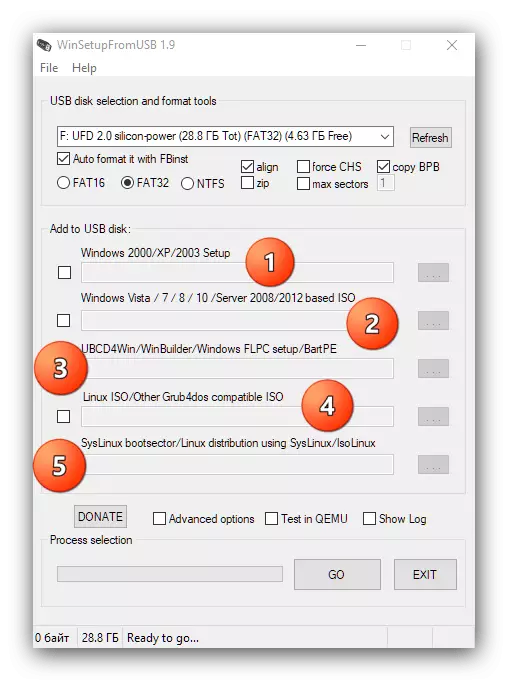
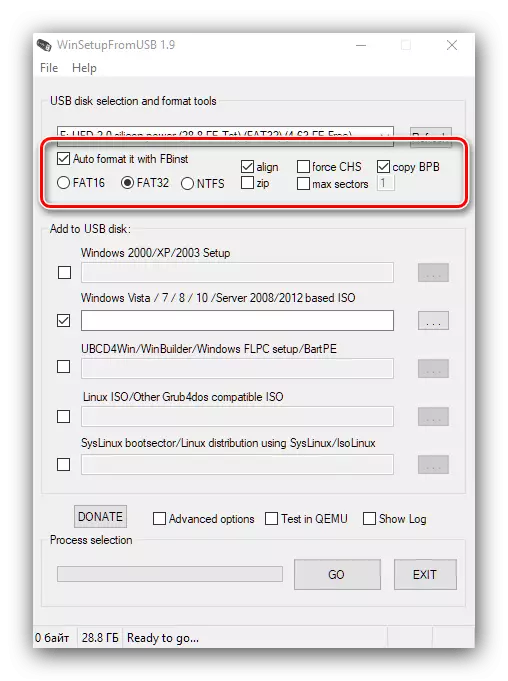
- The program window will appear before you. The number of options can be released somewhat, but in fact everything is quite simple. First of all, select the media you want to turn into a multi-load - To do this, use the drop-down menu in the USB Disk Selection and Format Tools block.
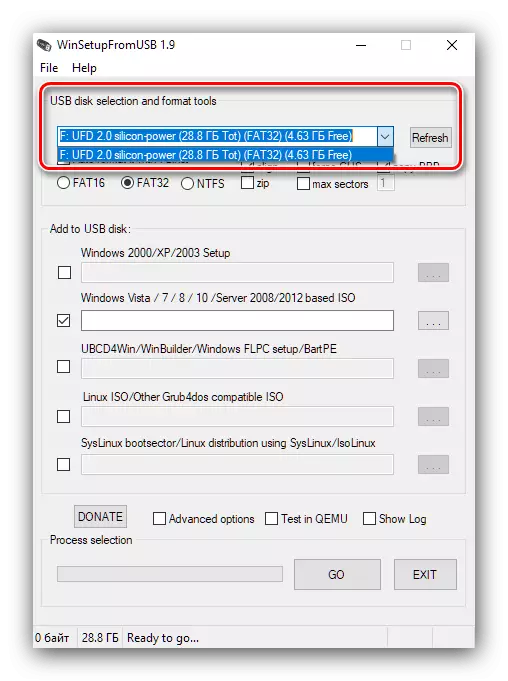
For ease of use, it is also recommended to mark the "Auto Format IT WITH FBINST" item, and install "FAT32" in the format selection menu.
- Creating a multi-load flash drive in the program under consideration occurs by adding ISO files. To select two positions and more check the checkboxes in checkboxes opposite the desired.
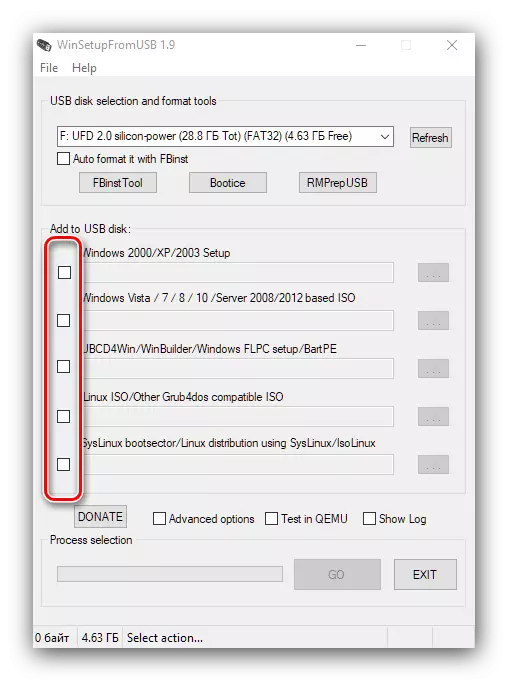
The following types are supported:
- The first two positions are designed for Windows: under the size of 1 versions to XP SP3 inclusive, under the number 2 - from Vista and to the newest "dozens" plus server options;
- Figure 3 marked the item for images of the recovery environment based on windows 7 and newer;
- Numbers 4 and 5 marked positions for OS based on Linux kernel.
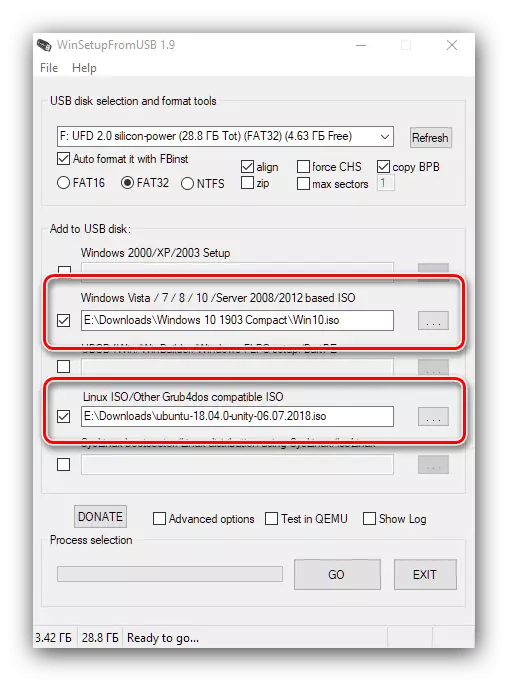
In the example, then we will create a USB flash drive with Windows 10 and Ubuntu, for which we note items 2 and 4.
- Using the "..." buttons to the right of each position, select the appropriate images.
- Check the correctness of the data entered, then click "Go" to start the procedure.
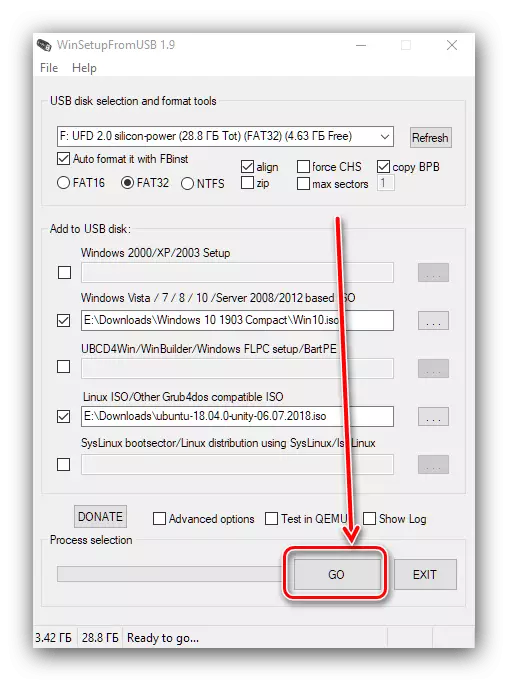
In all the warning windows, press "Yes."
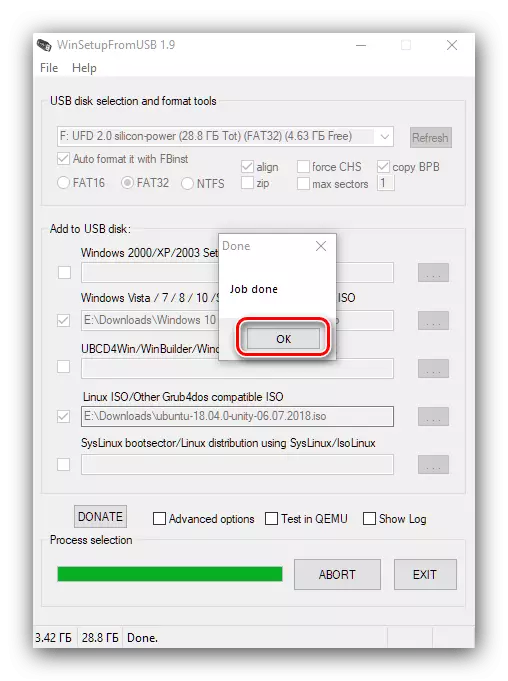
- Upon completion of the recording process, a small dialog box appears, click in it "OK".
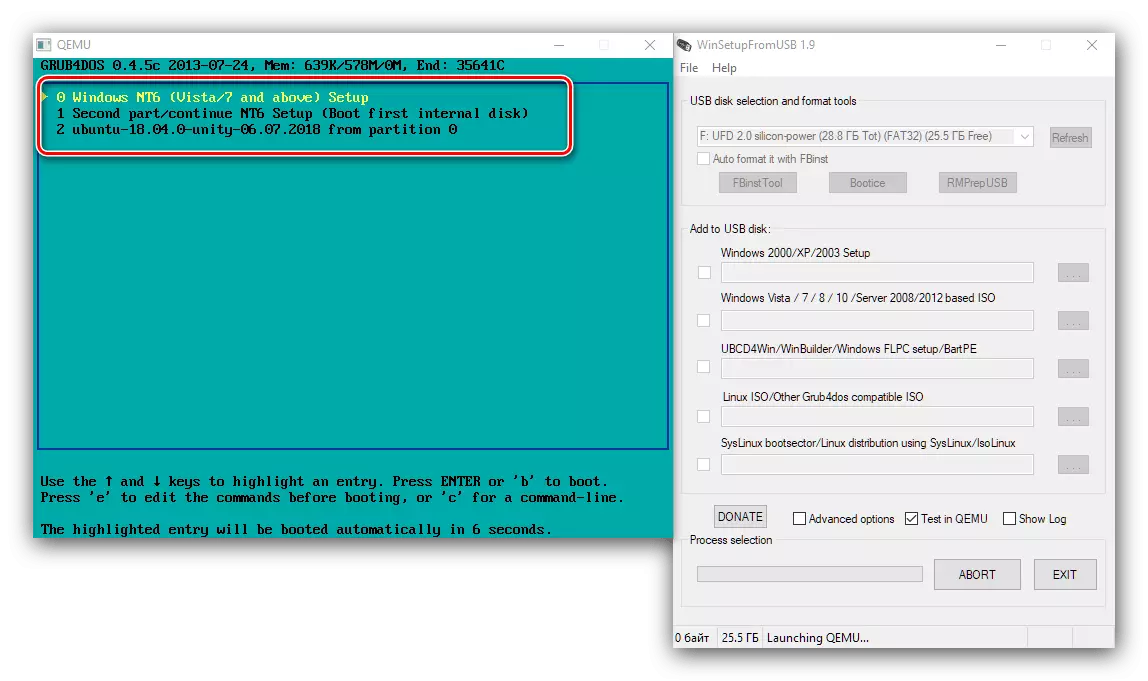
It is further recommended to check the performance of the flash drive. You can do this in the program interface - check the "Test In QEMU" option, then click "Go" again.
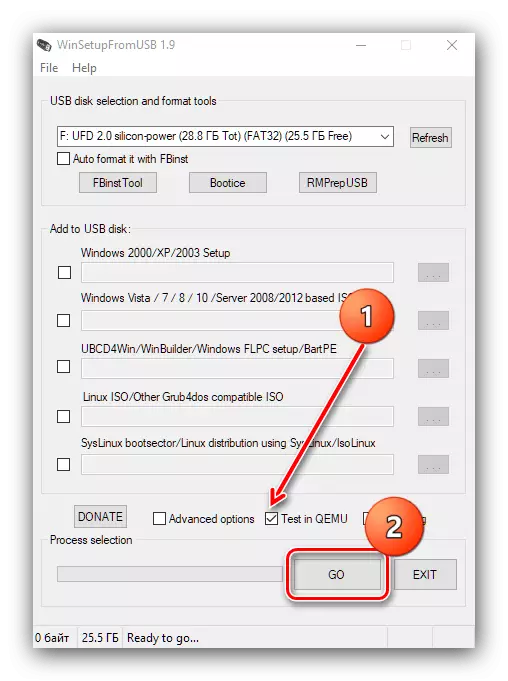
A window opens with a Grub4DOS loader emulator. If both images are displayed in it - excellent, the work is completed. If the flash drive does not work - repeat the action from the instruction above, but this time more carefully.

As we see, the use of WinsetupFromusB, despite the lack of Russian-speaking localization, is actually a pretty simple task.
Method 2: Multibootusb
The next application that we will look at - Multibootusb.
Download MultibootUSB from the official site
- Install the program. For some reason, the installer does not create shortcuts on the "desktop" and the folder in the Start menu, so it will be necessary to go to the folder where Multibootusb is set, and run it via the executable file.
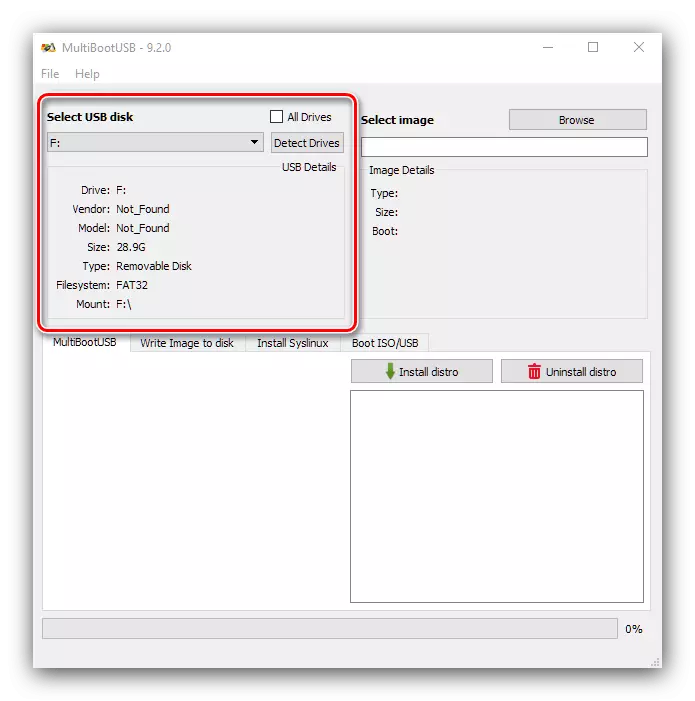
- Use the list in the Select USB Disk unit to set the desired drive. You can check the data about it below, in the "USB Details" section.
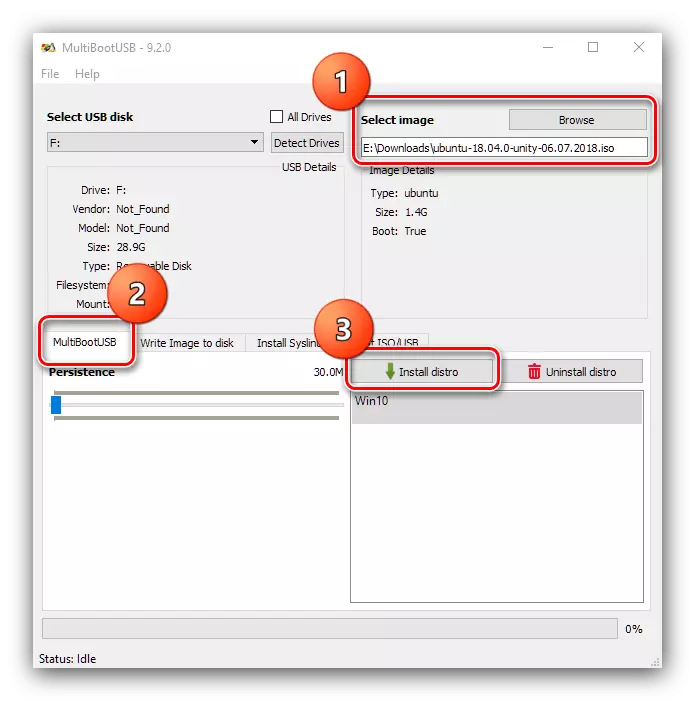
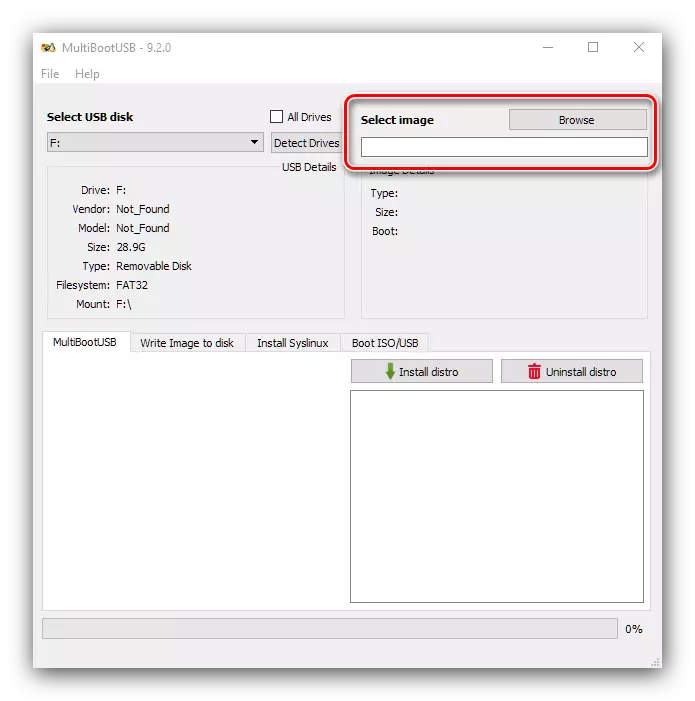
- Next, refer to the "Select Image" settings. Click on the "Browse" button to start selecting the first ISO, in our case it is Windows 10.
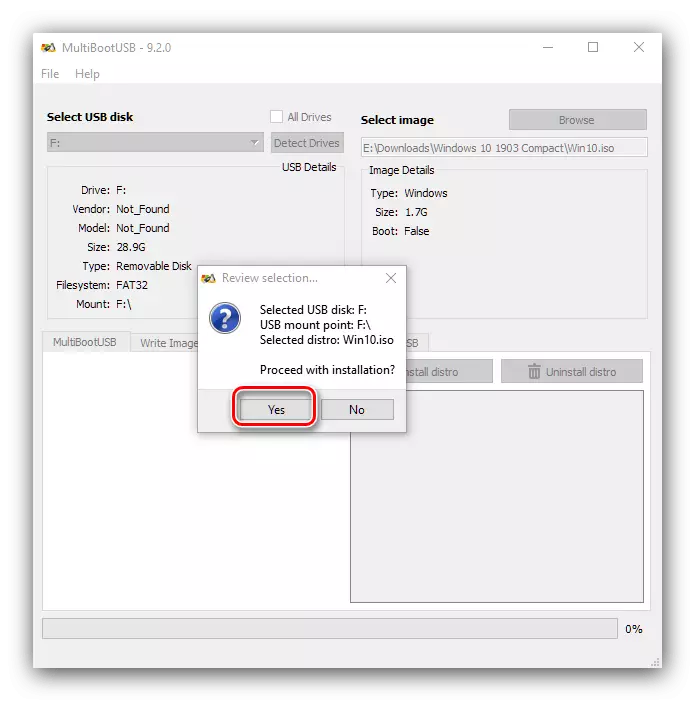
- In the bottom left part of the window, switch to the MultiBootusB tab. Next, use the "Install Distro" button.

Click "Yes".
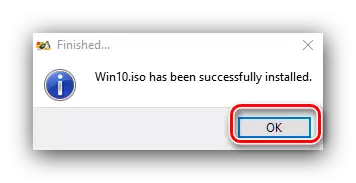
- Upon completion of the record, the dialog will open, click on it "OK".
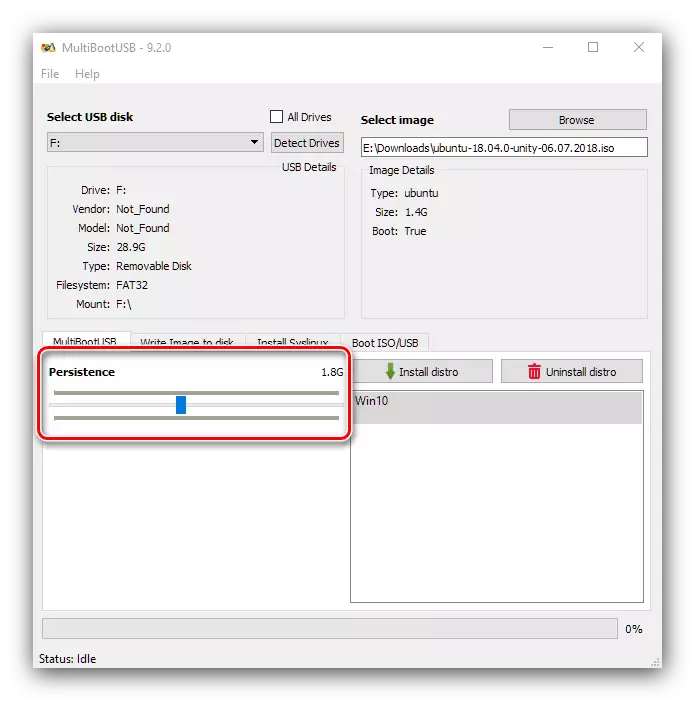
- Next, repeat the procedure from steps 3-5, but select and write down the second ISO.
If one of the Linux distributions on the MultiBootUSB tab, a slider appears for the name "Persistence". This option allows you to add a virtual HDD file to the image, the size of which is determined by the slider. If your goal is the usual installation of the system, you can change anything.
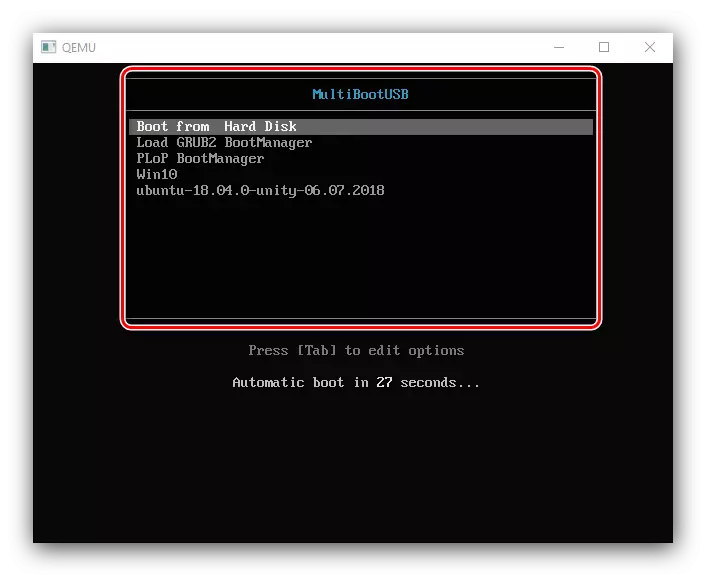
- To check the flash drive performance, open the Boot ISO / USB tab. Contact the Boot USB settings block and use the button with the same name. If everything is done correctly, an emulator opens with a working boot, as in the case of WinsetupFromusb. In it, operating systems recorded during the procedure should be indicated.
This method is less complicated than the previous one, but suffers from the same shortage, namely the lack of Russian.
Method 3: XBoot
The third solution of our today's task is the xboot tool, the most convenient of all already mentioned.
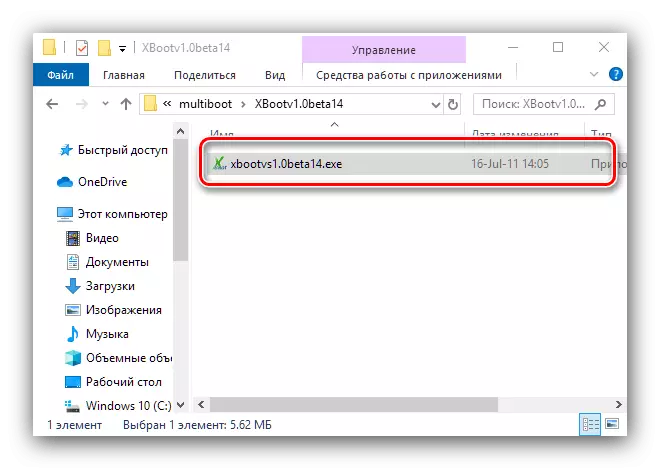
- You do not need to install the application, just run the EXE file.
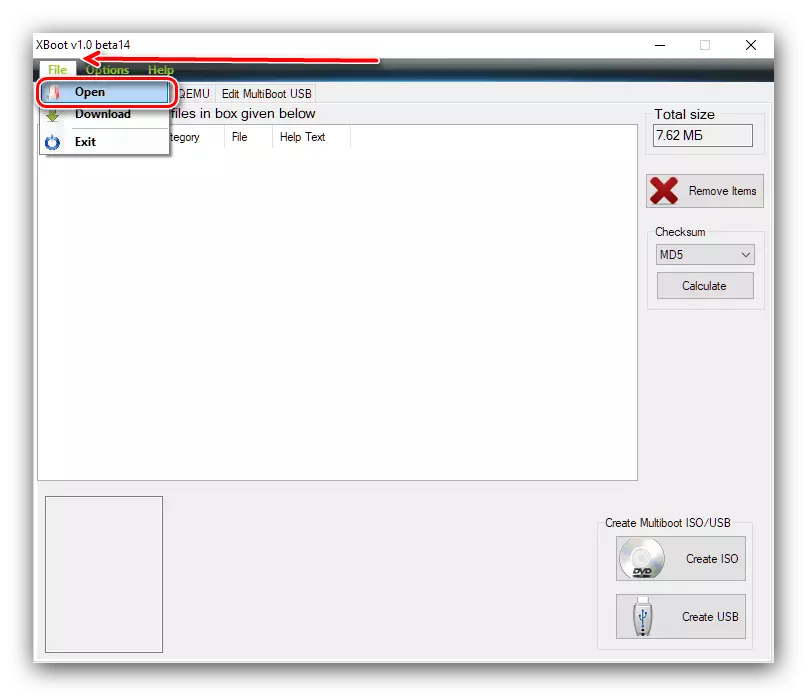
- Next, follow the points "File" - "Open".
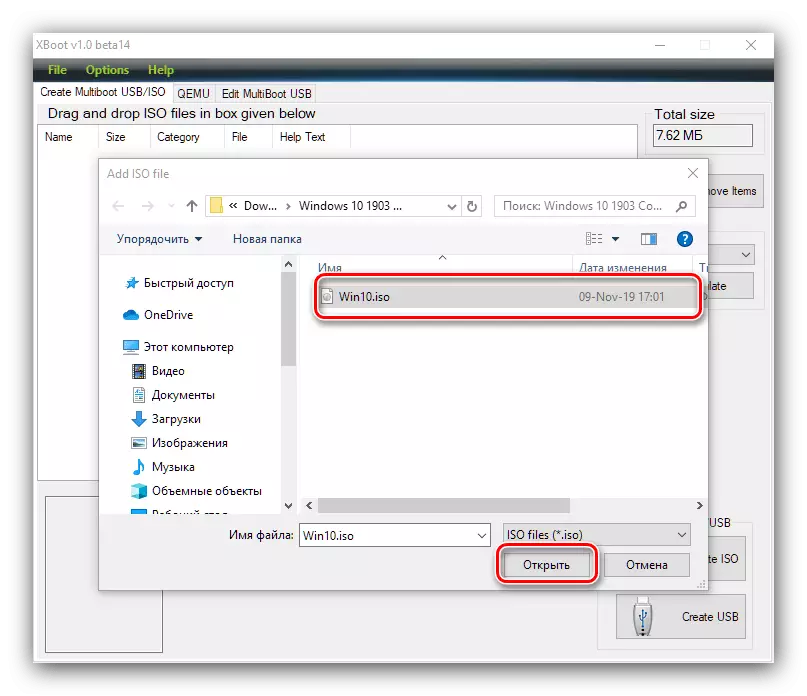
- Use the "Explorer" to select the first image.
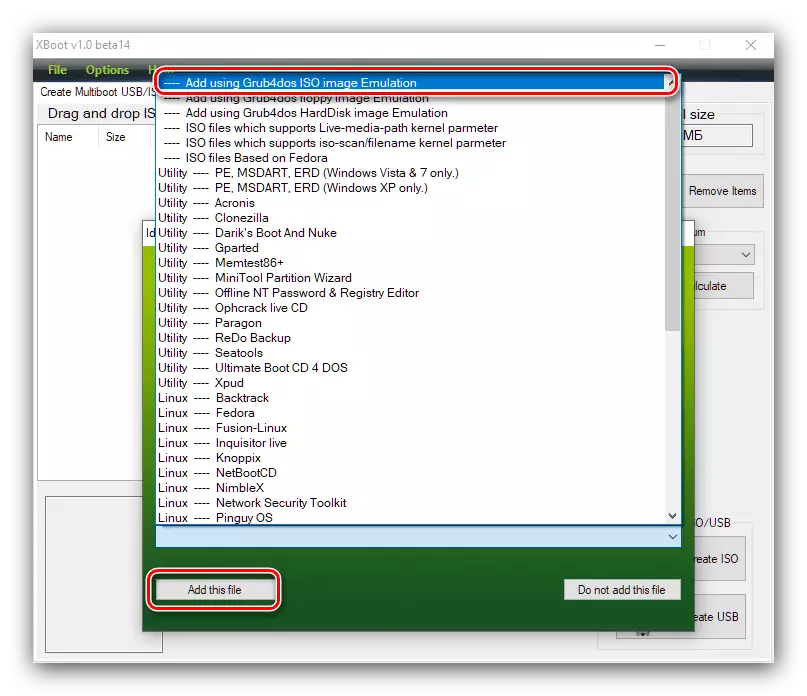
- To continue the work, the boot file will be identified. If this happens automatically, use the drop-down menu and select "Add Using Grub4dos Iso Image Emulation".
- Repeat steps 2-4 to add a second image. Check the downloaded ISO files.
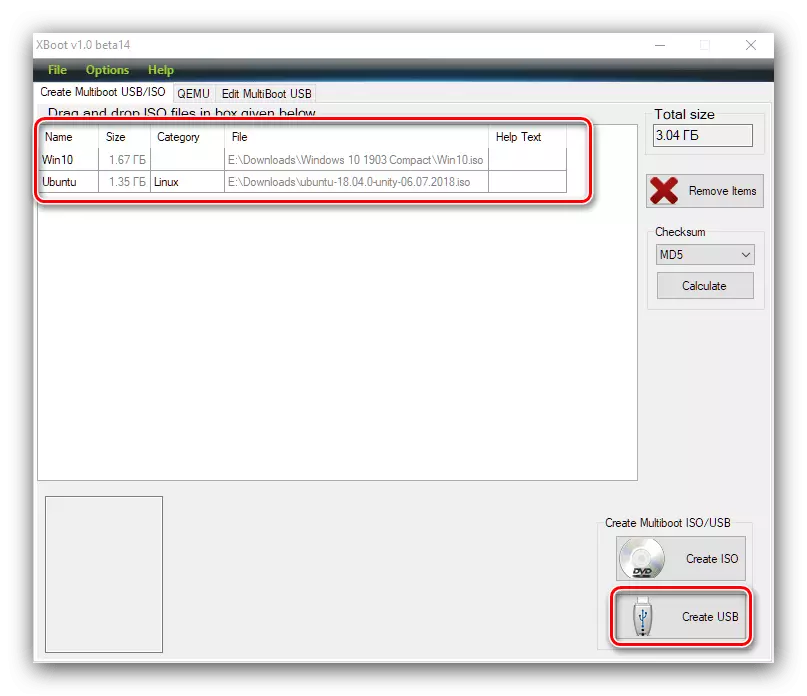
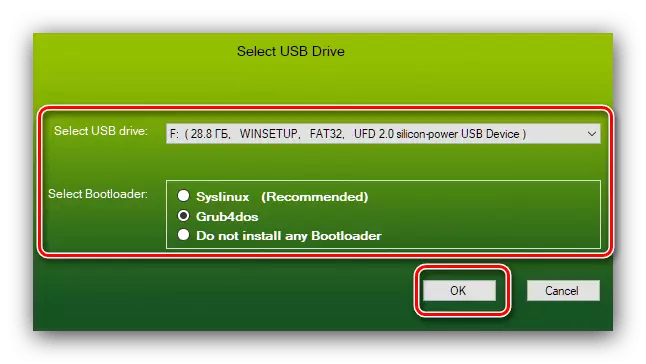
Use the Create USB button. A pop-up window will appear. In the SELECT USB Drive list, select your disk. Next, in the Select Bootloader menu, check "Grub4dos" and click OK.
- Wait for the end of the procedure, after which you close the application.
The XBoot application is slower than the above-mentioned solutions, but the interface is more convenient.
We looked at possible options for creating a multisage flash drive in Windows 10. The listed list is far from complete, however, the mentioned programs provide the most convenient solutions to this task.