
Now even the sound cards built into motherboards are capable of issuing high-quality sound, however, sometimes the desired result is not achieved due to any disadvantages of the used equipment to play sound. Partially correct this situation allows the settings of the equalizer - the system element of the operating system, which is responsible for adjusting the frequencies and allows you to achieve the desired sound. To begin with, this option will have to be included to configure this option for personal preferences. It is about the primary task that further on the example of the latest version of Windows will be discussed.
Method 1: third-party programs
As the first version of the activation of the equalizer, we propose to consider third-party programs to set the sound. Often, their functionality is simply more than the one that the funds built into the operating system are offered. There are a huge amount of representatives of such software, so everyone will not be able to consider them, but as an example today we took Viper4Windows.
- Any third-party software first need to download and install. Download it is better to produce from the official site so as not to infect the computer with viruses. As for Viper4Windows, you can proceed to download by clicking on the link button above.
- After downloading, a standard installation is made, so we will not focus on this aspect.
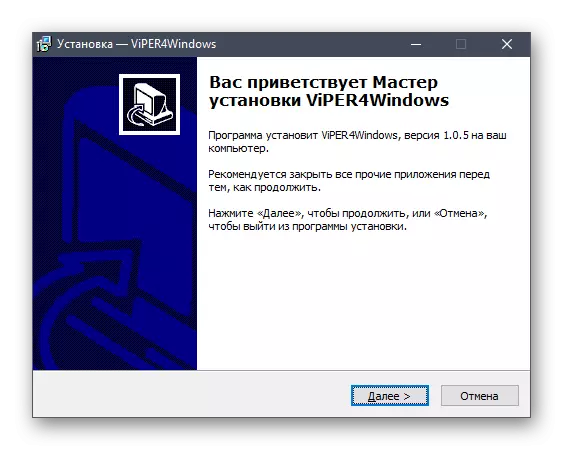
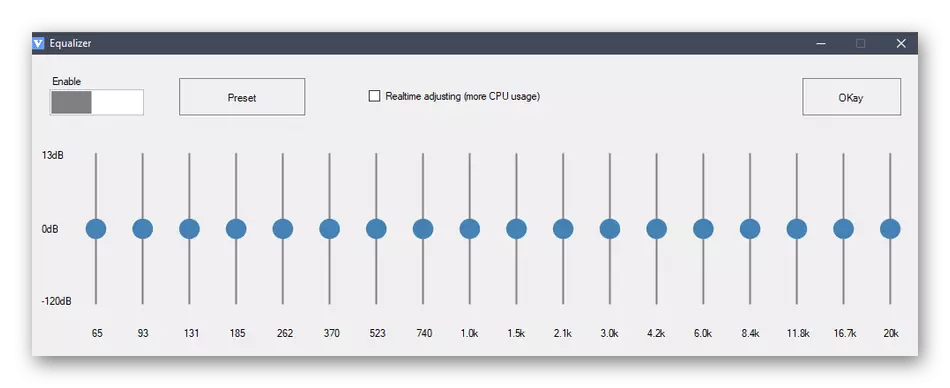
- When you first start the program, you can familiarize yourself with its main tools and options to understand what effect on the quality of playback is capable of providing. Then go to the equalizer settings by clicking on the corresponding button.
- In the window that opens, there are many bands with different frequency range. Start adjusting them and listen to real-time changes to achieve the desired effect.
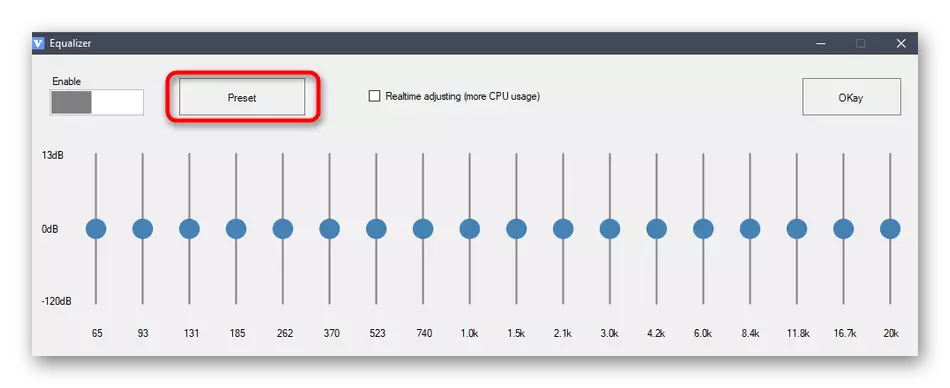
- Pay attention to the "Preset" button. When you click on it, a window will open with already preparations of configurations in different musical genres.
- If one of the existing profiles will be satisfied, simply select it and save the changes.

Approximately the same principle operates other programs for setting the sound, inside which there is a private configurable equalizer. If the application addressed above had to do not, we suggest familiarizing yourself with the list of alternative solutions, reading reviews on the following links.
Read more:
Sound configuration programs
Programs for enhancing sound on a computer
Method 2: Realtek HD Audio Dispatcher
This method will suit all those users who have sound cards from Realtek. Now almost all motherboards have a sound component from this company, therefore, with the setting of the equalizer there should be no problems. However, before starting the following actions, we recommend that you make sure that all the necessary drivers and the control panel itself are installed in the OS. You can cope with this task by studying a separate manual on our website on the link below.
Read more: Download and install audio drivers for Realtek
- First of all, you need to open the Realtek HD Manager to configure the equalizer. This is done, for example, through the icon on the taskbar or executable file in the folder with the component. In more detail about all the methods of opening the dispatcher, read in another article on our website by clicking on the following link.
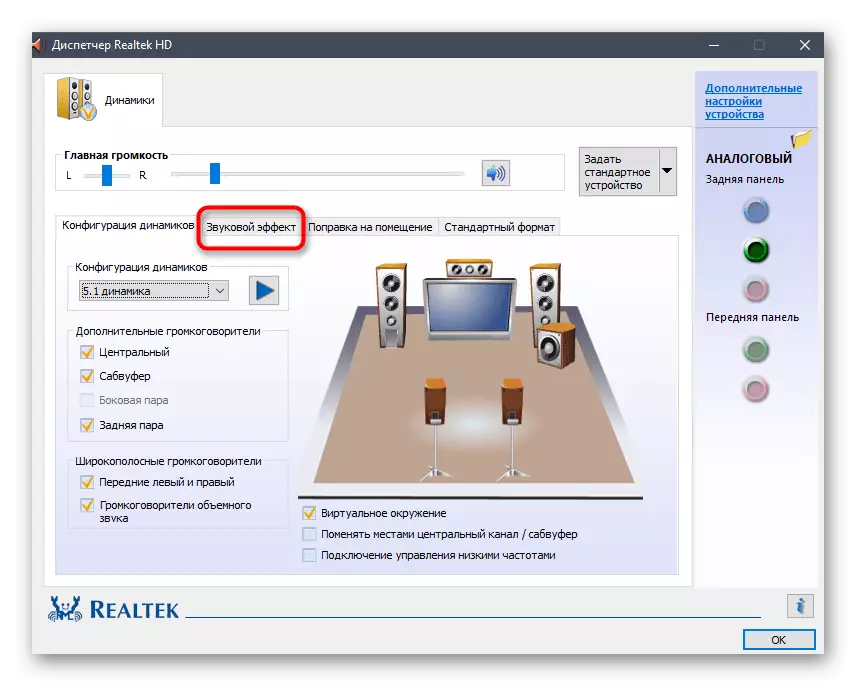
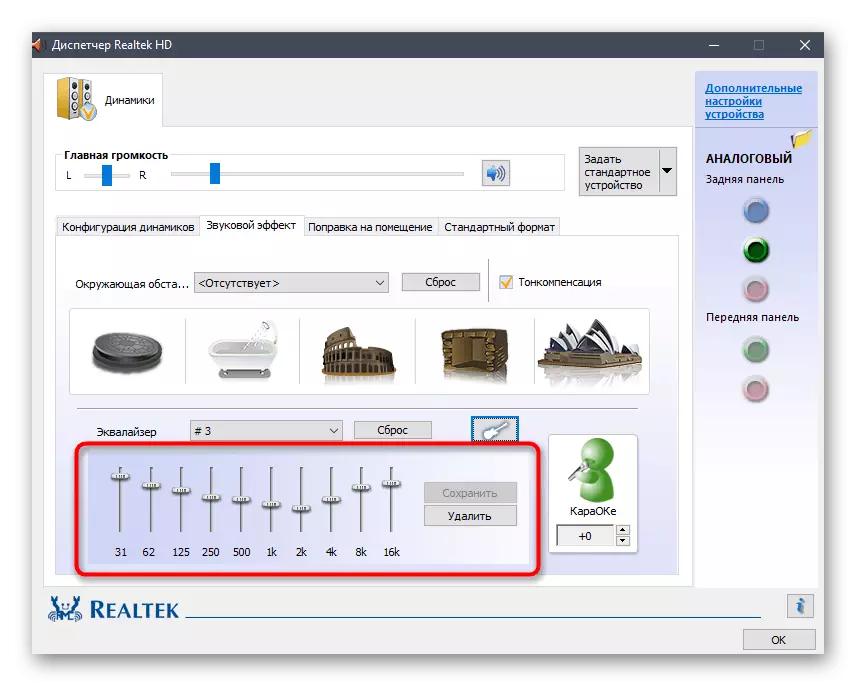
- After starting, move to the "Sound Effect" section.
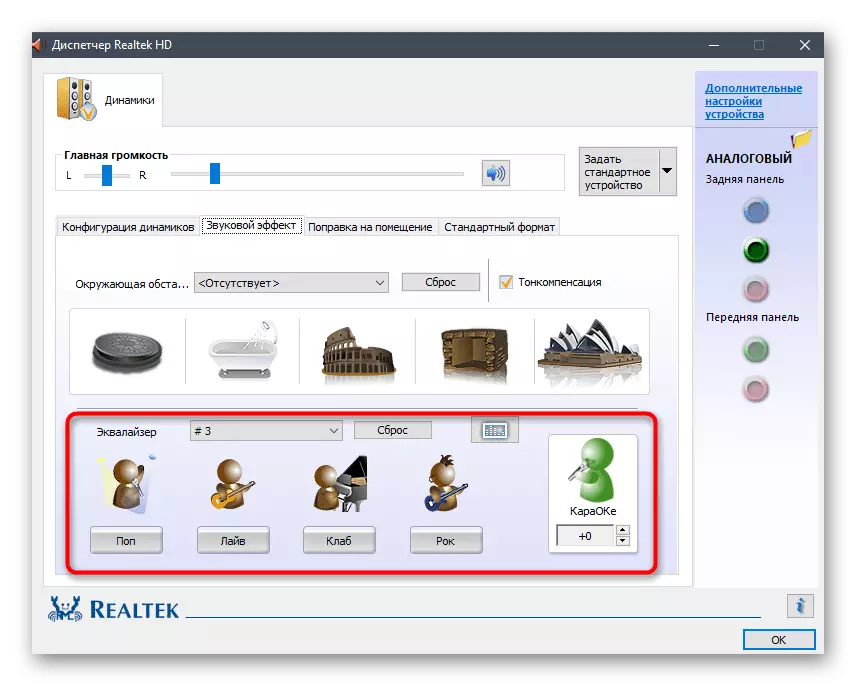
- Here you can immediately set the equalizer setting using the existing billets. If you need to configure it yourself, click the left mouse button on a specially reserved button.
- It remains only to adjust the frequencies and save the change in the form of a separate profile by setting it the corresponding name.
- Now you can switch between your profiles and billets by turning the pop-up menu and selecting the desired item.

Read more: Realtek HD Dispatcher Opening Methods in Windows 10

Method 3: Sound Control Panel
In the Windows 10 operating system, there is a menu in which you can configure sound, including equalizer. If the previous two methods are not convenient to you, we recommend using it because it is final.
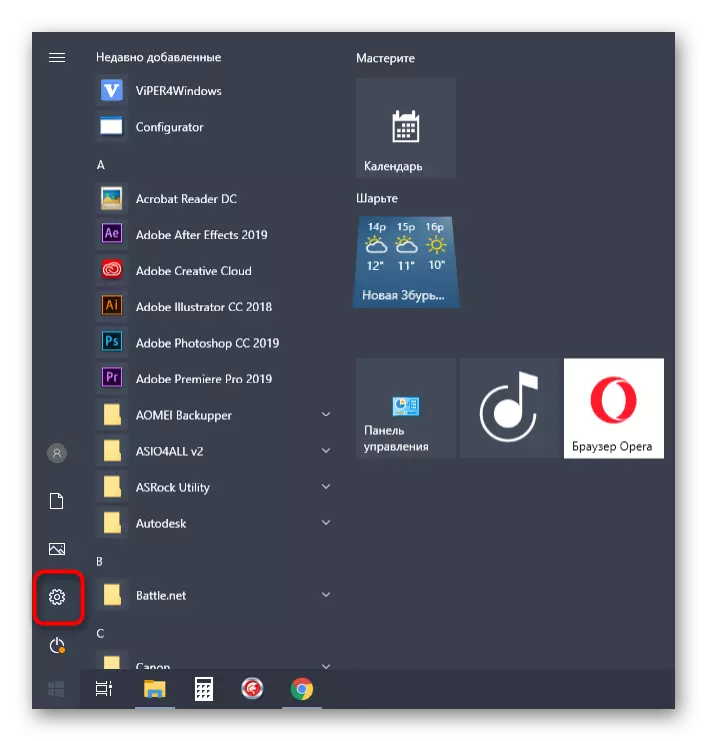
- Open "Start" and go to "Parameters" by clicking on the icon in the form of a gear.
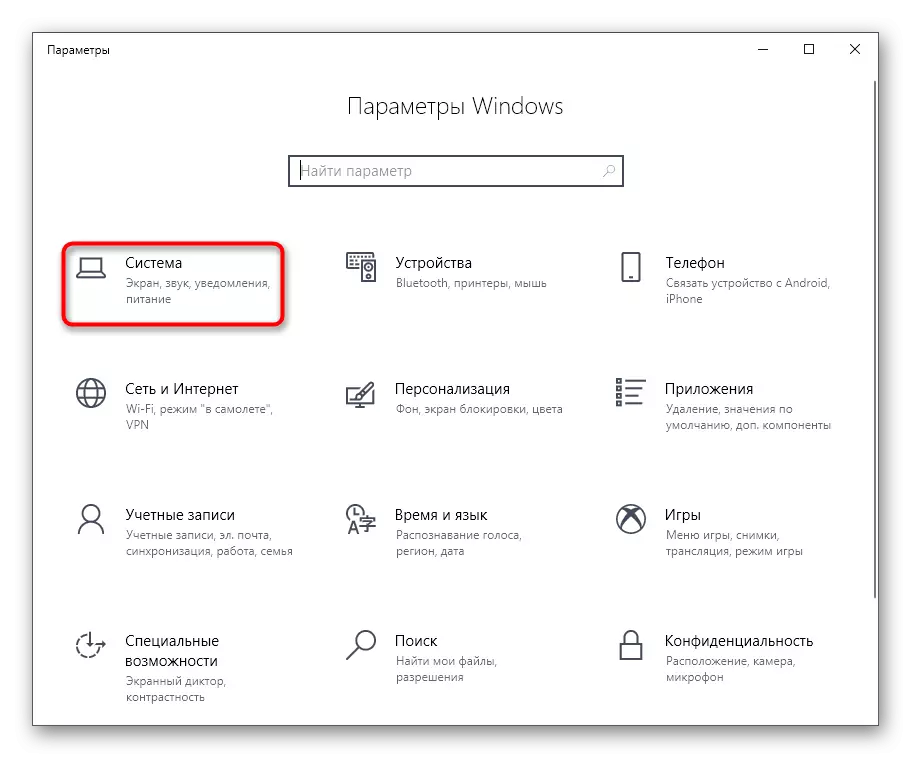
- In the window that appears, you are interested in the "System" section.
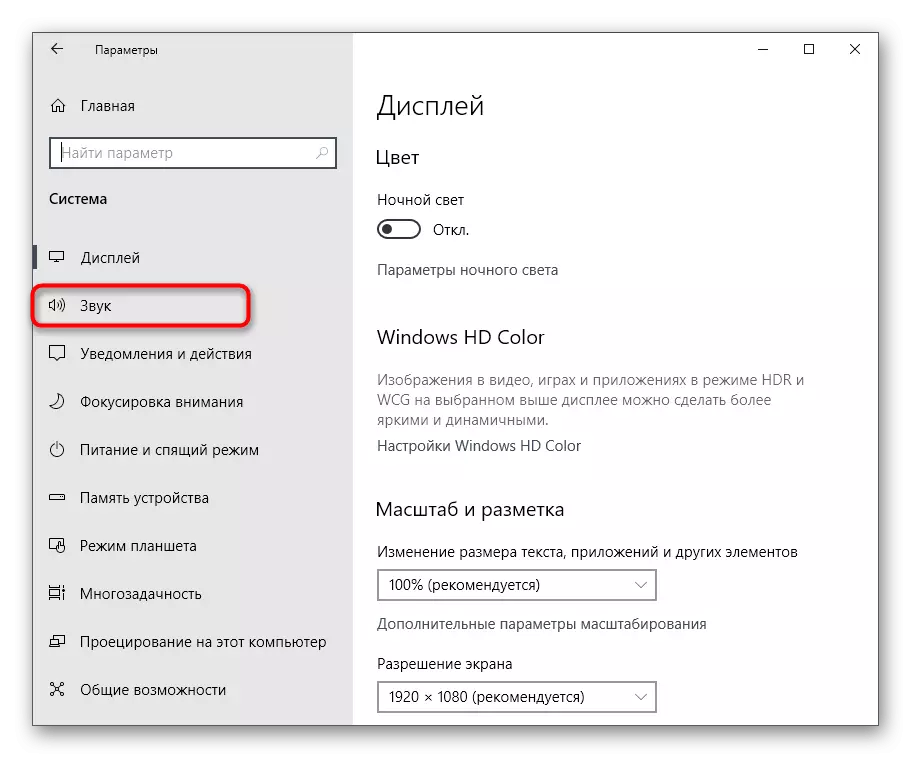
- Through the left panel, move to the "sound".
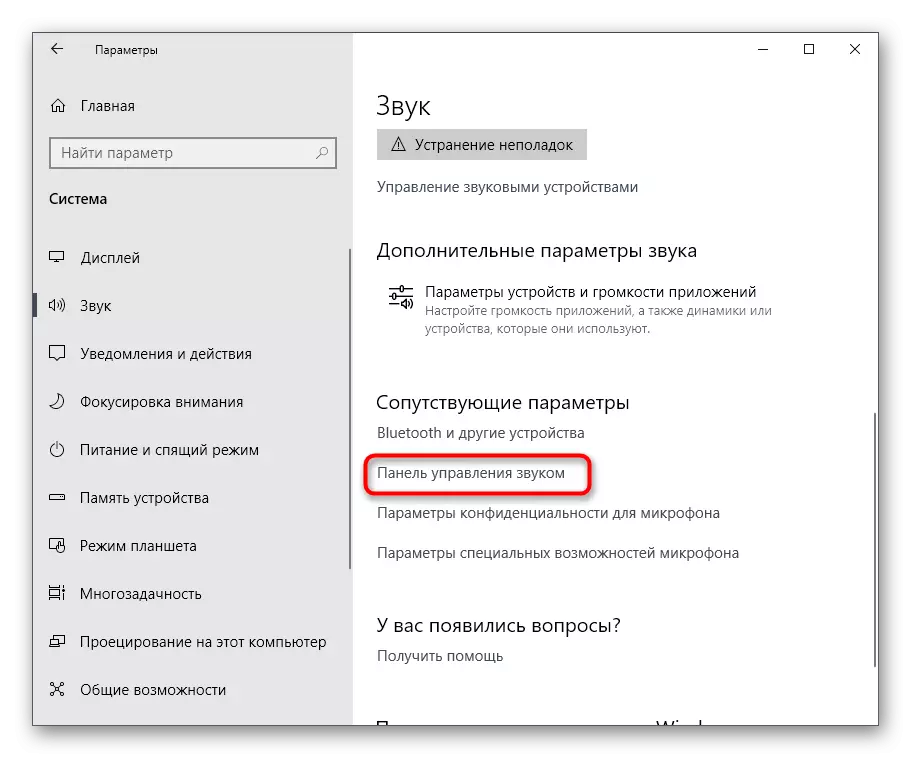
- Click on the inscription "Sound control panel".
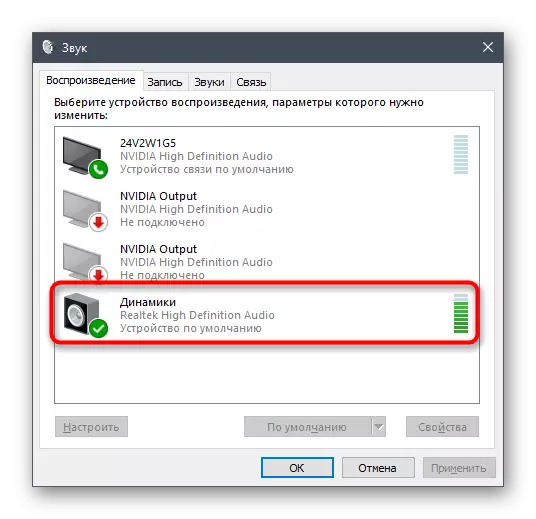
- A separate menu opens in the Playback tab. Here, find the active speaker and double-click on it with the left mouse button.
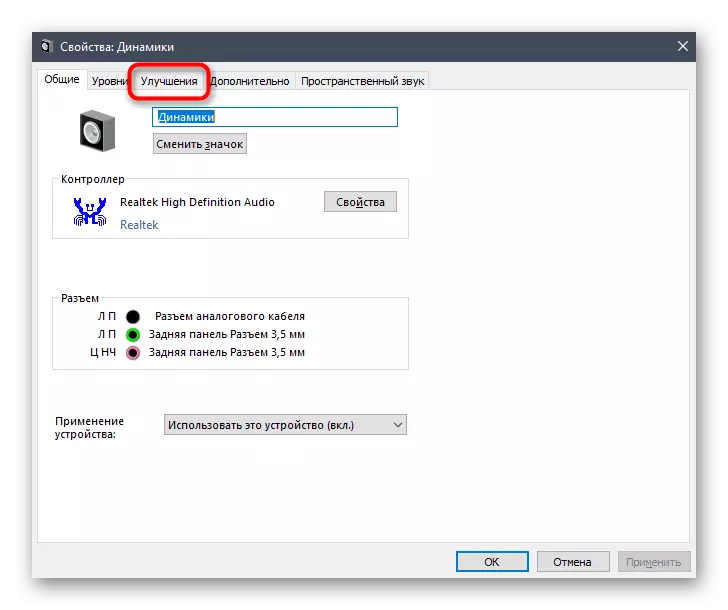
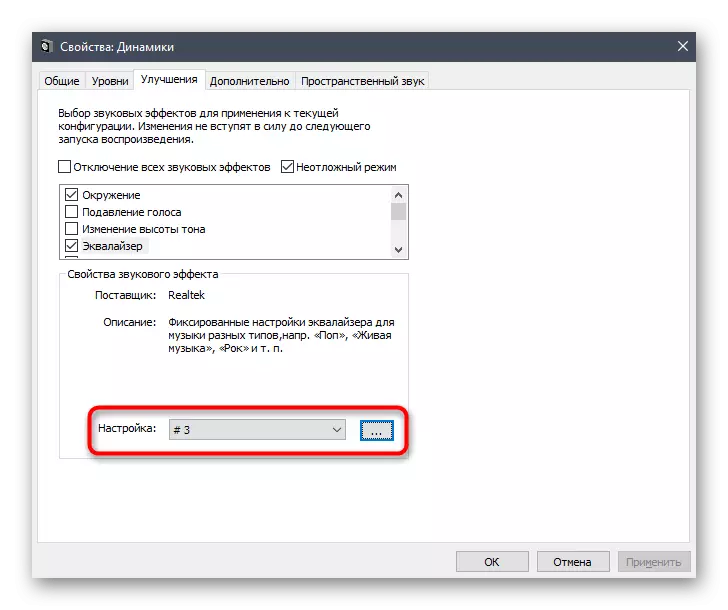
- Click on the "Improvements" tab.
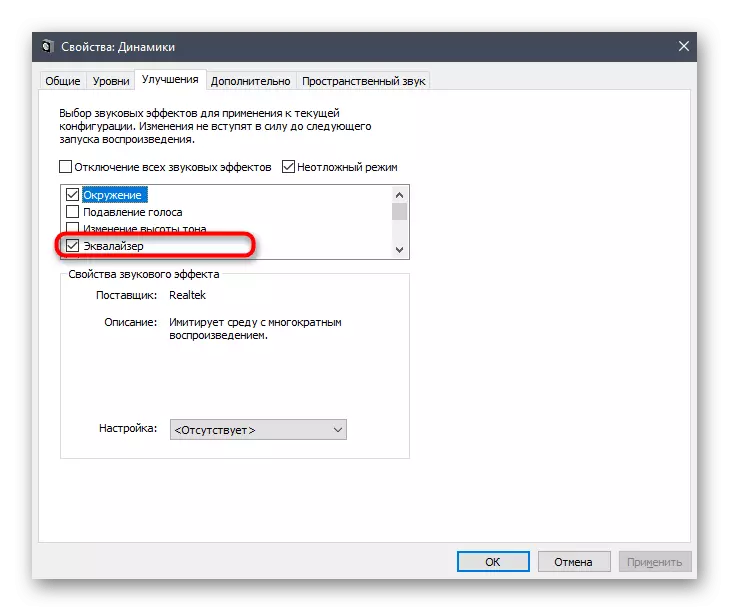
- Put a tick near the "Equalizer" item.
- Now you can apply the existing settings or go to the formation of your configuration.
- The principle of controlling the sliders is no different from the previously discussed, and upon completion, do not forget to keep all changes.

As part of today's material, we disassembled the three ways to include an equalizer in Windows 10. As can be seen, almost all of them are universal, but have different levels of functionality.