

This article we will talk about online services that allow you to create and arrange an image for its further sending to printing and receiving stickers. If you are interested in electronic stickers that can be added to the photo or use for other purposes, read the reference guide below.
Read more: Add sticker to photo online
Method 1: Canva
Canva is a multifunctional graphical editor operating online. It is focused on creating designs, which will make it possible to arrange a beautiful sticker. There are many free and paid tools that can be applied in the editor, creating a unique project.
Go to the canva online service
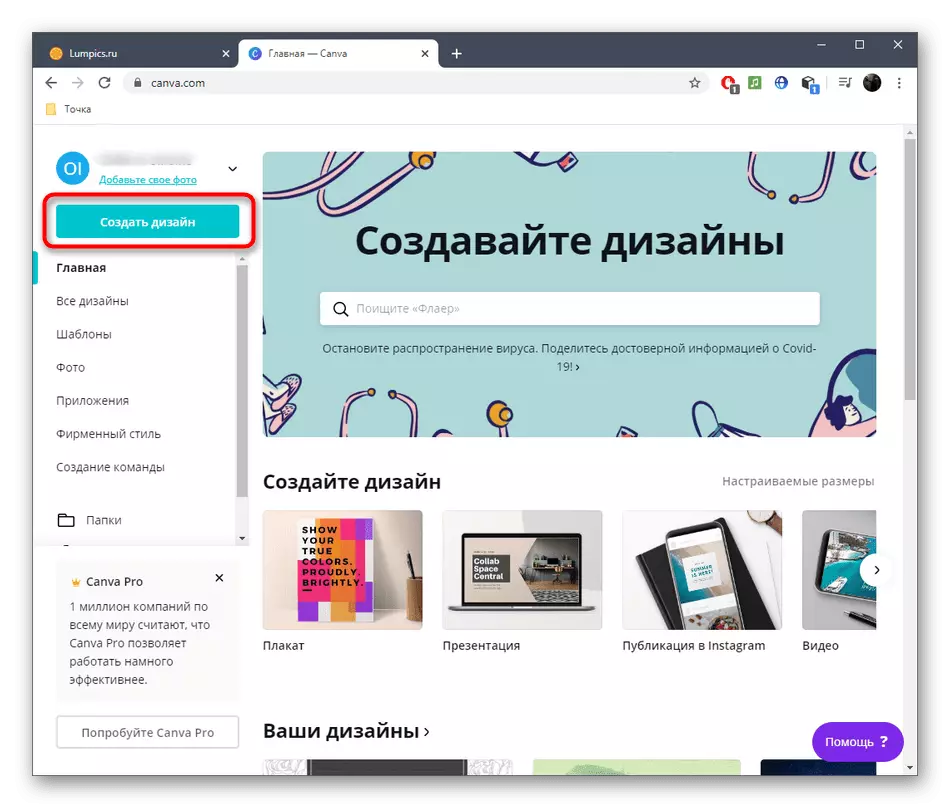
- Open the CANVA main page by clicking on the link above, where to follow the standard registration procedure and click on the "Create Design" button that appears.
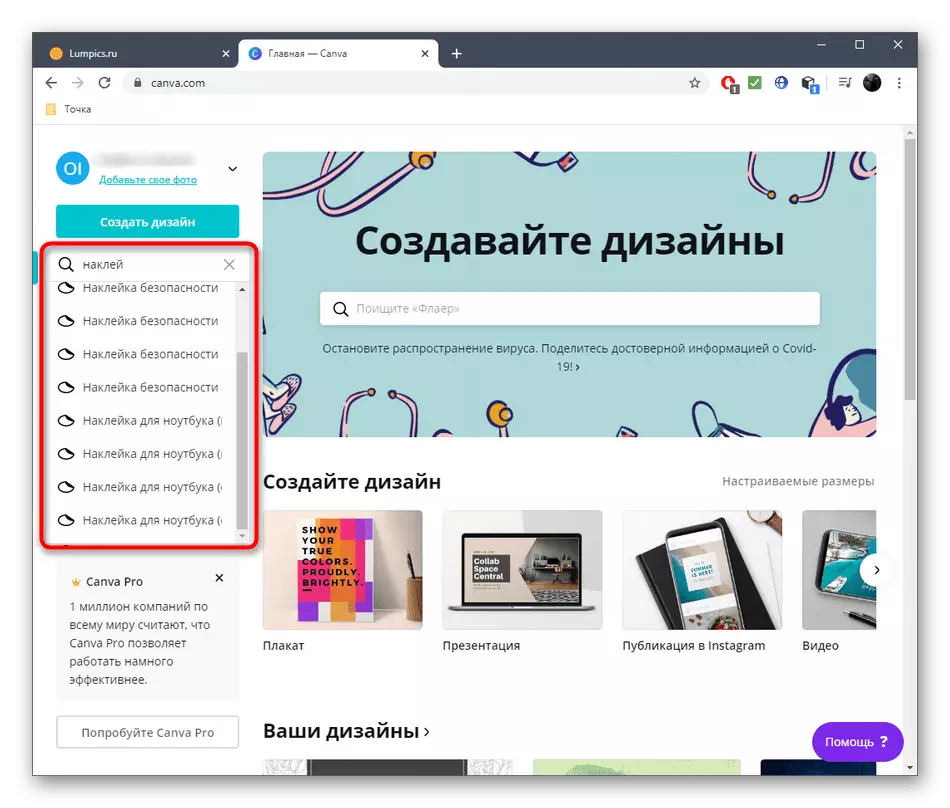
- An additional drop-down menu appears, where to use the search if you want to adapt your sticker under ready-made templates.
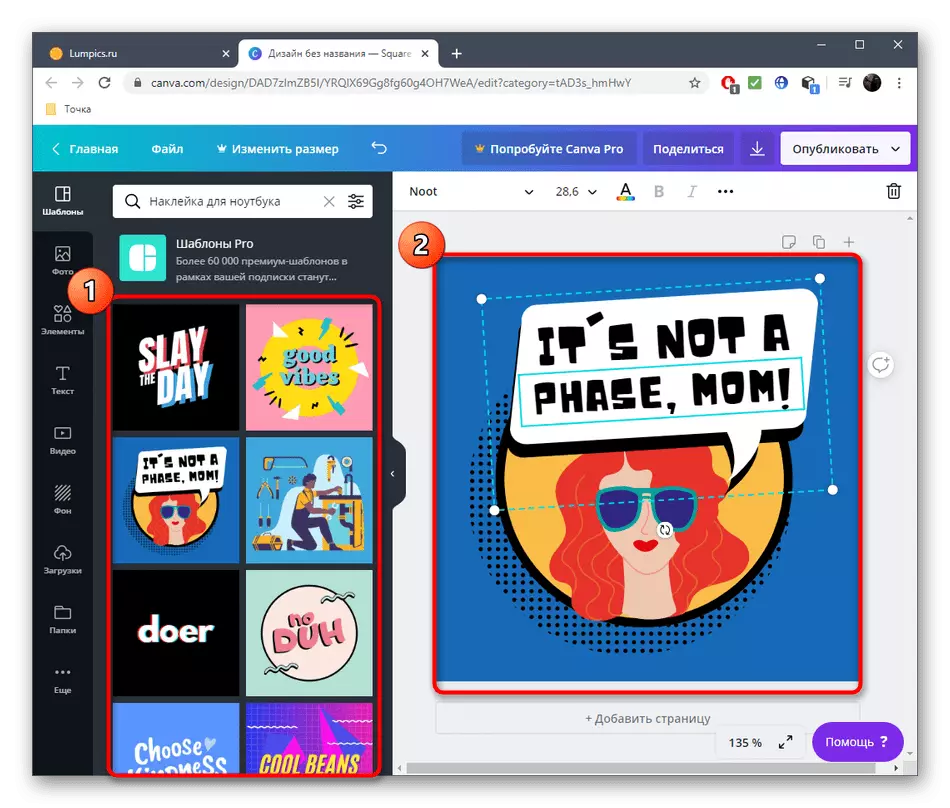
- After selecting one of the templates or create a new project, a graphic editor window will appear. The list appears the list of suitable blanks - move on it to select the optimal design or immediately go to manual addition of parts.
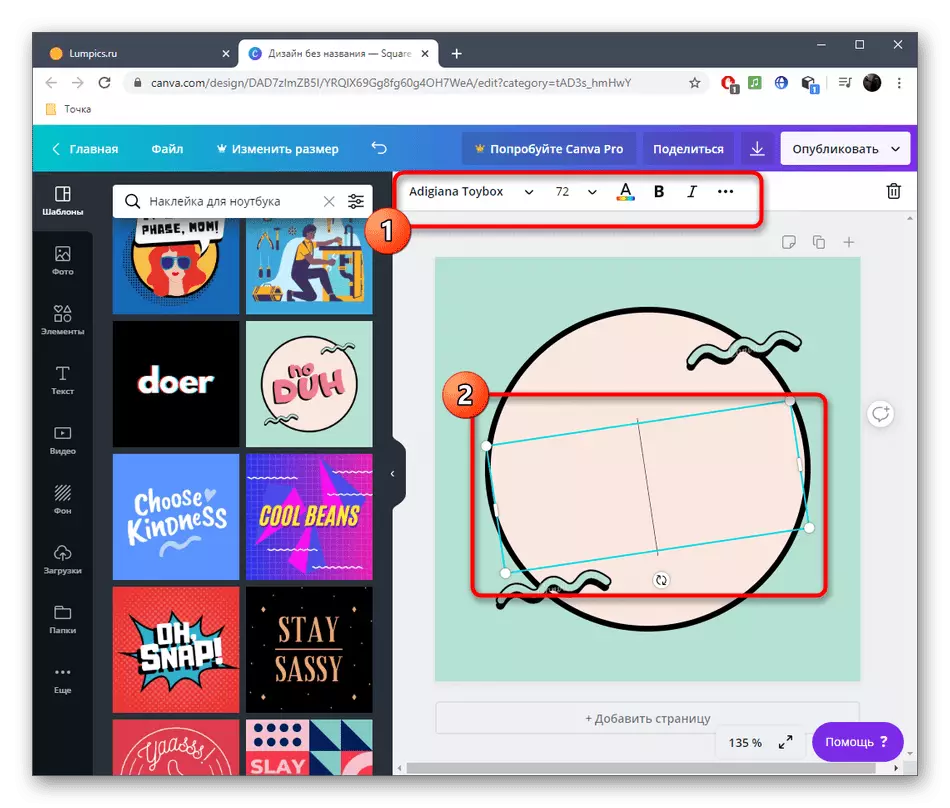
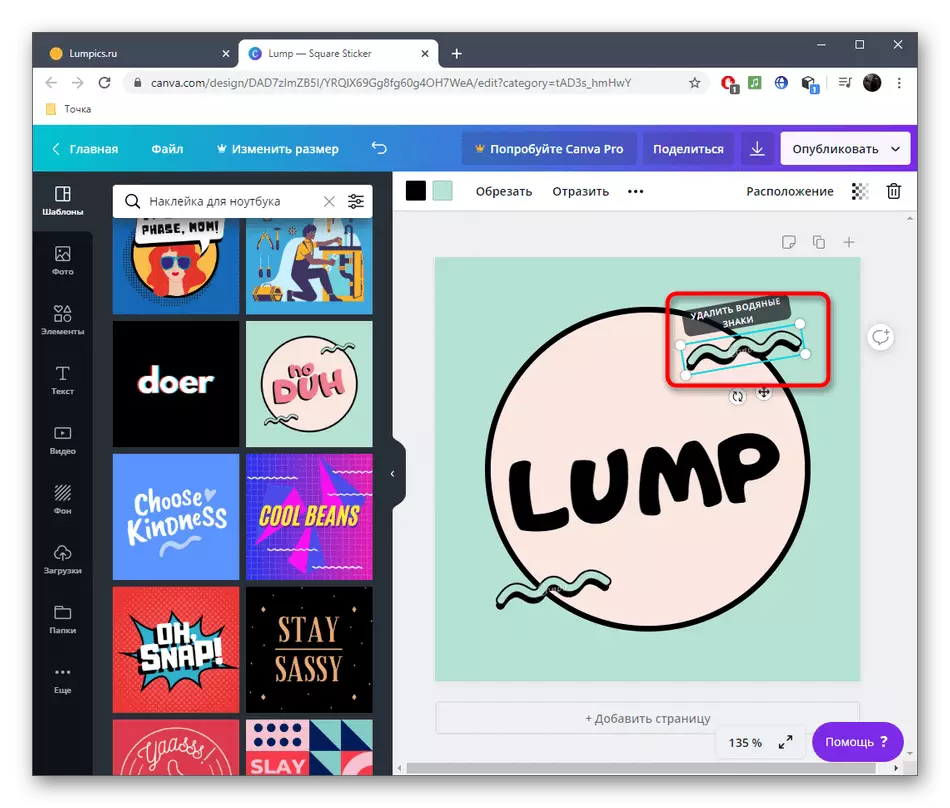
- If you need to edit the elements of the finished template - select them, transform and change the contents, for example, adding your inscription.
- All watermarks and stickers on the workspace can be moved or deleted at all if they are not needed.
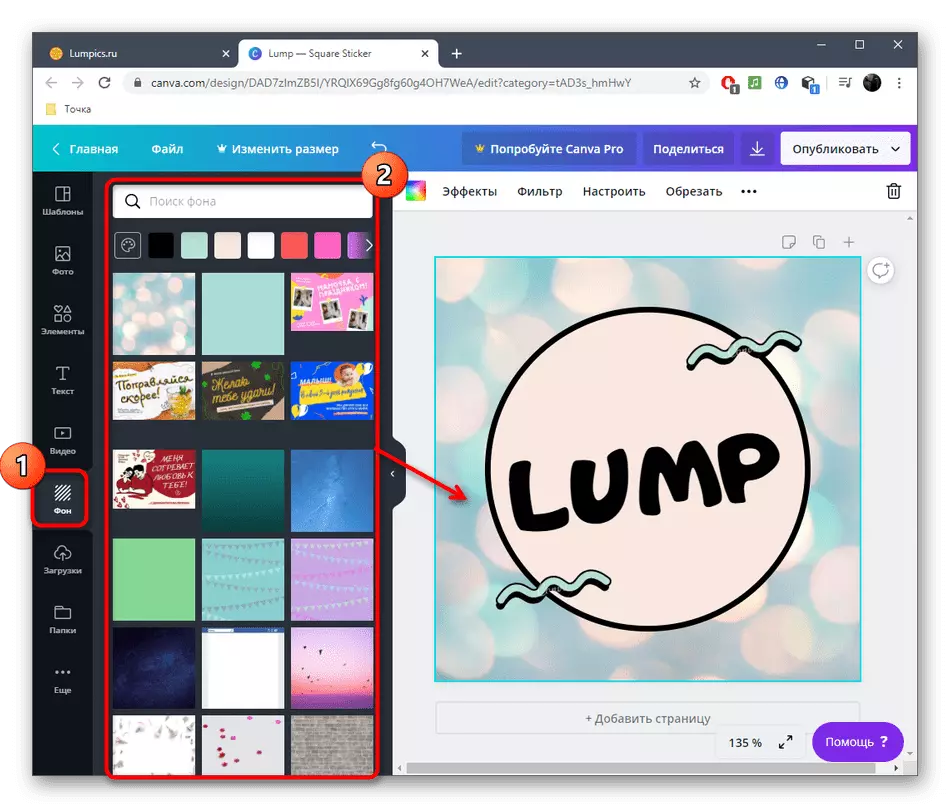
- Many pay attention to the background when creating stickers, so as not to put it simply on a blank sheet. In Canva, a special partition is assigned to this, find the appropriate background there or install a specific color, and its adaptation under the current project will occur automatically, after which the result will immediately appear in the preview window on the right.
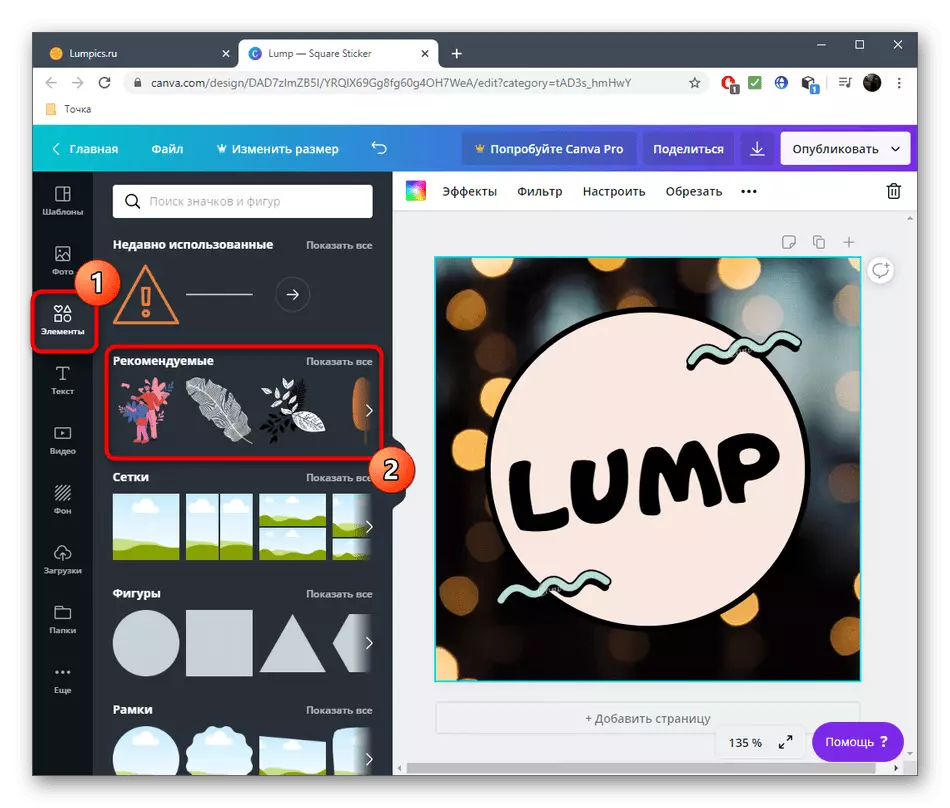
- Additional elements in the form of arbitrary figures or full parts are located in the corresponding section. Consider that some of them are free, and for others will have to pay. Add them to the sticker and transform at will.
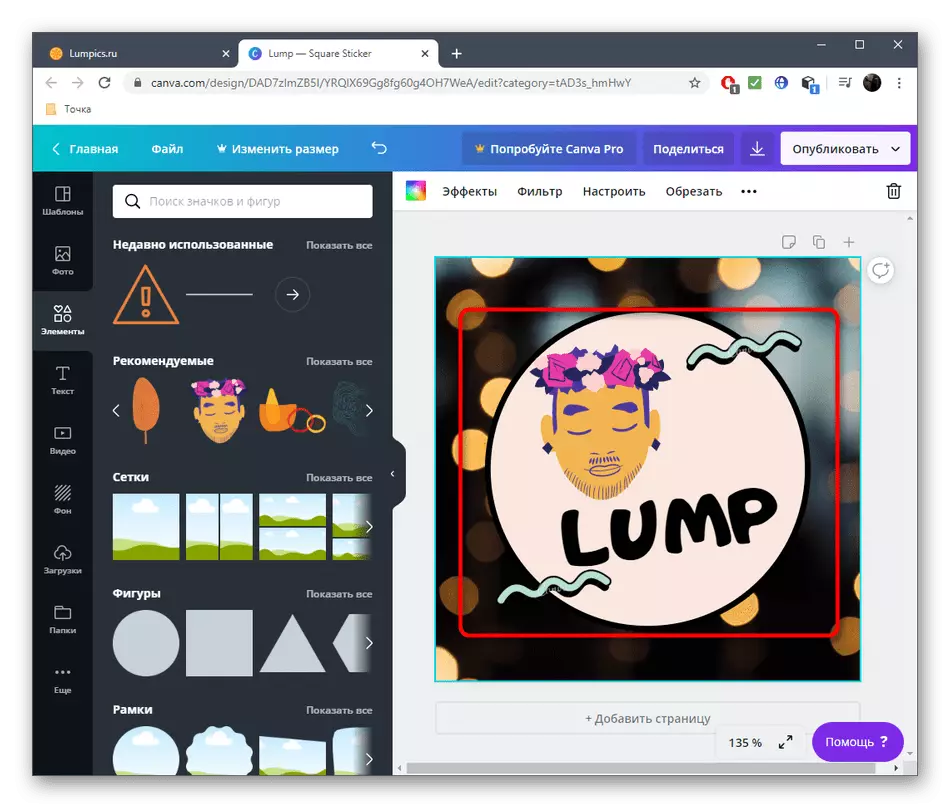
- Set the location and size of the added objects in the same way as it is done with other elements.
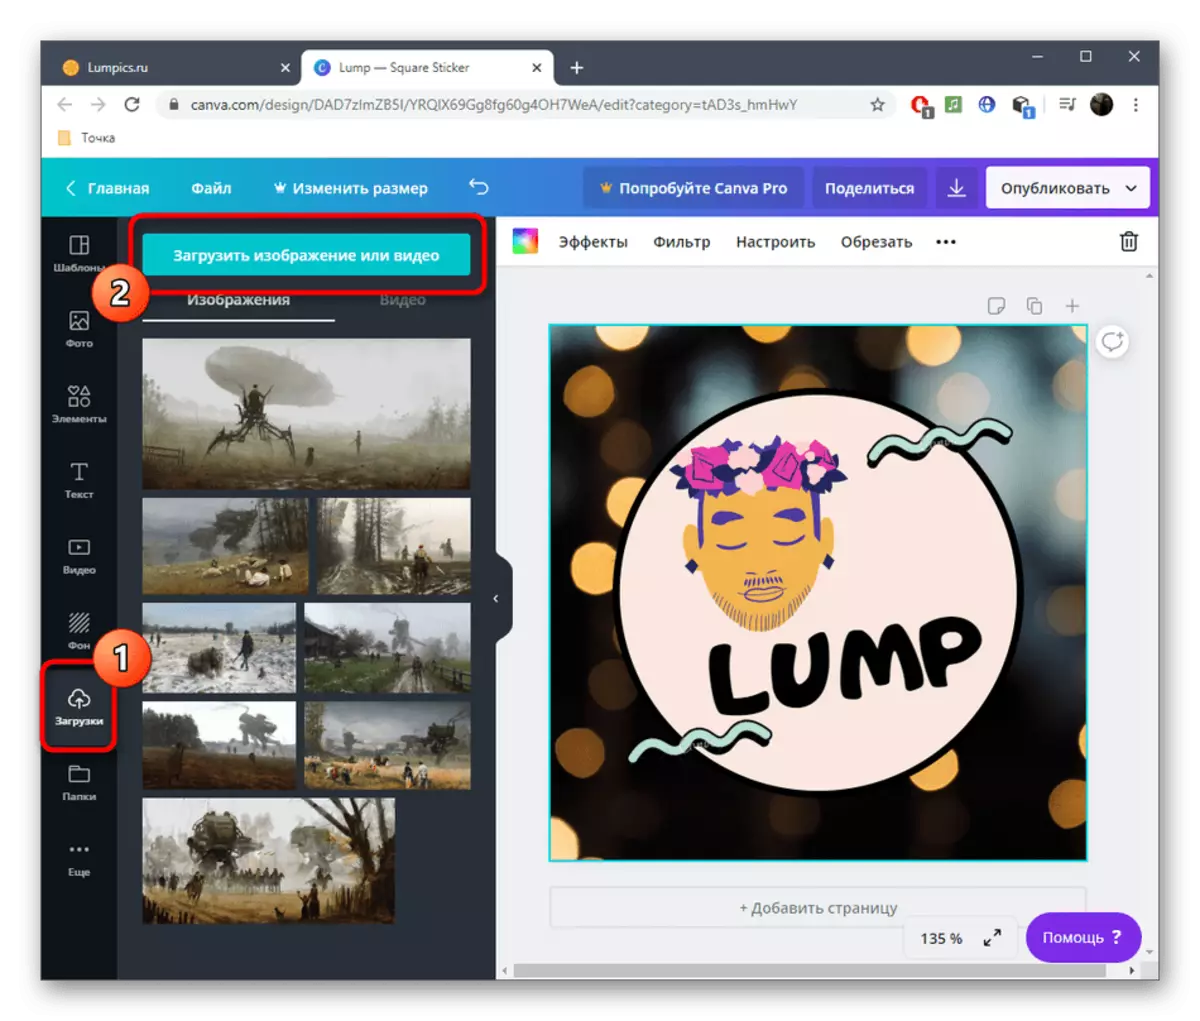
- As a component, such as the background or the main image, you can use the file stored on the computer. To do this, go to the "Download" section and click on "Download Image or Video".
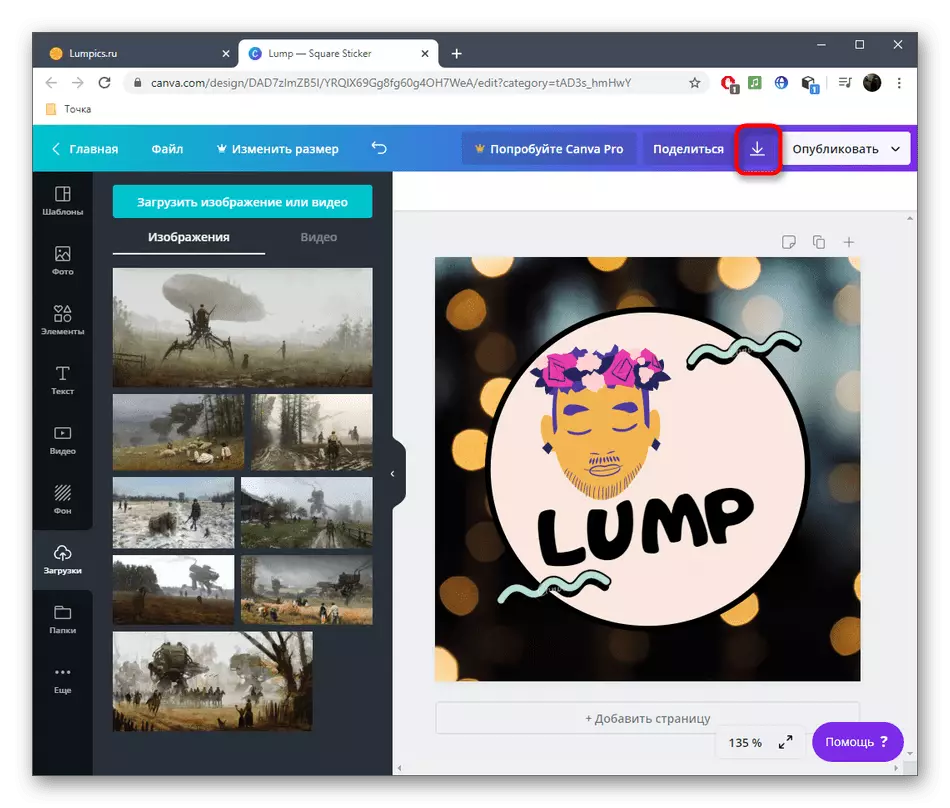
- Before saving, make sure that all items are located correctly, and the final version is ready for further printing. After that, press the corresponding button on the left of the "Publish".
- Select a file type that is suitable for printing, pay premium functions if you use them, and then download the project to your computer.

Consider that some print editions take only certain file formats that have layers and specific parameters. Be sure to specify this information before saving the finished stickers so that later it does not have to redo it.
Method 2: Picsart
Online PICSART service is divided into modules, each of which is responsible for performing a specific operation. If you only need to change the background for creating stickers, remove it or add a couple of items, consider Picsart precisely.
Go to the online service PICSART
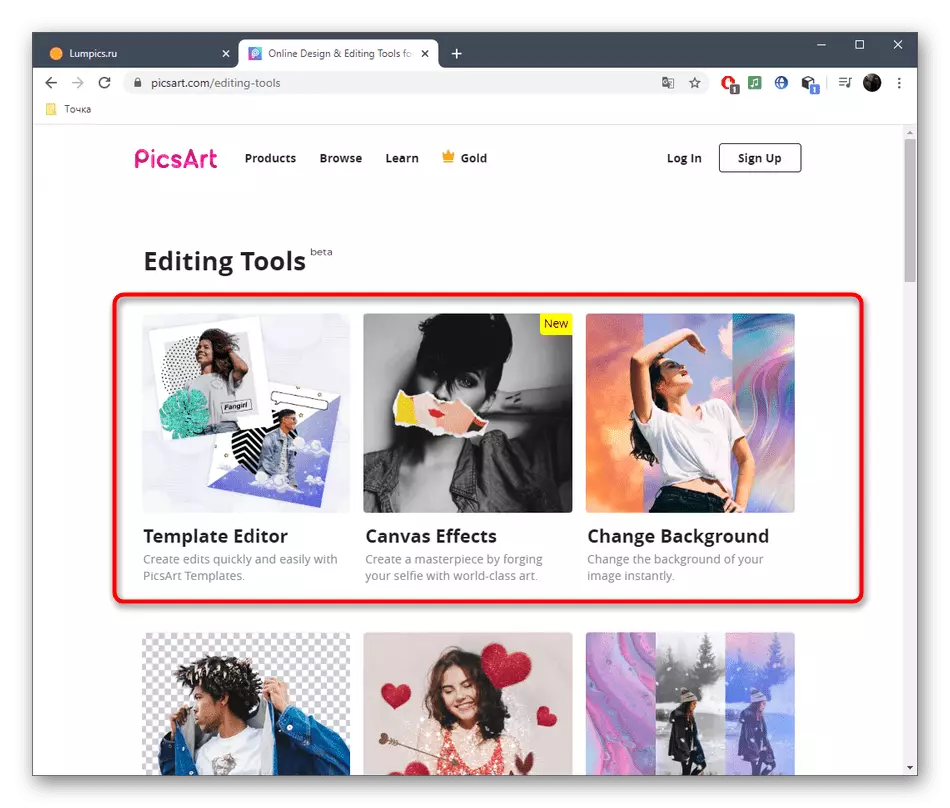
- Use the link leading to the Picsart page where you select one of the modules you want to use photo editing.
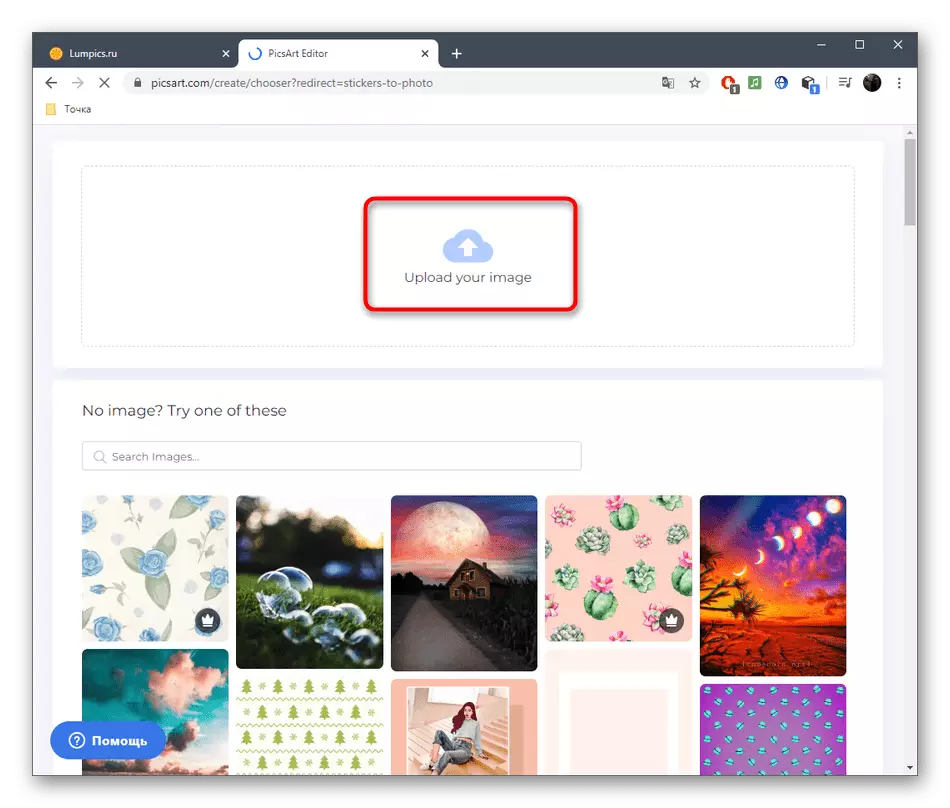
- We will analyze an example on changing the background. After moving to a new tab, click "Upload Your Image" or drag the file to the selected area.
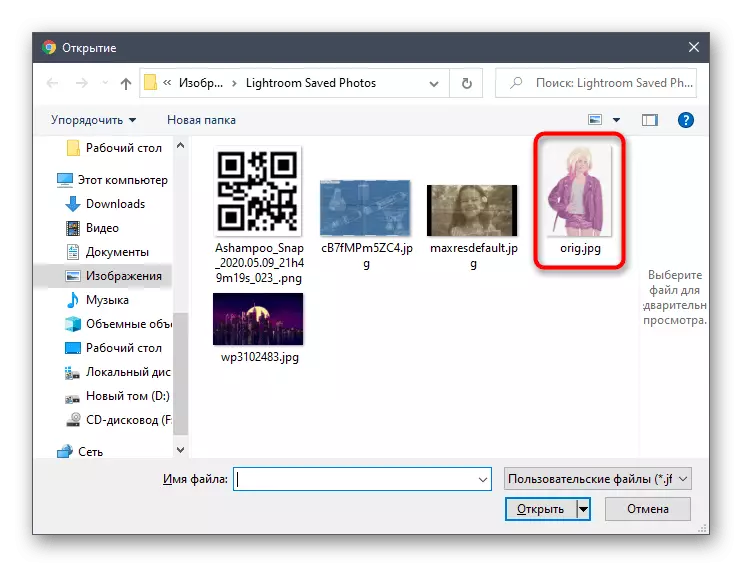
- When opening a "conductor", find the desired image there.
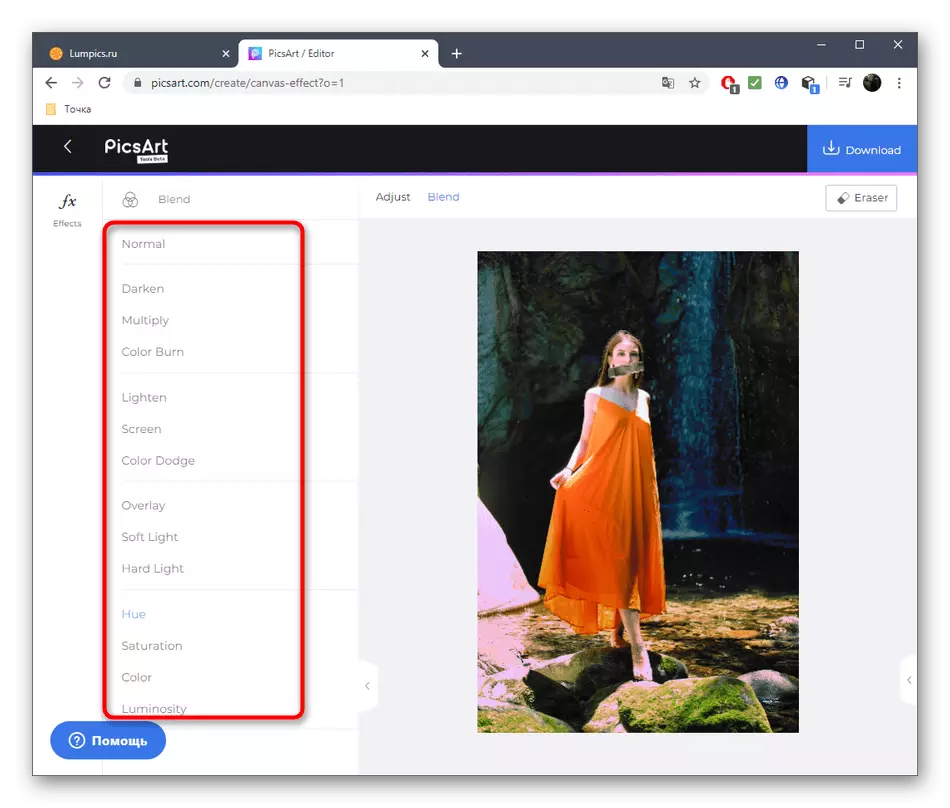
- Now you can change the background using one of the available options, for example, through the Texture tab. Left is a complete list of backgrounds, from where you pick up the best.
- After use, you will immediately notice how the image has changed. PICSART algorithms work exactly only when the main image is separated from the background with a clear line.
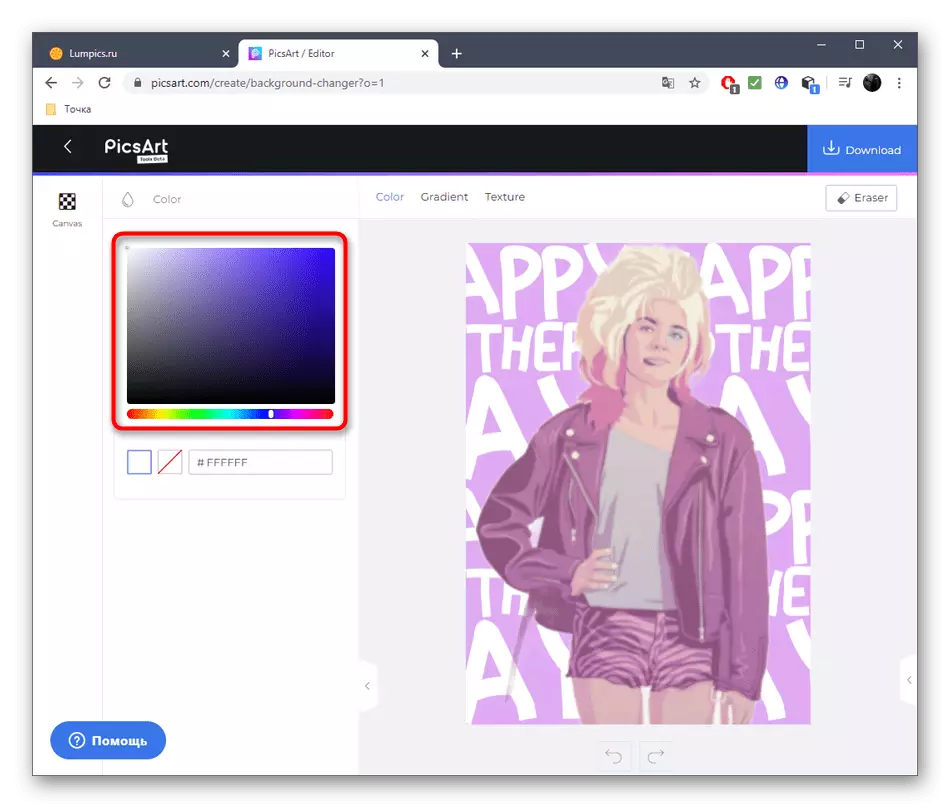
- Use one of the colors of the palette if present textures are not suitable.
- If you are readily, click on "Download" to download the result on the computer.
- In other models there are a huge number of functions, to deal with any user, so we will not stop on them.


Method 3: Crello
Crello is another online service, where it was focused on creating projects on templates. This will help you prepare the perfect sticker for further printing or publication on any resource. In addition, no one has canceled and the ability to create a project from a clean sheet.
Go to the Crello online service
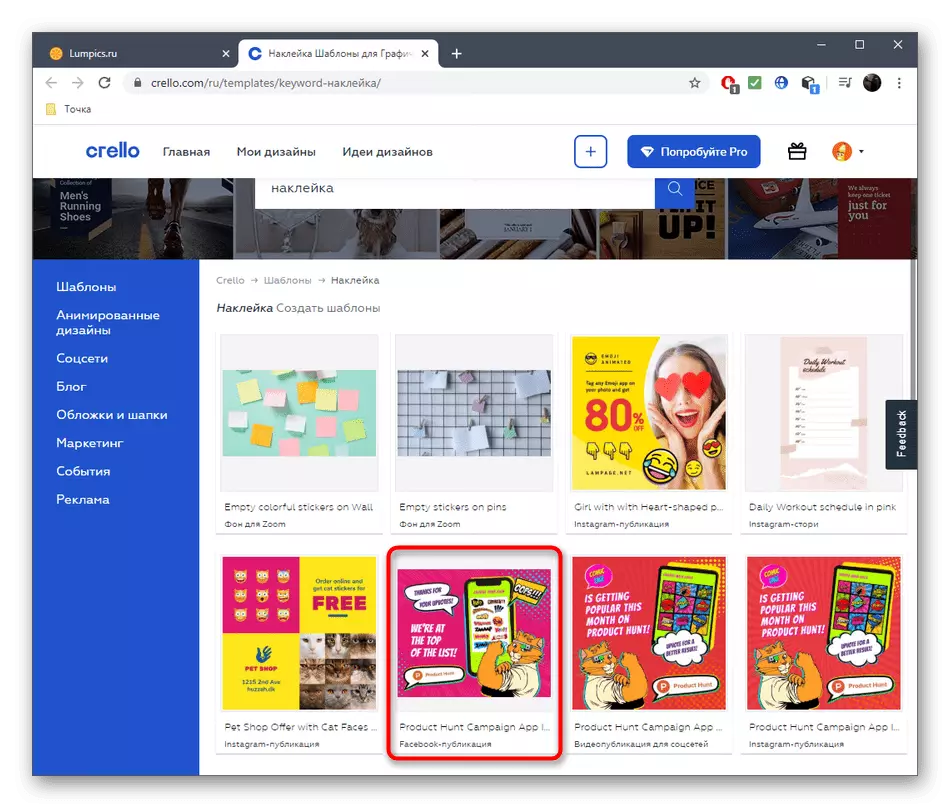
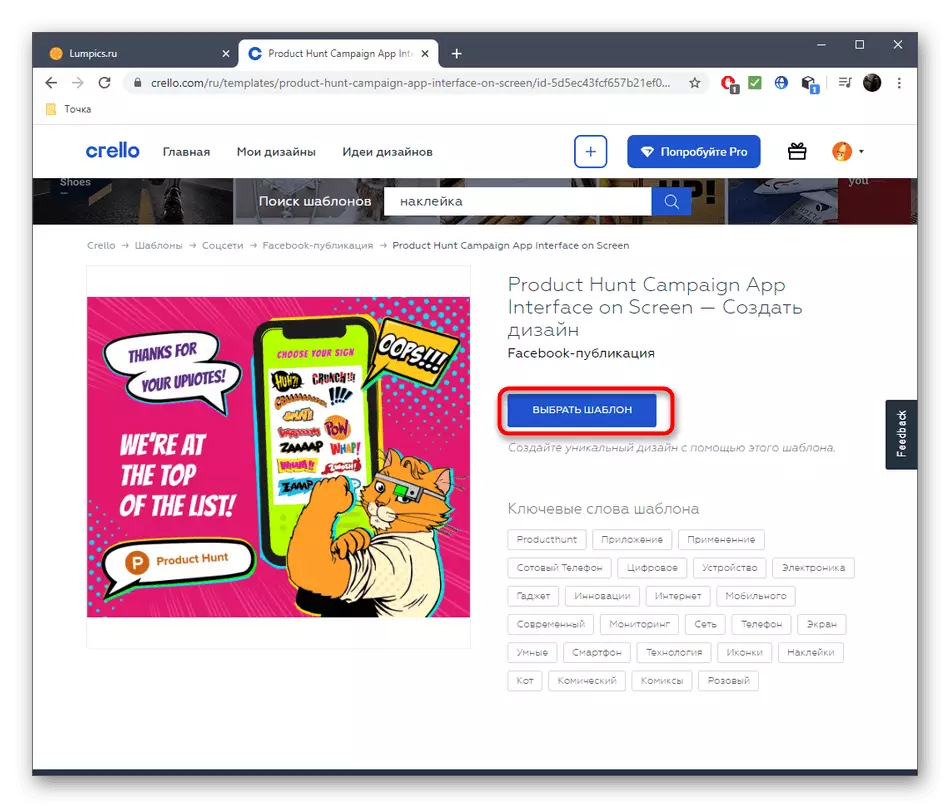
- If you are interested in choosing a template, enter the thematic name in the search and go to view existing designs.
- Lay the appropriate option in the list and click on it with the left mouse button.
- A separate window with a template viewing, where click "Select the template".
- In the editor, first delete or change the necessary details in some places, thereby creating a unique design.
- You can edit the existing text using the items on the left pane, which are displayed immediately after selecting one of the inscriptions.
- Available and loading your own images from which a sticker will be formed. Make it through "My Files" by clicking on "Download Image Or Video".
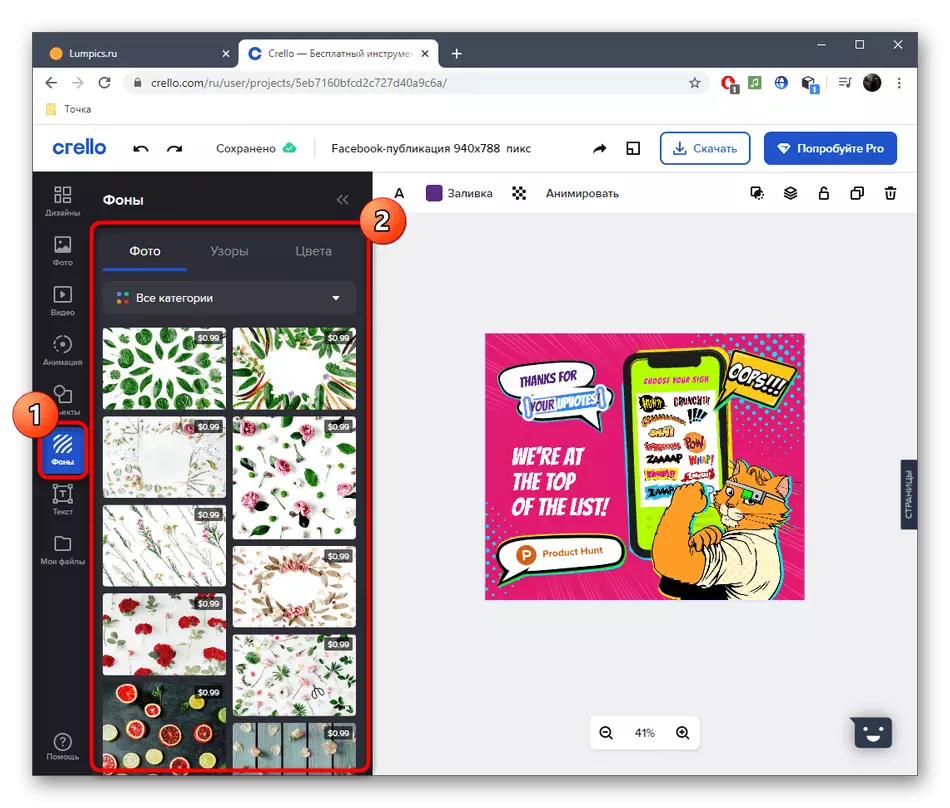
- Use the backgrounds if you want to avoid boring decoration of the rear-lay sticker, but also consider that some options apply for a fee.
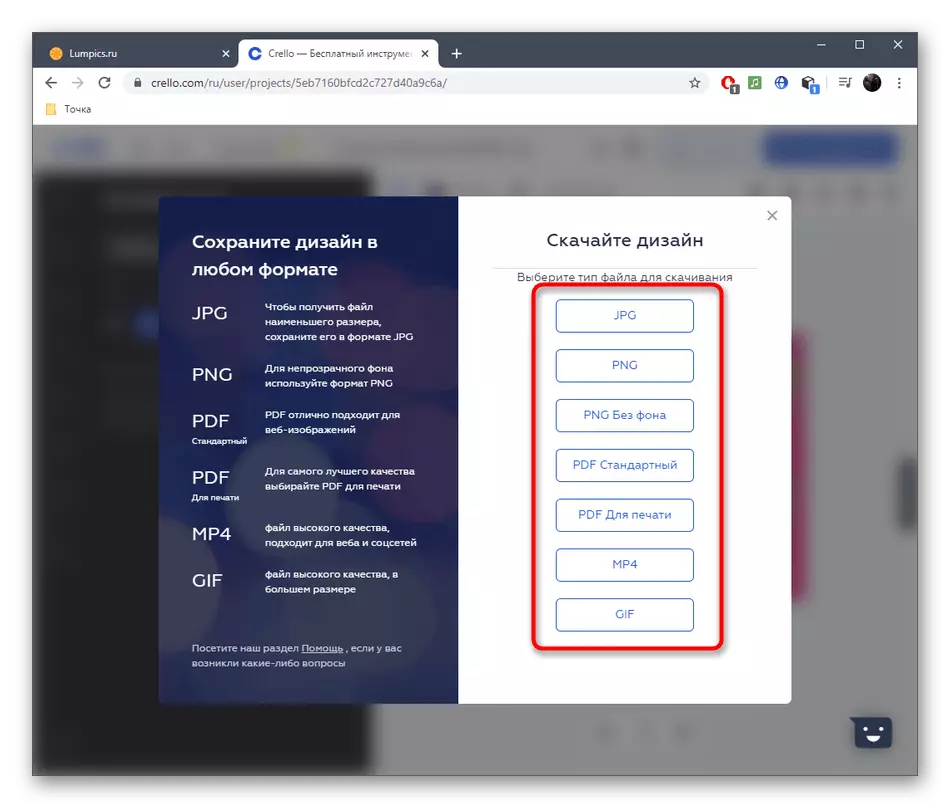
- When editing the picture is finished, click "Download" to go to the local device.
- Carefully approach the option of optimal format to save. If you are going to send a picture to print on a printing house, check again, and then go to the download.
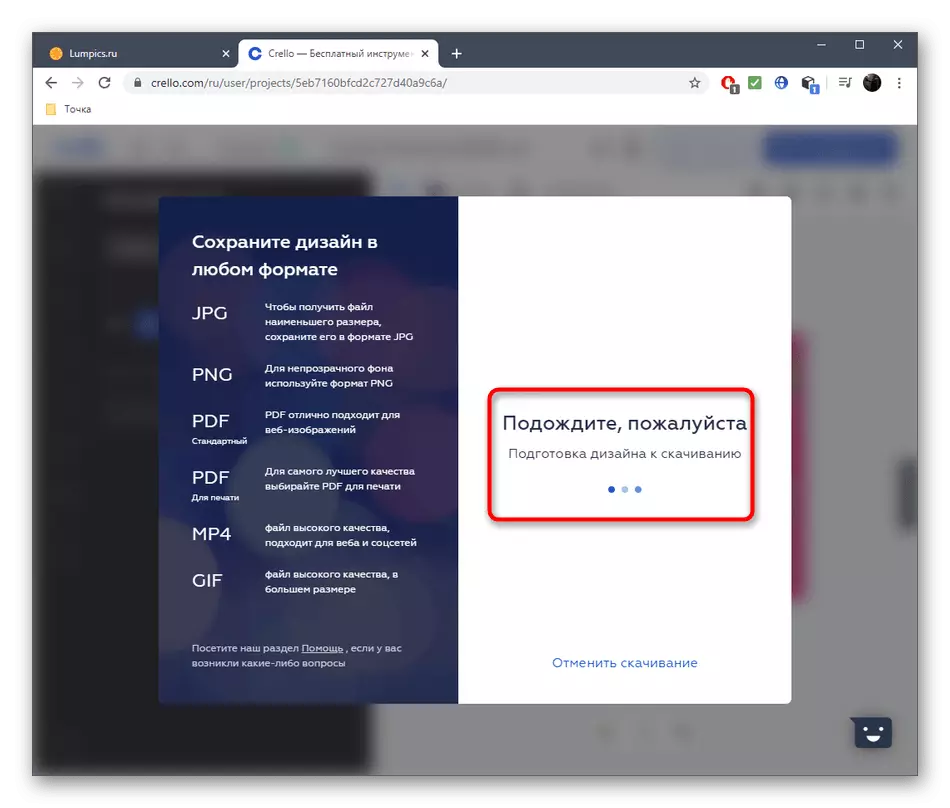
- Perform save, after which go to the subsequent interaction with the resulting object.


Sometimes to create stickers, sticker or labels, you have to use a variety of tools that are often missing in online services. Then do not do without the use of special software, which read the materials in the links below.
Read more:
Programs for creating labels
Programs for creating stickers