

Step 1: Connecting cables
Start a sound output procedure on the front panel of a computer with Windows 10, it is from the connection of the wires. In the event that they are already connected to the motherboard, it will be necessary to disable them. Then stick each wire into the desired connector on the front panel.

Additionally, we note that the owners of devices that are connected via USB will not have any additional actions. It will be enough to make sure that the connector itself is functioning normally. If not, go to solve the problem with connecting the front panel, which we will tell a little later.
Step 2: Switching the source in Windows
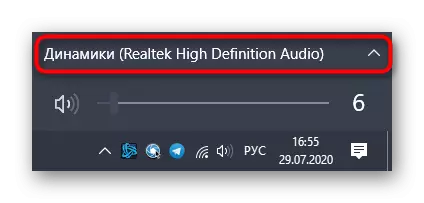
In most situations, for normal output, the sound in the operating system will only need to change the source by using the sound setup menu. To do this, simply click on the appropriate icon on the taskbar with the left mouse button.
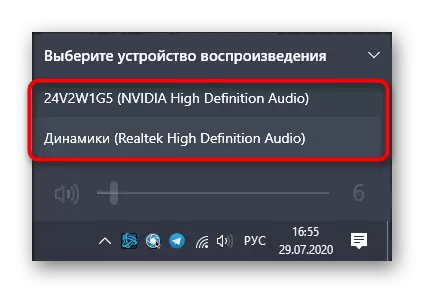
In the menu that appears, you can select the second playback device and check whether the sound will be played. Sometimes this switch is not needed, so check in advance.
Step 3: Default Device Setup
During the reconnect of the output and input device, the default could be knocked out, so the configuration will change at each computer to the computer. In order to avoid this, follow these steps:
- Open the "Start" and go from there in the "Parameters" menu.
- Select the first section "System".
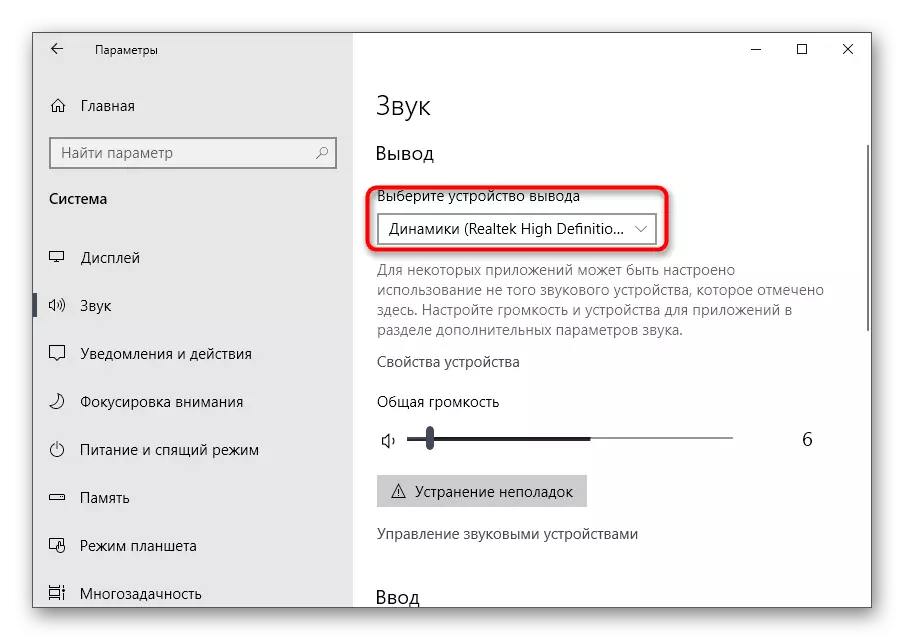
- Through the panel on the left, move to the "sound".
- Here you can manually specify the output and input device by opening the drop-down menu.
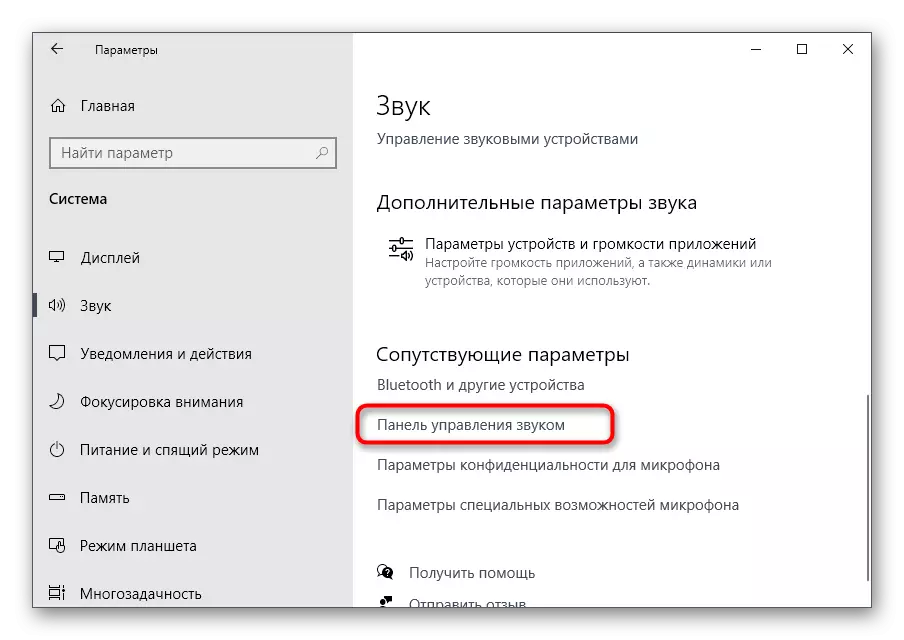
- However, to change the default parameters, it will be necessary to go down and click on the Sound Control Panel "clicable inscription.
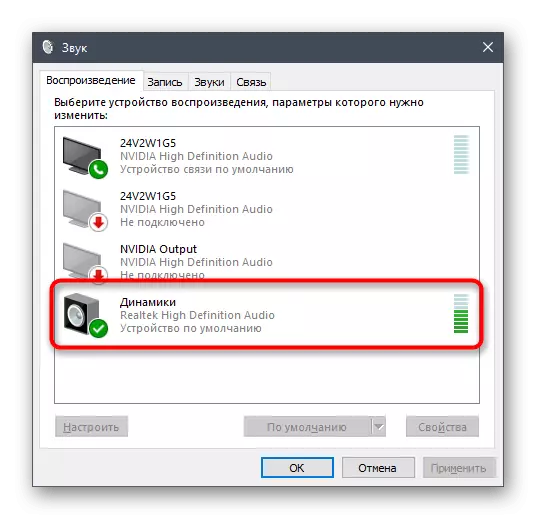
- The "Playback" tab opens, where to highlight the new device and assign it by default.
- Do the same on the "Record" tab.


On this, the process of setting the sound after connecting devices to the front panel is complete, and therefore you can move to the usual interaction with the computer. However, some users have different problems when performing this task. To solve them, familiarize yourself with the following instructions.
Solution of possible problems when connecting sound to the front panel
There are three most common problems associated with the output of the sound to the front panel of the PC running Windows 10. Let's deal with them in turn so that each user finds the best solution.Method 1: Updating audio drivers
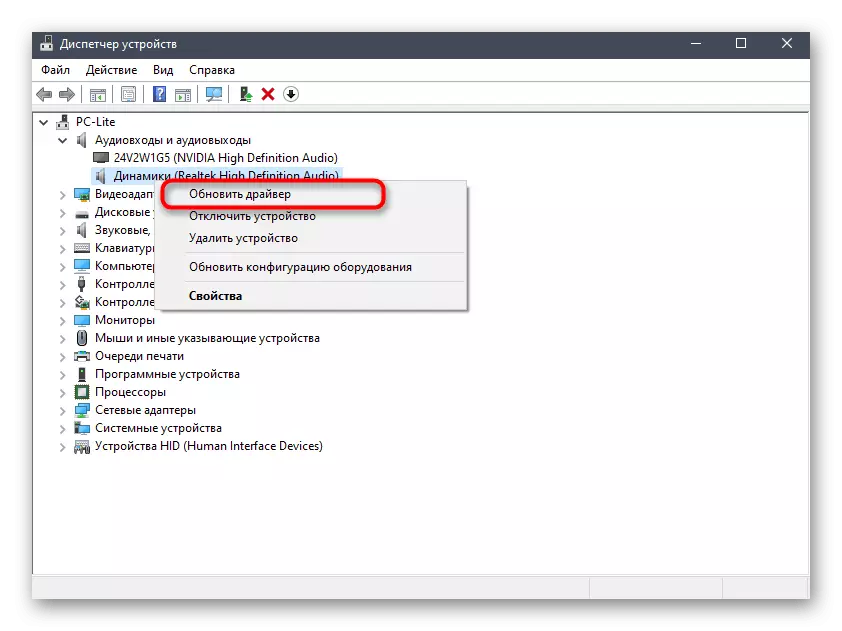
The specifics of the operation of some built-in sound cards is that they can function normally even with a built-in audio driver, but only when devices are connected directly to the motherboard. When they are connected to the front panel, conflicts arise at the program level, which are resolved by updating on any available method. Information on this topic can be found in a separate article on our website.
Read more: Search and install audiors for Windows 10
Method 2: Checking the front panel connection
The fact is that the front panel of the computer case connects to the motherboard through special pins, and the wiring themselves are divided into pins and are responsible for supplying the power to specific elements. At the same time, it is important not to confuse plus with a minus and the location of each Pina, the name of the name also on the motherboard. With this process, many users have problems, because of which the USB may not work, the power button or sound. If, after updating the drivers, the problem did not solve, check this connection by contacting the following manual.
Read more: Connecting the front panel to the motherboard

Method 3: Checking BIOS settings
The last problem that can provoke the absence of sound when it is output to the front panel is the wrong BIOS settings. They need to be checked and change manually. Accordingly, you first need to log into this firmware. You will find detailed information in the article below.
Read more: How to get to the BIOS on the computer
In the BIOS itself you need to find the "Onboard Devices Configuration" section and activate the "HD Audio" item, moving it to the "Enabled" state.
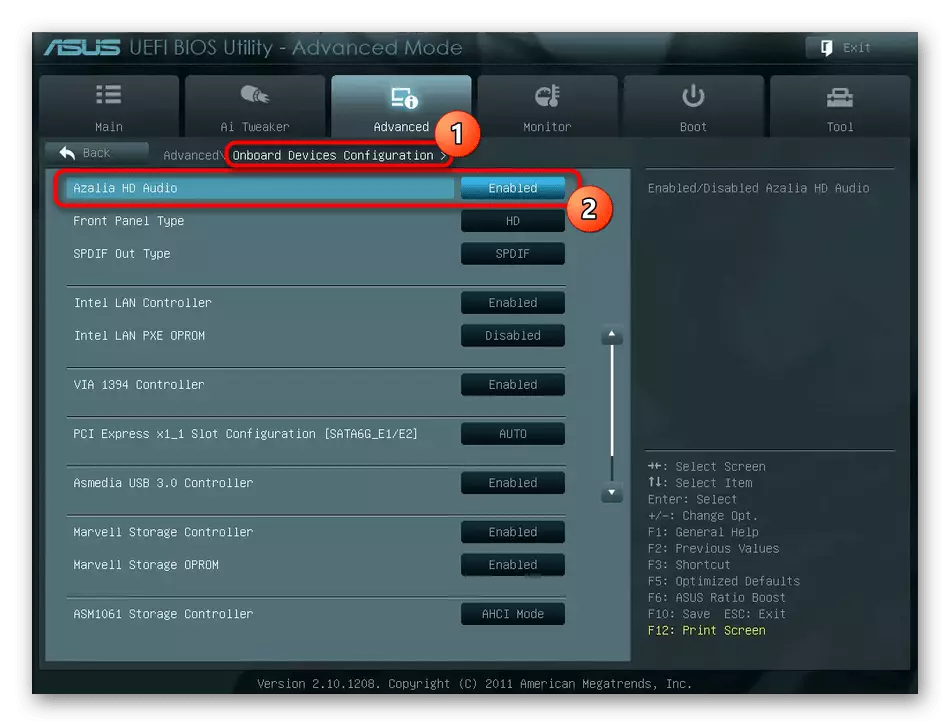
In some versions of this software, Front Panel Type is additionally present. Make sure that its value is in the "HD" state, and then save the changes and exit BIOS. Load your computer as usual and check if somehow changed sound reproduction.
There are other reasons provoking the lack of sound, but often they are associated with the general problems of the computer and appear long before the devices are displayed on the front panel. You can familiarize yourself with them in a separate manual.
Read more: Causes of lack of sound on PC