Method 1: Crello
The first to the queue will be the online service called Crello, which includes a special animation designer, allowing you to revive the photo just a few clicks. More detailed process of creating a project on this site looks like this:
Go to the Crello online service
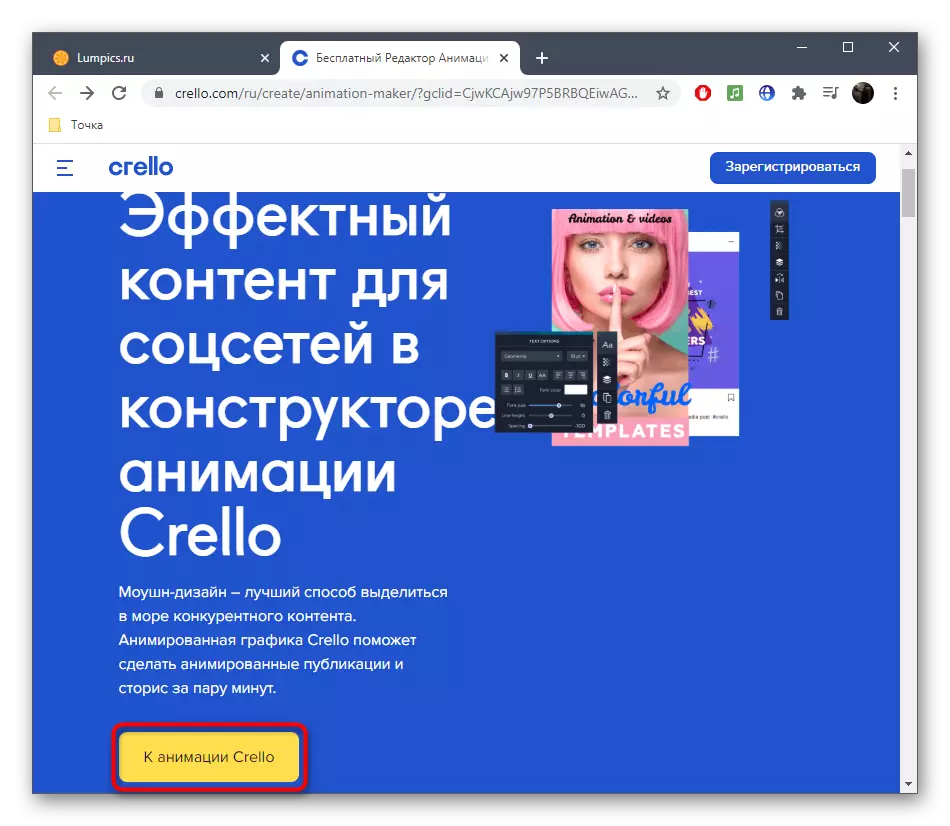
- To go to the required Crello page, we offer to use the reference above. In the appeared tab, click "To the Crello animation".
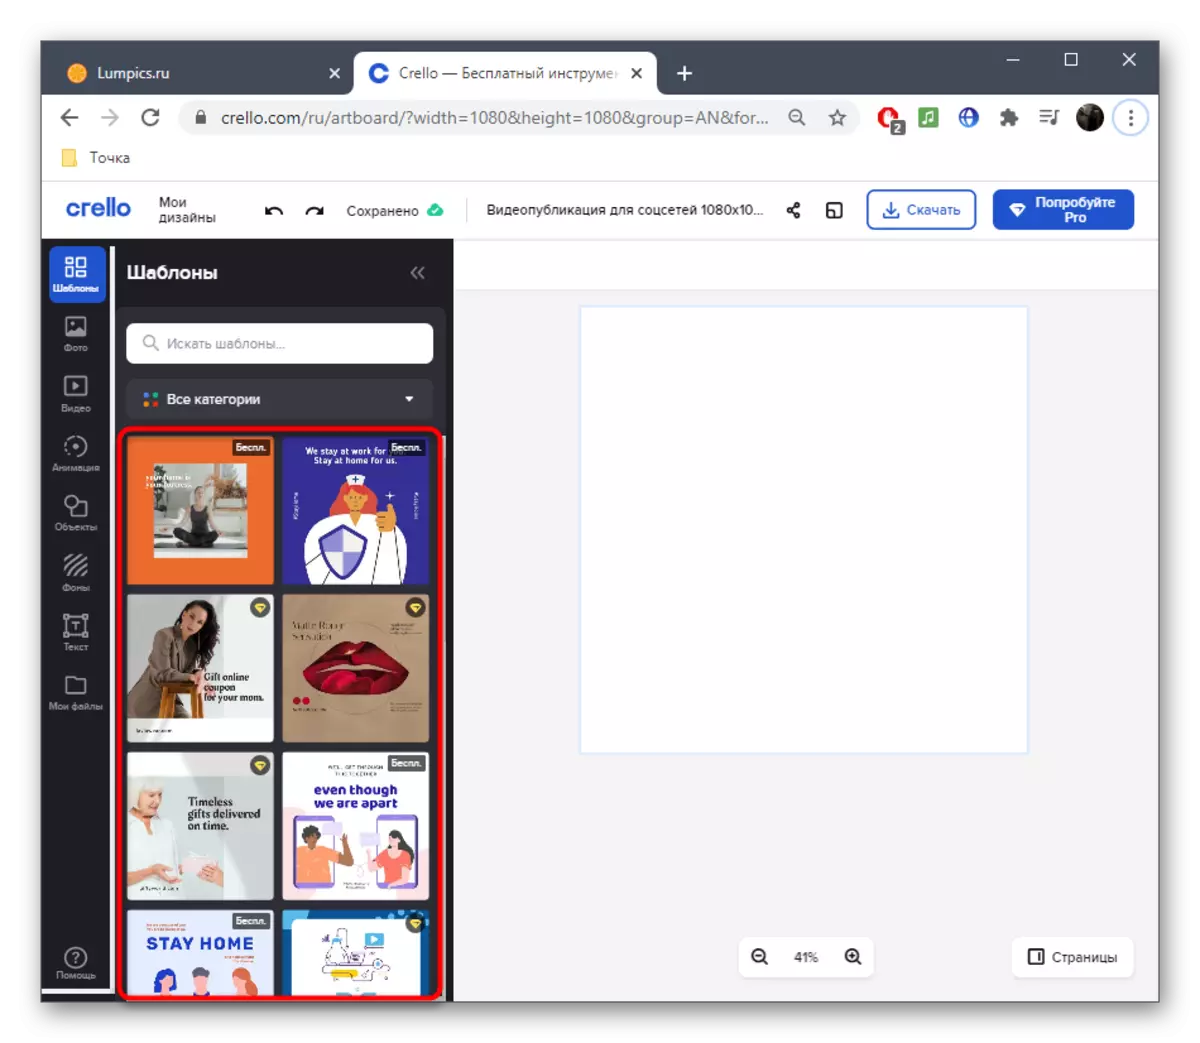
- If you are first encountered with the development of animation for a photo, use one of the available templates to deal with this process. However, consider that some of them are distributed paid, so choose those that are in open access.
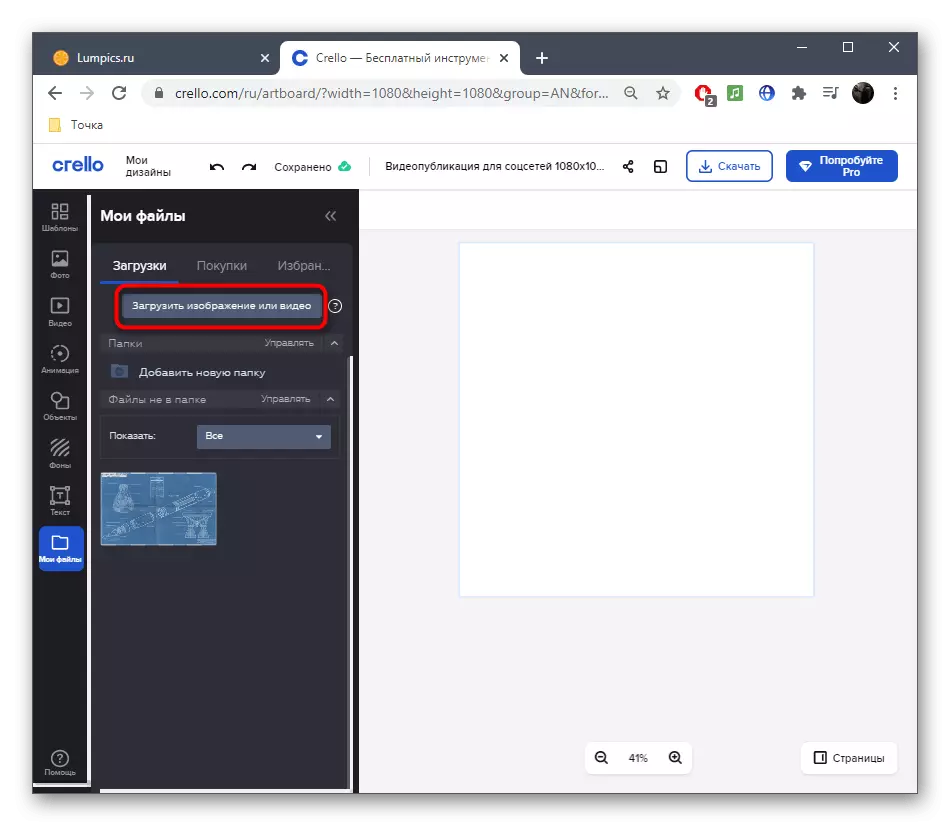
- To download your own photo, go to the "My Files" section.
- Click on the "Upload image or video" button.
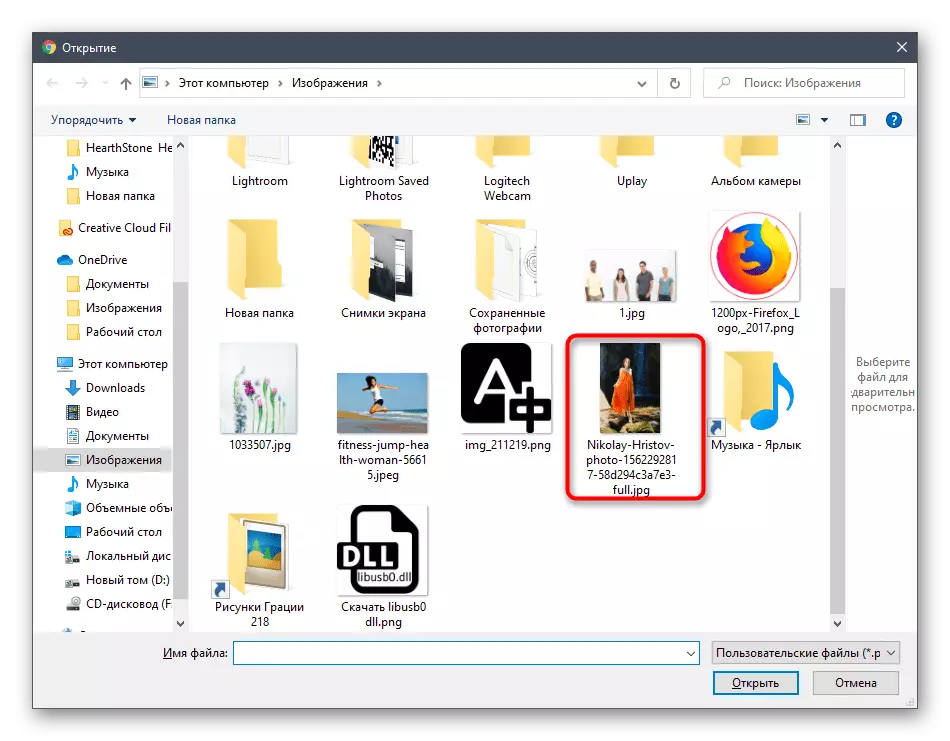
- In the "Explorer" window that appears, select the suitable image or several files at once.
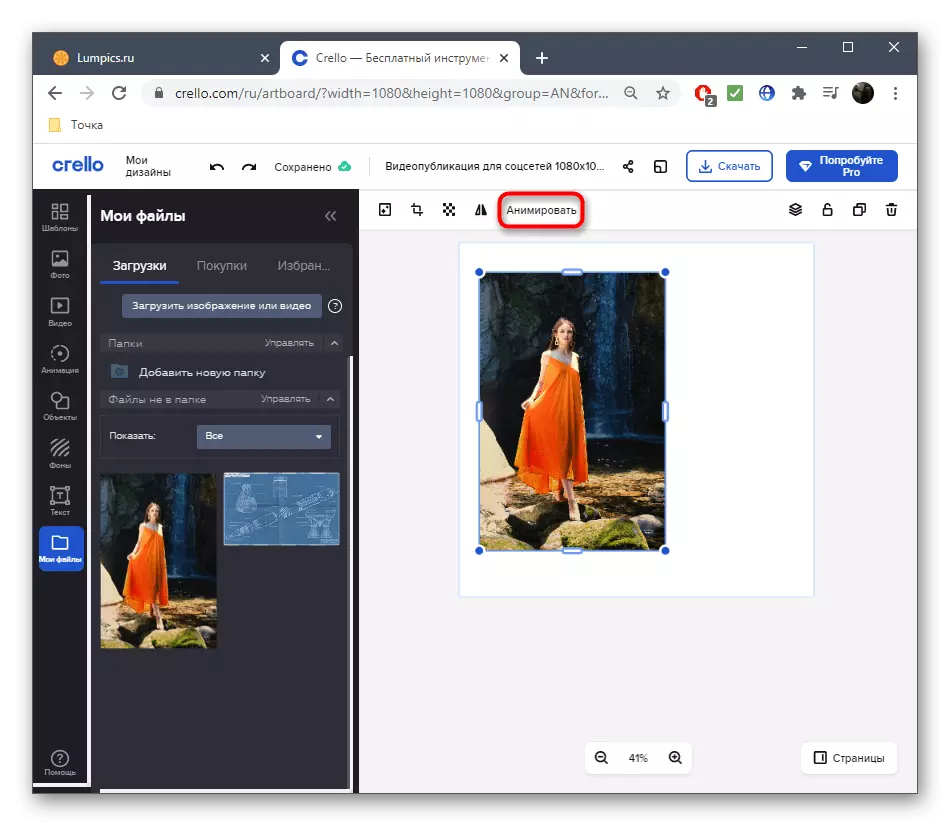
- Move the added image to the workspace by leaving it with the left mouse button.
- Once all objects are located in the project, it's time to proceed to create an animation, for which on the top panel, click "Animate".
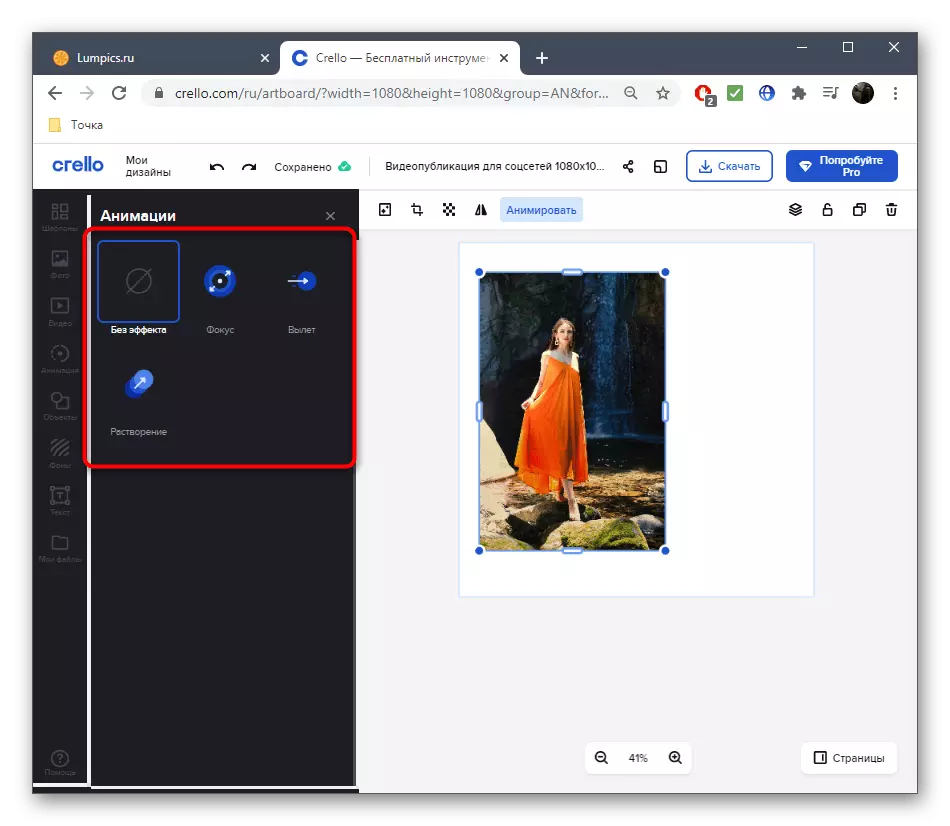
- Use one of the available animation types to assign certain movements to the image.
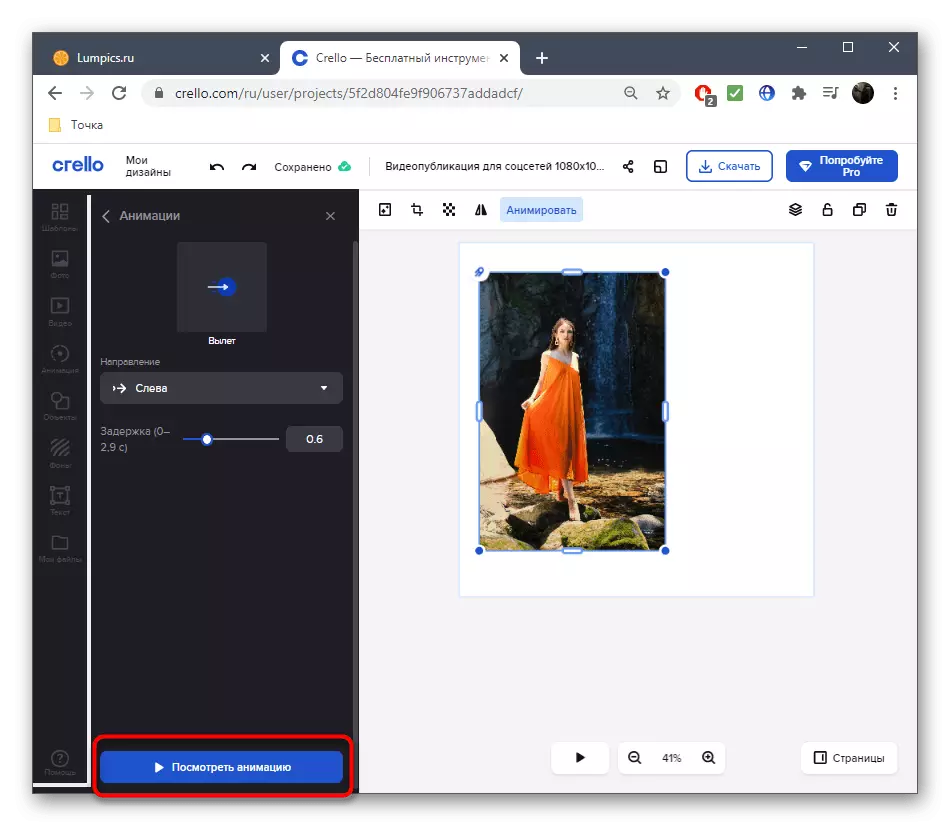
- Consider this procedure on the example of departure. After selecting the tool, set the direction, delay and additional options if they are present.
- Upon completion, click "View Animation" to launch its playback.
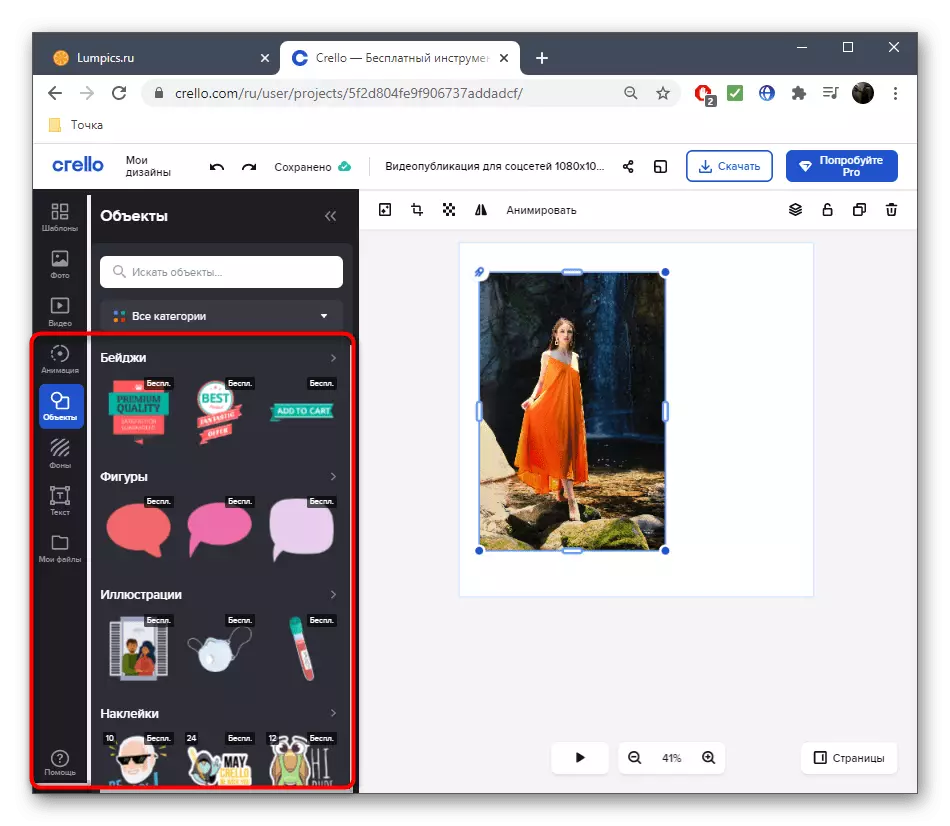
- We advise you to pay attention to additional objects that are also distributed free of charge. Some of them perfectly fit into the overall picture, as well as available for animation, which will create a living photo.
- After completing the work on each object, run the playback of the entire project to get acquainted with the result.
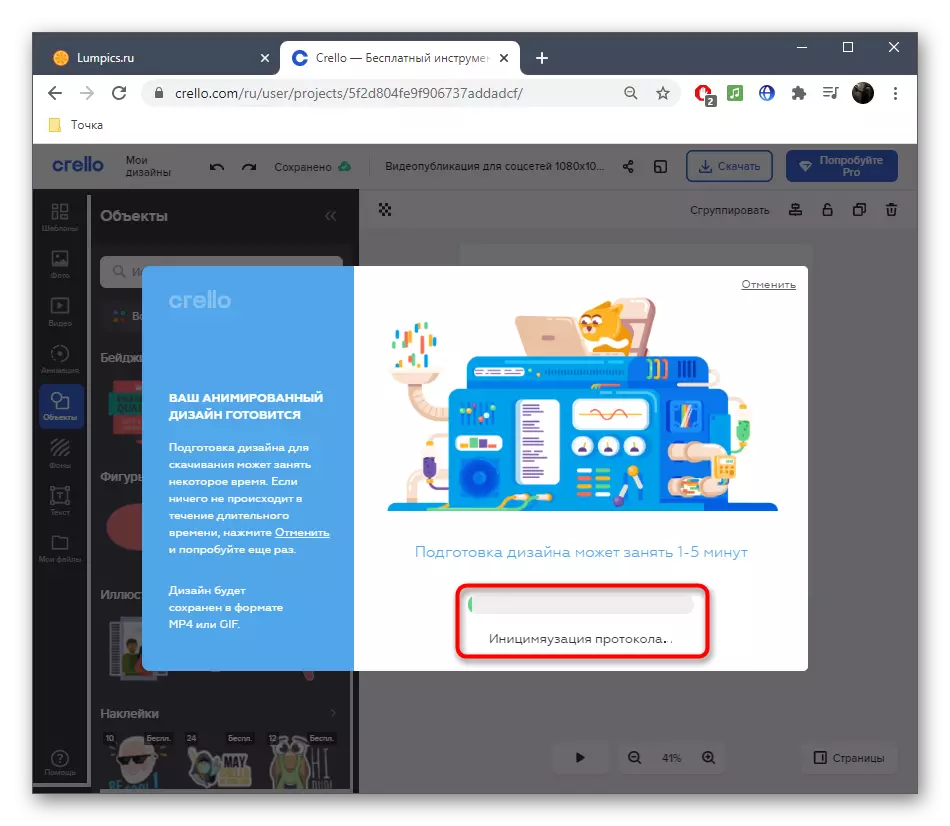
- If everything suits you, find the button "Download" on the top panel to get a busy photo on your computer.
- Specify, in which format you want to download the file. The only correct option will be MP4, but in some cases the GIF is suitable.
- Wait for the project processing, after which the download will start automatically.
- Once the file is loaded, you can immediately play it through any convenient player to check.


Animation methods available in this online service, a sufficient number so that each user has created a unique project for itself and revived a photo as it was originally conceived.
Method 2: Pixteller
If, when analyzing the first site, it seemed to you that it was not suitable due to a limited set of actions for animation and their templates, we suggest familiar with Pixteller, which is a full-fledged editor for frame animation photos, and interacting with this online service is carried out as follows:
Go to Pixteller online service
- You can start with the workpiece by selecting the "Animated Post" option on the site's main page.
- If you wish to work with a clean project, click "CREATE FROM SCRATCH".
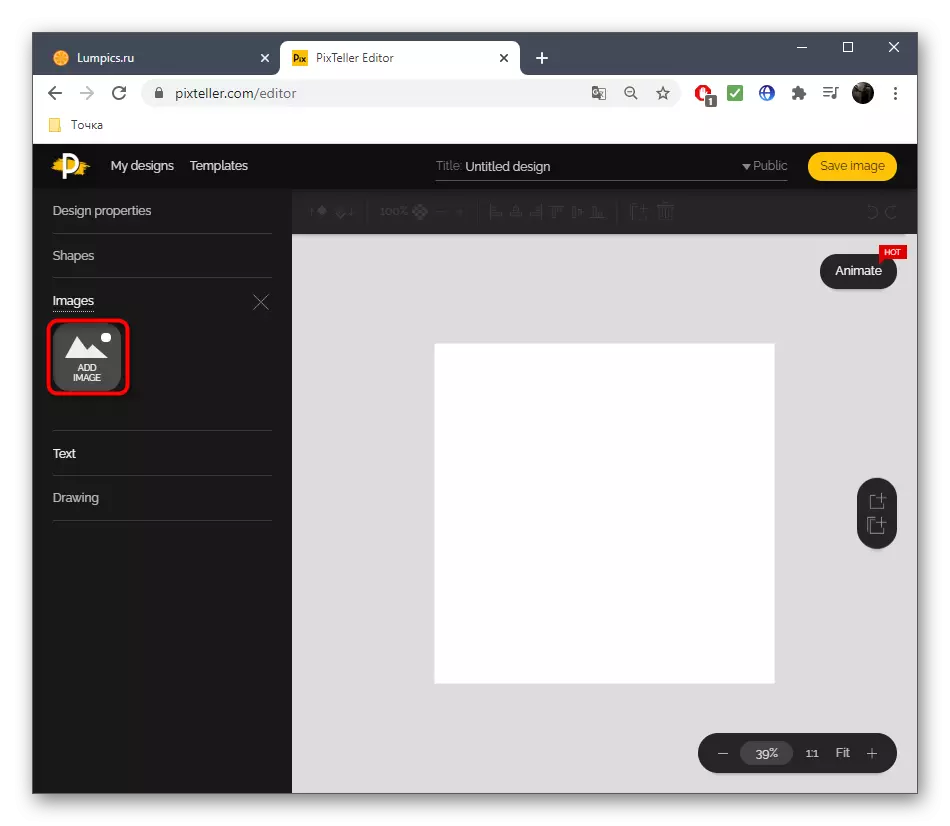
- First you need to add the image itself that you want to animate. To do this, go to the "Images" section.
- Click "Add Image".
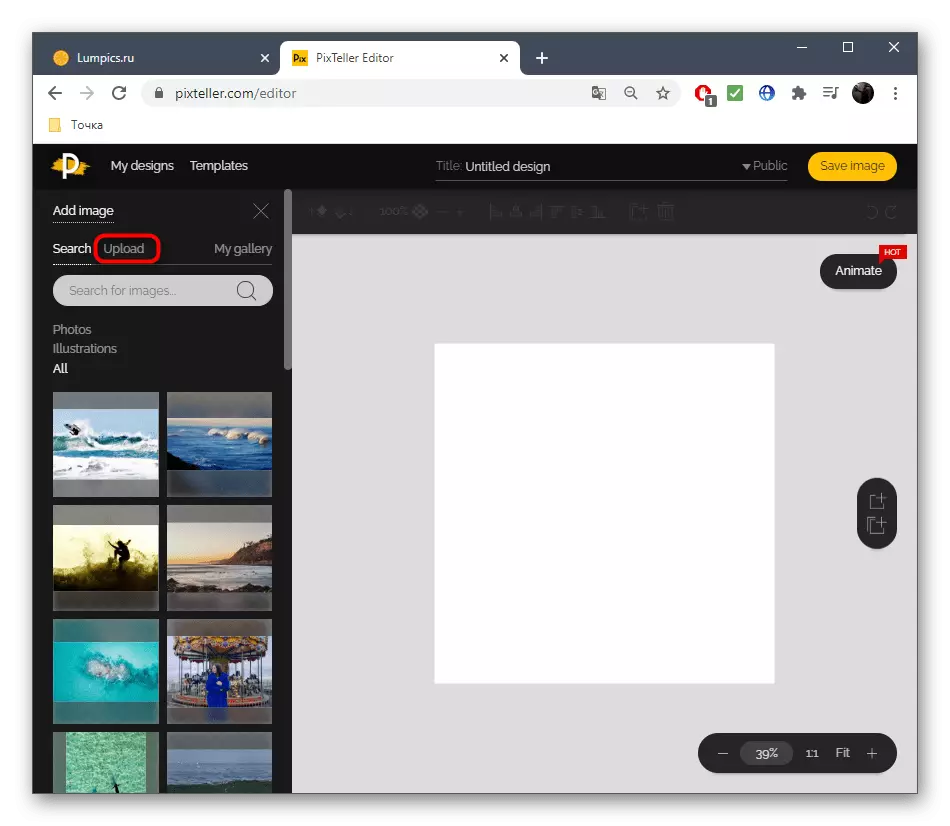
- Move to the UPLOAD tab.
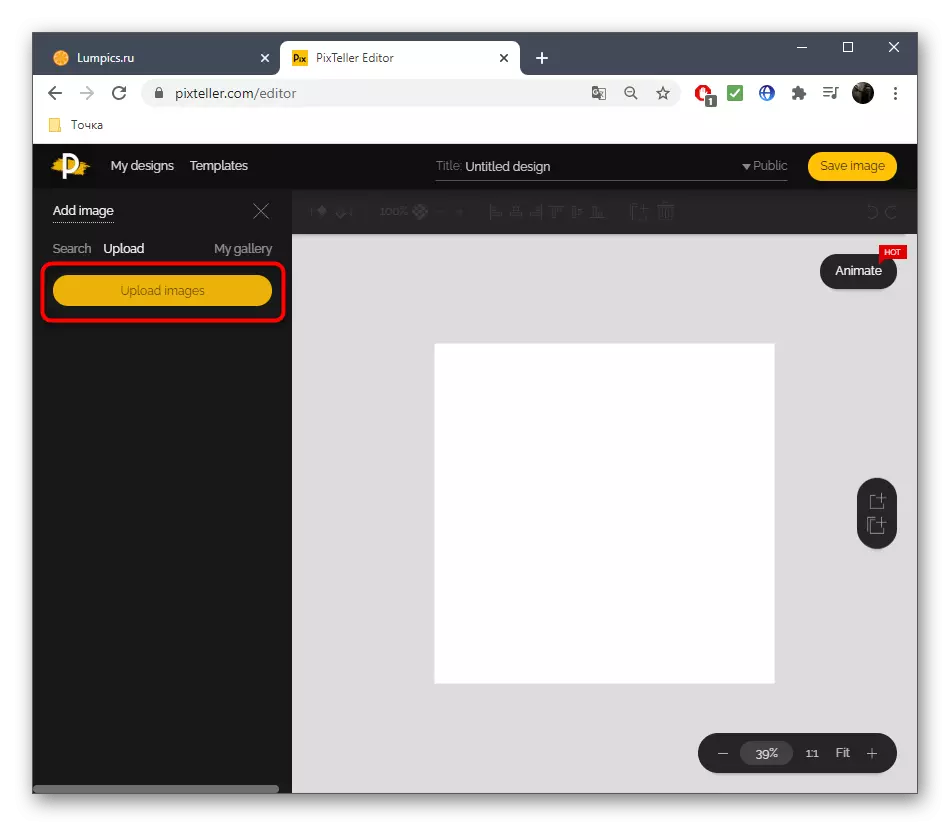
- Here, select the Upload Images button.
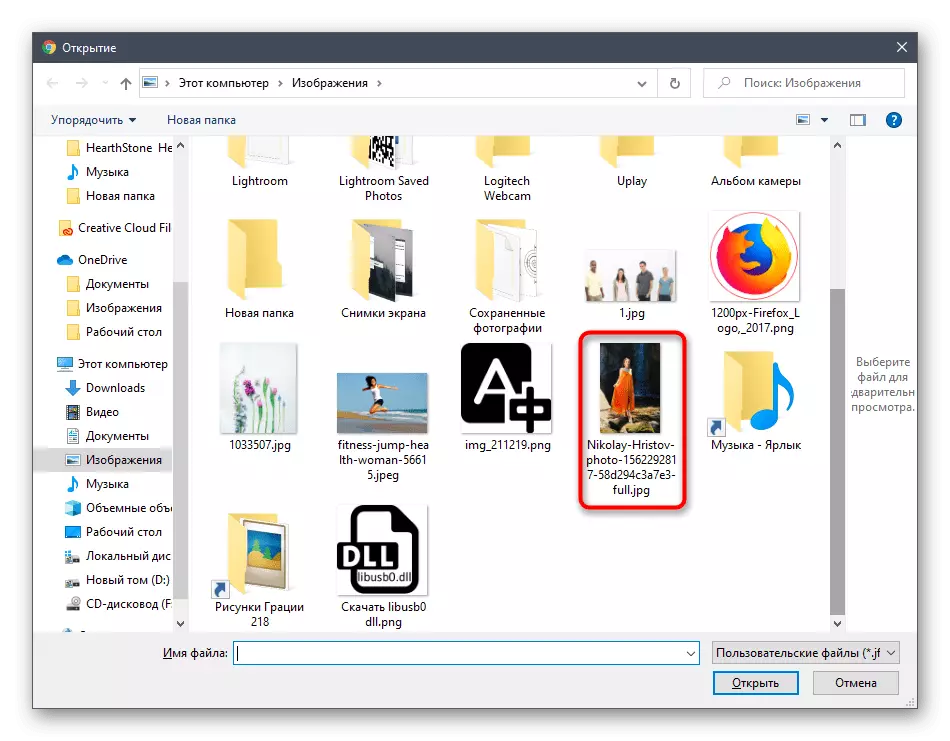
- Lay off the image in the opened "Explorer" window and click on it twice.
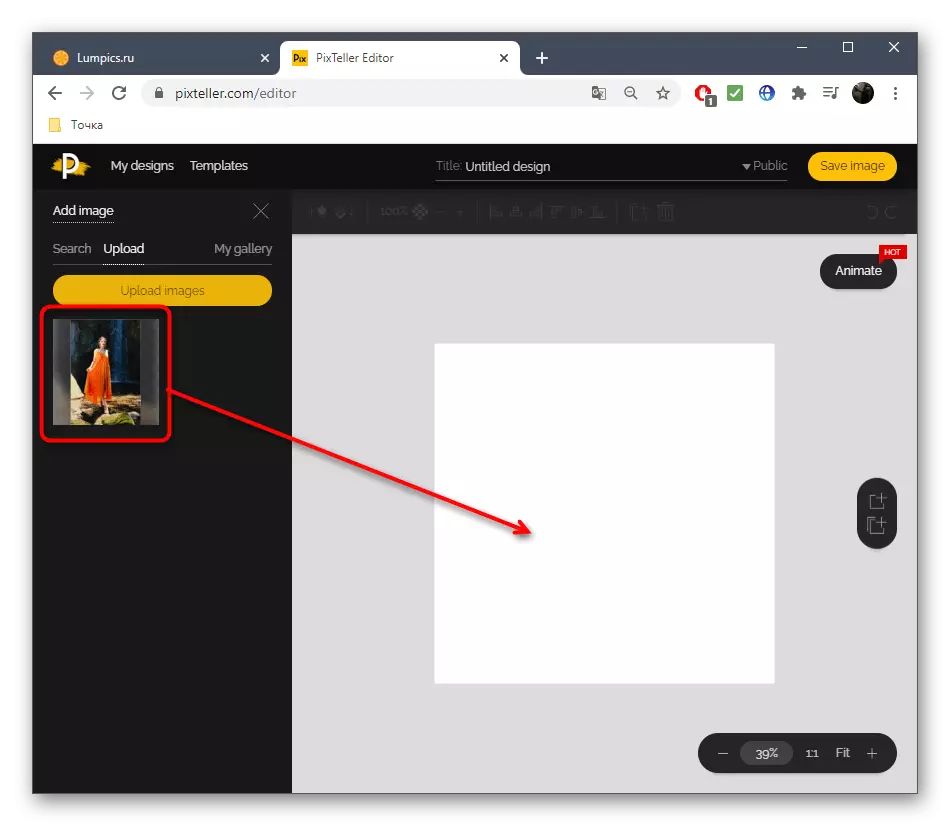
- Move the picture on the work surface, where the animation will occur.
- Do not forget that each object can be changed in size by applying specially selected points for this. The rotation is also carried out with the help of them.
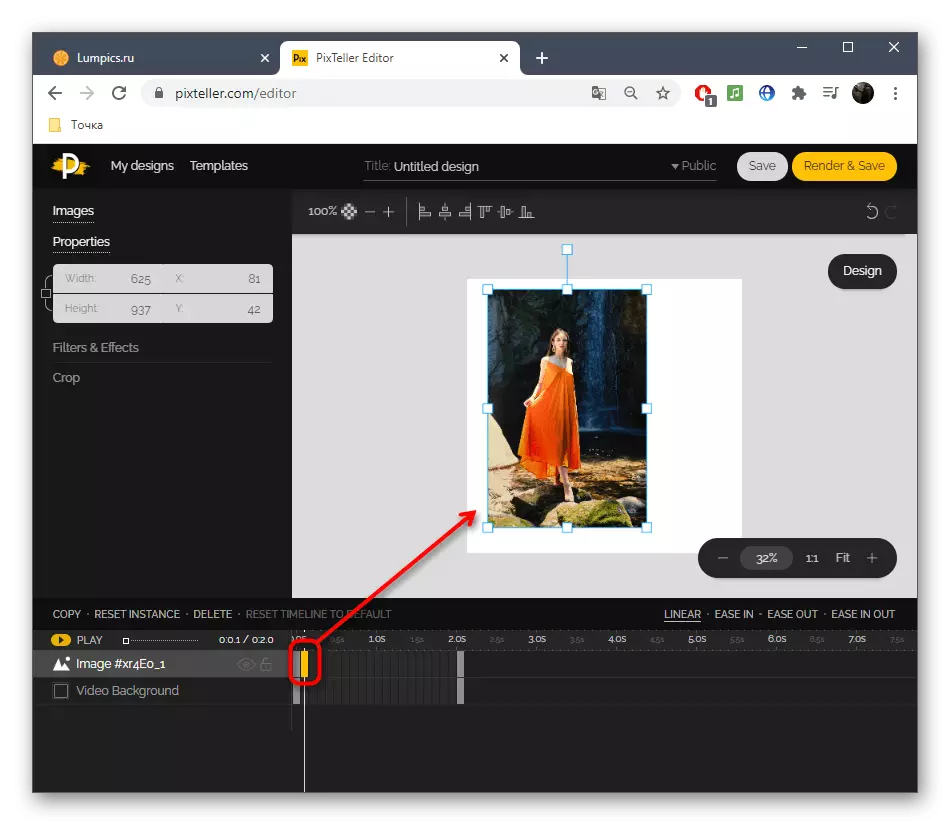
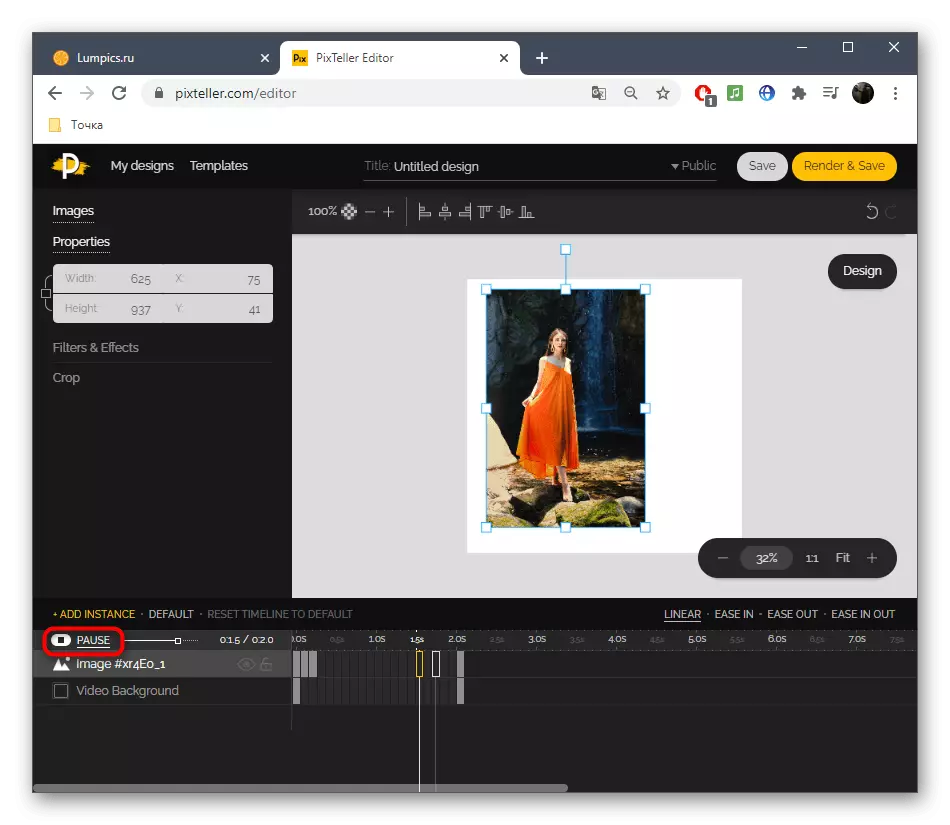
- Now that the photo is added, go to the "Animate" section.
- Here you can get acquainted with a multi-track editor, where the current snapshot is highlighted in a separate layer.
- Move the frames and move or change the image on the workspace to create the key.
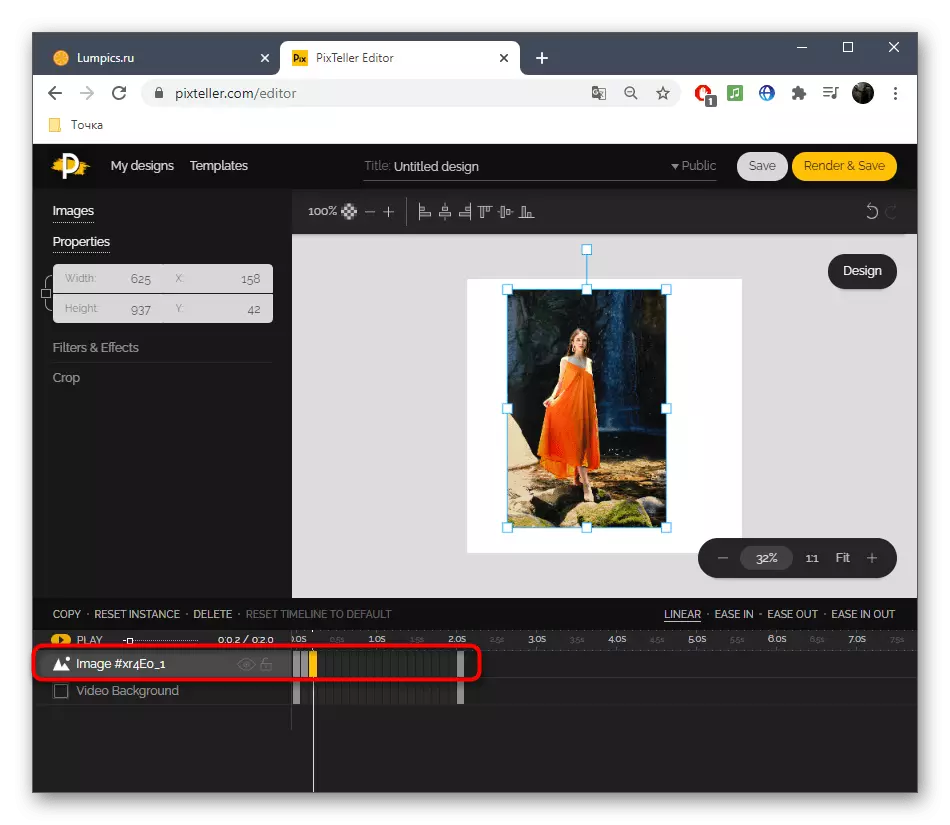
- Repeat actions on new frames to obtain a full animation.
- Use the play button to monitor the progress and track the smooth movement. It is not worth making too big movements or create keys next to each other, because the speed of animation is growing so much.
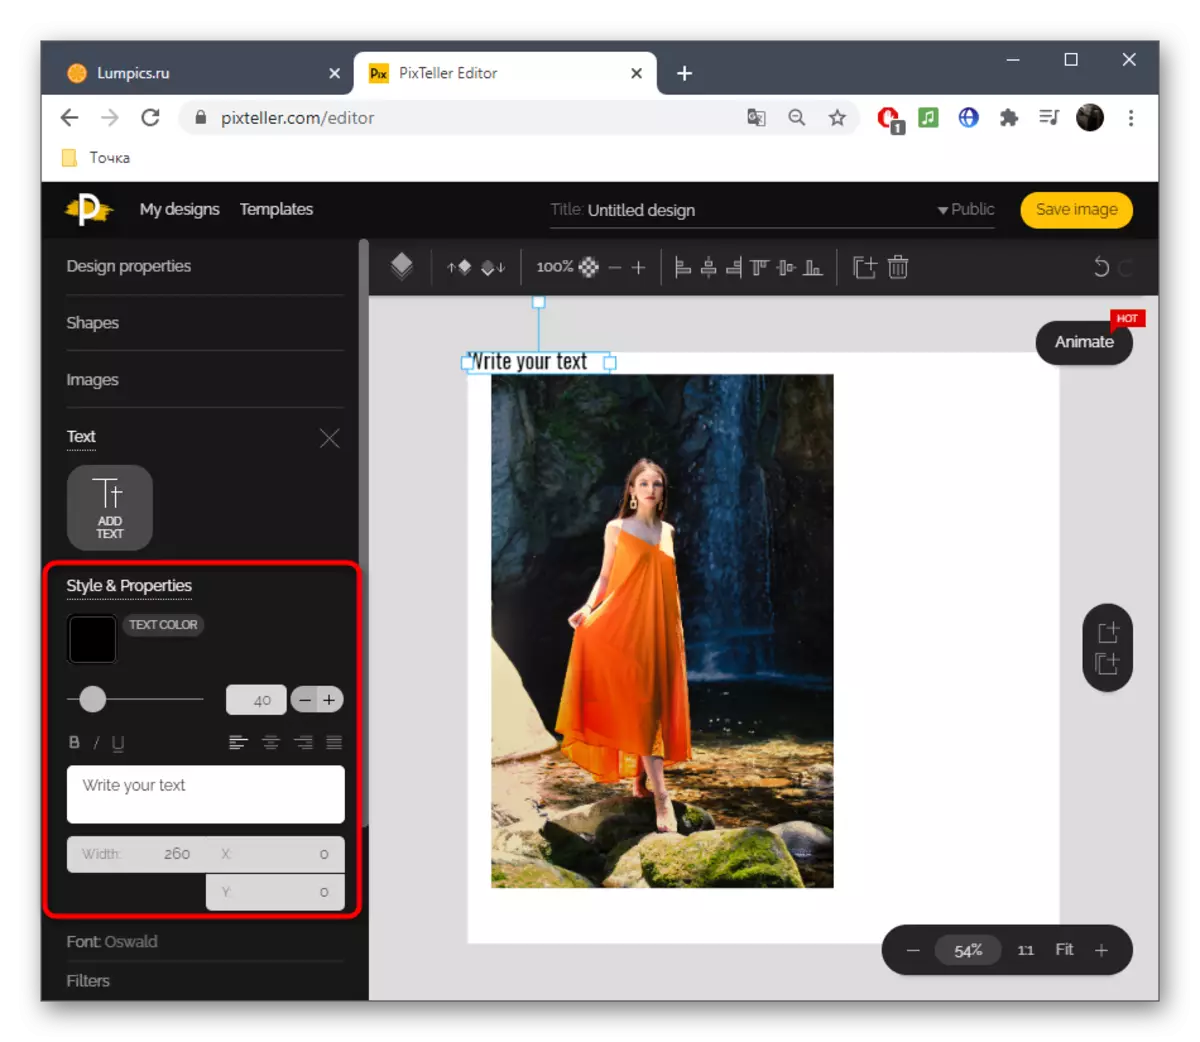
- Additionally, you can use other tools present in Pixteller. With their help, text is added or a rice of arbitrary objects is carried out.
- When choosing, consider the settings present: for example, the text is available for color, size and location.
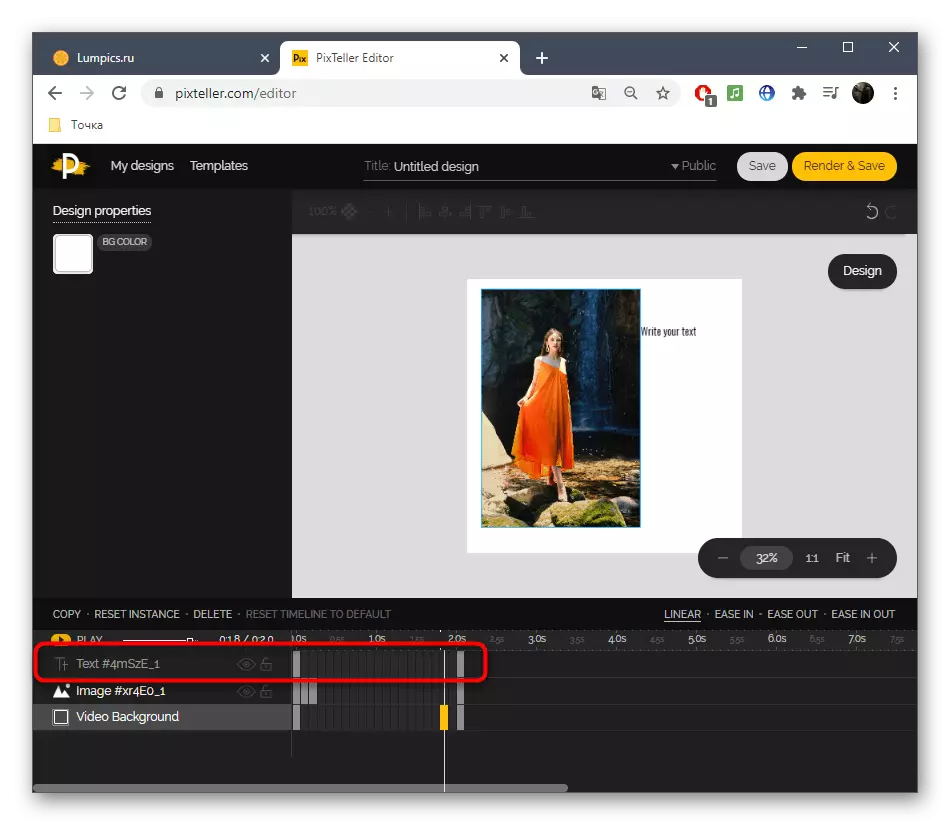
- When adding new layers, each of them will appear on the animation timeline separately, respectively, the keys will not be associated with other layers.
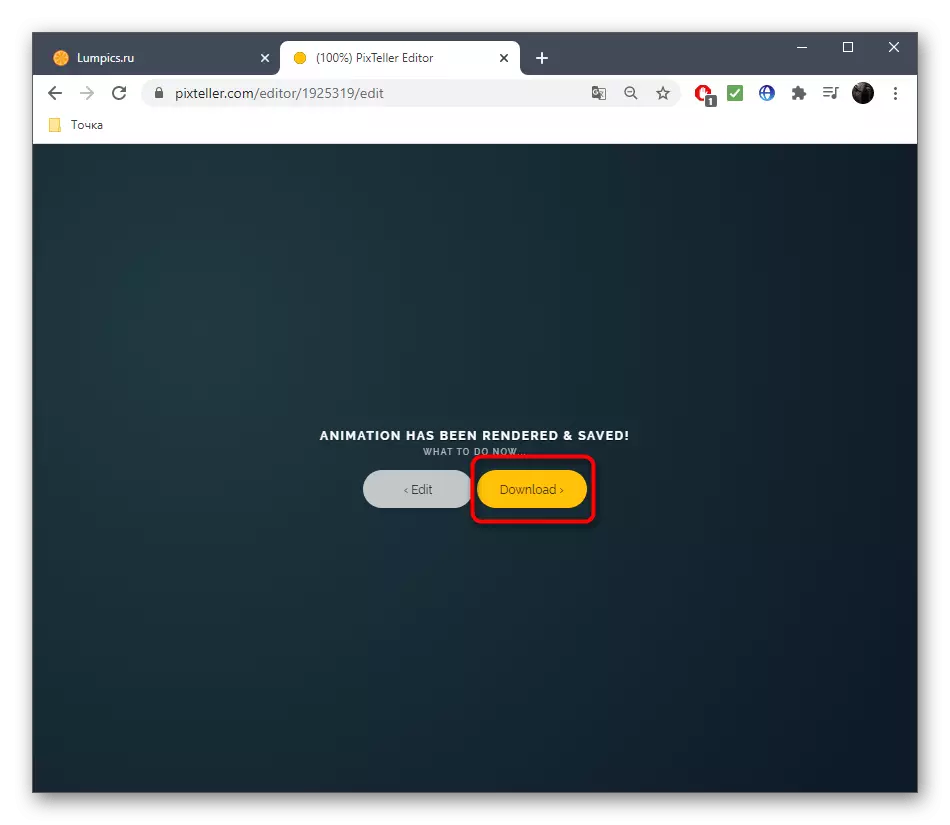
- As soon as the animation is ready, on the right at the top click on "Render & Save".
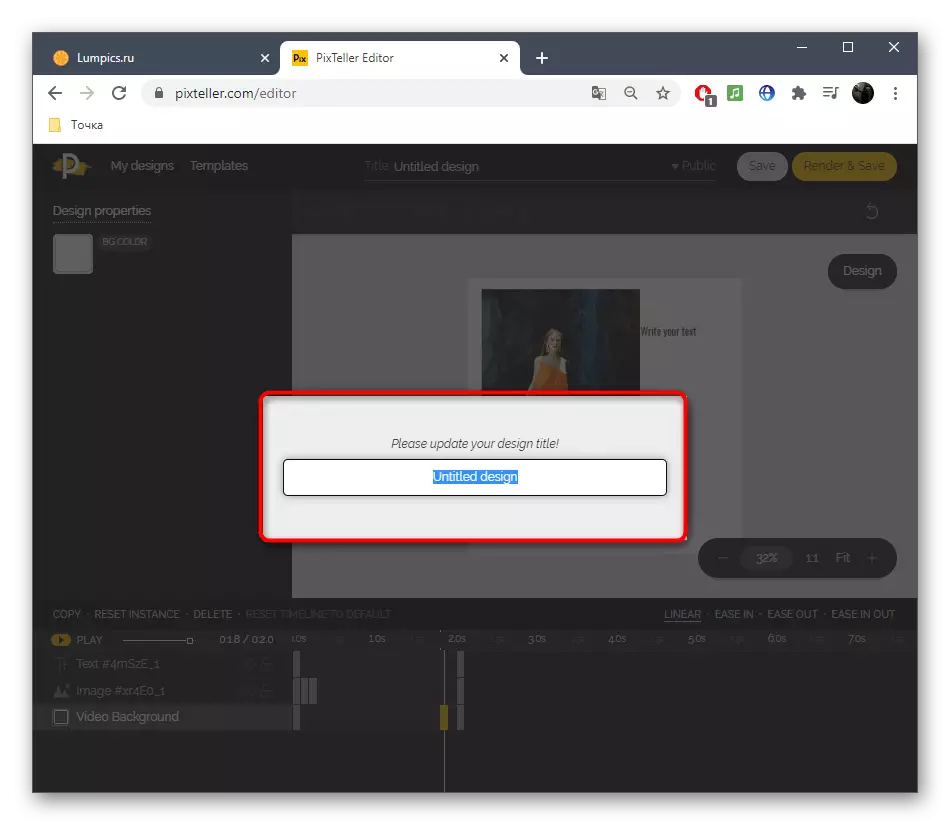
- Be sure to change the name of the project.
- Wait for the end of rendering without closing the current tab.
- When the "Download" button appears, use it to go to download the video.
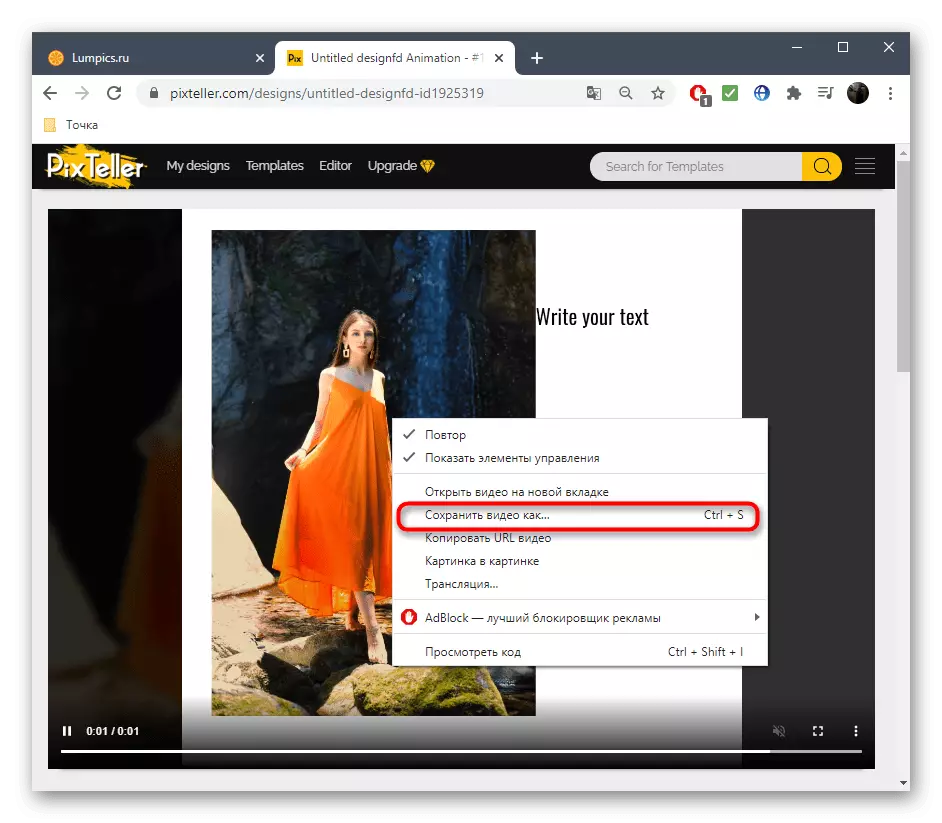
- Click on the video in the PCM Player and select "Save Videos How".


Method 3: Adobe Spark
In complete, we note the online service from the well-known developers called Adobe Spark. Its feature is that you can create a frame video with multiple photos or only one by adding various elements and text, thereby enhancing the picture. Unfortunately, the functionality of this site is not as wide as the previous ones, therefore it is located in the last place.
Go to Adobe Spack online service
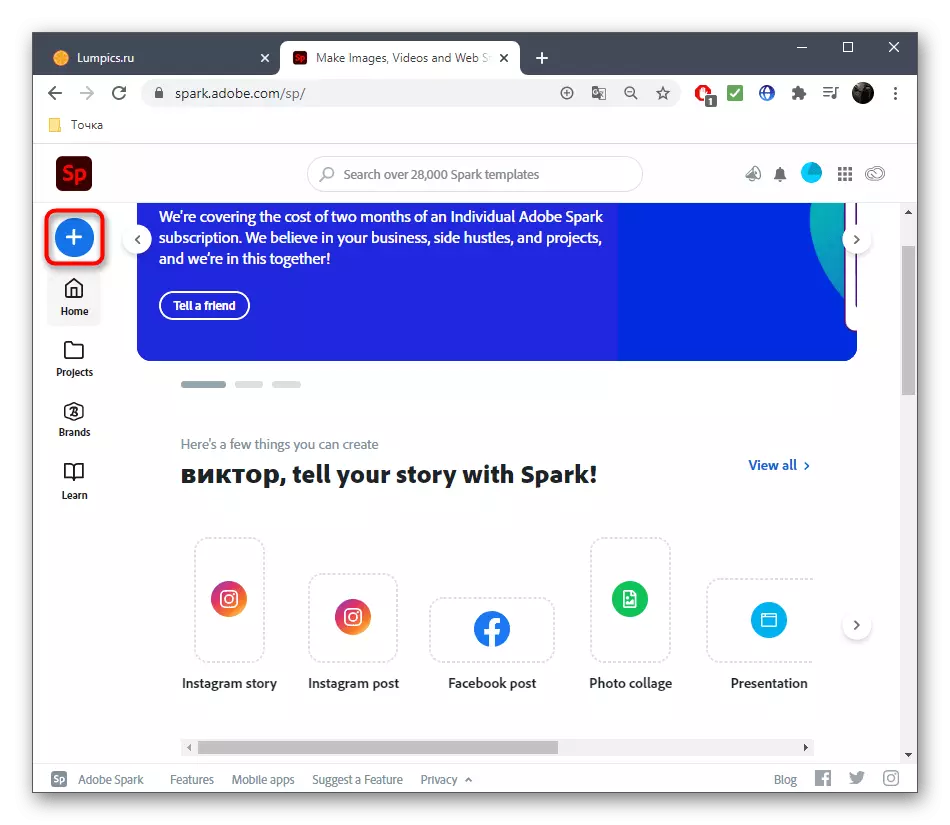
- Once on the main page of Adobe Spark, register or log in in an existing profile, and then on the left panel, press the button in the form of a plus.
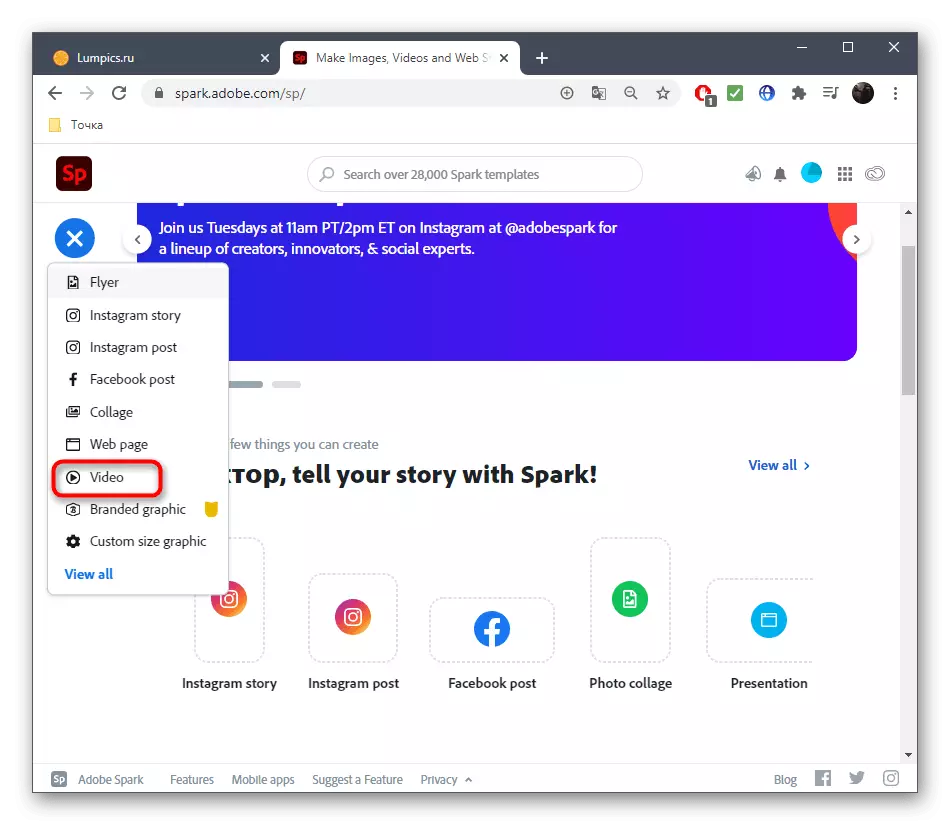
- The drop-down menu will open in which you want to select "Video".
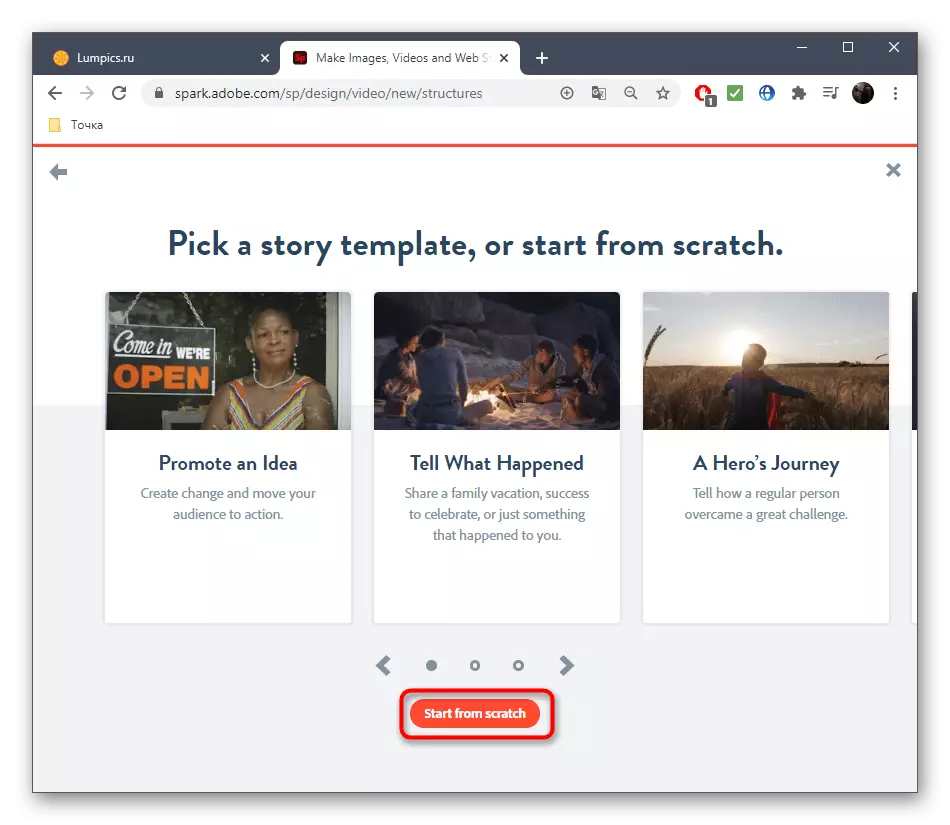
- You can tell your story about the project or simply skip this step.
- Start working with a template or with a clean sheet.
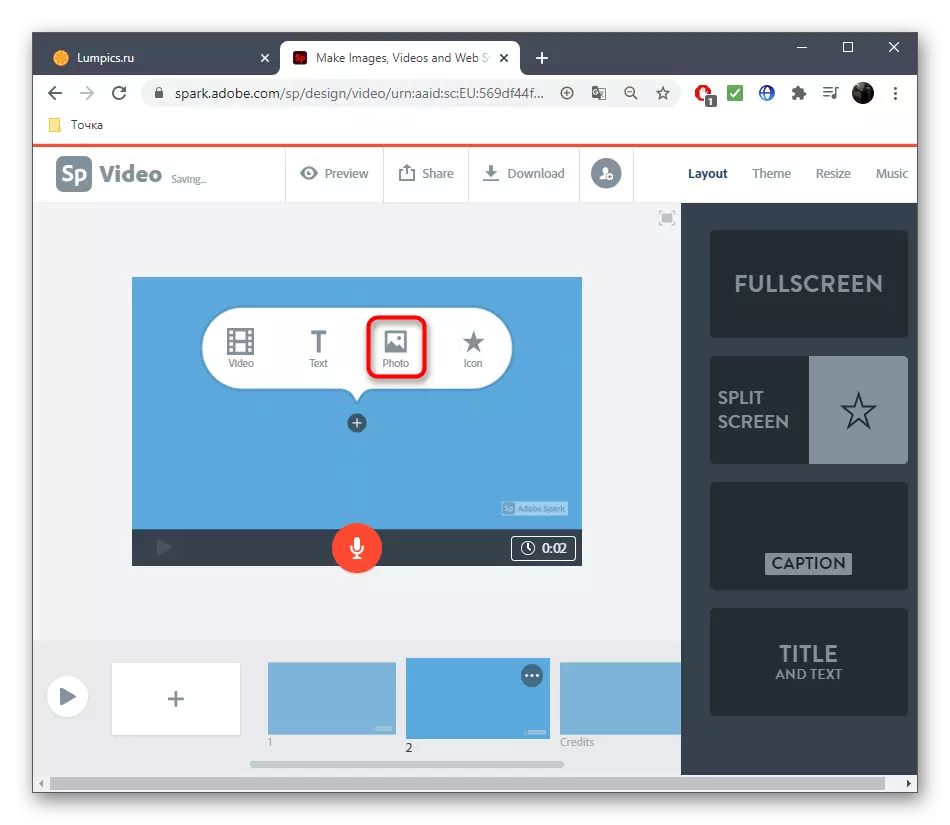
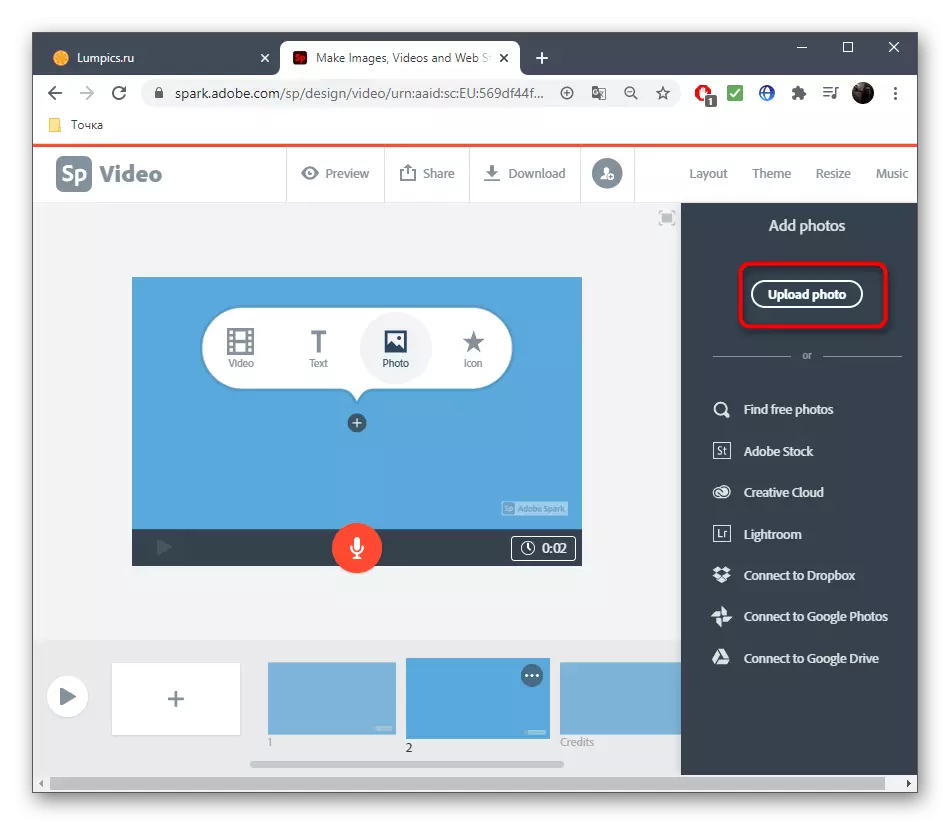
- Immediately go to add materials by clicking on the first frame.
- Select a button that is responsible for loading the image.
- Right click on the Upload Photo button.
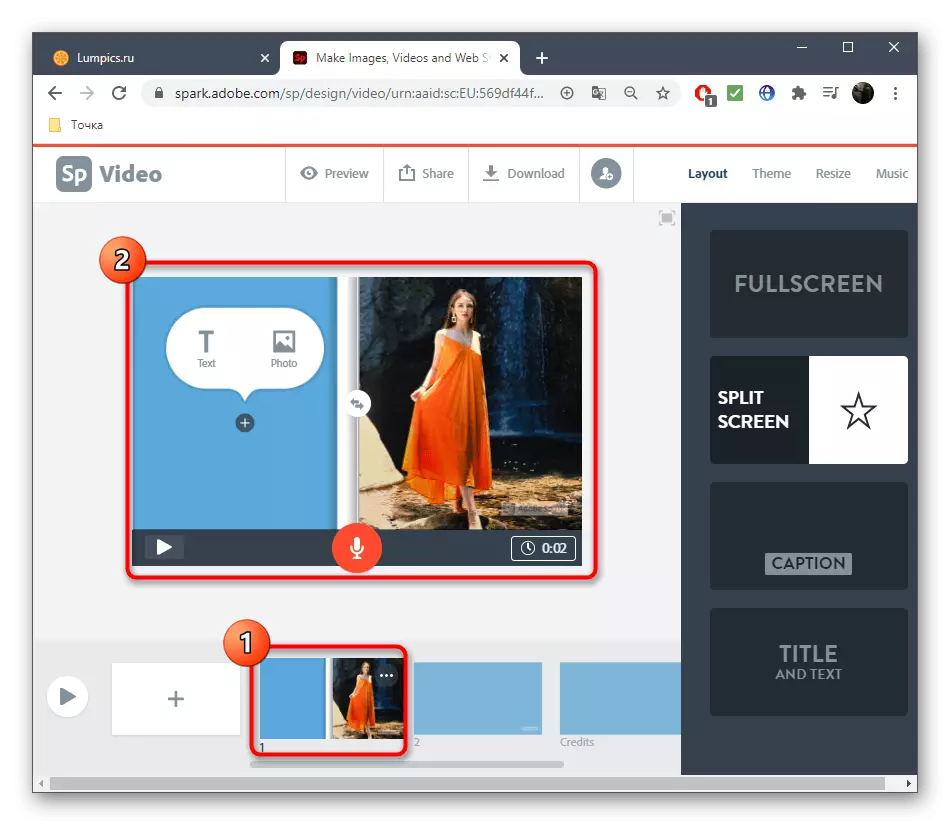
- After downloading, you can split the frame into two to add another photo or text.
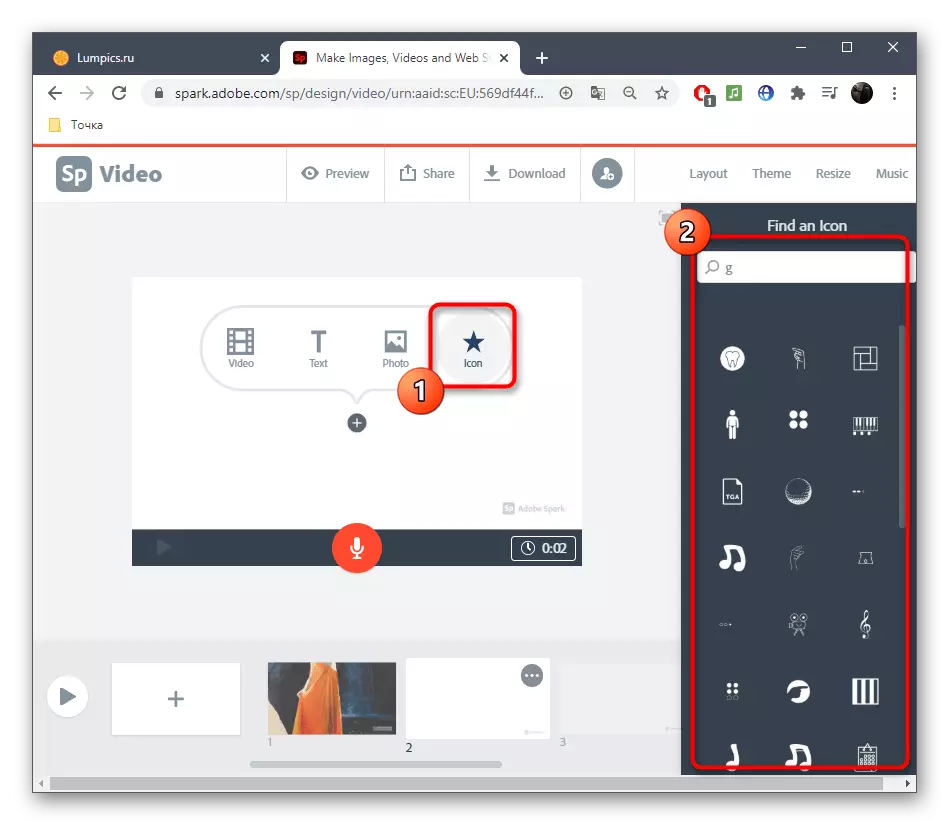
- Use various icons that will live in your photo. Move them to different frames to create the desired effect.
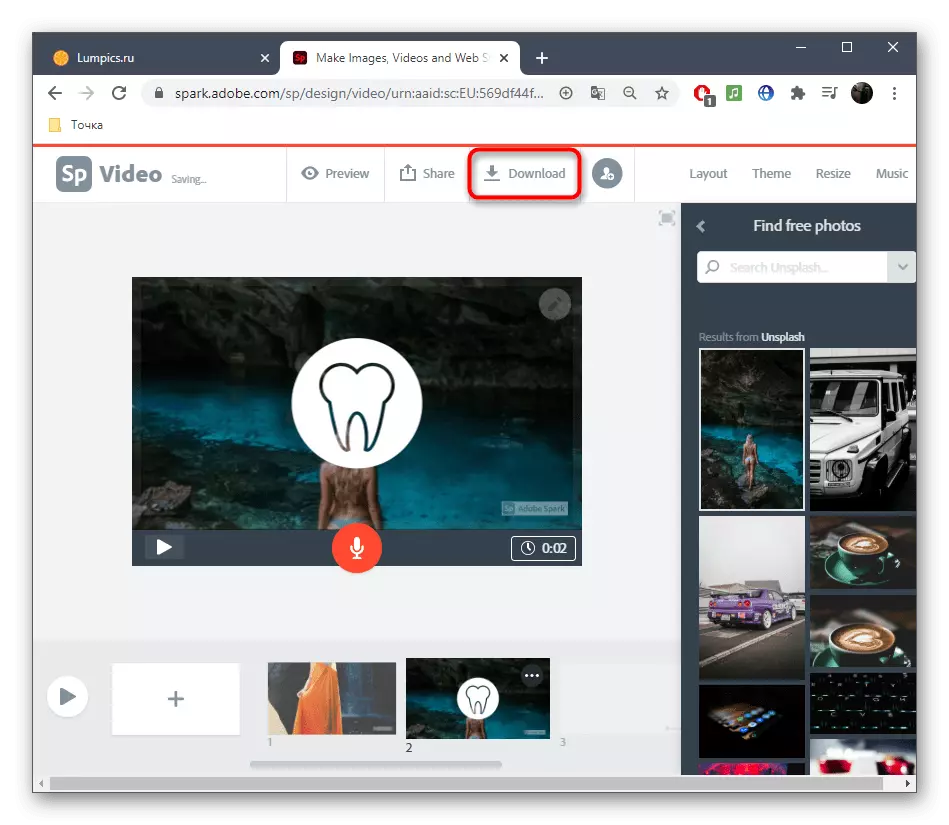
- As soon as the roller is ready, click "Download".
- If you cannot immediately download it, wait a few minutes until the processing is complete, and then try again.
- Expect the download and go to further interaction with the video.