
Option 1: Full synchronization off
data synchronization management, including as contained in the address book contacts with your Google account carried in the parameters of the Android OS.
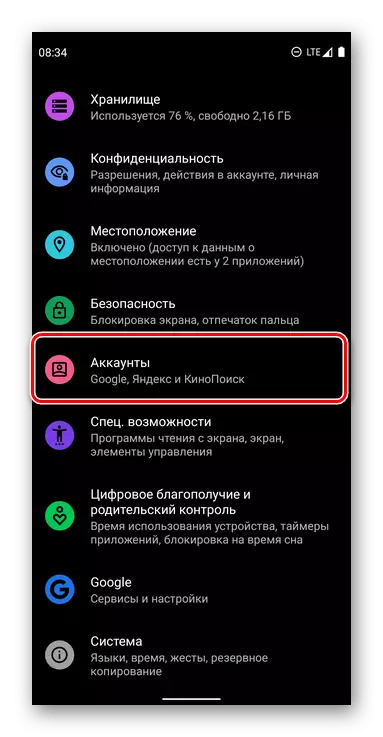
- Open the "Settings" and scroll down a bit list presented in this section of the options.
- Tapnite under the item "Accounts."
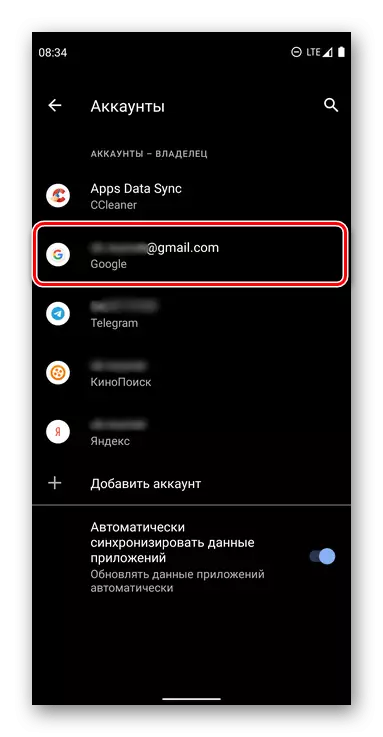
- Look for the list of the Google account synchronization of contacts for which you want to disable, and click on its name.
- Next, tap the inscription «Account Synchronization".
- Among the list of services and information that are stored in your account, locate the "Contacts", and deactivate located next to the item switch.
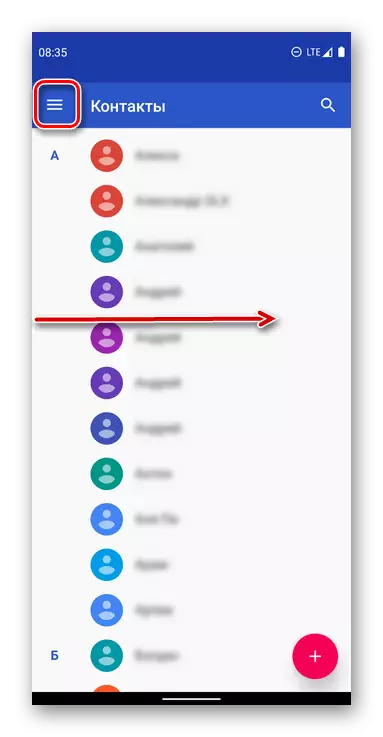
- Run the application "Contacts" menu and call it - usually to do this, click on the three horizontal bars at the top or perform swipe from left to right across the screen.
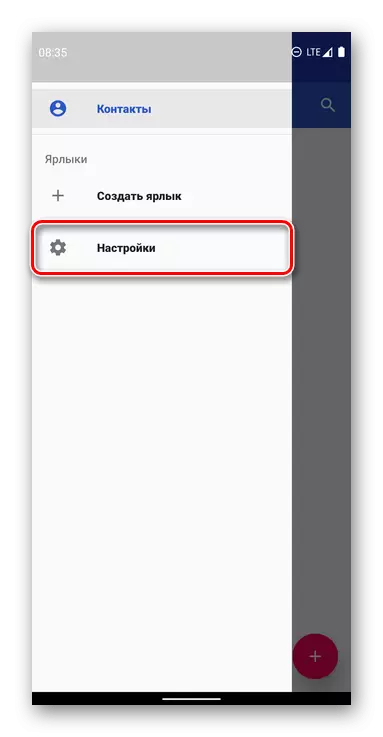
- Go to "Settings".
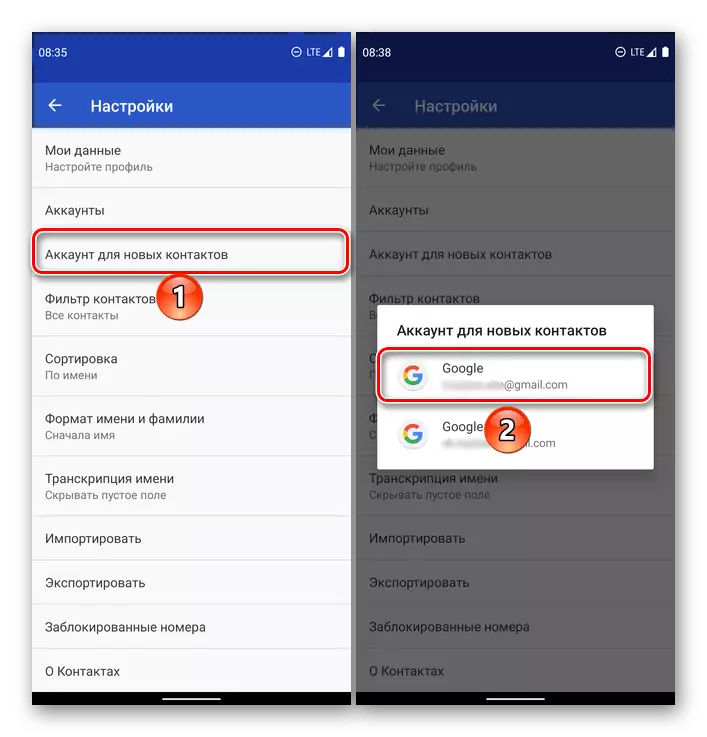
- Tap "account for new contacts." Next, you can go one of two ways:

- If your mobile device is already used by more than one Google account, just select the pop-up window where you want to save the new contact details.
- If such uchetki yet or she is not authorized to create and enter it in the "Settings" mobile operating system, using for this purpose provided the link below for instructions.
Read more: How do I log in to your Google Account on Android-devayse

Then go back to the application settings "Contacts"

and then there is the added "account for new contacts."


Option 2: Synchronization with a different account
If the task of disabling contacts synchronization dictated by the reluctance to keep an address book entry in the main Google account used on Android-device, you can add and use for this purpose a separate account.
Note: After executing the instructions below all new contacts will be saved in a separate uchetku old well still be stored in the one that to this point has been used as the primary.
From that point on, all new entries to be added to the address book will be kept in a separate Google account. For the "old" as if you choose to disable the synchronization of contacts, use the instructions in the previous part of this article.