

Method 1: Disc Initialization
Solid state drives to work in Windows family systems must be initialized. The procedure for Windows 7 looks like this:
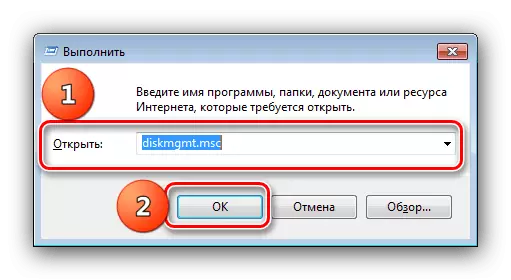
- Open the "Run" snap-in with the Win + R keys, then enter the DiskMGMT.msc query in it and press ENTER.
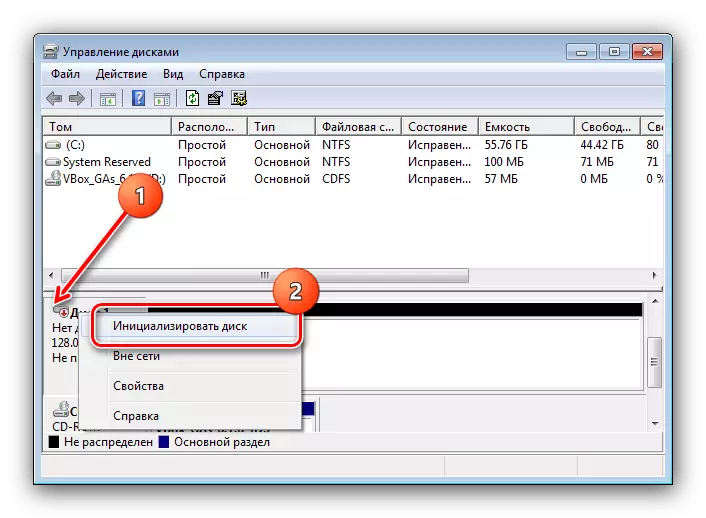
- The connected SSD must be designated as "disk 1" or "Disc 2" - click on it with the right mouse button and select "Initialize the disk".
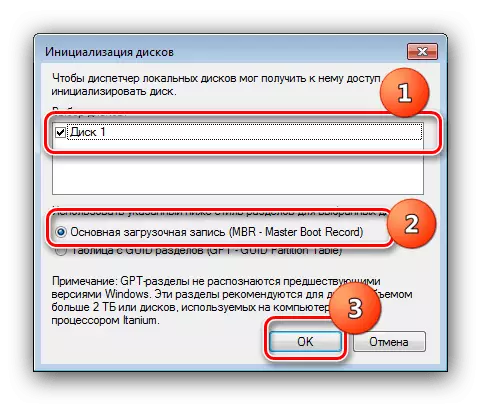
- The initialization utility opens - the first thing to check the "Disc 1" item. As a partition table, set the "Main boot record", then click OK.
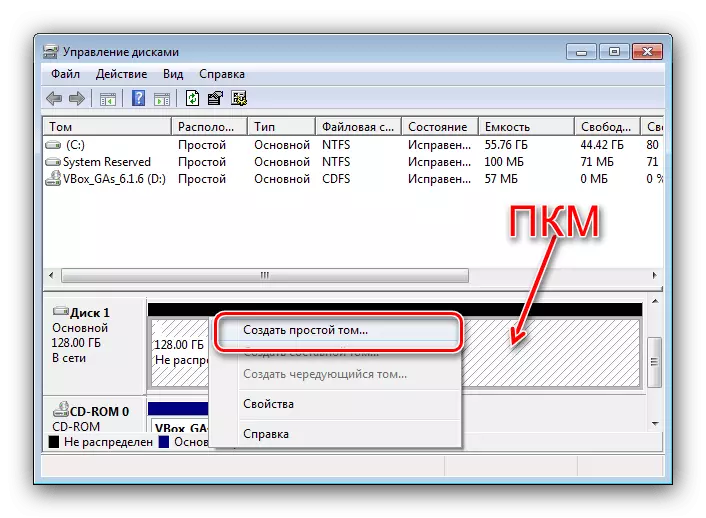
- After completing the procedure, you will need to create a section - click the PCM on the unallocated area and select "Create a simple volume".
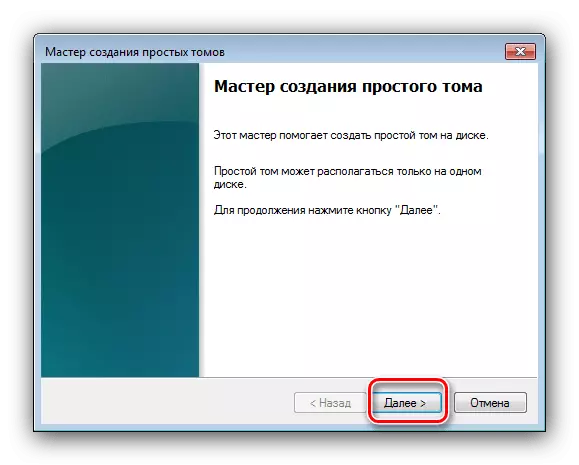
- In the first window of the "Wizards of the New Tom" click "Next".
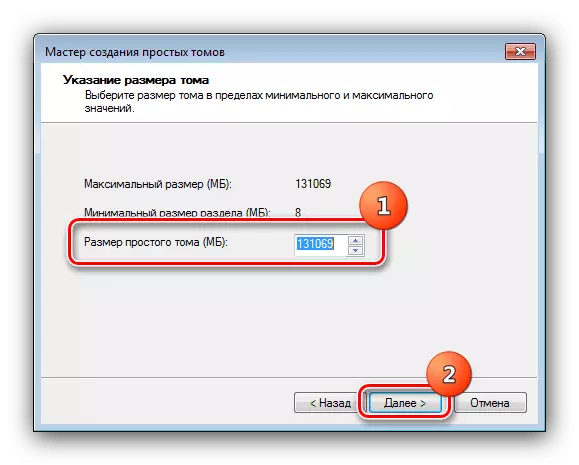
- In this section, specify the size of the new volume. By default, the total value of the volume is allocated, but it will be possible to specify and smaller - unused space can be allocated to a separate section. After making all changes, click "Next".
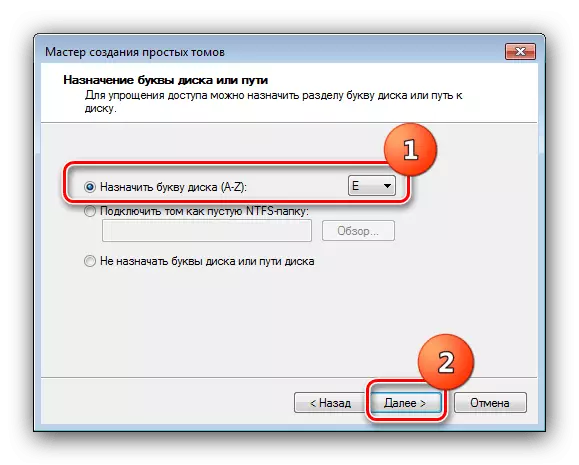
- Now enter your letter or leave the value.
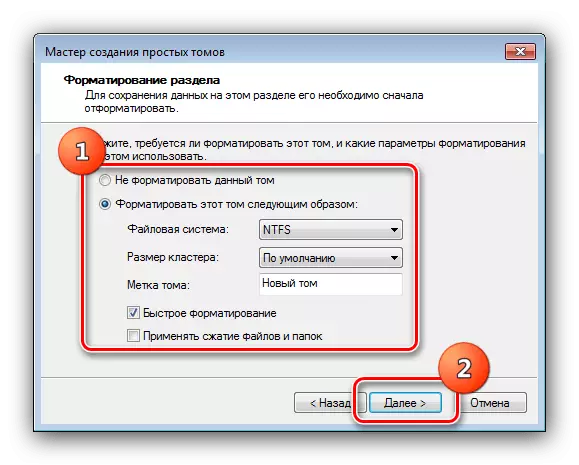
- When formatting, the parameters are better to leave the default.
- In the last window, click Finish.
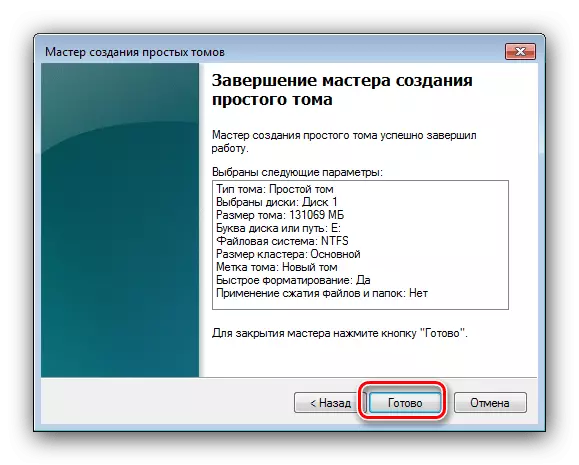
The initialized and fully formatted disk should appear in the system.
Method 2: Installing the letter
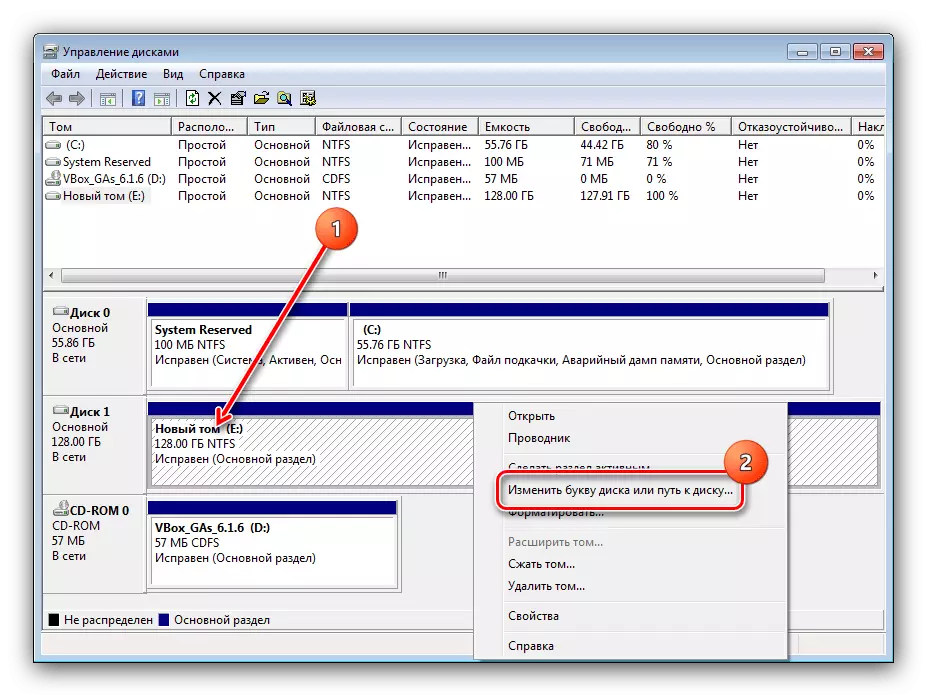
Sometimes the cause of the problem lies in the absence of a designated letter. You can install it manually as follows: Open "Disk Management" by the method from the previous method, then click on the PCM on "Disk 1" and select "Change the letter of the disk or the path to the disk".
Use the drop-down list, specify the free liter and click "OK".
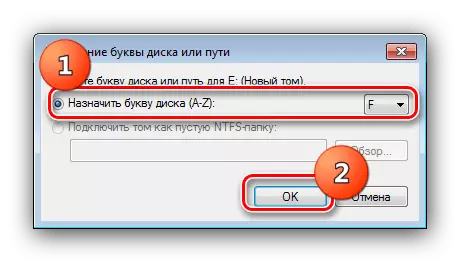
Now the disk should be recognized.
Method 3: Restore partition table
If the drive has already been used, but suddenly disappeared from the "my computer", it is possible that the partition table was damaged. This indicates the lack of initialization in the disk manager. Naturally, the actions from the method 1 will help to eliminate the problem, but often the volume of the drive turns into an unbalanced area. An attempt to restore marking by system tools can lead to data loss, so it is better to use a third-party solution - for example, Minitool Partition Wizard.
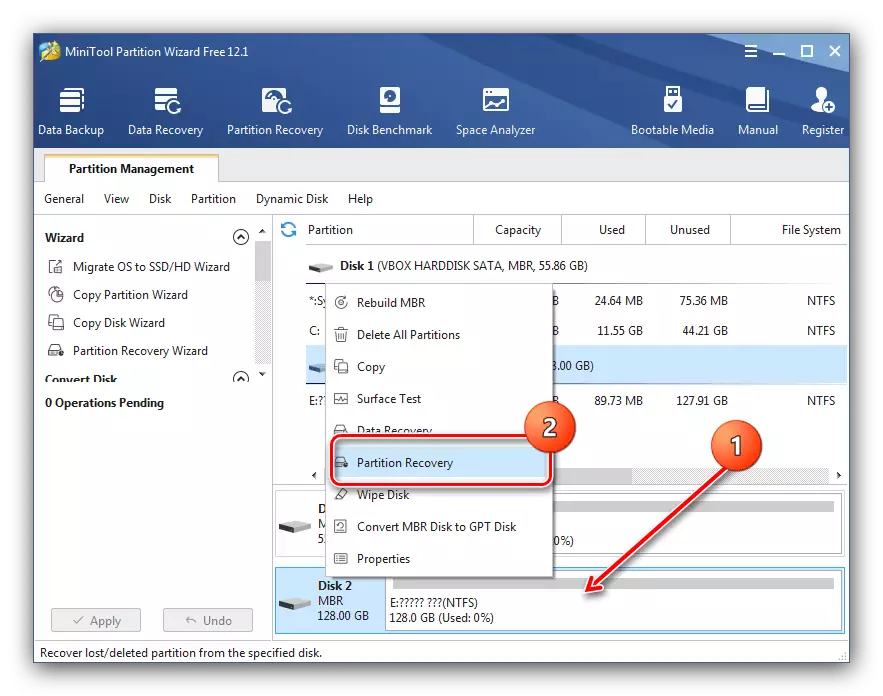
- Run the program, then using the list at the bottom of the screen, select the desired drive. Next, click on the PCM and select "Partition Recovery".
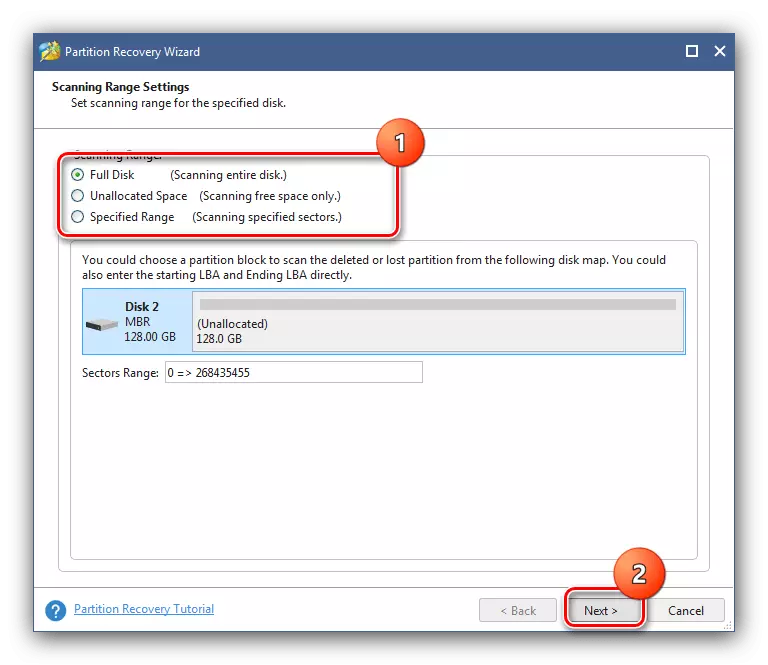
- Space Scan Range Set as Full Disk.
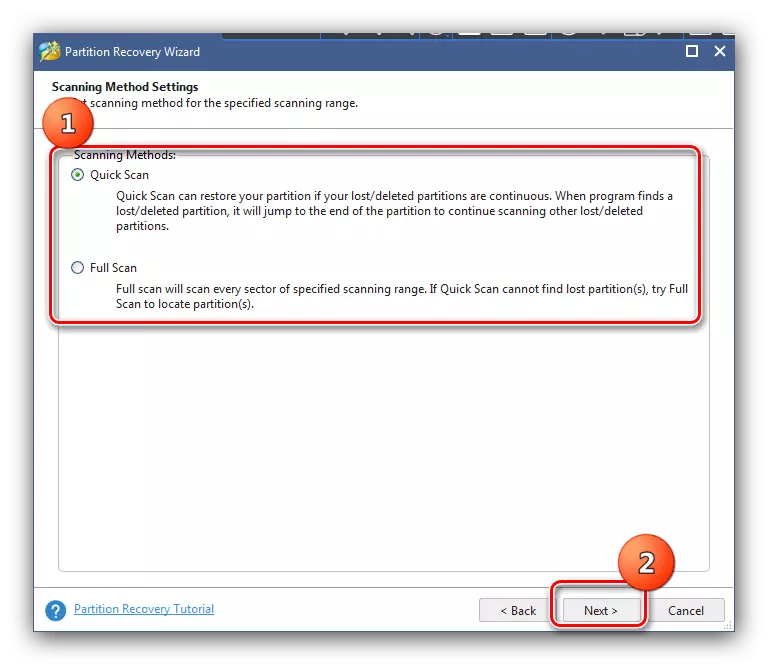
- Now you need to select the scan option - the Quick Scan option allows you to restore continuous damaged or hidden partitions, while "Full Scan" is fragmented volume.
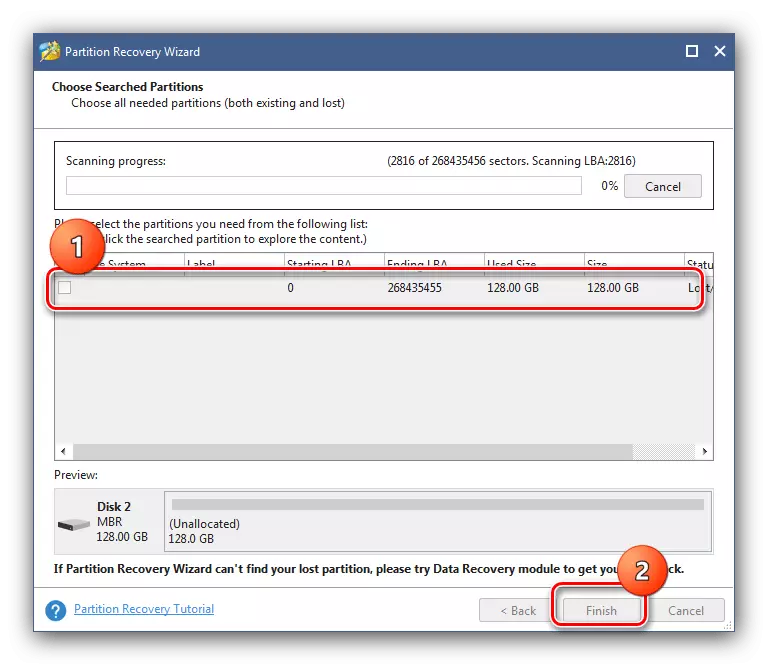
- Wait until the program perform your work. At the end of the procedure, a window will open with a list of recognized partitions - select those that you want to restore, and click "Finish".
Now SSD should appear in "My Computer".
Method 4: Return of visibility to the hidden section
Sometimes, the volume for one or another reasons becomes hidden, for example, so the user himself was made to hide data from foreign. You can return the visibility of this using the MINITOOL Partition Wizard mentioned above.
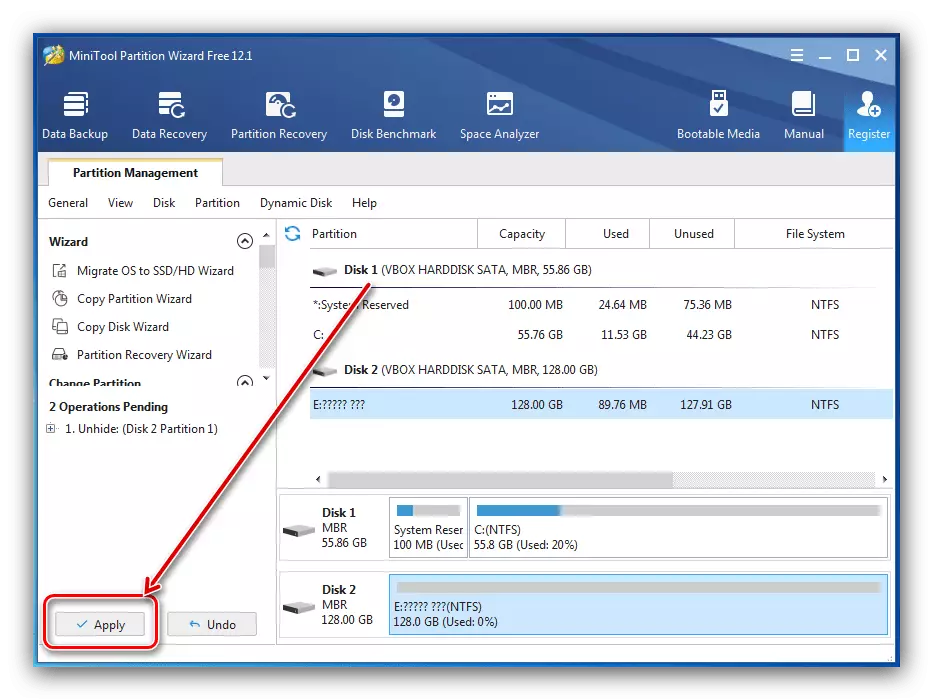
- Open the program, click the PCM on the desired drive and select "Unhide Partition".
- Assign the drive letter, then click OK.
- Click "Apply" in the menu on the left.


Method 5: Troubleshooting File System
Often, the SSD-drive recognition fails are in an unsupported file system - for example, if the carrier was used in OS other than the Windows family, and formatted in the inappropriate last. You can liquidate the problem as follows:
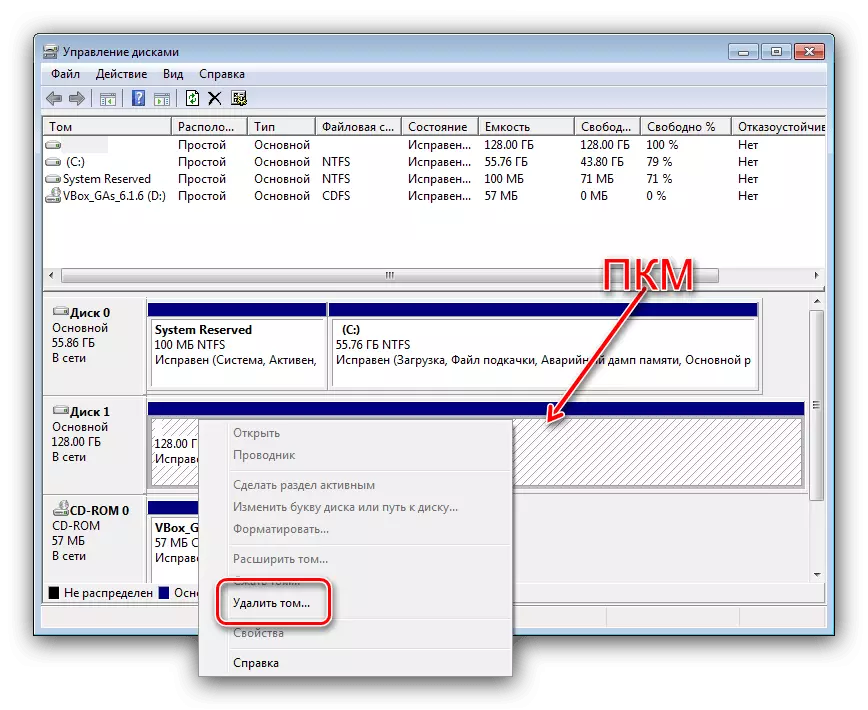
- Run "Disk Management", then click on the PCM on CZD and select the "Delete Tom" option.
- Confirm the operation by clicking on "Yes".
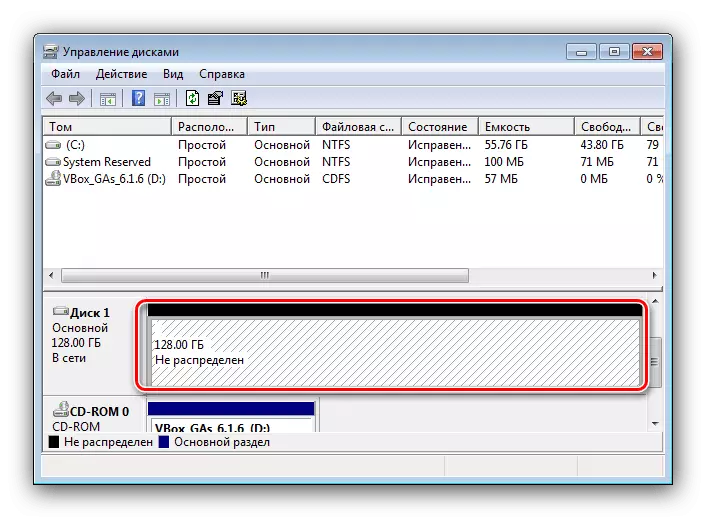
- The status should change to "freely" or "not distributed" - this means that you can create a new volume, the details of the operation will be found in the method 1.

In cases where the file system is displayed as RAW, but the method deleting the volume does not help, refer to the article on the link below.
Read more: How to remove the RAW File System on the Hard Disk
Method 6: Installing updates to support NVME
If the target SSD standard NVME is connected to M.2, then the default "seed" will not work with them, you will have to download and install a special update with the KB3087873 code.
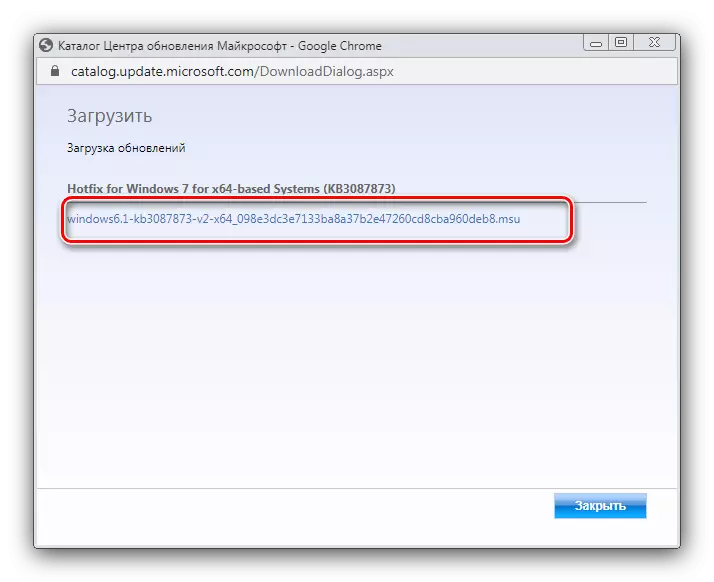
Download Windows HotFix KB3087873 from Microsoft Update Catalog
- Follow the link above, then click on the "Download" button in the "HotFix for Windows 7 for X64-Based Systems (KB3087873)" row.
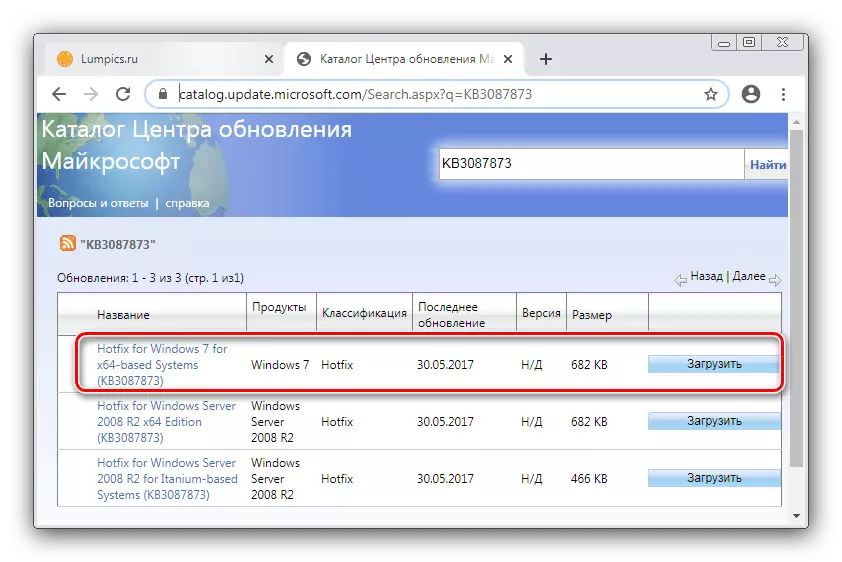
A separate window will open, click it on a single available element.
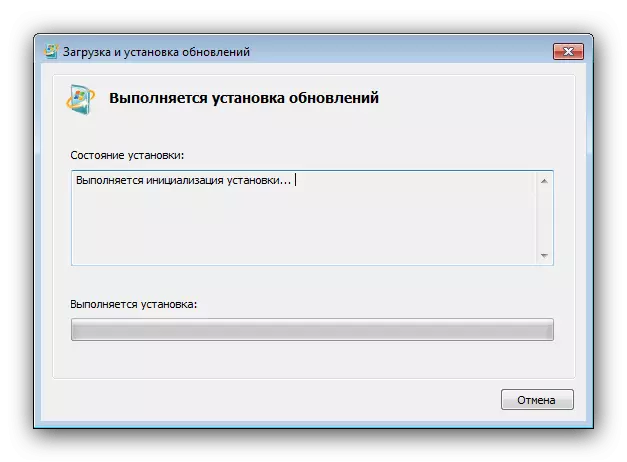
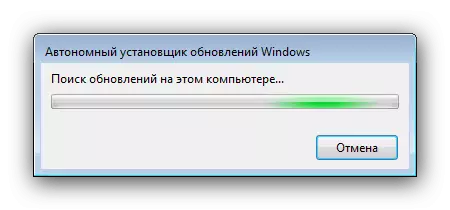
- After downloading the update, run it file. The preparation process will begin.
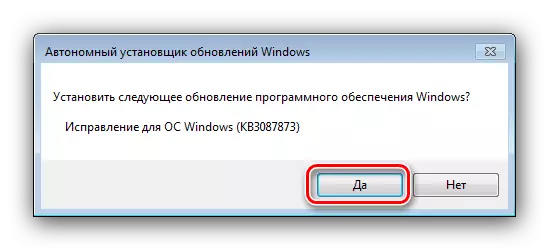
- Next, click "Yes" to start installation.
- Wait until the update is installed.
When the setup is completed, close the window and restart the computer.
Now the SCD should be recognized and operated.
Method 7: BIOS Setup
Sometimes the cause of the failure consists in the incorrect settings of the motherboard system. You can check them and correct according to the following algorithm:
- Go to the BIOS of your computer - if you don't know how, use the article further.
Read more: Entrance to the BIOS on the computer
- First of all, check the SATA controller operation mode - AHCI must be installed for SSD discs.
Read more: turn on AHCI mode in BIOS
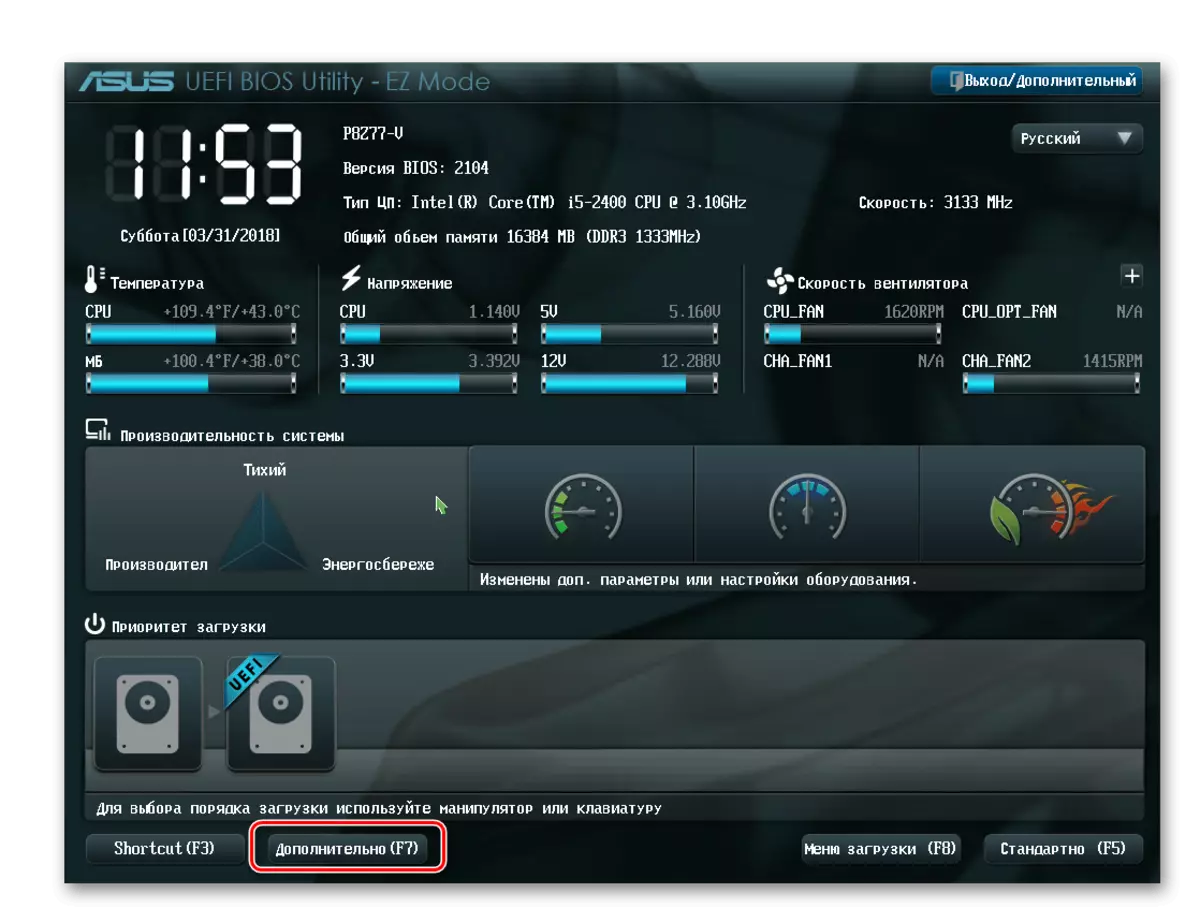
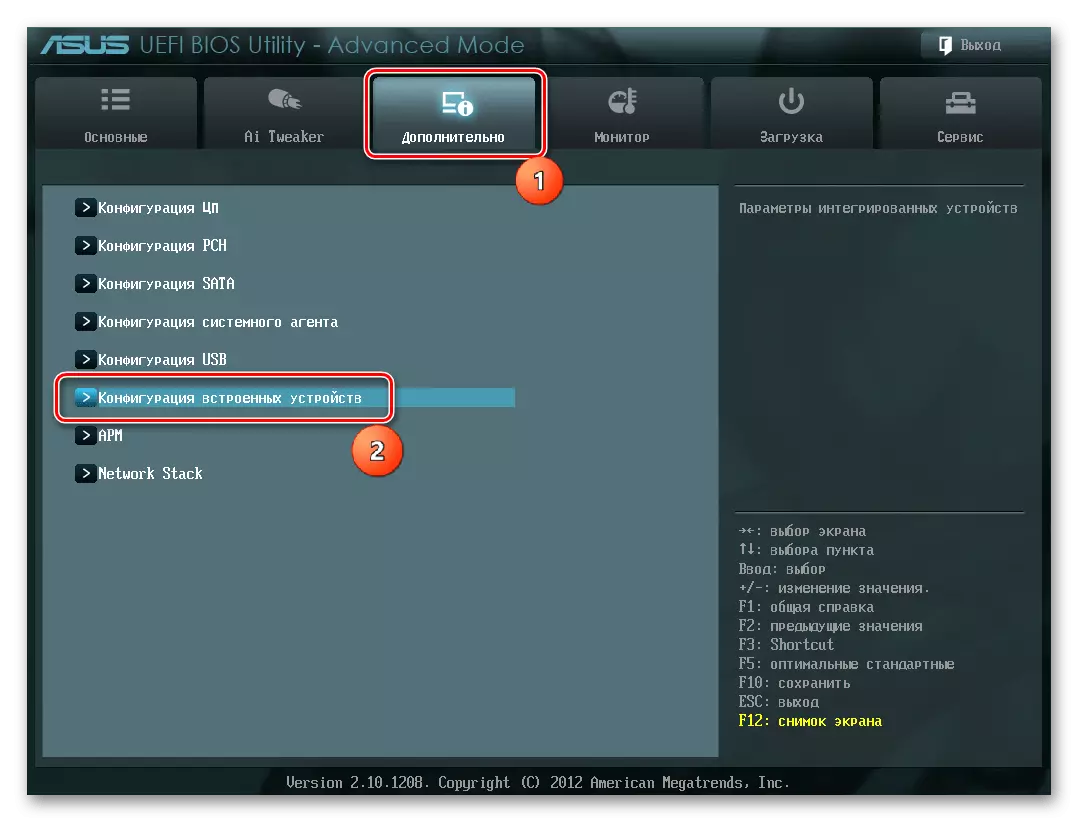
- Also in some variants of the BIOS, the operation of the solid-state drive may interfere with the included serial port. An example of deactivation will show based on ASUS UEFI - go to the shell, then switch to the advanced mode.
Go to the "Advanced" section and use the "Built-in Device Configuration" item.
Next - "Serial Port Configuration".
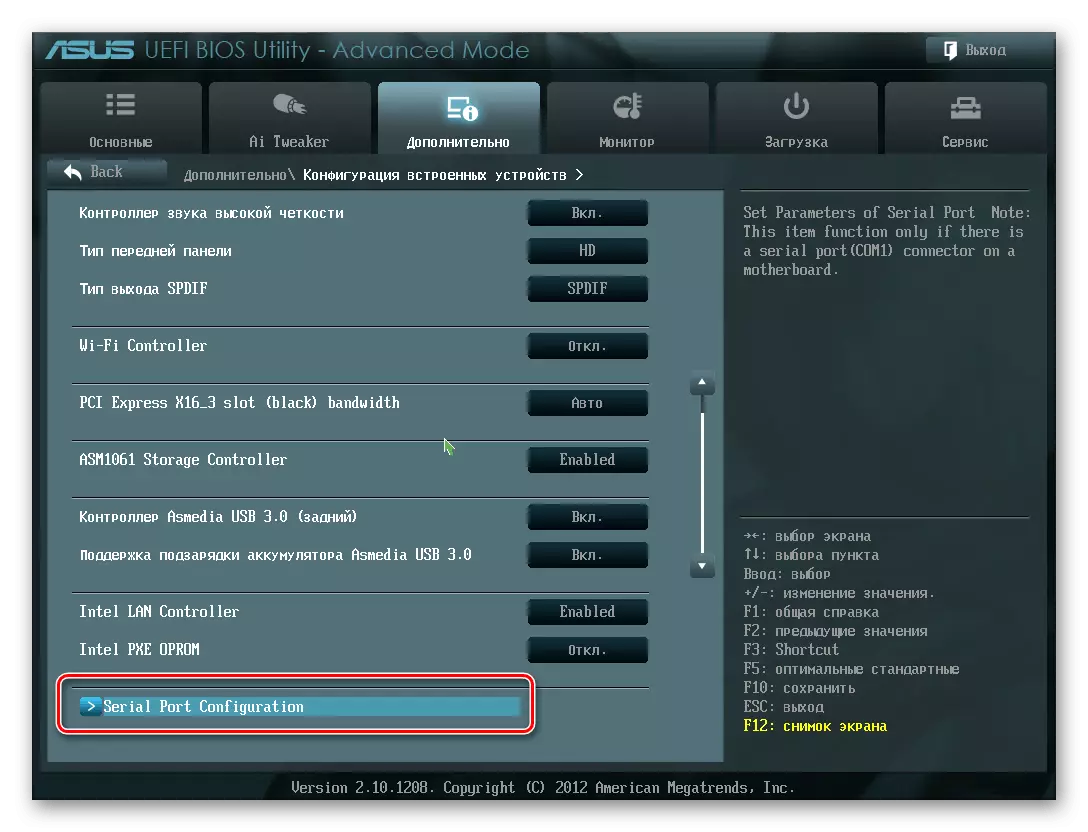
Enter the "Serial Port" option, open it and select the "Off" parameter.
- If the mode is set correctly, it is possible that the reason for some other embedded parameters. Radical remote method - reset BIOS settings to factory values.
Read more: How to reset BIOS to factory settings

Method 8: Troubleshooting hardware
The last category of the causes of the problem under consideration is physical faults of the SSD itself, connections or adapter cables.
- Check the contact density between the drive and the cable or connector - it may disappear if the items are poorly connected, which leads to problems in recognition.
- If you use the M.2-PCIE adapter for NVME drives, make sure that it sits well in your slot. In case of doubt about the adapter performance, it is better to replace it, on the device from the proven manufacturer.
- For the SSD test, connect it with knowingly working components to a deliberately working computer - if the problem is still observed, the drive is uniquely required to be replaced, since such devices are practically not repaired.