
Step 1: Connecting a device to a computer
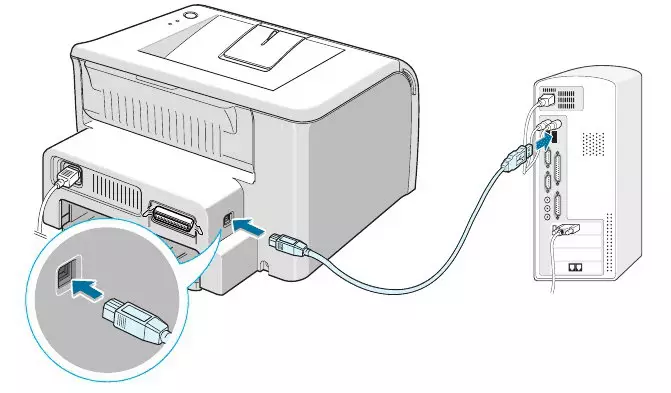
You should start with the CANON MG5340 printer connection to a computer or laptop. Note the image where the appearance of the cable used to connect is shown. On the one hand, it has a USB-B connector that is inserted into the printer itself. Find this wire after unpacking the printer and connect it to the port located on the side.

The second side of the wire stack into the free USB connector of the computer. If we are talking about a laptop, there is no difference, which port is involved.
In the case of a fixed computer, it is better to use the connector on the motherboard, and not on the front panel. Of course, it will not hurt anything and the second option, but when problems are detected with connection, change the port to the recommended.
Step 2: Installing Drivers
Now the top-end version of the family of Windows operating systems is considered "dozen", so this stage is focused on its owners. Here the Canon MG5340 driver is usually installed automatically, since all the necessary files are on Microsoft servers. If a notification has appeared on connecting a new device, but it has not been recognized, you will have to deal with the driver yourself. The easiest way to do is through the built-in tool.
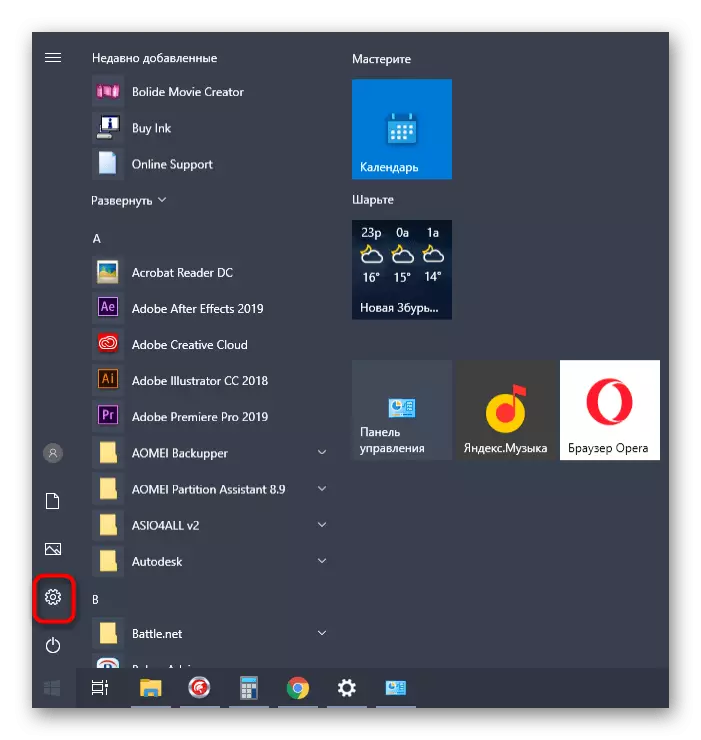
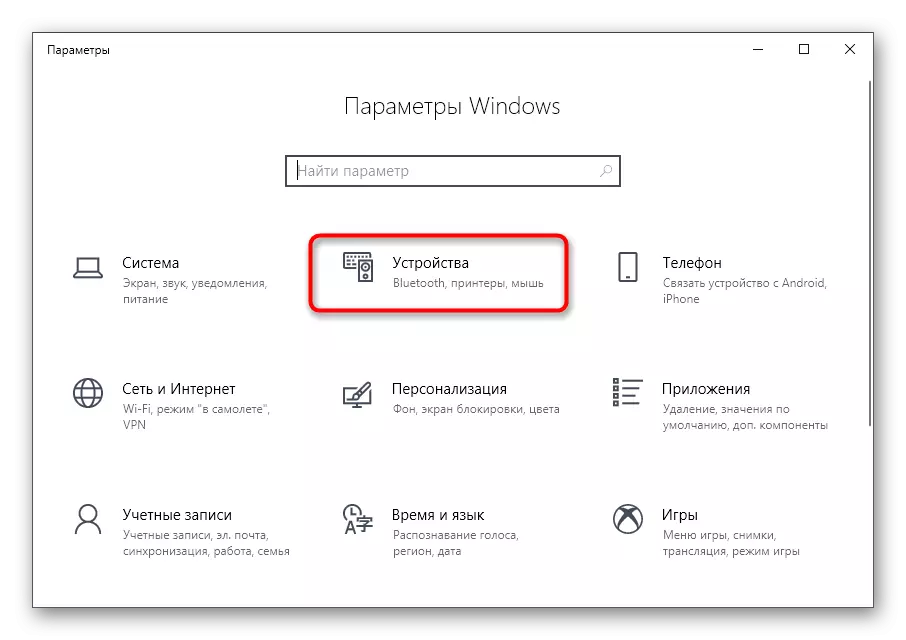
- Run the "Parameters" application through "Start".
- Find the "Devices" menu.
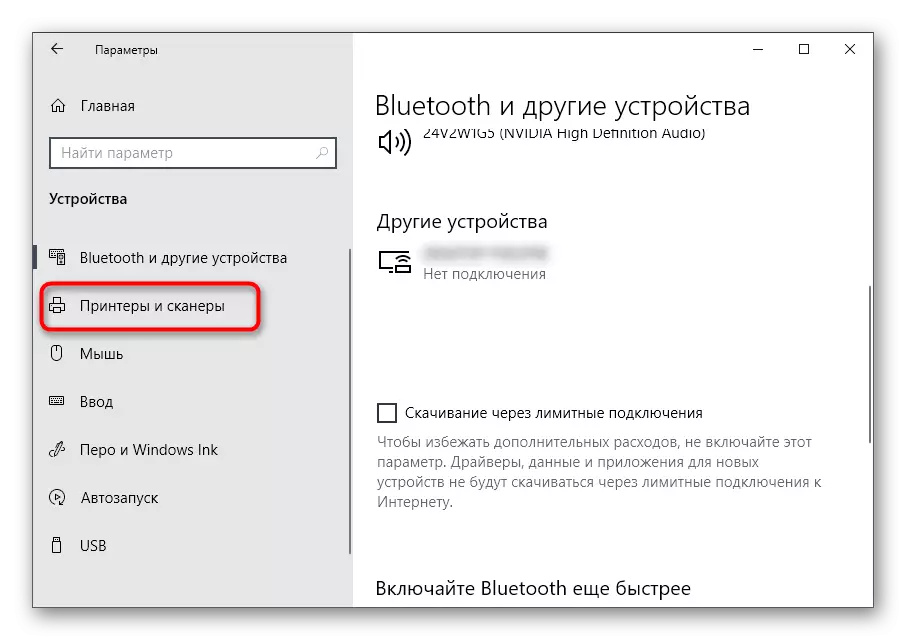
- Move to the "Printers and Scanners" section.
- Be sure to make sure that there is a check mark near the "download via limit connections".
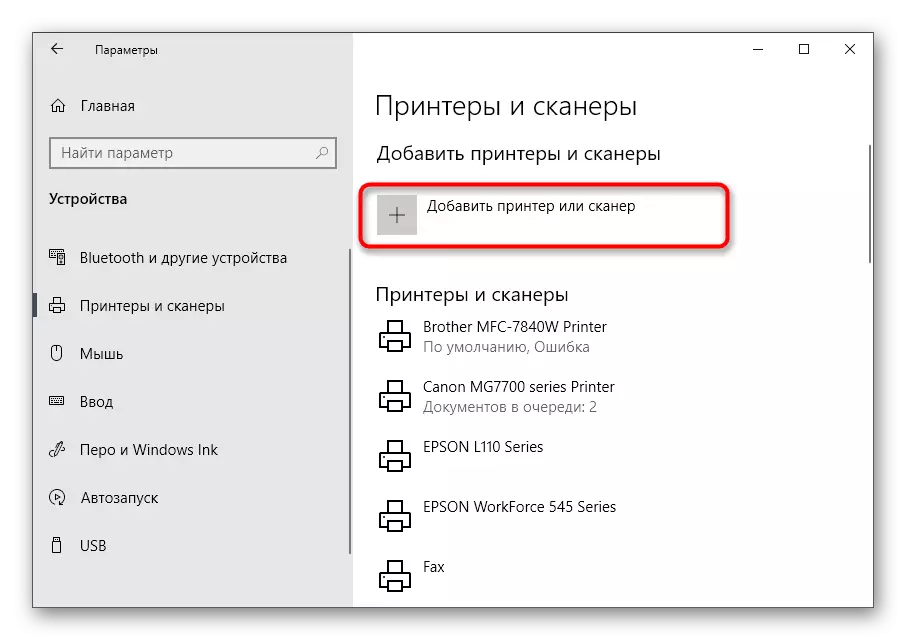
- Return to the beginning of this menu and click "Add Printer or Scanner".
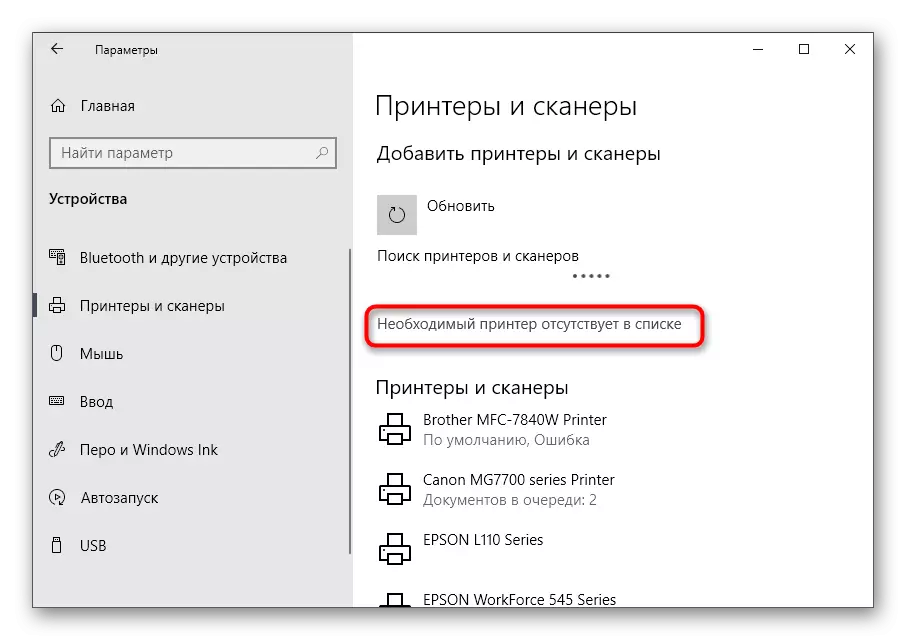
- If the device was not detected, click on clicking the "The required printer is missing in the list".
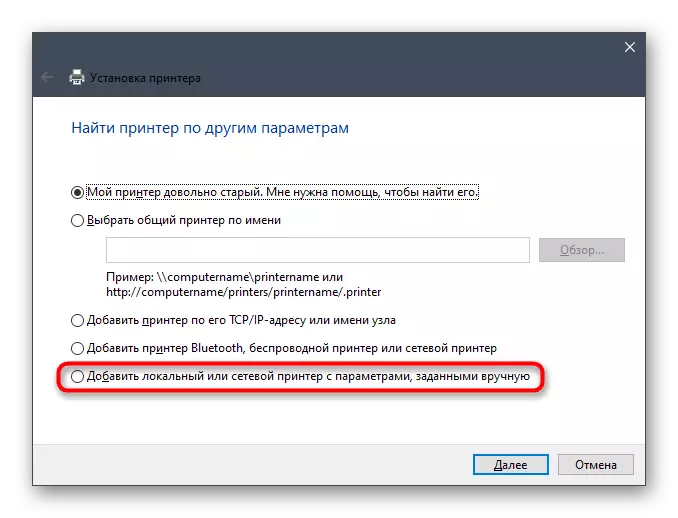
- A manual addition window will appear, where to mark the last point marker and go further.
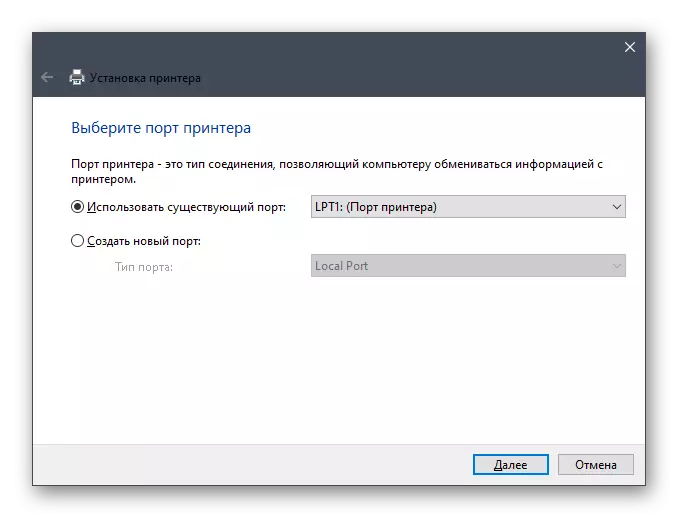
- Use an existing connection port, since this parameter does not need to be configured when interacting with Canon MG5340.
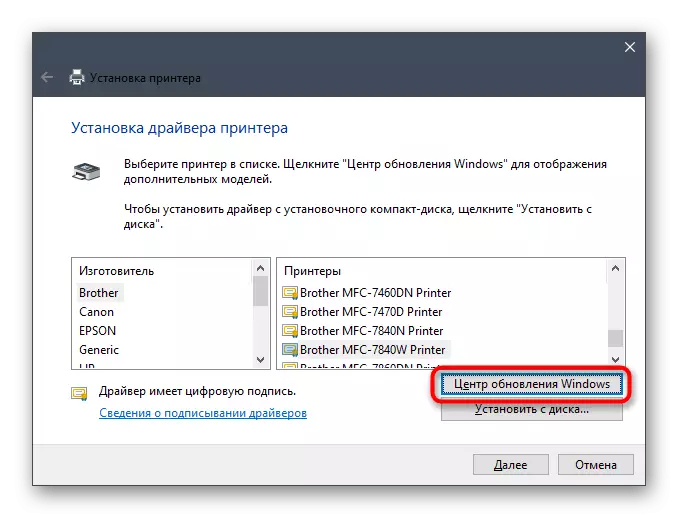
- Initially, the peripherals under consideration is missing in the driver list, so it should be updated via the Windows Update Center.
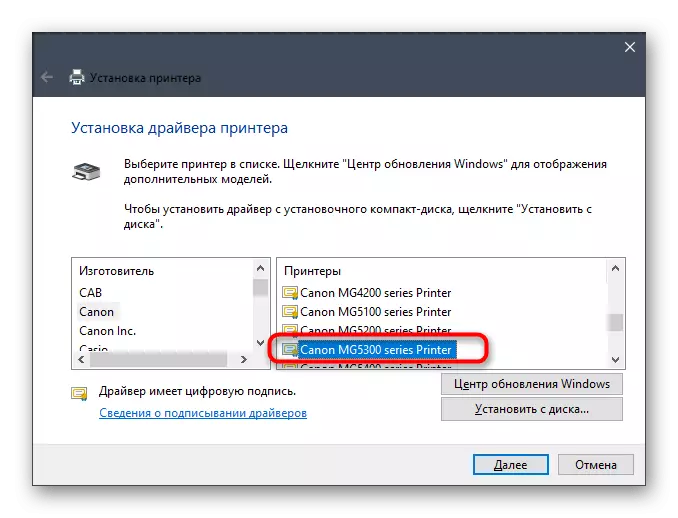
- The search for new models is performed within 1-2 minutes, while not close the current window and wait for the list display. In it, mark the "Canon" item and select the CANON MG5300 Series Printer models. All models of this series have compatible drivers, so the files will definitely suitable.
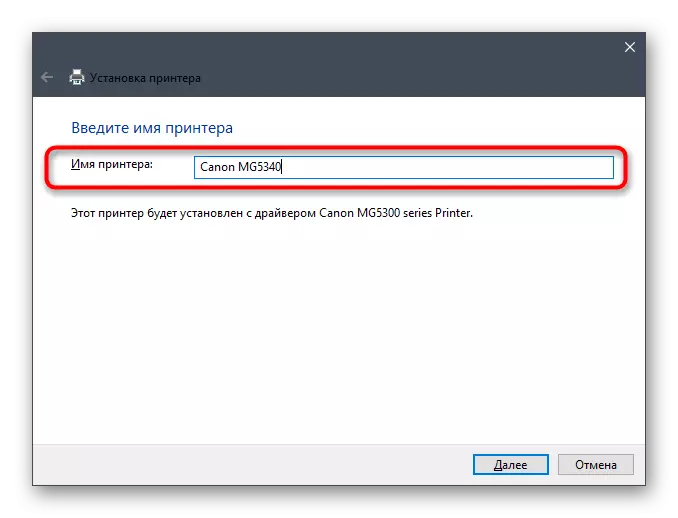
- Change the printer name to convenient and follow further.
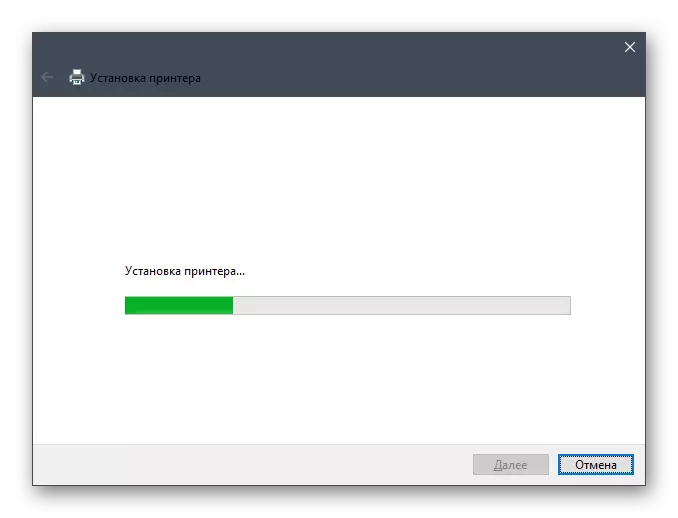
- The installation will take a few seconds.
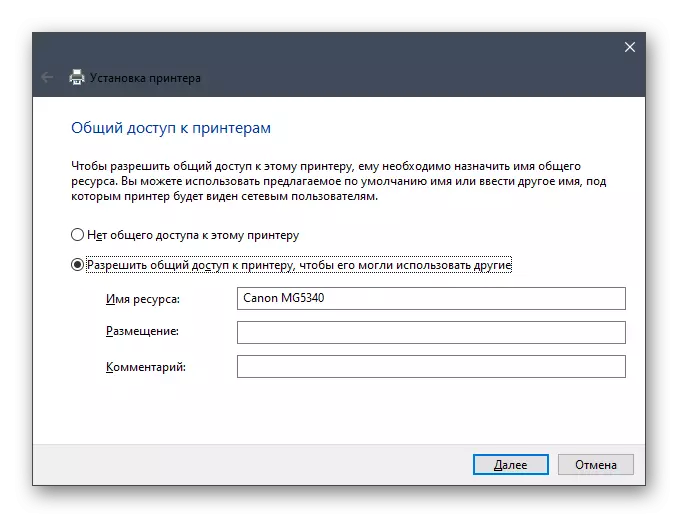
- Allow access to the Canon MG5340, if you plan to use it for printing on the local network.
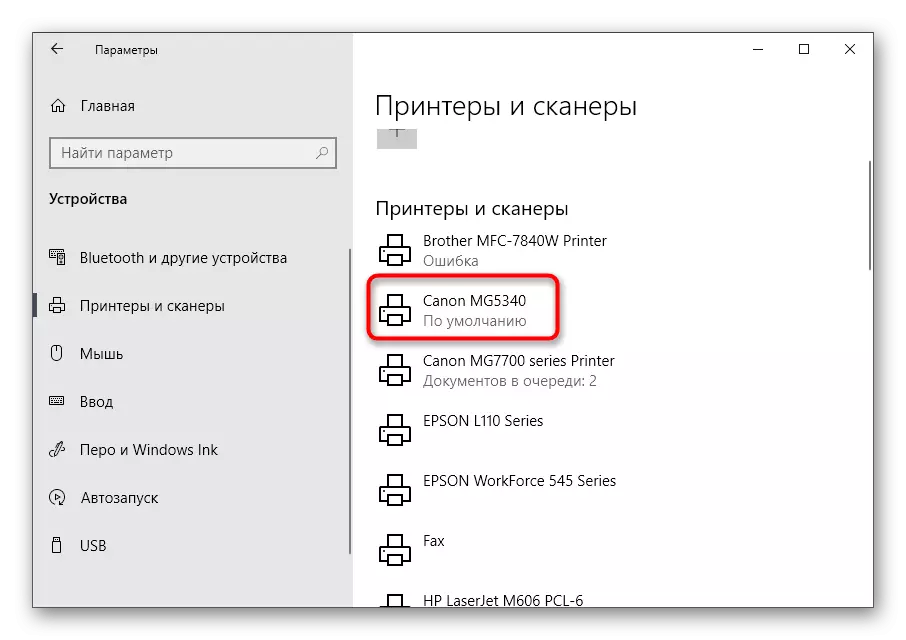
- Return to the menu with printers and make sure that the device used is displayed there.

If you use another version of Windows or this option of installing drivers for some reason is not suitable, read the separate instruction dedicated to the Canon MG5340 device, where all the existing methods for installing the company software are detailed. As soon as this stage, feel free to go to the next one.
Read more: Download and install Driver for MFP CANON PIXMA MG3540
Step 3: Configuring Printer Software
The driver of any printer includes tools that allow you to configure printing as you need a jower. If you are going to print ordinary documents in A4 format, this stage can be skipped, since nothing useful for yourself can be found in addition to the last step with service that is useful after several months of active use of the device. To all those who wish to print postcards, photos or letters, sometimes you need to change the print parameters for yourself, which is carried out using these settings.
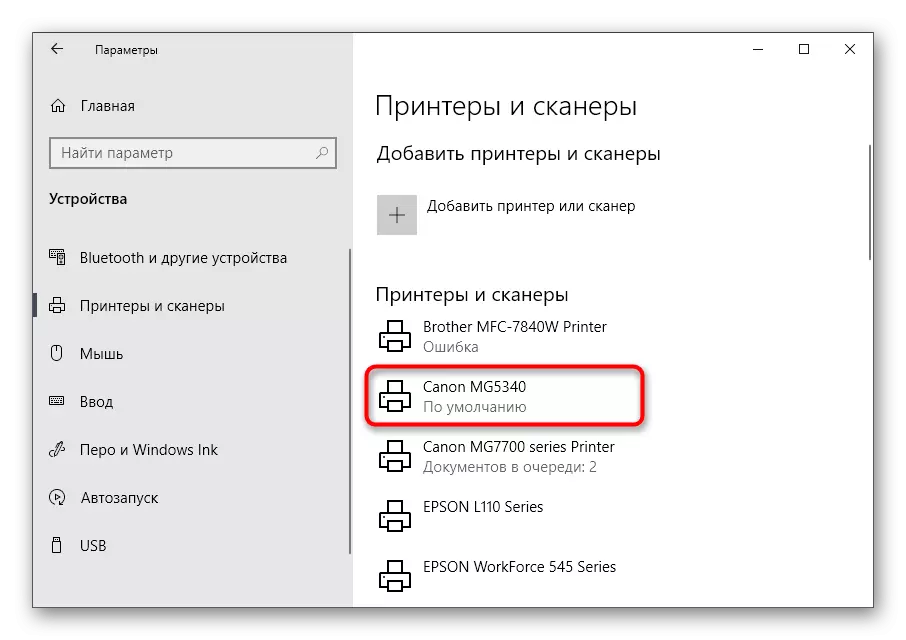
- In the same menu "Printers and scanners" through which the installation of drivers was installed, click on the line with the Canon MG5340.
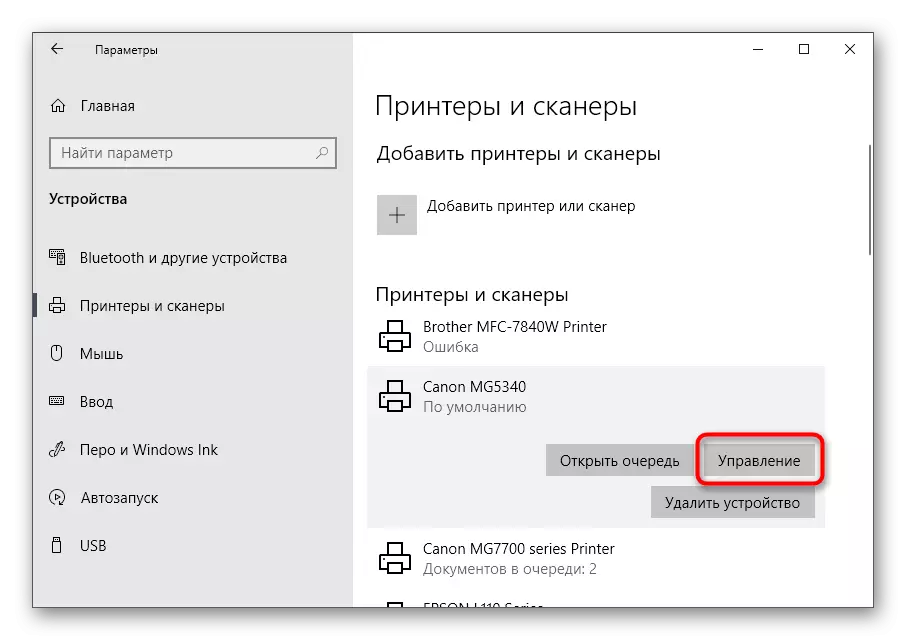
- Additional buttons will appear, click on "Management".
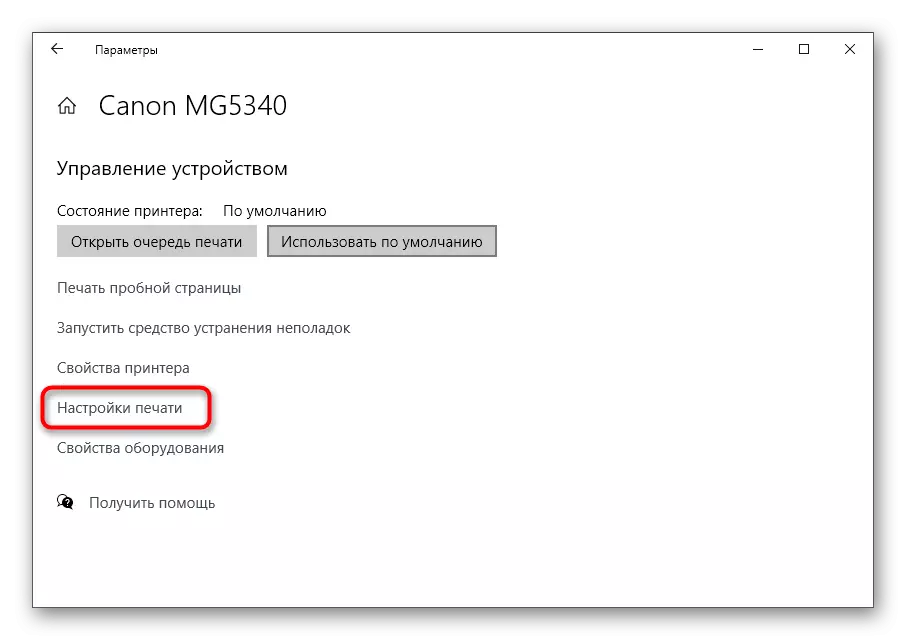
- Go to the "Print Setup" menu.
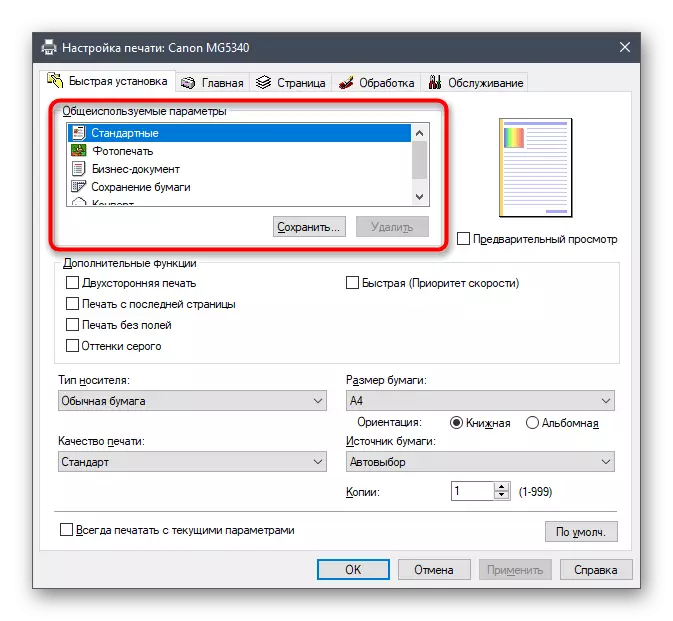
- On the "Fast Installation" tab, there is a list of "General Using Parameters". It contains billets suitable for standard tasks. Select one of them if you need to work with a specific type of documents. Media type, paper size and quality automatically change when determining one of the parameters, so follow the values and edit them for yourself.
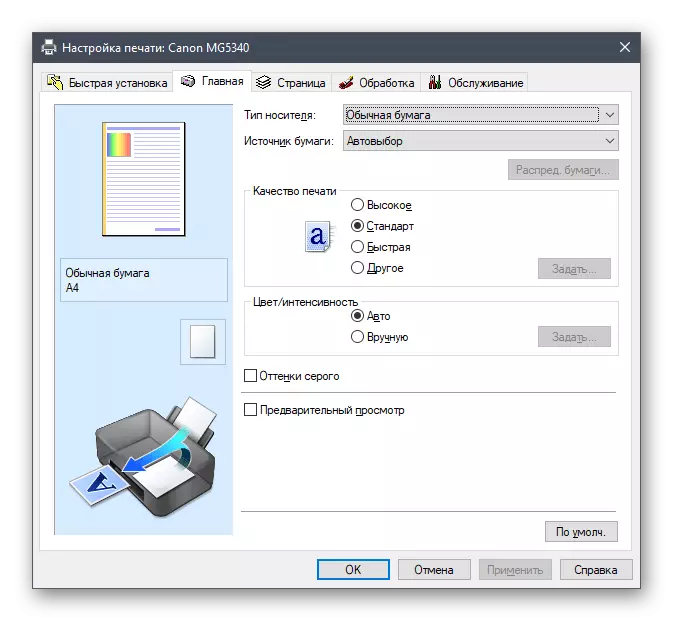
- Next is the "Home" tab, where the same settings change without using the template. If you use a non-standard paper type, be sure to specify this in a separate drop-down menu. If you wish to save the paint or increase the speed of printing, reduce the quality, checking the marker item "Fast".
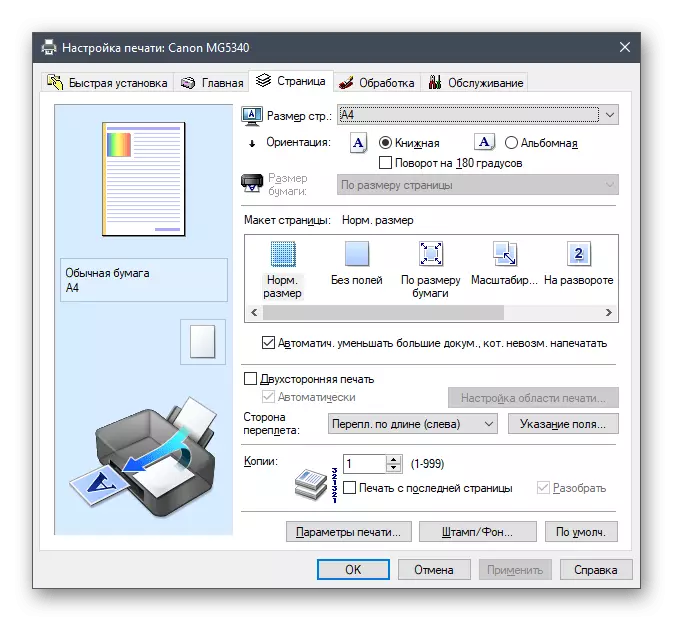
- Page Settings allow you to change the settings for all documents not to check each in the text editor. You can remove the fields, configure the size of the paper on paper or select scaling.
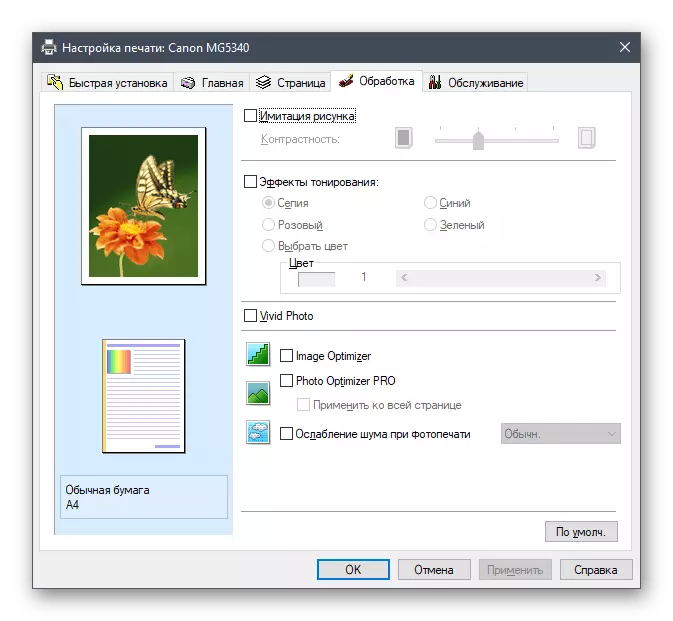
- The last configuration tab is "Processing". It has the ability to change the color correction for printing photos or other images. Use the Preview window to determine the appropriate parameters.
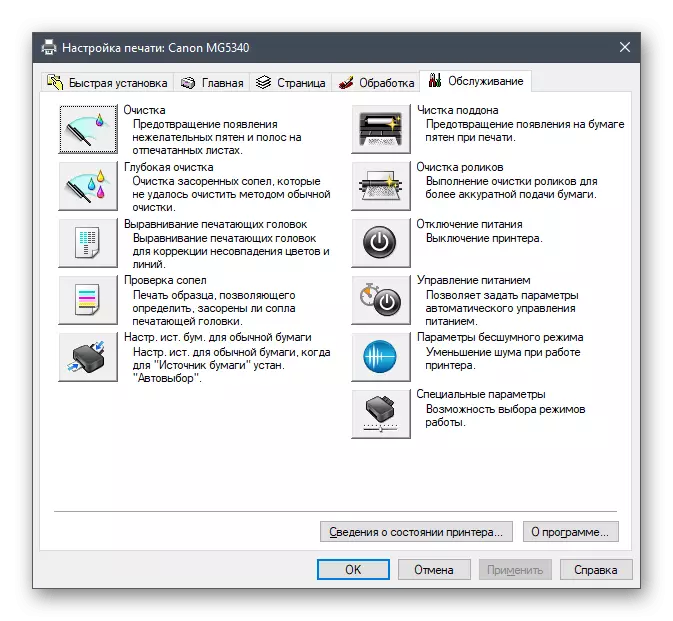
- In "Maintenance" you will find everything that is useful when problems with printing, for example, when bandages or divorces appear. Detailed information about this is in our individual articles, links to which are at the end of this instruction.
Step 4: Common Access Setting
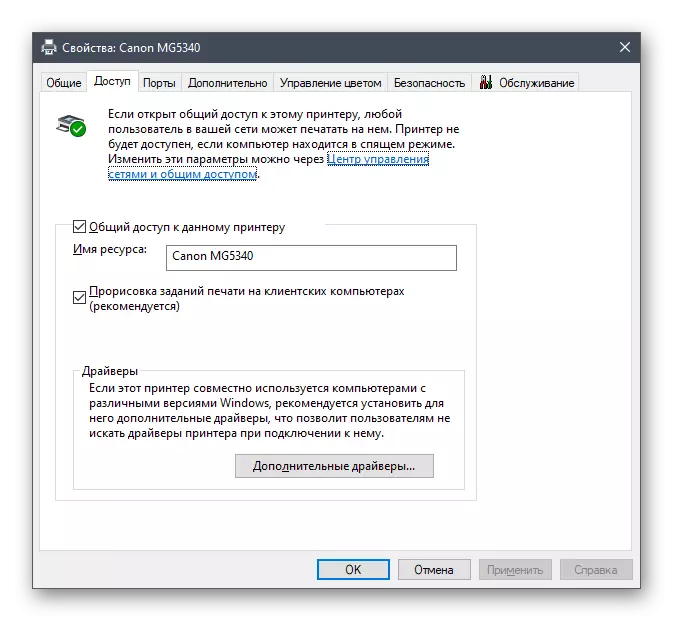
While adding a printer in Windows, we have already talked about the provision of shared access, but if the installation of the device occurred without manual intervention, this parameter was not affected. You need to activate common access to those users who want to allow other computers located within the local network to send documents to print through the same printer. The first task is to select the configuration for the local network, which is read further.
Read more: Setting up a network printer
On computers on which printing from this network device will be launched, you will also need to perform a number of actions by connecting the Canon MG5340. This is written in another material on our website.
Read more: Connecting a network printer in Windows 10
Work with Canon MG5340
You have successfully coped with the connection of the periphery, which means that you can move to its full use. If this is the first printer to be mastered, we advise you to use the manuals below, where you will find all the necessary information.
See also:
How to use the Canon printer
Print books on the printer
Print photo 10 × 15 on the printer
Print photo 3 × 4 on the printer
How to print a page from the Internet on the printer
The printer service has already been mentioned, and most often it occurs through software instruments. However, sometimes the user requires independent steps in the form of physical cleaning of the device or replace the cartridge. Surely the service will have to face a few months, so then we left links to the auxiliary materials on this topic.
Read more:
Printer Cleaning Printer Cartridge
Disassembling printers from Canon
Cleaning Canon Printers
Replacing cartridges in Canon printers