

In this manual - another simple and convenient way for this using the FlashBoot program, which allows you to create a Windows to Go flash drive for UEFI or Legacy Systems. Also in the program for free, the functions of creating a simple boot (installation) flash drive and an image of a USB drive (there are some additional paid functions).
Creating a USB flash drive to run Windows 10 in FlashBoot
First of all, to write a flash drive from which you can run Windows 10 you will need the drive itself (16 and more GB, ideally fast), as well as the image of the system, you can download it from the official site Microsoft, see how to download Windows 10 ISO .
Further steps using FlashBoot in the problem under consideration are very simple
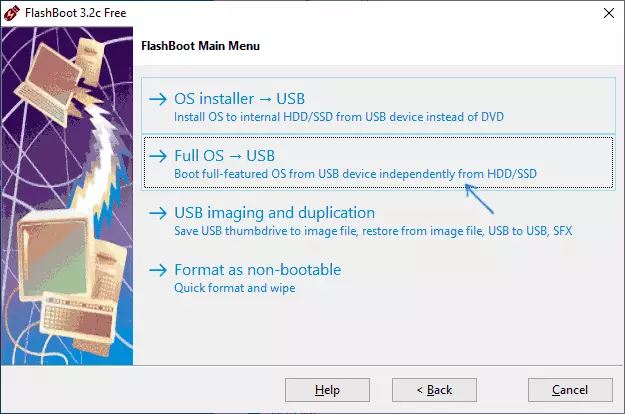
- After starting the program, click Next, and then on the next screen, select Full OS - USB (Installing the Full OS to USB drive).
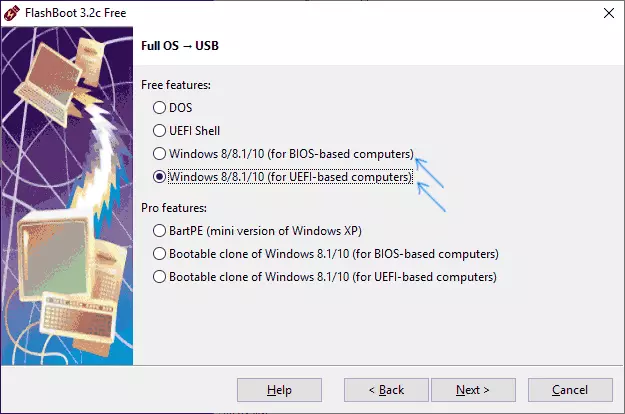
- In the next window, select Windows Installations for BIOS systems (LEGACY Loading) or UEFI.
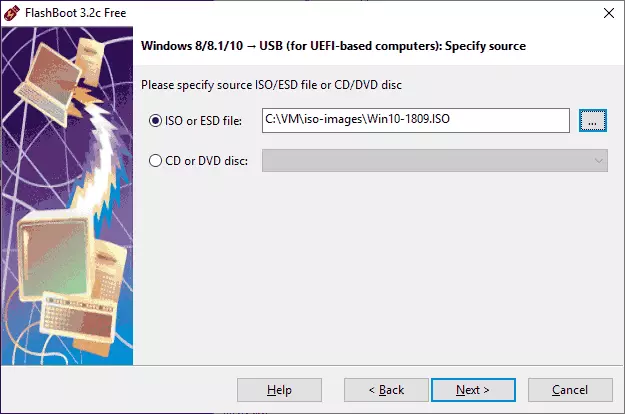
- Specify the path to the image of ISO from Windows 10. If you wish, you can specify a disk with a distribution system as a source.
- If there are several editions of the system in the image, select the next step.

- Specify the USB flash drive to which the system will be installed (Note: All data from it will be deleted. If this is an external hard disk, all sections will be deleted from it).

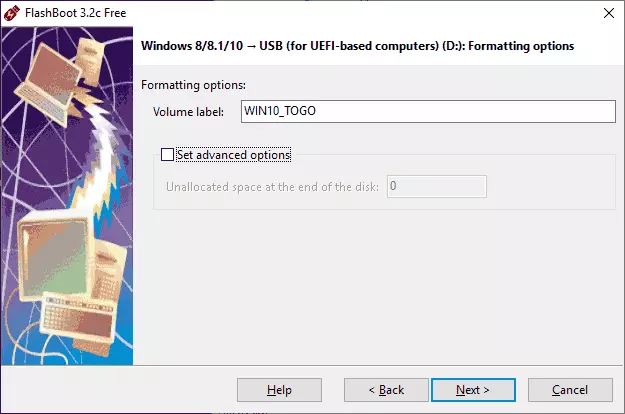
- If you wish, specify the disk label, as well as, in Set Advanced Options, you can specify the size of the retained space on the flash drive, which should remain after installation. It can be used to create a separate partition on it (Windows 10 can work with multiple partitions on the flash drive).
- Click "Next", confirm the formatting of the drive (Format NOW button) and wait for the operation of unpacking Windows 10 to USB drive.
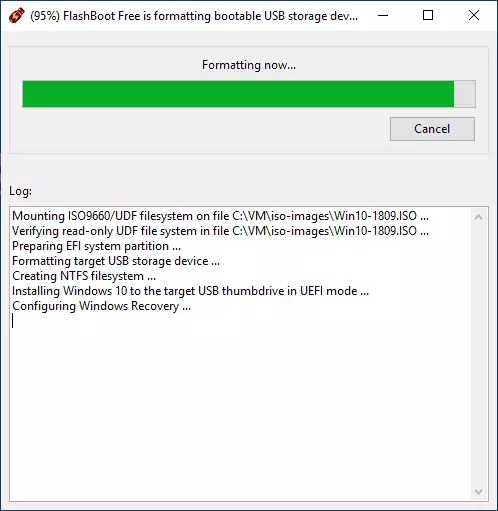
The process itself, even when using a quick flash drive connected via USB 3.0, takes quite a long time (did not count, but in sensations - in the area of the hour). Upon completion of the process, click "OK", the drive is ready.
Further steps - set the download from the flash drive to the BIOS, if necessary, switch the download mode (Legacy or UEFI, for Legacy to disable Secure Boot) and boot from the created drive. When you first start, you will need to complete the initial system setting, as after the usual installation of Windows 10, after which the OS, started from the flash drive, will be ready for operation.
Download the free version of the FlashBoot version from the official site https://www.prime-expert.com/flashboot/
Additional Information
Completion - some additional information that can be useful:
- If you use a slow USB 2.0 flash drive to create a drive, then work with them is not very simple, everything is more than slow. Even when using USB 3.0, it is impossible to call the speed sufficient.
- On the created drive, you can copy additional files, create folders and so on.
- When installing Windows 10, several sections are created on the flash drive. Systems to Windows 10 do not know how to work with such drives. If you want to bring a USB drive to the original state, you can delete partitions from the flash drive manually, or use the same FlashBoot program by selecting the Format As Non-Bootable item in its main menu.