

In this short manual on how to create a snapshot of the screen or its area using the built-in screenshot creation tool in Word. It can also be useful: how to create a screenshot in Windows 10, using the built-in screen fragment utility to create screenshots.
Built-in screenshot creation tool in Word
If you go to the "Insert" tab in the Main Menu of Microsoft Word, there you will find a set of tools that allow you to insert various items into the editable document.
Including, here you can make a screenshot.
- Click on the button "Illustrations".
- Select "Snapshot", and then or select the window, which you want to do a snapshot (a list of open windows, except Word), or click "Make a screen snapshot" (screen clipping).
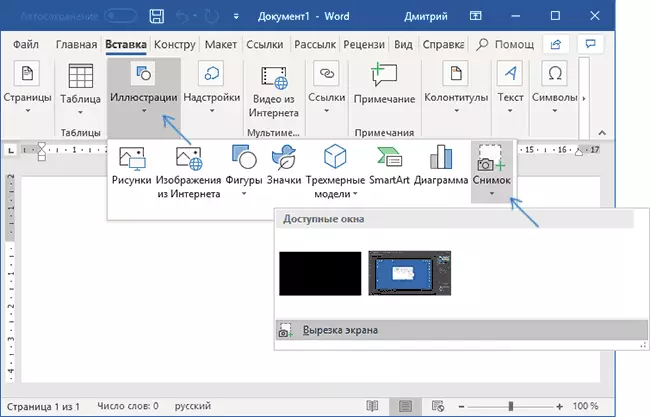
- In the case of the window selection, it will be removed entirely. If you select "Screen cutting", you will need to click on some window or desktop, and then select the mouse that a fragment whose screenshot needs to be done.
- The created screenshot will be automatically inserted into the document in the position where the cursor is.
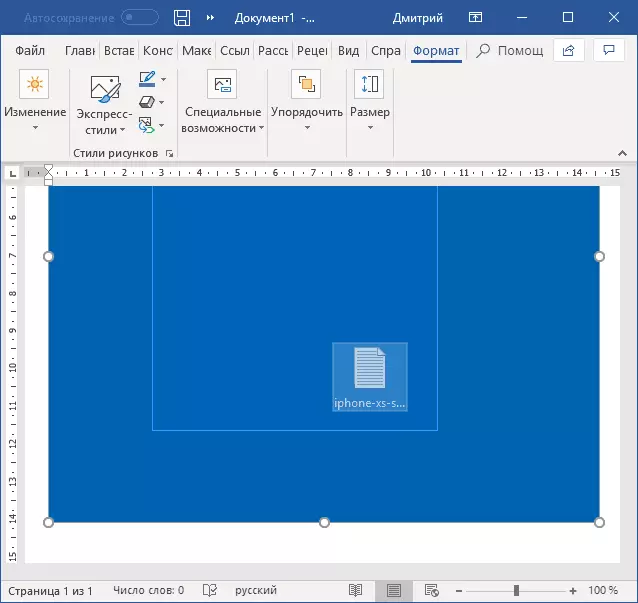
Of course, all those actions that are available for other images in Word are available for the inserted screenshot: it can be rotated, resized, set the desired flowing text.

In general, this is all on the use of the opportunity under consideration, I think no difficulties will arise.