
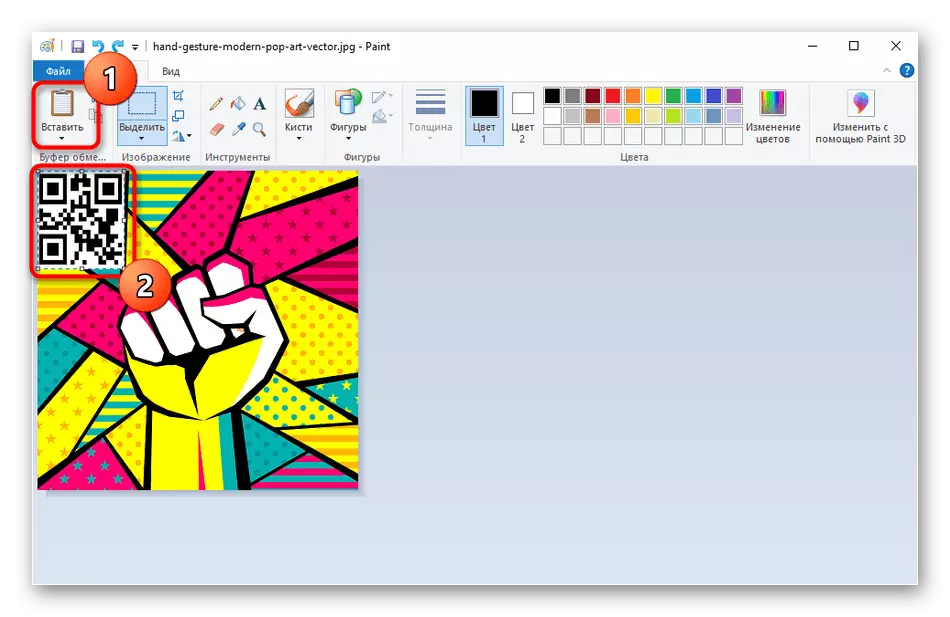
Method 1: Paint
Paint is a tool to draw and basic image editing in the operating system. Its built-in functionality is enough to impose one picture on top of the other by performing only a few clicks. In another article on our site you will find instructions on the insertion of images and, having familiarized yourself with a separate method, sample with the principle of performing the task.
Read more: Insert Pictures in Paint
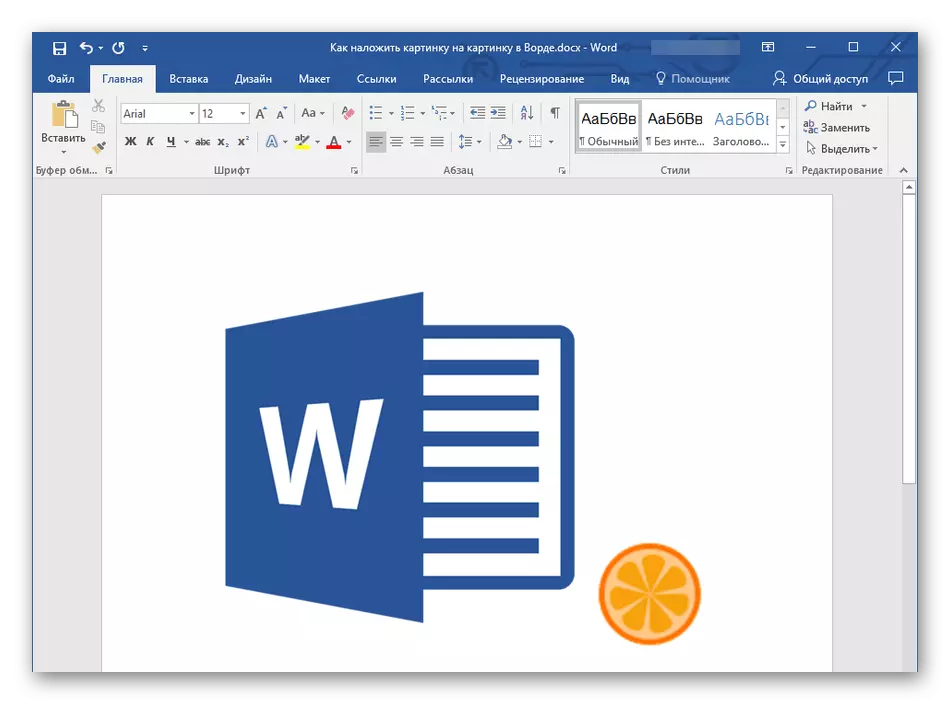
Method 2: Microsoft Word
Although Microsoft Word is a text editor, it has features to work with images. Of course, they can be simply inserted to the documents, choosing the location, but there is an opportunity and make it so that one picture has become available for overlay over the other. Go to reading the following material if you want to use this text editor to overlay images.
Read more: Combine two pictures in Microsoft Word
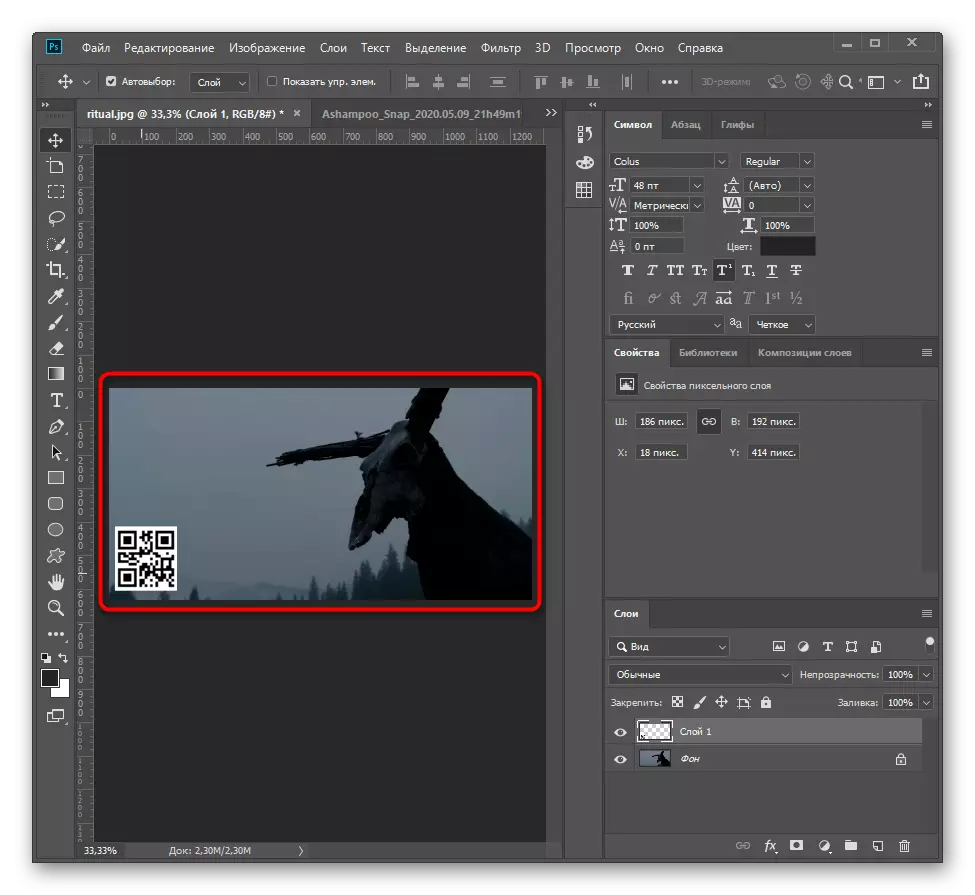
Method 3: Adobe Photoshop
Adobe Photoshop - the world's most famous graphic editor, which is actively used by thousands of users. It has everything you need even for professional editing images, which means that the program will definitely cope with the usual imposition of several pictures. This is feasible thanks to the flexible editing of layers and transformation tools that allow you to select the size of the second image and arrange it in a suitable place. About how this insert is performed in Photoshop, read further.
Read more: We combine images in Photoshop
Method 4: Photo Master
Next, we suggest familiarizing yourself with another graphic editor that is suitable for inserting one picture on top of another. The focus on the photomaster is made on ease of use, which can be seen by the implementation of appearance and built-in tools, so the software is more suitable for novice. However, consider what it is distributed for a fee, and the trial version is available only for five days.
Download photosaster from the official site
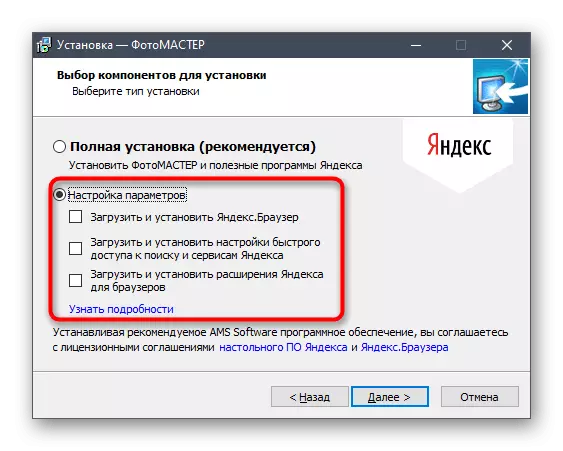
- Download the photosaster from the official site and pay attention to the choice of components during installation. If you do not need Yandex tools, remove the checkboxes to accidentally install them on the PC.
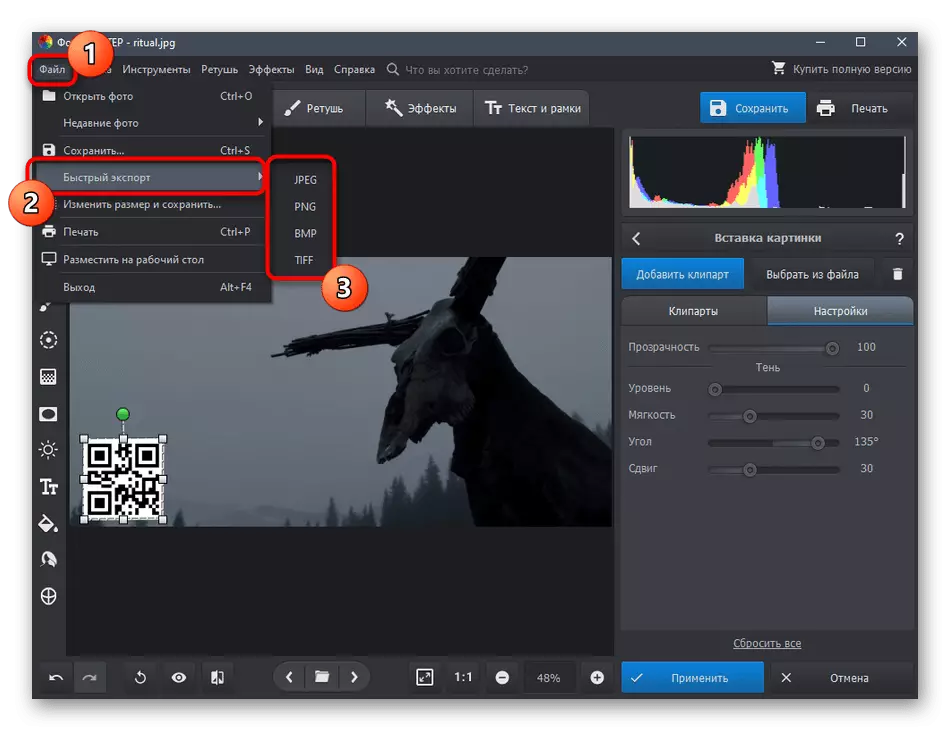
- After starting, expand the File menu and select "Open Photos".
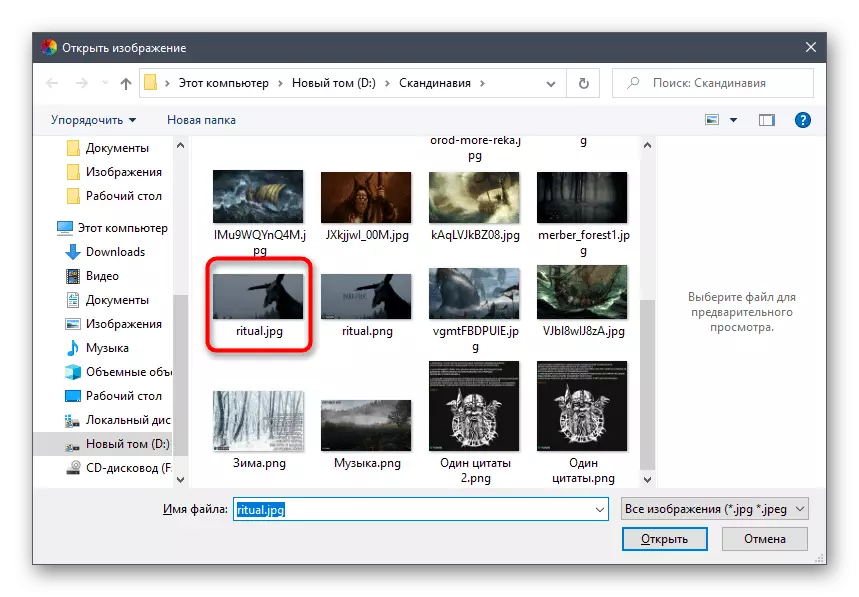
- In the "Explorer", find the image to which you want to impose a second, and double-click on it with LKM.
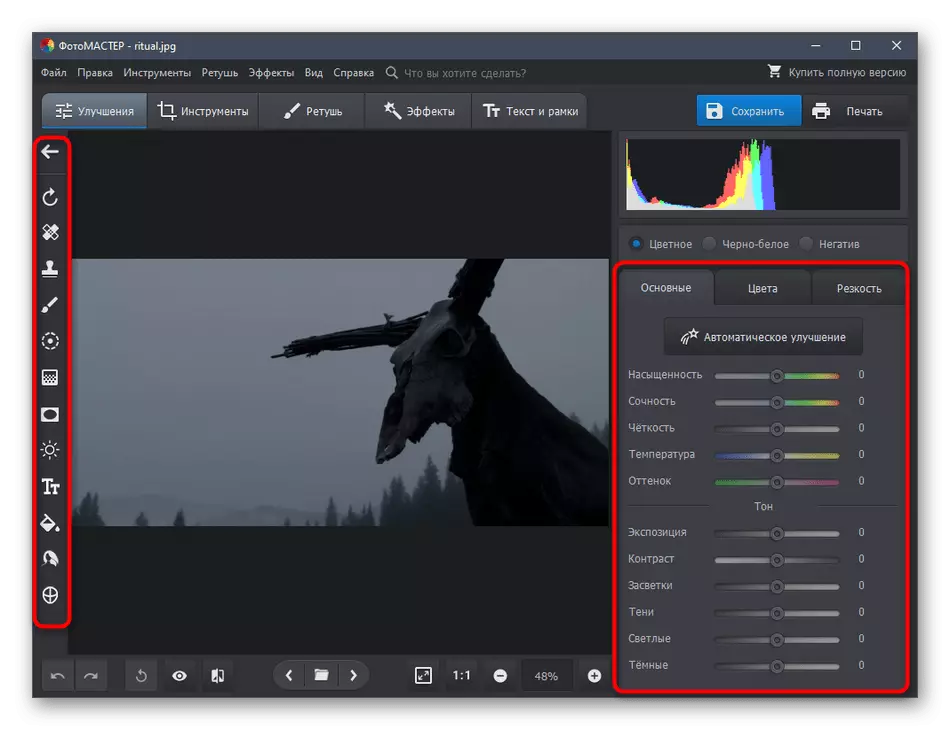
- In advance, use the edit functions if you want to configure the color correction and other parameters.
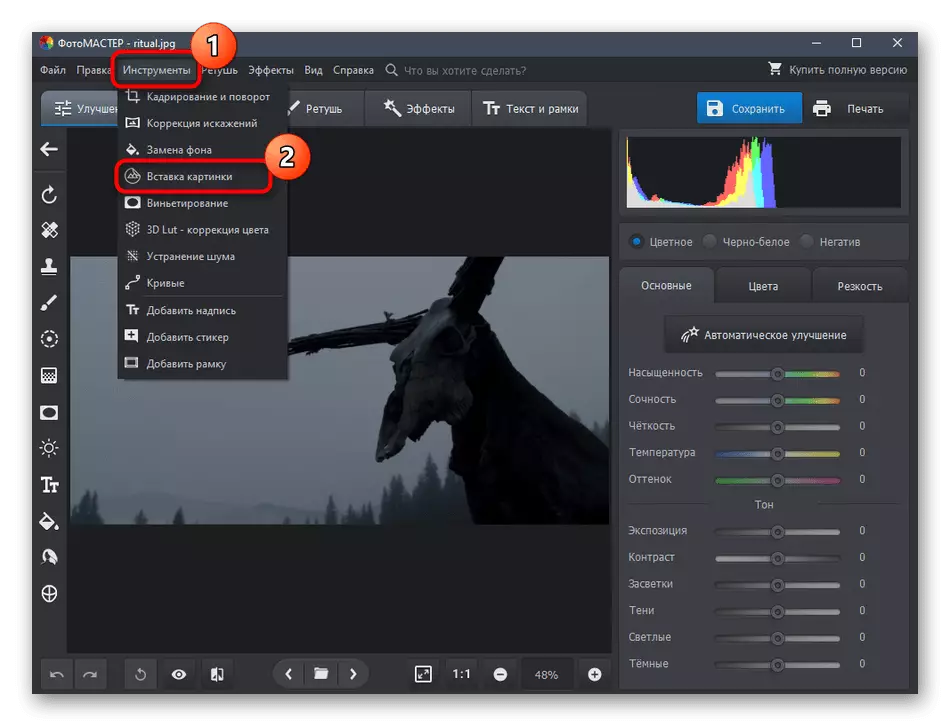
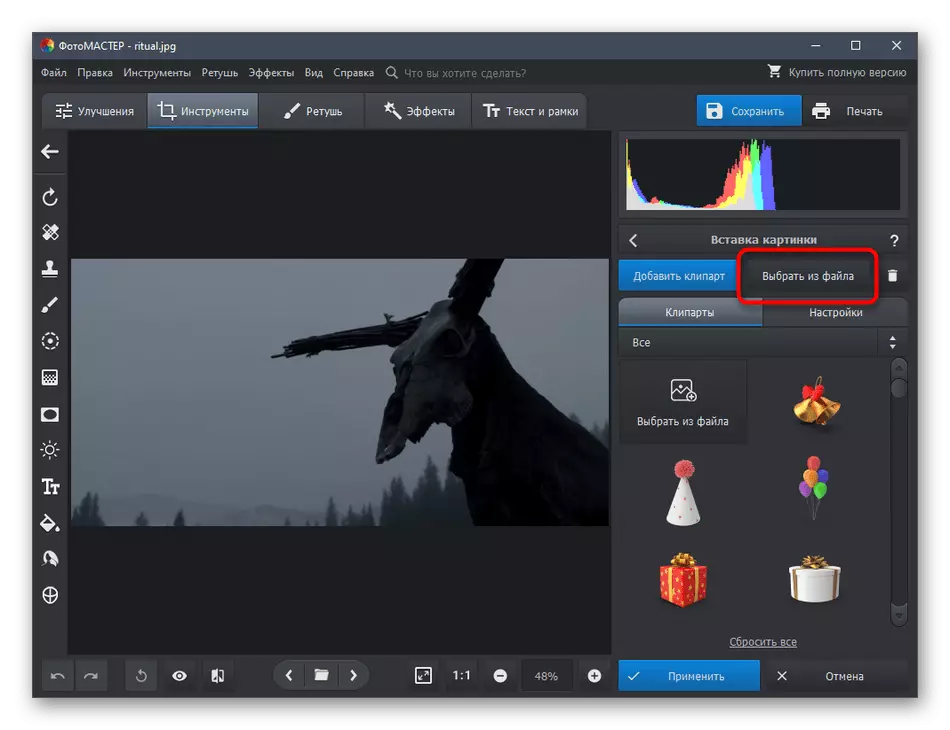
- Use "Insertion" in the "Tools" menu.
- After the new panel appears, click the "Select File" button.
- The "Explorer" window will open again, where you already find the second image.
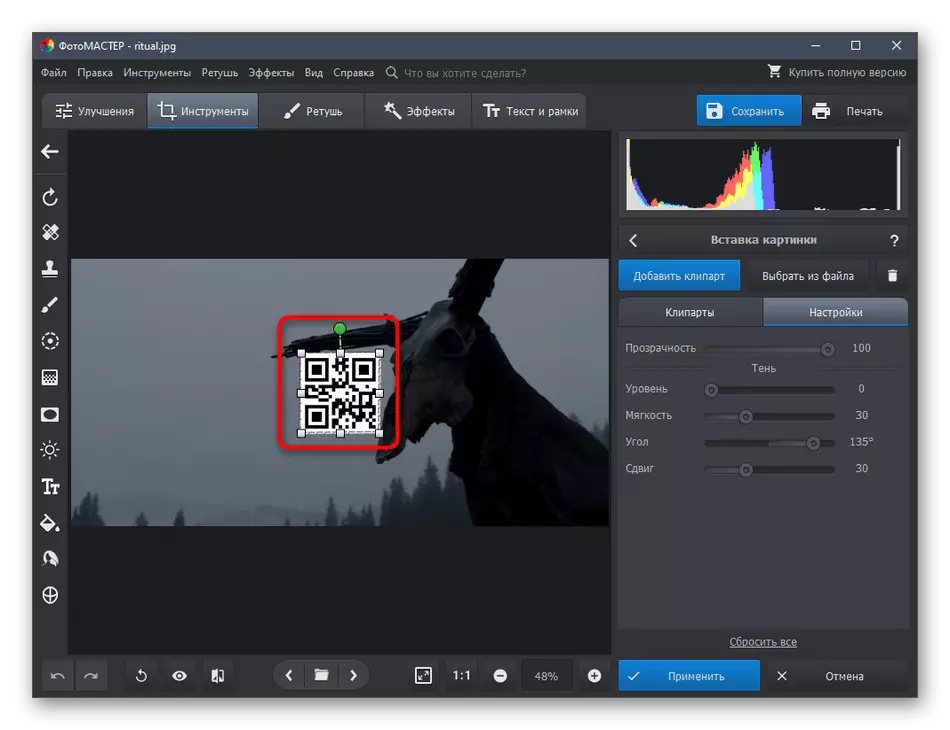
- It will immediately appear on the workspace, and you can change its size and move using points.
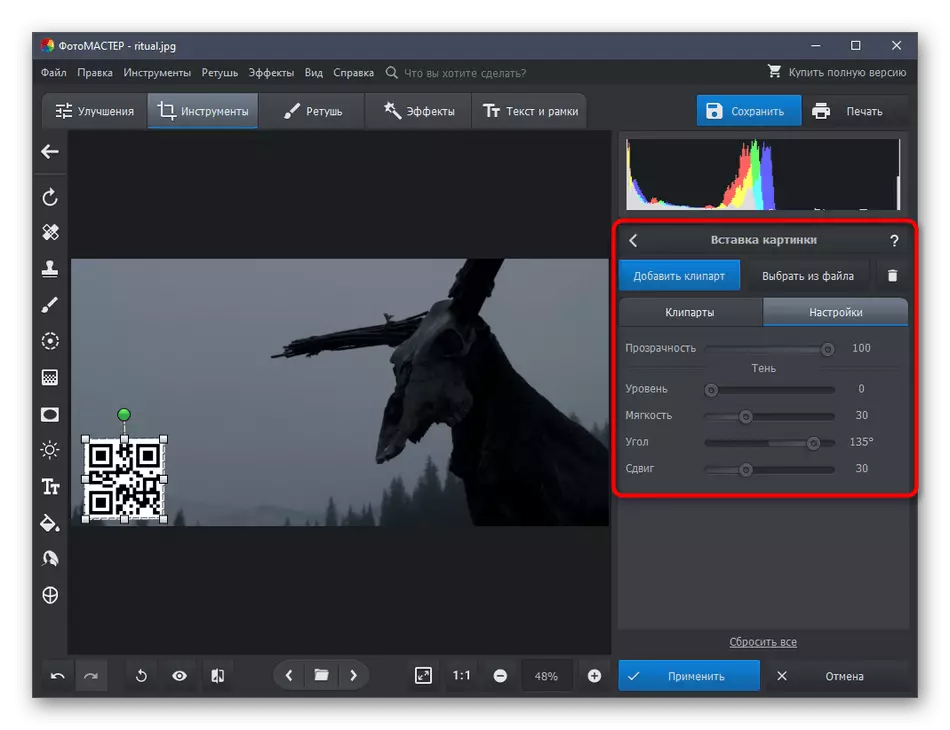
- Use additional editing features if required.
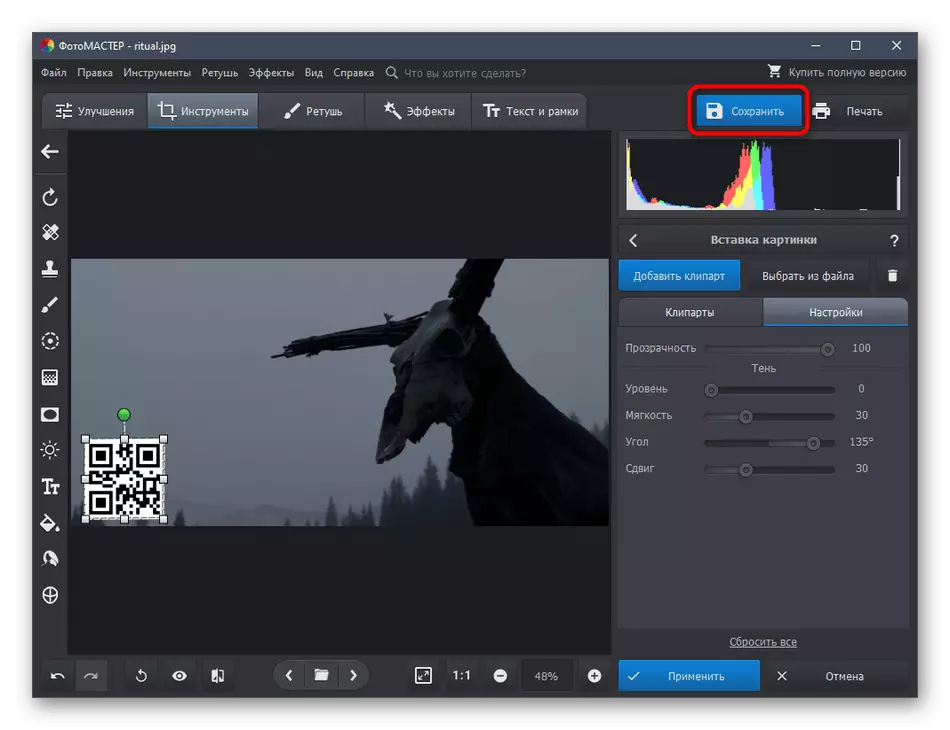
- As soon as work on the project is completed, save it.
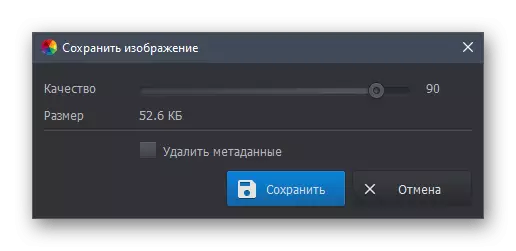
- You can perform "quick export" to immediately select the image format for saving.
- Install the quality and remove the metadata if you want to reduce the final file.


Method 5: Online Services
Our material completes the method that implies the use of online services, not programs for overlaying several pictures. This option will be optimal in those situations when installing the software for the sake of creating one project I do not want or there is no such possibility. Online service can be opened in any browser and immediately start work, and we will look at this process on the example of PIXLR.
Go to online service PIXLR
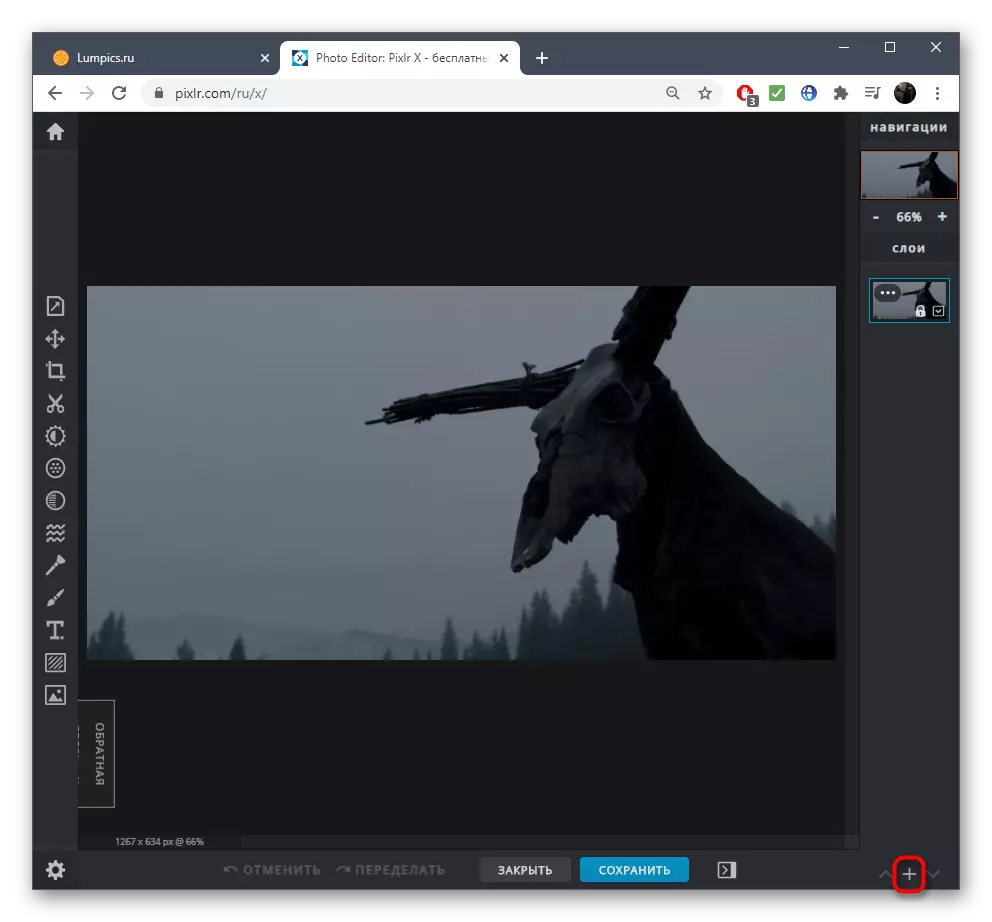
- Use the link above to go to the Web Resource under consideration, where immediately proceed to add the first image through the "Explorer".
- Now you will need to add a second layer, for which you use the button in the form of a plus to the bottom of the panel with layers.
- When displaying a new window, select the "Image" option.
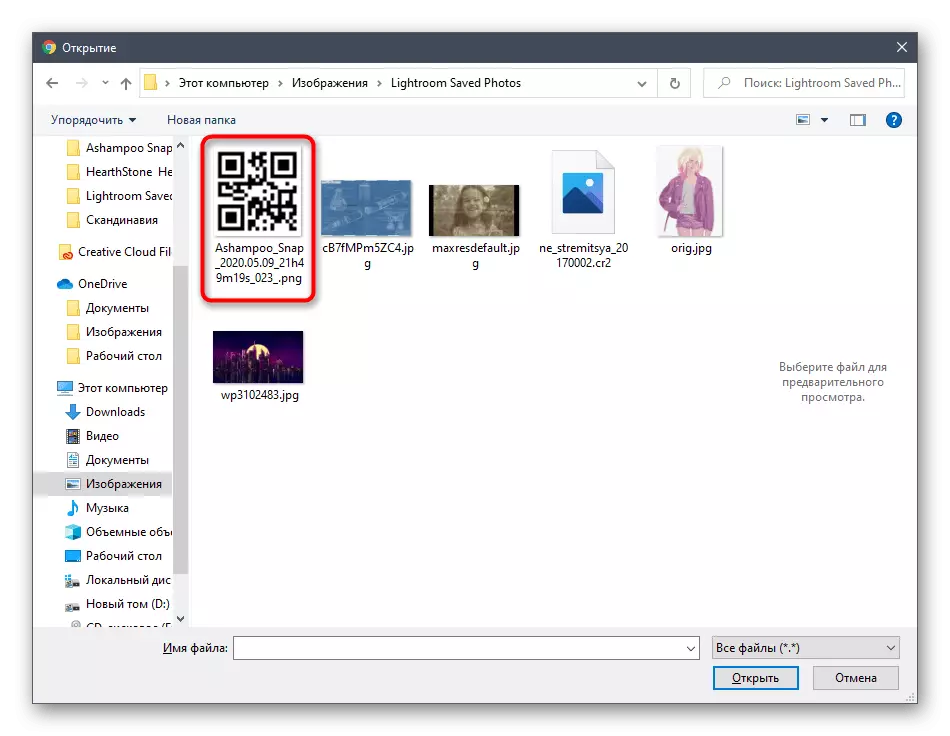
- In the "Explorer" window, find the second picture and select it for opening.
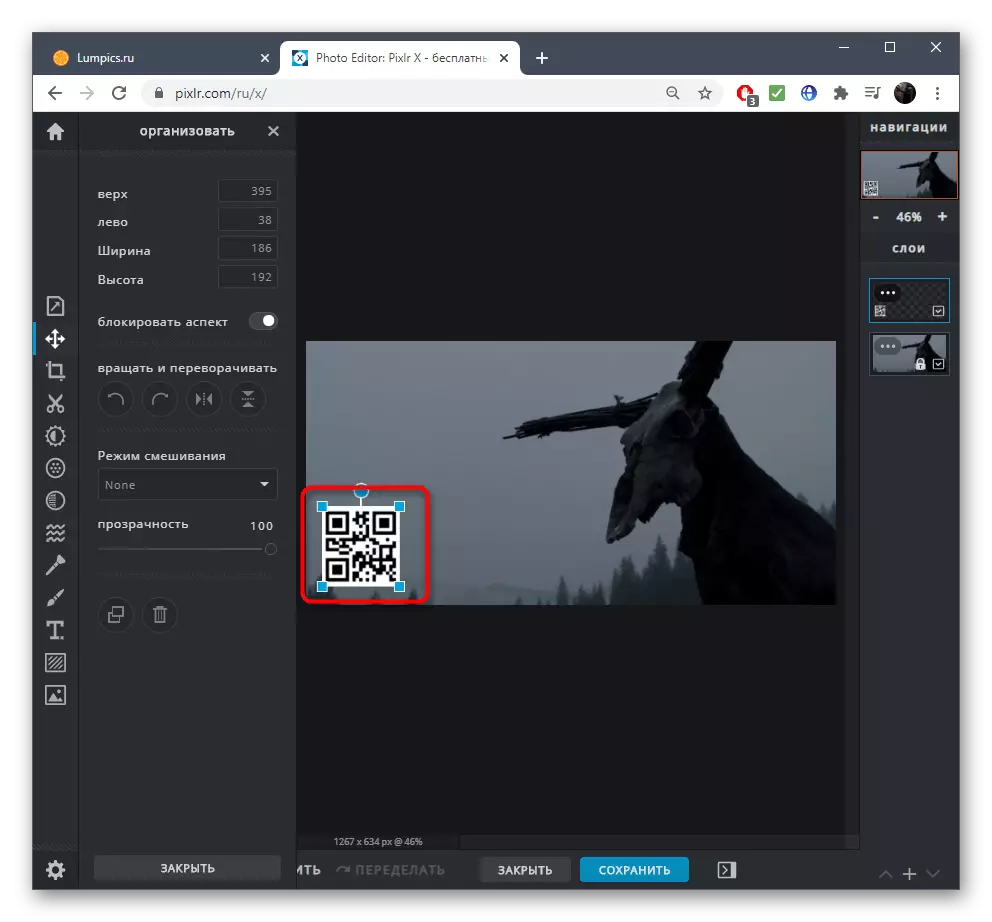
- Use the automatically activated transformation tool to arrange a picture in the required place.
- Optimization also respond to the tools on the left panel.
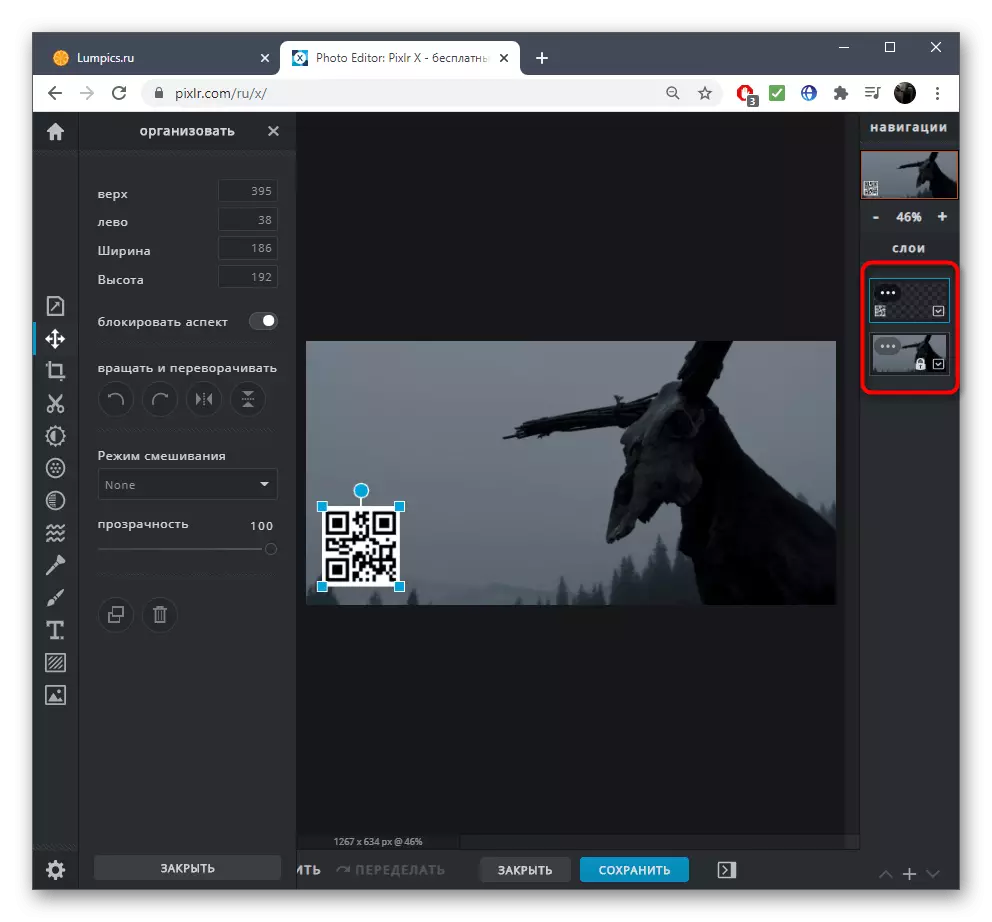
- If the layers need to be edited or added more than two, manage them on the panel on the right.
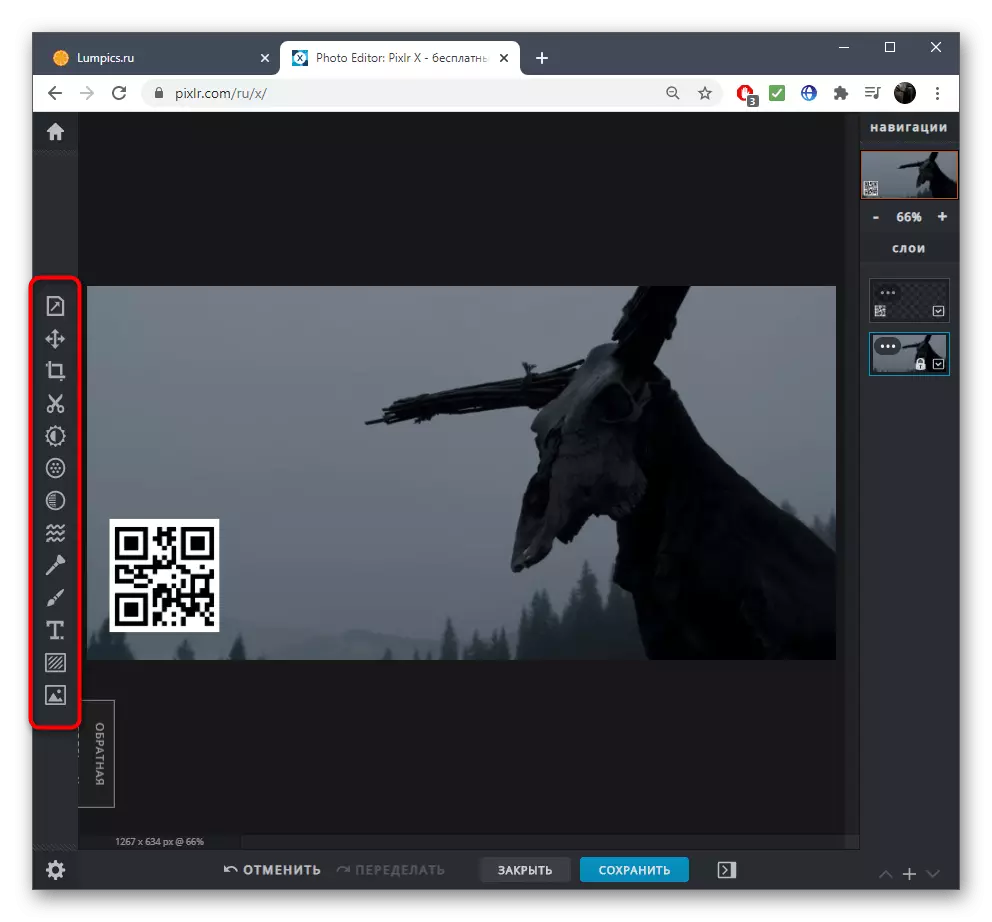
- PIXLR supports other image processing - use the tools on the left, if you need to edit the project before saving.
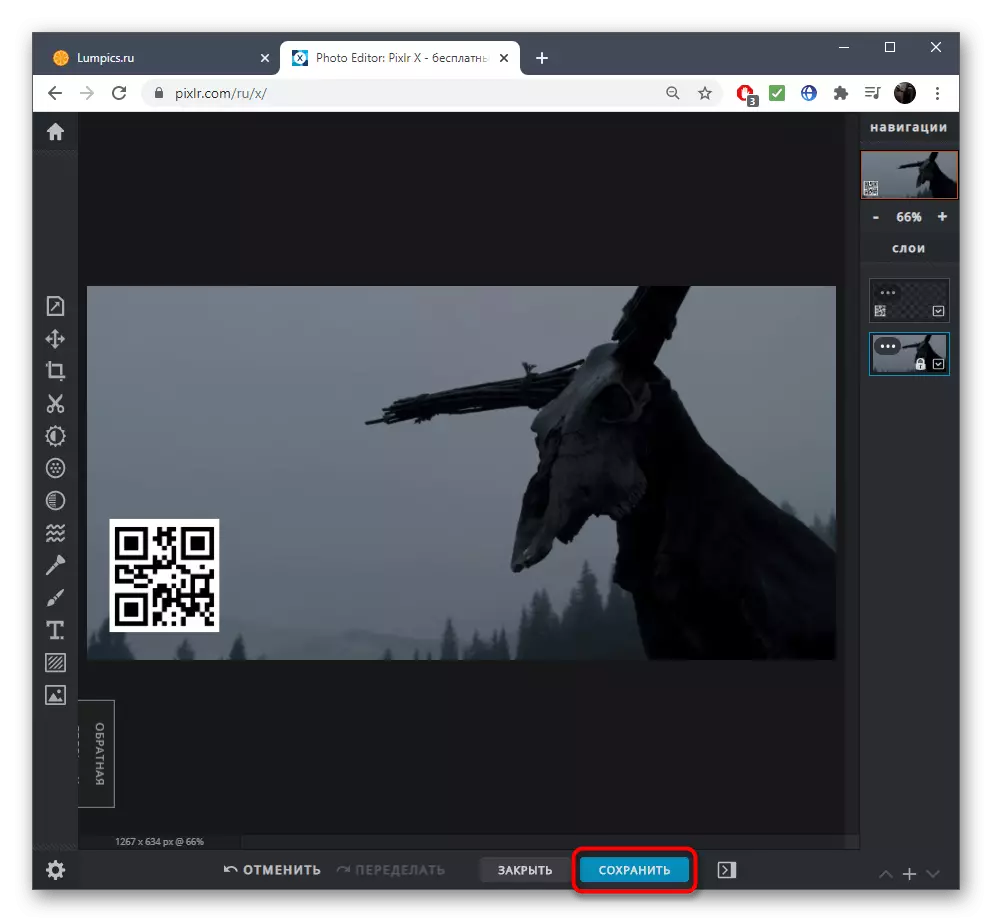
- Click "Save" to download the file.
- Specify it, select the format and quality, and then download to the computer.


There are other graphic editors working online and suitable for the operation in question. You can familiarize yourself with some of them in another article on our website by clicking on the link below.
Read more: Graphic editors online