Preparatory actions
To begin with, we will tell about a pair of simple actions that must be performed before setting up the microphone in the OBS program. This includes activation of it in the operating system and adding an entry to OBS as a device.Microphone activation in Windows
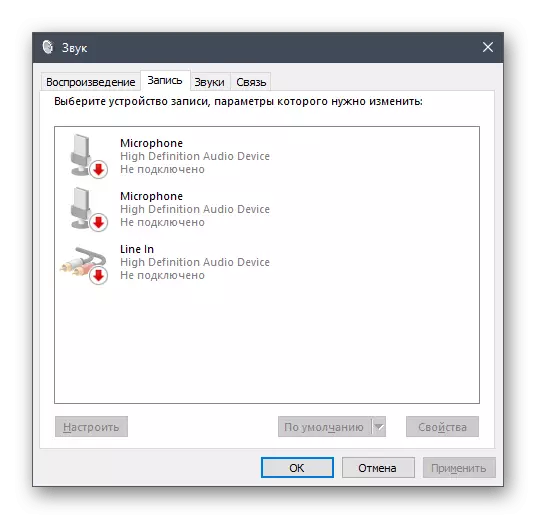
If the microphone has not been added to the operating system or not selected as the default recording device, most likely, and with the detection of it in OBS, certain difficulties will occur. Therefore, we strongly recommend that Windows settings are properly exhibited, another article on our website will help.
Read more: How to configure a microphone on a computer
Adding a microphone in OBS
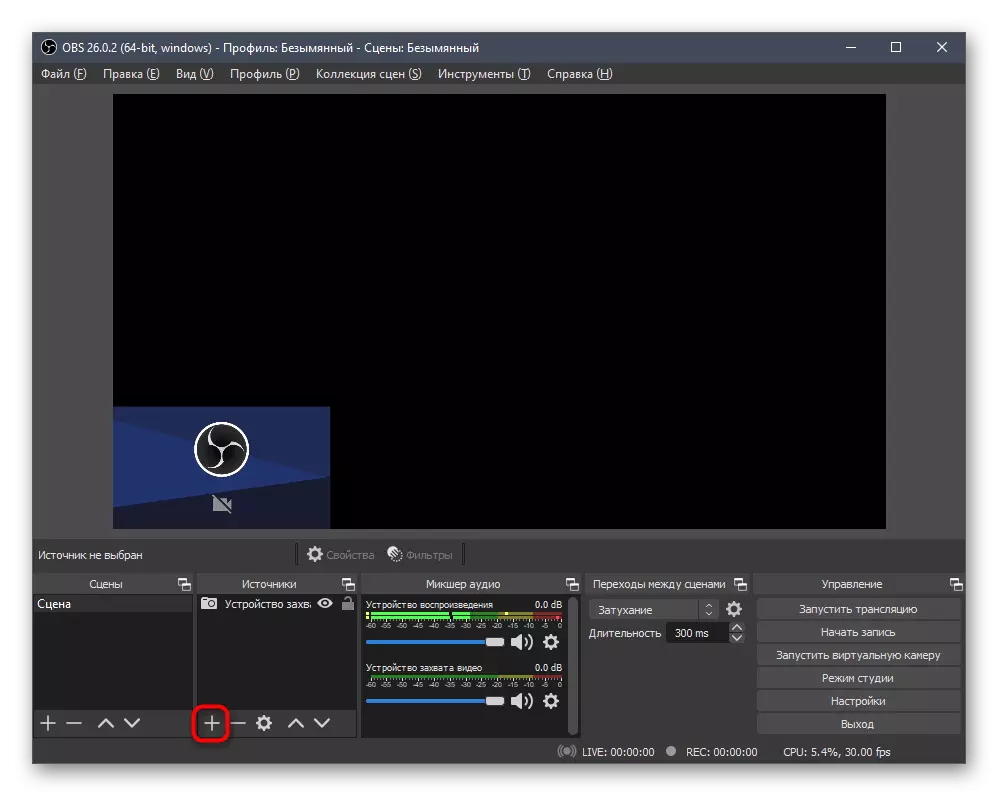
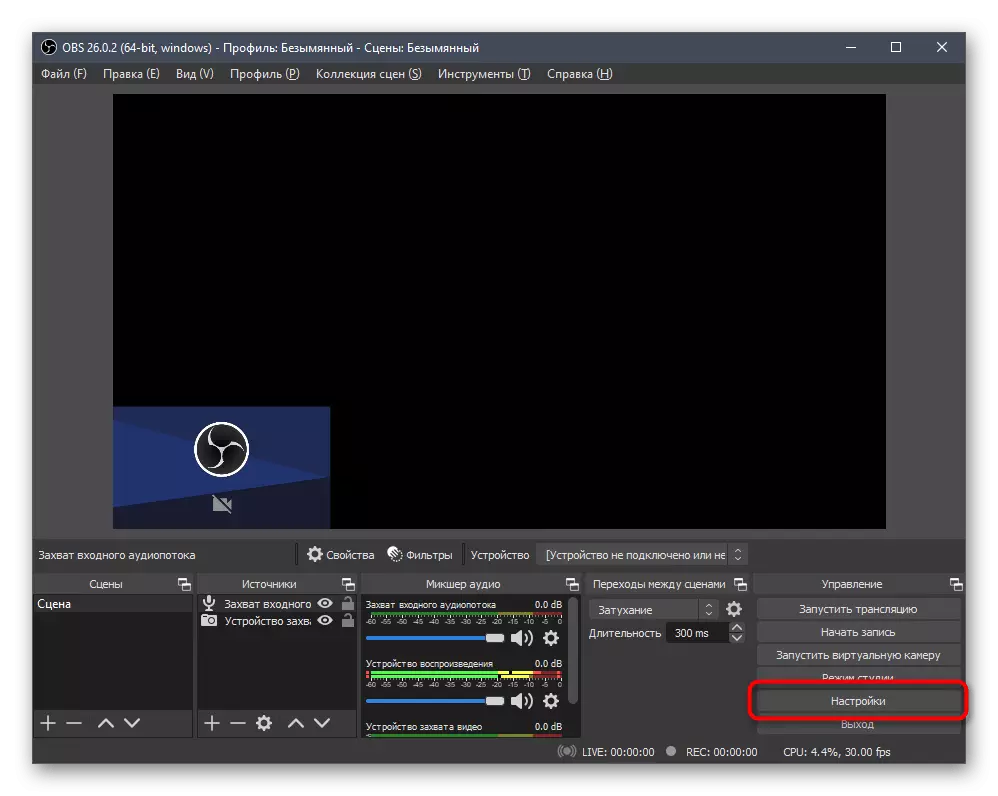
Below you see a screenshot with the selected window "Mixer Audio" in OBS. If there you have found a device that is responsible for capturing the input audio stream, it means that it is not necessary to add it additionally - you can immediately go to the settings.
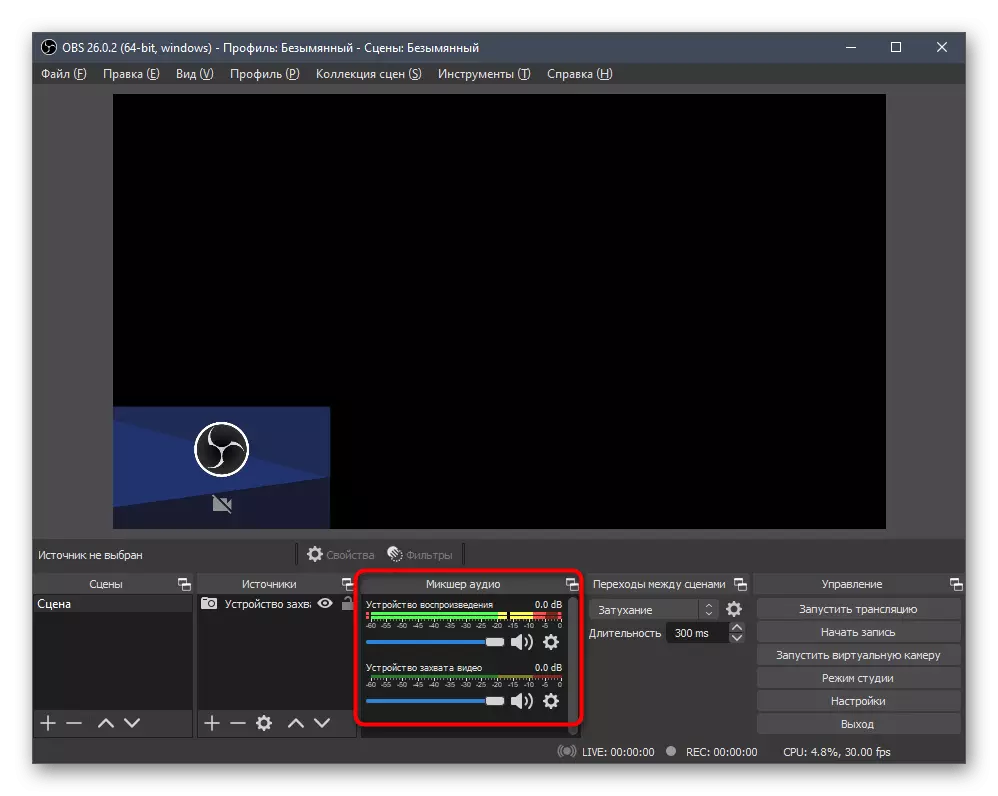
Otherwise, one of the additional actions, relevant to add a second and third microphone, if it suddenly needed connections as such. Consider both options at once, and you pick up optimal.
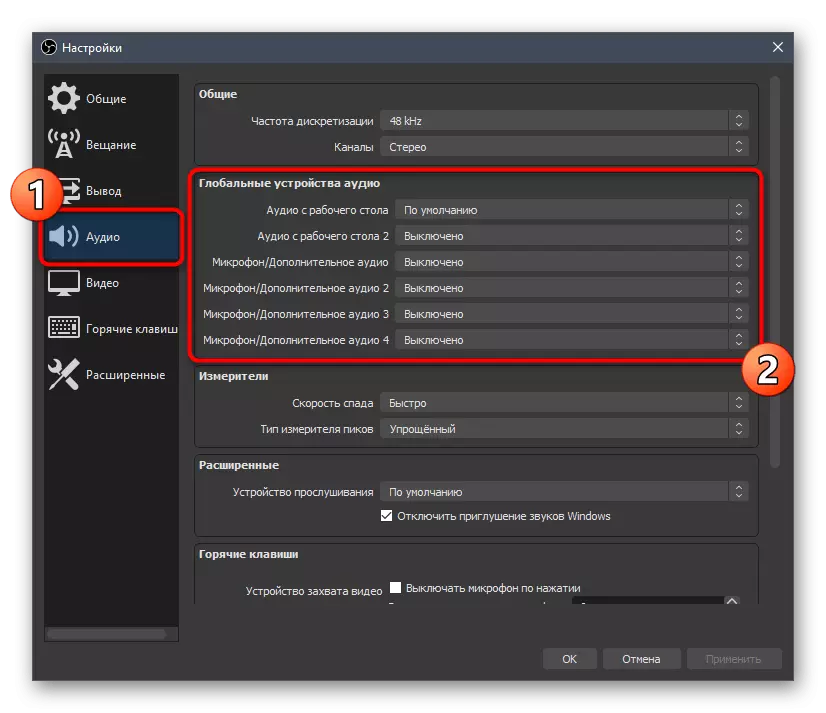
- In the Block on the right, click the "Settings" button.
- A new window will appear with all the parameters of the program, where you will need to go to "Audio" and in the "Global Audio Devices" list to mark the microphone.
- It can be added and as an additional source, if in the future you want to quickly disable it or perform other actions. To do this, in "Sources", click the plus button.
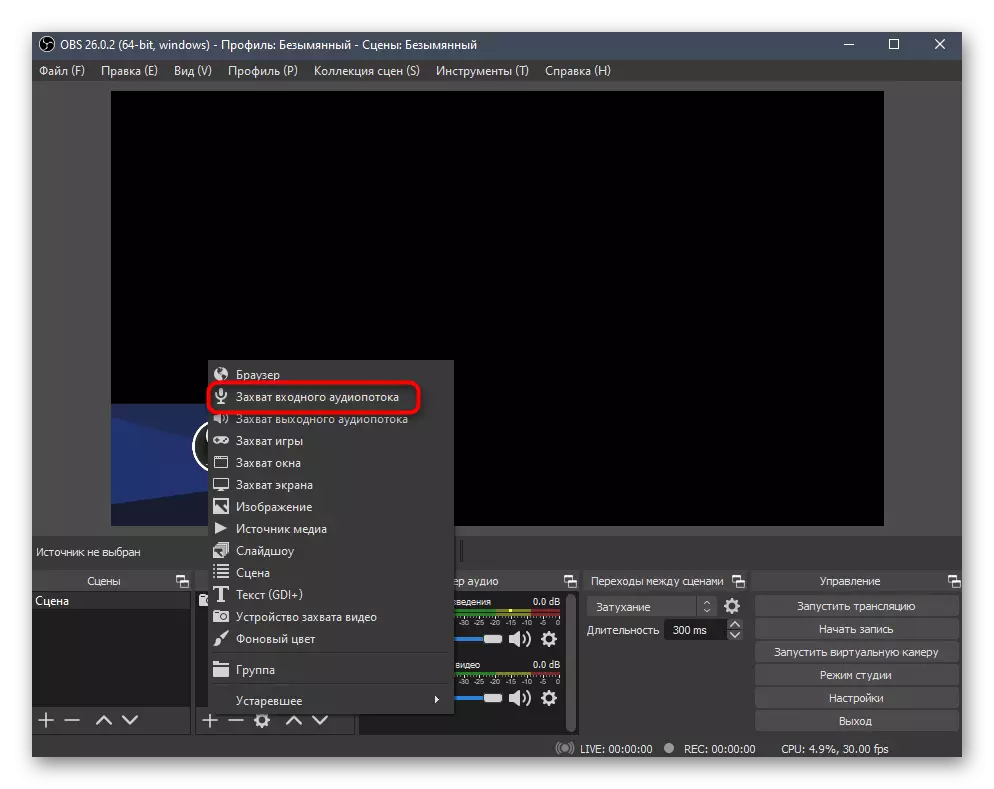
- A list of available options will appear, among which you need to select "capture input audio stream."
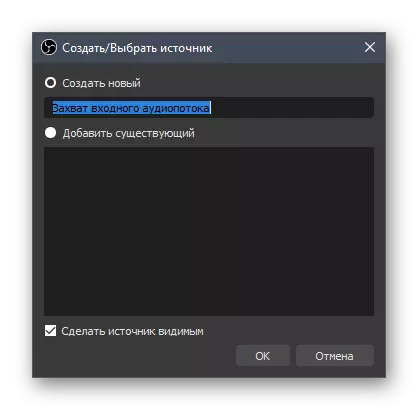
- Ask him a convenient name and be sure to make the source visible.
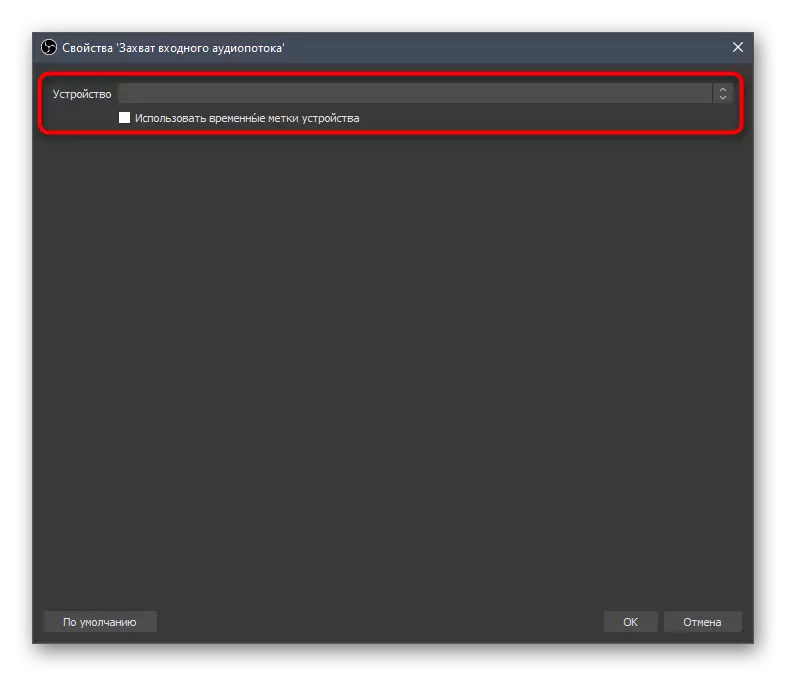
- In the properties window, it is enough to specify the microphone itself if several are connected to such devices.

The microphone has been successfully added to OBS and is ready for further work and configuration. If we are talking about standard parameters, only the volume can be changed using the same mixer, and the remaining functions are implemented by adding filters, which will be discussed below.
Select a place to save the record
Further filter steps imply a regular record quality check, so it is better to determine the place in advance where the finished material will be saved, and understand how to run a test record.
- Open the "Settings" menu.
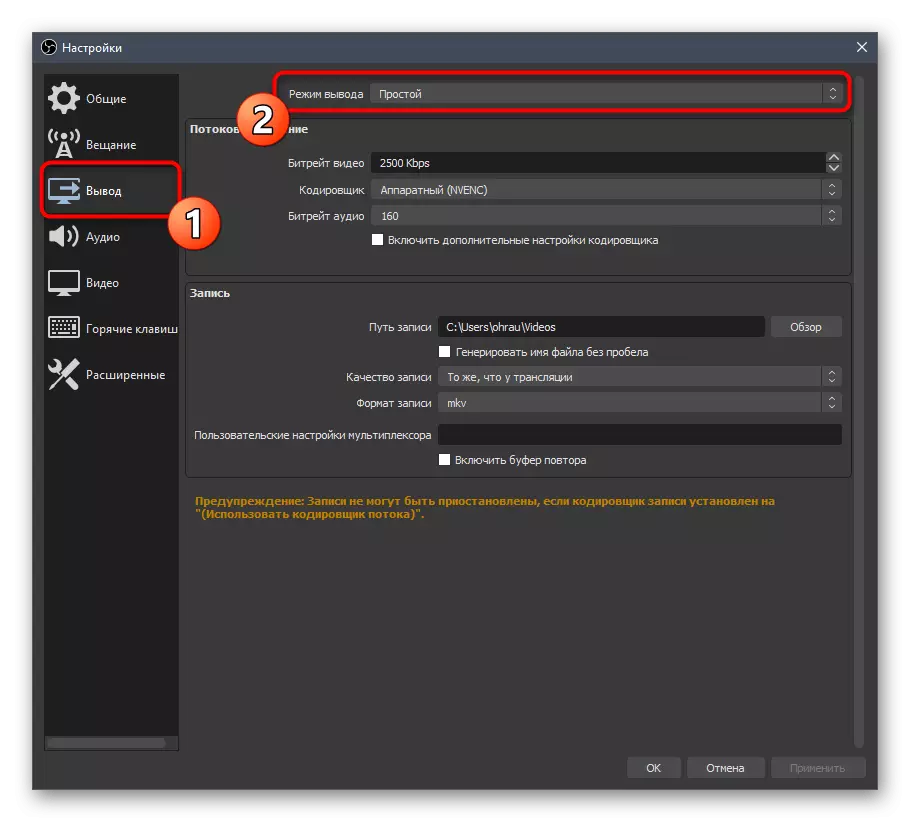
- This time, go to the "output" section and expand the "output mode" list.
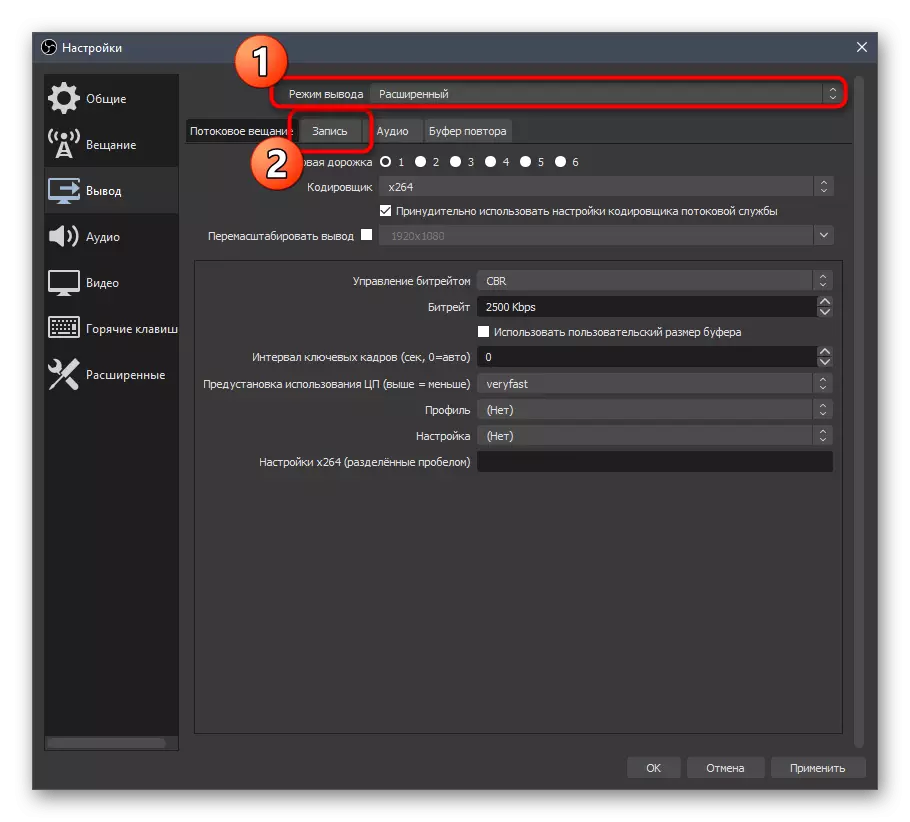
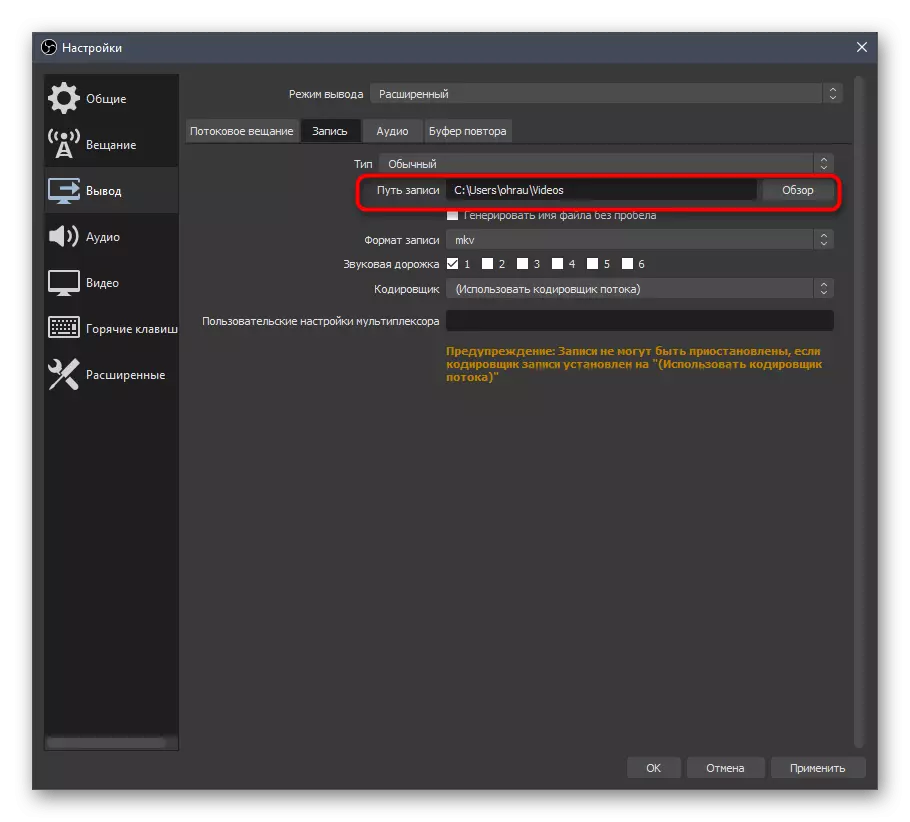
- Select the "Advanced" mode and immediately go to the "Record" tab.
- Find out or change the entry path to be aware where the files are saved after completing the testing.
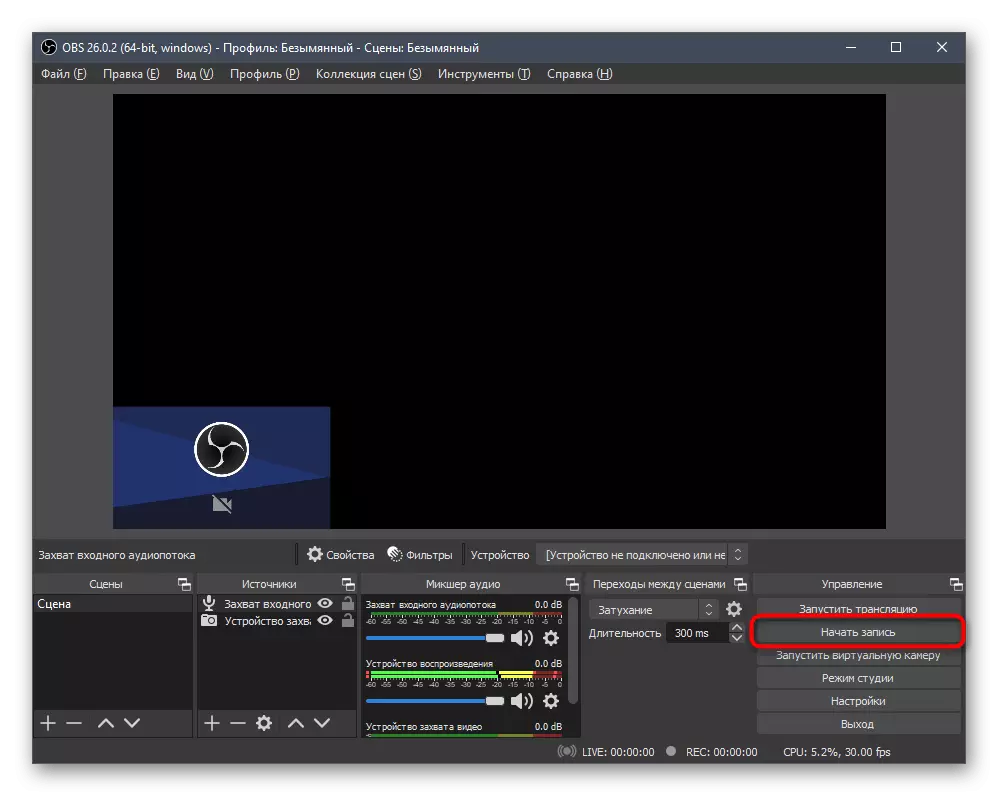
- Apply the changes and close the menu. In the future, to check, click on "Start Record", tell me a few words to the microphone, then complete the recording and go to listening.
Adding and configuring filters
It remains to deal with the main microphone setting process using the filters embedded in OBS. Each of them has its own set of parameters, so consider the purpose of filters in more detail, but for now we will show how to go to the menu to add them.
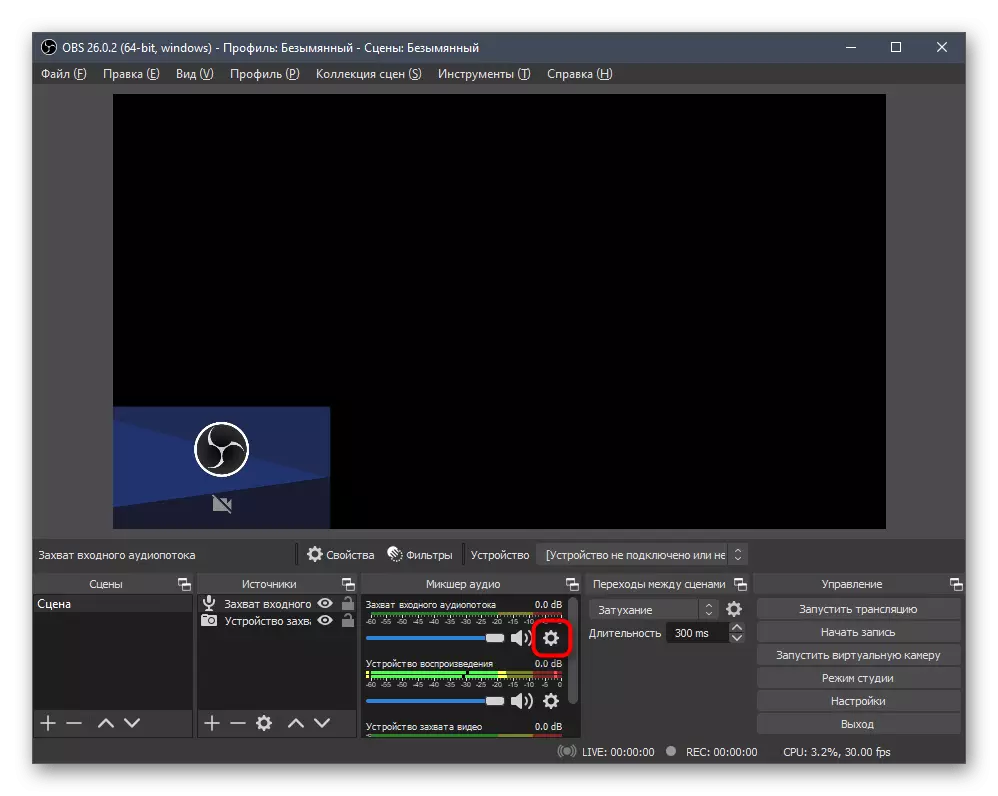
- In the "Mixer Audio" block, click on the gear icon near the input audio stream.
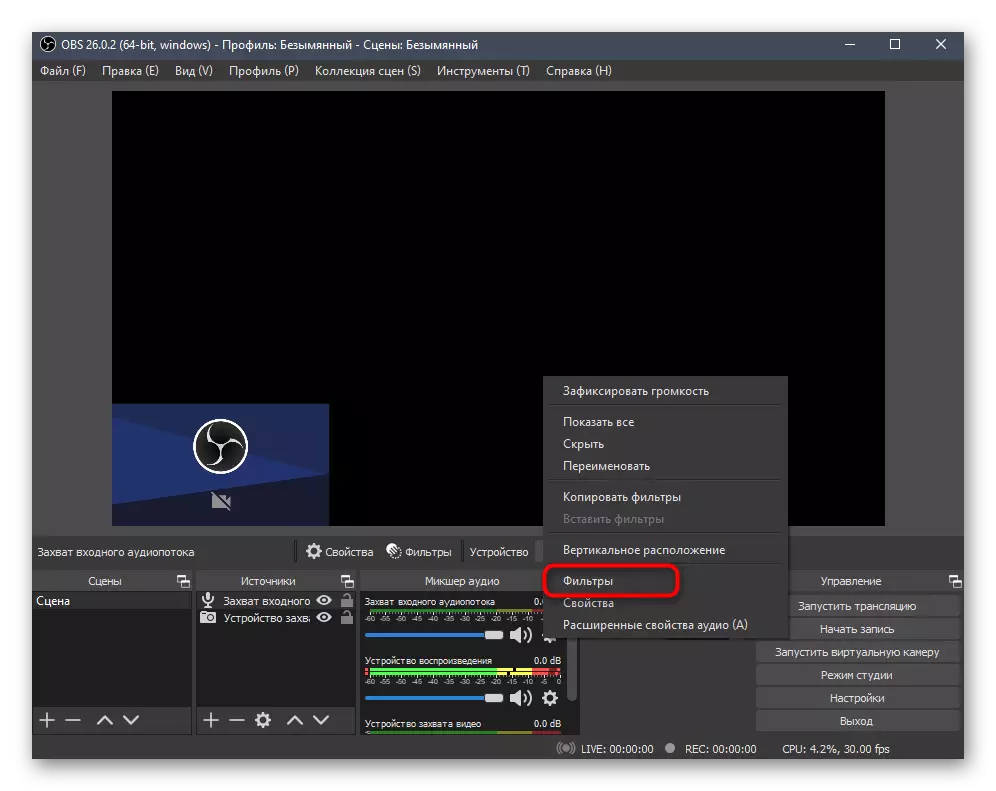
- In the list that appears, click on "Filters".
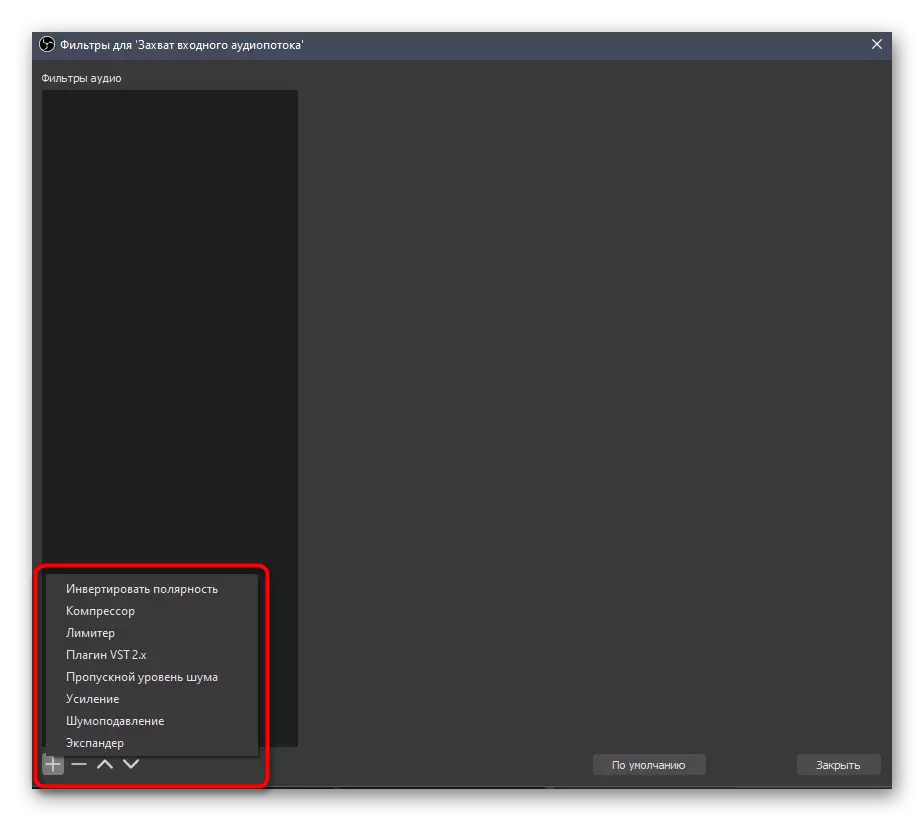
- After clicking on the button with a plus, a new window appears in the new window, a list with accessible filters appears, the purpose of which is written below.
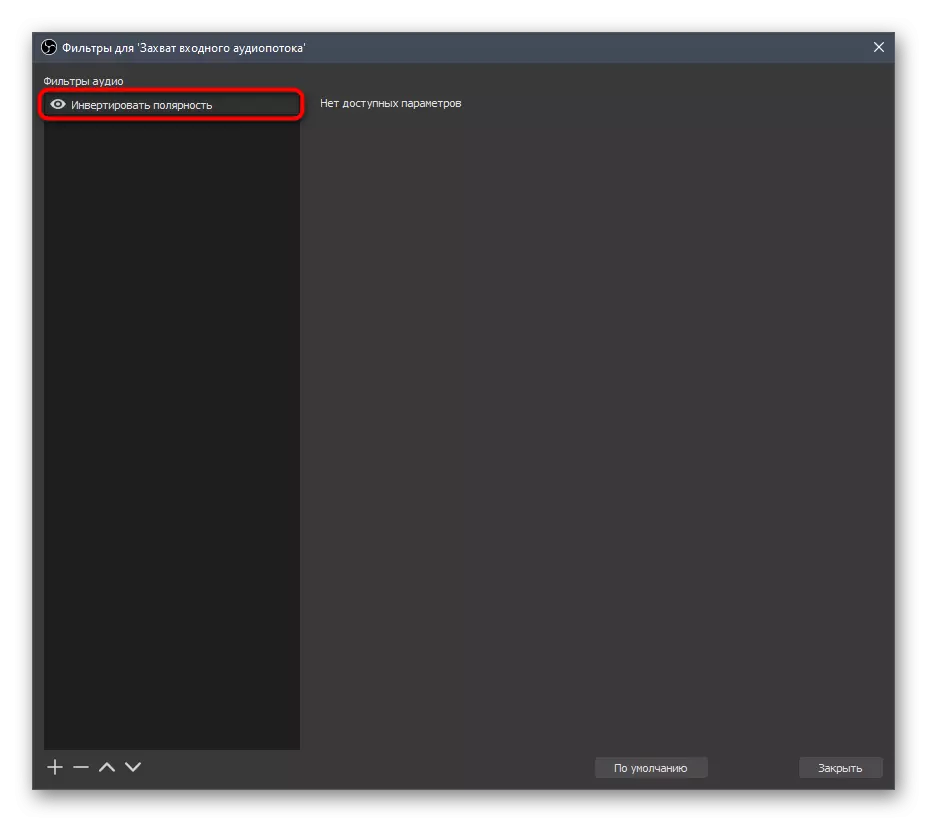
Invert polarity
The first filter is used only in the case of recording the same sound source using two microphones. It allows you to eliminate the challenges with the cancellation of the phase, making a normal transmission of waves from several devices. This filter does not have additional parameters and it is activated immediately after adding to the list.
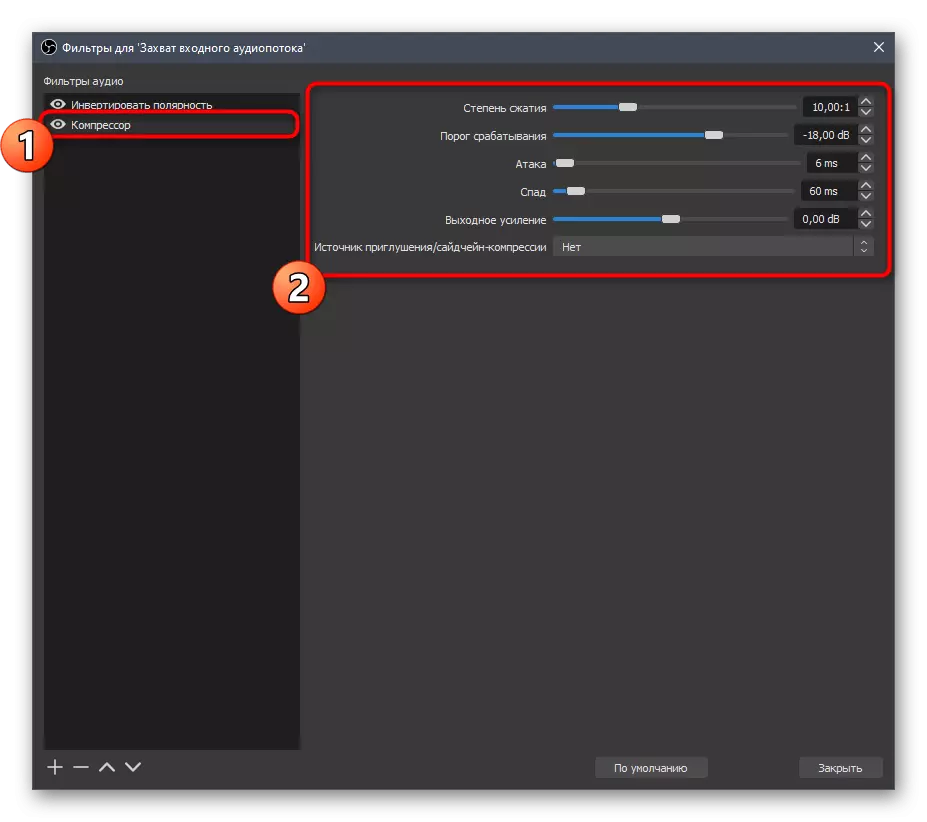
Compressor
This is one of the most difficult filters, the currently actual is usually only for experienced users who are versed in the transmission of sound from the microphone. The "compressor" is used to normalize the volume level when using its maximum value and unpredictable appearance of jumps. You choose the degree of compression and the threshold of the triggering, pushing away from which moments there are unpleasant jumps. The attack and the decline is necessary to determine the wave processing algorithm, that is, indicate the filter, how quickly the compressor effect is attenuated and its action.
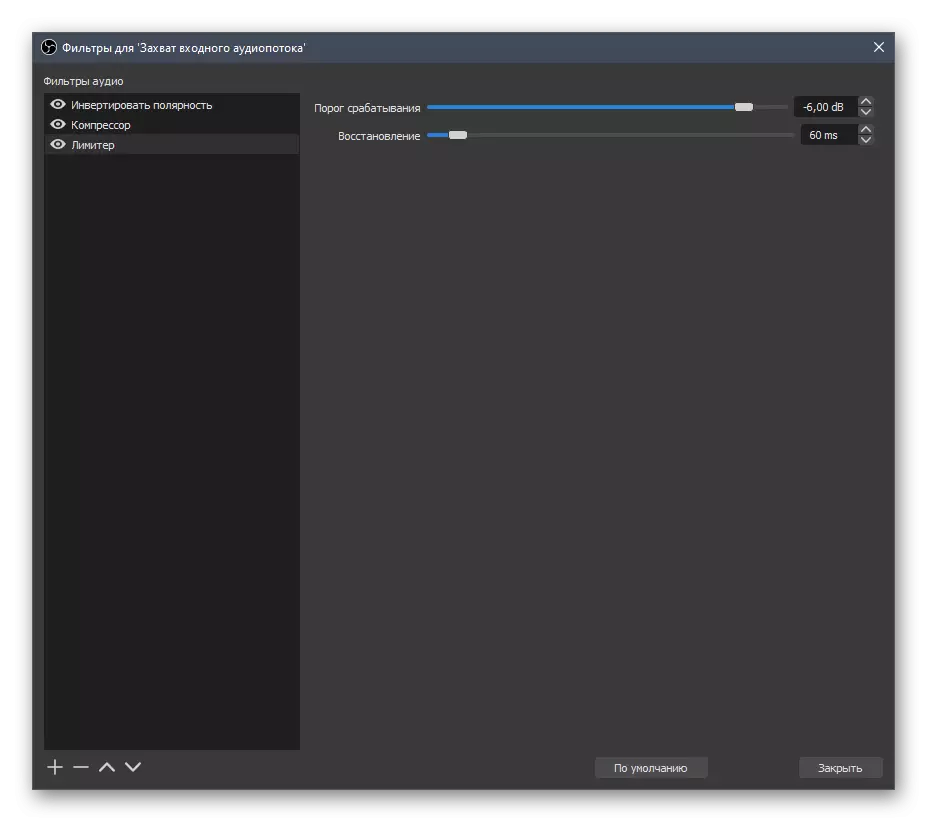
Limiter
The "Limiter" is used to limit the allowable beep and configures approximately the same principle as the "compressor", since it is a variety. If you want to limit the operation of the microphone on the sounds of a specific volume or limit the maximum threshold, adjust the limiter to itself and put it last in the filter chain for normal operation.
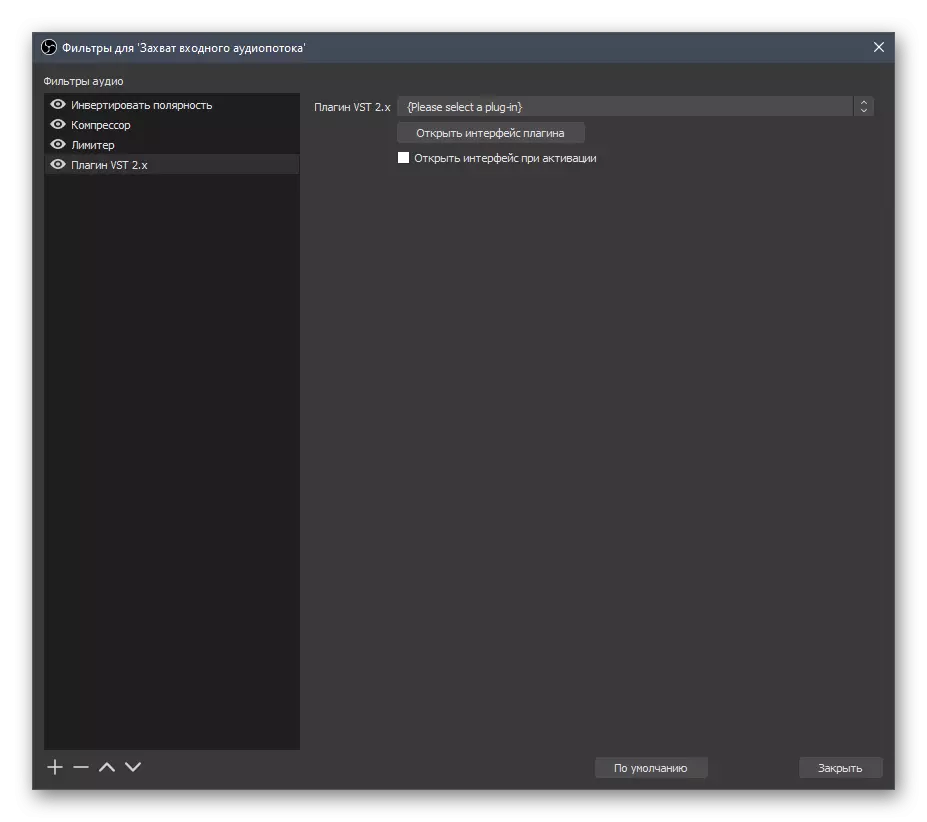
Plugging VST 2.x.
This filter will be useful for those who downloaded plugins in free access, or acquired them on official sites. OBS supports a huge number of different plug-ins for setting the sound and a variety of effects that are often used by experienced users. Just through the filter "VST 2.x plugin" and a choice of a suitable tool is selected.
The scanning of plugins is automatically carried out, and OBS is looking for them in the following ways:
C: / Program Files / Steinberg / Vstplugins /
C: / Program Files / COMMON Files / Steinberg / Shared Components /
C: / Program Files / COMMON Files / VST2
C: / Program Files / COMMON Files / VSTPlugins /
C: / Program Files / VSTPLUGINS /
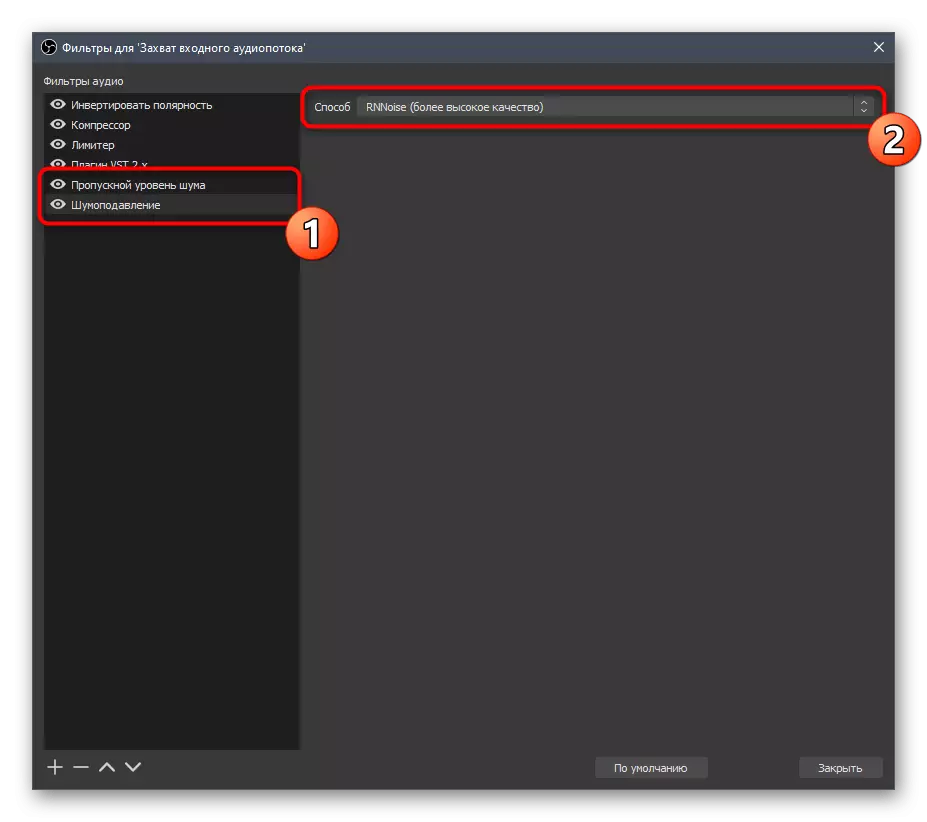
Blow noise / noise reduction
These two plugins are used most often, because not every streamer or wishing to record video from the screen uses a professional microphone that completely cuts out external noise and does not add them programmatically due to the specifics of the work. Each of these filters is configured in different ways, and we have already spoken about their work in another article on our website.
Read more: Reducing microphone noise in OBS
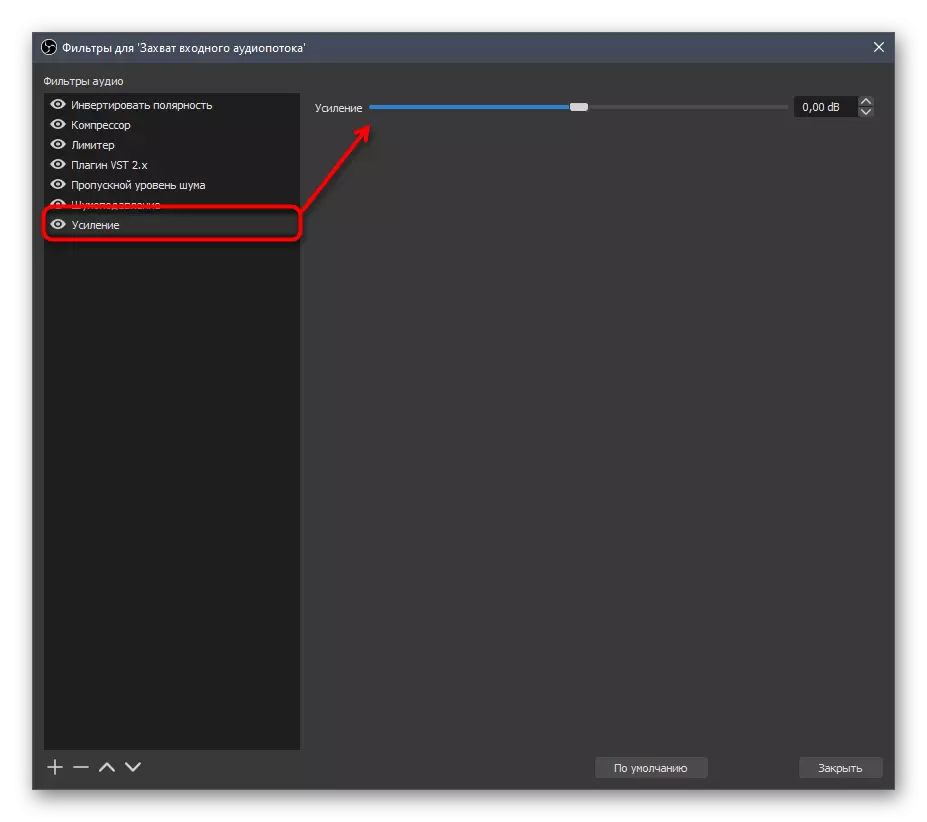
Gain
The gain filter allows you to lower or increase the number of decibels depending on the user's requirements. For dynamic microphones, a positive gain is often used, optimizing the sound. When working with condenser models, a decrease in the level of amplification in a minus value allows you to achieve a tangible decrease in background noise, if these appear.
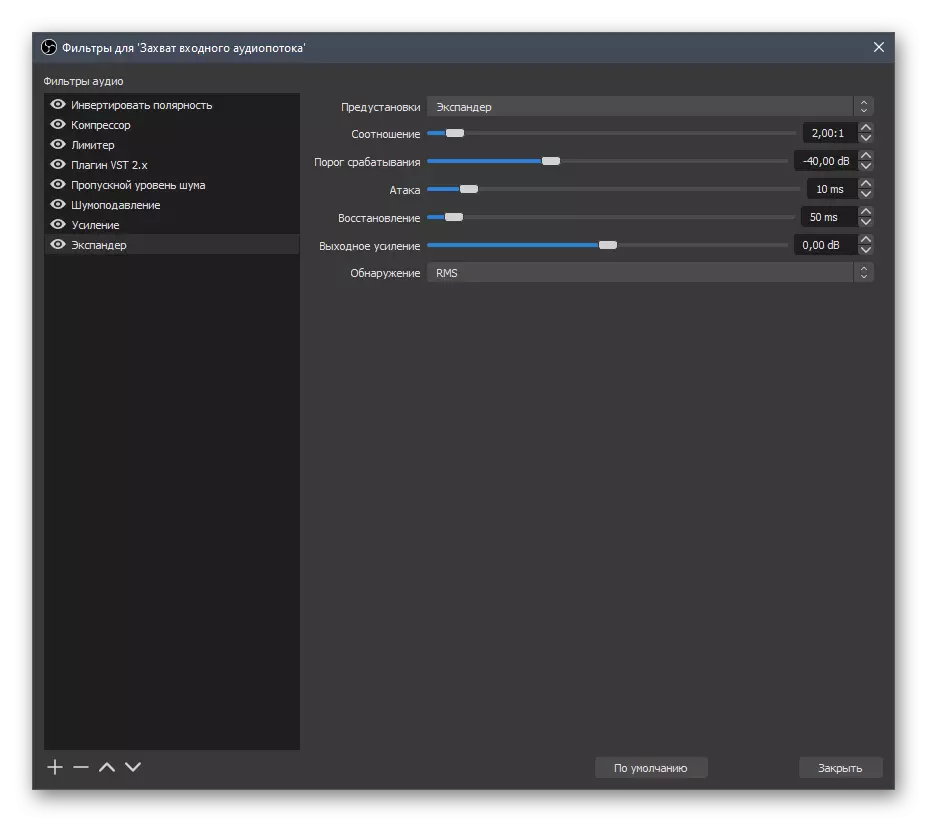
Extender
Extender is another filter with many different settings. It works along the similar principle with the compressor, but is used a little for other tasks. If we speak in a simple language, the expander makes quiet sounds even quieter, allowing you to get rid of breathing sounds into a microphone or, for example, computer fans. All parameters are configured individually and mandatory in parallel with the change check. We recommend that the expander is closer to the end of the list of added filters by analogy with the limiter.