

Almost any video editor is suitable for trimming a video. It will be even better if you do not have to spend your time on downloading and installing such a program.
Windows Movie Maker is a pre-installed video editing program. The program is part of Windows Windows versions XP and Vista. This video editor will allow you to easily trim the video on your computer.
In versions of Windows 7 and older, Movie Maker was replaced by Windows Live film studio. The program is very similar to Movie Maker. So, having understood with one version of the program, you can easily work in another.
How to trim the video in Windows Movie Maker
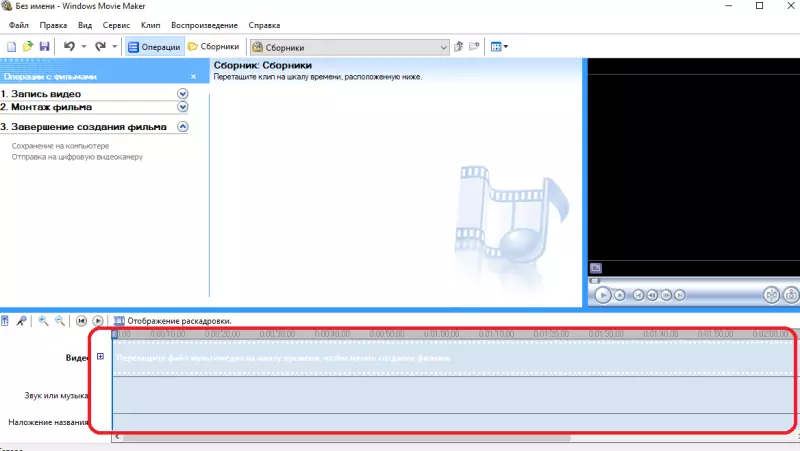
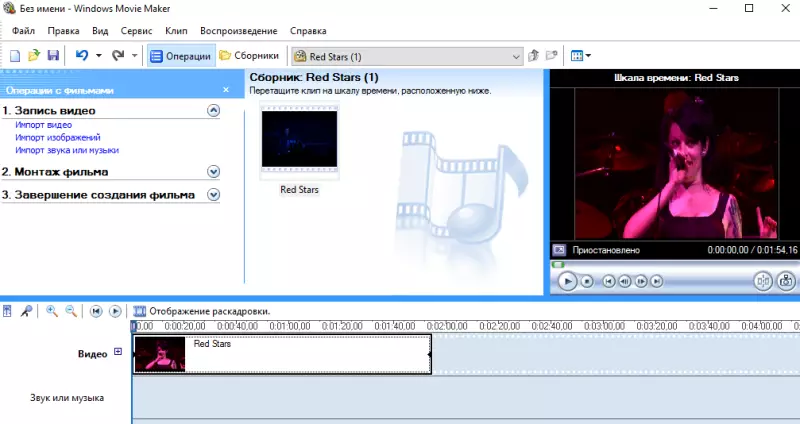
Run the Windows Movie Maker program. At the bottom of the program you can see the time line.
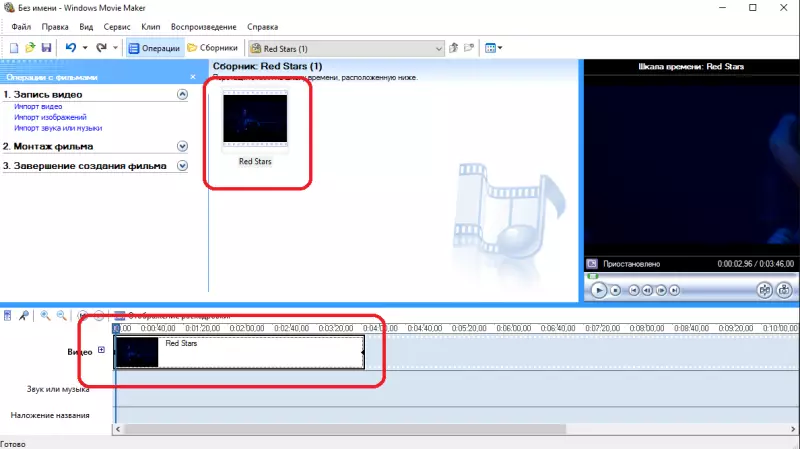
Transfer the video file that you need to trim into this area of the program. The video should be displayed on the line and in the media file collection.
Now you need to install the editing slider (blue strip on the time line) to the place where you want to crop video. Suppose you need to cut the video in half and remove the first half. Then install the slider on the middle of the video camera.
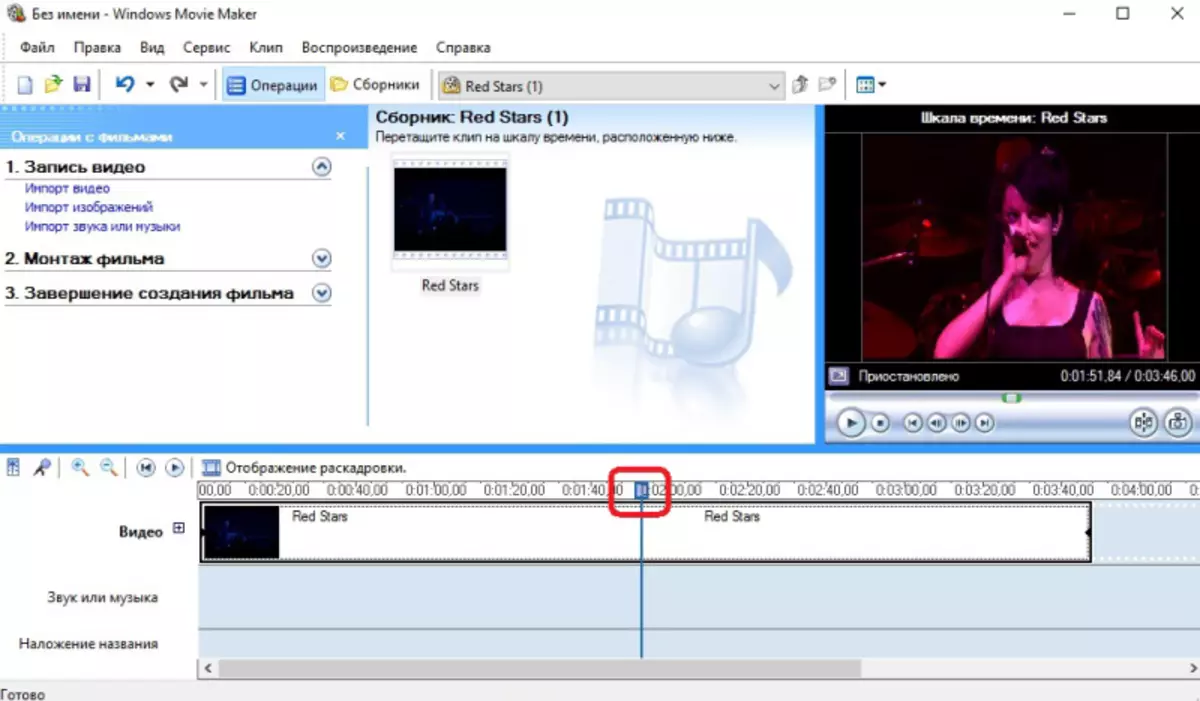
After that, click the "Video Separation into two parts" button located on the right side of the program.

The video will share on two fragments on the line of the editing slider.

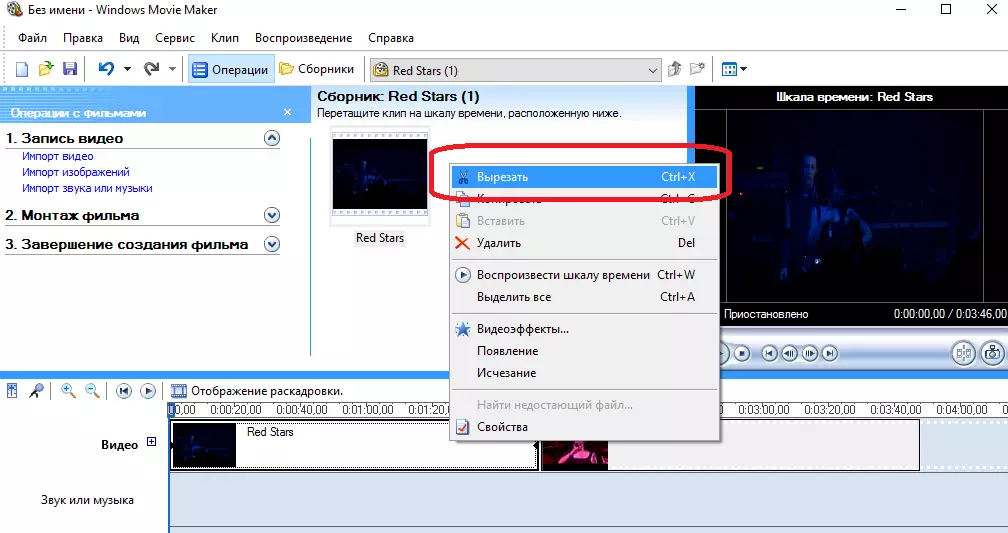
Next, you need to perform the right click on the unnecessary fragment (in our example it is a fragment on the left) and from the pop-up menu, select "Cut" from the pop-up menu.
On the timeline there should be only the excerpt video that you need.
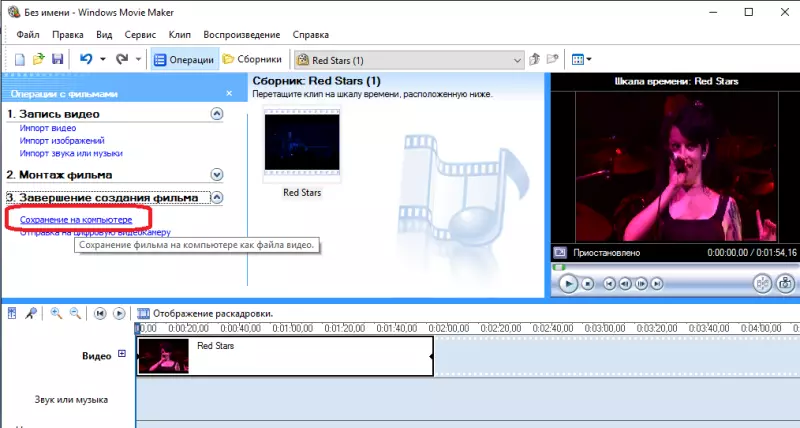
All you have left is to save the received video. To do this, click the Save On Computer button.
In the window that appears, select the name of the stored file and the location. Click "Next".

Select the desired video quality. You can leave the default value "The best playback quality on your computer."

After pressing the "Next" button, video saving will begin.
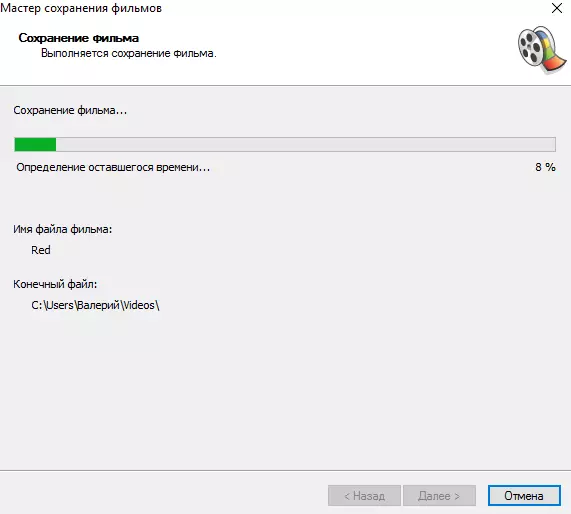
When the process is completed, click Finish. You will get a cropped video.
The entire video trimming process in Windows Movie Maker should not take you more than 5 minutes, even if this is your first work experience in video edits.