

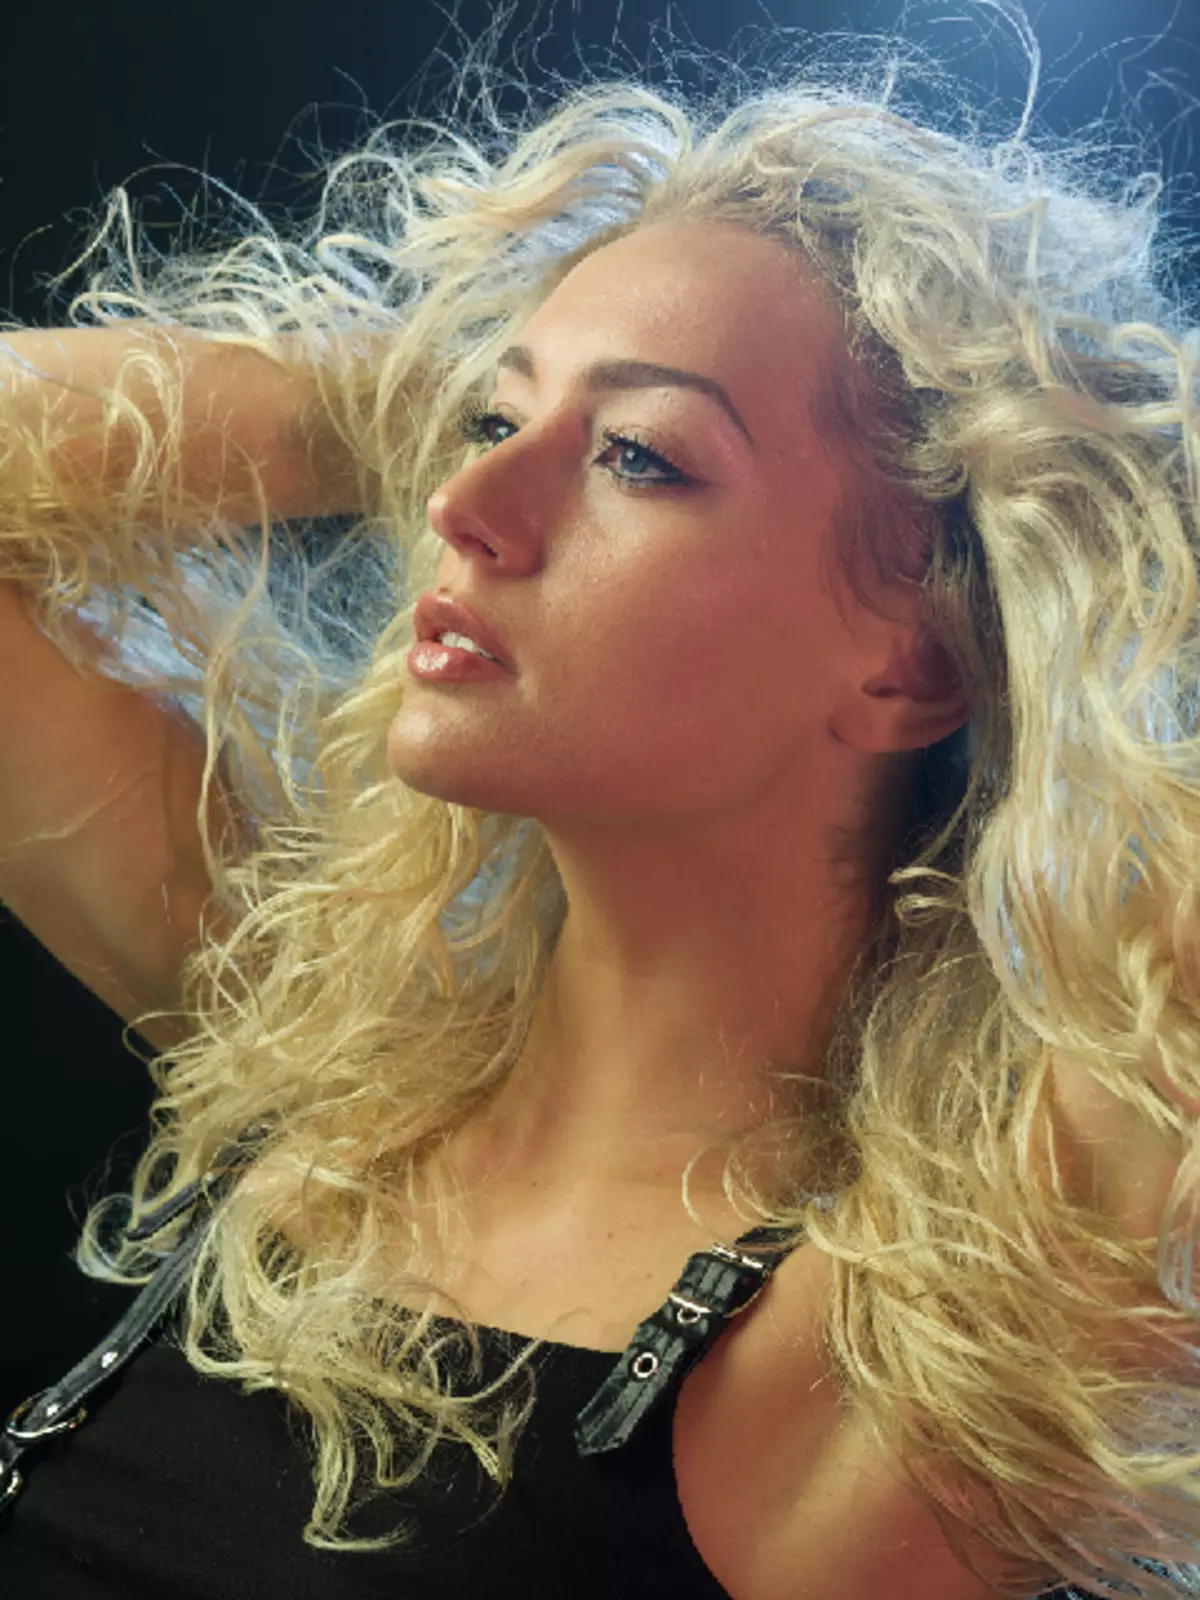
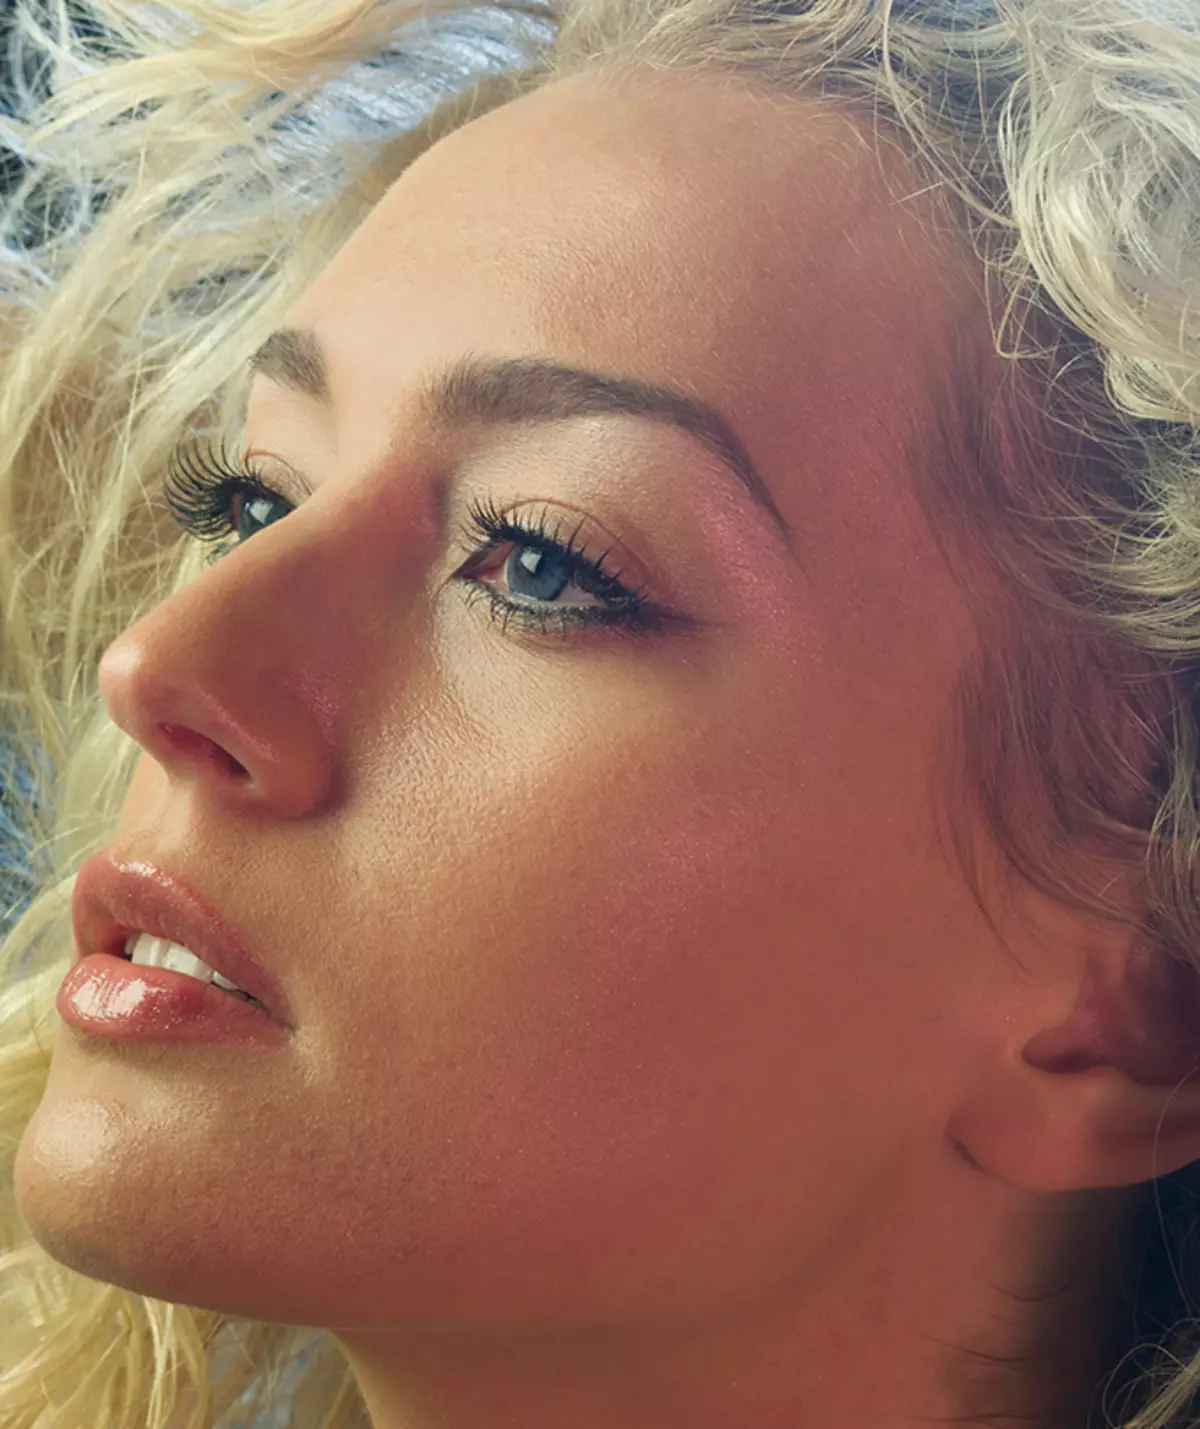
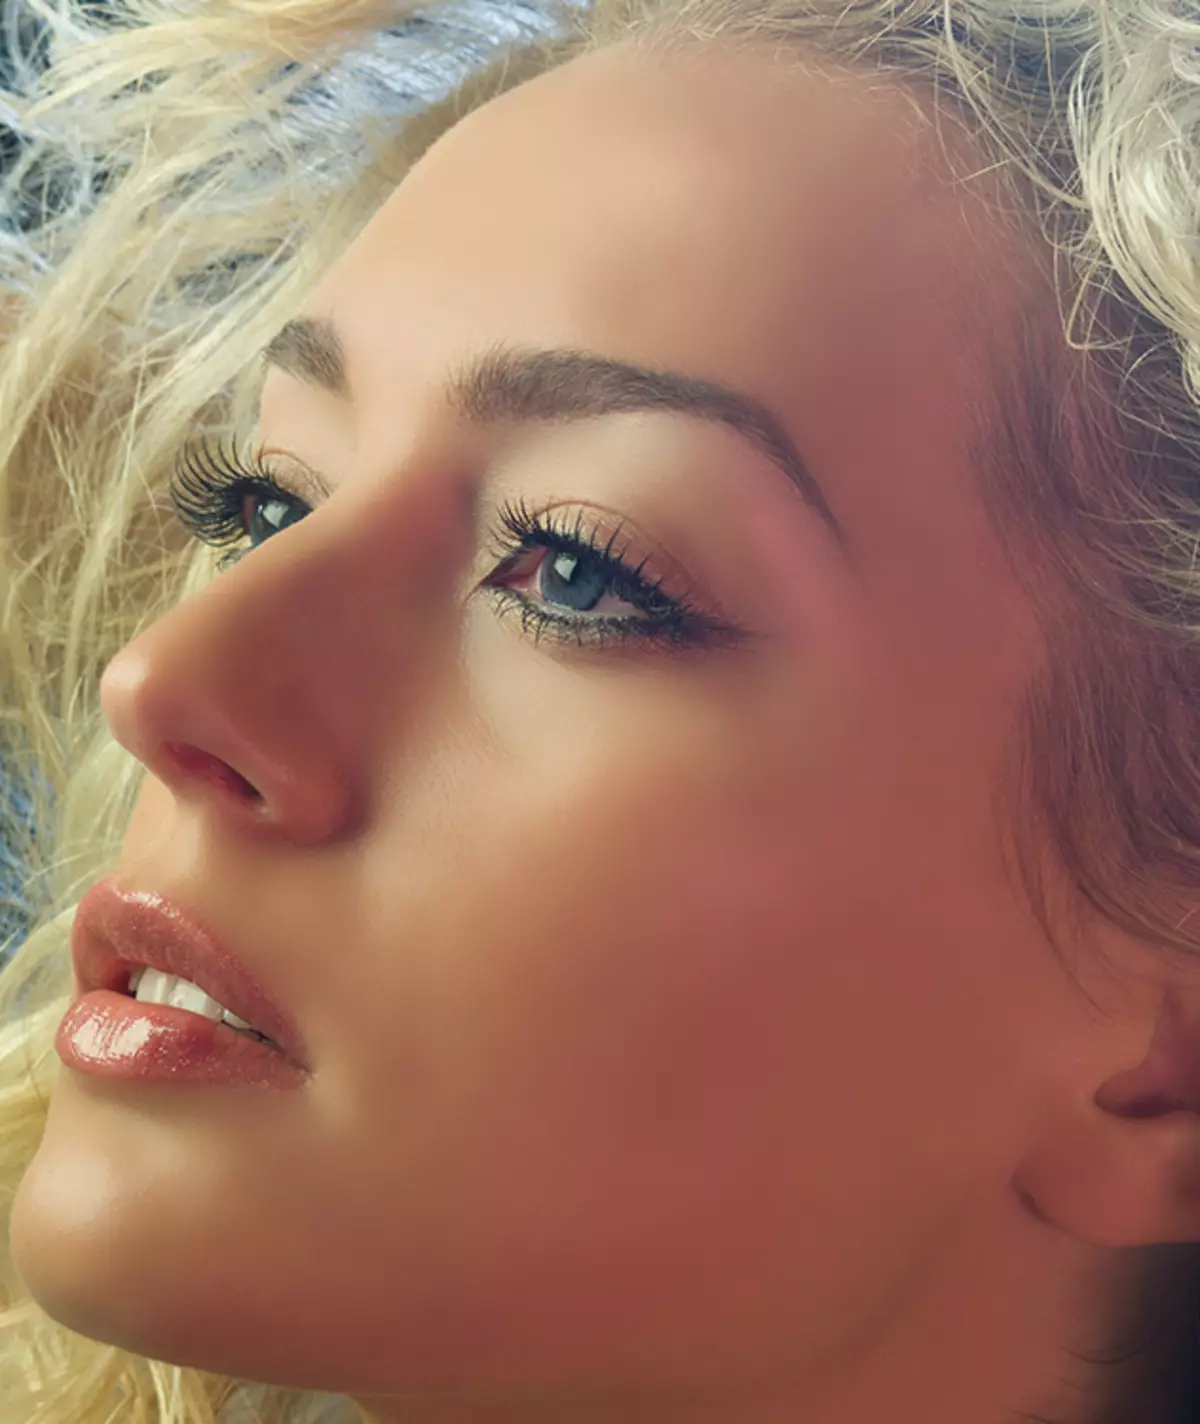
Retouching photos in Photoshop implies the removal of irregularities and skin defects, a decrease in oily shine, if any, as well as the overall correction of the picture (light and shadow, color correction).
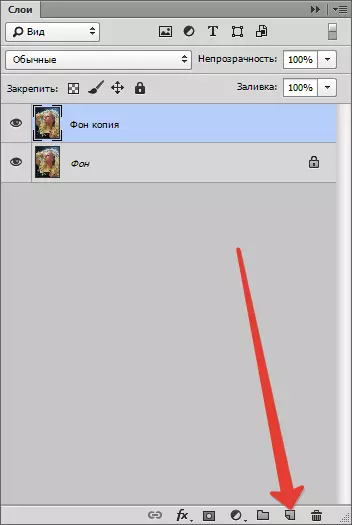
Open a photo, and create a duplicate layer.
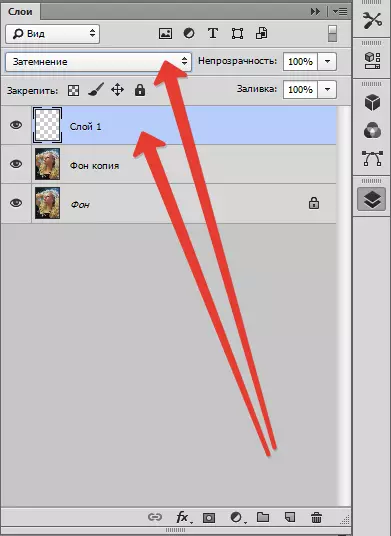
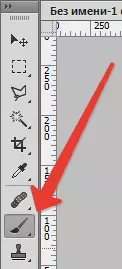
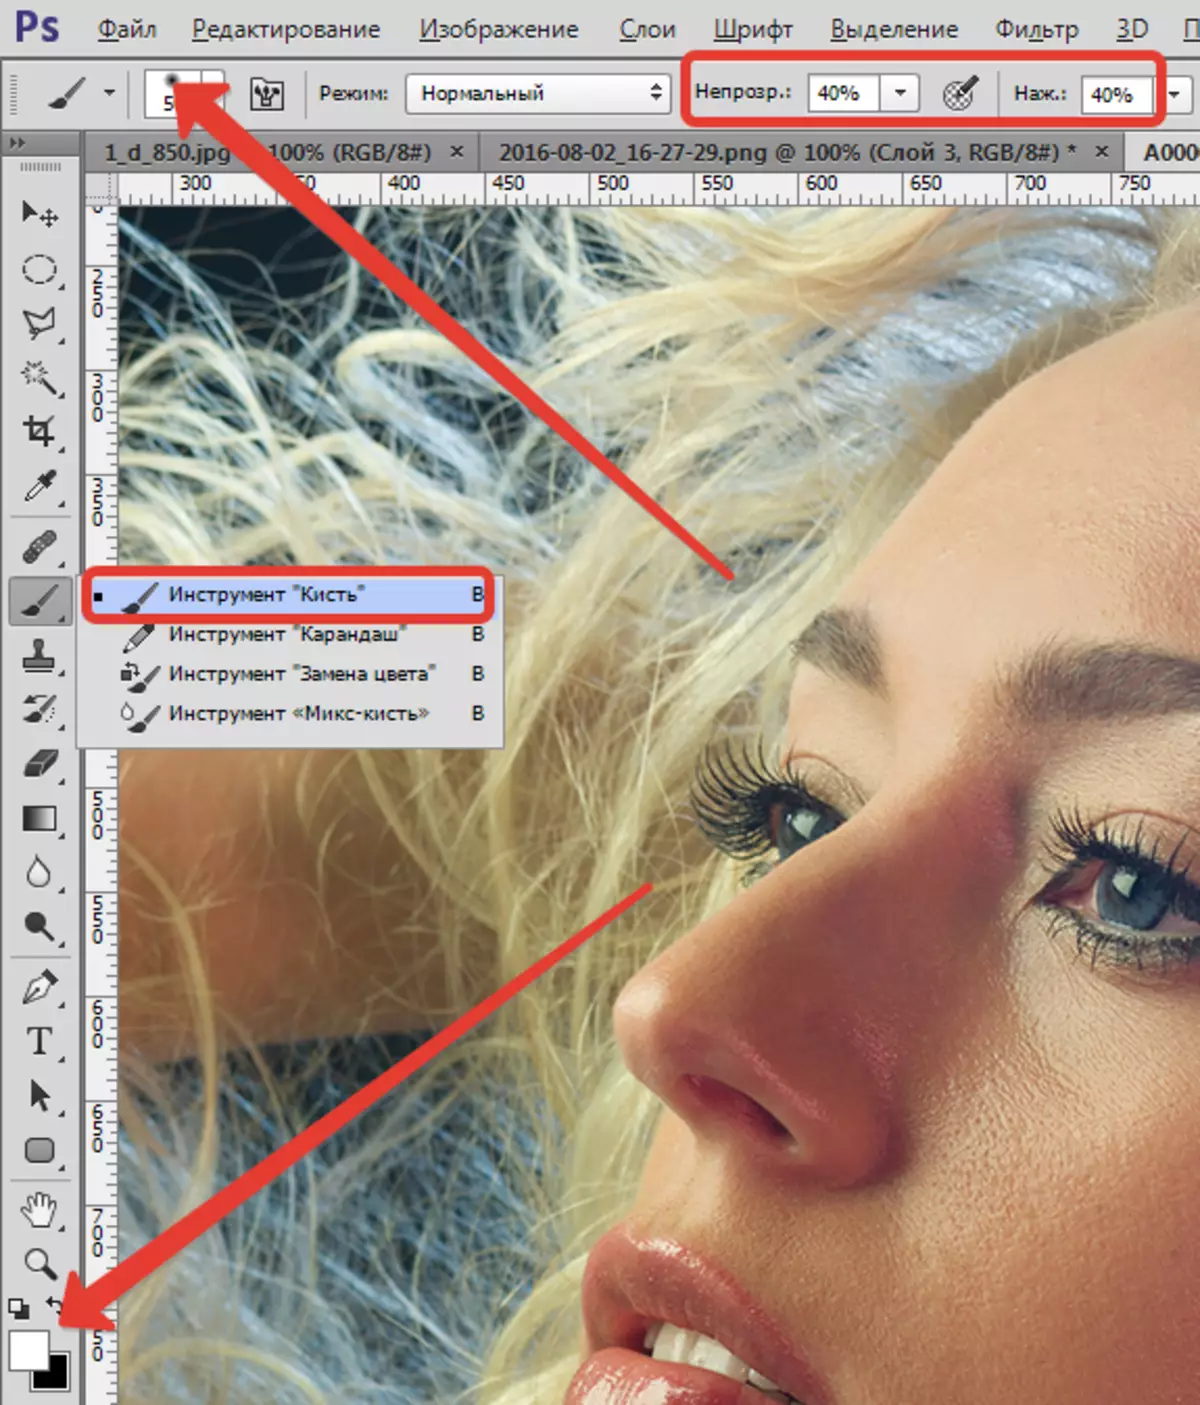
The portrait processing in photoshop begins with neutralization of oily shine. Create an empty layer and change the overlay mode for it "Blackout".
Then choose soft "Brush" And configure how to screenshots.
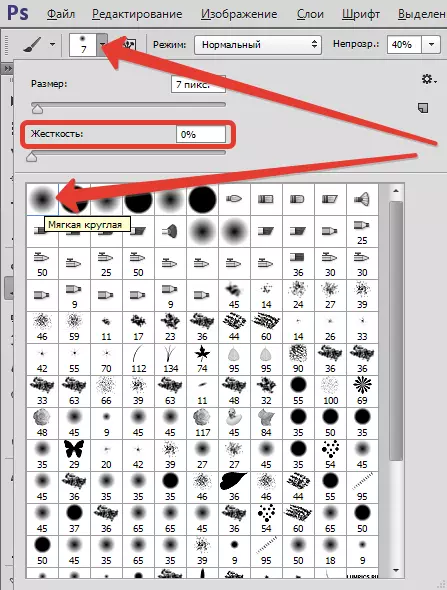

Climbing Alt. Take the color sample in the photo. The shade is chosen as averaged as possible, that is, not the darkest and not the brightest.
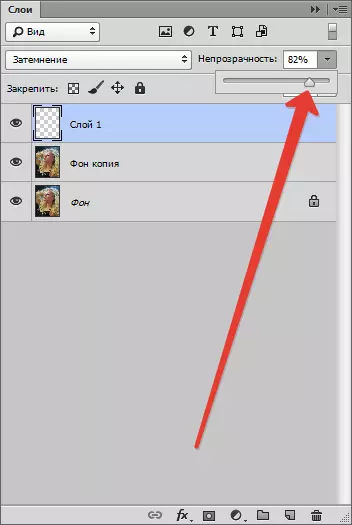
Now we paint the sections with glitter on the just created layer. Upon completion of the process, you can play with the transparency of the layer, if suddenly it seems that the effect is too strong.
Tip: All actions are desirable to perform at 100% photos.
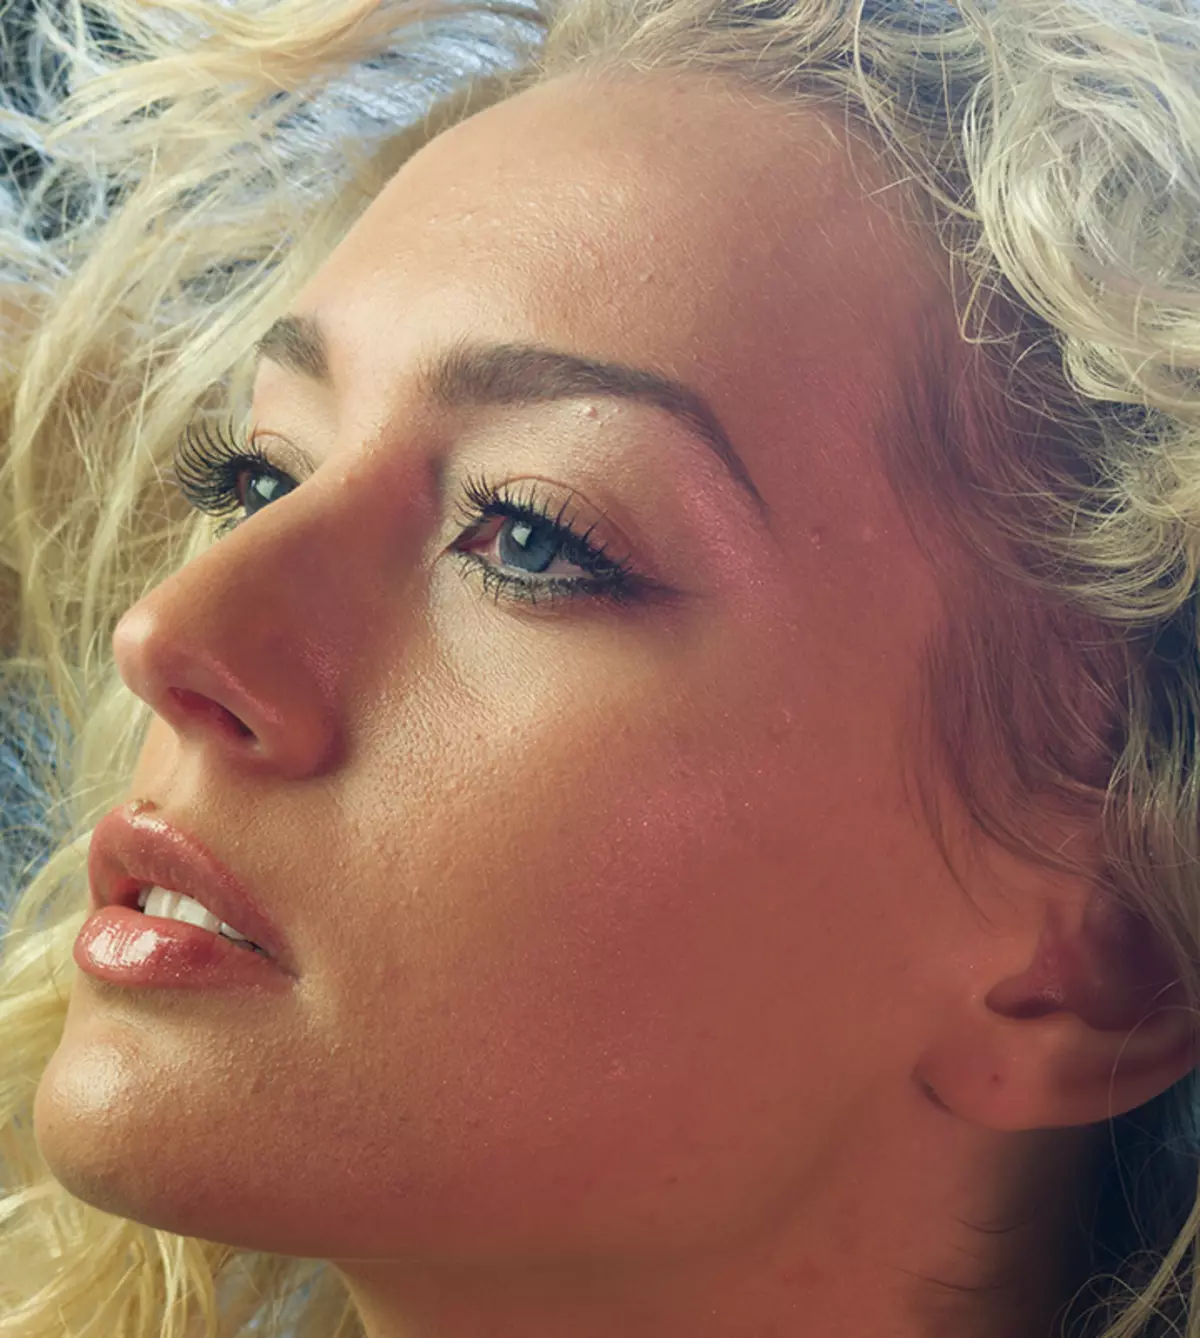
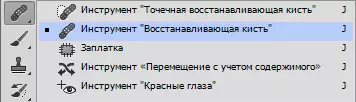
The next step is to eliminate large defects. Create a copy of all layers with key combination Ctrl + Alt + SHIFT + E . Then choose the instrument "Restoring brush" . Brush size exhibit about 10 pixels.
Click key Alt. And we take the skin trial as close as possible to the defect, and then click on irregularities (pimple or freckling).
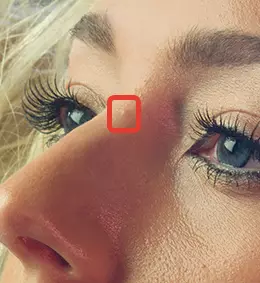
Thus, we remove all irregularities from the skin model, including from the neck, and from other open areas.
Wrinkles are removed in this way.
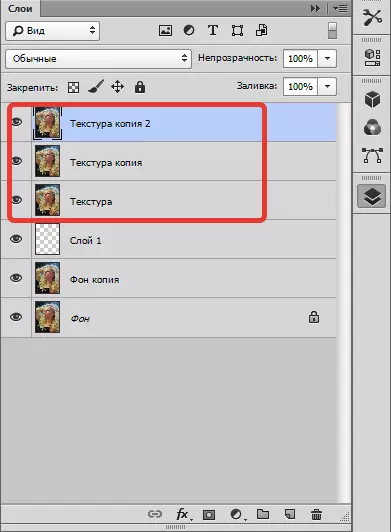
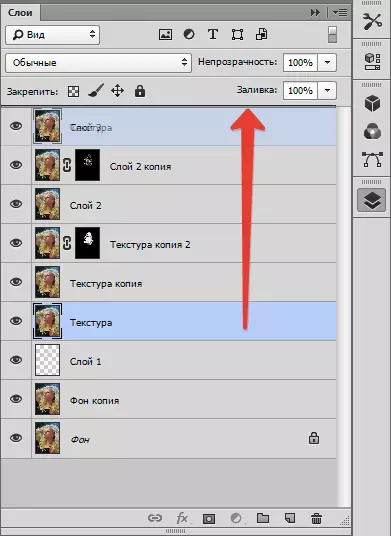
Next smooth out the skin model. We rename the layer B. "Texture" (See you later, why create two copies.
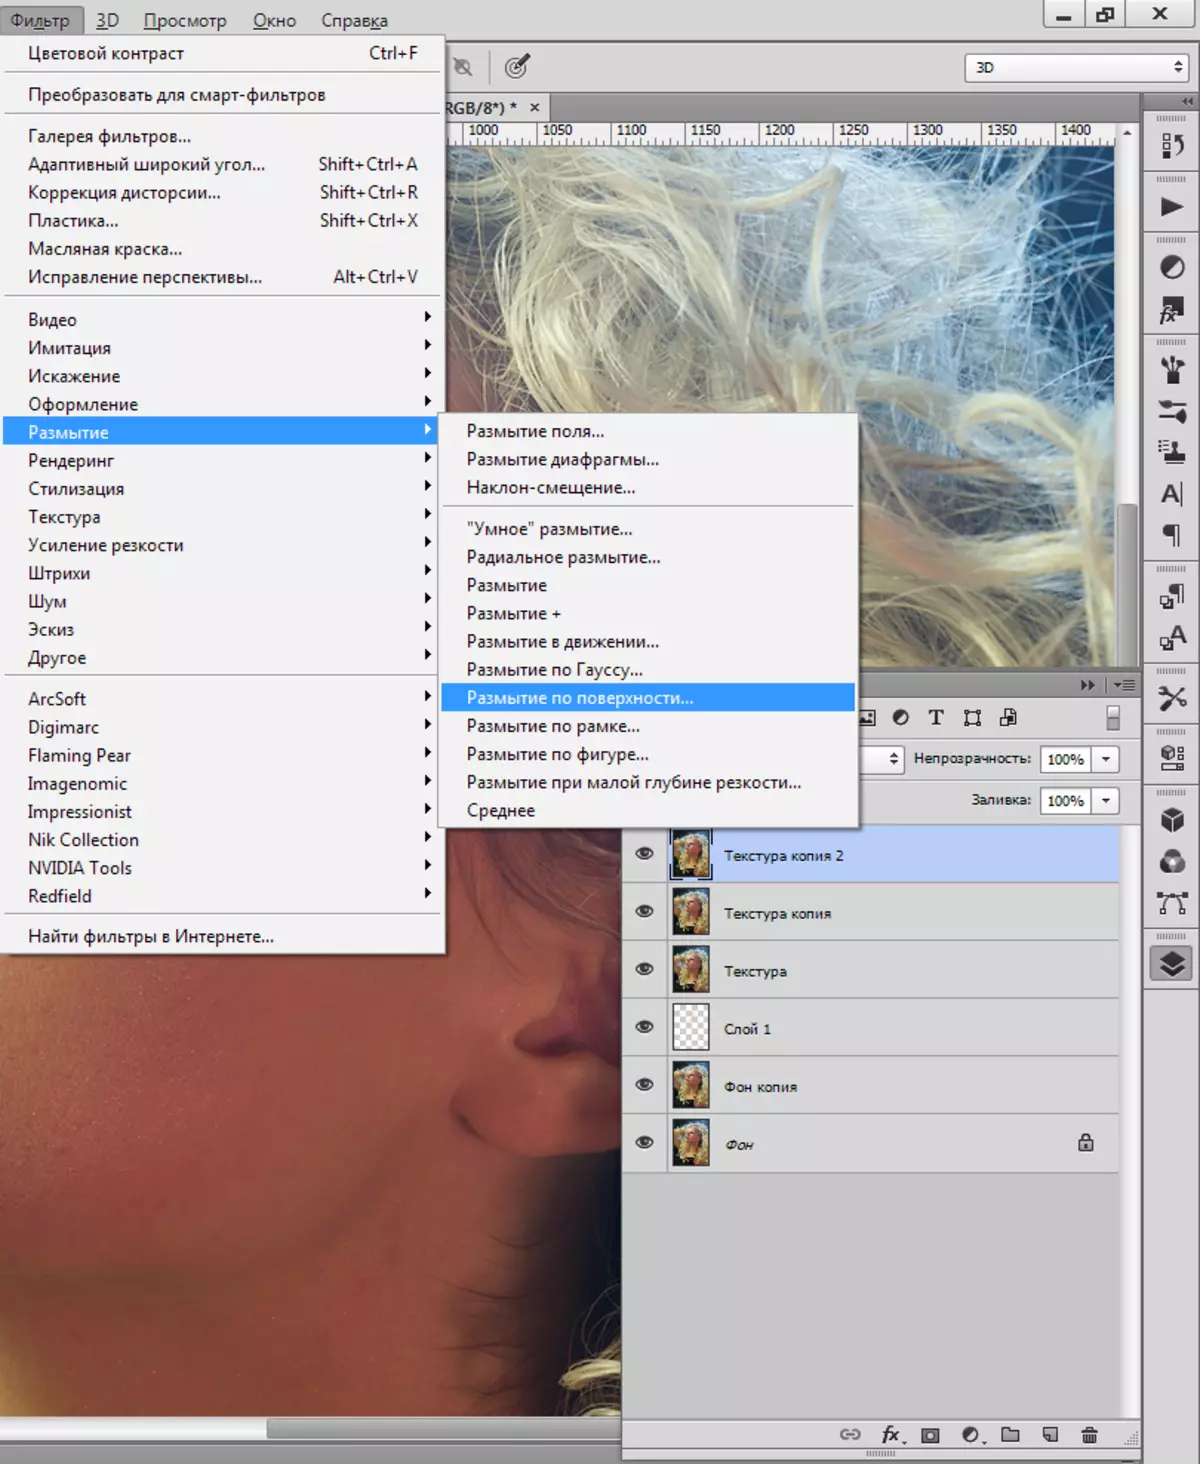
To the top layer apply filter "Blur over the surface".
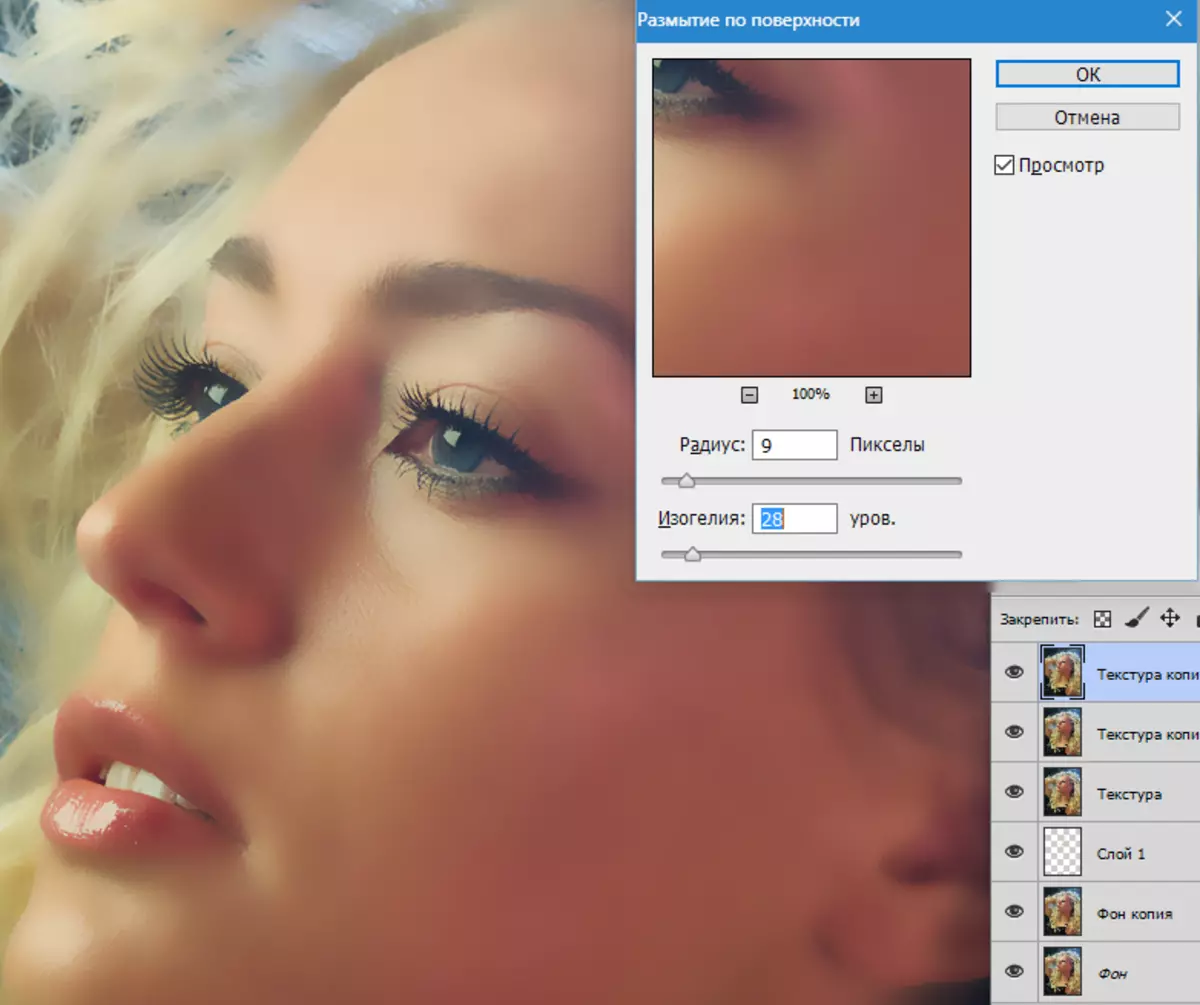
Sliders we achieve smoothness of the skin, just do not overdo it, the main contours of the face should not suffer. If small defects do not disappear, it is better to apply the filter again (repeat the procedure).
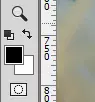
Apply the filter by clicking Ok , and add a black mask to the layer. To do this, select the main black color, clamp the key Alt. and click the button "Add a vector mask".

Now we choose a soft white brush, opacity and pressure exhibit no more than 40% and pass through the problem areas of the skin, achieving the necessary effect.
If the result seems unsatisfactory, then the procedure can be repeated by creating a combined copy of the layer combination Ctrl + Alt + SHIFT + E and then applying the same reception (copy of the layer, "Blur over the surface" , black mask, etc.).
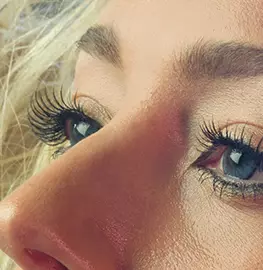
As you can see, together with defects destroyed the natural texture of the skin, turning it into the "soap". Here we will come in handy layer with the name "Texture".
Create a combined copy of the layers again and drag the layer "Texture" On top of all.
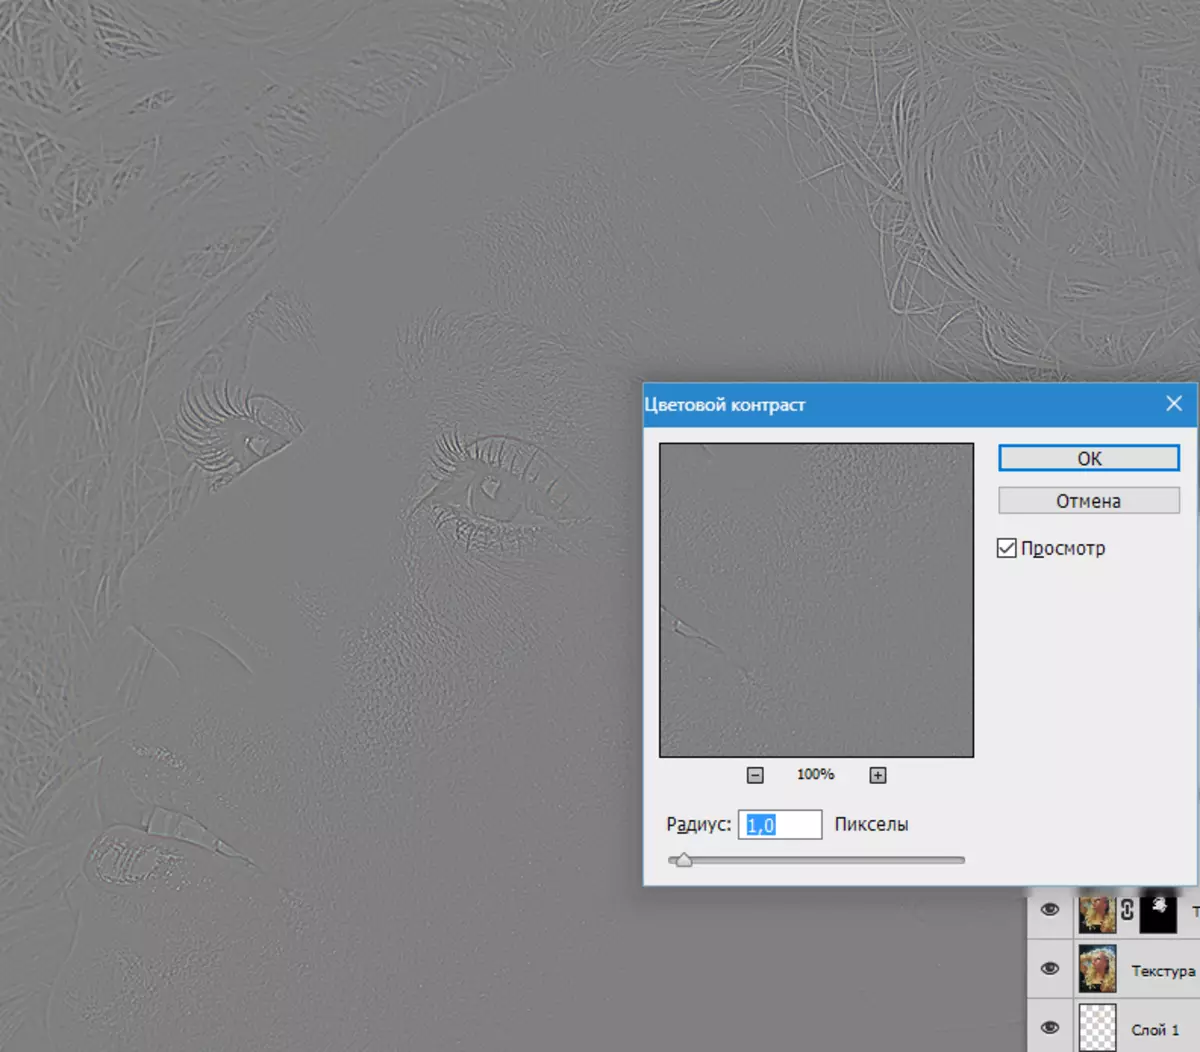
Apply to the filter layer "Colour contrast".
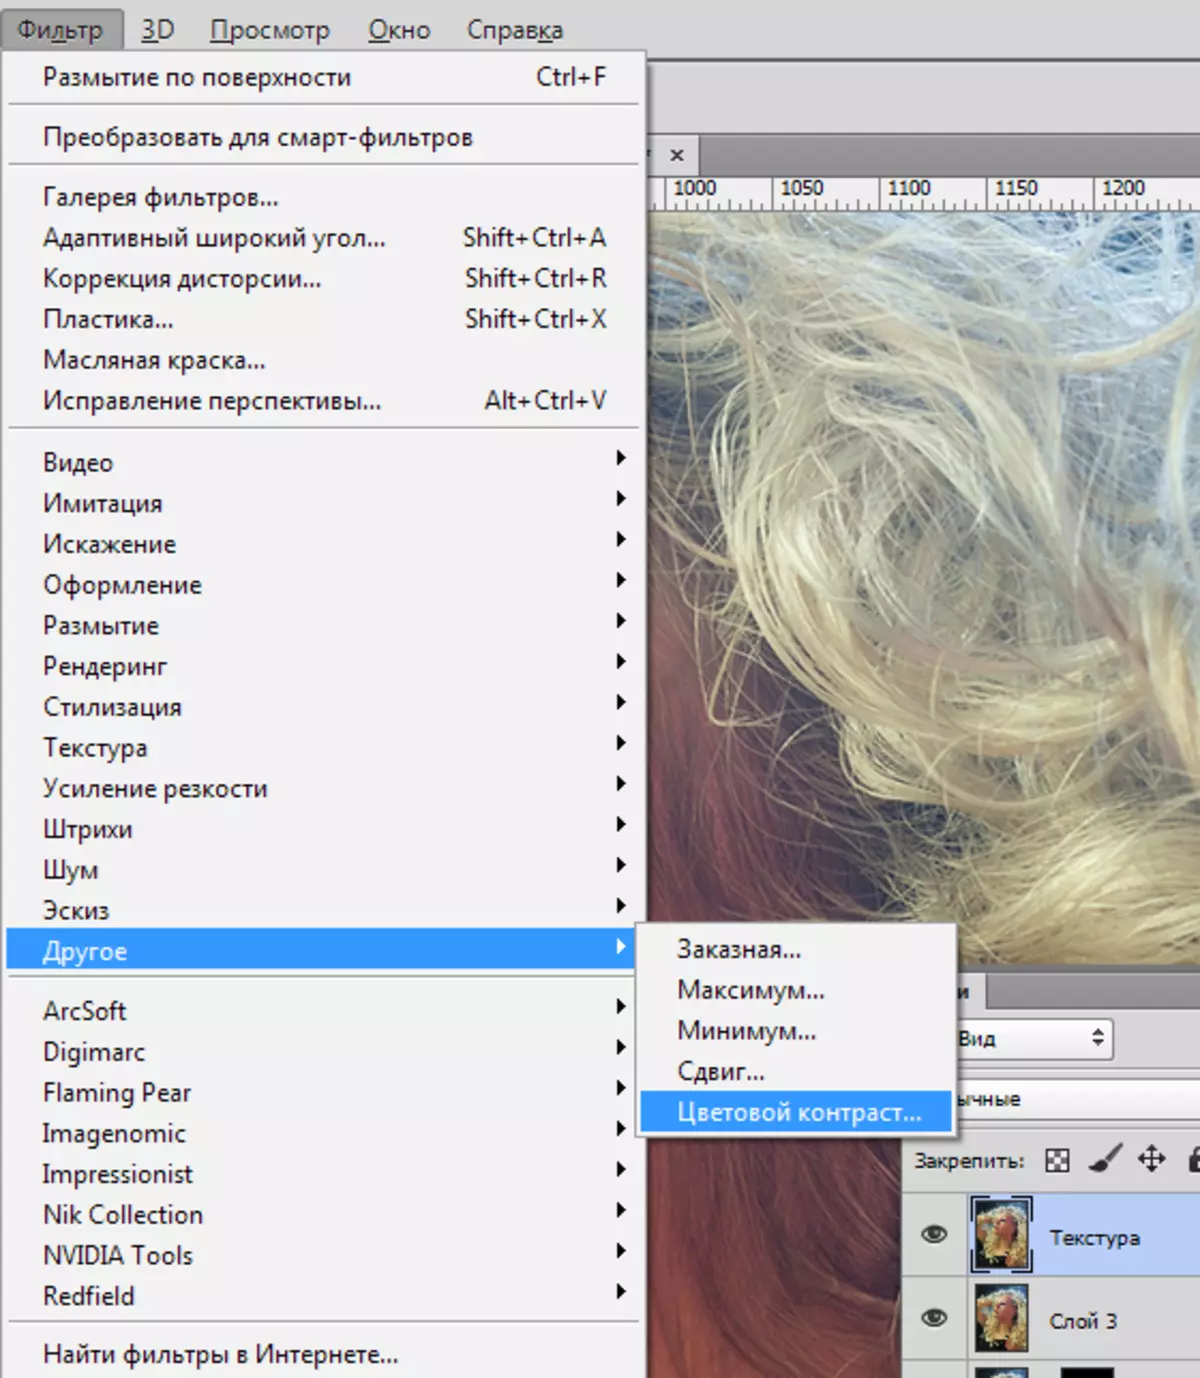
The slider we achieve the manifestation of only the smallest details of the picture.
Bleach the layer by pressing the combination Ctrl + SHIFT + U and change the overlay mode for it "Overlapping".
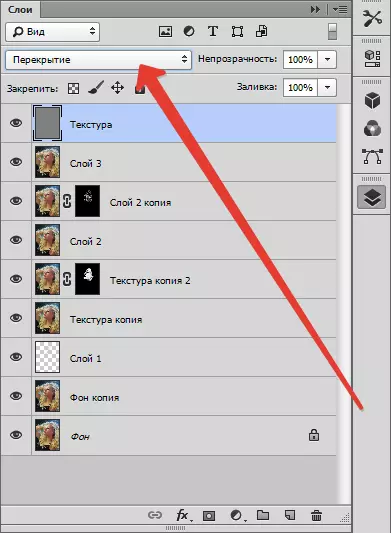
If the effect is too strong, then simply reduce the transparency of the layer.
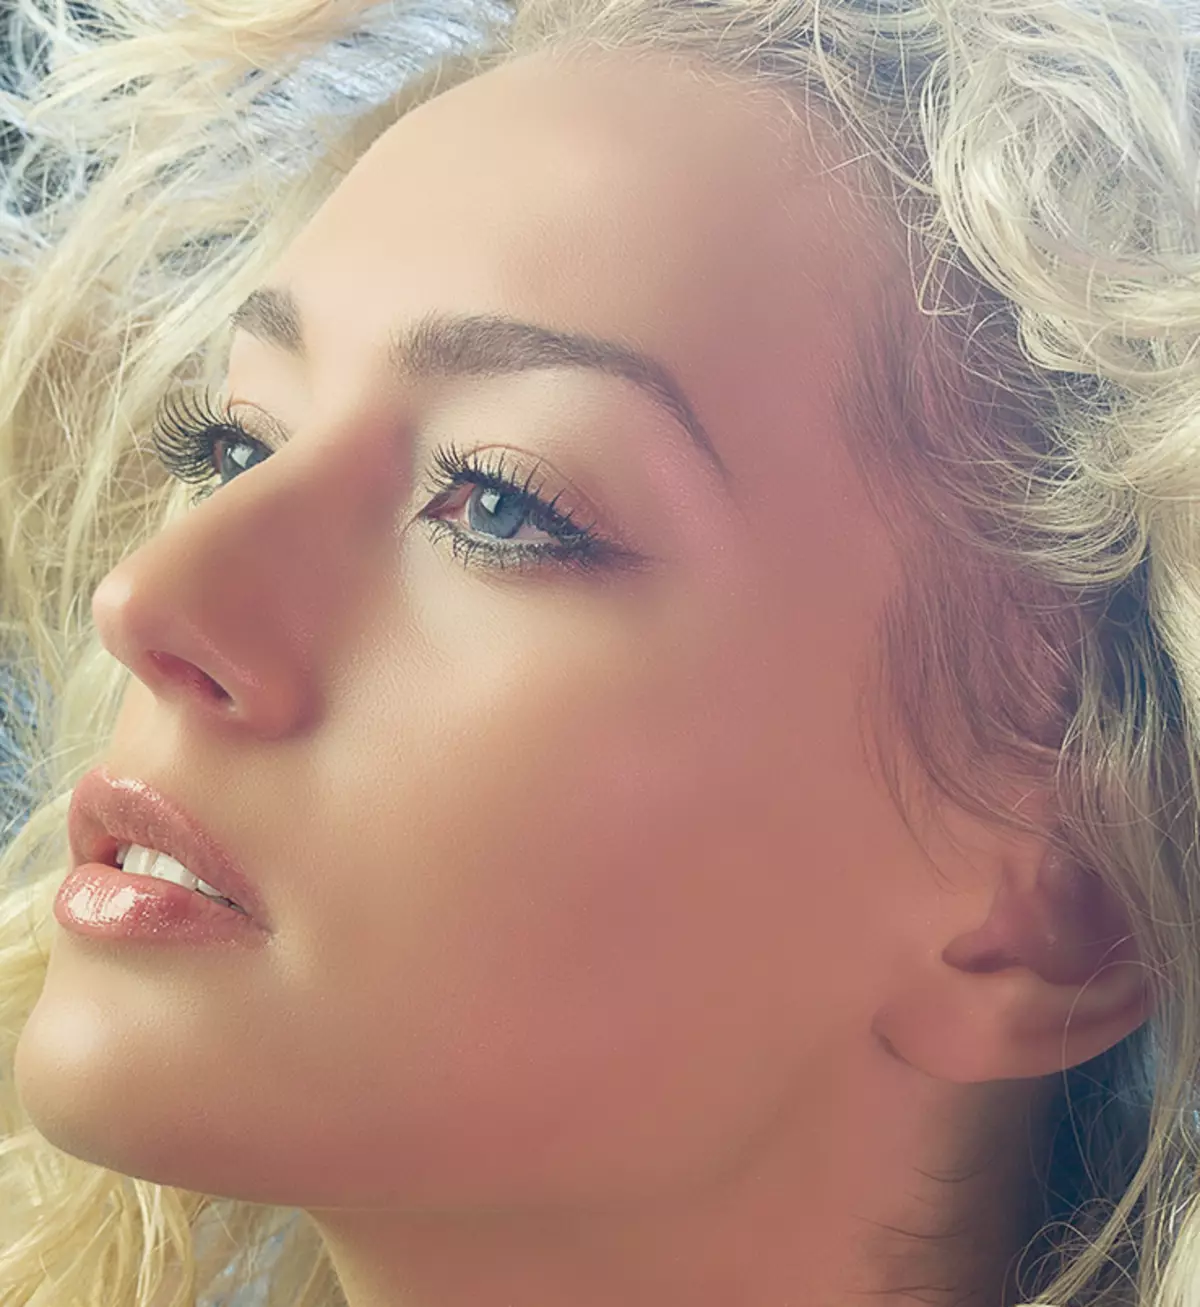
Now the skin model looks more natural.
Let's apply another interesting technique to level the color of the skin, because after all manipulations on the face there were some stains and irregularities of the color.
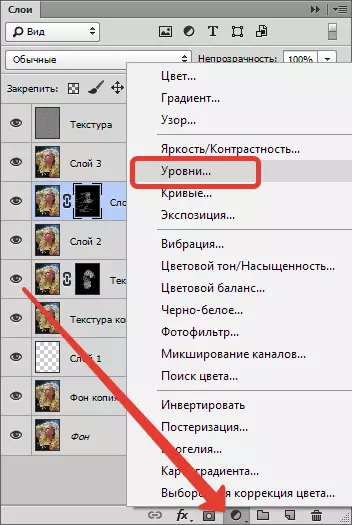
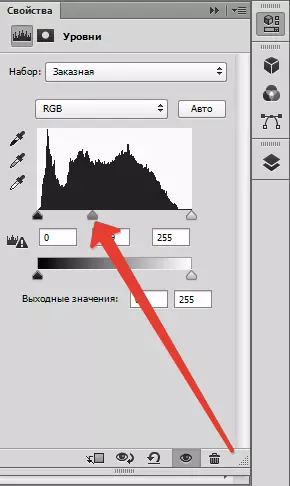
Call a correction layer "Levels" And the slider of the middle tones is flashing the picture until the color is equal (stains will disappear).
Then create a copy of all the layers, and then a copy of the resulting layer. Copy bleaching ( Ctrl + SHIFT + U ) and change the imposition mode on "Soft light".
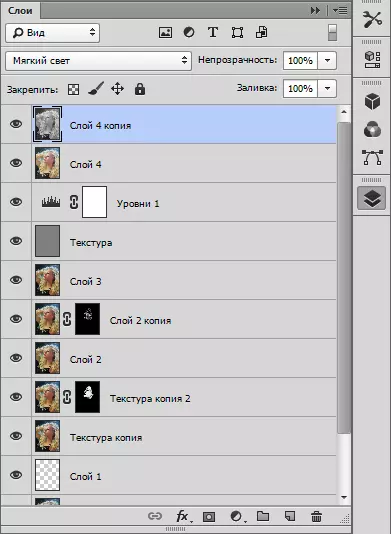
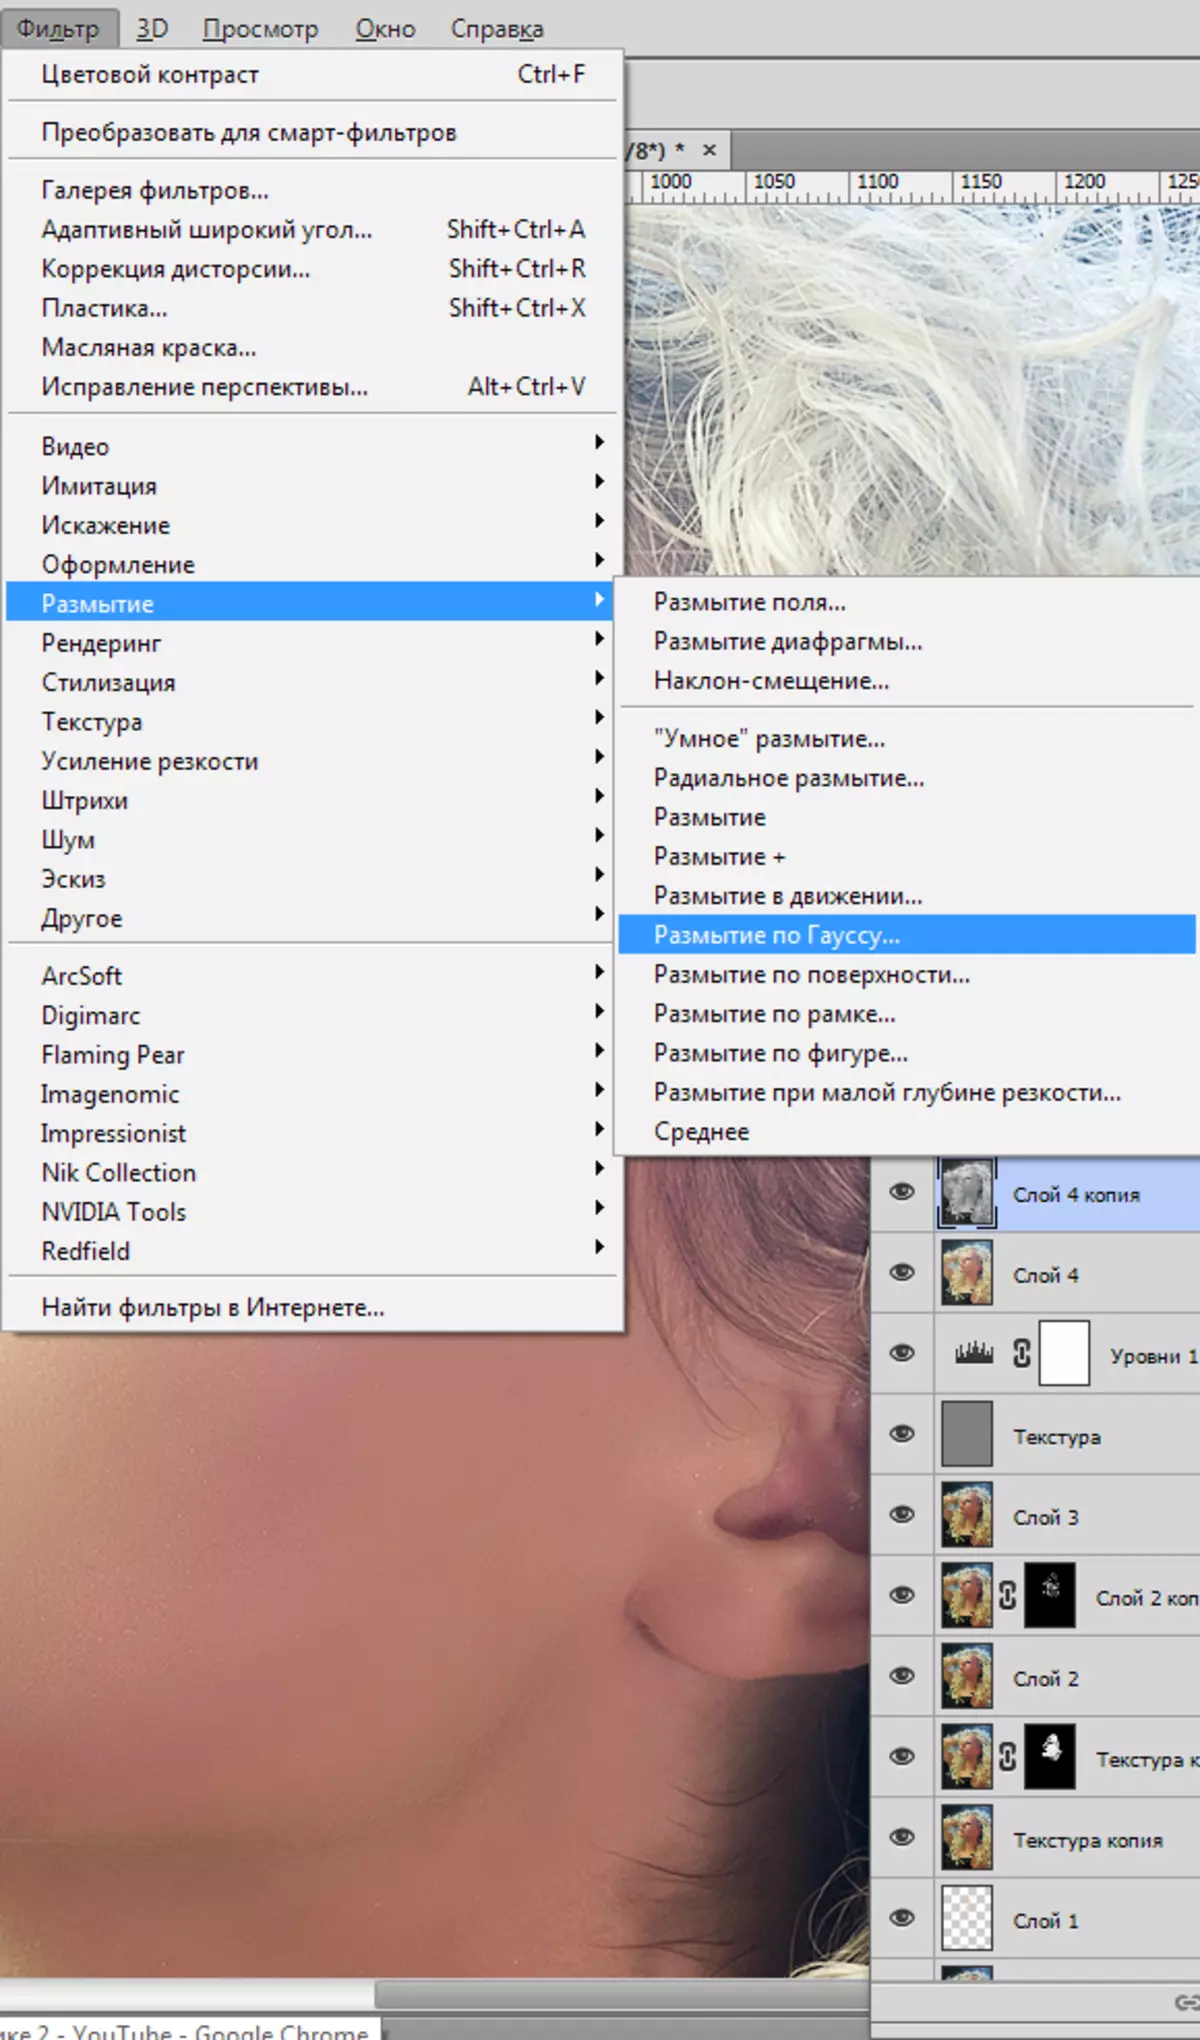
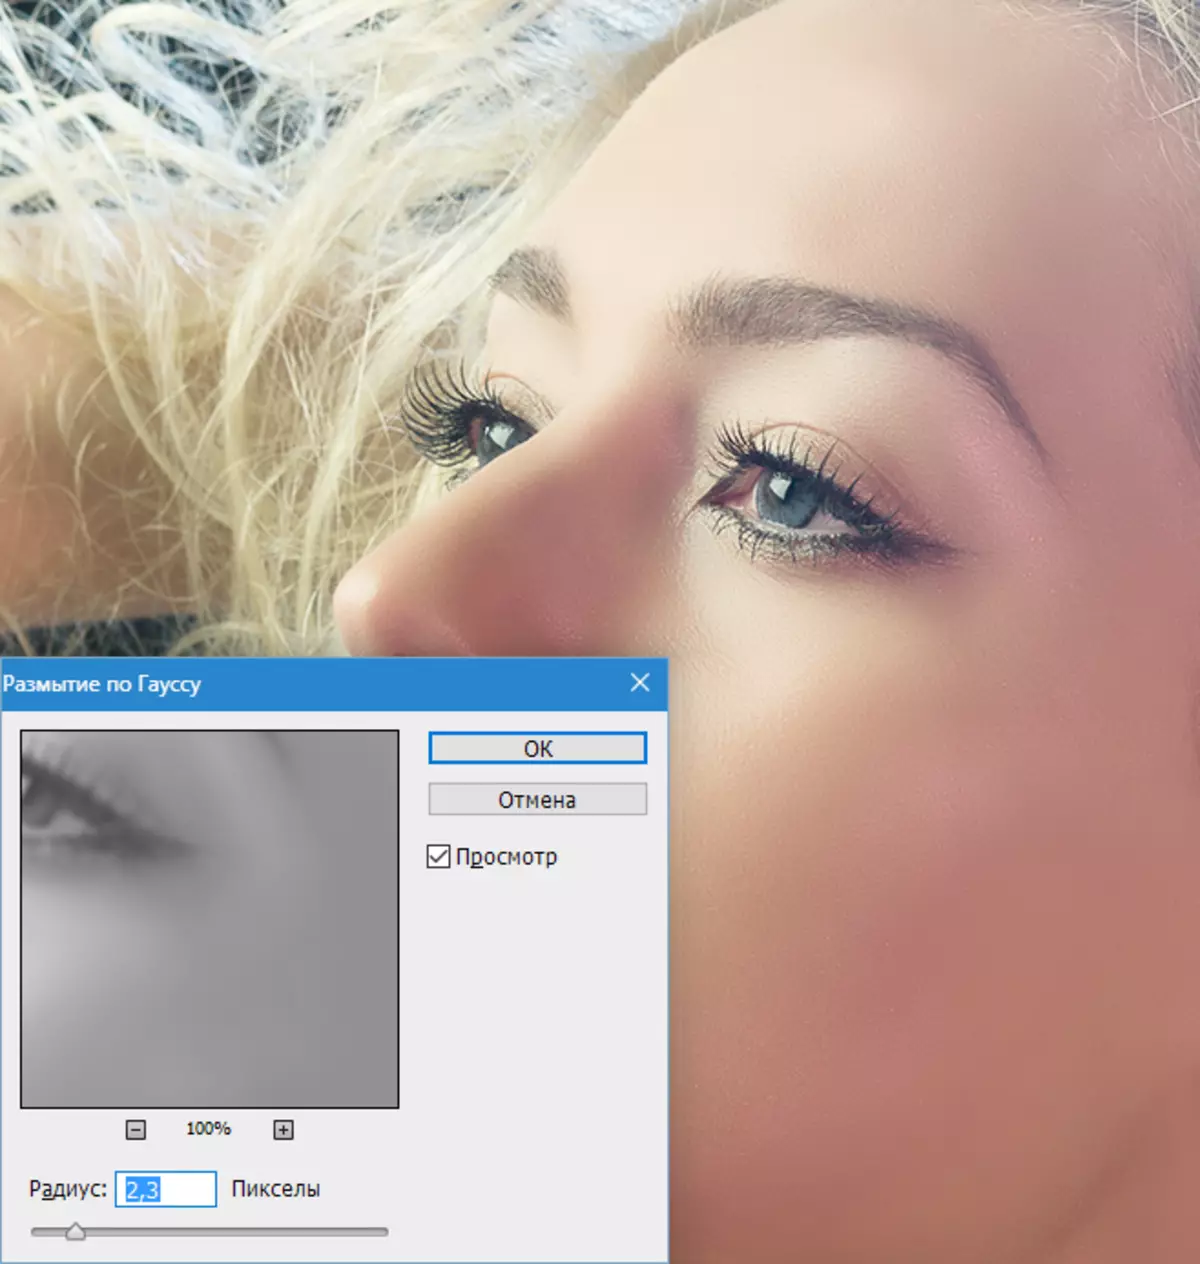
Next apply to this layer filter "Gaussian blur".
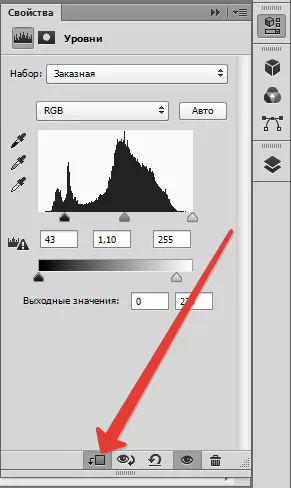
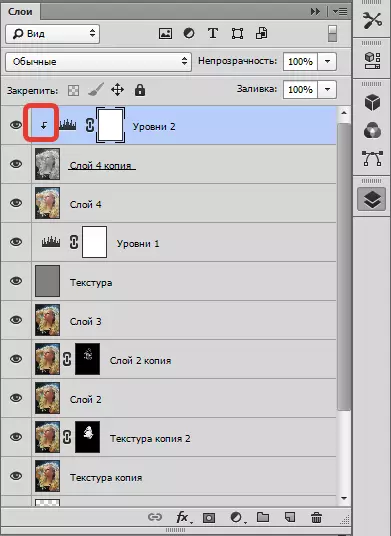
If the brightness of the picture does not suit, then apply again "Levels" , but only to the discolored layer by pressing the button shown in the screenshot.
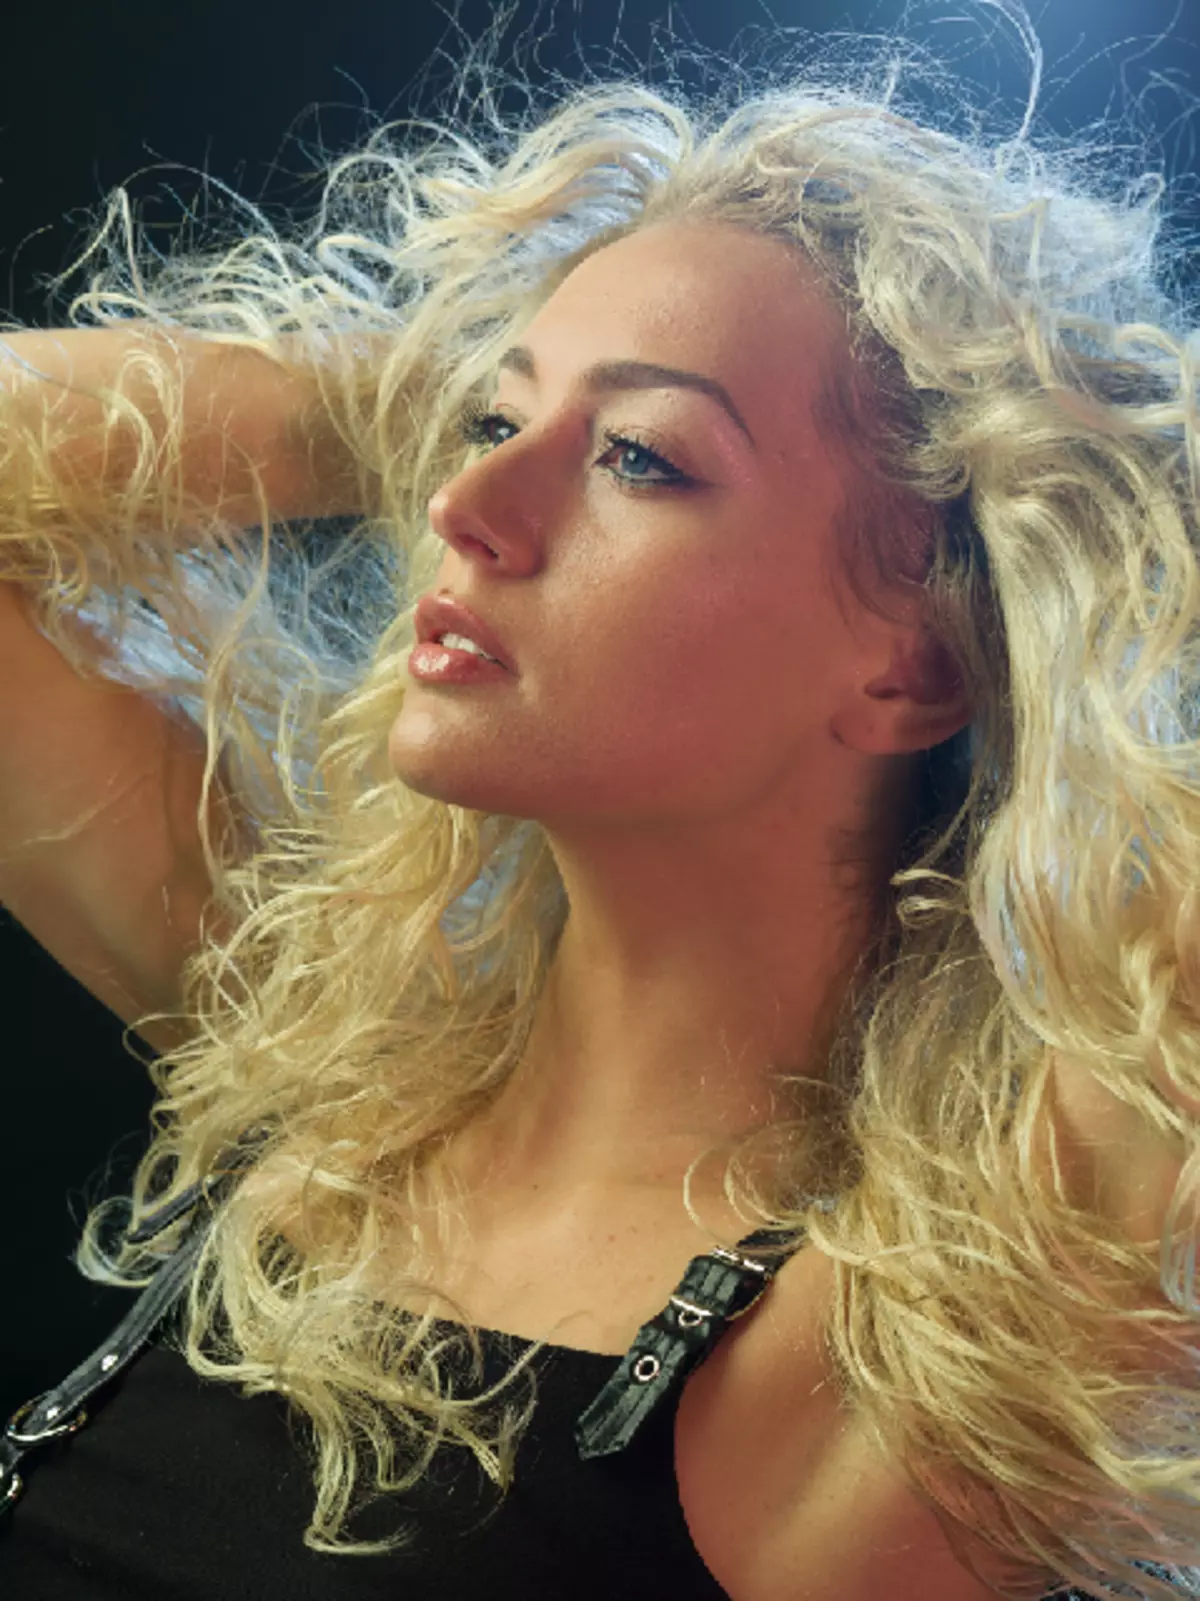
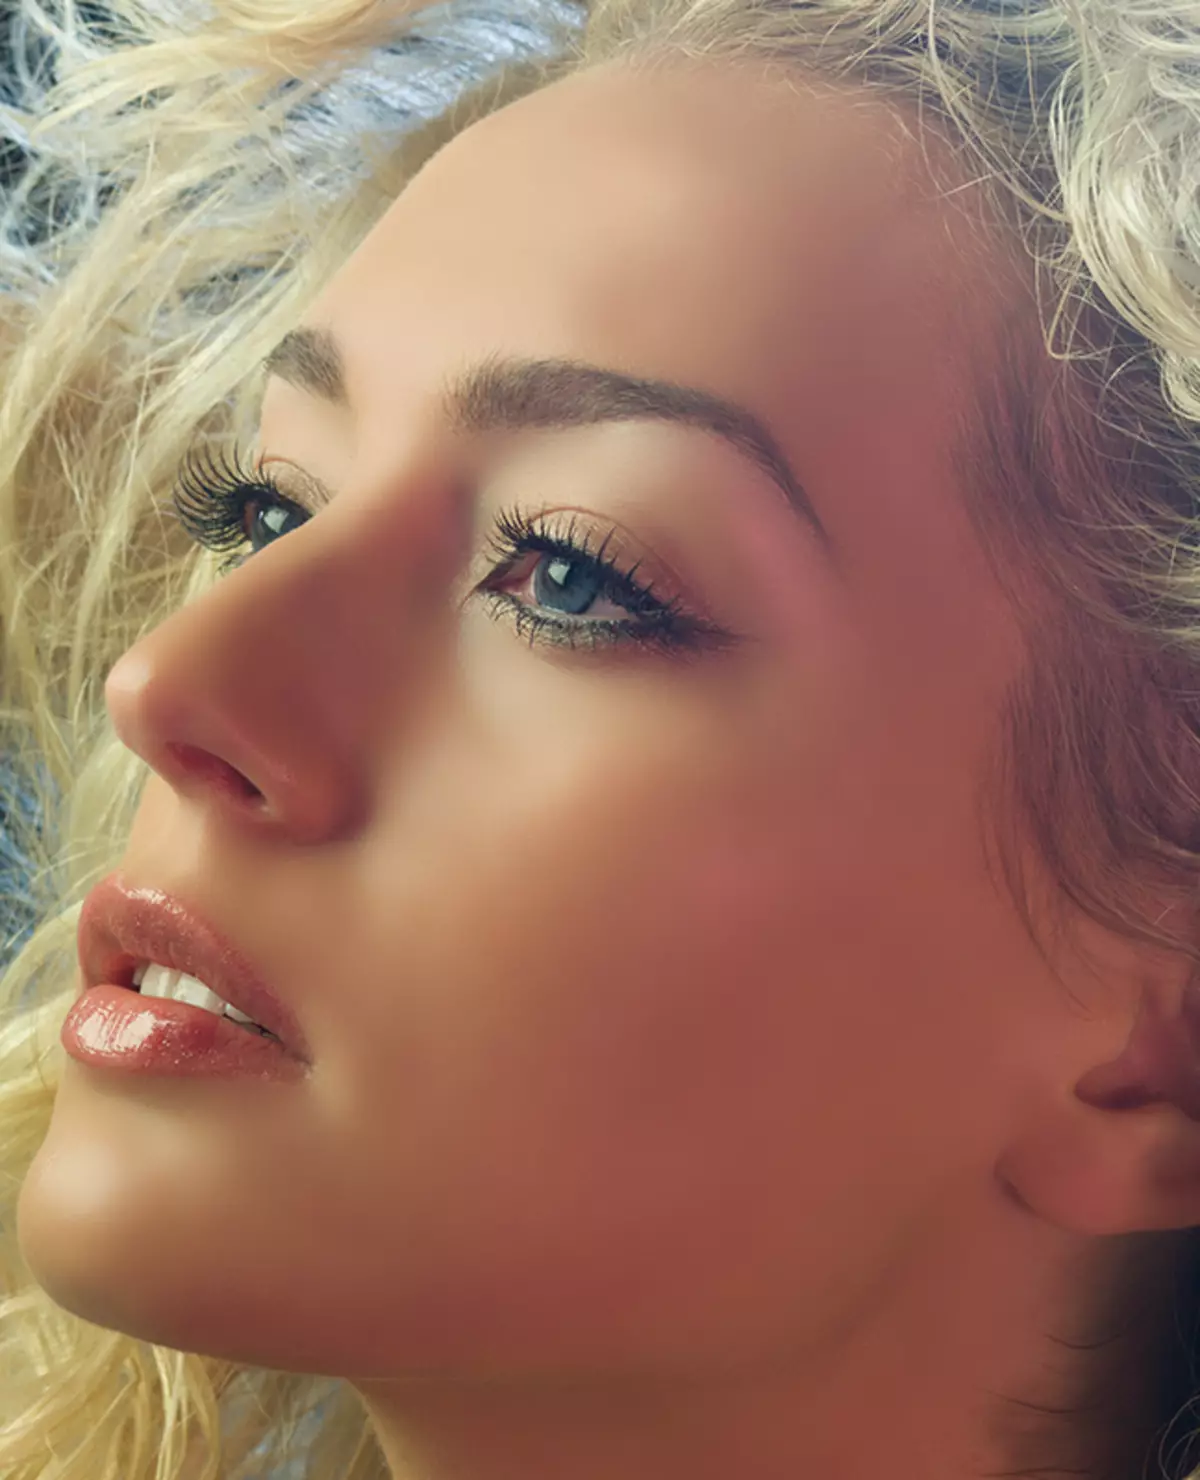
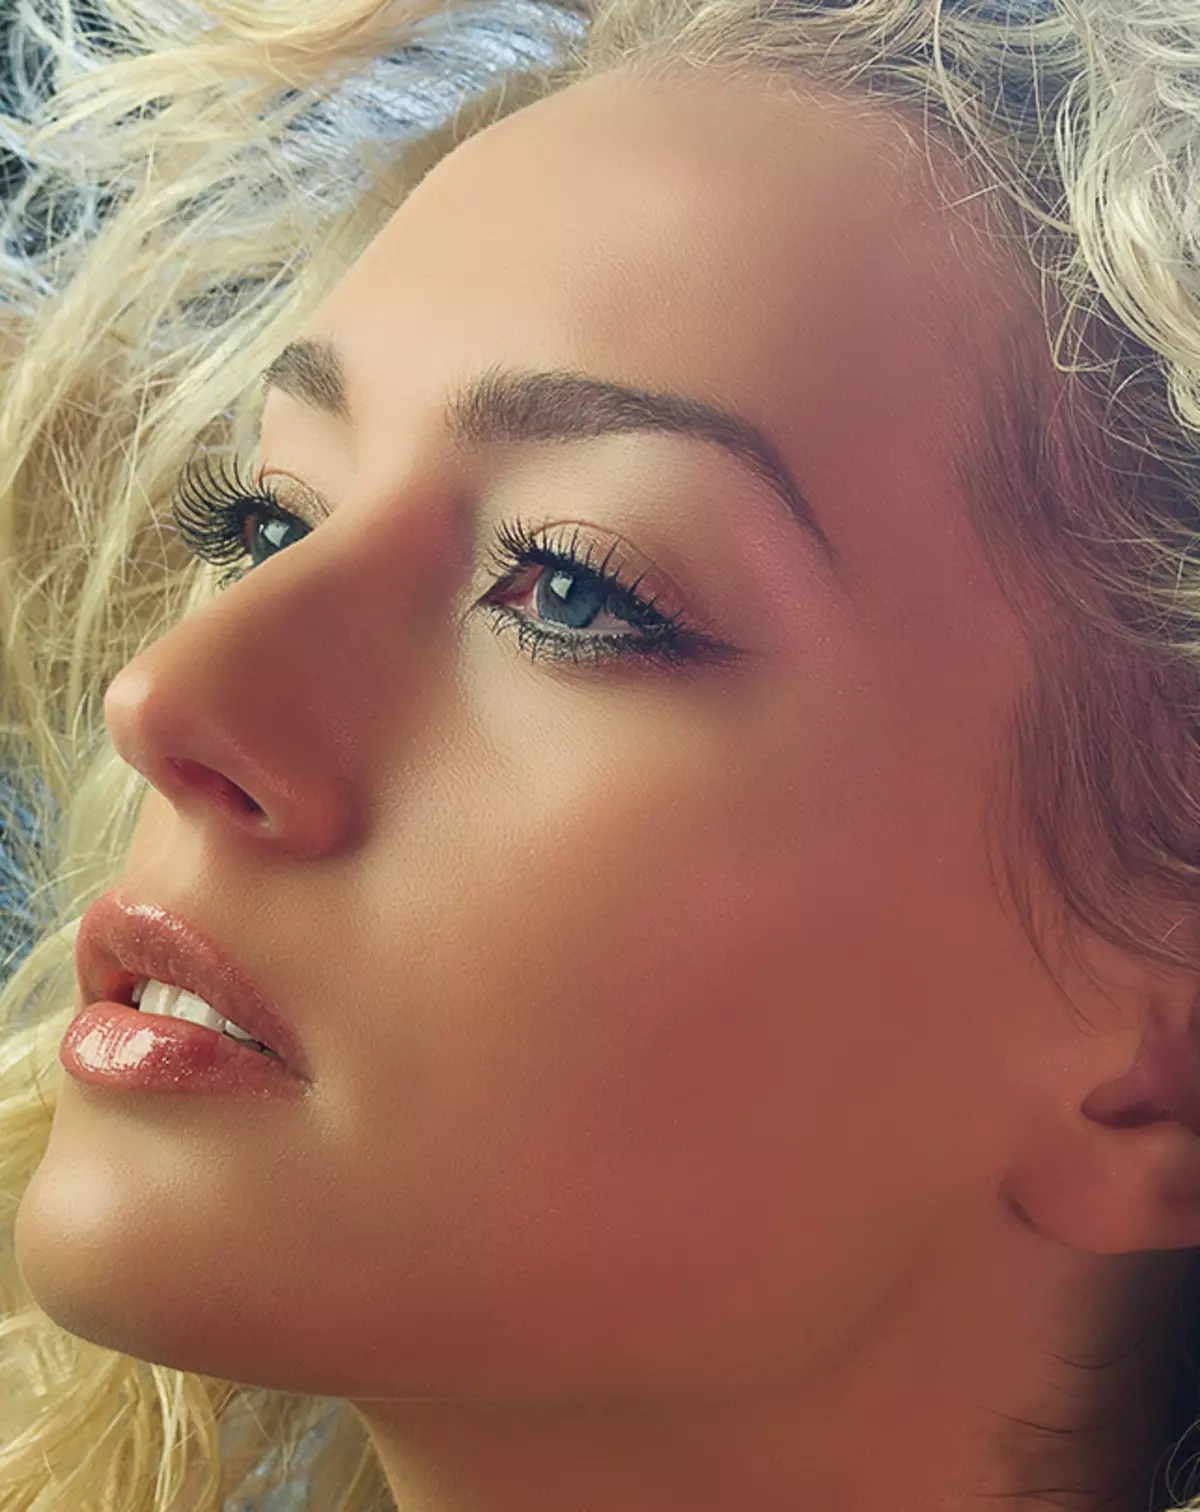
Applying techniques from this lesson, you can make the skin perfect in Photoshop.