

Non-quality snapshots are several species. This may be insufficient lighting (or vice versa), the presence of undesirable noise in the photo, as well as the blurring of key objects, such as a face in the portrait.
In this lesson, we will deal with how to improve the quality of the photo in the photoshop CS6.
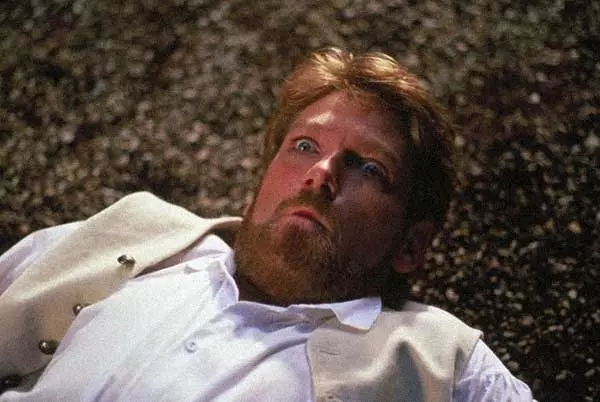
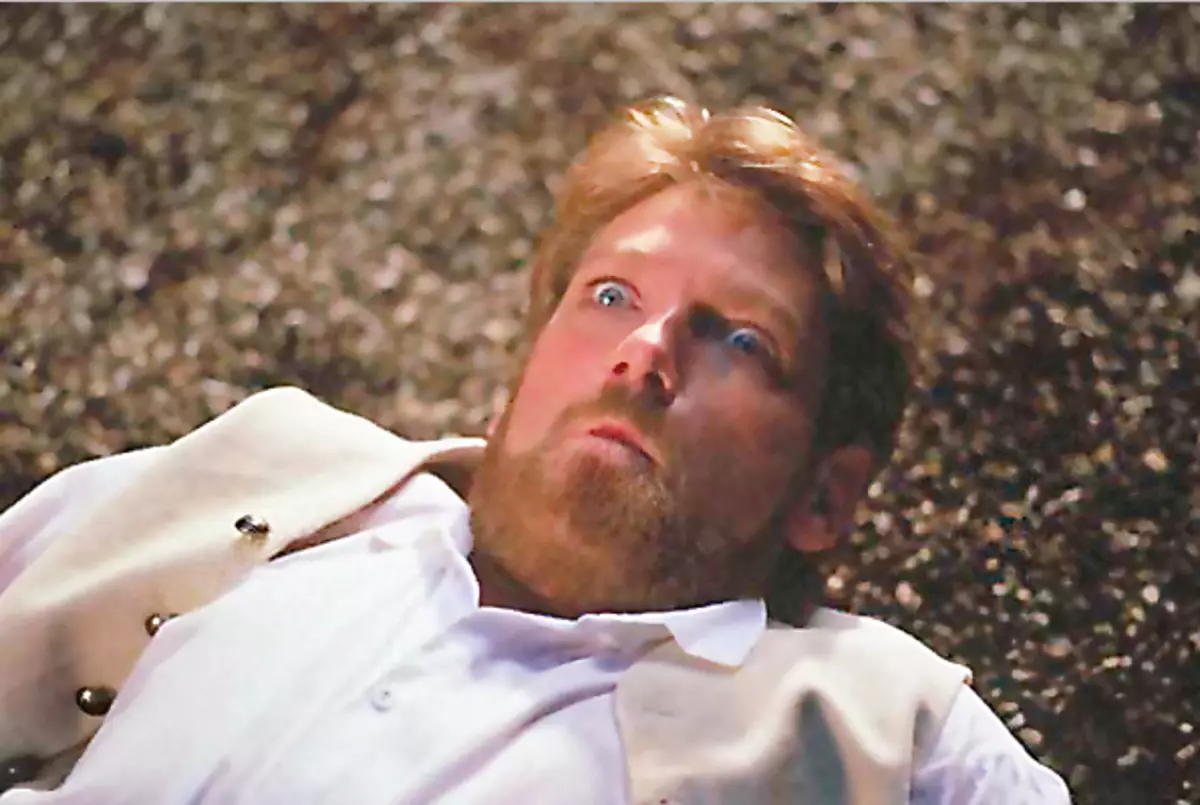
We will work with one photo, on which noises are also present, and unnecessary shadows. Also during the processing process will be blurring, which will have to be eliminated. Full set…
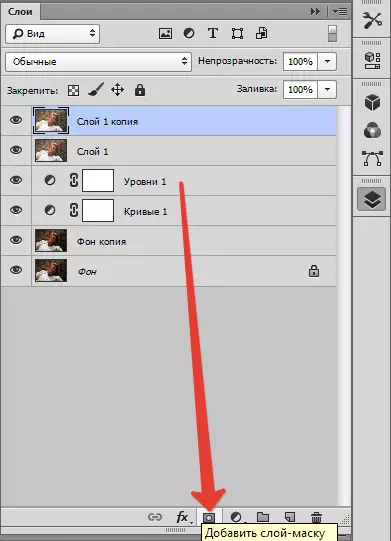
First of all, it is necessary to get rid of the failure in the shadows, as far as possible. Apply two corrective layers - "Curves" and "Levels" By clicking on a round icon at the bottom of the palette of the layers.

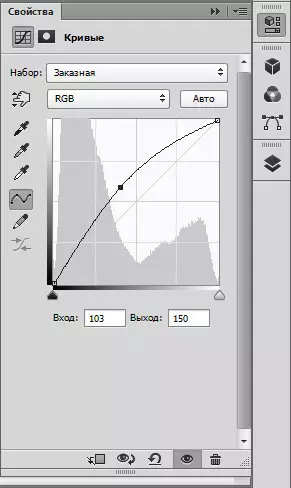
First apply "Curves" . The properties of the correction layer will automatically open.
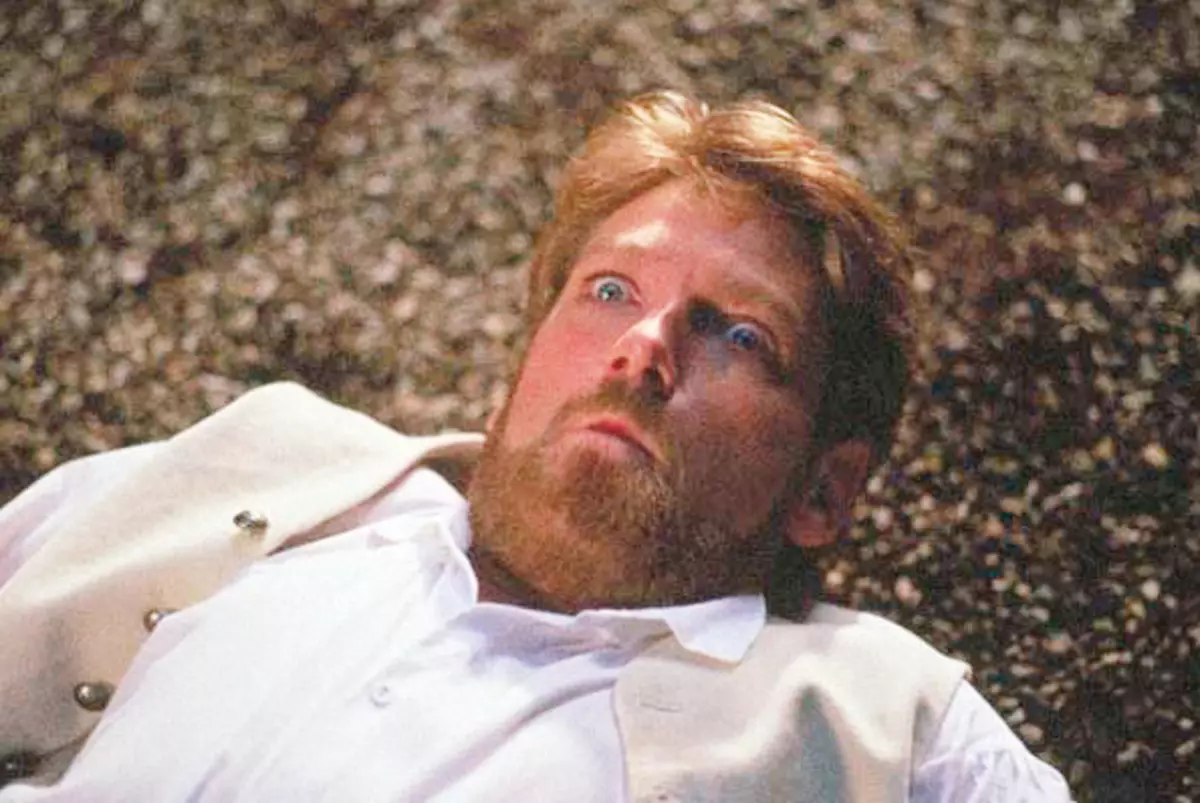
"Pull the dark plots, bending the curve, as shown in the screenshot, avoiding the crossings on the bright and loss of small parts.

Then apply "Levels" . Moving to the right slider, indicated on the screenshot, is a little soften shade.

Now it is necessary to remove the noise in the photo in Photoshop.
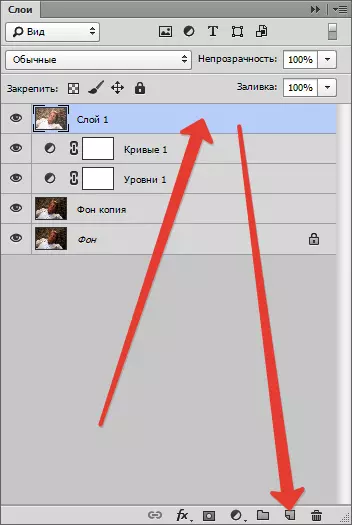
Create a combined copy of the layers ( Ctrl + Alt + SHIFT + E ), and then another copy of this layer, dragging it to the icon specified in the screenshot.


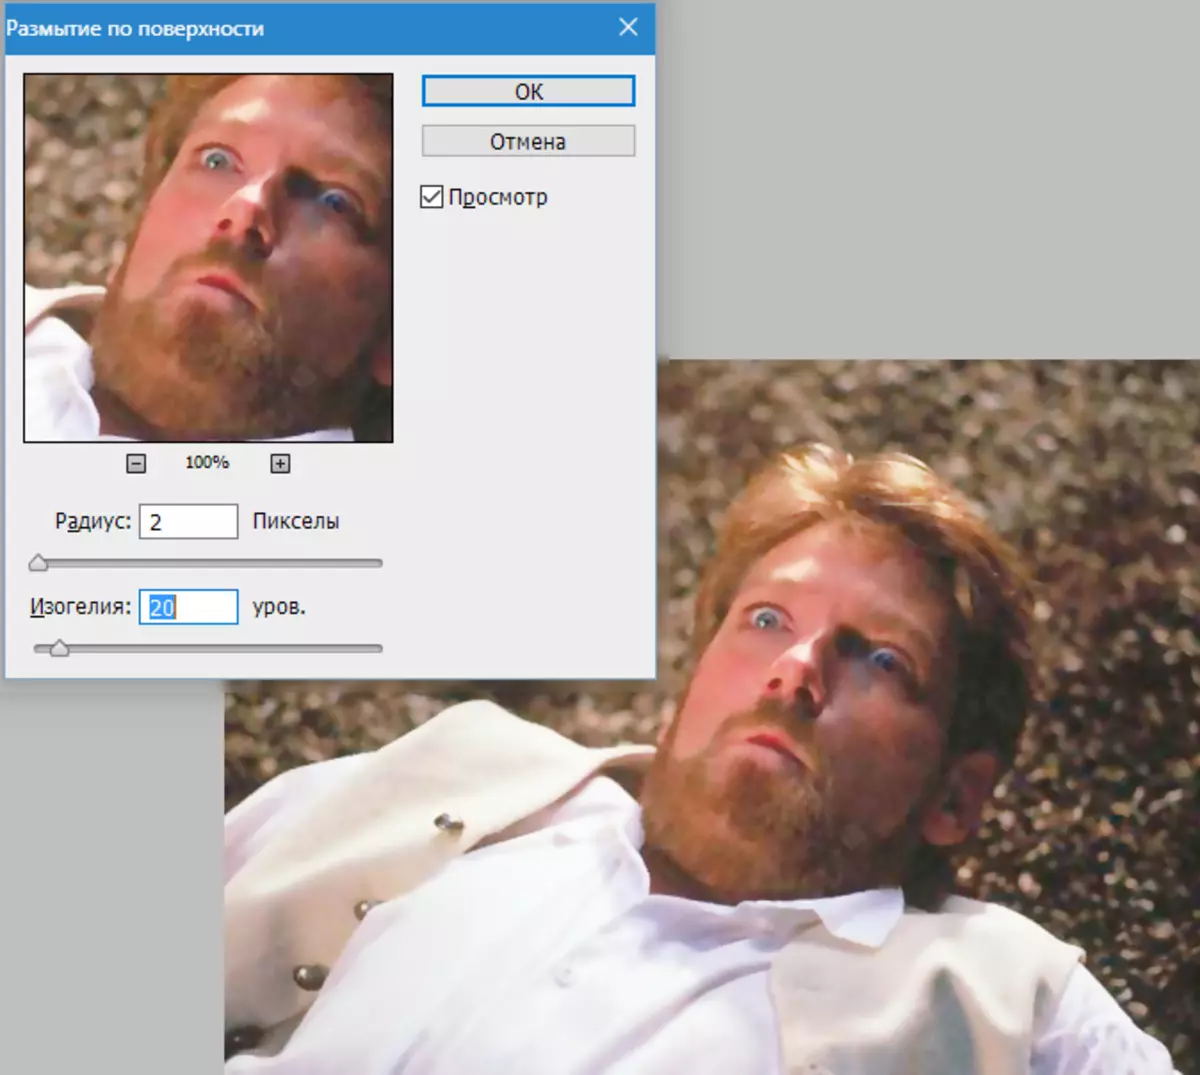
Apply to the upper copy of the layer filter "Blur over the surface".

We are trying to reduce the artifacts and noises to the sliders as much as much as possible, while trying to keep small details.
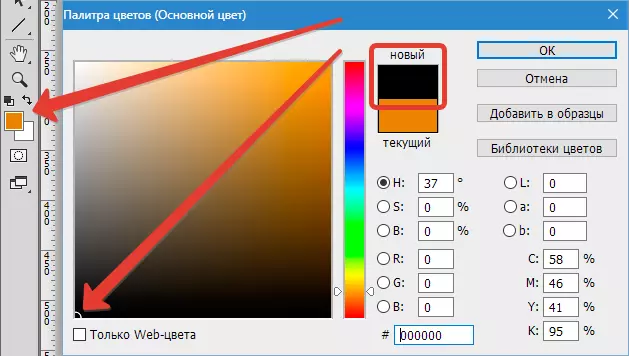
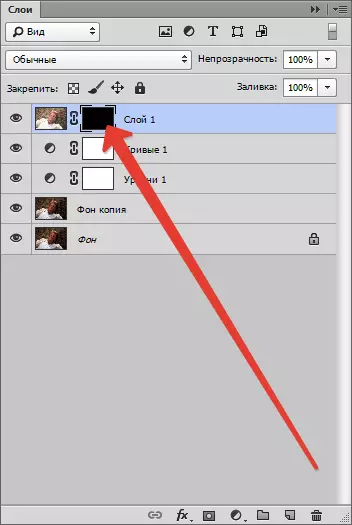
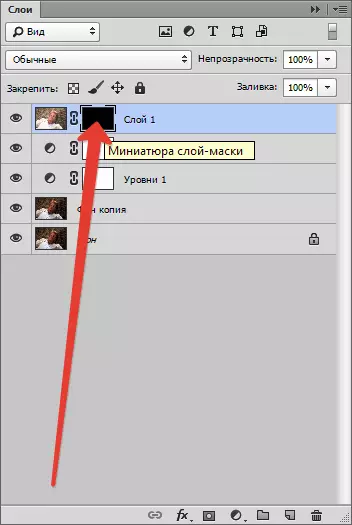
Then choose the main color black by clicking on the color selection icon on the right toolbar, clamp Alt. and click on the button "Add a layer mask".

The mask is applied to our layer, filled with black.
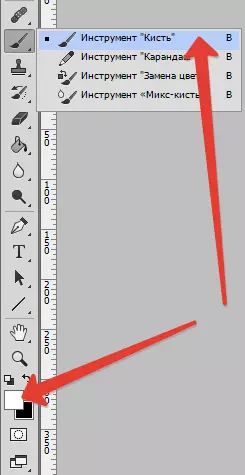
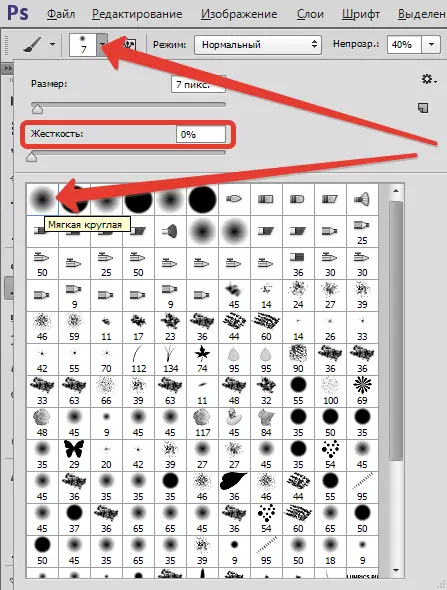
Now choose the instrument "Brush" With the following parameters: Color - white, rigidity - 0%, opacity and push - 40%.

Next, we allocate a black mask with the left mouse button, and paint the noise in the photo.

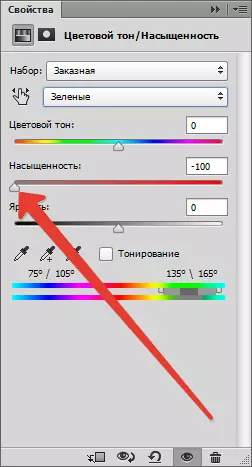
The next step is to eliminate color aberrations. In our case, these are green litters.
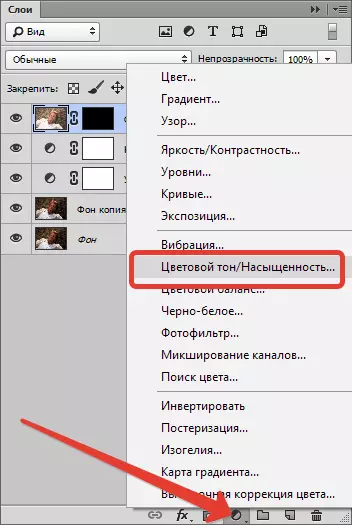
We use a corrective layer "Color tone / saturation" , choose in the drop-down list Green and reduce saturation to zero.

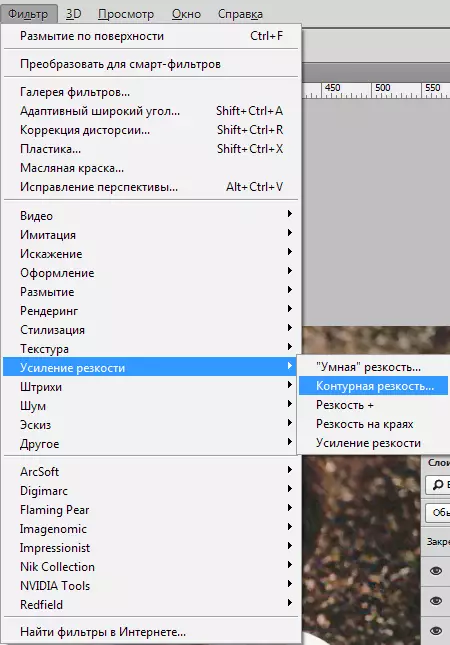
As we see, our actions led to a decrease in the sharpness of the picture. We need to make a photo with a clear in Photoshop.
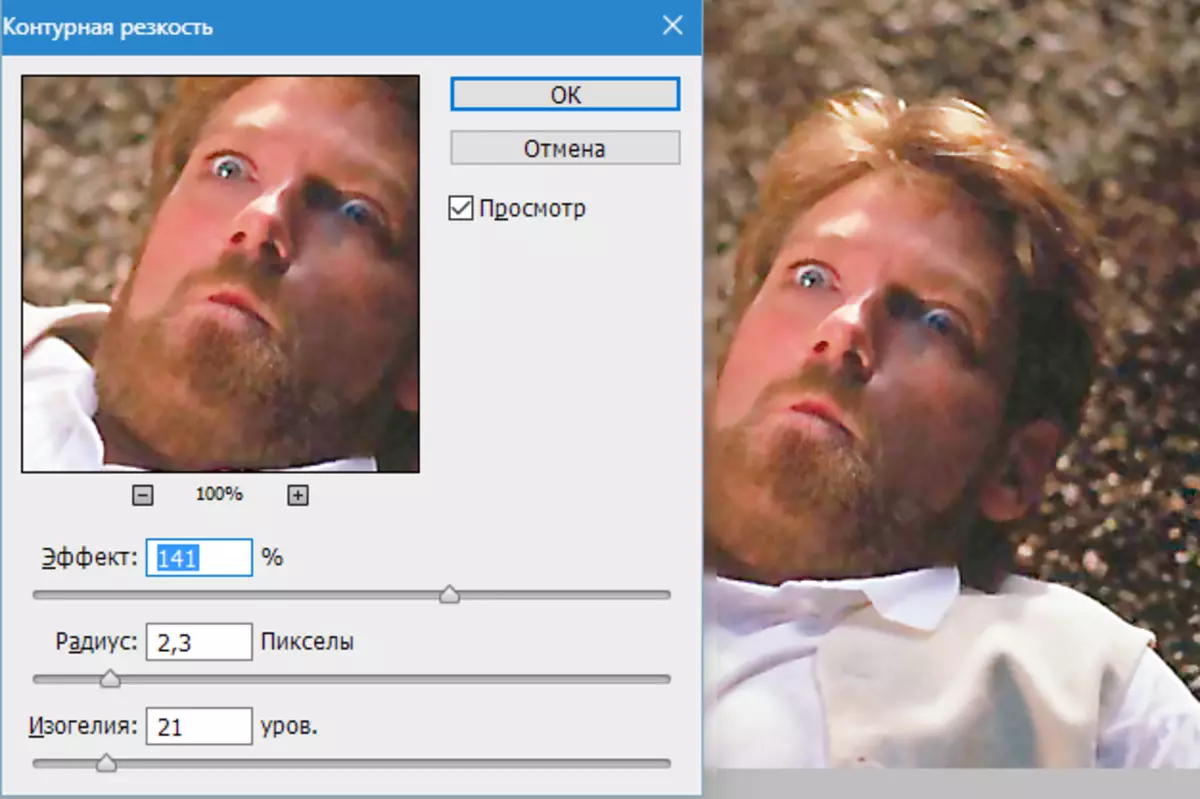
To enhance the sharpness, create a combined copy of the layers, go to the menu "Filter" and apply "Contour sharpness" . Sliders we achieve the necessary effect.
Now add contrast to the elements of the character's clothing, as some details smooth during processing.
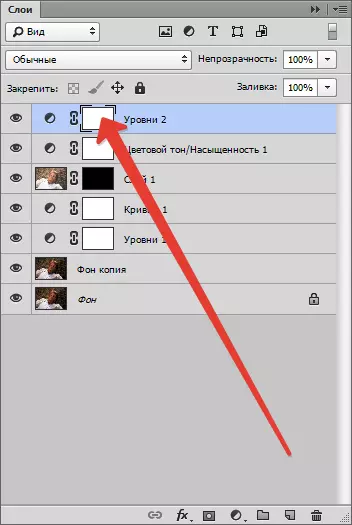
We use "Levels" . We add this correction layer (see above) and we achieve the maximum effect on clothing (we do not pay attention to the rest). It is necessary to make dark plots a little darker, and bright - lighter.

Next we fill the mask "Levels" Black. To do this, it is necessary to set the main color black (see above), highlight the mask and click Alt + Del..
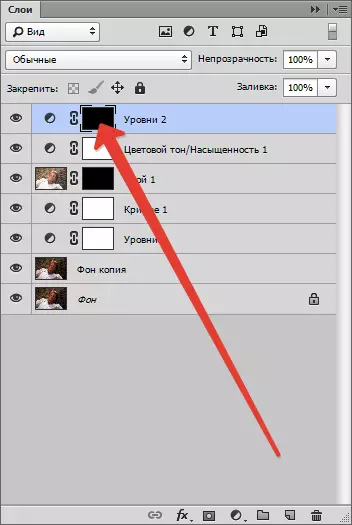
Then a white brush with parameters, as for blur, we go through clothes.
The last step is to weaken saturation. This must be done, since all the manipulations with the contrast enhance the chromaticity.
Add another correction layer "Color tone / saturation" And the corresponding slider we remove some color.

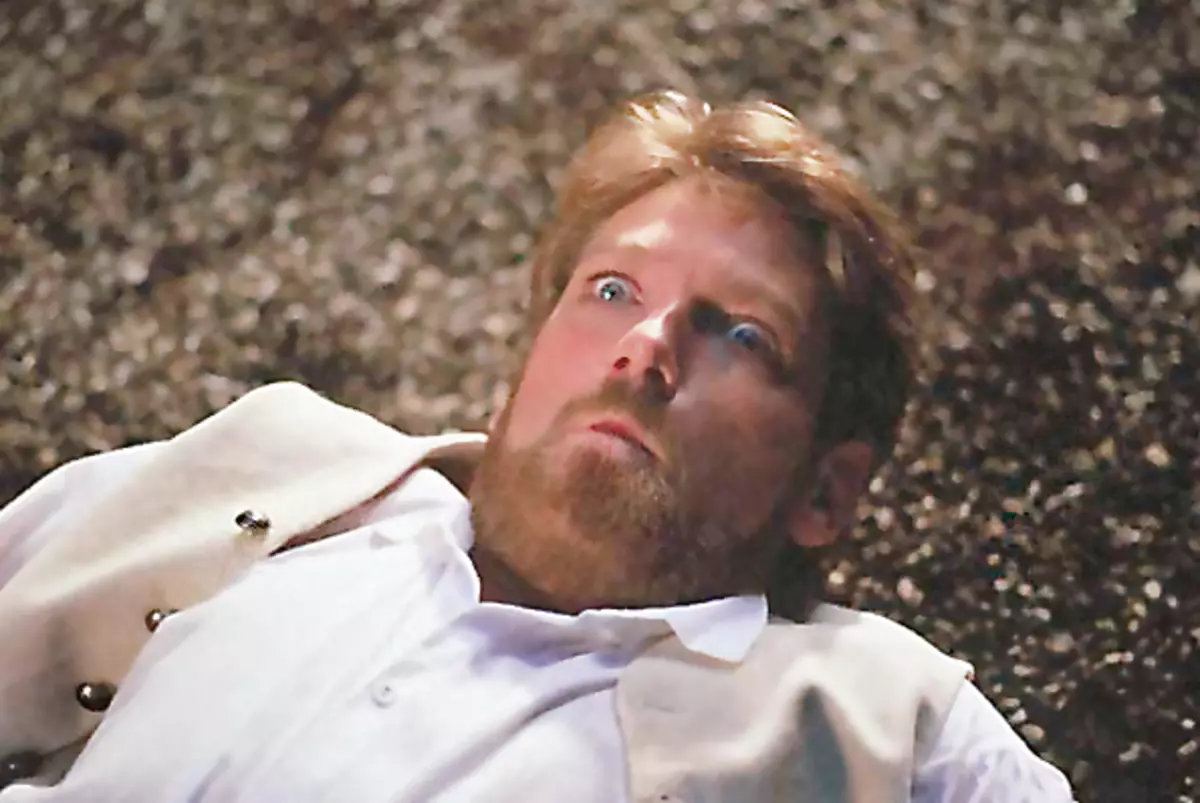
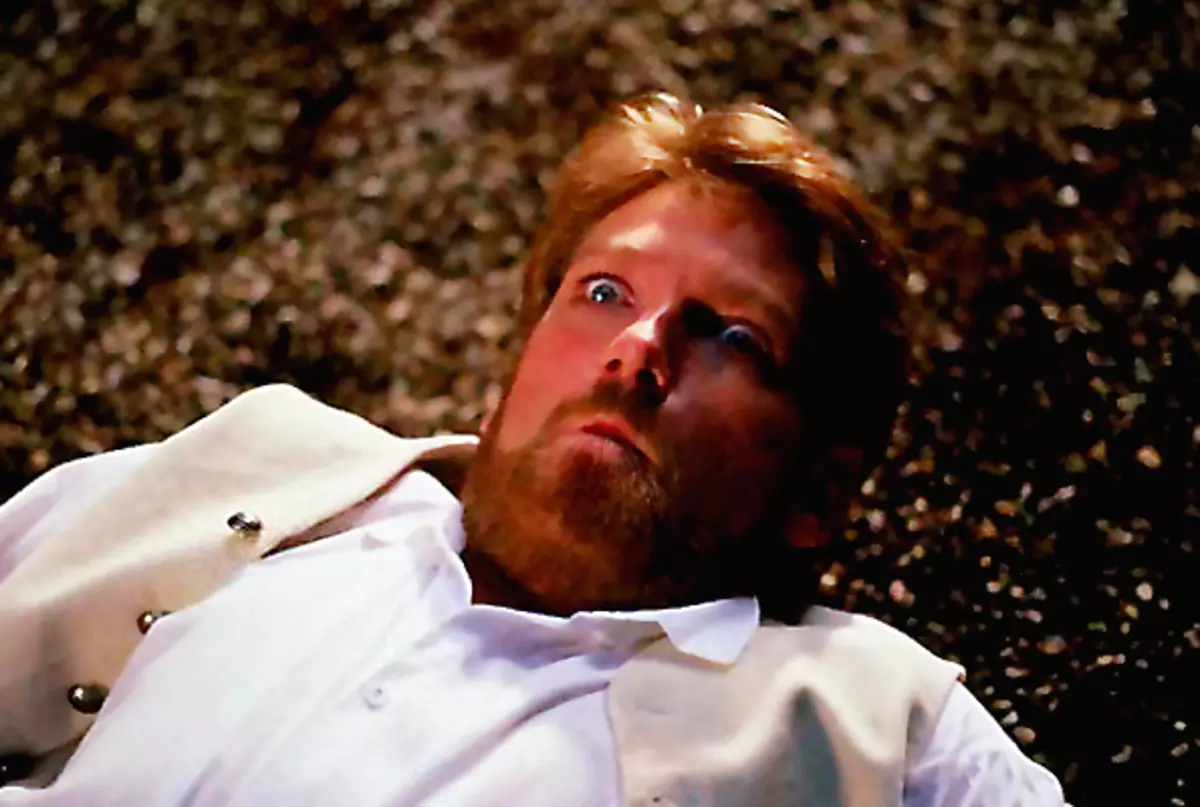
Using several non-hard techniques, we were able to improve the quality of the photo.