
On the Internet, you can find a huge amount of finished tools for applying the effect called "Blike" , just enter the appropriate request to your favorite search engine.
We will try to create your own unique effect using the imagination and capabilities of the program.
Create a glare
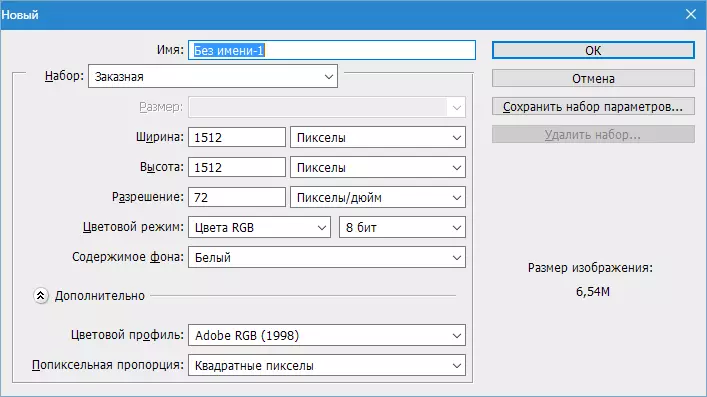
First you need to create a new document ( Ctrl + N. ) Any size (preferably more) and format. For example, such:
Then create a new layer.

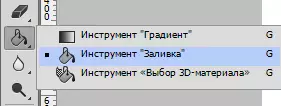
Fill it in black. To do this, choose the tool "Fill" , We mainly make a black color and click on the layer in the workspace.

Now go to the menu "Filter - Rendering - Blik".

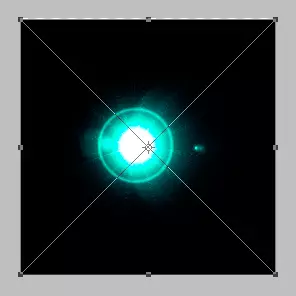
We see the filter dialog box. Here (in training purposes) setting the settings as shown in the screenshot. In the future, you can independently select the necessary parameters.
The center of the glare (cross in the middle of the effect) can be moved through the preview screen, seeking the desired result.
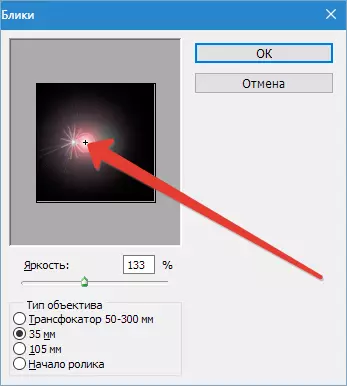
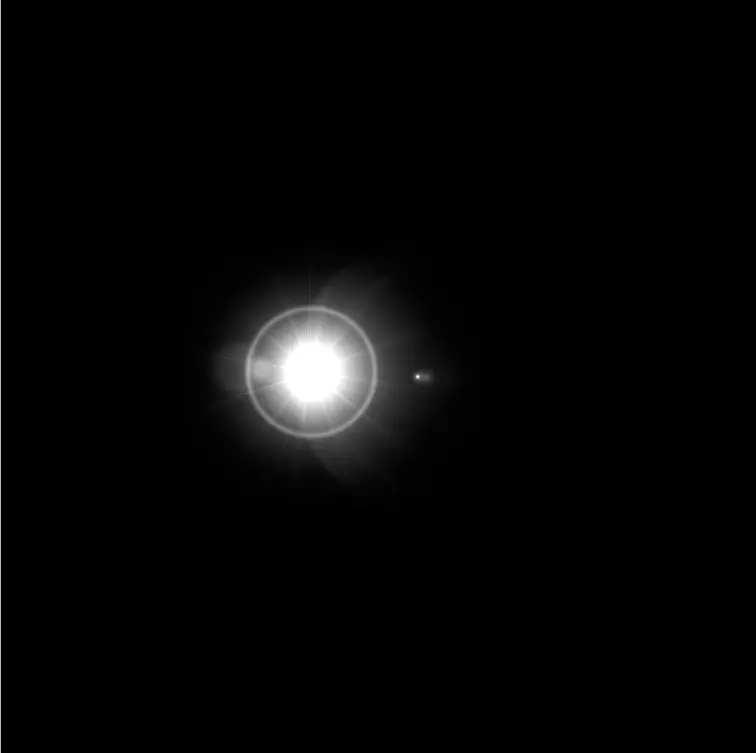
Upon completion of settings click "OK" Thereby applying the filter.
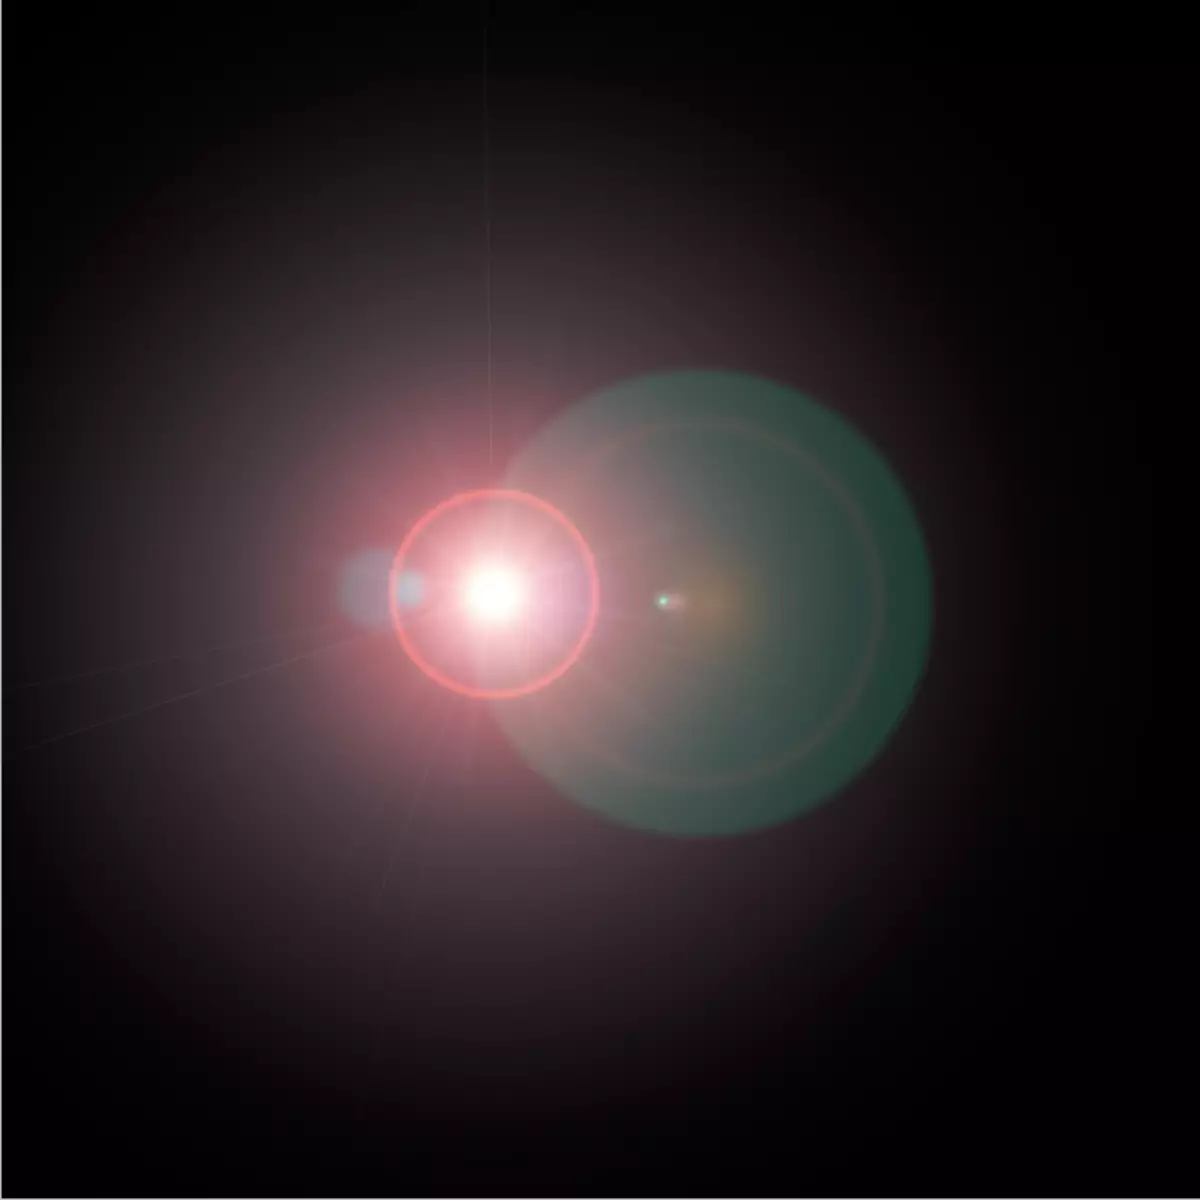
The resulting glare should be discouraged by pressing the keyboard Ctrl + SHIFT + U.

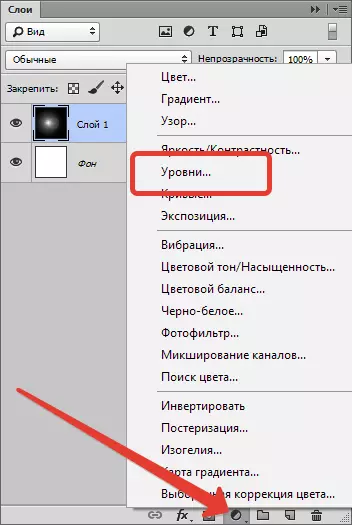
Next, it is necessary to remove unnecessary by applying the correction layer "Levels".
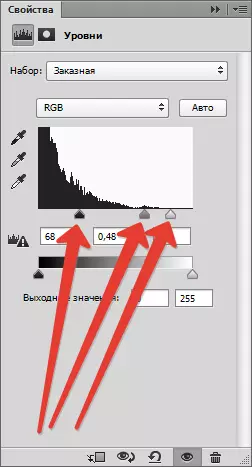
After use, the layer properties window will automatically open. In it we make a brighter point in the center of the glare, and the halo is muffled. In this case, set the sliders about how on the screen.
Give coloring
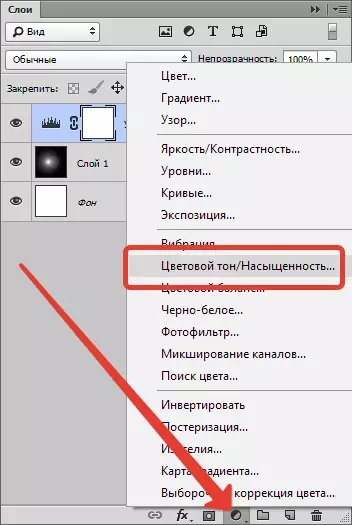
To give the color to our glare apply a correction layer "Color tone / saturation".
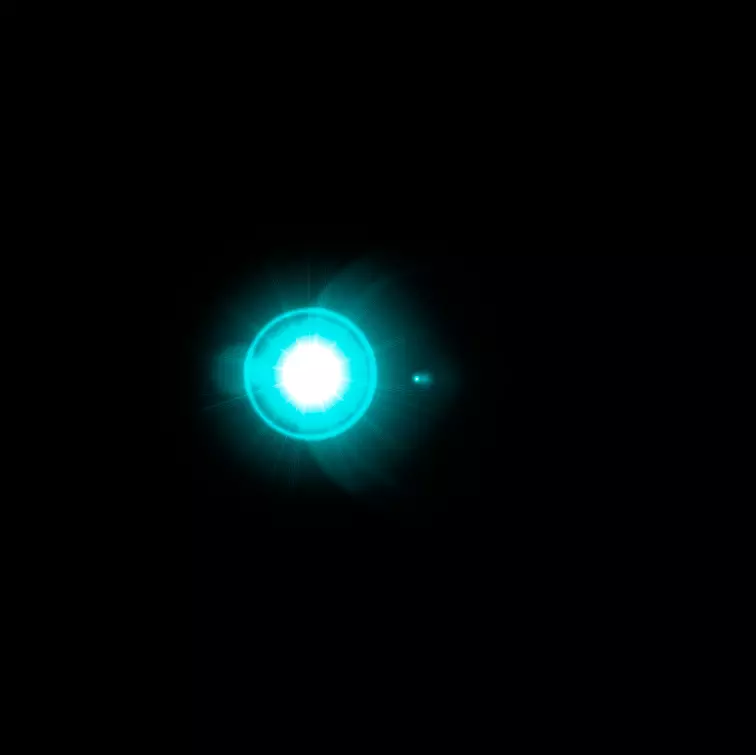
In the properties window, we put a tank opposite "Toning" And adjust the tone and saturation sliders. Brightness is desirable not to touch in order to avoid lighting the background.

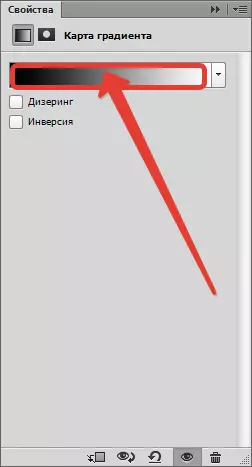
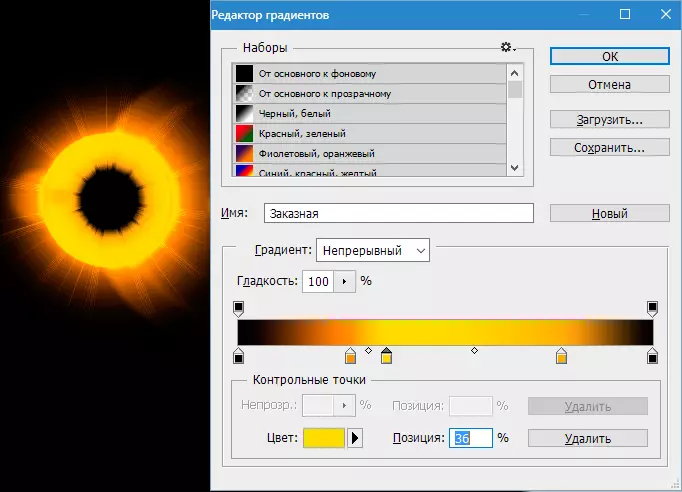
More interesting effect can be achieved using a corrective layer. "Gradient Map".

In the properties window, click on the gradient and proceed to the settings.
In this case, the left control point corresponds to the black background, and the right is the right spotlight in the center itself.
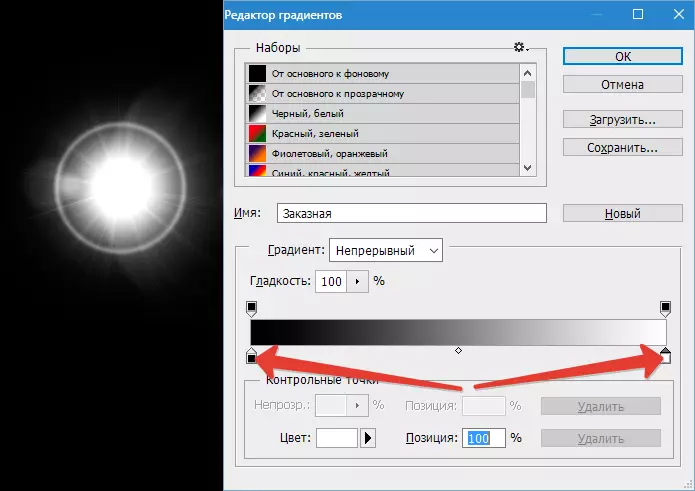
Background, as you remember, it is impossible to touch. He must remain black. But everything else ...
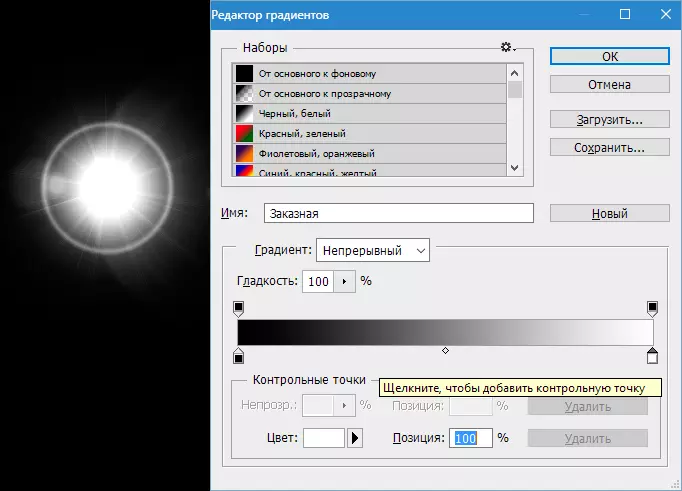
Add a new checkpoint in about the middle of the scale. The cursor must turn into a "finger" and the corresponding hint appear. Do not worry if the first time it does not work - it happens to all.
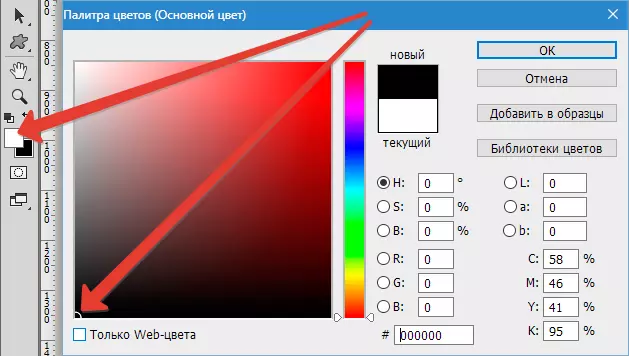
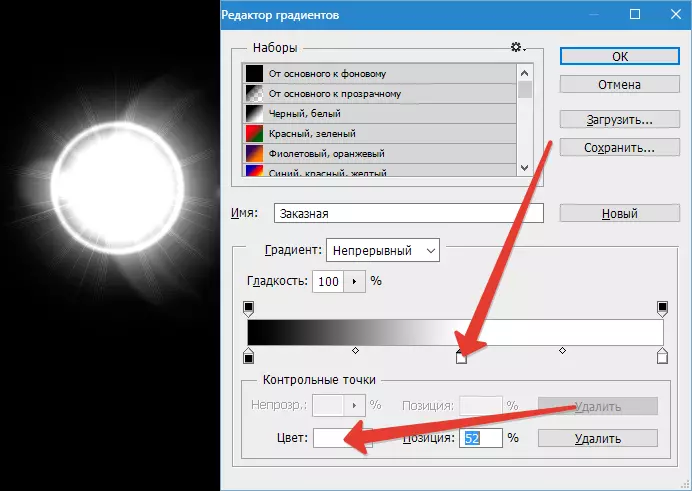
Let's change the color of the new control point. To do this, click on it and call the color palette by clicking on the field specified in the screenshot.
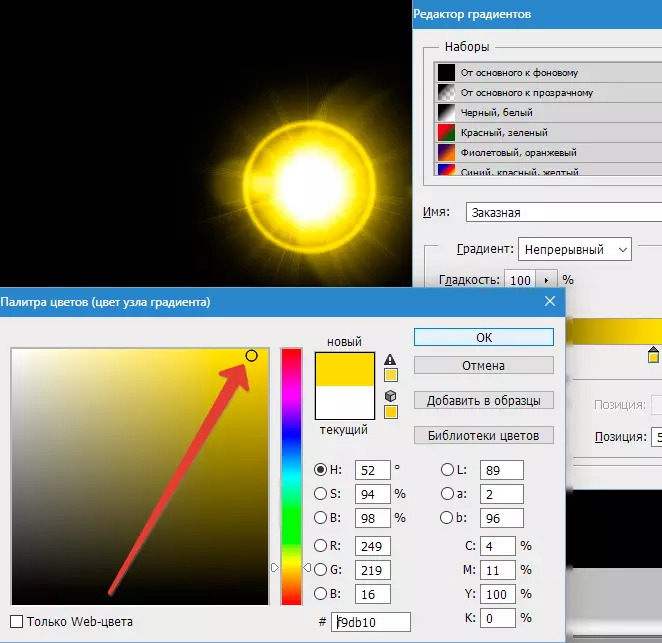
Thus, adding control points can be achieved completely different effects.

Preservation and application
Preserved finished glare just like any other pictures. But, as we can see, our image is inactively located on canvas, so I will refuse it.
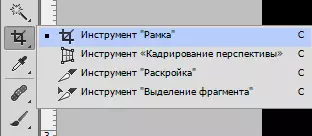
Choose tool "Frame".
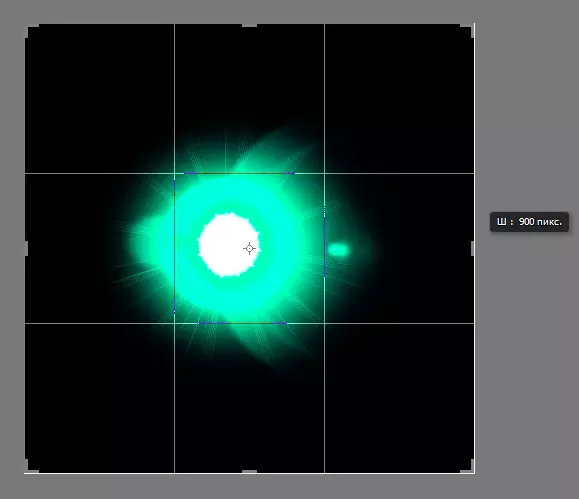
Next, we seek the glare to be approximately the center of the composition, while cutting up the excess black background. Upon completion click "ENTER".
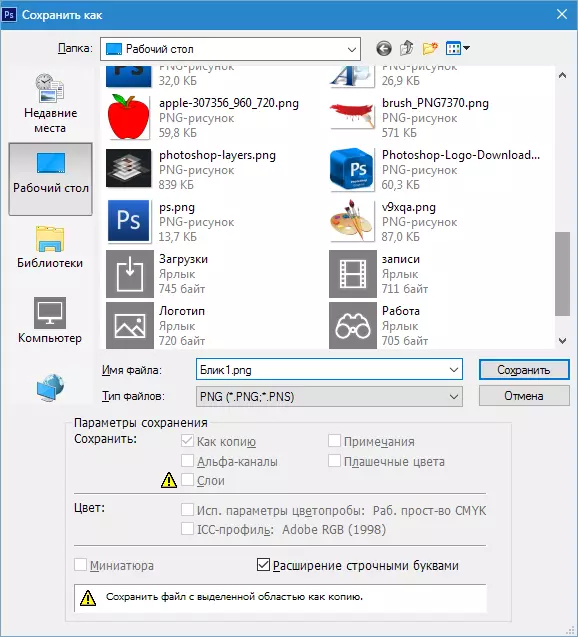
Now click Ctrl + S. , In the window that opens, assign the name of the picture and specify the place to save. Format can be chosen as JPEG. , so I. PNG..
We have saved the glare, now let's talk about how to apply it in their works.
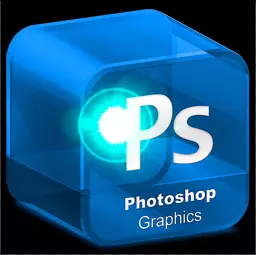
To use the flare simply drag it into the photoshop window to the image with which you work with.
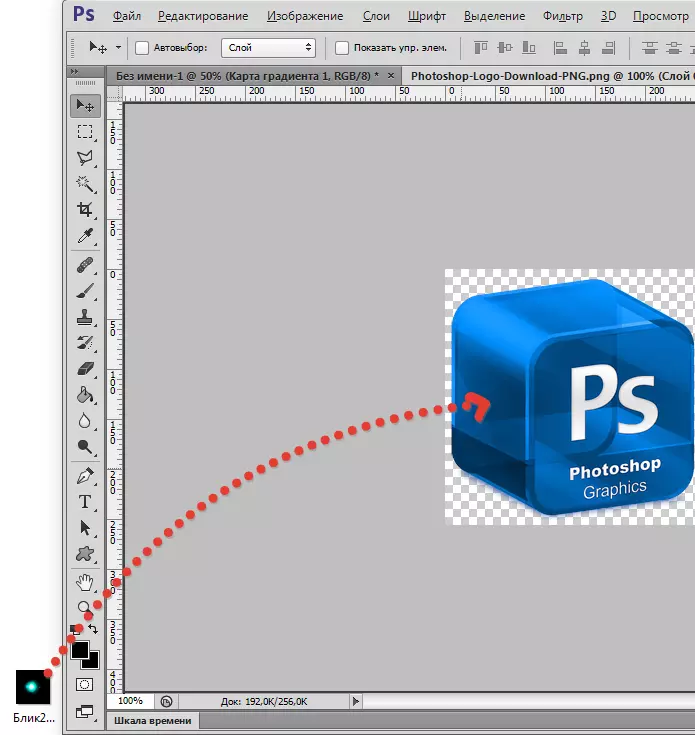
The picture with a glare will automatically burst under the size of the workspace (if the glare is more than the size of the image, if less, it will remain as it is). Press "ENTER".
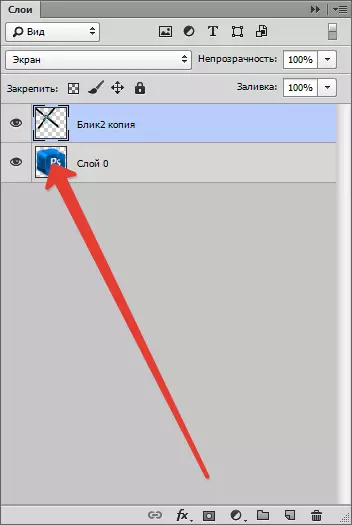
In the palette we see two layers (in this case) - a layer with the original image and a layer with a glare.
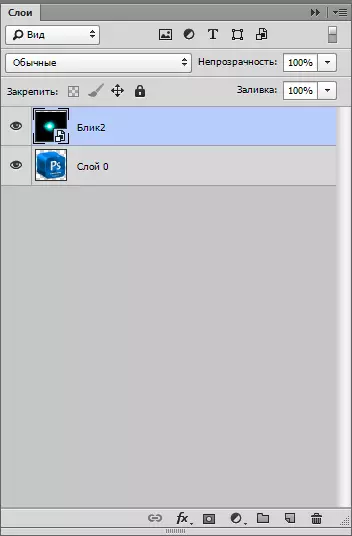
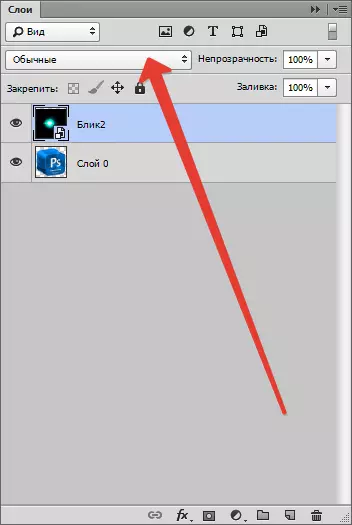
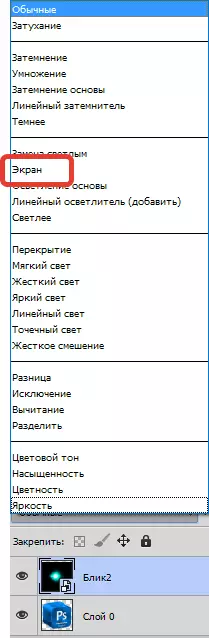
For a layer with a glare, you must change the overlay mode on "Screen" . This technique will allow to hide the entire black background.
Please note that if the original image the background has been transparent, the result will be on the screen. This is normal, we will remove the background later.
Next you need to edit the glare, that is, to deform and move to the right place. Press the combination Ctrl + T. And the markers at the edges of the frame "squeeze" the glare vertically. In the same mode, you can move the image and turn it, taking the corner marker. Upon completion click "ENTER".
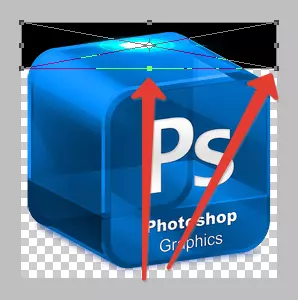
It should be approximately the following.
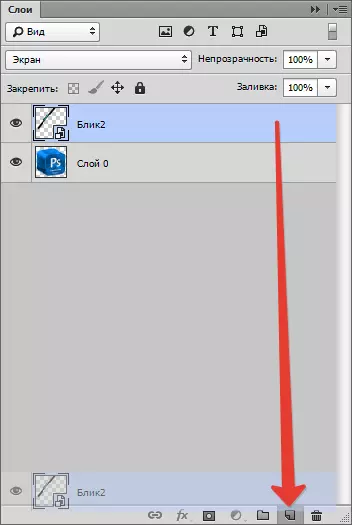
Then create a copy of the layer with a glare, having threw it to the corresponding icon.
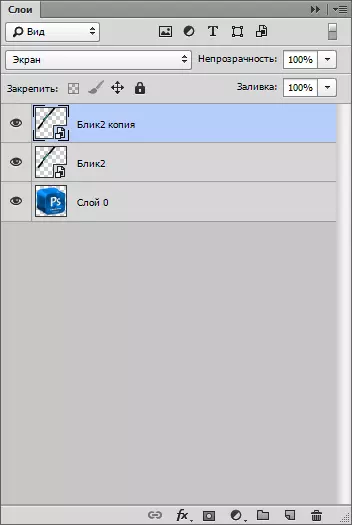
To the copies apply again "Free Transformation" (Ctrl + T. ), But this time we only turn it and move it.
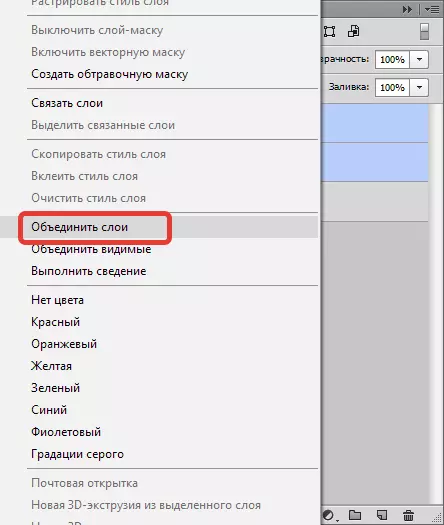
In order to remove a black background, you must first combine the layers with highlights. To do this, clamp the key Ctrl And clicking in turn on the layers, thereby highlighting them.
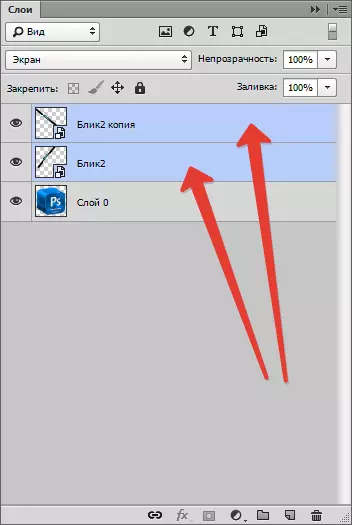
Then click right-click on any selected layer and select item "Combine Layers".
If the overlay mode for the layer with glare is assembled, then change it again on "Screen" (see above).
Next, without removing the selection from the layer with glare, clamp Ctrl and clicking in Miniature Source layer.
The image will appear on the contour.

This selection must be checked by pressing the combination Ctrl + SHIFT + I and remove background by pressing the key Del..

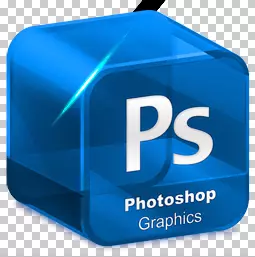
Remove the selection by combination Ctrl + D..
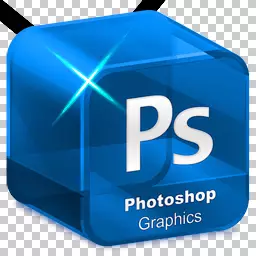
Ready! Thus, applying a little fantasy and techniques from this lesson, you can create your own unique glare.