

In the modern world without working with the photoshop program, alas, not to do. And at some stage of working with it, information may be needed, how to create a layer mask.
This article will tell you how to use the mask in Photoshop.
For users of the Photoshop program, knowledge about how to use the mask is very important, since it is often necessary to use this layer.
He has a lot of advantages. First, in its effectiveness, the mask layer is not inferior to the eraser. Secondly, this tool allows in seconds to make an invisible to the invisible area on the image. Well, thirdly, even a child can figure out the instructions for its use.
What is a layer mask
Tool photosop "Mask" is well known. Basically, it is designed to mask a certain part of the image or for partial or complete cessation of the activity of a particular process in Photoshop.
Not everyone, even the most advanced computer user knows that the mask is three-color, namely it is a combination of gray, black and white colors.
Each of these colors have its own function. Dark color is intended for disguise, the effect of gray affects the transparency, but the white color makes the visible or another image.
All these colors in the mask can be configured depending on what kind of purpose you are: make a layer almost imperceptible or carefully disguise any of its area.
With the help of a mask in Photoshop, you can hide a lot of types of layers: smart objects, layers containing forms or text ... No one forbids also to apply a mask not one, but immediately on the group of layers.
In fact, the mask has the same properties as an eraser. The image that is on the layer will remain as much, even if the mask is configured differently or removed. Unlike masks, an eraser cannot be applied to vector graphics.
Algorithm for adding mask to the layer
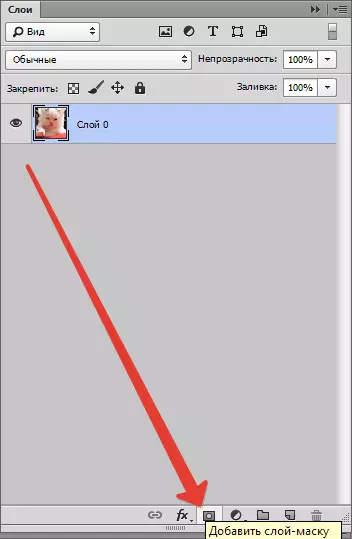
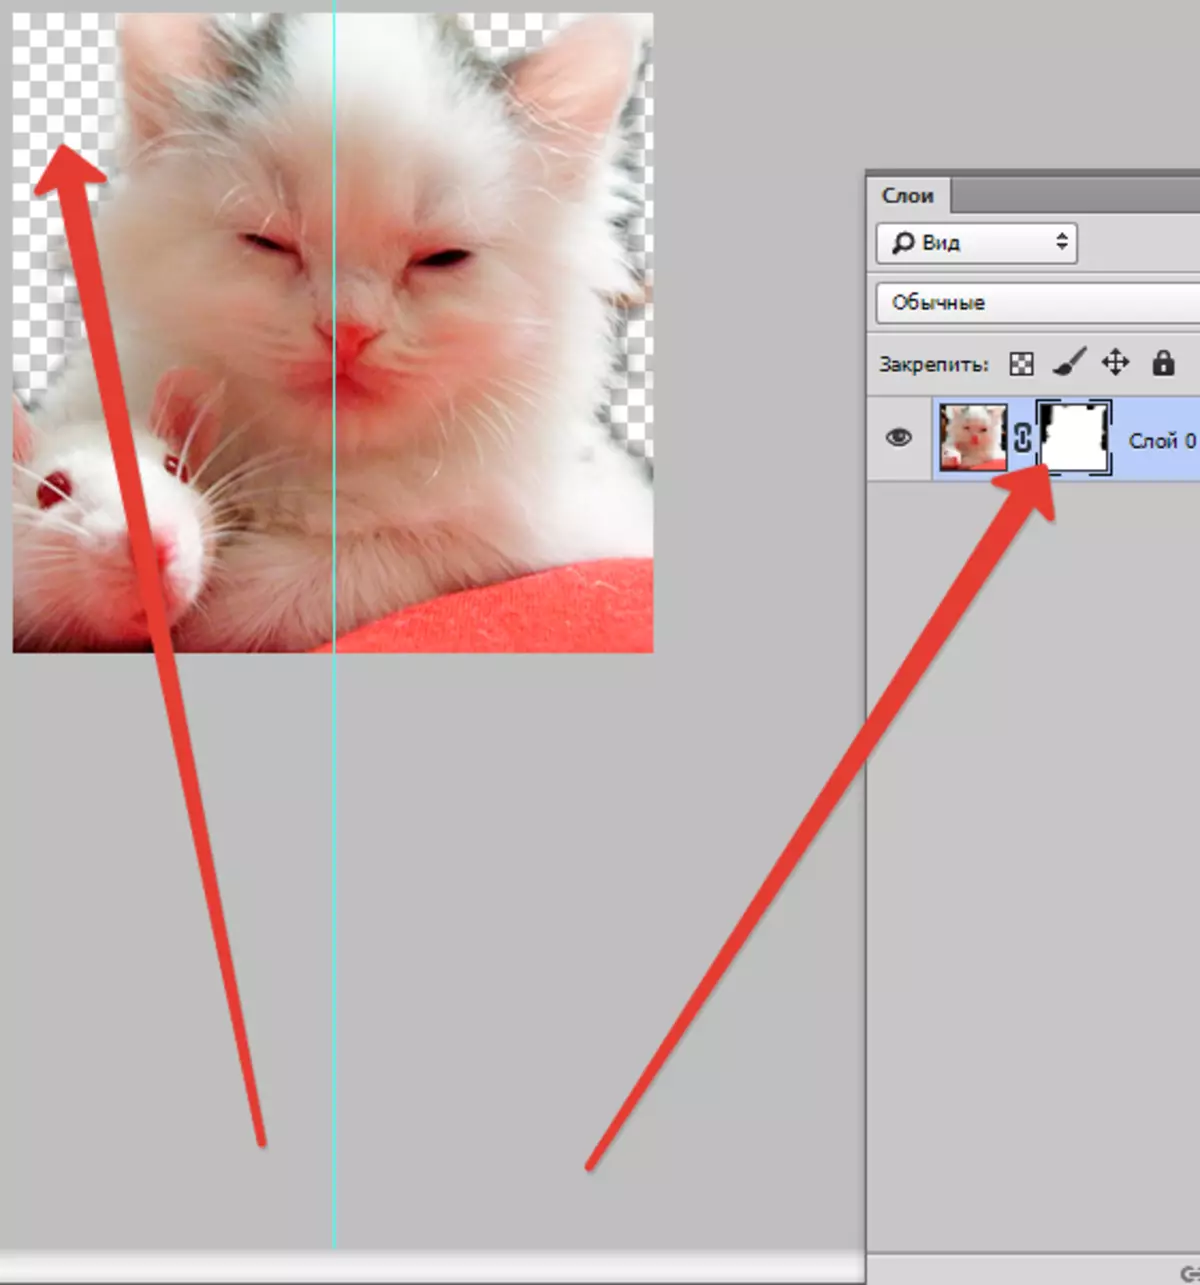
As mentioned earlier, the mask can be imposed on several layers or one such a layer of any kind. To work with masks of the creators of the Photoshop program, a team was specifically assigned "Add to a layer mask" . To find this icon, you should look at the layer panel, it is just below it.
There are two types of masks that differ in their intended purpose - a black and white mask mask. Black mask makes an invisible to a certain part of the image. It is enough just to click on the black brush and highlight it the part of the image you want to hide, and it will disappear.
The opposite effect has a white mask - it should be used in the event that you want the image to be visible.
But this is not the only way to impose on the image a layer-mask. The second way is much simpler, accordingly, it should be paid to those who still still develop the photoshop program.
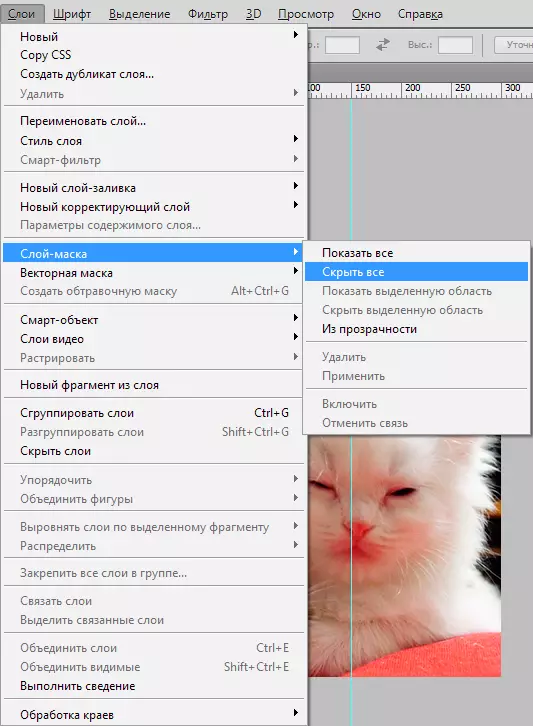
First click on the menu "Layers" , then from the layers offered by the program to choose from, select a layer mask.
Next, you need to take another choice, only now from two types of masks - black and white. When you select, you should be guided by what sizes will be part of the image to be hidden.
If it is small, then the optimal assistant will become a white mask. If the area is in the image of a large size, it is good in using the black mask.
How to work with a layer-mask
We hope that now it's not a secret for you, what is the mask and how to impose it on the image. If so, then it's time to start working with it.
In the future work you need to decide which you need the effect in the image. Depending on this, you choose the appropriate tool from the photoshop offered in Photoshop.
Suppose you need to highlight the mask. In this case, one of the three tools will come down: a tool of selection, brush or finger. Choose the one with which you work most convenient.
Use the selected tool as if you continue to work with an ordinary layer. Want to add an unusual effect on the image - use a gradient, brush or other drawing tools.
Unfortunately, the mask layer does not allow the use of bright, juicy colors, so you will have to limit ourselves to the black and white gamma of the shades.
This looks like this. Suppose you need to change the boring gray tone in the photo on the bright and original. In this you will help the "Brush" tool for black.
Clicking on it, highlight the background you want to hide. Then instead, simply put another background, and the photo will play new paints.
What filters and tools can be used for a layer mask
At the beginning of the article there was already information regarding the ability to apply any filters and tools to a layer-mask. The choice of filters and tools depends on what result you want to get. Below are the tools that users of the photoshop program are most often chosen.
1. Gradient
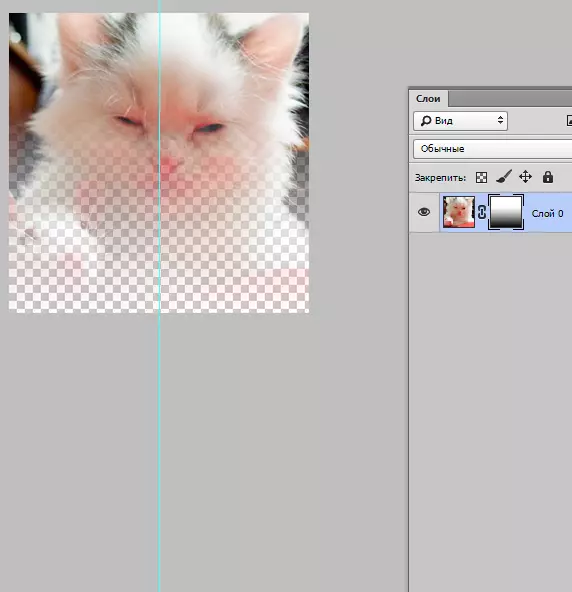
Hardly someone who uses the photoshop program, has ever heard ever about the gradient. The gradient does at the expense of the game of light and shadow the transition between two and more photographs is un andless.
2. Forms and text
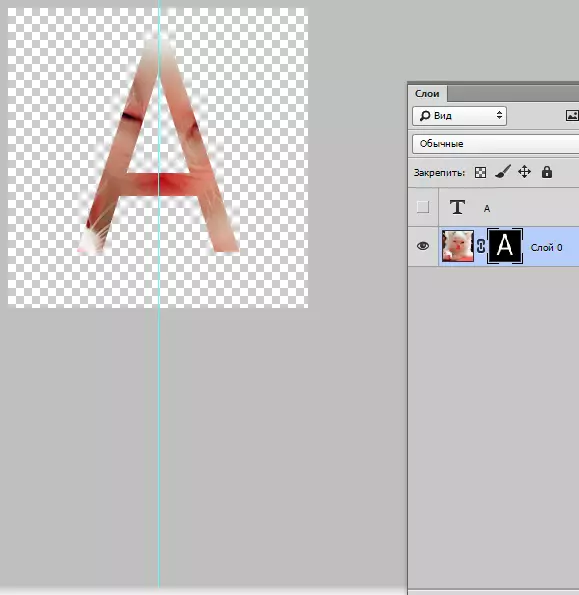
Different words, phrases printed on a layer mask, are also popular among users of the photoshop program. If you want to work with the "Text" tool, then click on its icon and in the row appeared on the screen, type your phrase or text.
Then select the entered text by closing the key on the keyboard. Ctrl And clicking the Mouse Cursor on the Text Tool tool on the toolbar.
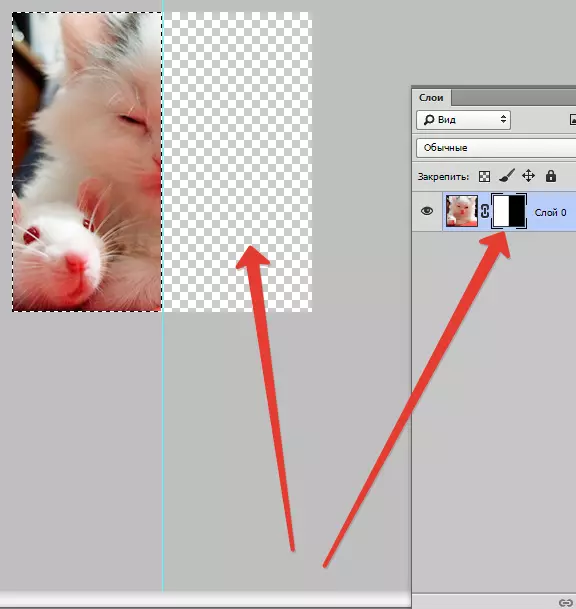
After that, again, show the layer in the first photo and simply impose an additional layer mask on it. With this layer, where the cat is located, must be below the layer with the text. The following is an image on which you can track the result of all these actions.
3. Brush
The brush is often used when you need to replace the background in the photo or reduce the size of the image. However, the layer mask is an equally effective tool for replacing the background.
4. Filters
Filters should be used if your goal is to decorate, diversify the image. There is a huge number of ways to do it. But most of them are only suitable for those who are with photoshop on "you" and who has a rich imagination.
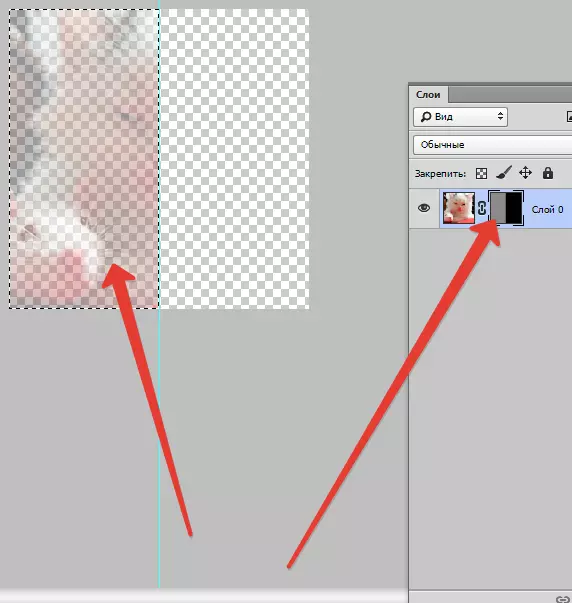
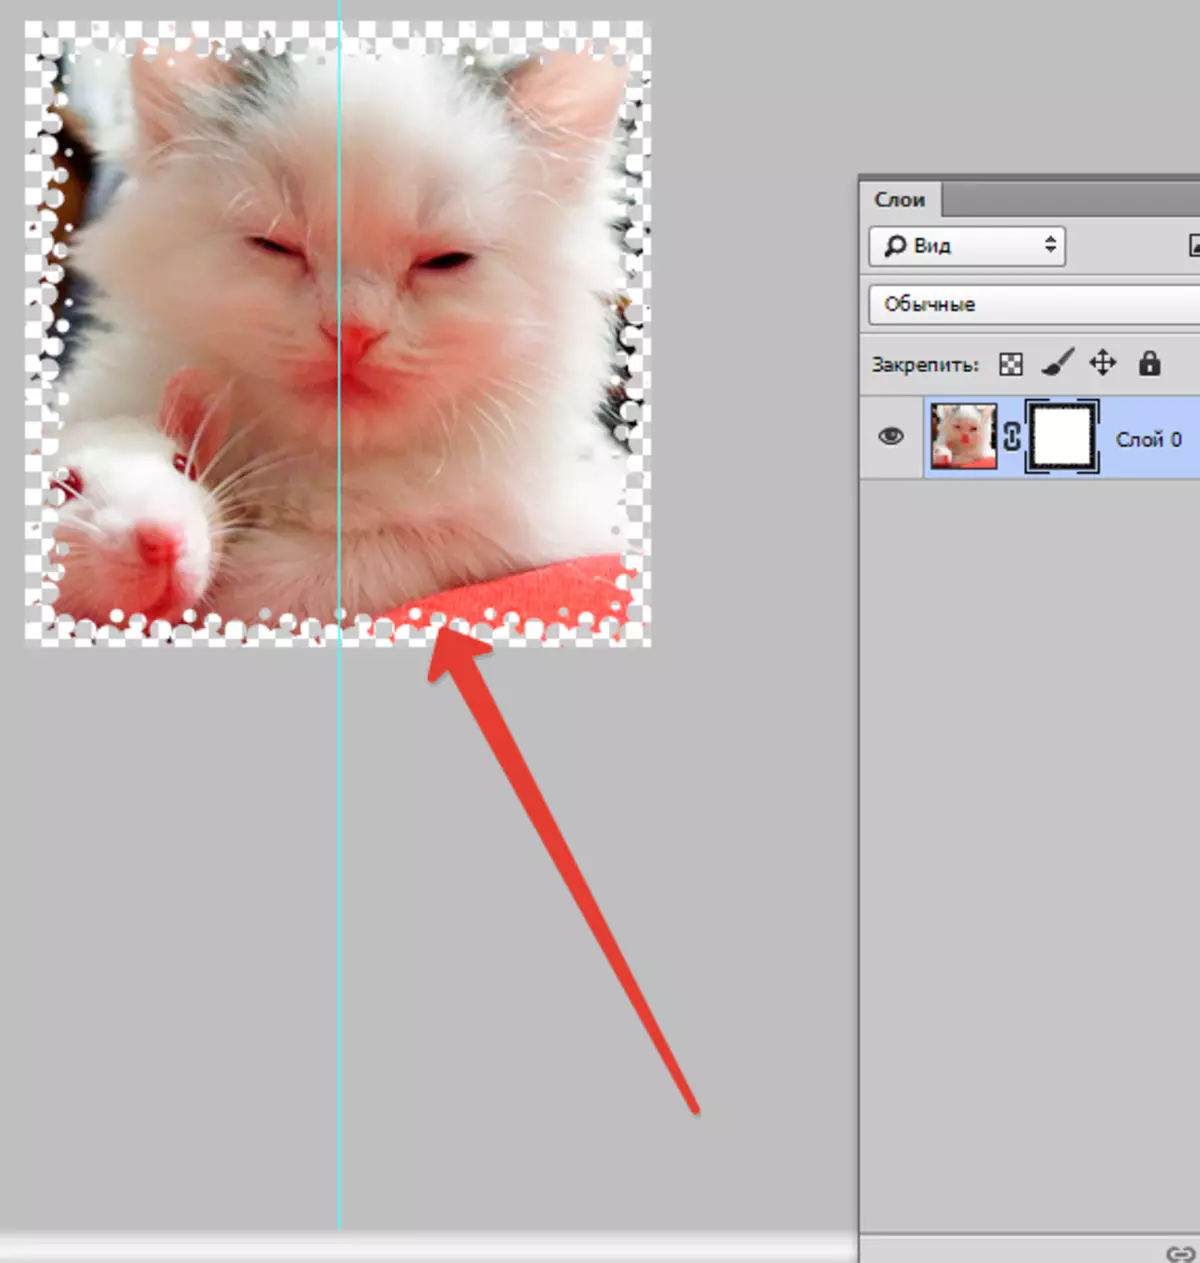
To facilitate understanding - a small example. Let's go back to the photo with the cat. Why not draw the original pattern on the edges? To do this, make a layer mask using rectangular selection. As a result, the photo will become less, while the part of it will become invisible, and does not cut down.
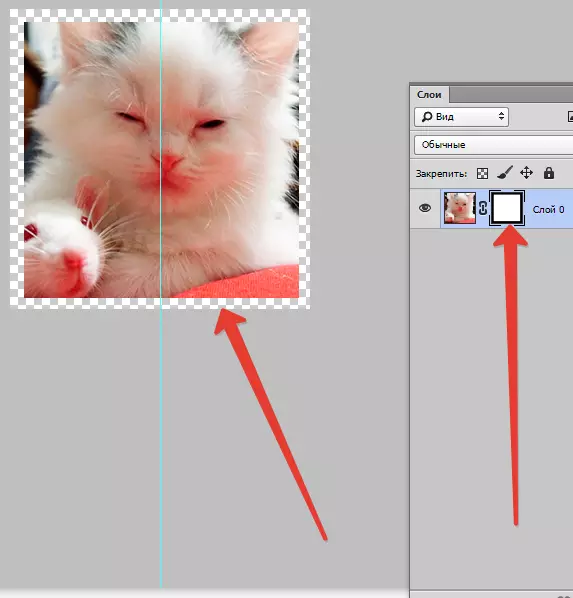
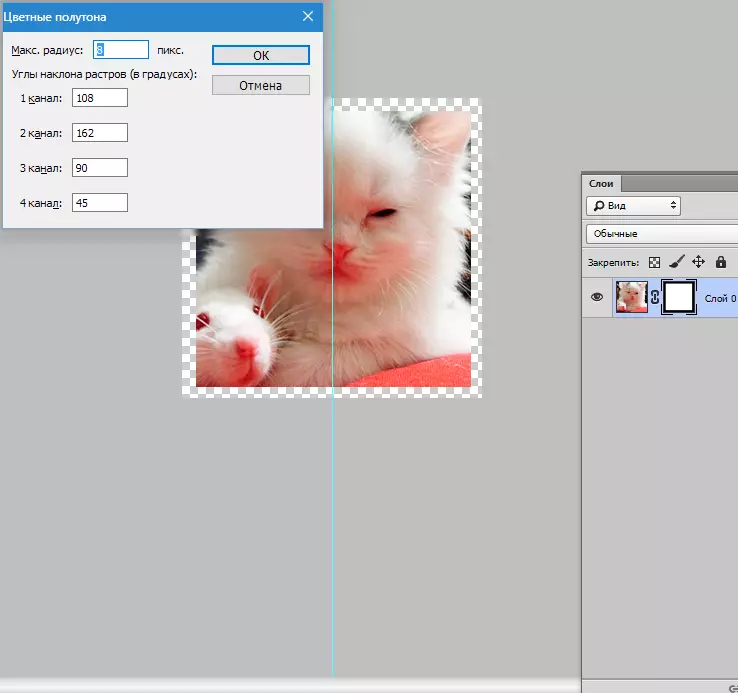
Next, open the mouse cursor window with layers masked, click on the icon "Filter" , then on "Registration" and after click on the icon "Colored halftone".

Following this, you will need to enter numbers in the drop-down menu, and which, you will learn when looking at the image after the text. If you do everything right, then in the end you can admire the photo, the edges of which are decorated with a frame with an original pattern.
5. Selection tools
Any layer can also be distinguished easily, like text, and make a layer-mask from it, as previously stated. To selection, you can use any tool, for example, rectangular selection. After that, the mask is simply superimposed on the selected layer. Forms of the rasterbed layer allow you to apply the mask instantly.
Other tools
The layer on which the mask is imposed is easy to edit. To do this, the strokes in the black and white range of colors are applied. At the beginning of the article, a detailed instruction for editing the layer was given. However, in the Photoshop program there are other tools affecting the mask layer. They appear on the screen if you press the thumbnail with the right mouse button. If you are developing photoshop, then you will be useful to familiarize yourself with them.
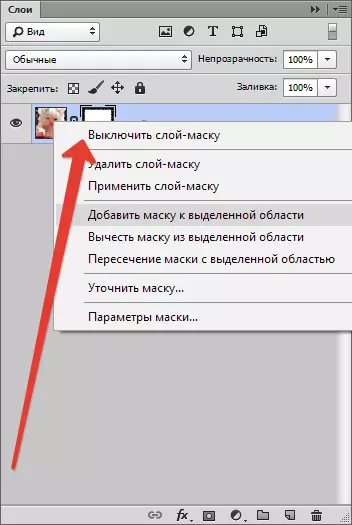
1. Remove the layer mask. After clicking on this command, the layer mask disappears.
2. Apply the layer mask. After clicking on this command, a combination of images on the layer and masks occurs. Thus, the layer is reassened.
3. Turn off the layer mask. This tool allows you to remove the layer mask for a while. But it is also simple to restore it, just like to remove: just click on the mask icon, and the mask becomes active again.
Depending on the version of the Photoshop program, other commands may also meet: "Subtract a mask from the dedicated area", "Crossing a mask with a dedicated area" and "Add a mask to the selected area".
What layers can be added layer mask
Almost all types of layers support mask overlay. These include layers with a rasterized image, with a smart object, layers with text, with a variety of forms. Even to several layers at once, you can add a mask.How the layer styles affect the mask
A mask can be applied far from all cases. If you used to edit the image such styles like "Shadow" or "External glow" , the mask of the layer will not act. But the transformation of such a "problem" layer into a smart object, its rasterization or a combination of a layer with a style used on it, neutralizes the problem.
Above the all information that can be useful when working in photoshop with layers-masks. Most likely, after familiarizing with it and the use of the Soviets contained in it, in practice, novice users will largely improve their skills.