
The rays of the sun is quite complicated for photographing the element of the landscape. You can say impossible. I want to give pictures as a realistic look.
This lesson can be devoted to the fact that we will add the rays of light (sun) to the photo in Photoshop.
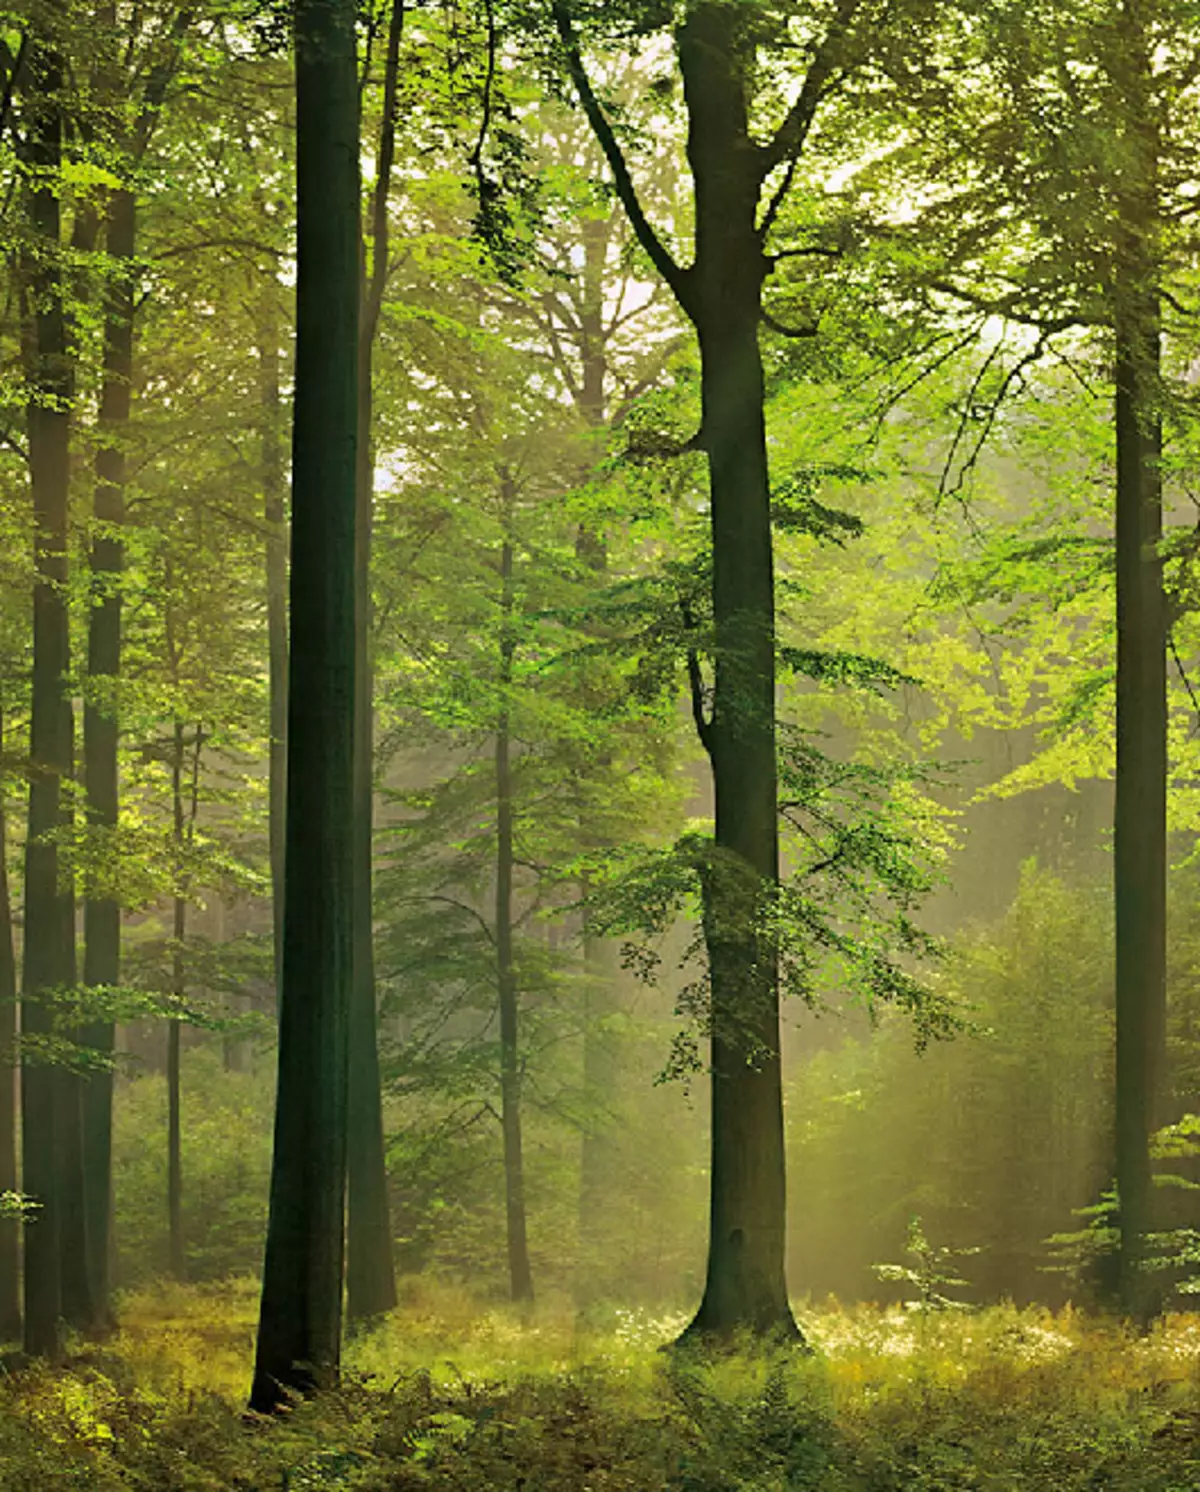
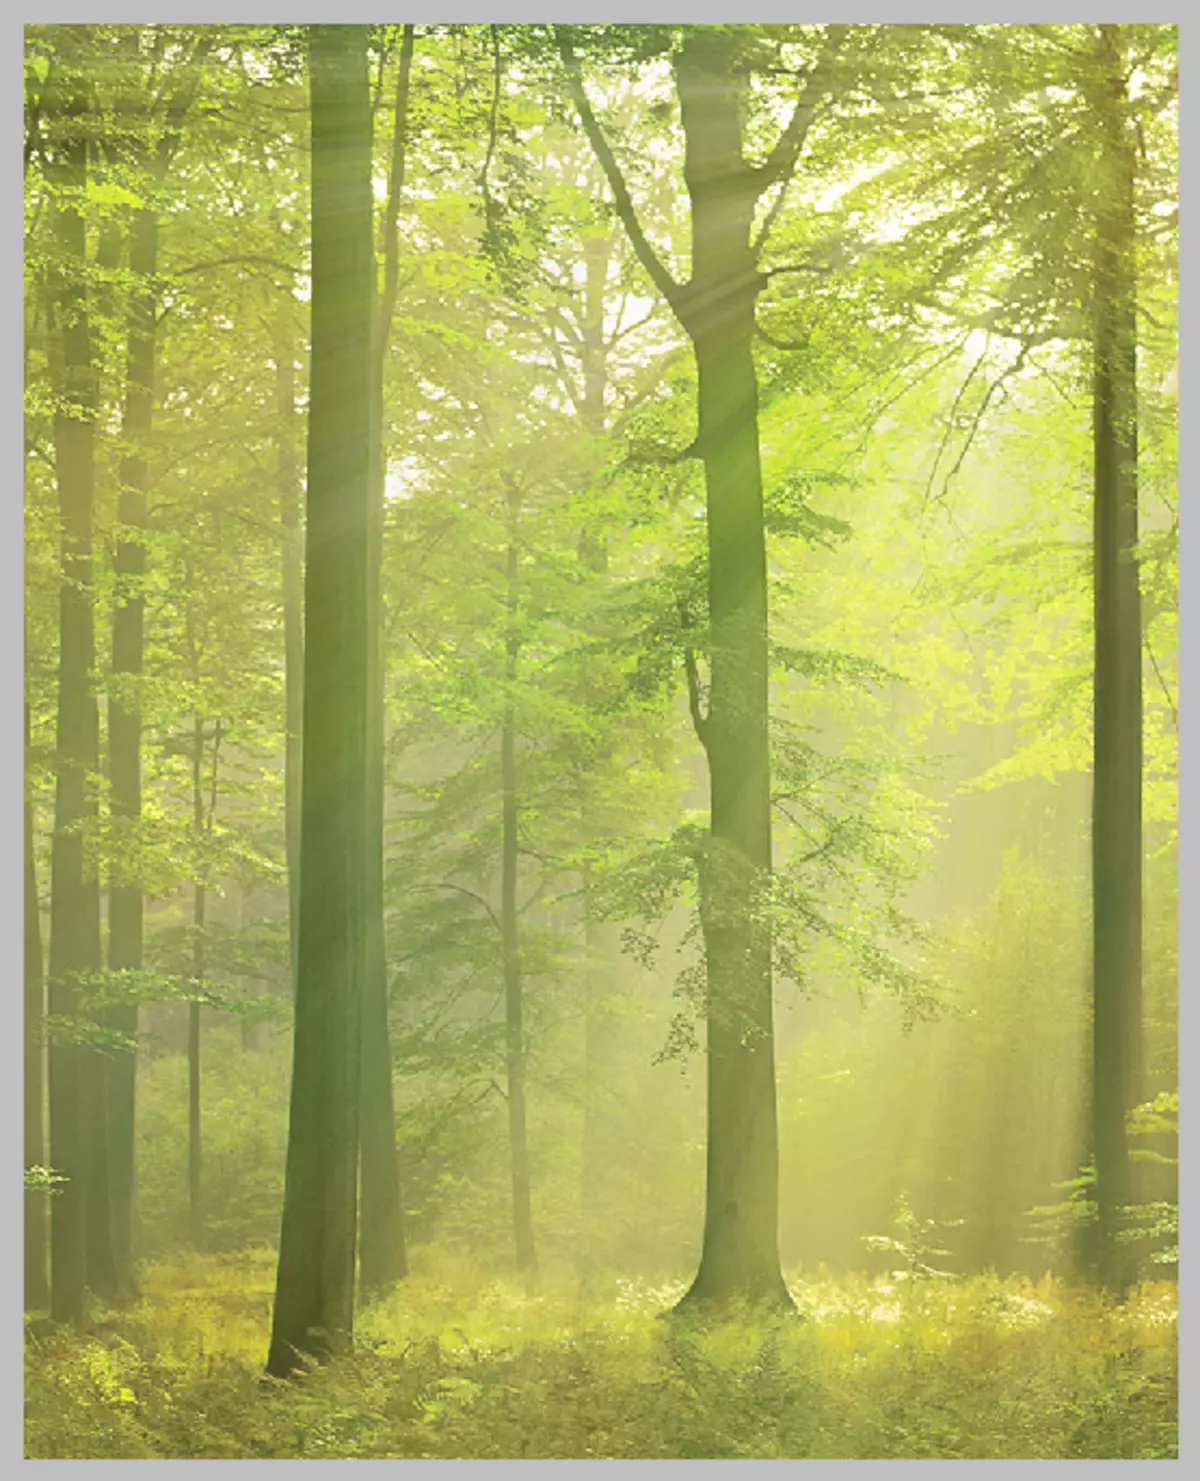
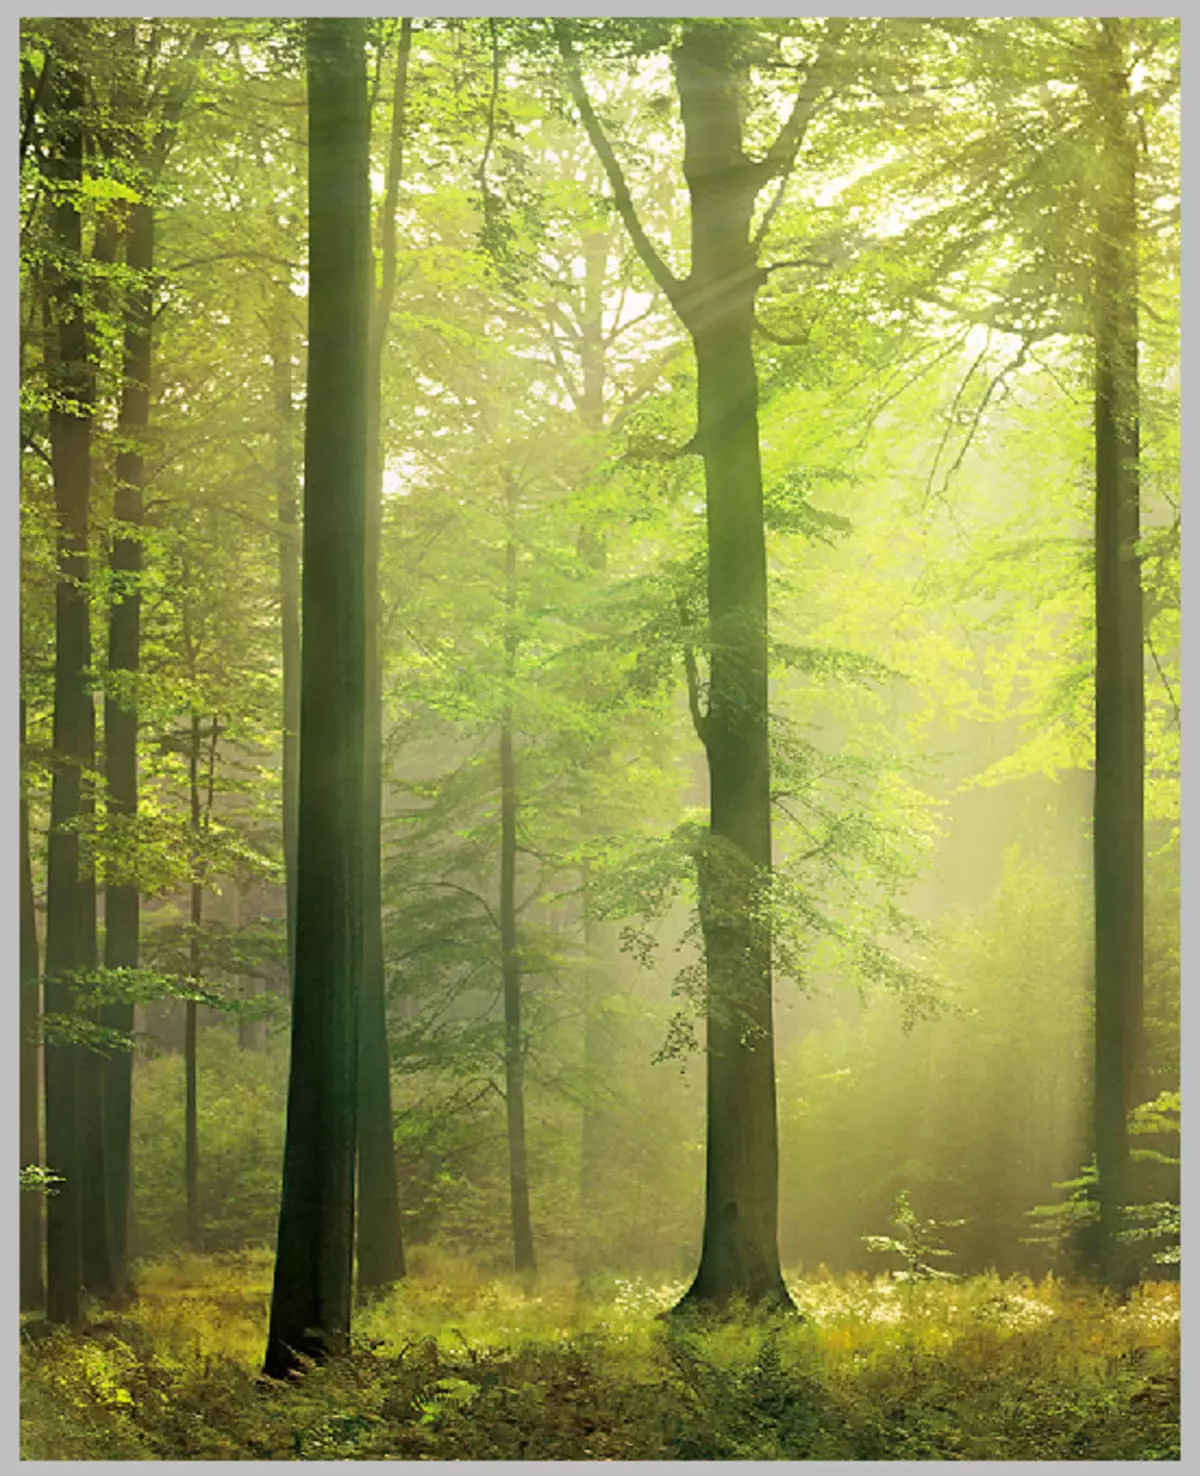
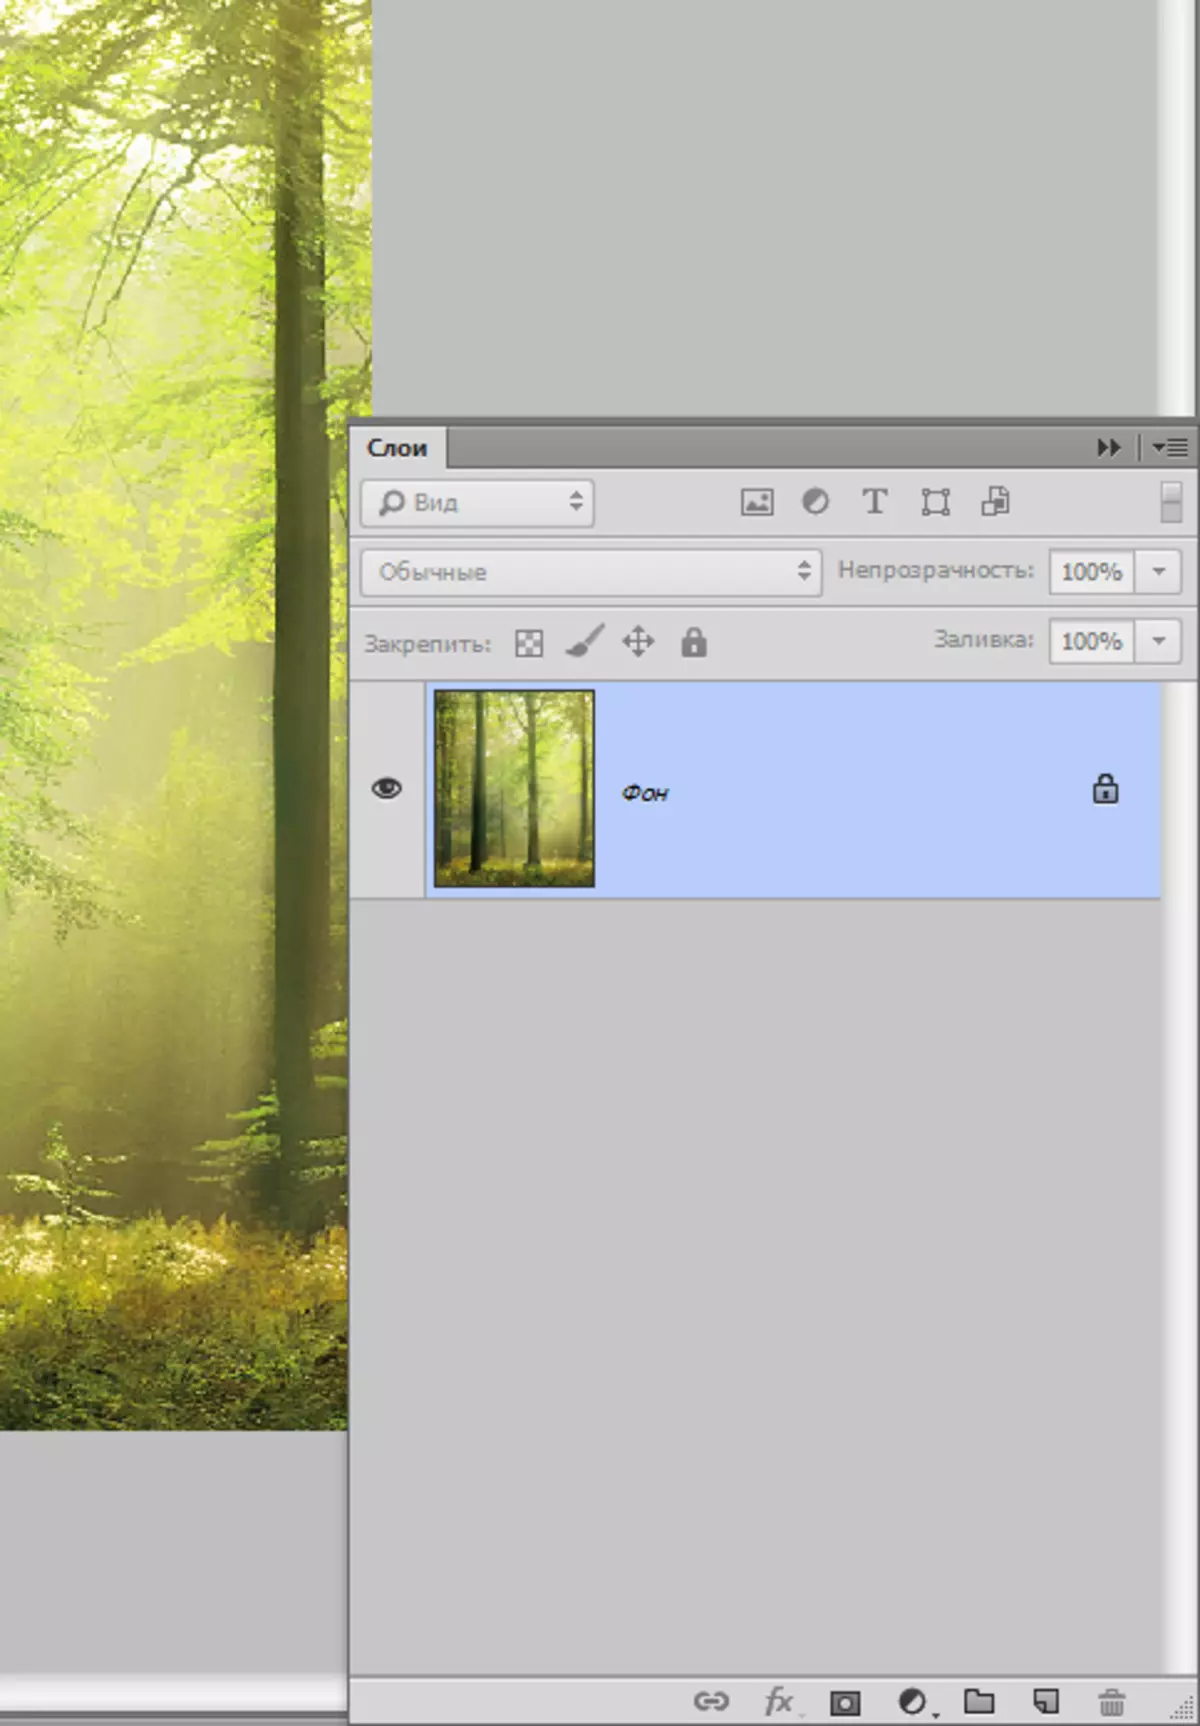
Open the original photo in the program.
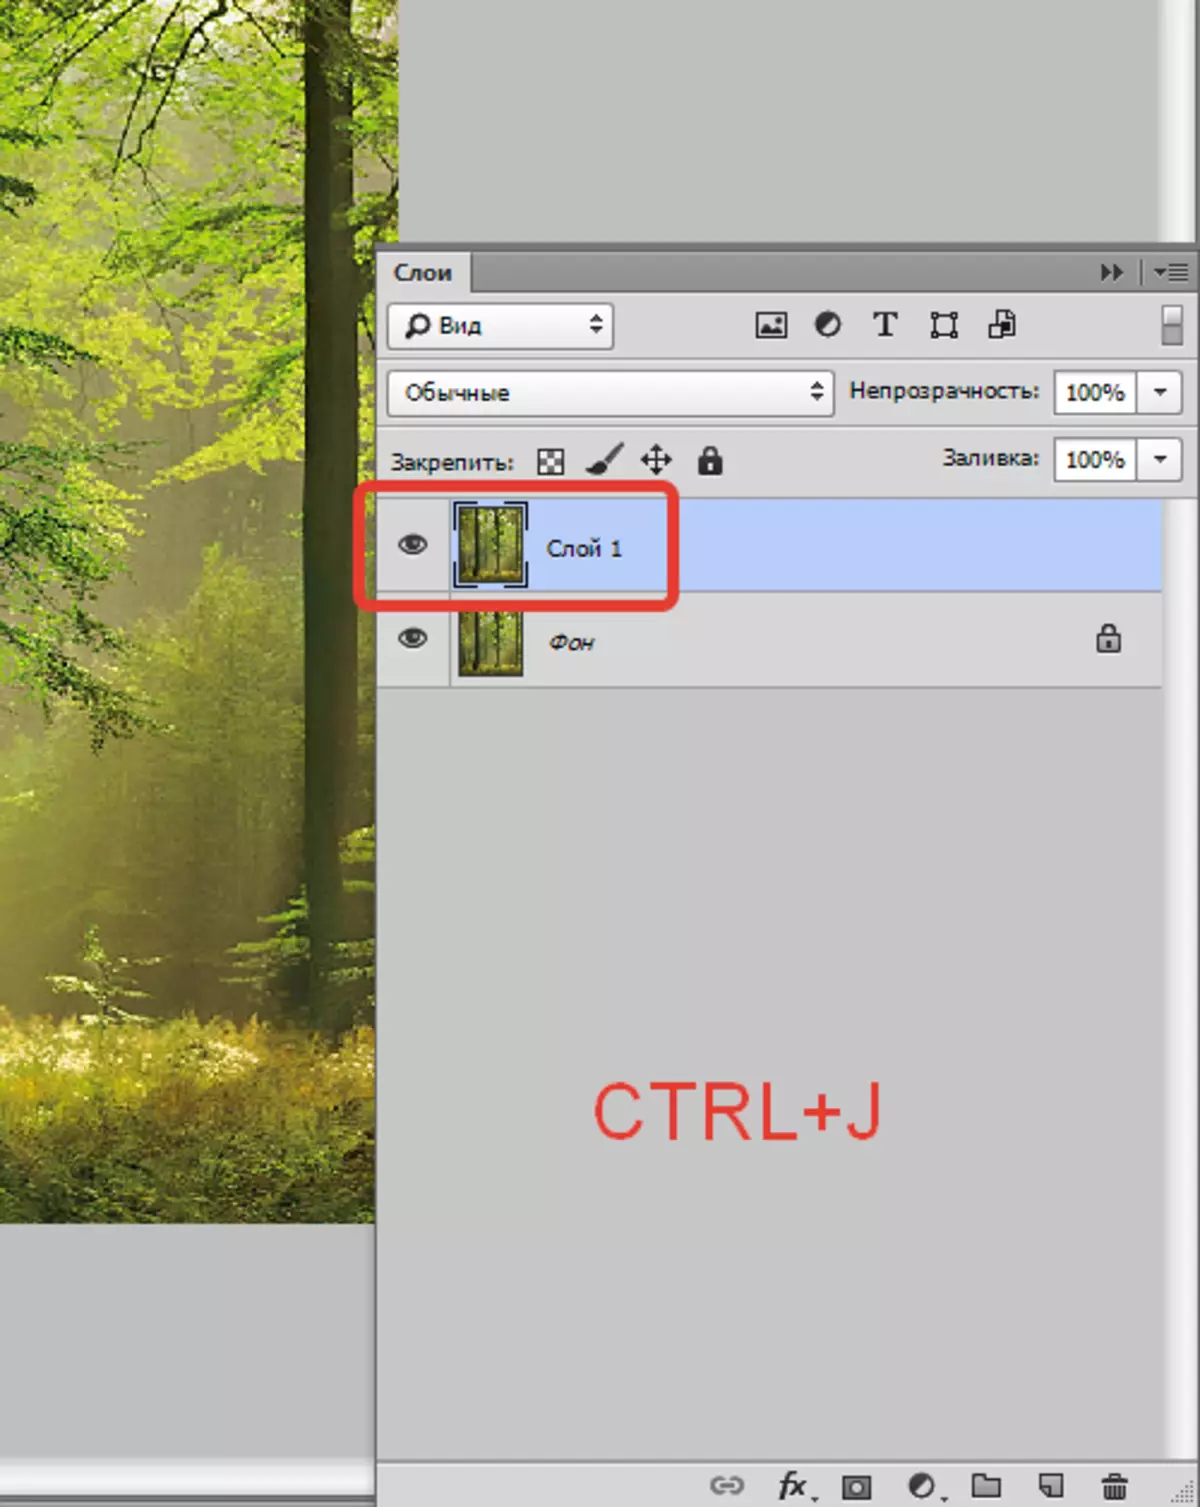
Then create a copy of the background layer with a photo, using hot keys Ctrl + J..
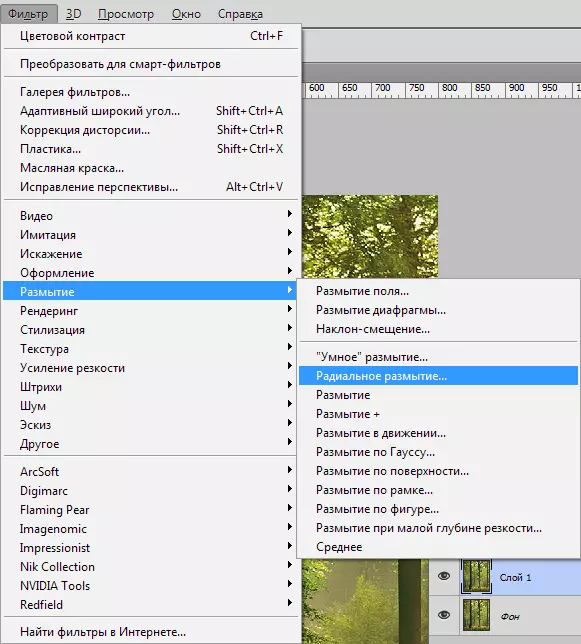
Next, it is necessary to blur this layer (copy) in a special way. To do this, go to the menu "Filter" and we are looking there "Blur - radial blur".
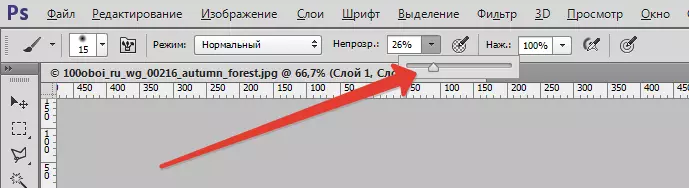
Customize the filter, as in the screenshot, but not in a hurry to apply it, as it is necessary to determine the point in which the light source is located. In our case, this is the right upper angle.
In the window called "Centre" Move the point to the right place.
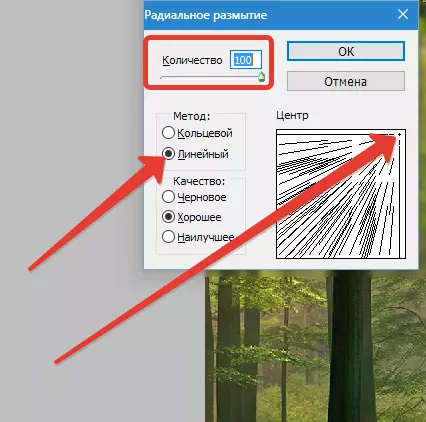
Zhmem. OK.
We get such an effect:
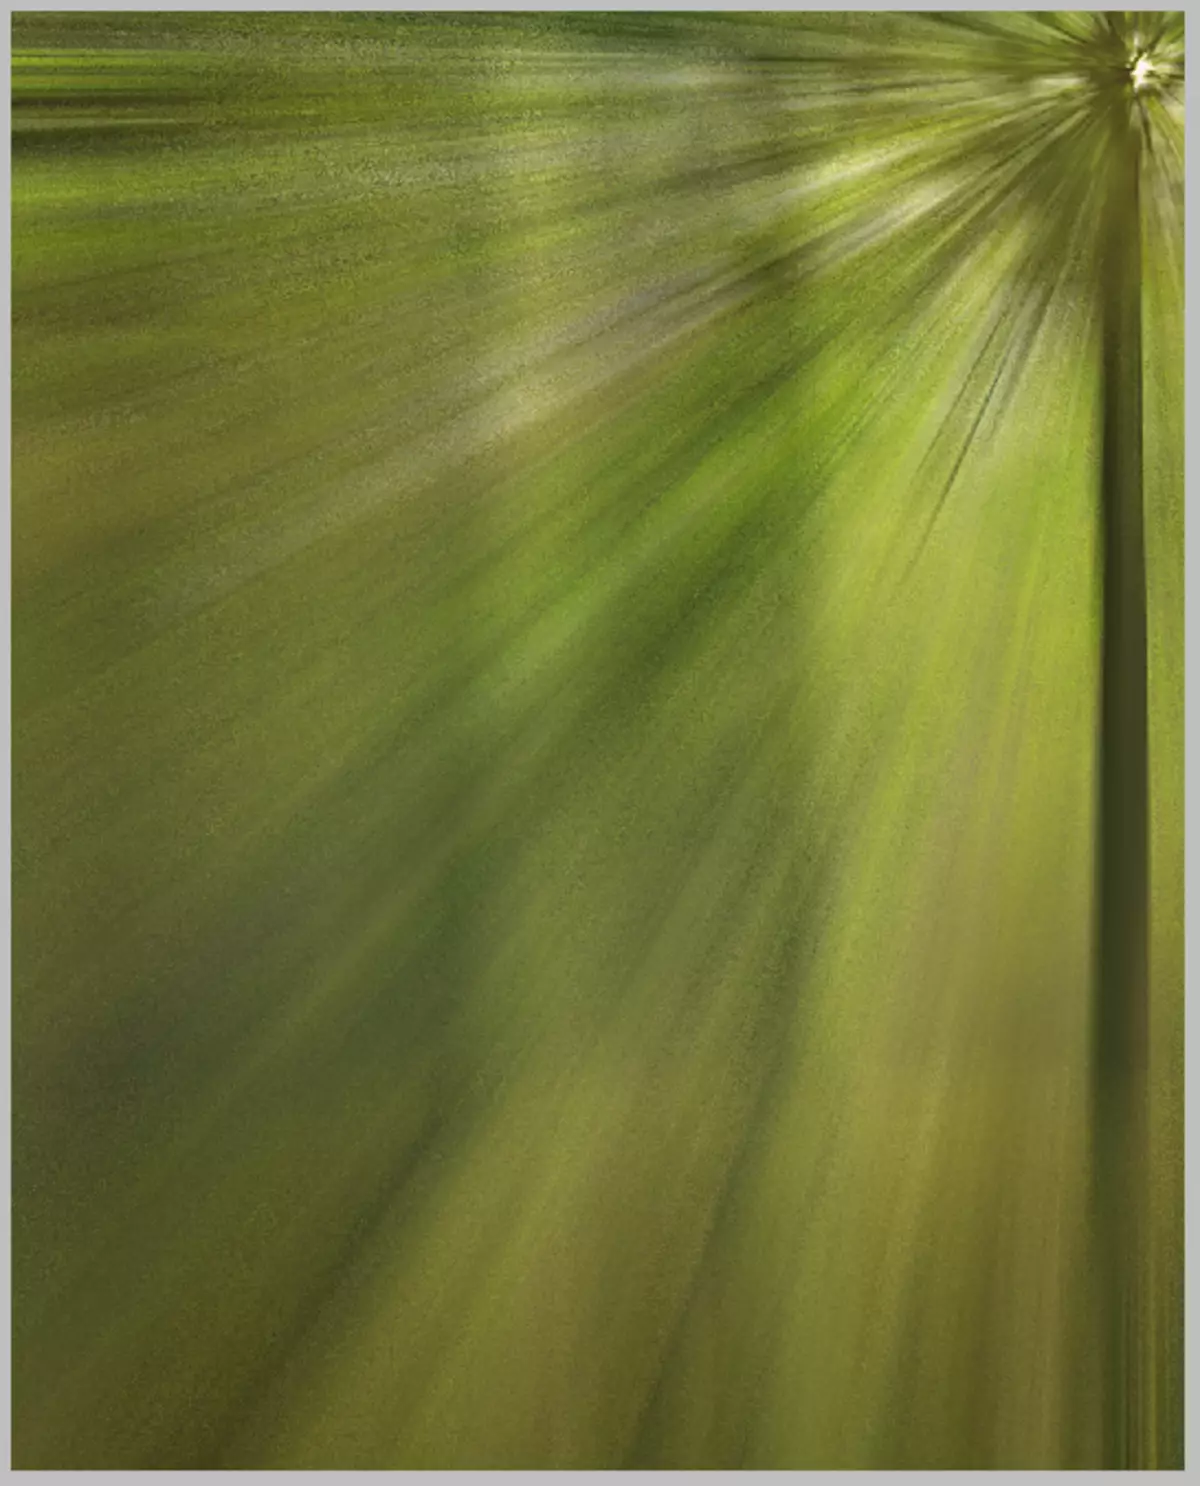
The effect must be strengthened. Press the keyboard key Ctrl + F..
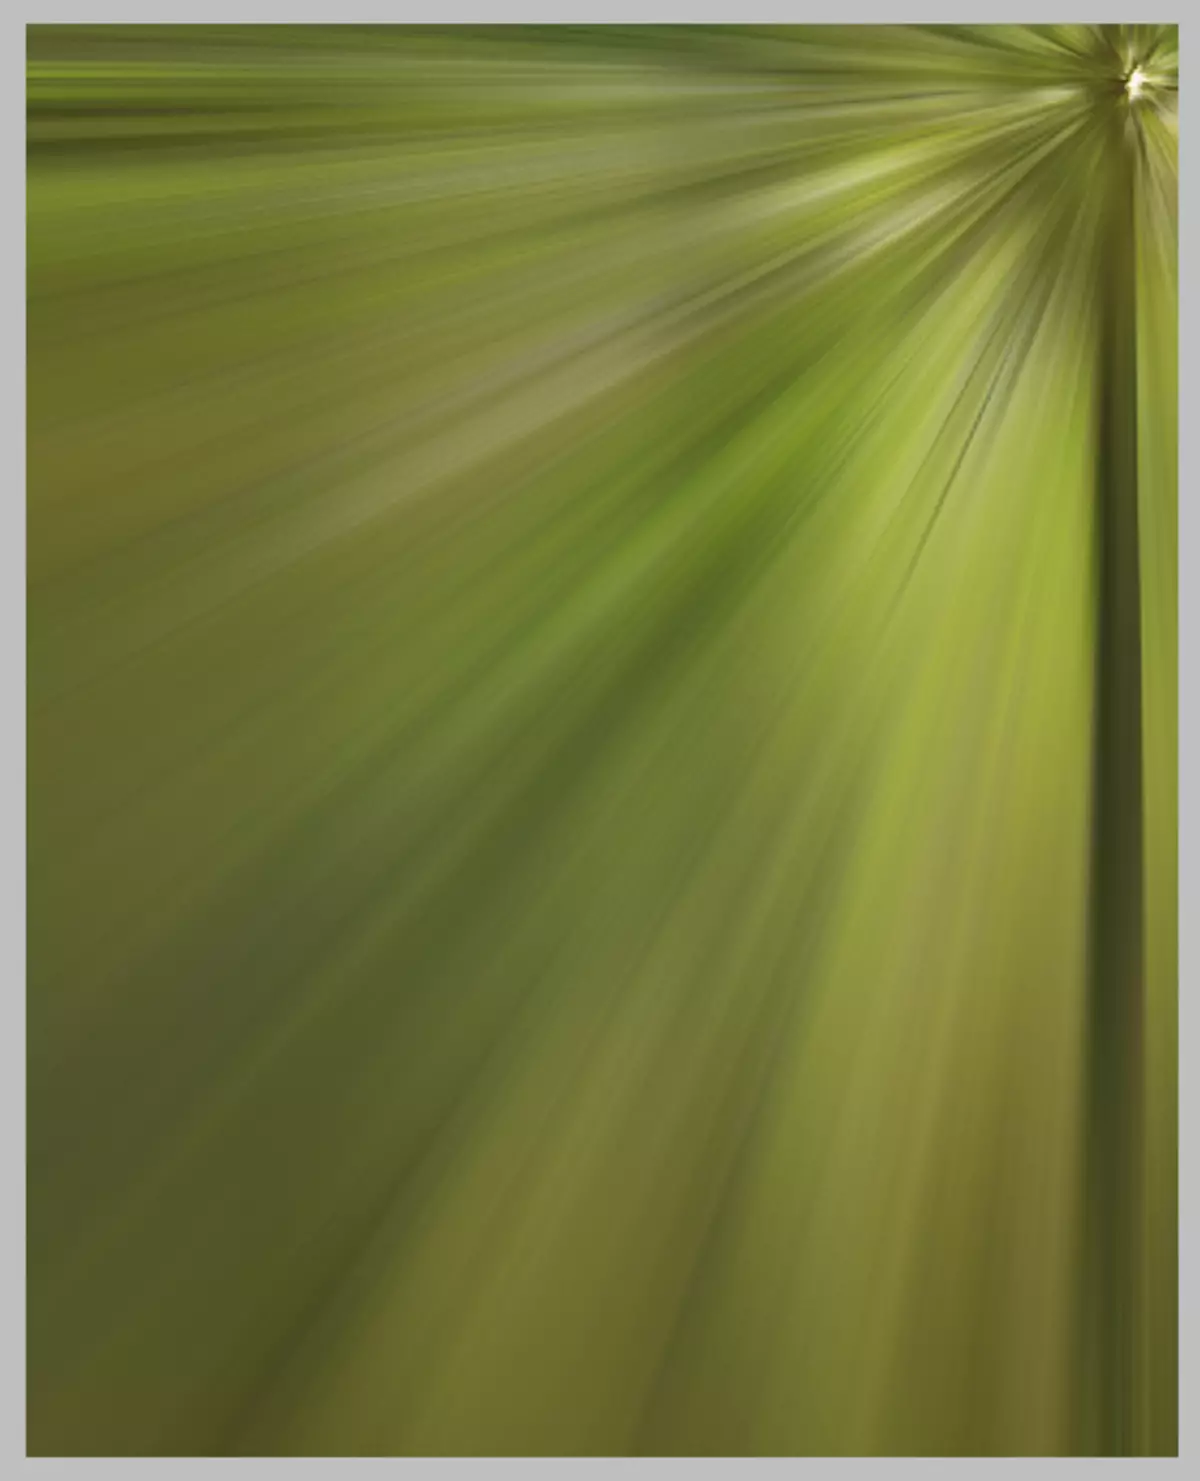
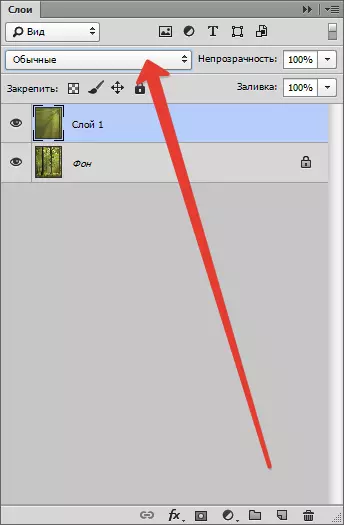
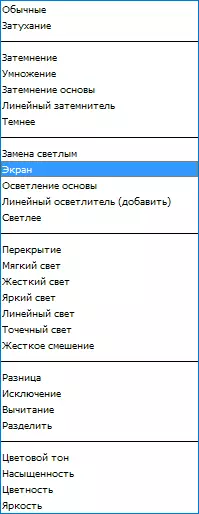
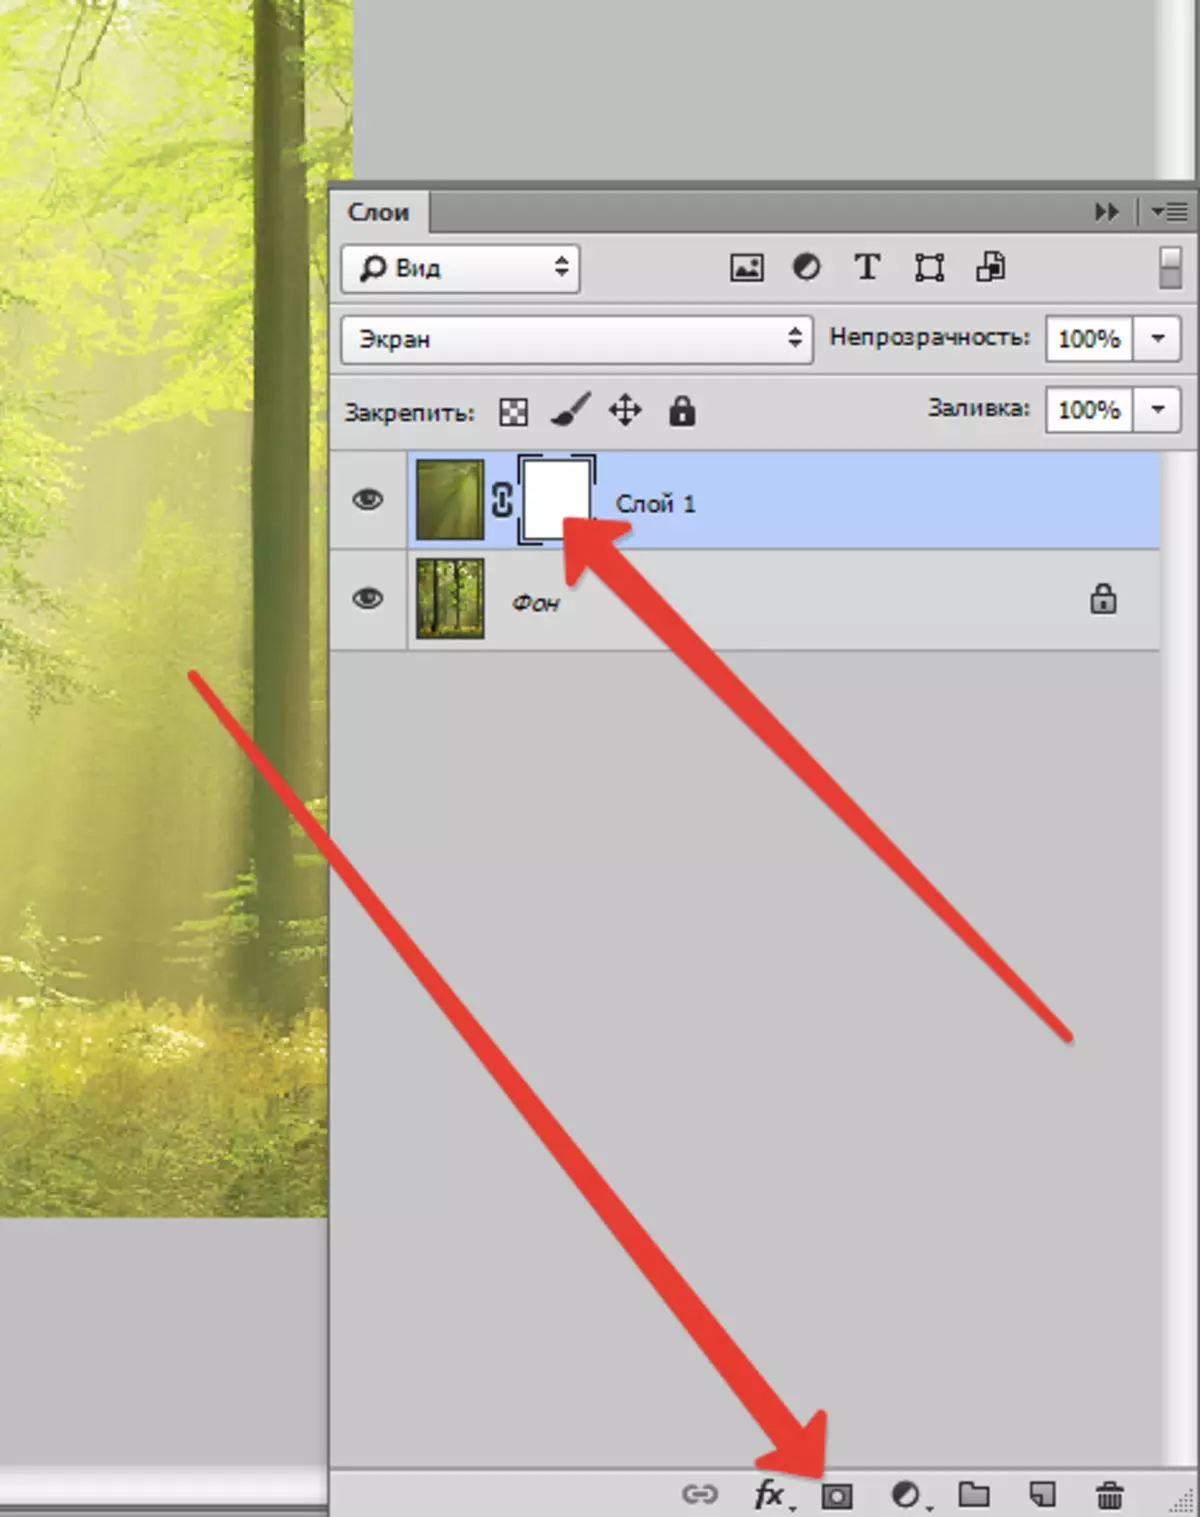
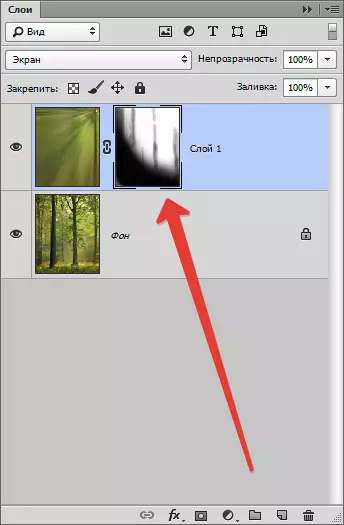
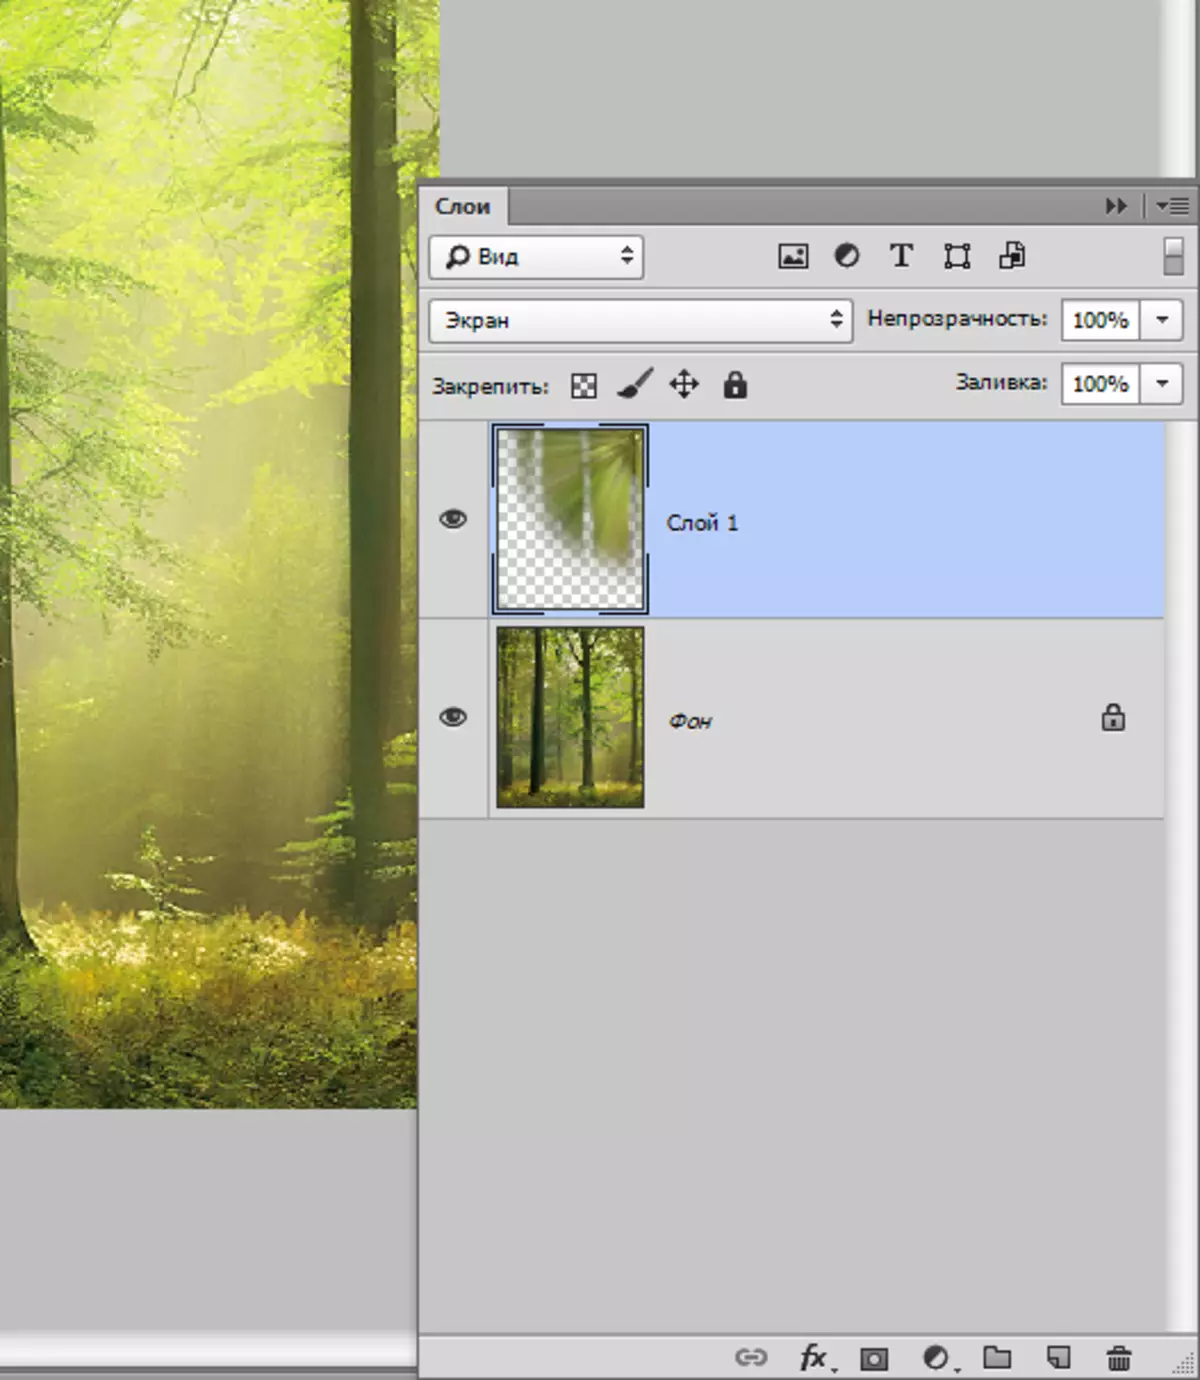
Now change the overlay mode for the layer with the filter on "Screen" . This technique allows you to leave on the image only the light tones contained on the layer.
We see the following result:
It would be possible to stop at this, but the rays of the light overlap the entire image, and there can be no such in nature. You need to leave rays only where they really must be present.
We add to the layer with the effect of a white mask. To do this, click on the icon of the mask in the palette of the layers.
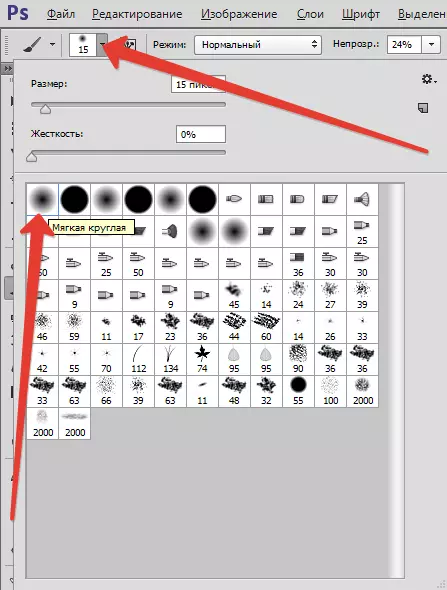
Then choose the "brush" tool and set it up as follows: Color - black, shape - round, edges - soft, opacity - 25-30%.


We activate the mask, and paint the brush grass, the trunks of some trees and areas on the edge of the image (canvas). The size of the brush must be chosen quite large, it will avoid sharp transitions.
The result should be approximately as follows:
The mask after this procedure is as follows:
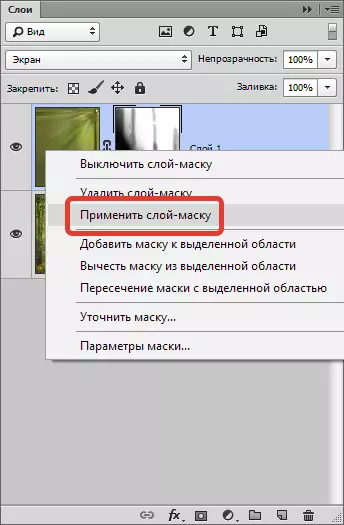
Next you need to apply a mask to a layer with the effect. Right-click on the mask and click "Apply a layer mask".
The next step is the fusion of the layers. Click right-click on any layer and choose the drop-down menu item called "Perform a mixer".

We get the only layer in the palette.
On this, the creation of rays of light in Photoshop is completed. Using this technique, you can achieve an interesting effect on your photos.