

The question of how to make stencils in the Microsoft Word program, are interested in many users. The problem is that it is not so easy to find a sane response on it. If you are interested in this topic, you turned to the address, but for starters, let's figure it out that it is a stencil.
Stencil is a "dended plate", at least, this is the meaning of this word in the exact translation from Italian. Briefly on how to make such a "record" we will tell in the second half of this article, and immediately below we will share with you how to create the basis for the traditional stencil in the Word.
Lesson: How to make a document template
Selection of font
If you are ready to seriously freeze, while connecting fantasy in parallel, it is quite possible to use any font presented in the standard set of program to create a stench. The main thing is when it is printed on paper, make jumpers - places that will not roll out in letters limited by contour.
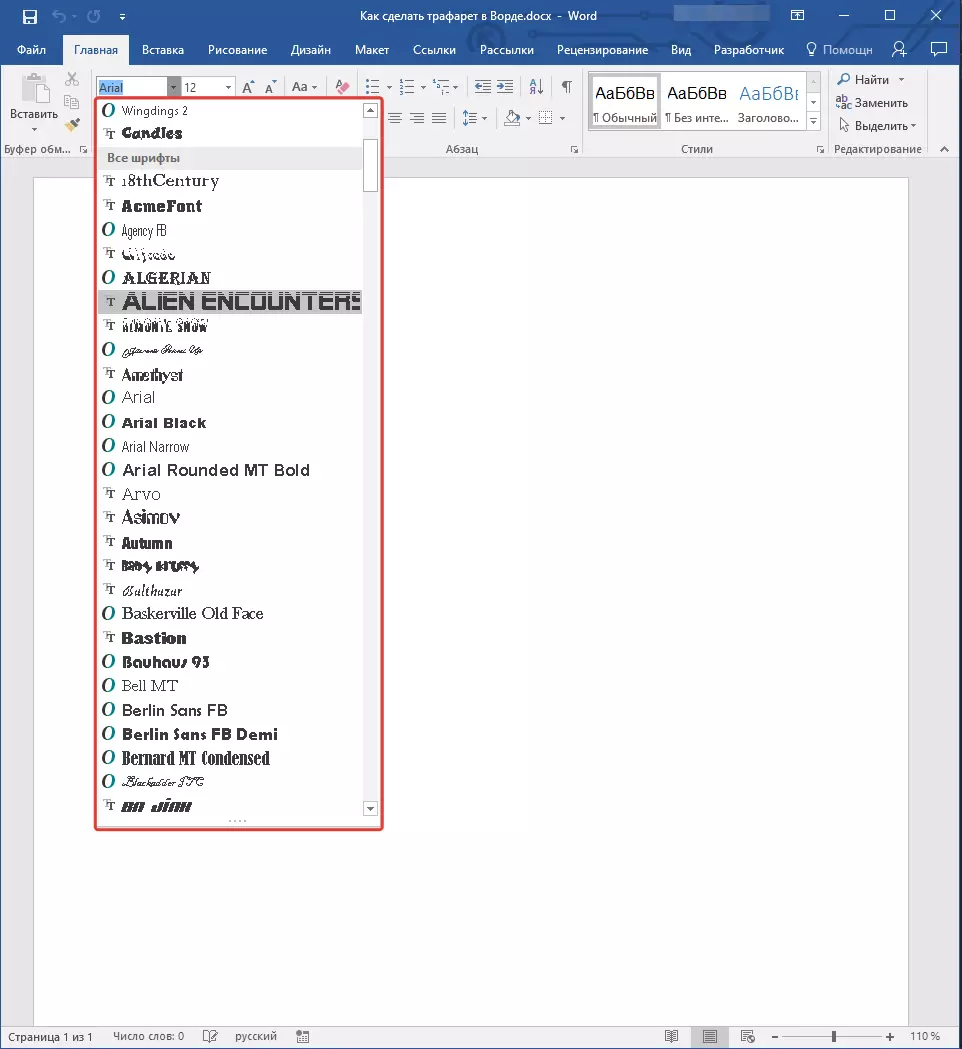
Lesson: How to change the font in the Word
Actually, if you are ready to jump over the stencil, it is not clear why our instruction, as you have all MS Word fonts. You choose your favor, write the word or type the alphabet and print on the printer, and then cut them along the contour, not forgetting about jumpers.
If you are not ready to spend so many strength, time and energy and stencils of the classic type, you are quite comfortable, our task is to find, download and install the same classic screening font. From the grueling search, we are ready to deliver you - we all found themselves.
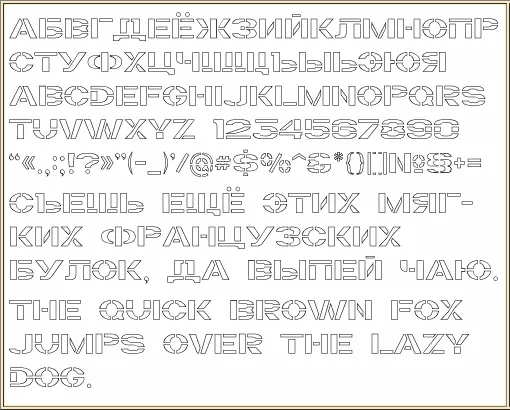
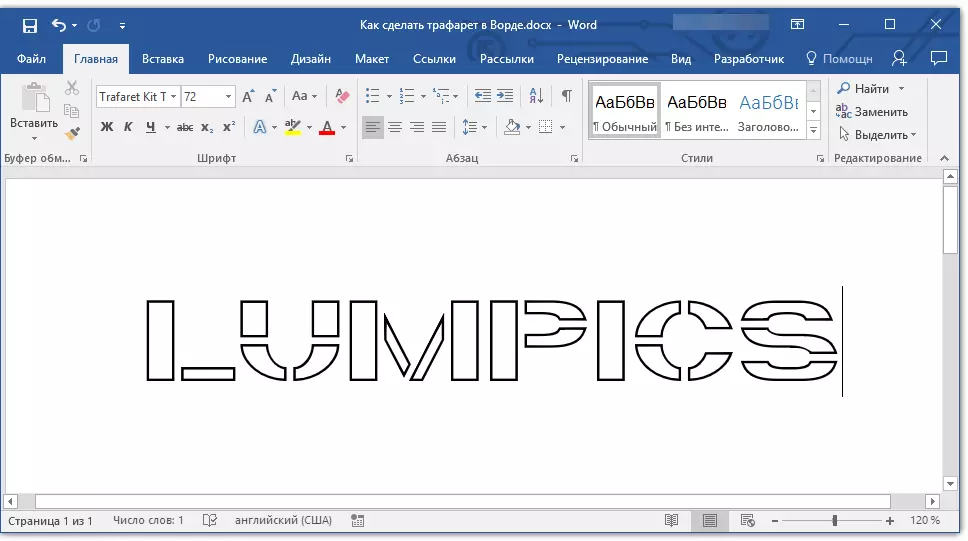
The TRAFARET KIT Transparent font fully imitates the old good Soviet stencils TSh-1 with one pleasant bonus - in addition to the Russian language there is also English, as well as a number of other characters that are absent in the original. You can download it by the author's site.
Note: According to the links below, two screen fonts are represented. The first is dark, that is, with "full", flooded letters. The second is a classic stencil used in this article as an example.
Download Trafaret Kit Transparent Font (Dark)
Download Trafaret Kit Transparent Font (Light)
Font Installation
To the font loaded by you appear in the Word, you first need to be installed in the system. Actually, after that it will automatically appear in the program. About how to do it, you can learn from our article.
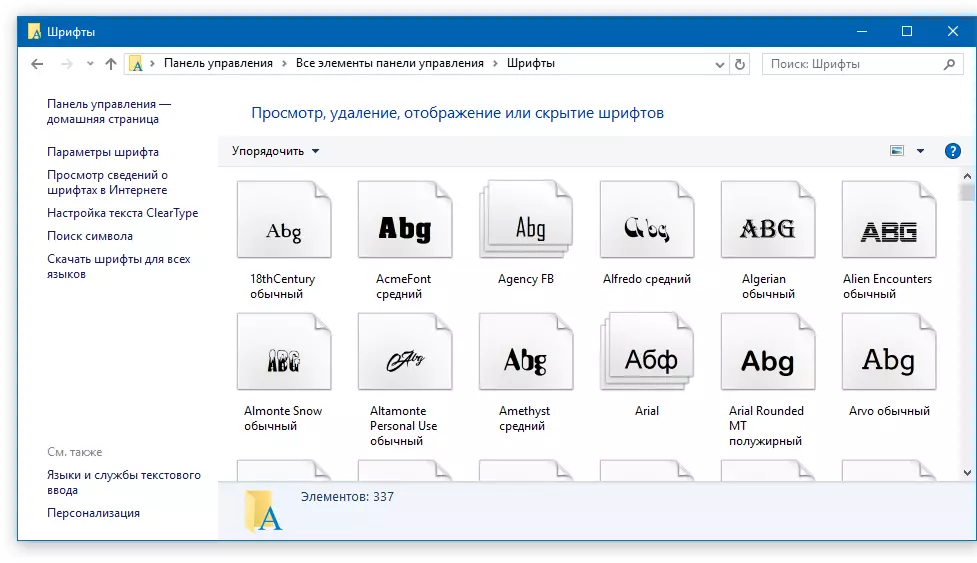
Lesson: How to add a new font in word
Creating a base for stencil
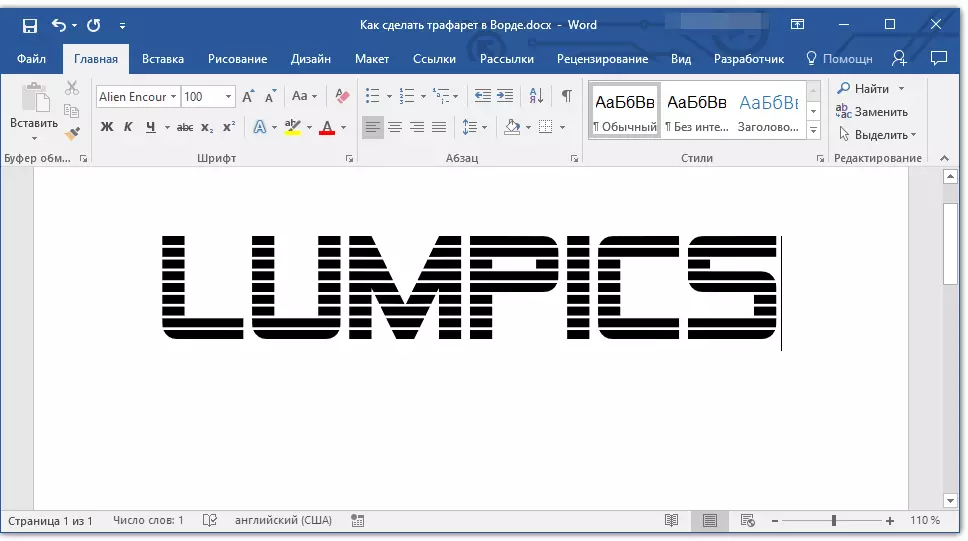
Select Trafaret Kit Transparent from the list of fonts available in the Word and create the desired inscription in it. If you need an alphabetical stencil, write on the page of the alphabet document. If necessary, you can add other characters.
Lesson: Inserting characters in Word
The standard book orientation of the sheet in the Word is not the most suitable solution for creating a stencil. On the landscape page, he will look more familiar. To change the position of the page will help our instructions.
Lesson: How to make a landscape list in Word
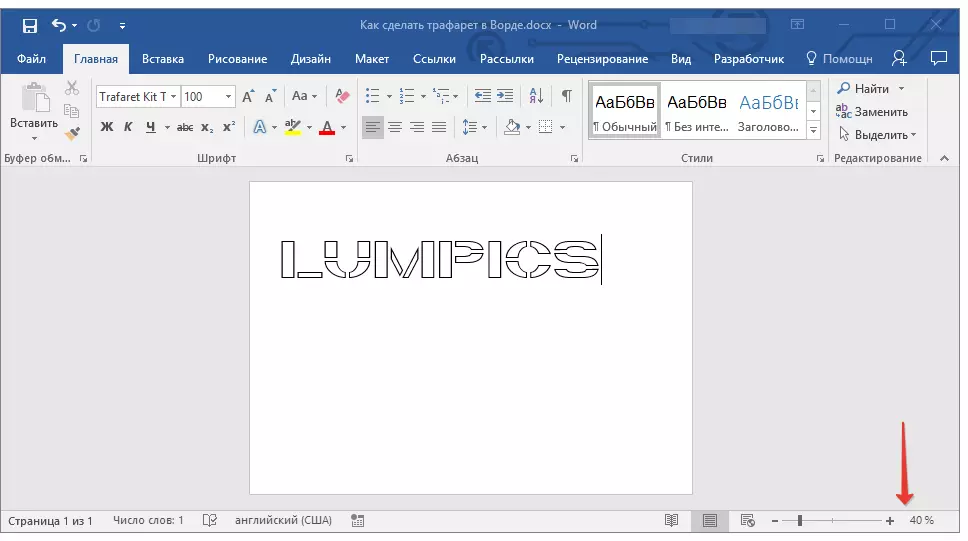
Now the text needs to format. Set the appropriate size, select the appropriate position on the page, set sufficient indents and intervals, both between the letters and between the words. Our instruction will help you do it all.

Lesson: Formatting text in Word
Perhaps the standard A4 sheet format will not be enough. If you want to change it to a larger (A3, for example), our article will help you do it.

Lesson: How to change the sheet format in Word
Note: By changing the sheet format, do not forget to resist change the font size and related parameters. No less important in this case are the possibilities of the printer, on which the stencil will be printed - support for the selected paper format is required.
Printing stencil
By writing an alphabet or inscription, formatting this text, you can safely go to the printing of the document. If you still do not know how to do it, be sure to get acquainted with our instructions.
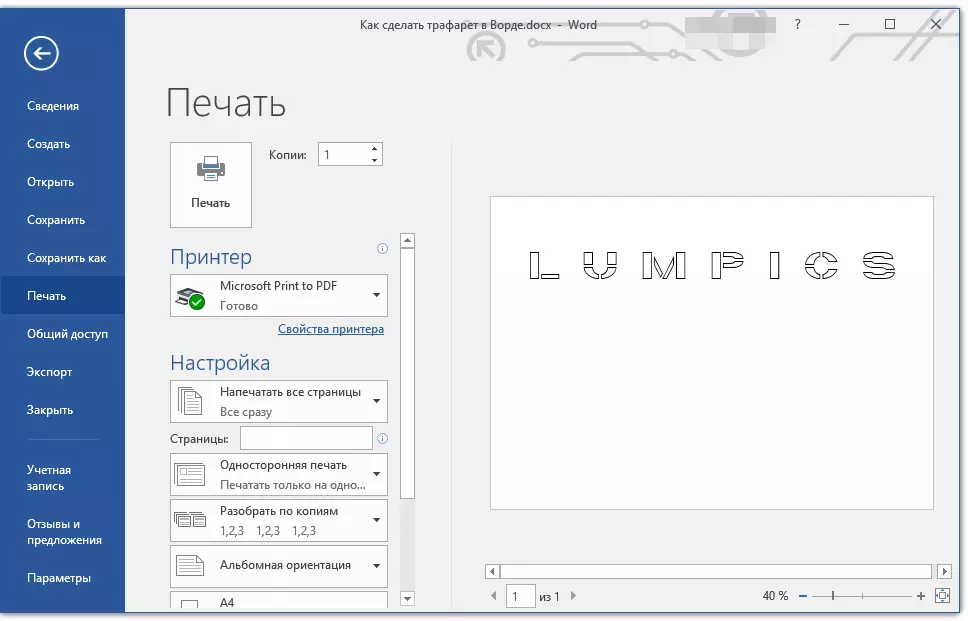
Lesson: Print documents in Word
Creating a stencil
As you understand, the sense of the stencil, printed on the usual leaf of paper, is practically no. More than once, they can hardly use them. That is why the printed page with the basis for the stencil is necessary to "strengthen". To do this, you will need the following:- Cardboard or polymer film;
- Copier;
- Scissors;
- Shoe or stationery knife;
- Pen or pencil;
- Board;
- Laminator (optional).
Printed text must be translated into cardboard or plastic. In the case of translation into cardboard, it will help this will help a regular copy (copy paper). A stencil page you just need to put on a cardboard, placing a copy of the copy across them, and then cover the contour of the letters with a pencil or handle. If there is no copy paper, you can sell the contours of the letter with the handle. Similar can be done with transparent plastic.
And yet, with transparent plastic, it is more convenient, and it will just more correctly go a little differently. Place a sheet of plastic on top of the page with a stencil and circle the handle of the letter contours.
After the base created in the Word will be transferred to cardboard or plastic, only cut empty places with scissors or knives. The main thing is to do it strictly along the line. Knock a knife on the border of the letter is easy, but the scissors initially need to "drive" into the place that will be cut, but not in the line itself. Plastic is better cutting with a sharp knife, pre-placing it on a robust board.
If you have a laminator at hand, the printed sheet of paper with the base for the stencil can be seen. Having done this, cut the letters on the contour by the stationery knife or scissors.
Several tips finally
Creating a stencil in Word, especially if it is an alphabet, try to make the distance between the letters (from all sides) no less than their width and height. If this is not critical to present text, the distance can be made a little more.
If you used the TRAFARET KIT Transparent font to create a stench, and any other (not stencil), presented in the standard Word set, recall again, do not forget about jumpers in the letters. For letters whose contour is limited to internal space (the obvious example is the letters "O" and "B", the number "8"), such jumpers should be at least two.
Here, in fact, everything, now you know not only about how to do in Word the basis for the stencil, but also how to make a full, dense stencil with your own hands.