
Old photos help us to move at the time when there were no mirrors, wide-angle lenses and people were kinder, and the era is romantic.
Such pictures most often have low contrast and faded paints, besides, there are farements and other defects in the photo.
When restoration of the old photo, we have several tasks. The first is to get rid of defects. The second is to increase the contrast. The third is to strengthen the clarity of the details.
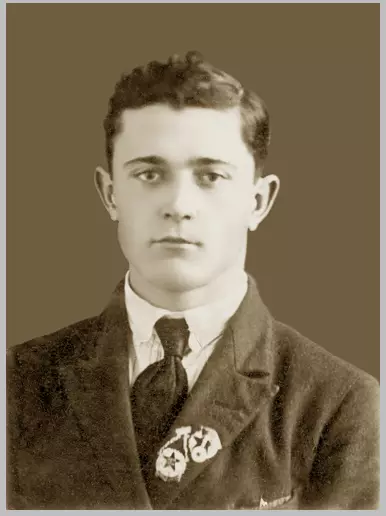
Source material for this lesson:
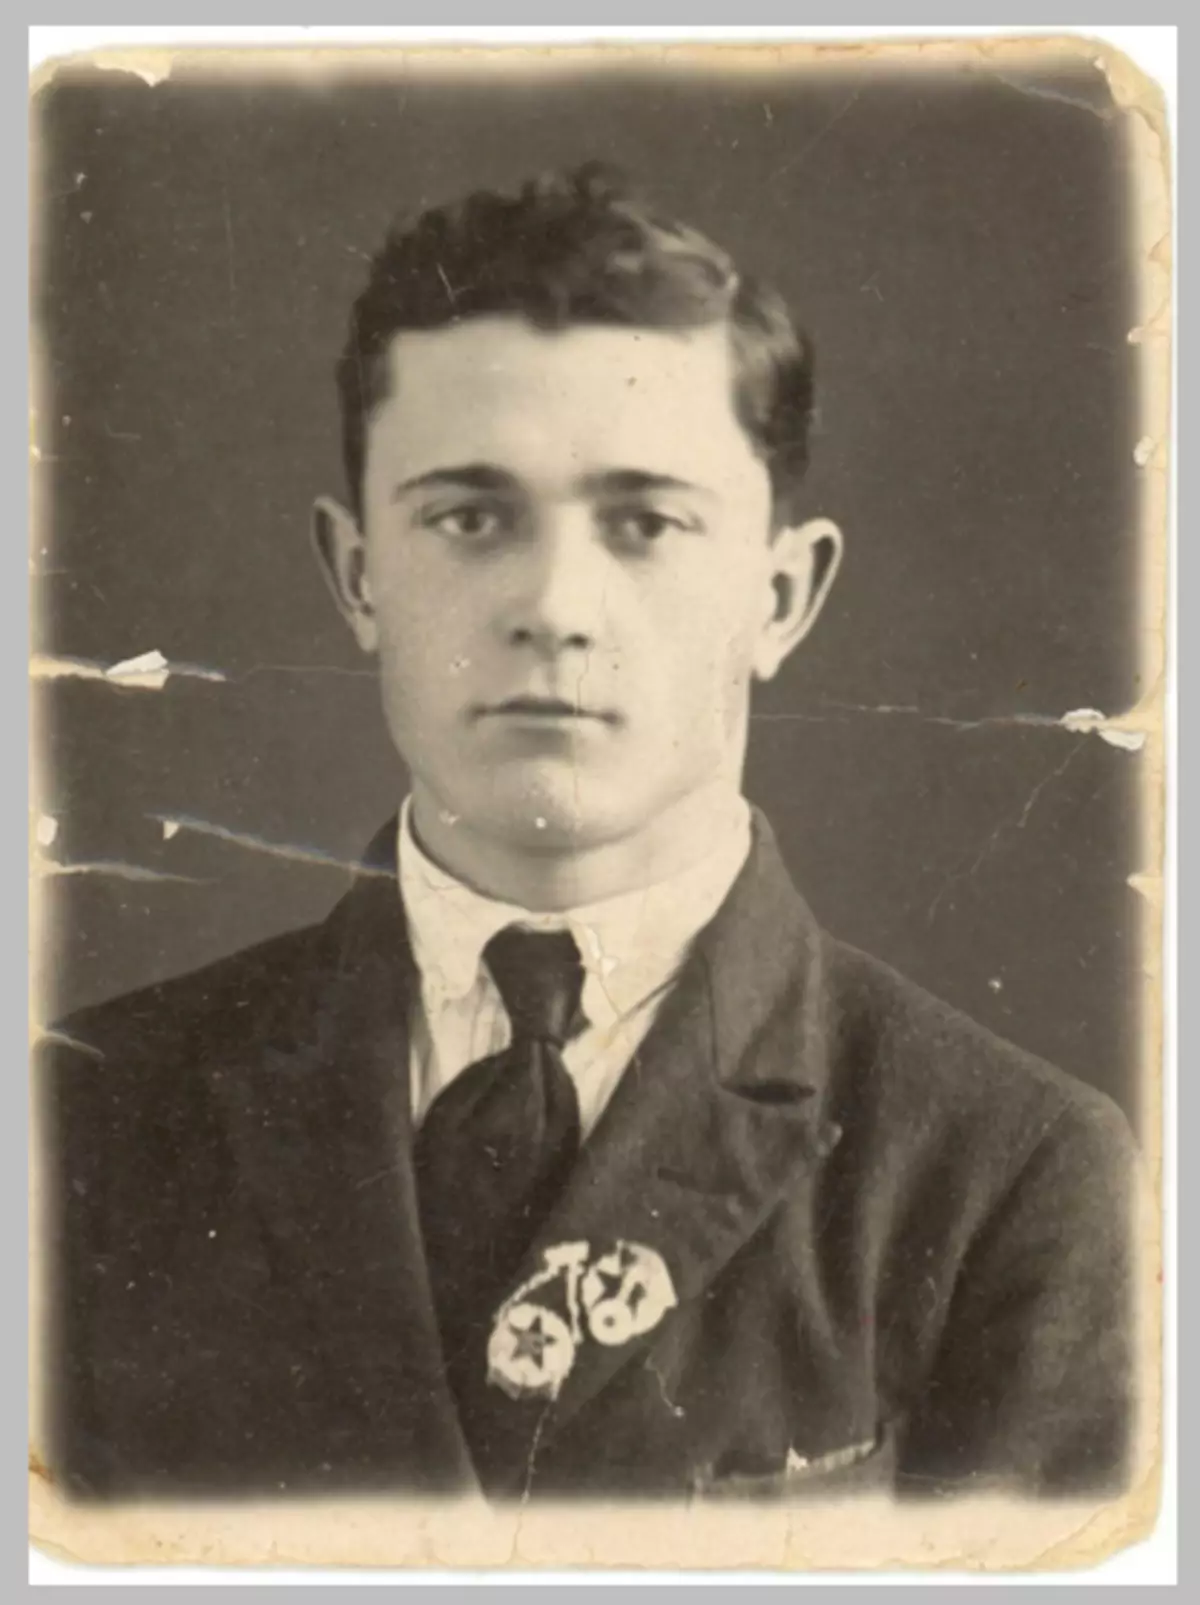
As you can see, all possible flaws are present in the snapshot.
In order to better see them all, you need to discolor a photo by pressing the key combination Ctrl + SHIFT + U.
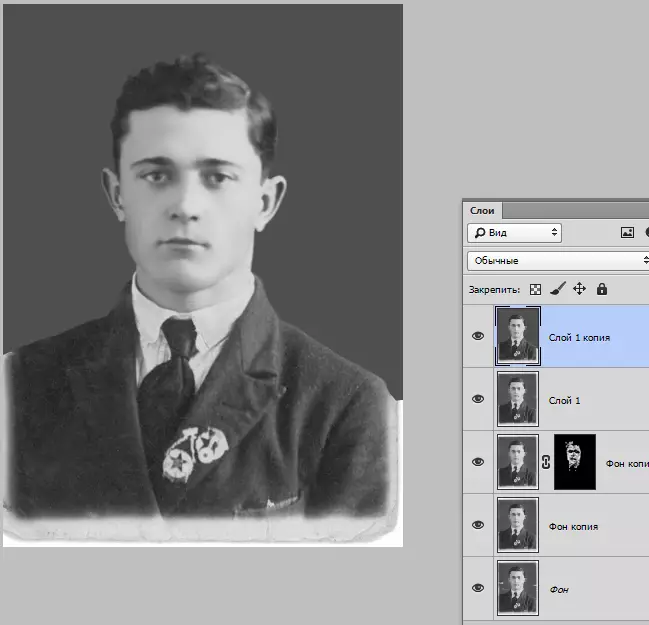
Next, create a copy of the background layer ( Ctrl + J. ) And proceed to work.
Elimination of defects
Defects We will eliminate two tools.
For small sites we use "Restoring brush" , and largely refreshed "PRICE".
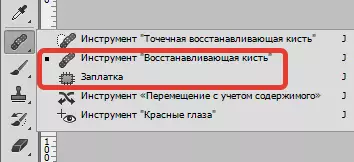
Choose tool "Restoring brush" and holding a key Alt. Click on the site next to a defect having a similar shade (in this case brightness), and then transfer the resulting sample to the defect and click again. Thus, eliminate all the minor defects in the picture.

The work is quite painstaking, therefore type patience.

The patch works as follows: I will supply the cursor the problem area and drag the selection to the site where there are no defects.

We remove the defects with the background.

As you can see, there are still quite a lot of noise and dirt in the photo.
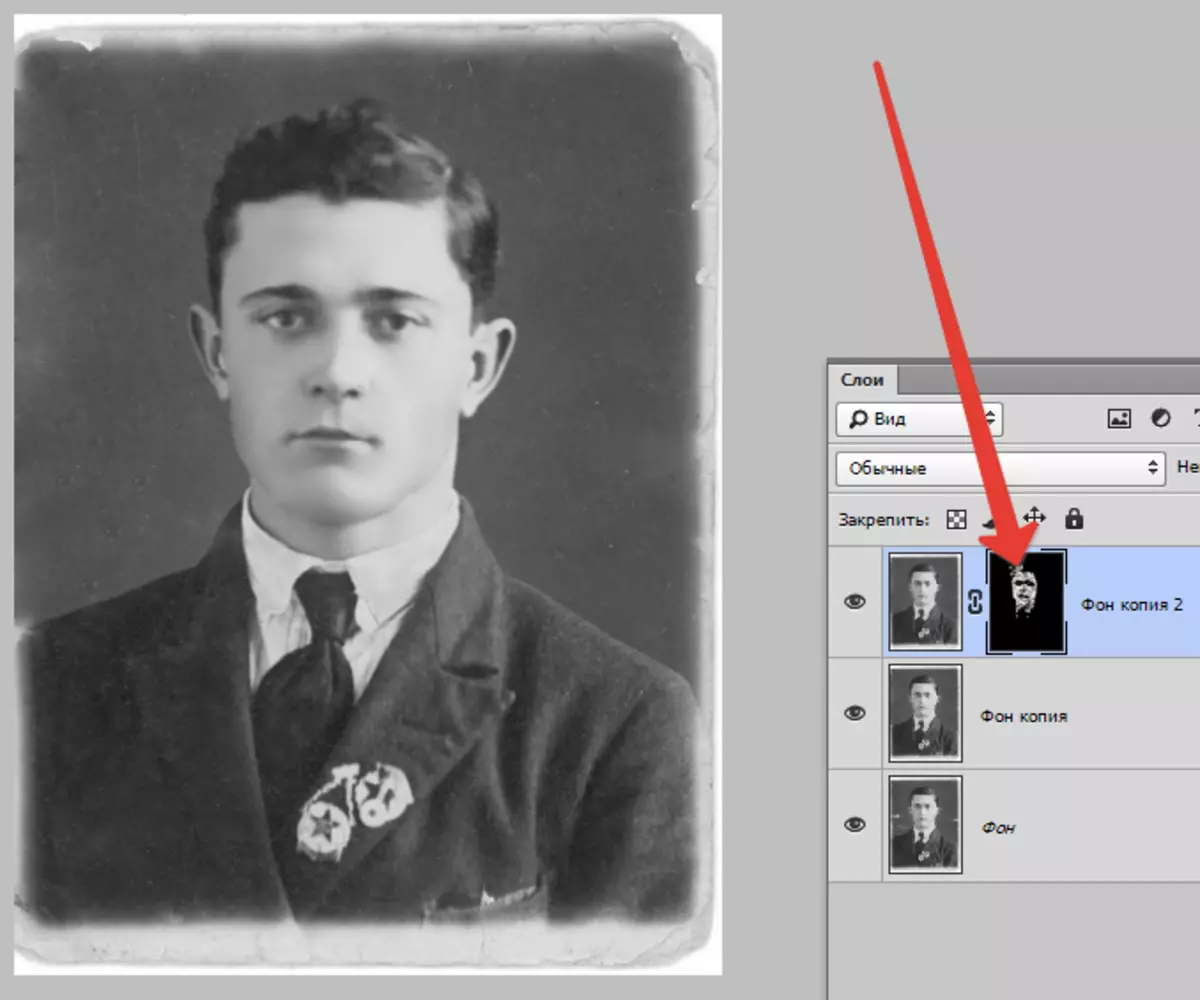
Create a copy of the top layer and go to the menu "Filter - blur - blur over the surface".
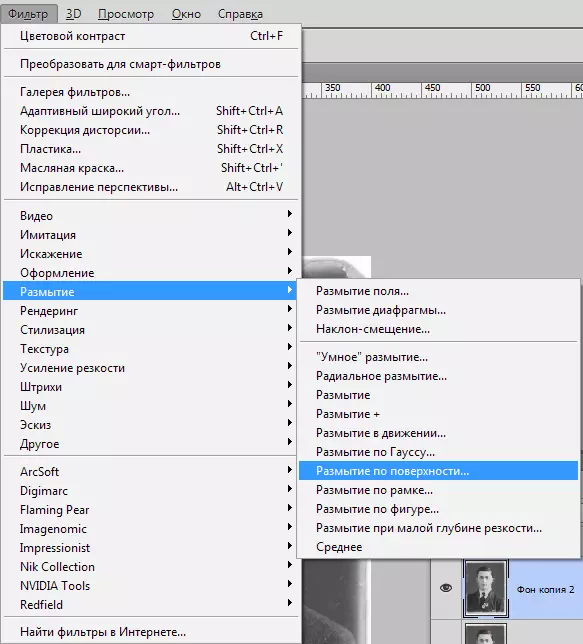
Customize the filter approximately as in the screenshot. It is important to achieve the elimination of noise on the face and shirt.

Then clamp Alt. And click on the icon of the mask in the palette of the layers.

Next, we take a soft round brush with opaque 20-25% and change the main color to white.


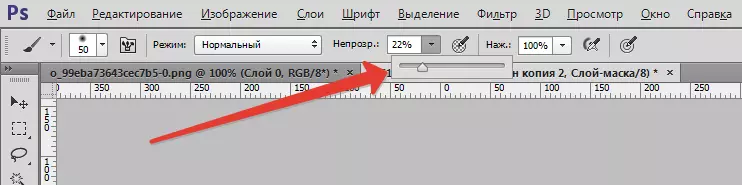
This brush carefully go through the face and collar of the hero's shirt.
If you need to eliminate small defects on the background, then the best solution will be fully replaced.
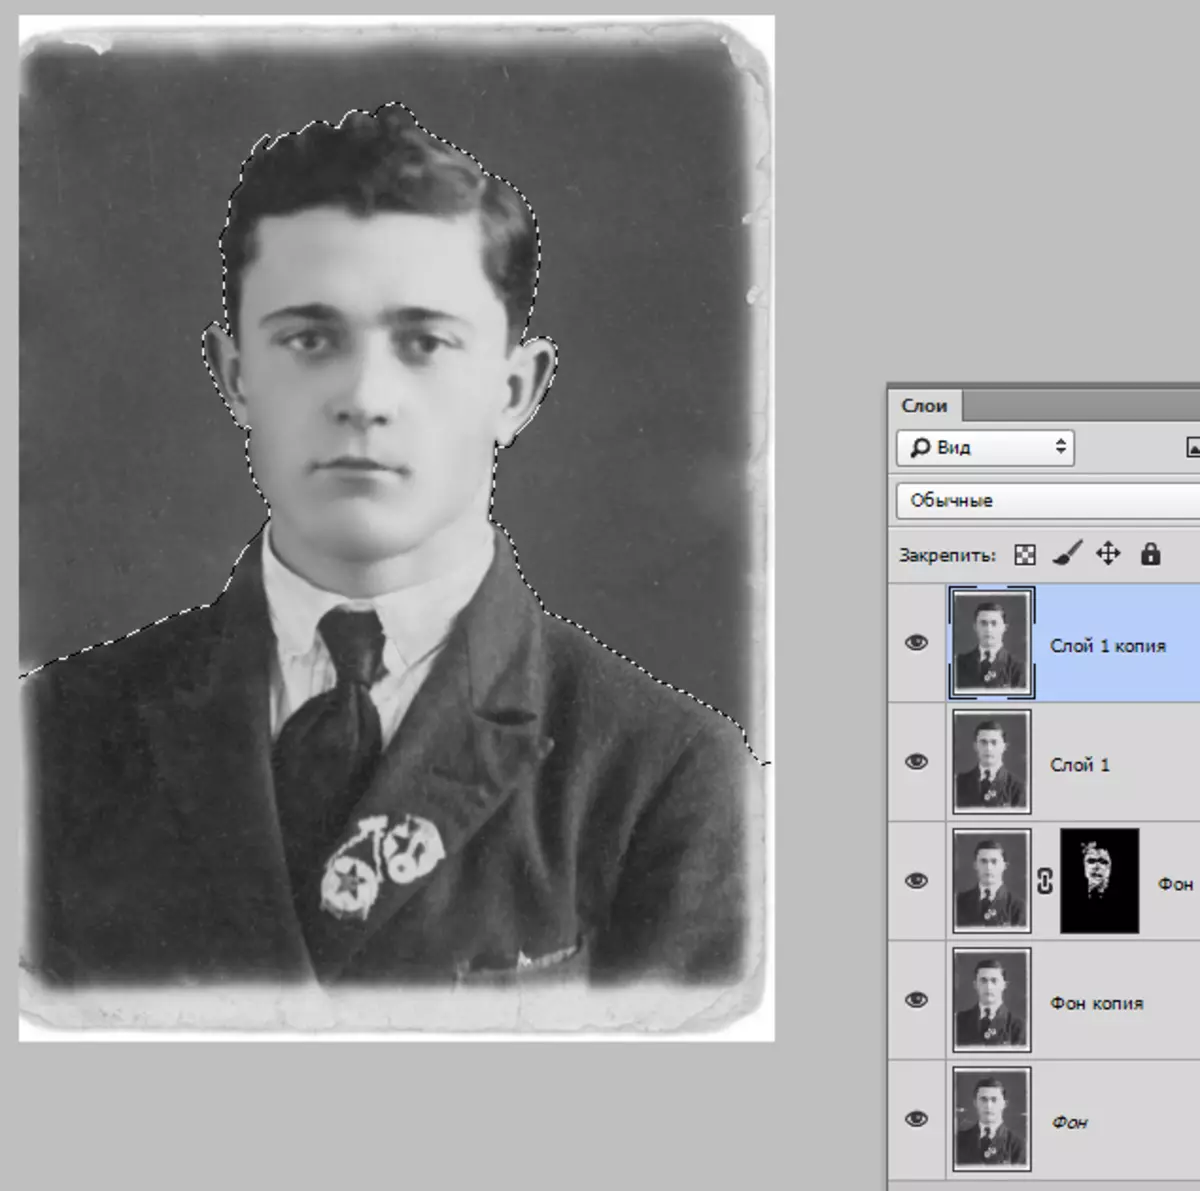
Create a footprint ( Ctrl + Shift + Alt + E ) And create a copy of the resulting layer.
We allocate the background with any tool (pen, Lasso). For the best understanding, how to highlight and cut an object, be sure to read this article. The information contained in it will allow you to easily separate the hero from the background, but I do not delay the lesson.
So, we allocate the background.
Then click SHIFT + F5. And choose color.
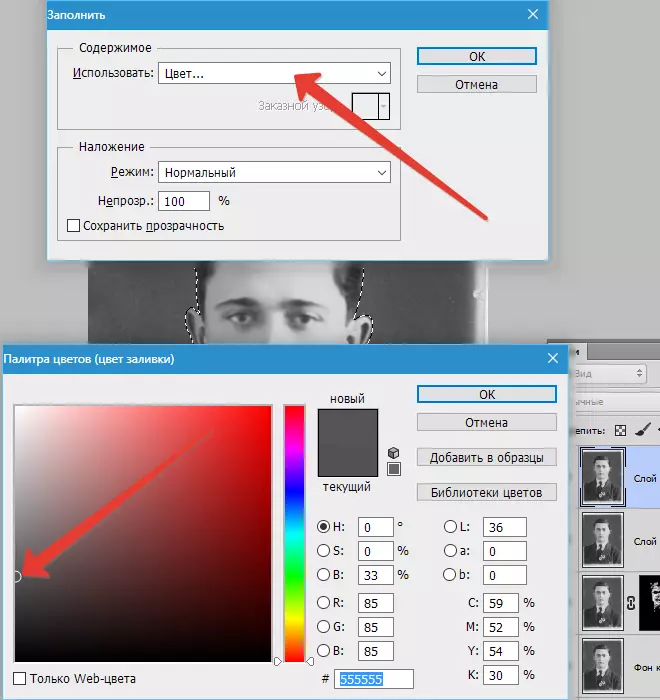
Press everywhere OK and remove the selection ( Ctrl + D.).
We increase the contrast and clarity of the snapshot
To increase contrast, we use the correction layer "Levels".

In the layer settings window, pull the extreme sliders to the middle, seeking the desired effect. You can also play with an average slider.


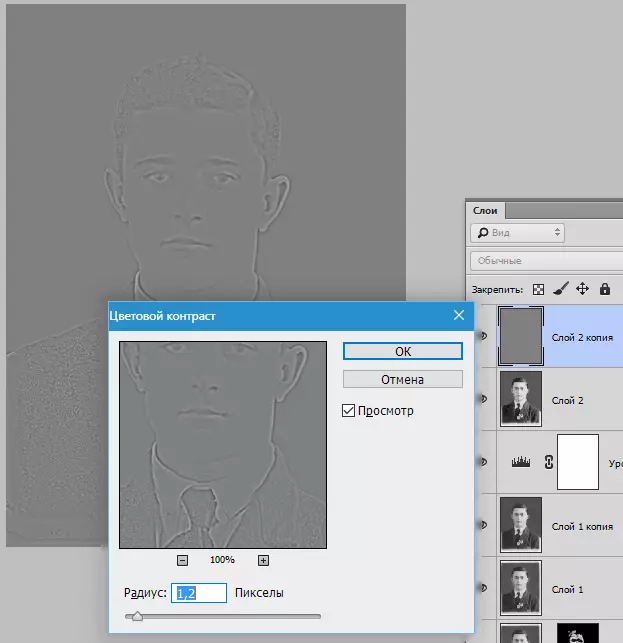
The clarity of the image will be raised using the filter "Colour contrast".
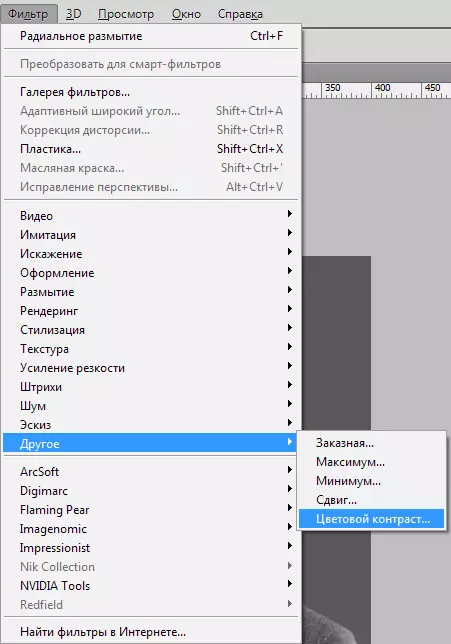
Create an imprint of all layers again, create a copy of this layer and apply a filter. Configure it so that the main details and click OK.
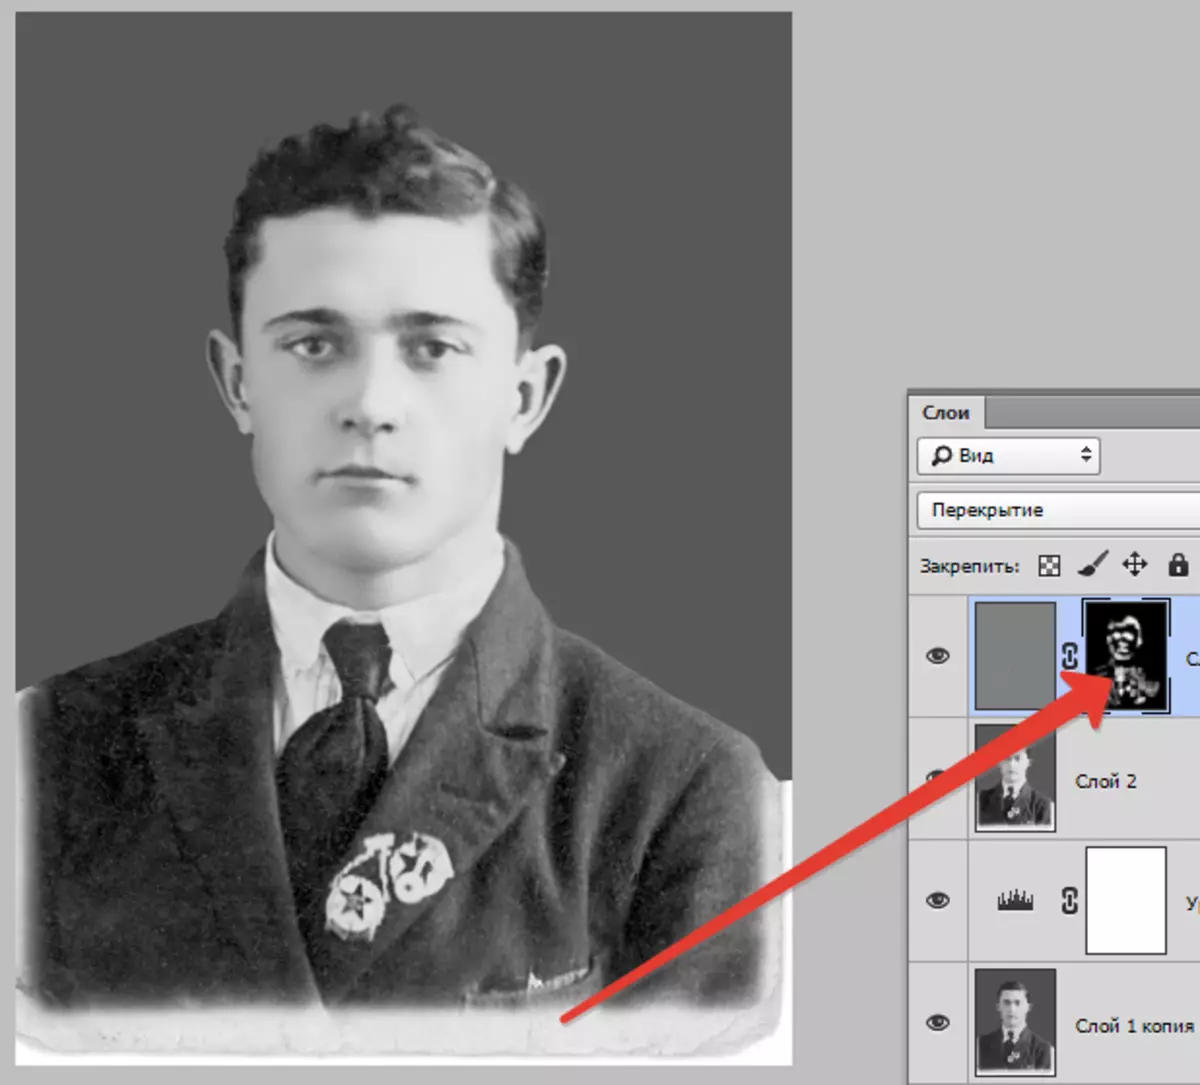
Change the imposition mode on "Overlapping" , then create a black mask for this layer (see above), take the same brush and go through the key portion of the picture.
It remains only to refuse and toned the photo.
Choose tool "Frame" And cut off unnecessary parts. Upon completion click OK.


Tinnate photos we will be using the corrective layer "Color Balance".
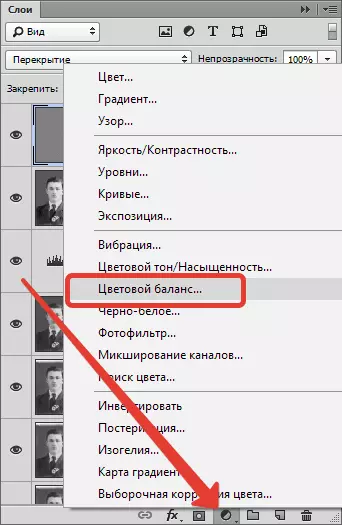
Customize the layer, achieving the effect, as on the screen.

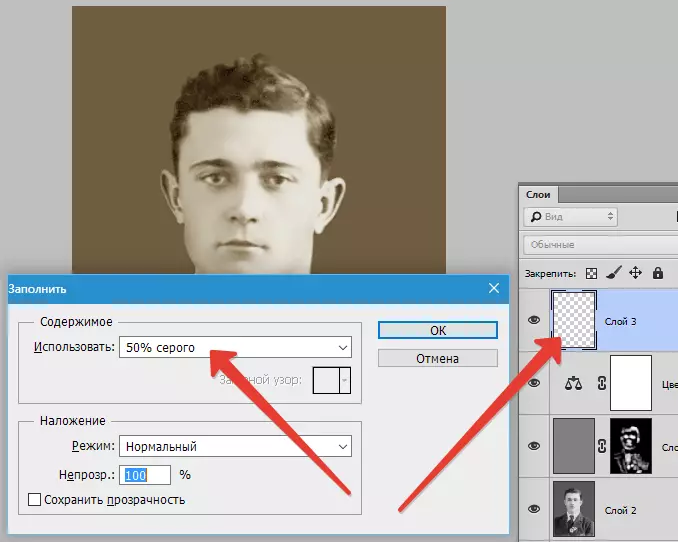
Another little trick. To give a snapshot of a larger naturalness, create another empty layer, click SHIFT + F5. and hill it 50% gray.
Apply filter "Add noise".
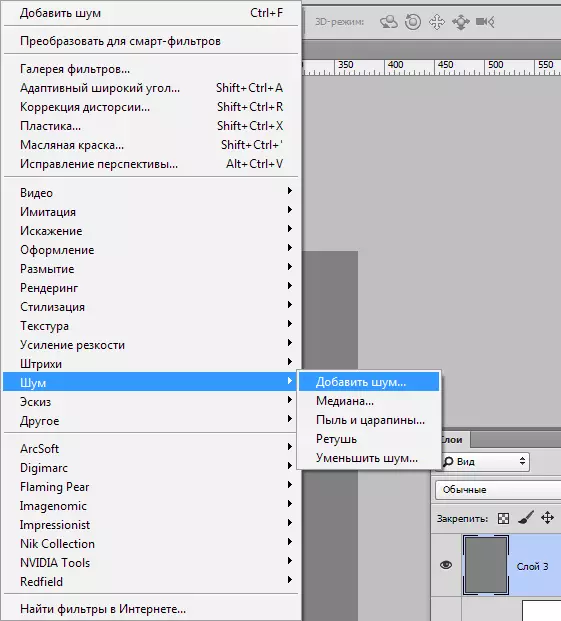
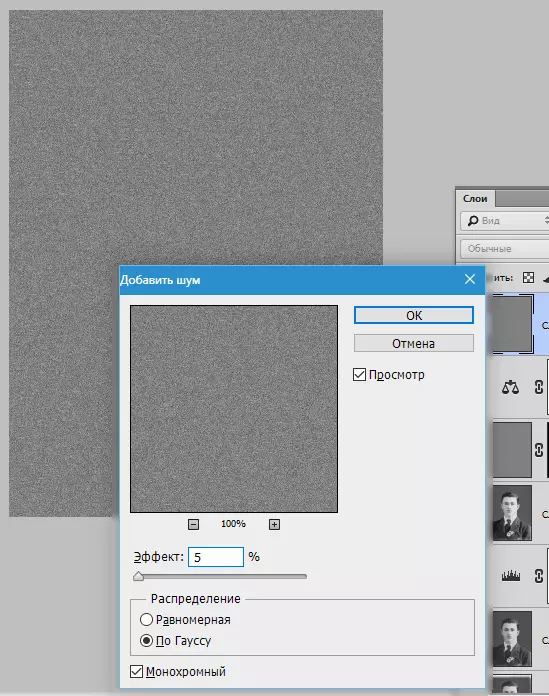
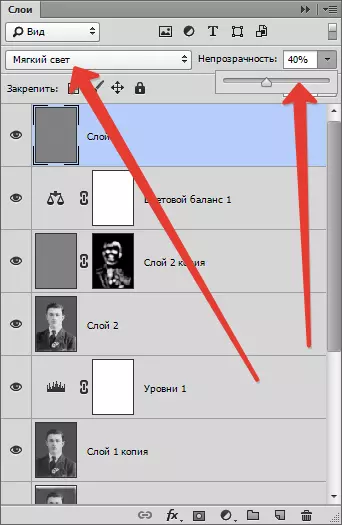
Then change the overlap mode on "Soft light" and reduce the opacity of the layer to 30-40%.
Look at the results of our efforts.
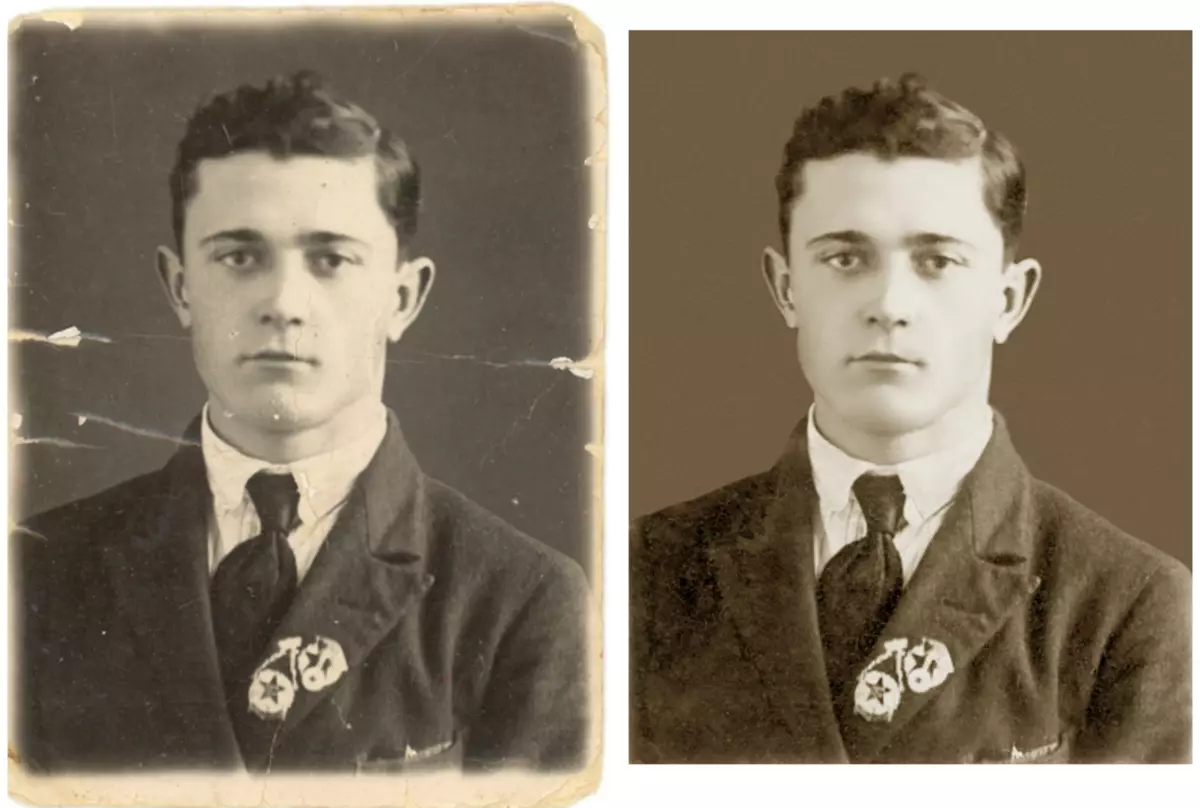
This can be stopped. Photos we renovated.
In this lesson, the main techniques retouching old pictures were shown. Using them, you can successfully restore photos of grandparents.