

When printing an Excel document, the situation is often the situation when the width table does not fit on a standard sheet of paper. Therefore, everything that goes beyond this border, the printer prints on extra sheets. But, often, this situation can be corrected by simply changing the orientation of the document with the book, which is installed by default, on the landscape. Let's figure it out how to do this with the help of various ways in Excele.
Lesson: How to make landscape orientation in Microsoft Word
Turn the document
In an Excel application, there are two options for the orientation of sheets when printing: Book and landscape. The first one is worth the default. That is, if you have not performed any manipulations with this setting in the document, then when printing it will go to the book orientation. The main difference between these two types of positioning is that under the book direction the height of the page is more width, and with the landscape - on the contrary.
In essence, the mechanism of the procedure for turning the page with a book orientation to the landscape in the Excel program is the only one, but it can be started using one of several options. At the same time, each individual sheet sheet can be used its positioning. At the same time, within one sheet, this parameter is changed for individual items (pages).
First of all, it is necessary to find out whether to turn the document at all. In these purposes, you can use preview. To do this, turning into the "File" tab, move to the "Print" section. In the left side of the window there is a field of pre-showing a document, as it will look like in print. If in the horizontal plane it is divided into several pages, then this means that the table does not fit on the sheet.

If, after this procedure, we will return to the "Home" tab, then we will see a dotted division line. In the case when it is vertically splits the table on the part, then this is an additional evidence that when printing, all columns on one page cannot be placed.
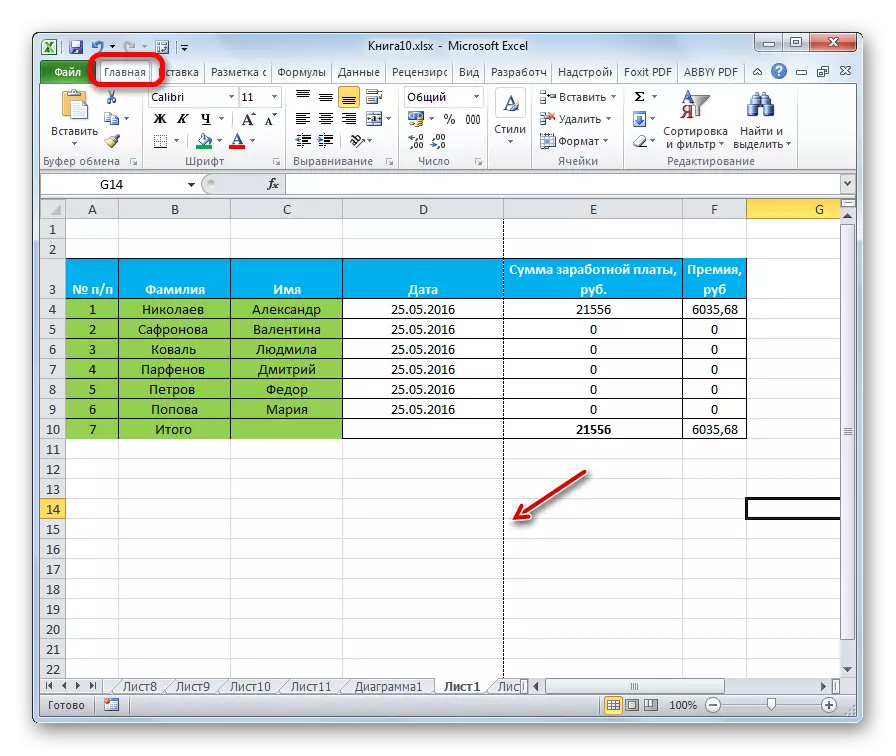
Due to these circumstances, it is best to change the orientation of the document to the landscape.
Method 1: Print Settings
Most often, users are resorted to tools located in the print settings.
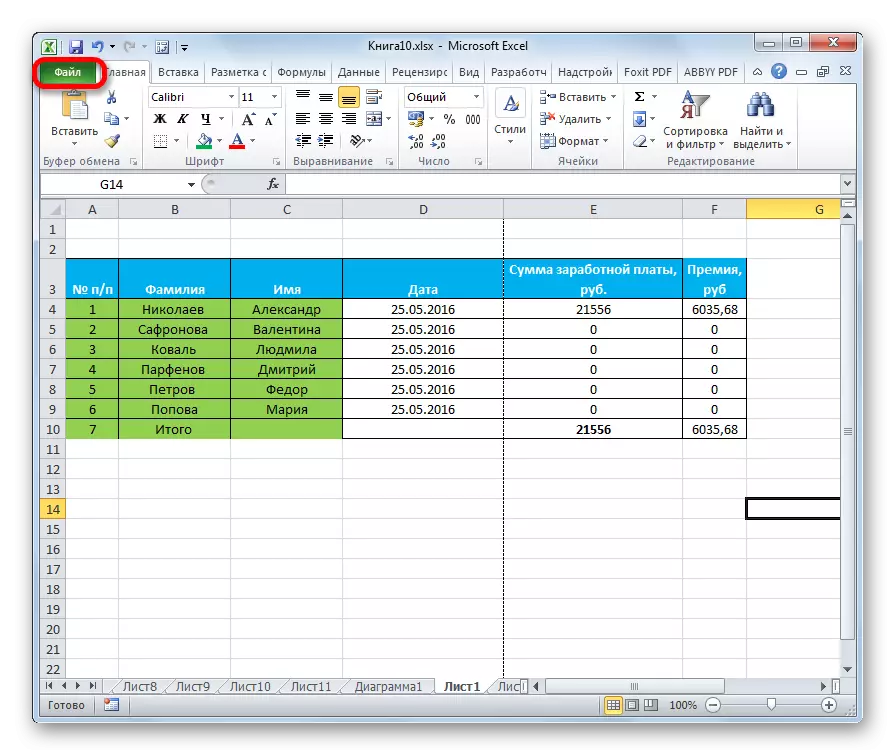
- Go to the "File" tab (in Excel 2007, instead, you need to click on the Microsoft Office logo in the upper left corner of the window).
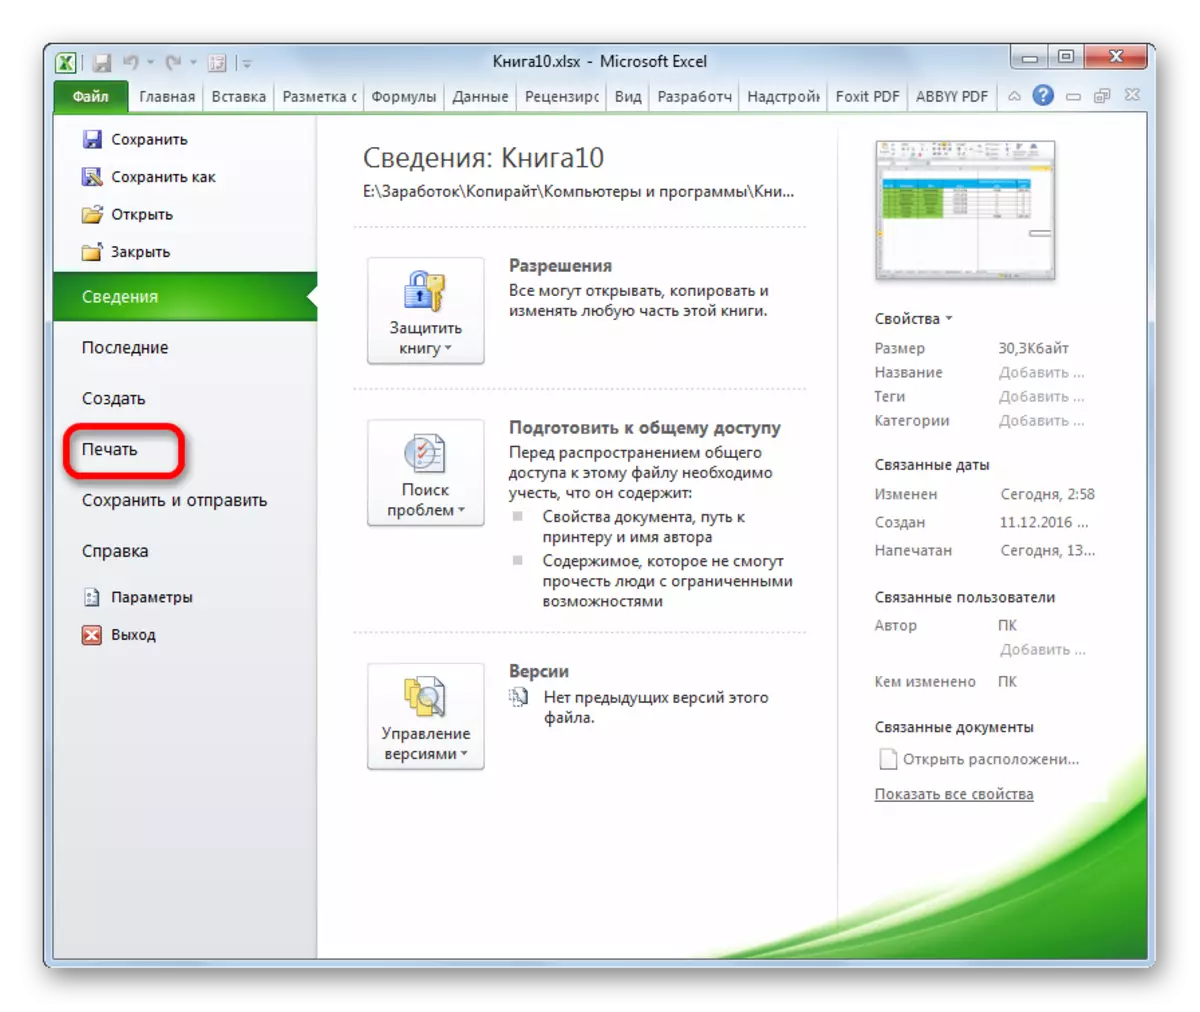
- Move into the "Print" section.
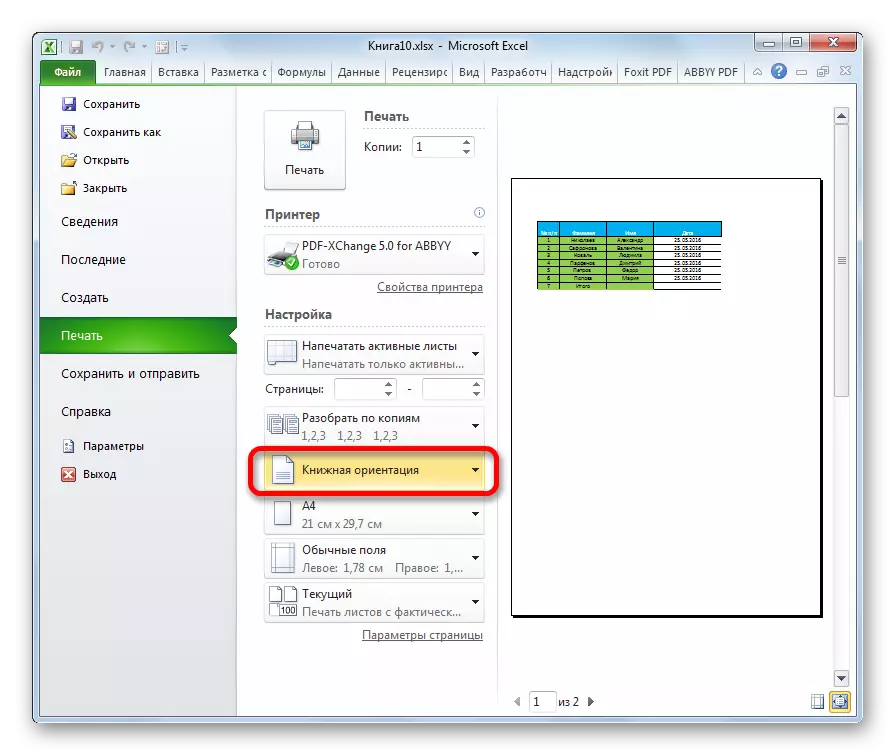
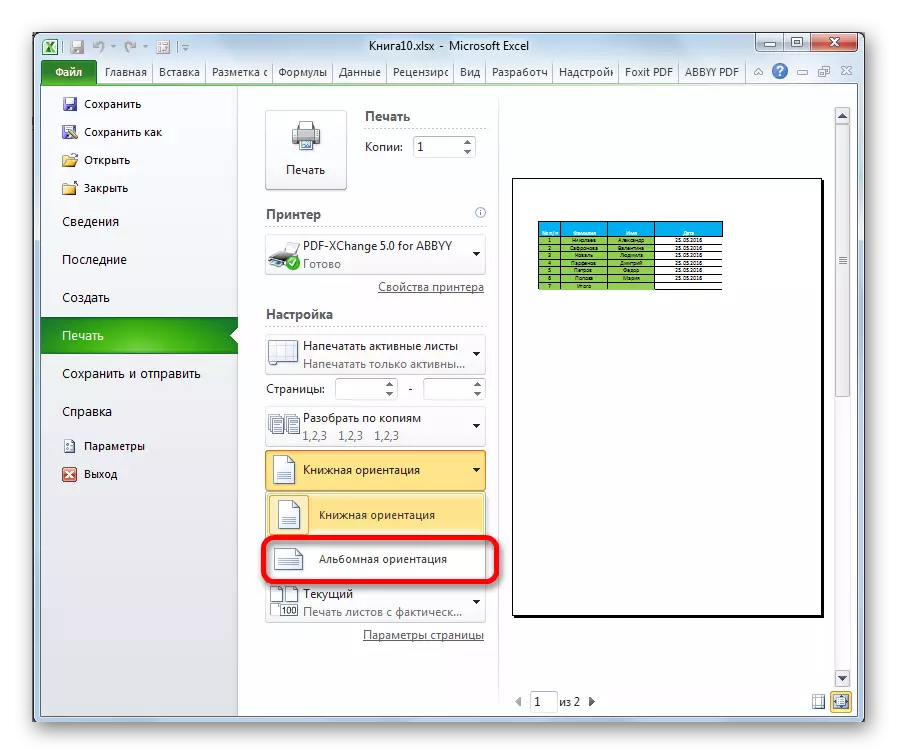
- Opens already familiar to us the area of the preview. But this time it will not be interested in us. In the "Setup" block by clicking on the "Book orientation" button.
- From the drop-down list, select the item "Ladder orientation".
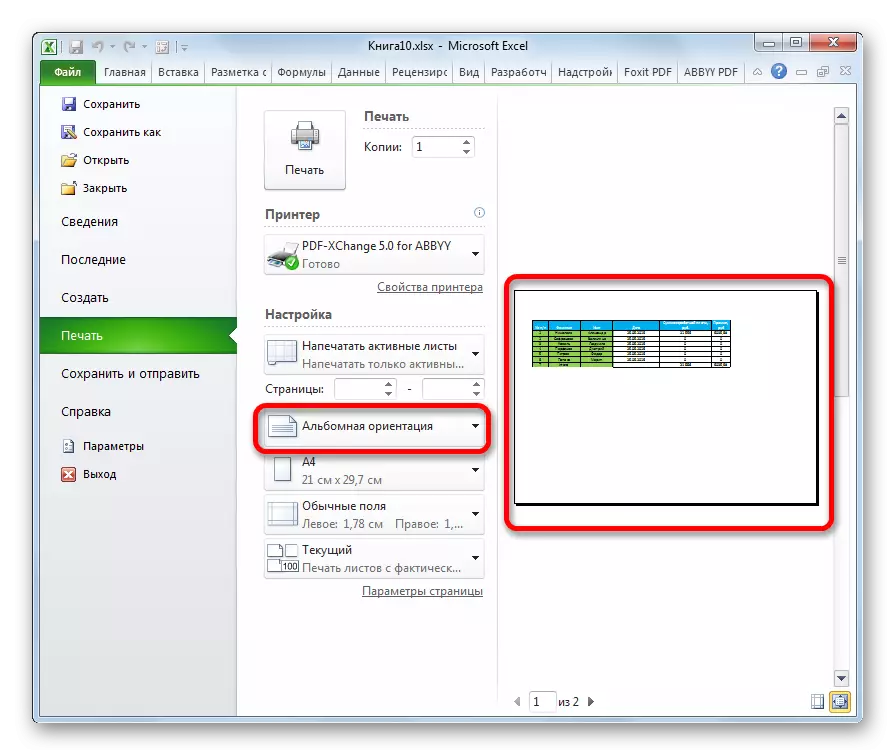
- After that, the orientation of the Excel active sheet pages will be changed to the landscape, which can be observed in the preview of the printed document.
Method 2: Page Markup Tab
There is a simpler method for changing the orientation of the sheet. It can be performed in the "Page Markup" tab.
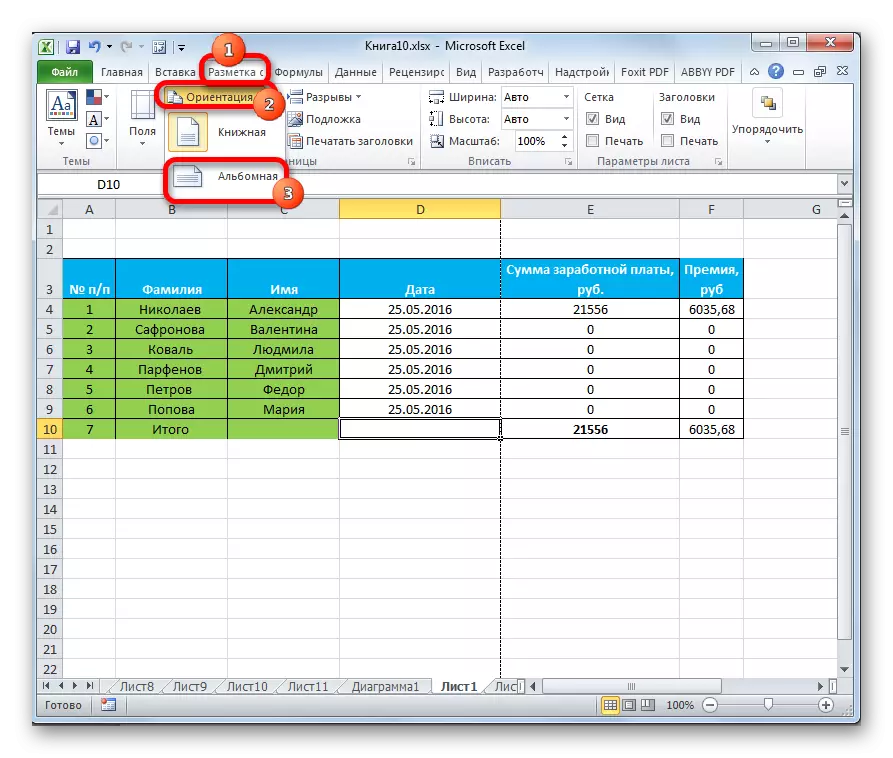
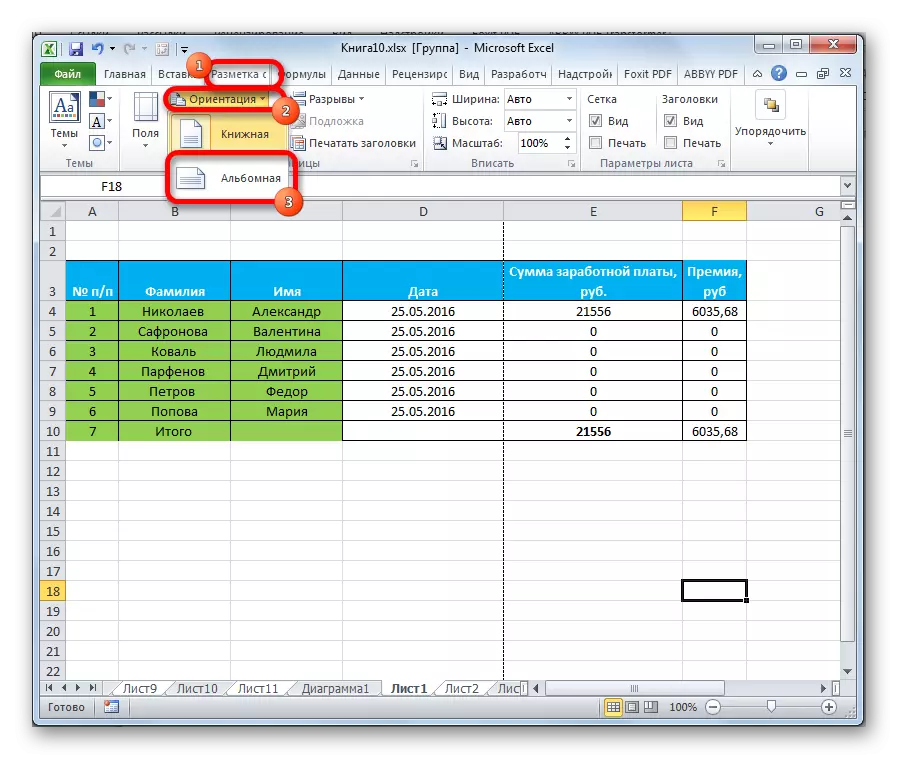
- Go to the tab "Page Markup". Click on the "Orientation" button, which is placed in the "Page Parameters" toolbar. From the drop-down list, select the "Loomge" item.
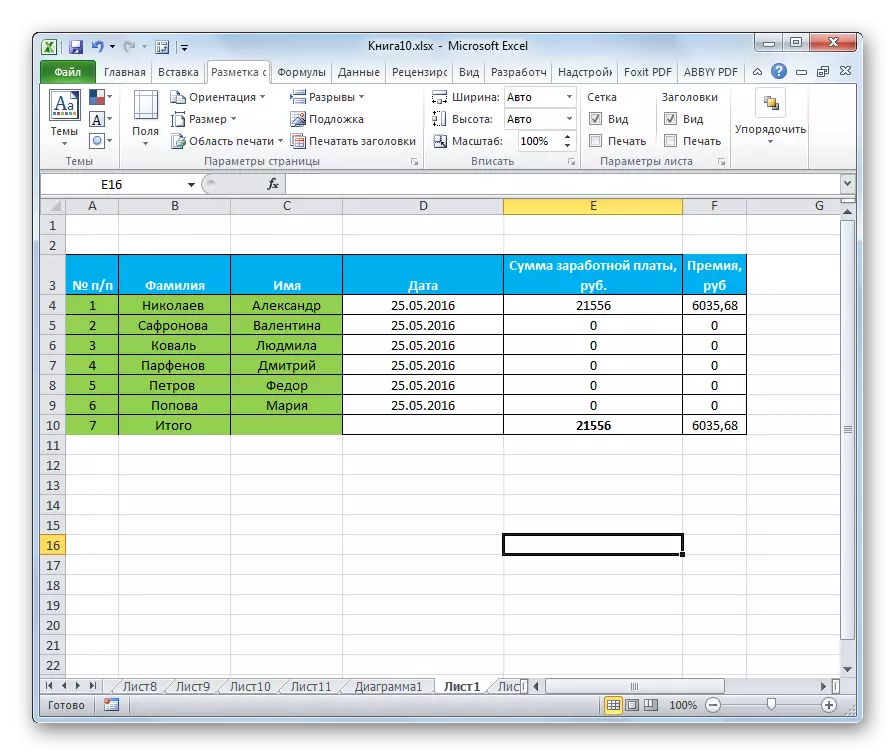
- After that, the orientation of the current sheet will be replaced with the landscape.
Method 3: Changing the orientation of several sheets at the same time
When using the methods described above, the location direction is shown only on the current sheet. At the same time, there is an opportunity to apply this parameter for several similar items at the same time.
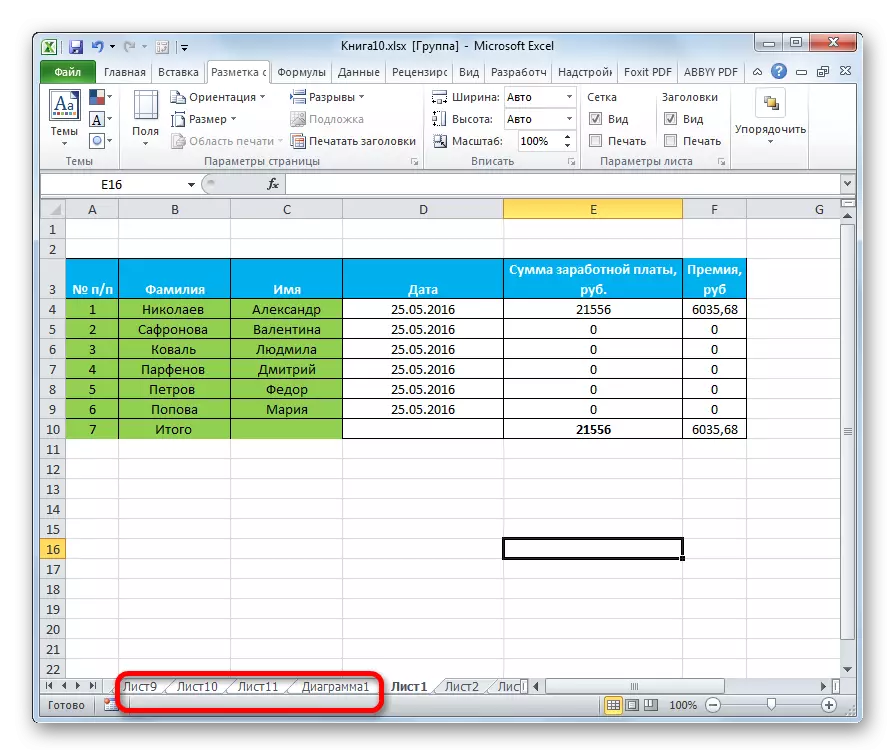
- If the sheets you want to apply a group action are located next to each other, then clamp the SHIFT button on the keyboard and without releasing it, click on the first label located in the bottom left part of the window above the status bar. Then click on the last label of the range. Thus, the entire range will be highlighted.
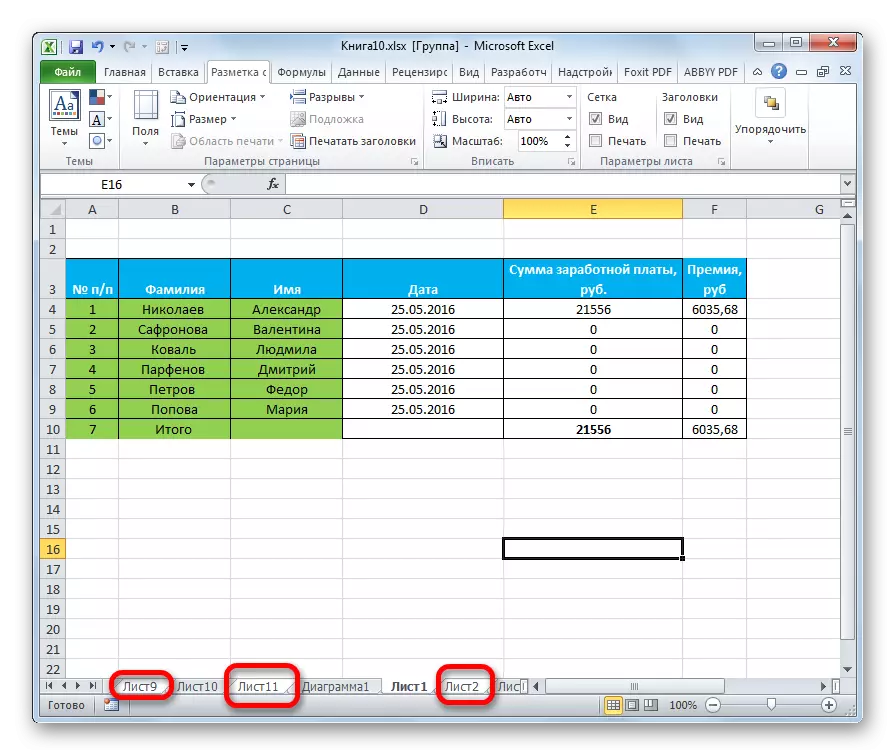
If you need to switch the page directions on several sheets, the shortcuts of which are not located next to each other, then the algorithm of action is a bit different. Click the Ctrl button on the keyboard and click on each shortcut, over which you need to perform operation left-click. Thus, the necessary elements will be highlighted.
- After the selection is made, we are already familiar to us. Go to the tab "Page Markup". We click the button on the "Orientation" tape, located in the "Page Settings" toolbar. From the drop-down list, select the "Loomge" item.
After that, all selected sheets will have the above-mentioned orientation of the elements.
As you can see, there are several ways to change the book orientation to the landscape. The first two methods described by us are applicable to change the parameters of the current sheet. In addition, there is an additional option that allows you to make changes to several sheets at the same time.