
Photoshop provides us with extensive opportunities to eliminate various defects from images. To do this, there are several tools in the program. These are various brushes and stamps. Today we will talk about the instrument called "Restoring Brush".
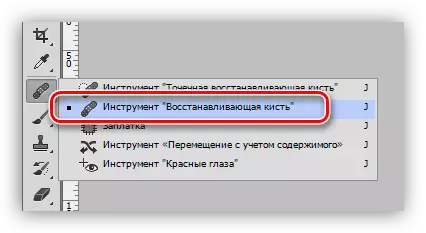
Regenerating brush
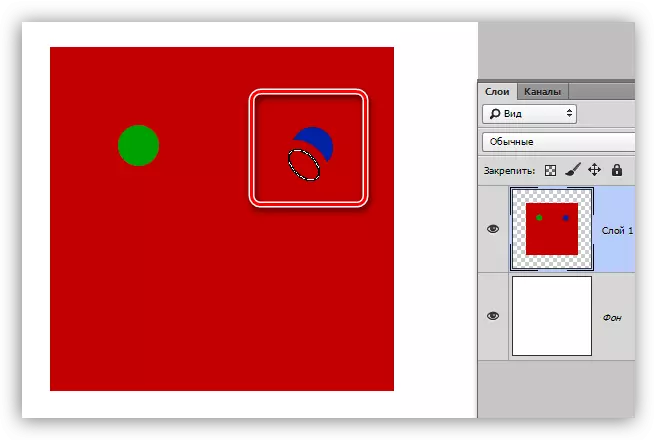
This tool is used to remove defects and (or) unwanted images of the image by replacing the color and texture to the pre-taken sample. The sample is clicked with a pinch key Alt on the reference area,
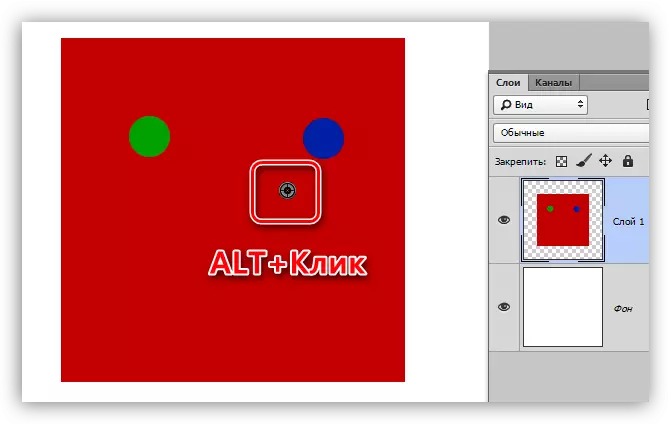
And the replacement (restoration) is the subsequent click on the problematic.
Settings
All tool settings are identical to the settings of the ordinary brush.
Lesson: Tool "Brush" in Photoshop
For the "restoring brush" you can adjust the shape, size, rigidity, intervals and angle of the tilt of the bristles.
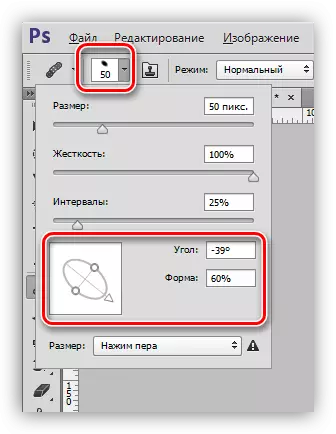
- Shape and angle of inclination.
In the case of a "reducing brush", only the relationship between the ellipse axes and the angle of inclination can be configured. Most often enjoy the form shown in the screenshot.
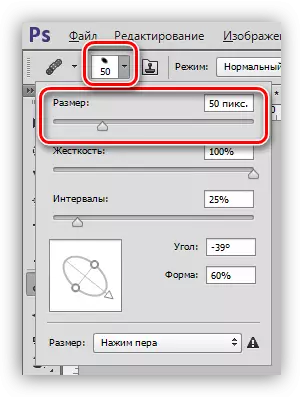
- The size.
The size is configured by the appropriate slider, or keys with square brackets (on the keyboard).
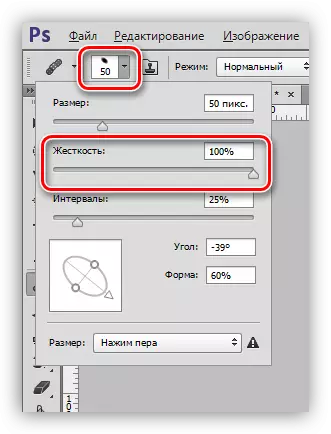
- Rigidity.
Stiffness determines how blurred the brushes will be.
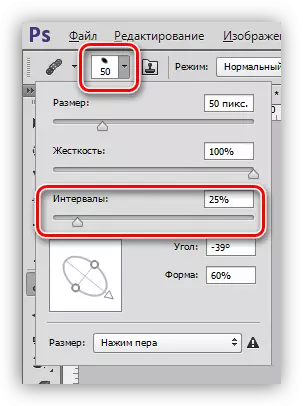
- Intervals.
This setting allows you to increase the gaps between prints with continuous application (painting).
Parameter panel
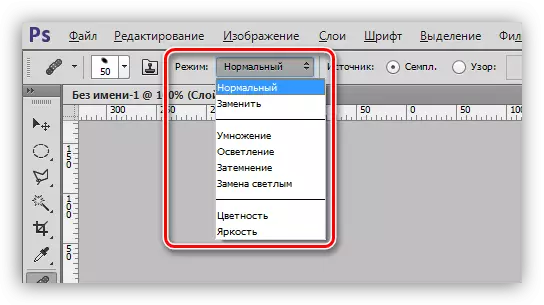
1. Overlay mode.
The setting determines the content of the content of the brush produce on the contents of the layer.
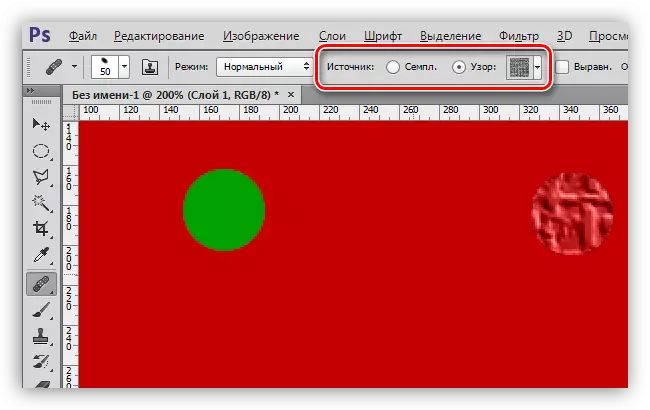
2. Source.
Here we have the opportunity to choose from two options: "sample" (standard "regenerating brush" setting, at which it works in normal mode) and "pattern" (the brush imposes on the selected sample one of the pre-installed patterns).
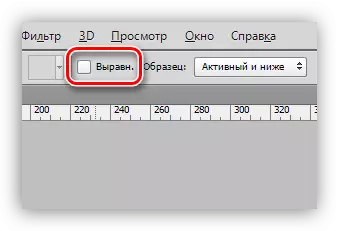
3. Alignment.
Setup allows you to use the same offset for each brushes print. It is rarely used, it is usually recommended to disconnect to avoid problems.
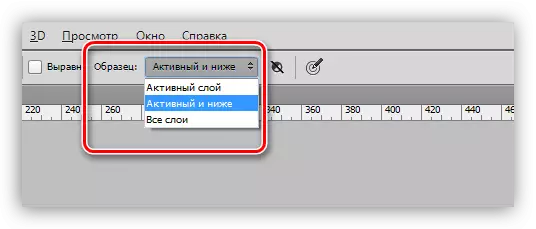
4. Sample.
This parameter determines which layer will take a color sample and texture for subsequent recovery.
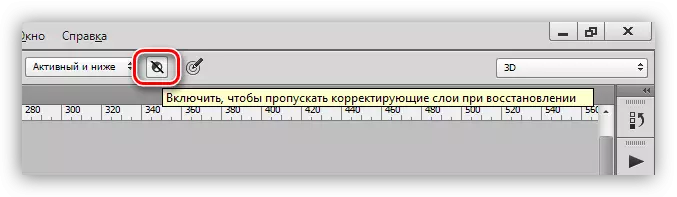
5. The next small button when activating allows you to automatically pass corrective layers when sample selection. It is quite useful if the document is actively using corrective layers, and it is necessary to work simultaneously tool and see those effects that are applied with them.
Practice
The practical part of this lesson will be very short, since almost all articles telling about processing photos on our website include the use of this tool.
Lesson: Photo processing in Photoshop
So, in this lesson, we remove some defect from the face of the model.
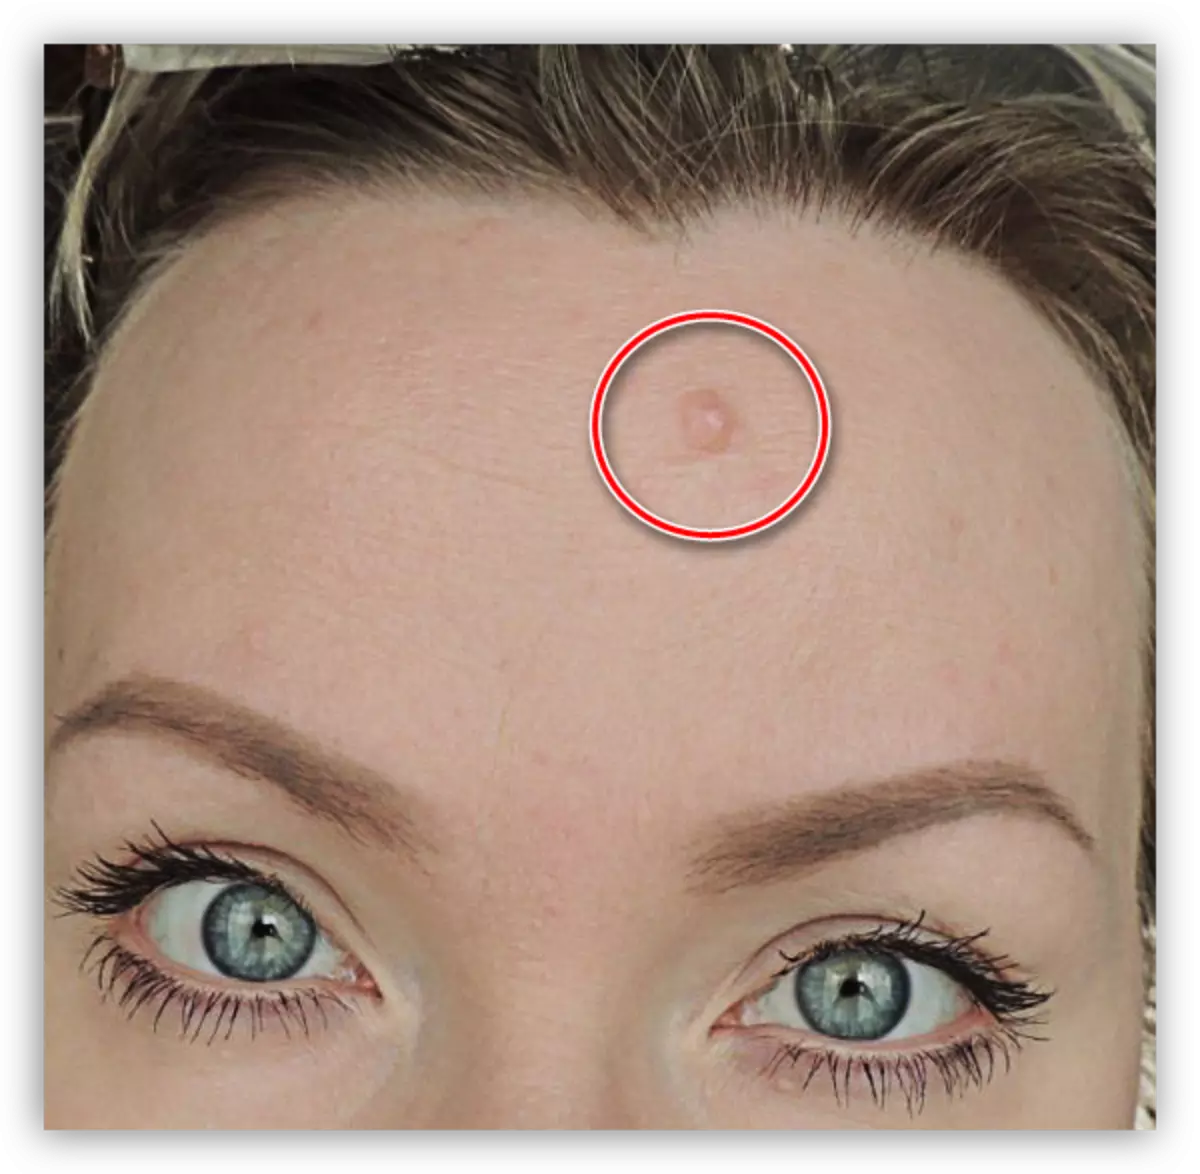
As you can see, the mole is quite large, and it will not work well for one click.
1. We select the size of the brush, approximately as in the screenshot.
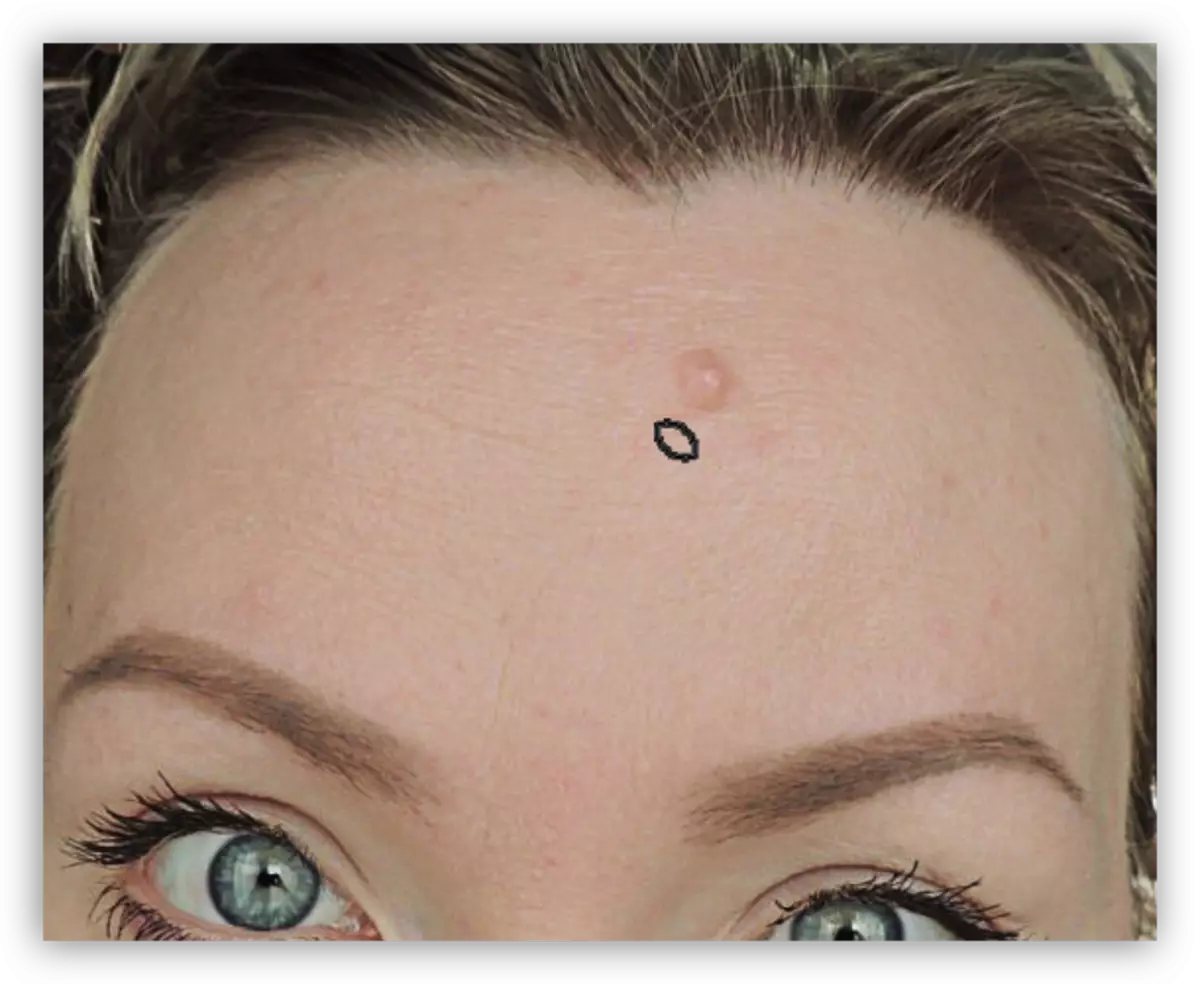
2. Next, we act as described above (Alt + click on the "clean" skin, then click on the mole). We try to pick up the sample as close as possible to the defect.

That's all, the mole is removed.
This lesson for the study of the "restoring brush" is completed. To secure knowledge and workouts, read other lessons on our website.
"Restoring brush" is one of the most universal retouching tools of photographs, so it makes sense to study it more densely.