

To show users where the photo or video published in Instagram occurs, the location information can be attached to the post. On how to add geolocation to the snapshot, and it will be discussed in the article.
Geolocation is a location mark by clicking on which it shows the exact location on the maps. As a rule, tags are used in cases when required:
- Show where photos or video were shot;
- Surride existing pictures by location;
- To promote the profile (if you add a popular place in Geothey, a snapshot will see more users).
Add a place in the process of publishing a photo or video
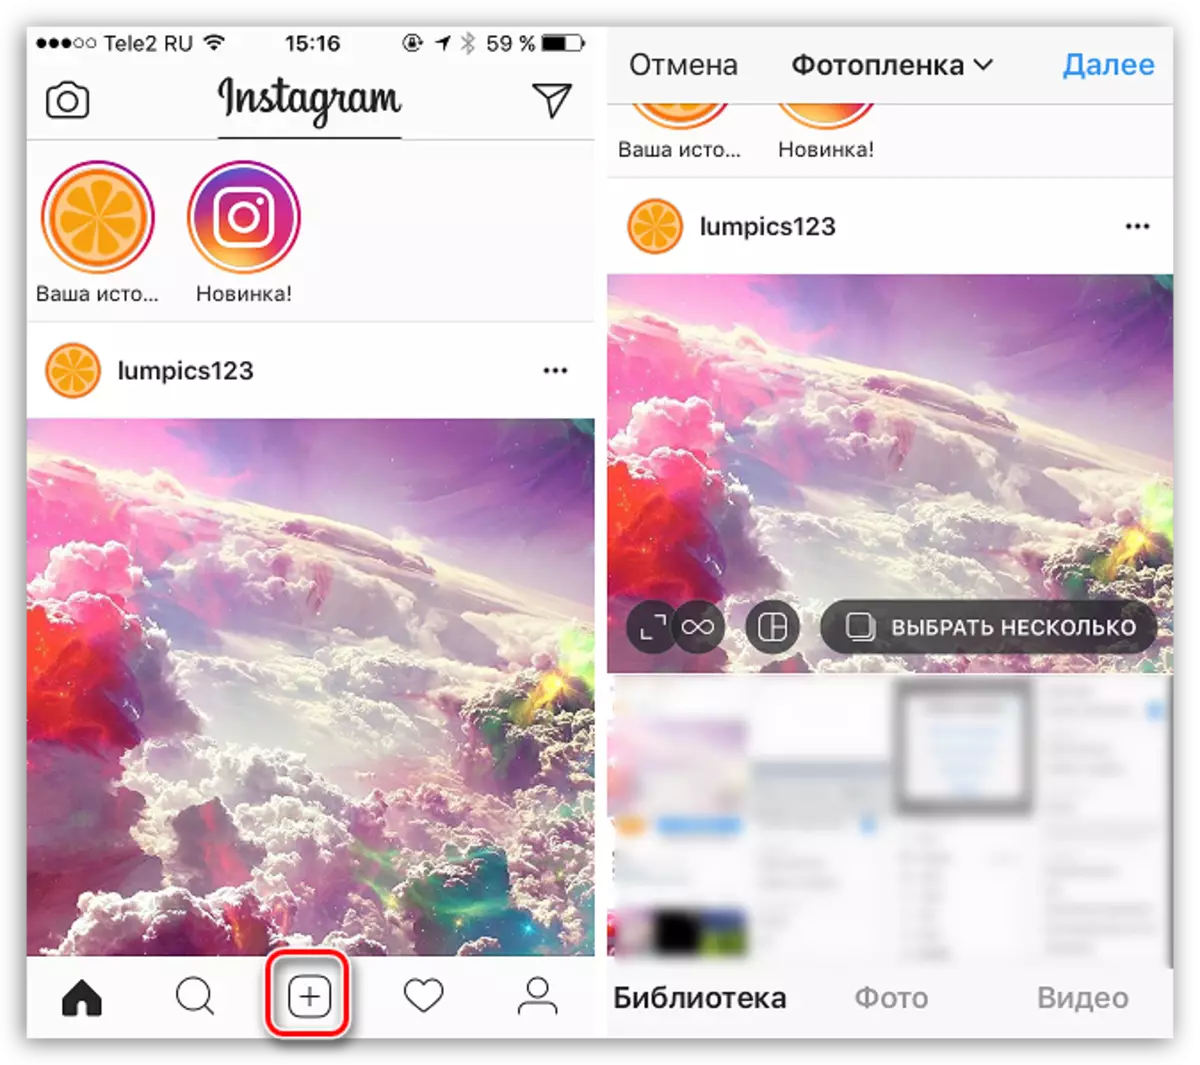
- As a rule, in most cases, users add a geometric in the process of publishing a new post. To do this, click on the Instagram central button, and then select photo (video) from the collection on your smartphone or immediately shoot on the device camera.
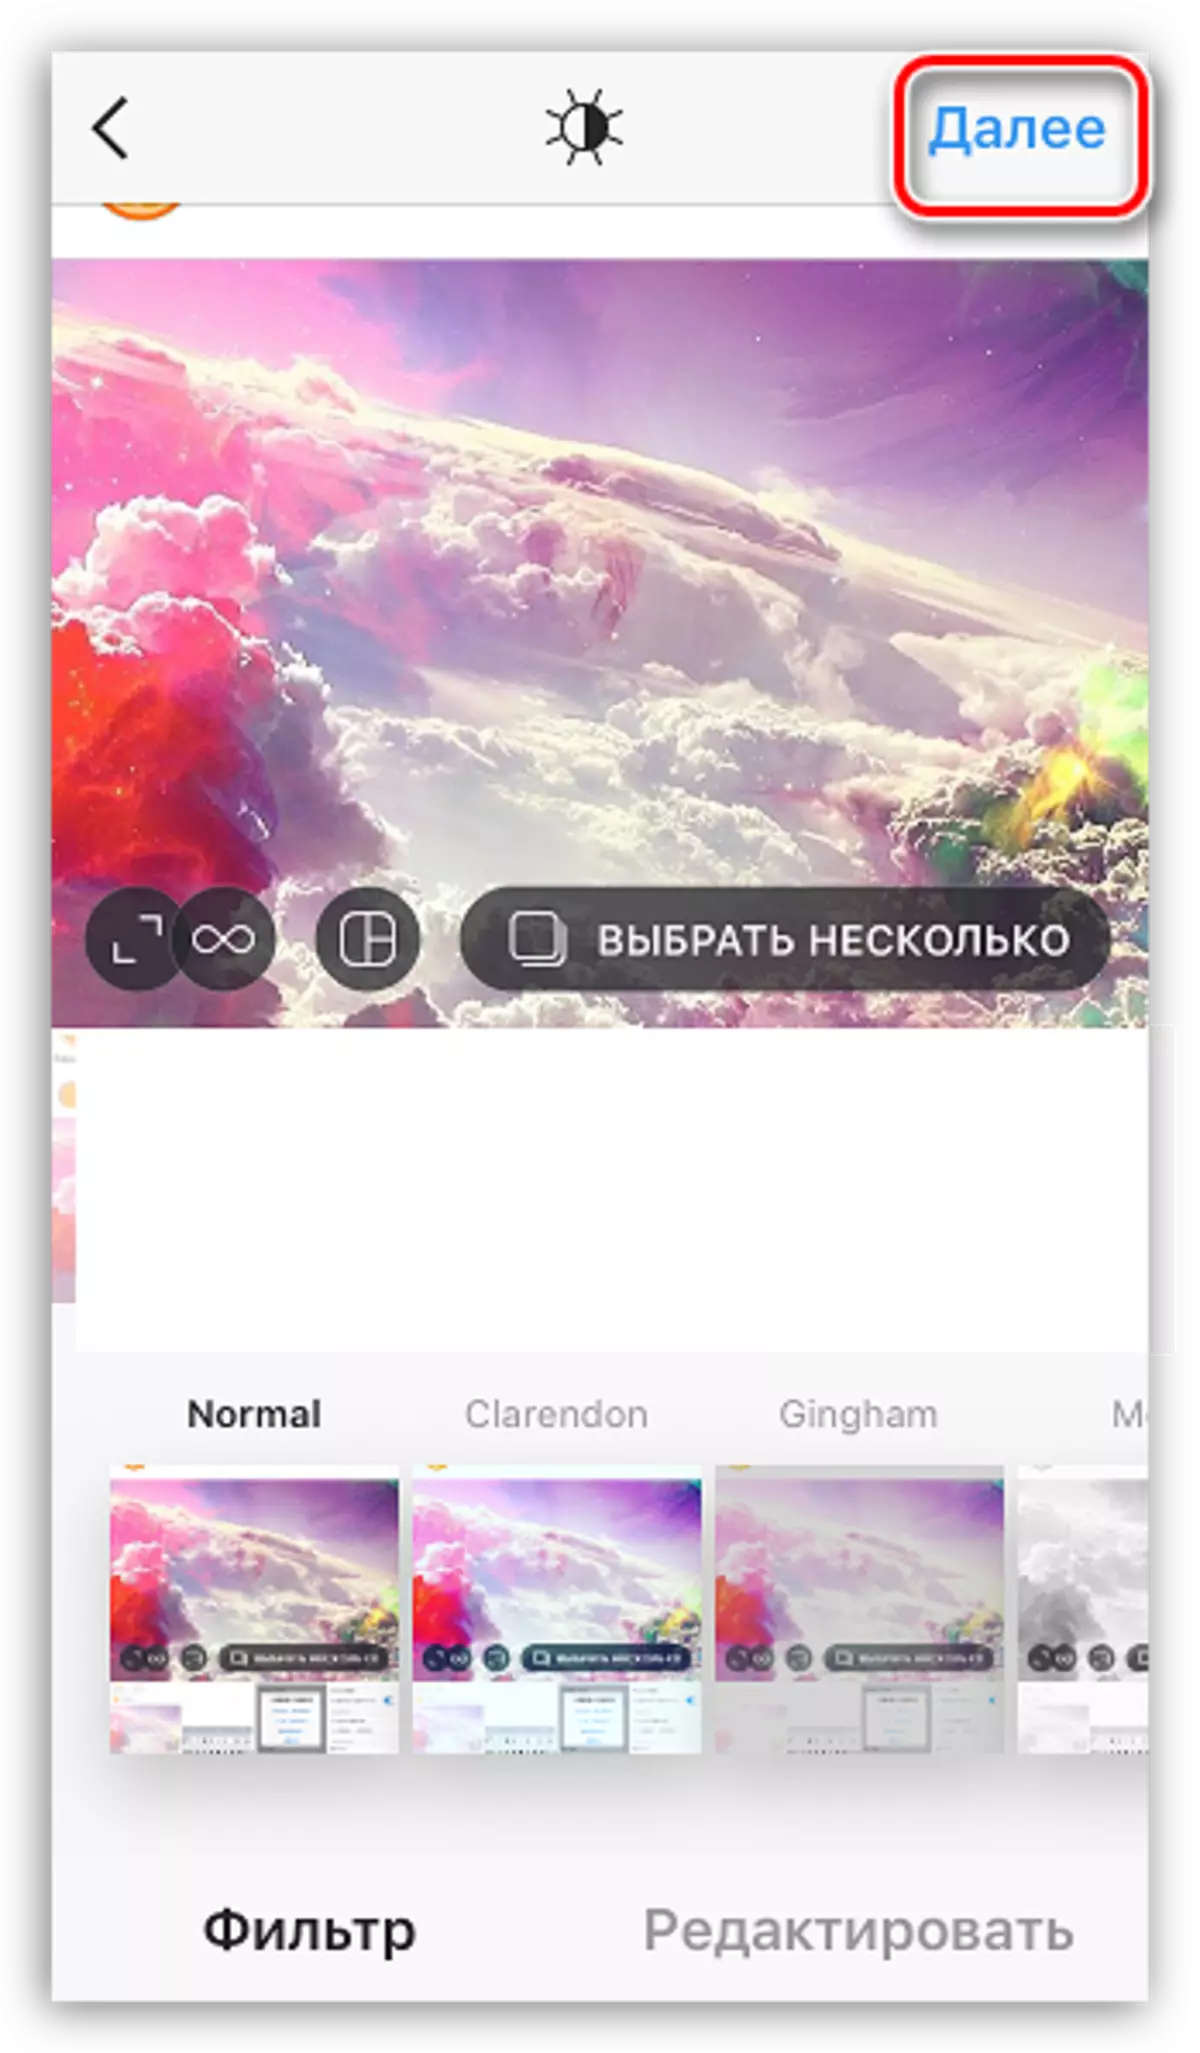
- Edit the snapshot at your discretion, and then go further.
- In the final publication window, click the "Specify Place" button. The application will propose to choose one of the places closest to you. If necessary, use the search bar to find the desired geometry.
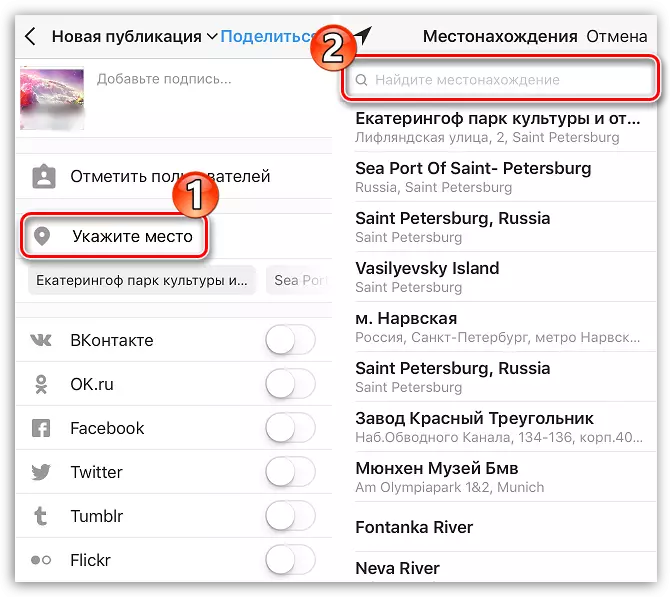
The label is added, so you can only complete the publication of your post.
Add a place to a published post
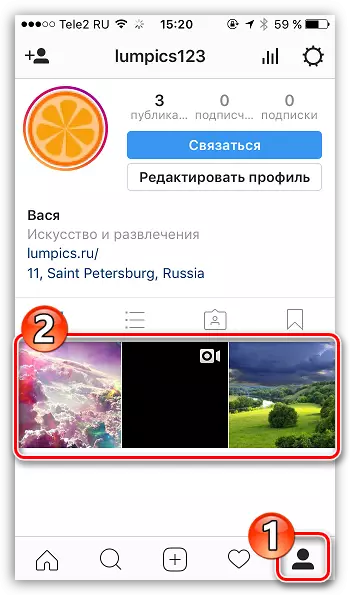
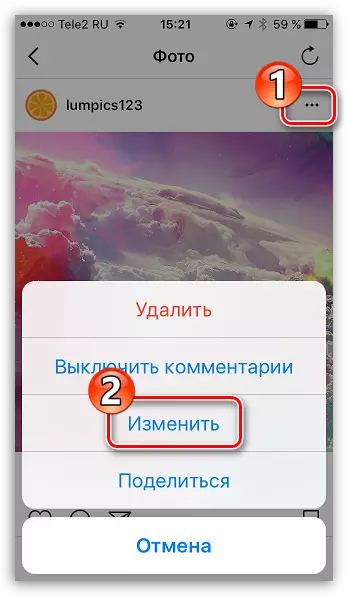
- In the event that the snapshot has already been published in Instagram, you have the opportunity to add a geometric to it during editing. To do this, go to the right tab to open the page of your profile, and then find and select a snapshot that will be edited.
- Click in the upper right corner along the Troyaty button. In the drop-down list, select "Change".
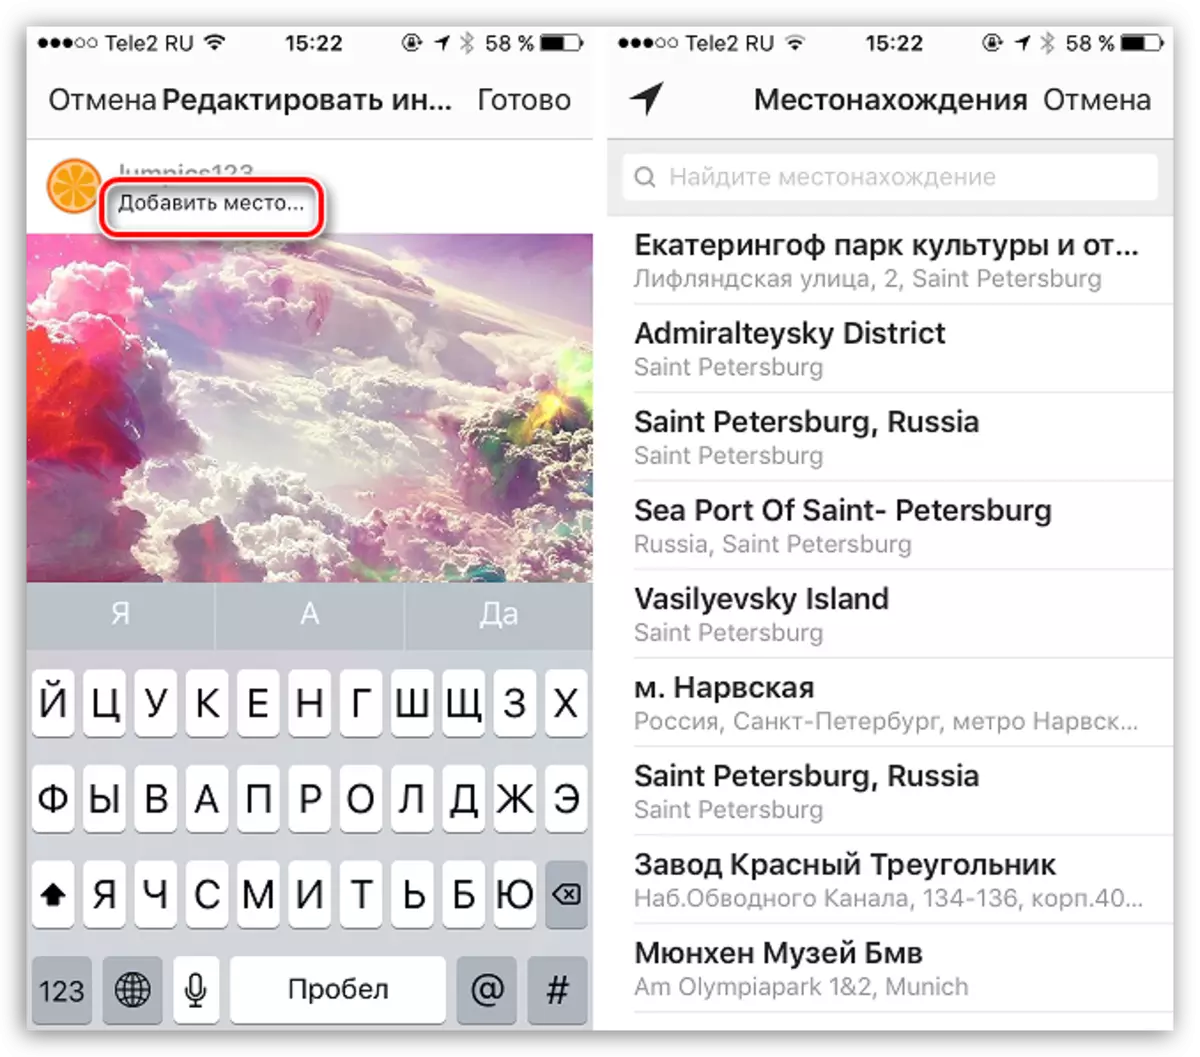
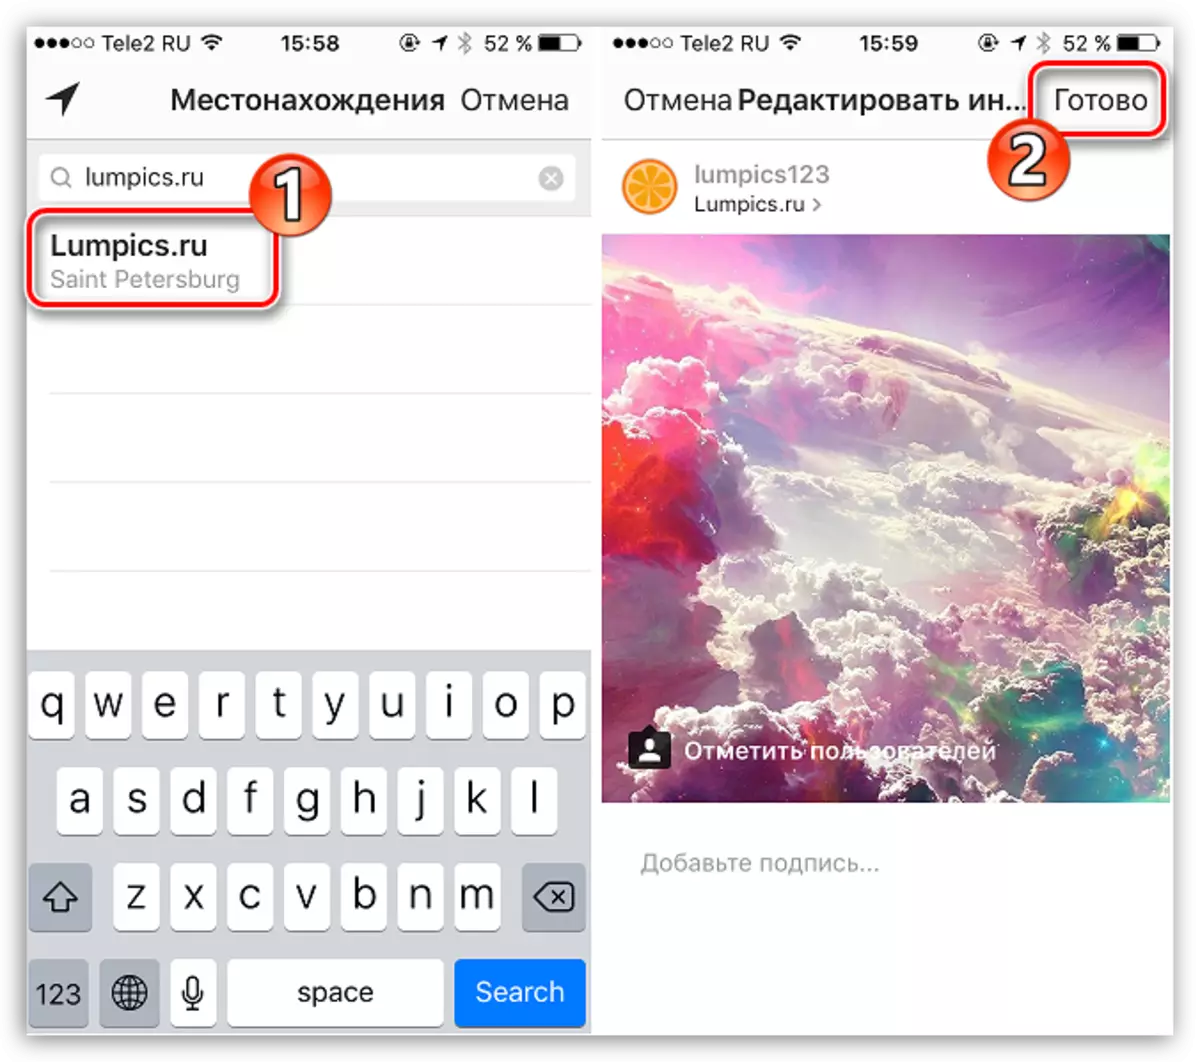
- Immediately click on the "Add place". The next instant the screen will display a list of geometers, among which you need to find the desired (you can use the search).
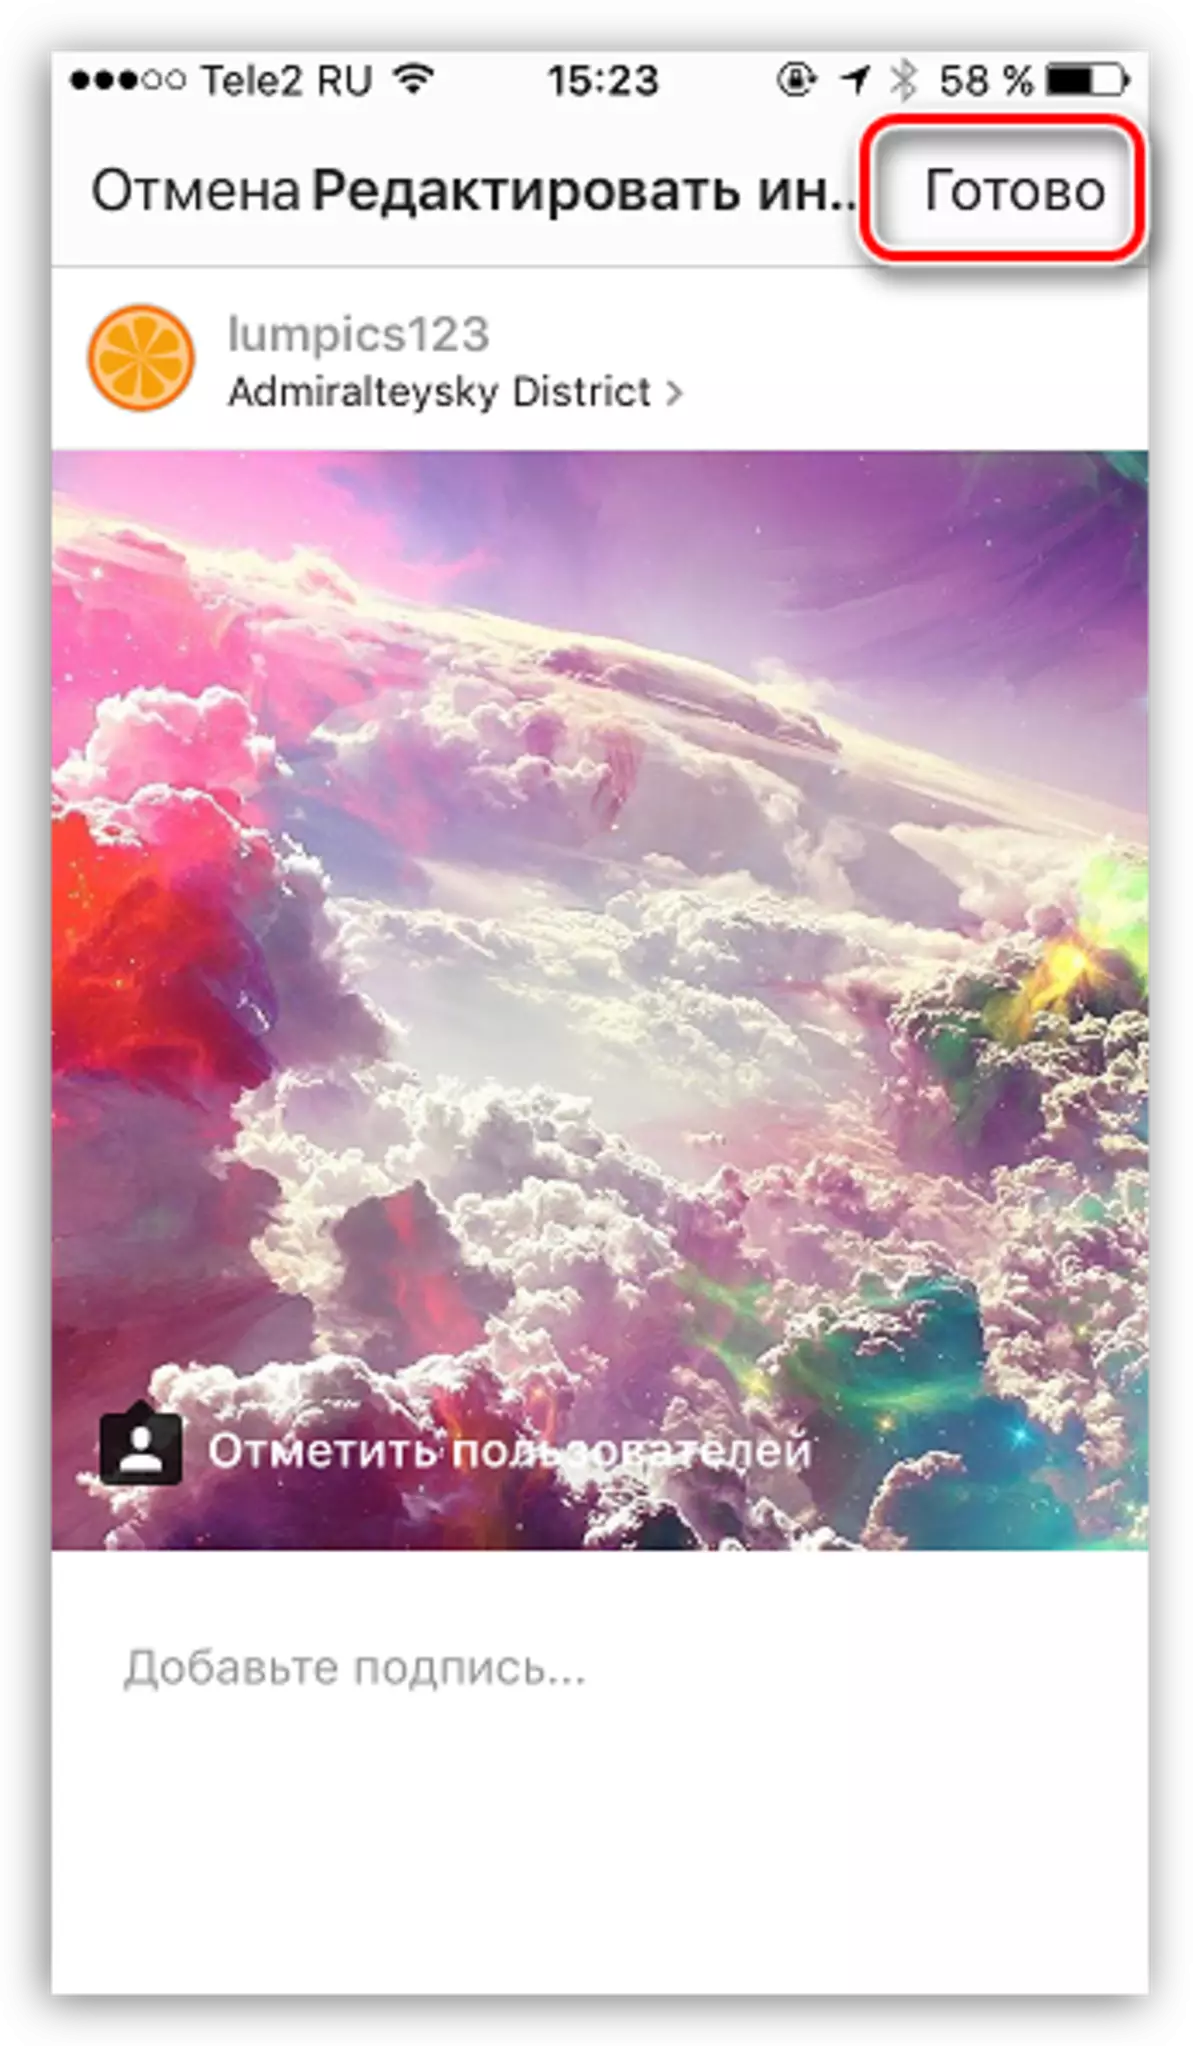
- Save the changes, taping in the upper right corner on the "Finish" button.
If the required place is missing in Instagram
It often happens when the user wants to add a label, but there is no such geoteg. So, it must be created.
If you have already been using the Instagram service quite a long time, you should know that earlier the application could add new marks. Unfortunately, this opportunity was removed at the end of 2015, and therefore, it now has to look for other methods for creating new geometrs.
- The focus is that we will create a label via Facebook, and then add it to Instagram. To do this, you will need a Facebook application (through the web version this procedure does not work), as well as a registered account of this social network.
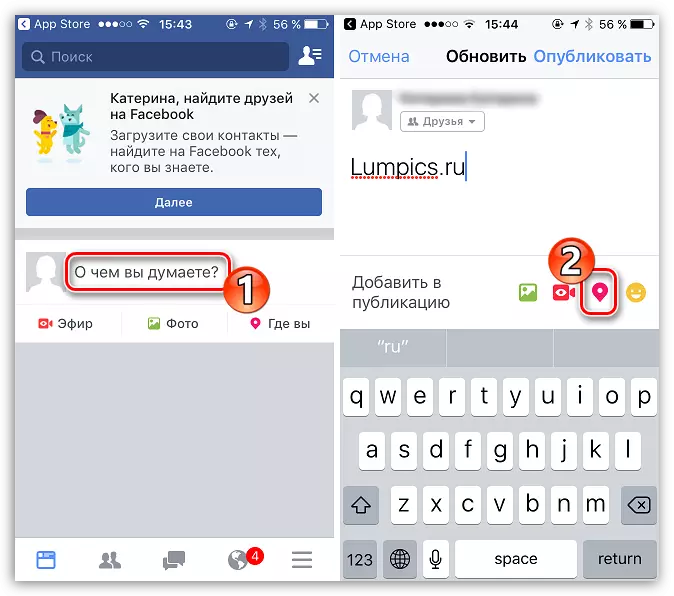
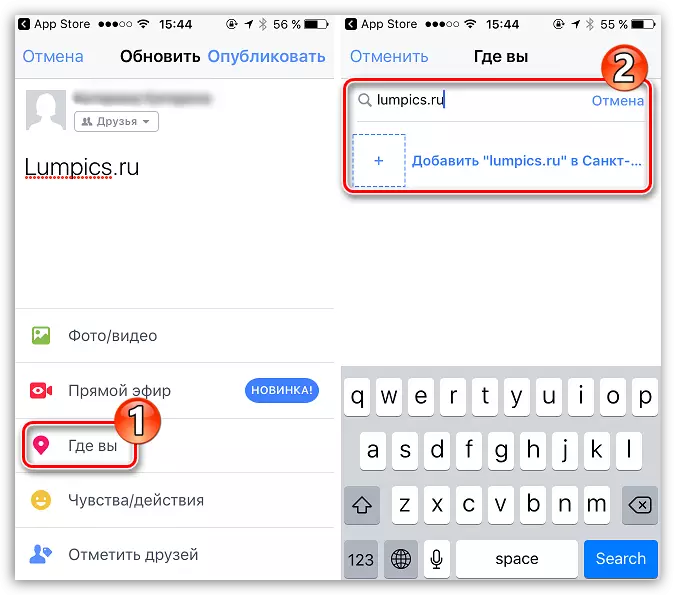
- If necessary, perform authorization. Having hit the main page in the Facebook application, click the "What do you think" button, and then, if necessary, enter the message text and click on the label icon.
- Select "Where you". Following at the top of the window, you will need to register a name for future geolocation. Closely below, select the "Add [Name_Metting]" button.
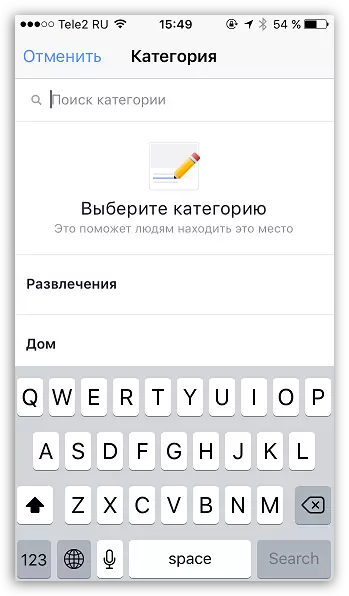
- Select the category Tags: If it is an apartment - select "House", if a specific organization, then, accordingly, specify the type of its activity.
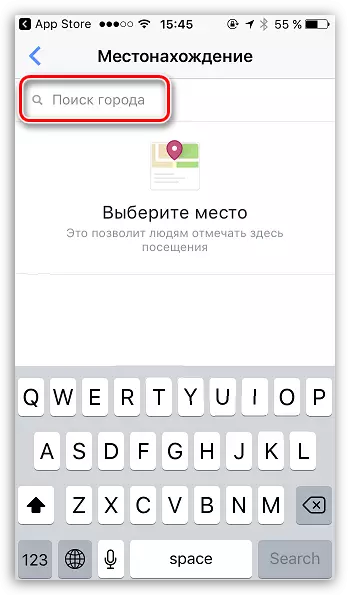
- Specify the city by starting to enter it into the search string, and then selecting from the list.
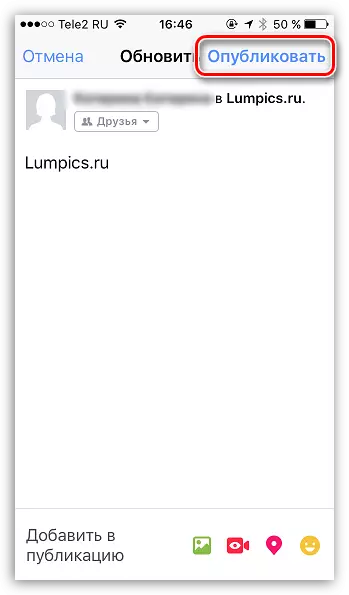
- In conclusion, you will need to activate the toggle switch around the item "I am here", and then click on the "Create" button.
- Complete the creation of a new post with a geometry by pressing the "Publish" button.
- Ready, now you can use the created geolocation in Instagram. To do this, at the time of publishing or editing the post, search for geometrs, starting to enter the name of the previously created. The results displays your place, which remains only to choose. Complete the creation of the post.
Download Facebook application for iOS
Download Facebook App for Android
.

That's all today.