
Inexpensive PCs, Windows laptops and tablets can often be brazed when executing commands or open files. Most of all this problem manifests itself when you open multiple programs and launch games. This is usually due to a small amount of RAM.
Today, 2 GB of RAM is not enough for normal operation with a computer, so users think about its increase. Few people know that as an option for this purpose, you can use a regular USB drive. It is done very simple.
How to make RAM from flash drive
For the completion of the task, Microsoft has developed ReadyBoost technology. It allows you to increase the speed of the system at the expense of the connected drive. This feature is available, starting with Windows Vista.Formally, the flash drive can not be rapid memory - it is used as a disk on which the paging file is created when the basic RAM is missing. For these purposes, the system usually uses a hard drive. But he has too much response time and insufficient reading speed and write to ensure proper speed. But the removable drive has many better indicators, so its use is more efficient.
Step 1: Check Superfetch
First you need to check whether the SuperFetch service is enabled, which is responsible for the ReadyBoost. This is done as follows:
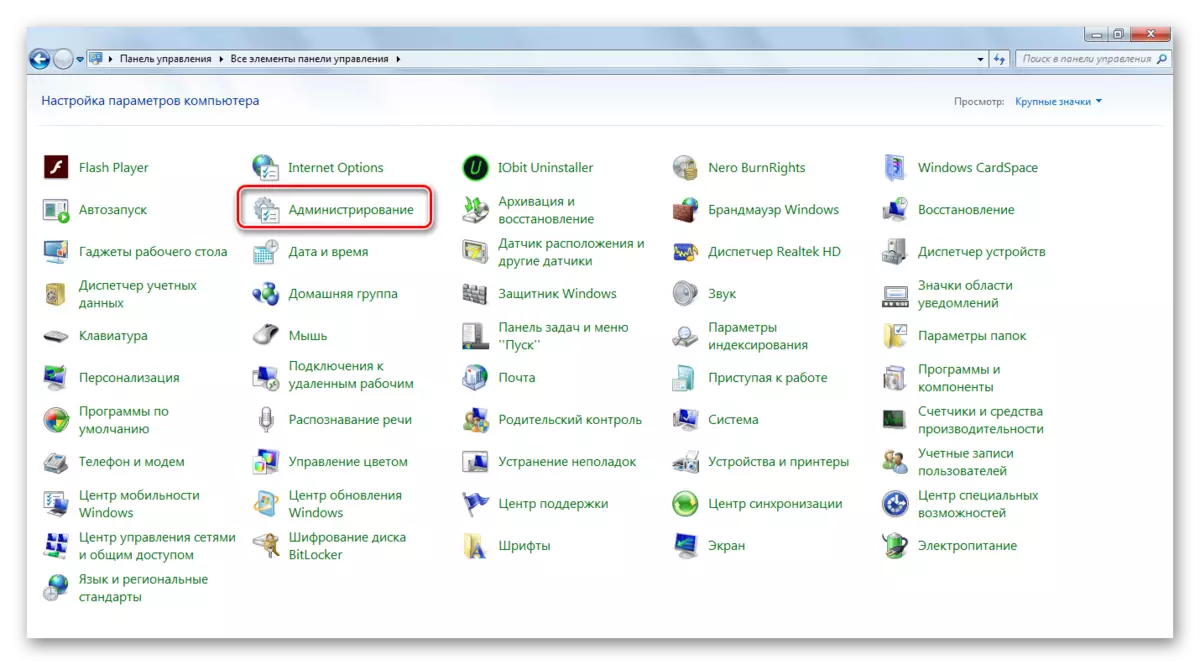
- Go to the "Control Panel" (best do it through the "Start" menu). Select the "Administration" item there.
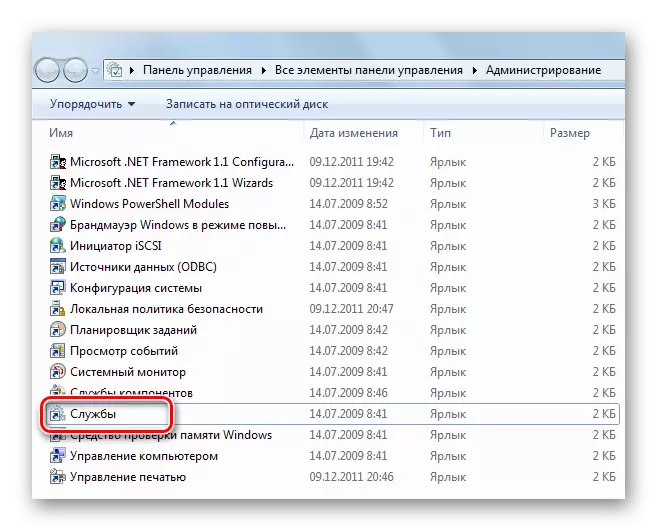
- Open the "Service" shortcut.
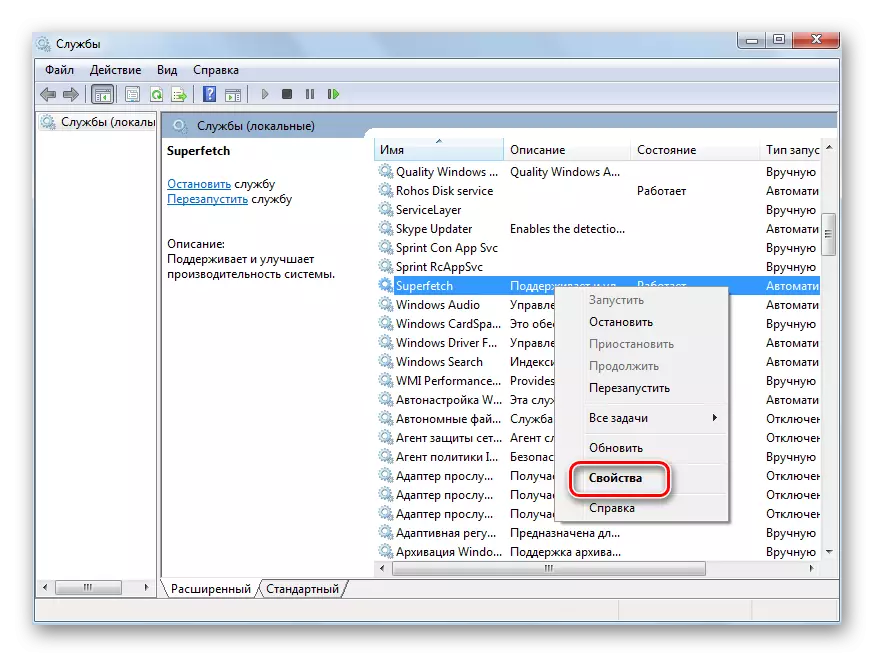
- Lay the service with the title "Superfetch". The "Status" column must be "working", as it is shown in the photo below.
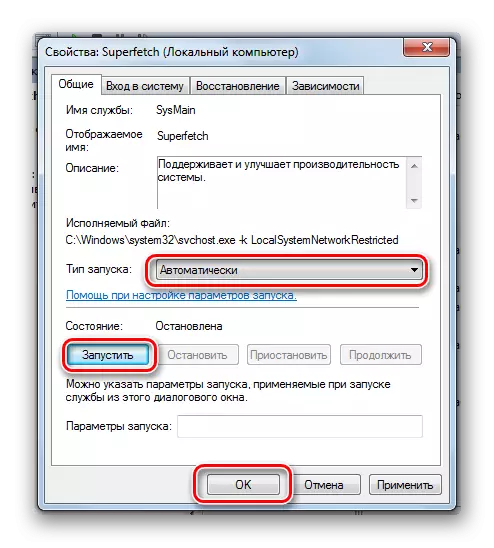
- Otherwise, click on it right-click and select "Properties".
- Specify the type of startup "Automatically", click the "Run" and "OK" button.

Step 2: Flat preparation
Theoretically, you can use not only a flash drive. The external hard disk, smartphone, tablet, and so on, but high indicators can hardly be achieved from them. Therefore, we will focus on a USB flash drive.
It is desirable that this is a free drive with a minimum of 2 GB of memory. A huge advantage will be the support of USB 3.0, provided that the corresponding connector will be used (blue).
To begin with, it must be formatted. It is easiest to do it like this:
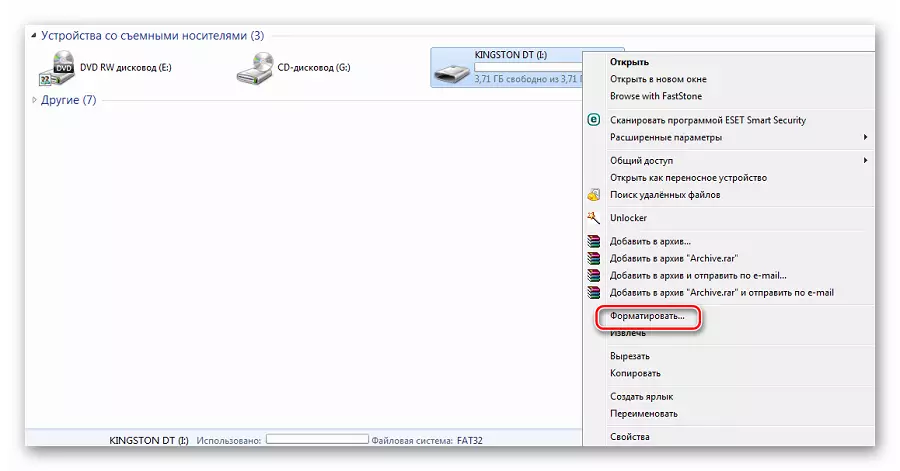
- Click on the flash drive with the right button in the "Computer" and select "Format".
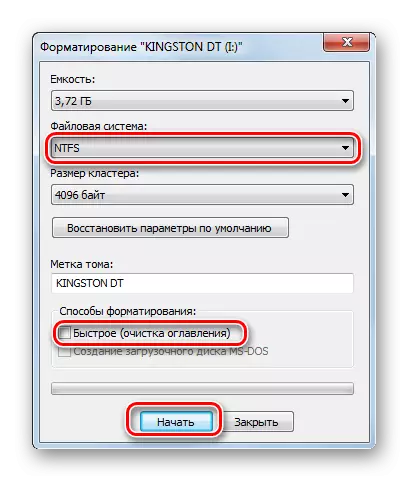
- Usually for ReadyBoost put the NTFS file system and take a tick with "quick formatting". The rest can be left as it is. Click "Start".
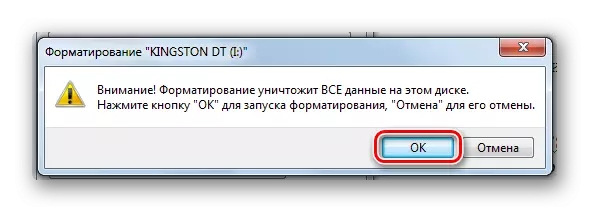
- Confirm the action in the window that appears.
See also: Installation instructions for the operating system USB flash drive using the example of Kali Linux
Step 3: READYBOOST Parameters
It remains to specify the Windows operating system itself that the memory of this flash drive will be used to create a paging file. This is done as follows:
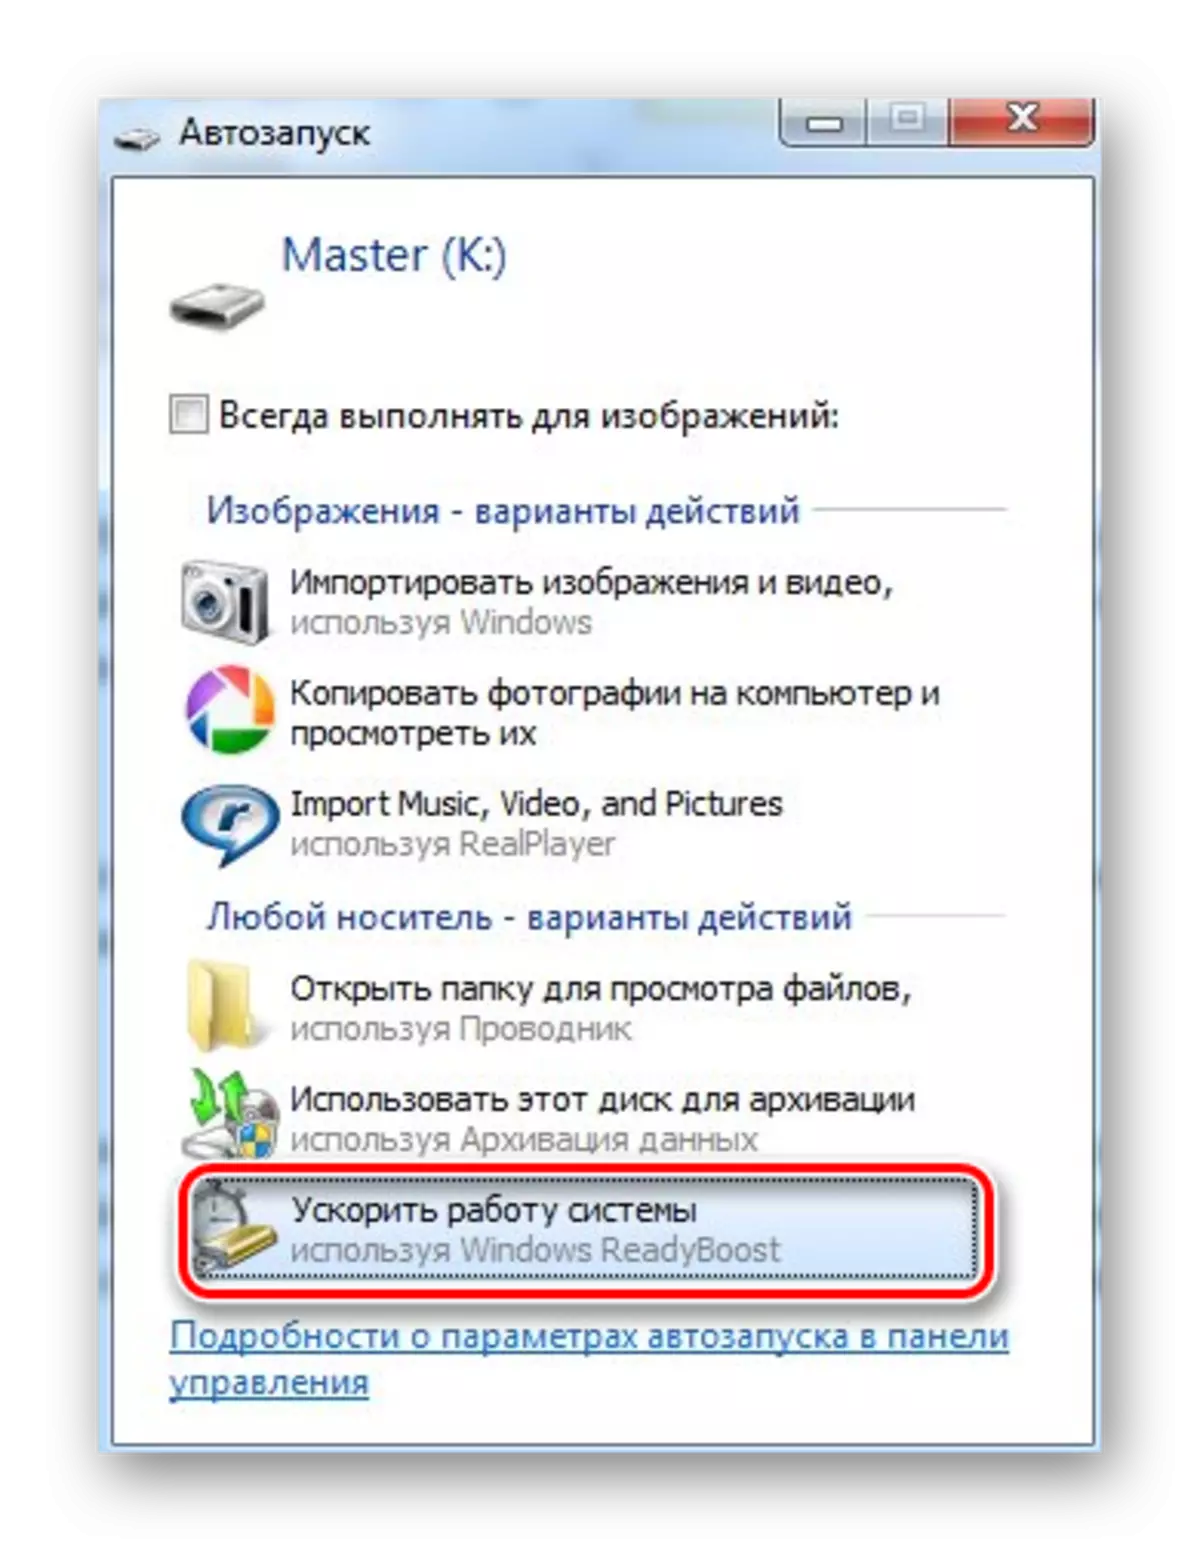
- If you enabled autorun, then when connecting a removable drive, a window will appear with available actions. You can immediately click "accelerate the system's work", which will allow you to go to the ReadyBoost settings.
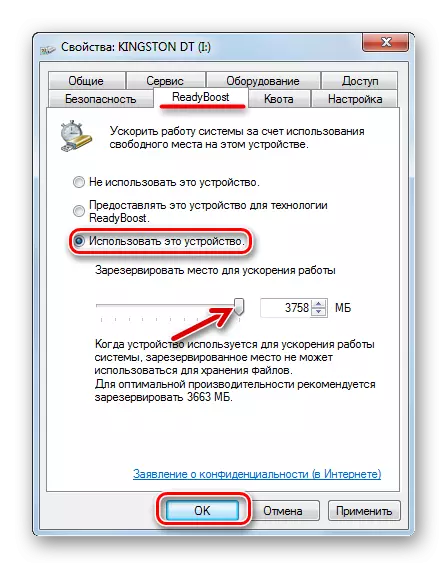
- Otherwise, go through the flash drive menu in the Properties and select the "READYBOOST" tab.
- Put the mark near the "Use this device" item and reserve a space for RAM. It is recommended to use the entire available volume. Click OK.
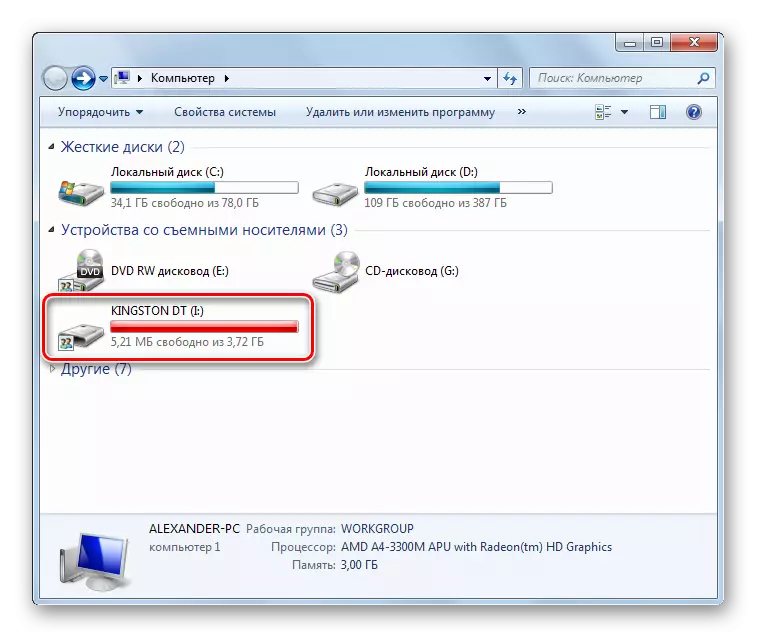
- You can see that the flash drive is almost completely filled, and therefore everything turned out.
Now, with slow work of the computer, this carrier will be connected. According to the reviews, the system really begins to work markedly faster. At the same time, many people even manage to use several flash drives at the same time.
See also: Multi-load flash drive instructions