
When the situation with viruses on a computer comes out from under control and ordinary antivirus programs do not cope (or simply no), you can help a flash drive with Kaspersky Rescue Disk 10 (KRD).
This program effectively treats an infected computer, allows you to update the databases, to roll back updates and view statistics. But to start it, it is necessary to record correctly on the USB flash drive. We will analyze the whole process in stages.
How to record Kaspersky Rescue Disk 10 on a USB flash drive
Why exactly a flash drive? To use it does not need a drive that is not already on many modern devices (laptops, tablets), and it is resistant to reusable rewriting. In addition, the removable information carrier is much less damaged.In addition to the program itself in ISO format, you will need a utility to record on the media. It is better to use Kaspersky USB Rescue Disk Maker, which is designed specifically to work with this emergency tool. Everything can be downloaded on the official website of Kaspersky Lab.
Download Kaspersky USB Rescue Disk Maker Free
By the way, the use of other recording utilities does not always lead to a positive result.
Step 1: Flat preparation
This step involves the formatting of the drive and indicating the FAT32 file system. If the drive is used for storing files, then the KRD need to leave at least 256 MB. To do this, this is what:
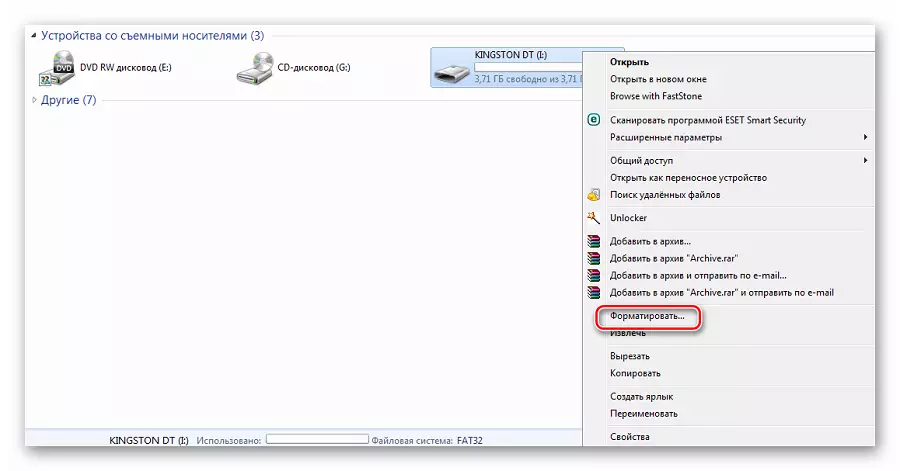
- Right-click on the flash drive and go to "Formatting".
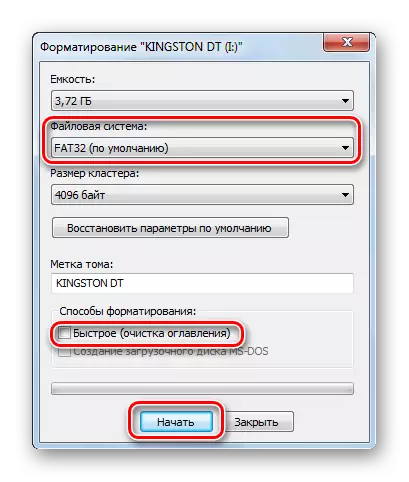
- Specify the type of file system "FAT32" and preferably remove a tick with "quick formatting". Click "Start".
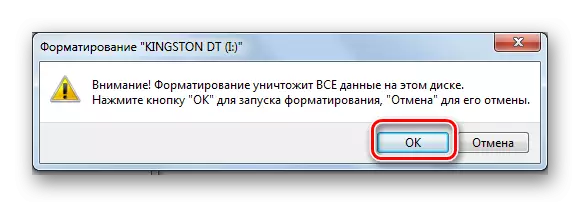
- Confirm your consent to delete data from the drive by clicking OK.
The first stage of the record is completed.
See also: Using a flash drive as RAM on PC
Step 2: Record an image on a flash drive
Follow these steps:
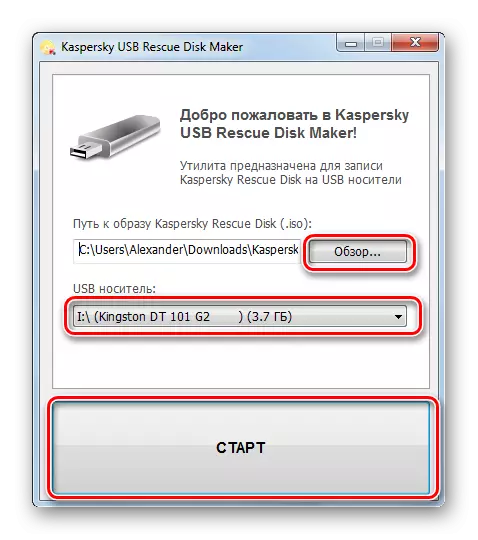
- Run Kaspersky USB Rescue Disk Maker.
- By clicking the "Overview" button, find the image of the KRD on the computer.
- Make sure the correct media is specified, click "Start".
- The entry will end when the appropriate message appears.
It is not recommended to record an image on the loading flash drive, since the existing loader is likely to be unusable.
Now you need to configure the BIOS correctly.
Step 3: BIOS Setup
It remains to specify the bios that you need to first load the USB flash drive. To do this, this is what:
- Start rebooting PCs. Until the Windows logo appeared, click "Delete" or "F2". On different devices, the BIOS call method may differ - usually this information is displayed at the beginning of the OS boot.
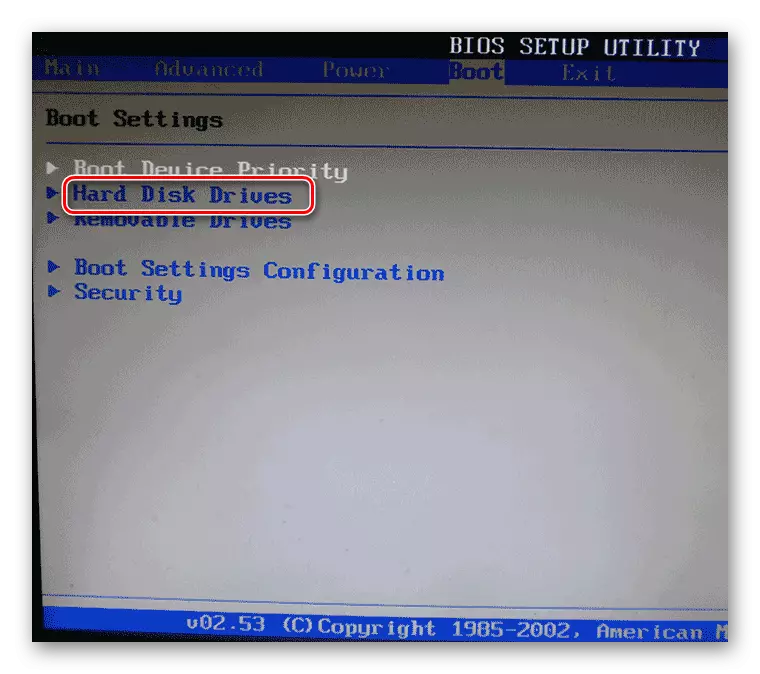
- Go to the "BOOT" tab and select "Hard Disk Drives".
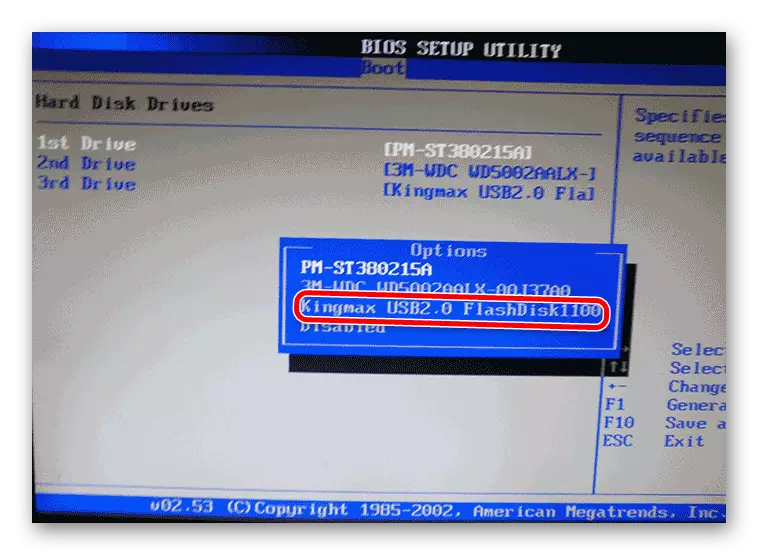
- Click on "1st Drive" and select your USB flash drive.
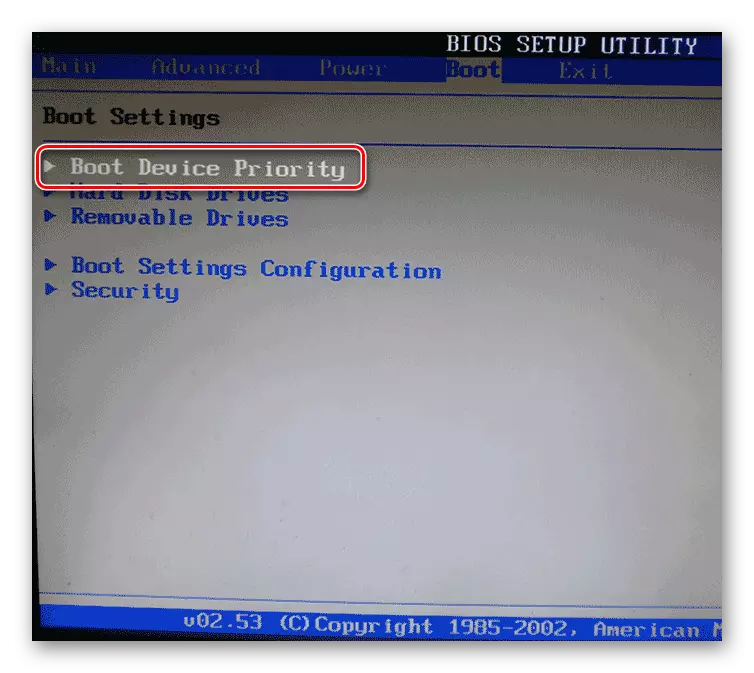
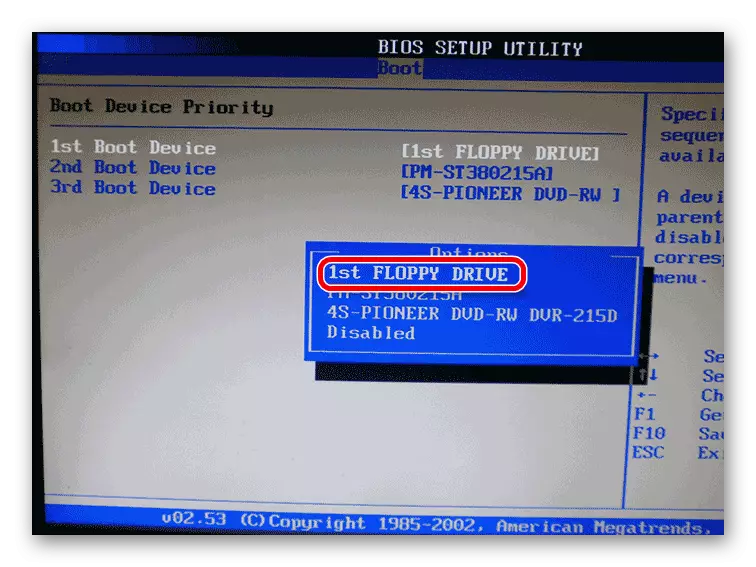
- Now go to the "Boot Device Priority" section.
- In the 1st boot device, assign 1st FLOPPY DRIVE.
- To save the settings and exit, press "F10".

This sequence of actions is given by the example of AMI BIOS. In other versions, everything, in principle, is the same. You can read in our instructions in more detail about the BIOS setting on this topic.
Lesson: How to set the download from the flash drive in bios
Step 4: Primary Running KRD
It remains to prepare a program for work.
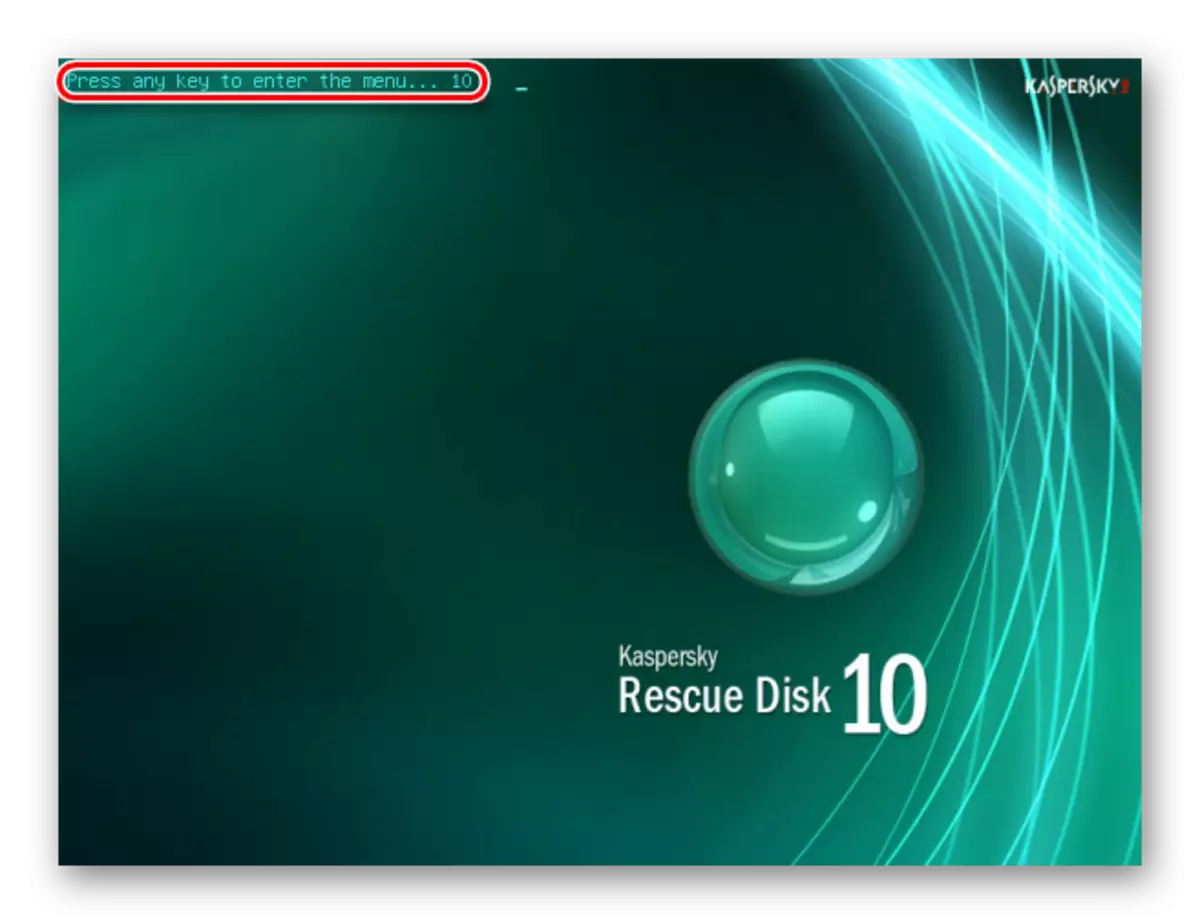
- After rebooting, you will see the Kaspersky logo and the inscription with the proposal to press any key. This needs to be done within 10 seconds, otherwise there will be a reboot to normal mode.
- Next is proposed to choose a language. To do this, use the move keys (up, down) and press "ENTER".
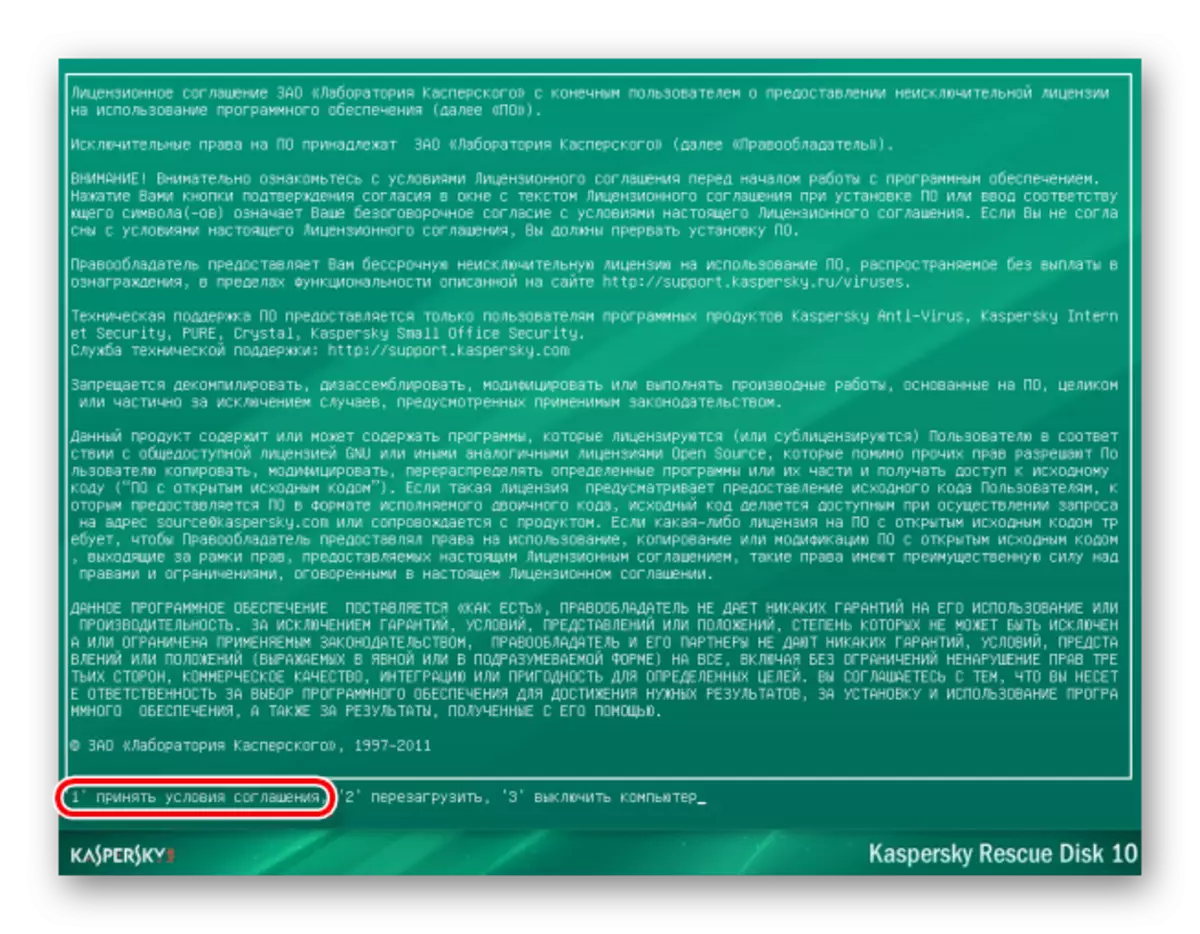
- Check out the agreement and press the "1" key.
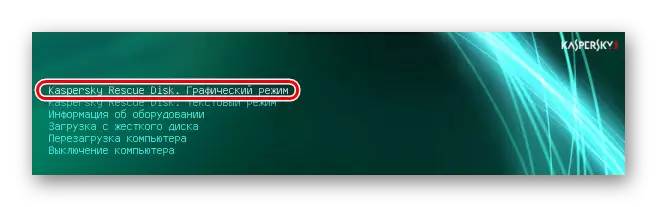
- Now select the program use mode. "Graphic" is the most convenient, "text" is used if the mouse is not connected to the computer.
- After that, you can diagnose and the treatment of a computer from malicious programs.

The presence of a kind of ambulance on the flash drive will never be superfluous, but to avoid emergency cases, be sure to use the anti-virus program with updated bases.
For more information about the protection of removable media from malicious programs, read in our article.
Lesson: How to protect the flash drive from viruses