

Inserting media files and tables does not always cause such a difficulty as simple to add text to the slide. There may be a lot of reasons for something much more than the average user knows how to solve this problem. So it's time to patch the gaps in knowledge.
Text Problems in PowerPoint
Even if it does not work with a project that uses absolutely unique design, problems with the texts for text information in PowerPoint is enough. Usually, standard basic slides have only two windows - for heading and inserting any content, including text.Fortunately, ways to add additional text windows is enough to solve any task. All methods 3 and each of them is good in its field of application.
Method 1: Change Slide Template
For cases when it is required simply more areas for text, this method is suitable. If you use standard templates, you can create up to two such parts.
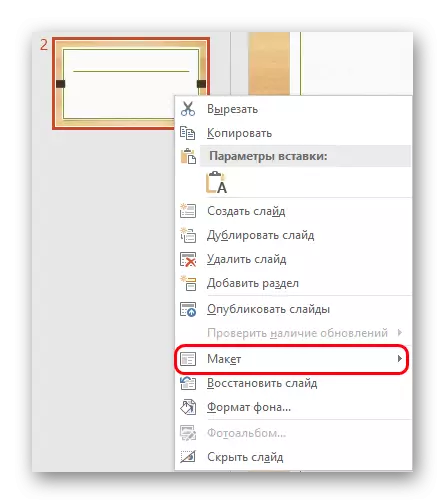
- It is enough to click on the right mouse button on the desired slide and hover on the "Layout" pop-up menu.
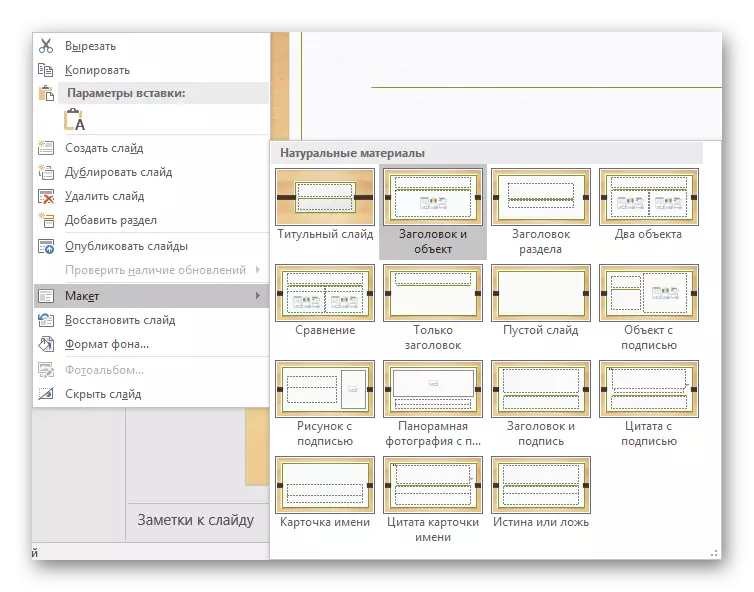
- A selection of several templates for a given slide will appear on the side. You can choose the one that has in its composition several areas for text. For example, "two objects" or "comparison".
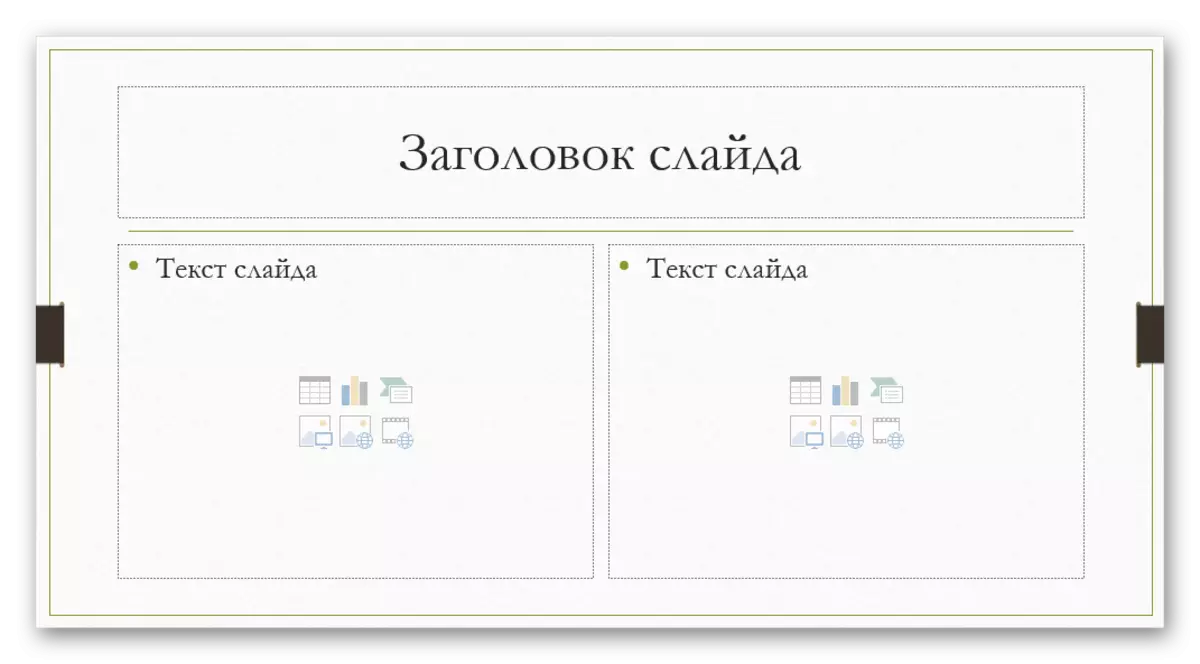
- The template automatically applies to the slide. Now you can use two windows at once for the introduction of text.
Additionally, it is possible to study the templates in more detail, as well as create your own, where you can heat as much as areas for entering information.
- To do this, go to the "View" tab in the presentation cap.
- Here you need to click on the "Slide Sample" button.
- The program will switch to a separate mode where you can configure templates. Here you can choose both available and create your "Insert layout" button.
- Using the "Insert Filter" function, you can add any areas to the slide. When you click on this button, the menu unfolds with options.
- On the slides, the "Content" usually uses the same window where you can enter the text, although items are inserted using the quick addition icons. So this choice will be the best and versatile. If you just need the text, the same option is lower.
- Each option after pressing will need to draw a slide, indicating the desired size of the windows. Here you can use a wide range of tools for creating a unique slide.
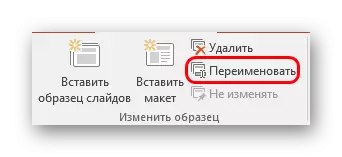
- After that, it is best to give the template your name. This can be done using the Rename button. As you can see, the "Delete" function is above it, allowing you to get rid of an unsuccessful option.
- Once the work is over, you should click on "close the sample mode". The presentation will return to its usual mind.
- Apply the created template to the slide can be described above in the right mouse button.


This is the most convenient and functional way that allows not only to add text in any amounts to the slide, but in principle to give it any kind that only sweeps.
Method 2: Adding an inscription
There is a simpler way to add text. This option is best suited for adding signatures under tables, diagrams, pictures and other media files.
- The function you need is in the "Insert" tab in the presentation cap.
- Here you will need to click on the option "Inscription" in the "Text" area.
- The cursor will immediately change and will be reminding the inverted cross. It will be necessary to draw on the slide area to enter text.
- After that, the drawn item will be available for work. Immediately the field is activated for a text set. You can write anything and format information with standard means.
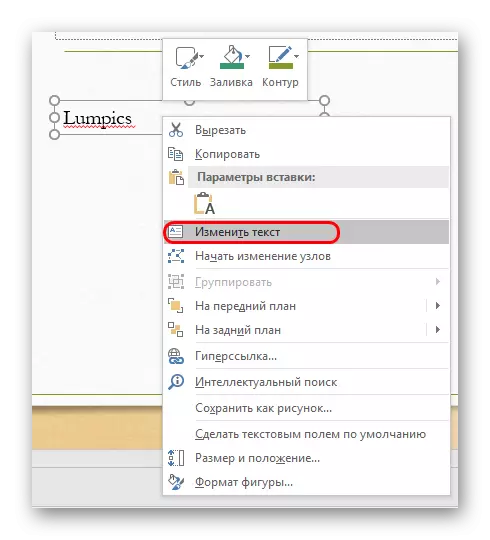
- Immediately after closing the text input mode, this element will be perceived by the system as a single component, like a media file. It can be calmly moved as you like. There may be problems in cases where the area is created, but there is little text in it, it will be difficult to choose the area for entering new data. To edit in such a situation, you will need to click on this object and click on the "Change text" pop-up menu.
- This can be useful for resizing, since the use of conventional markers for narrowing or expansion areas does not affect the text itself. Only reduce or increase the font.


Method 3: Text Insertion
The simplest method insert text in PowerPoint for cases when there is no desire or time to mess with other options, and you need to insert the text.- It is enough just to insert the text with the right mouse button or the "Ctrl" + "V" combination. Of course, before that, some excerpt must be copied.
- Add text in your own window available in the clipboard. It does not matter which text has been copied, you can even save one word from written on the same slide and insert it, and then edit. This area will automatically expand, adjusting to the amount of information entered.
It is worth noting that this method does not exactly accurately copy the formatting of the text in the window to insert the content. Here you will have to manually create labeling of paragraphs and customize indents. So the option is best suited for creating small descriptions to the photo, additional marks near important components.
Additionally
Also in some cases, alternative ways to add text can be approached. For example:
- If you want to add descriptions or marked photos, it can be placed on the file itself in the editor, and insert the ready-to-present option.
- The same applies to the insertion of tables or charts from Excel - you can add descriptions directly in the source, and insert a full-fledged option.
- You can use Wordart editing tools. You can add such components in the "Insert" tab using the appropriate function. Well suited for subtitles or titles to the photo.
- If you have nothing to do, you can try to add texts using the editor in the appropriate places in the photo, copying the background of the slide, and insert it as a background. The way is so-so, but not to mention it, too, it is impossible, good, the cases of use in history are known.
Summing up, it is worth saying that the ways to add text under conditions when the initial options are not enough, in fact a whole busy. It is enough just to choose the most suitable for a particular task and correct it to implement it.