
It often happens quite enough that basic means for the demonstration of something important in the presentation lacks. In such a situation, an insertion of an outside illustrative file can help - for example, a video. However, it is very important to know how to do it right.
Insert video into the slide
There are several different ways to insert a video file in the opposite. In various versions of the program, they are somewhat different, however, it is worth considering the most relevant - 2016. It is easiest to work with the clips.Method 1: Content Areas
Already quite a long time, once ordinary fields for entering text turned into a content area. Now in this standard window, you can insert a wide range of objects using basic icons.
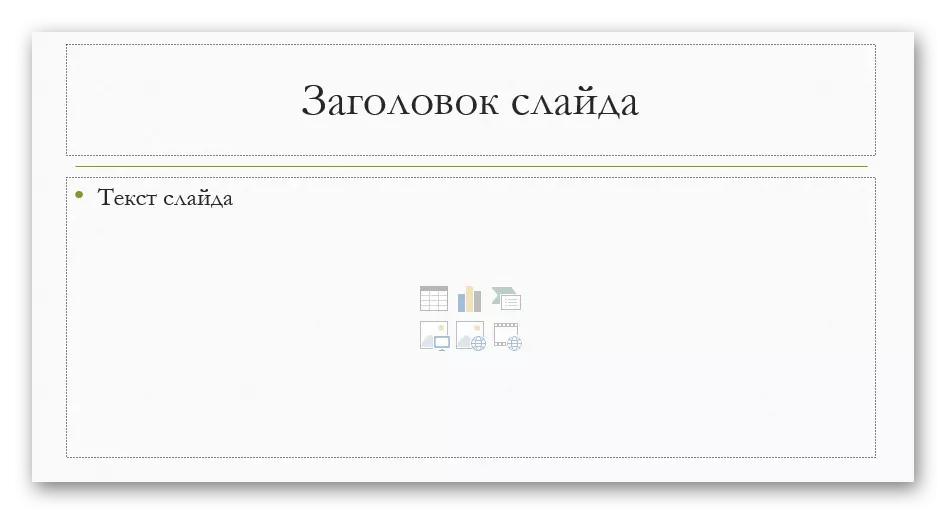
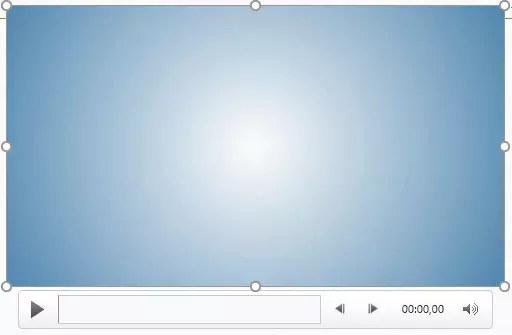
- To start work, we will need a slide with at least one empty area of content.
- In the center you can see 6 icons that allow you to insert various objects. We will need the last left in the lower row, similar to the film with the added image of the globe.
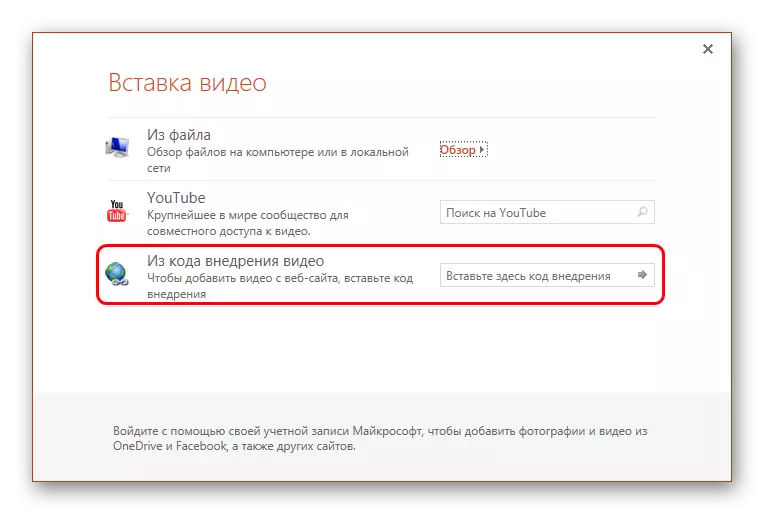
- When pressing a special window appears for inserting three different ways.

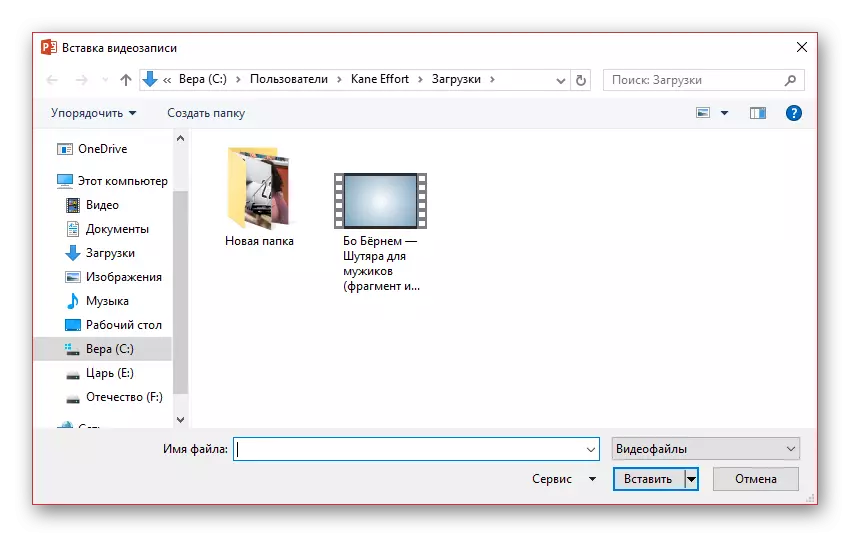
- In the first case, you can add a video that is stored on the computer.
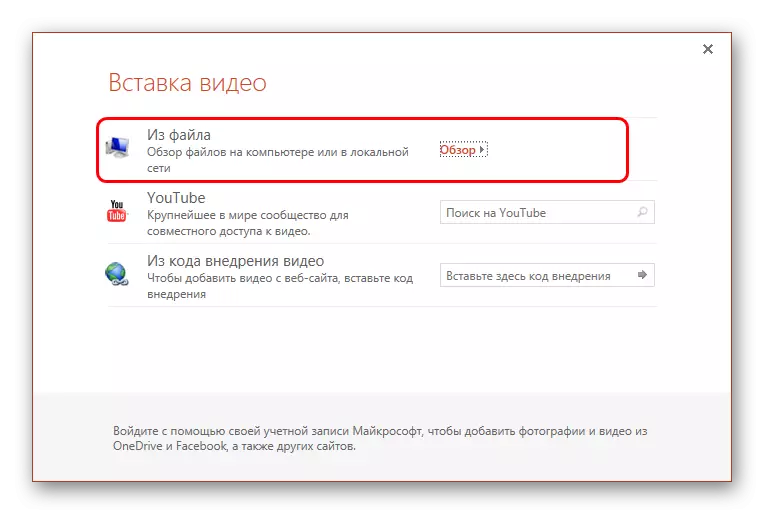
When you click on the "Overview" button, a standard browser opens, which allows you to find the desired file.
- The second option allows you to search for the YouTube service.
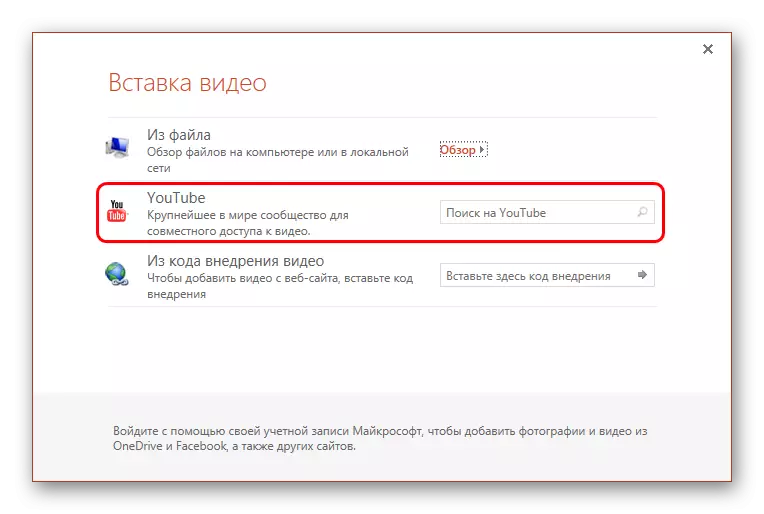
To do this, enter the name of the desired video in the string for the search query.
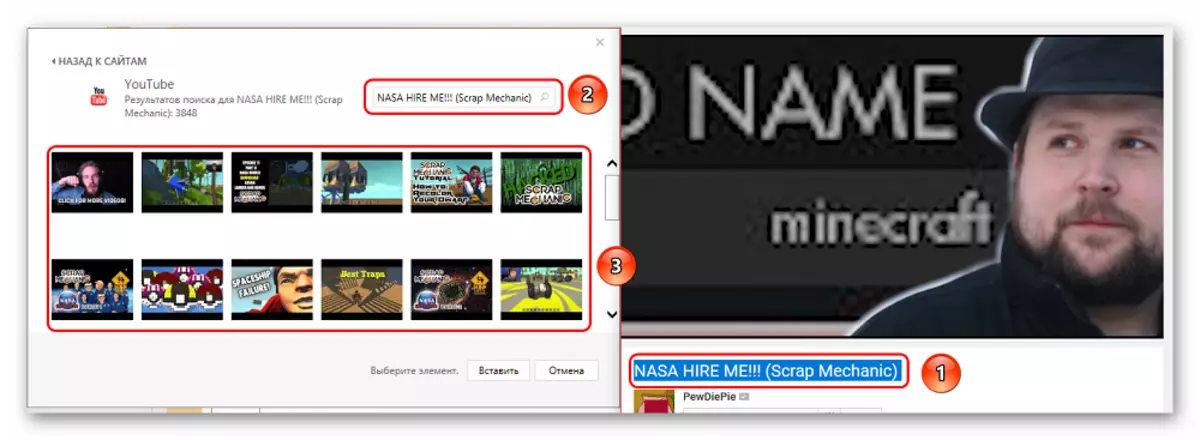
The problem of this method is that the search engine works imperfectly and extremely rarely gives out the desired video, offering more than a hundred other options instead. Also, the system does not support the insertion of direct links to the video on YouTube
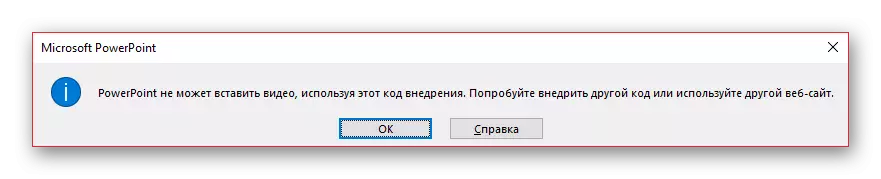
- The last way offers to add a URL link to the desired clip on the Internet.
The problem is that the system can work with all sites, and in many cases will give an error. For example, when trying to add video from VKontakte.
This is the easiest and most effective way to add. In many ways, he even exceeds the next one.
Method 2: Standard Method
An alternative, which throughout the versions is classic.
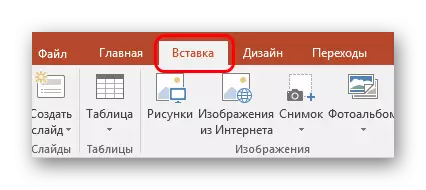
- You need to go to the "Insert" tab.
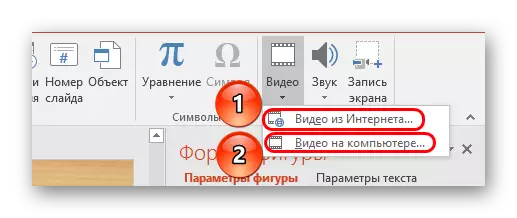
- Here at the very end of the header you can find the "Video" button in the "Multimedia" area.
- Previously, the addressed method of adding here is immediately divided into two options. "Video from the Internet" opens the same window as in the past method, only without a first point. It is made separately in the "video on a computer" option. When you click on this method, a standard browser opens instantly.

The rest of the process looks the same as described above.
Method 3: Dragging
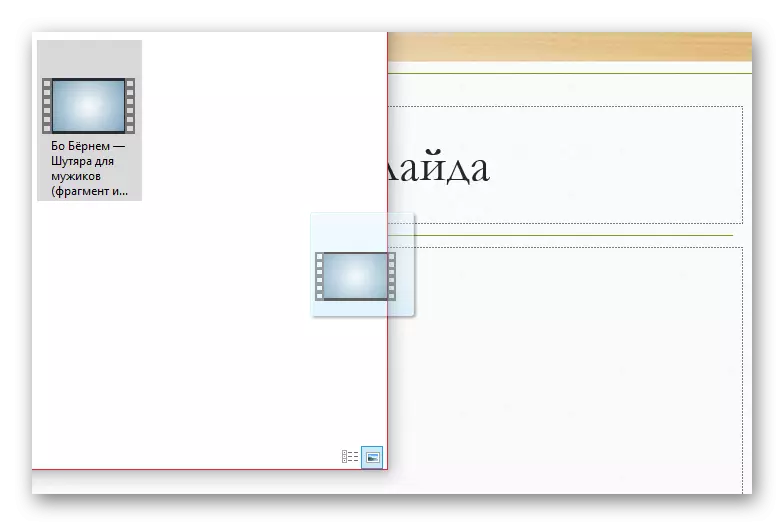
If the video is present on the computer, you can insert it much easier - simply drag from the folder to the slide in the presentation.
To do this, you will need to fold the folder in the window mode and open on top of the presentation. After that, you can simply transfer the video to the desired slide.
This option is best suited for cases when the file is present on the computer, and not on the Internet.
Setting up video
After the insert is carried out, you can configure this file.
For this, there are two main paths - "format" and "reproduction". Both of these options are in the program header in the "Working with Video" section, which appears only after selecting the inserted object.
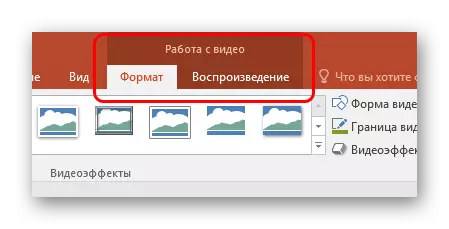
Format
"Format" allows you to produce stylistic adjustments. In most cases, the settings here allow you to change what the insert on the slide itself looks like.
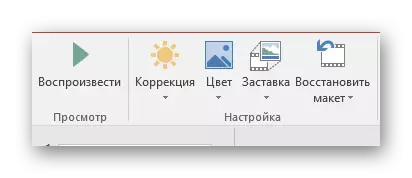
- The "Setup" area allows you to change the color and gamut video, add some frame instead of a screensaver.
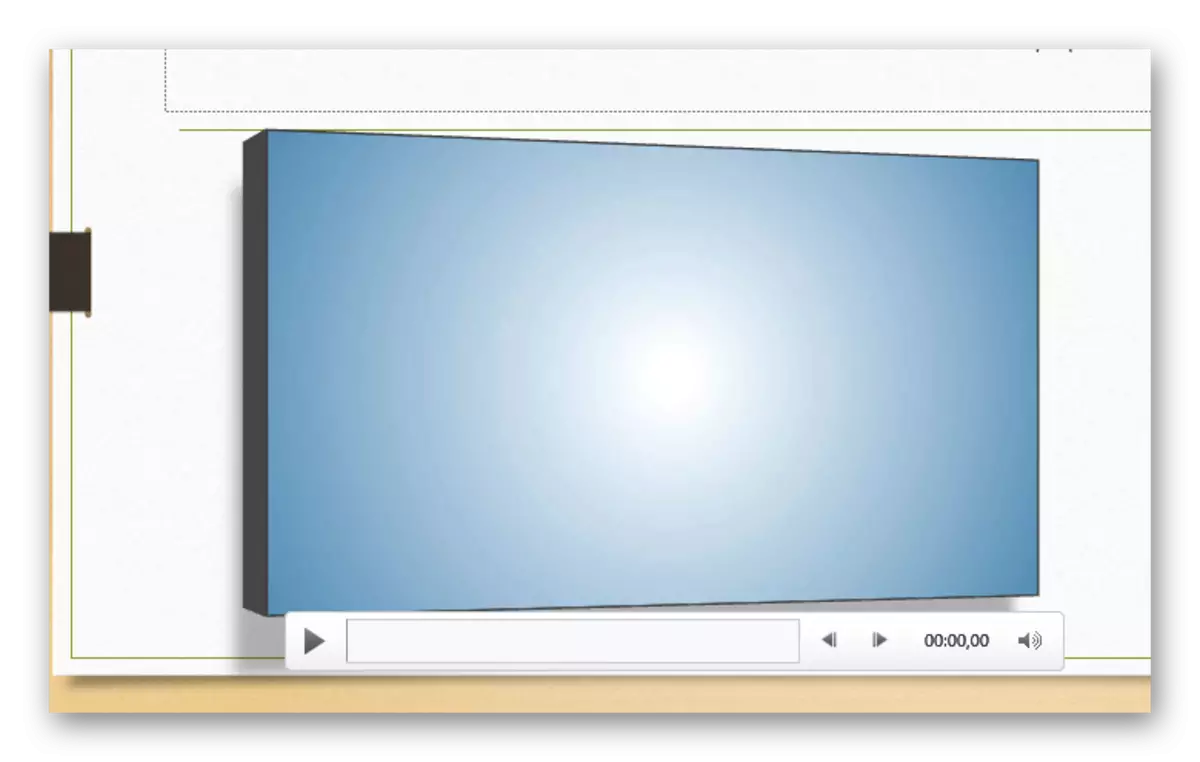
- Video effects allow you to adjust the file window itself.
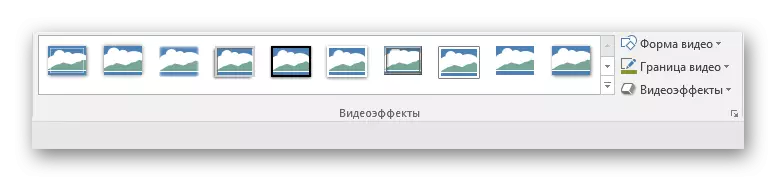
First of all, the user can configure additional display effects - for example, to simulate the monitor.
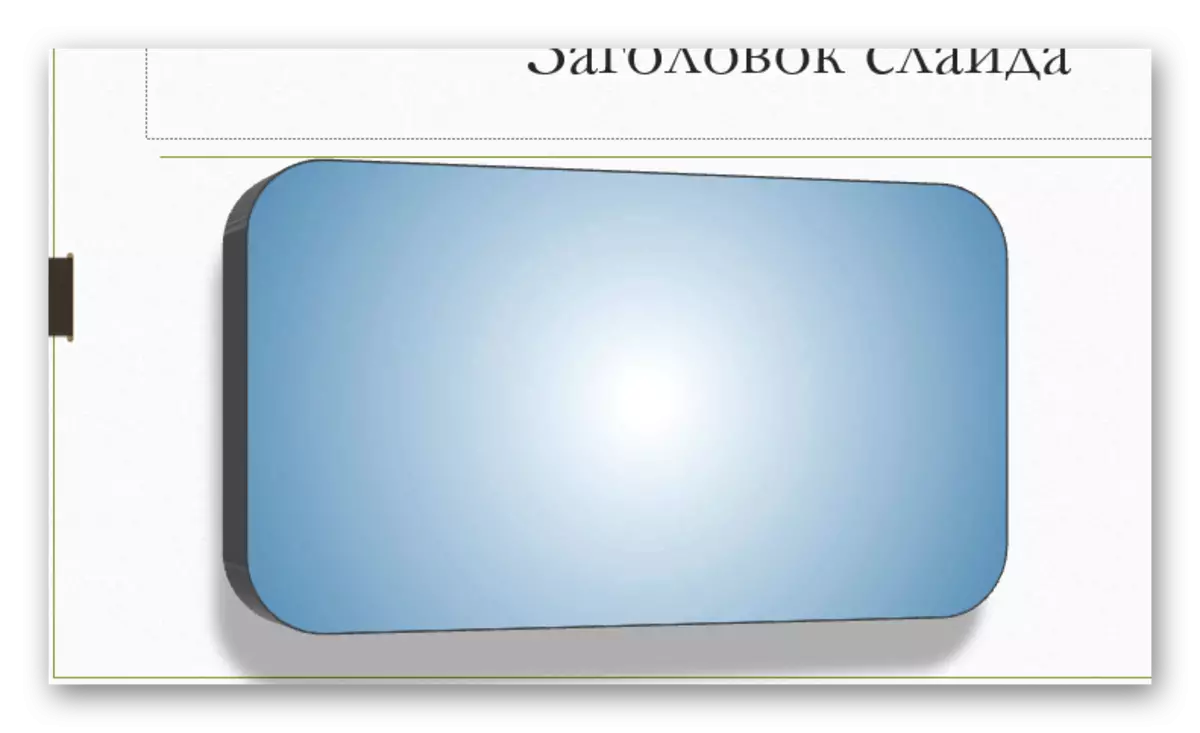
You can also choose here in what form will be a clip (for example, a circle or rhombus).
Even immediately the framework and boundaries are added.
- In the "Ordering" section, you can configure the position priority, deploy and group objects.
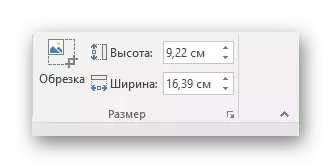
- At the end there is a domain "Size". The assignment of available parameters is quite logical - trimming and setting up width and height.

Reproduction
Tab "Playback" allows you to configure video as well as music.
See also: How to insert music into a PowerPoint presentation
- The "Bookmark" area allows you to make a markup so that with the help of hot keys to navigate between the important points right at the time of viewing the presentation.
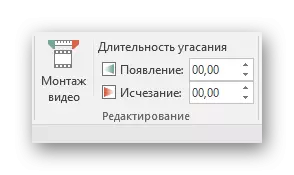
- "Editing" will cut the clip by throwing out extra segments from the demonstration. Immediately you can adjust the smoothness of the appearance and extinction at the end of the clip.
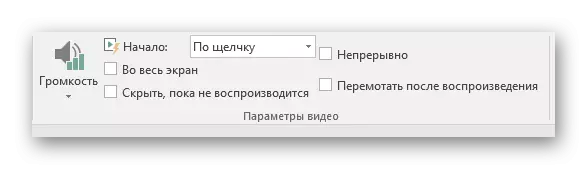
- "Video Settings" contains a variety of other settings - the volume, start settings (click or automatically), and so on.

Additional settings
To search for this section, you need to click on the file right-click file. In the pop-up menu, you can select the "Video Format" option, after which the optional area with different visual display settings will open on the right.
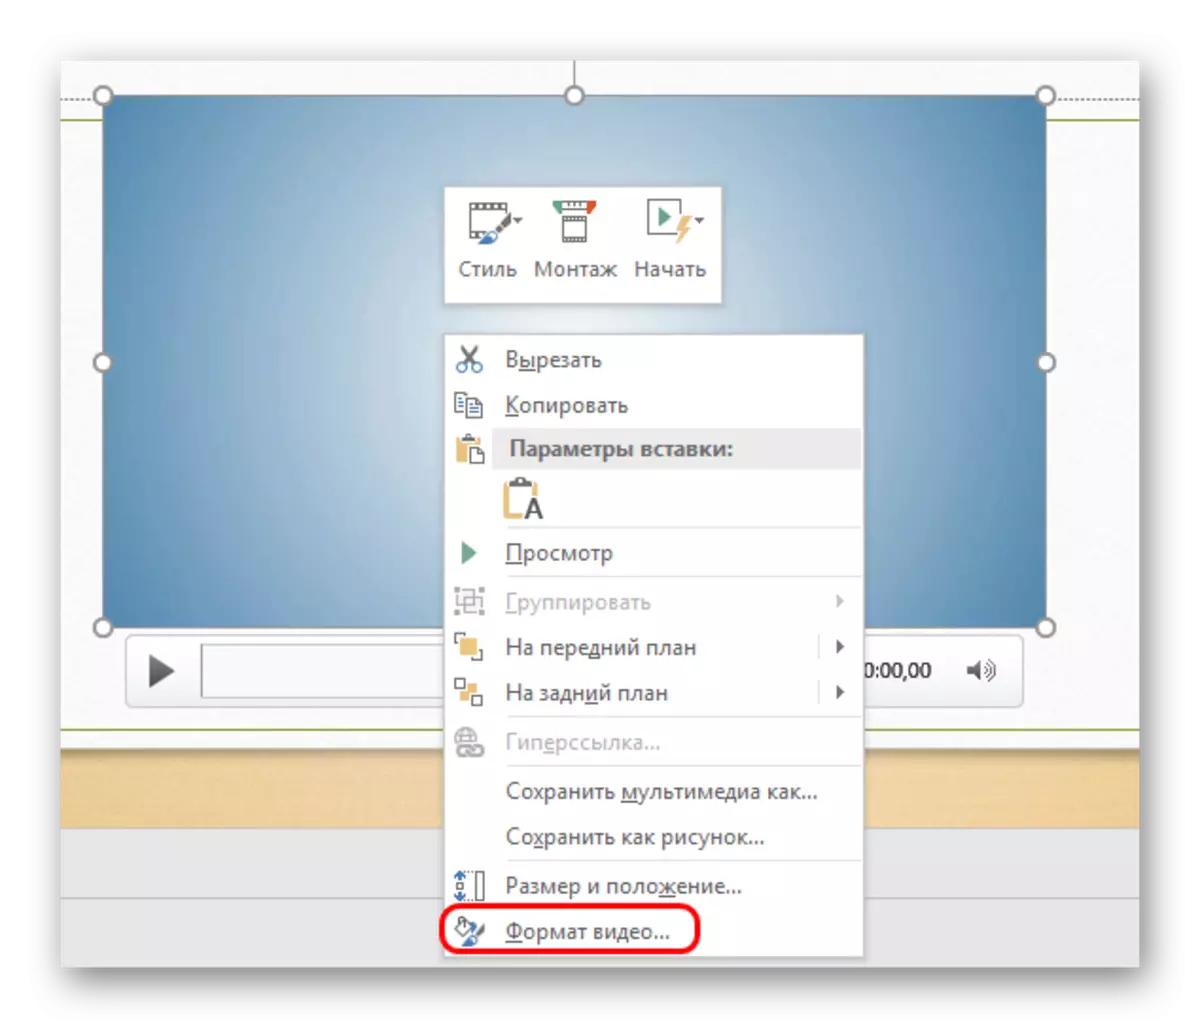
It is worth noting that the parameters here are much more than in the "Format" tab in the section "Working with Video". So if you need a more subtle configuration of the file - you need to go here.
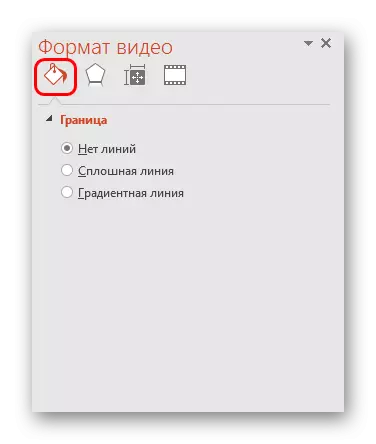
There are 4 tabs here.
- The first is "fill". Here you can configure the file border - its color, transparency, type, and so on.
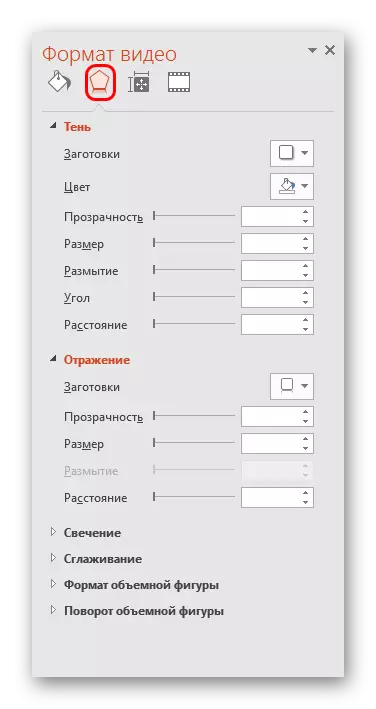
- "Effects" allow you to add specific settings for the appearance - for example, shadows, glow, smoothing, and so on.
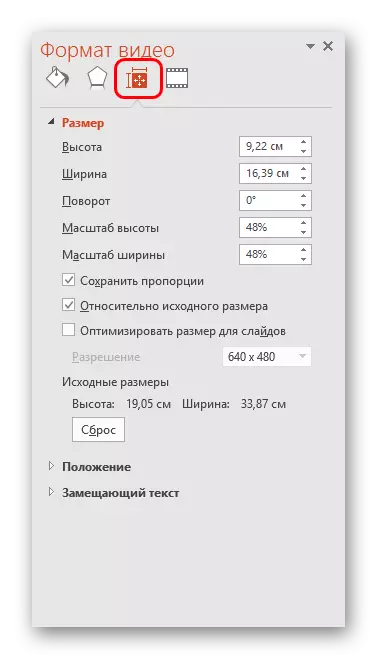
- "Size and Properties" Open video formatting capabilities when viewing in the specified window and for a full-screen demonstration.
- "Video" makes it possible to configure brightness, contrast and individual color templates for playback.
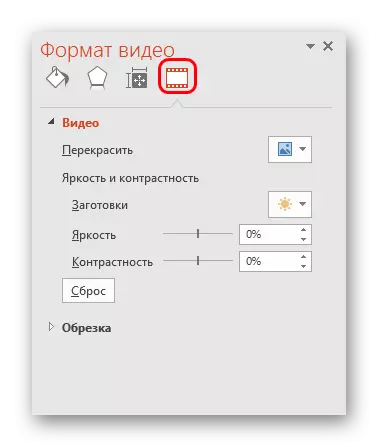
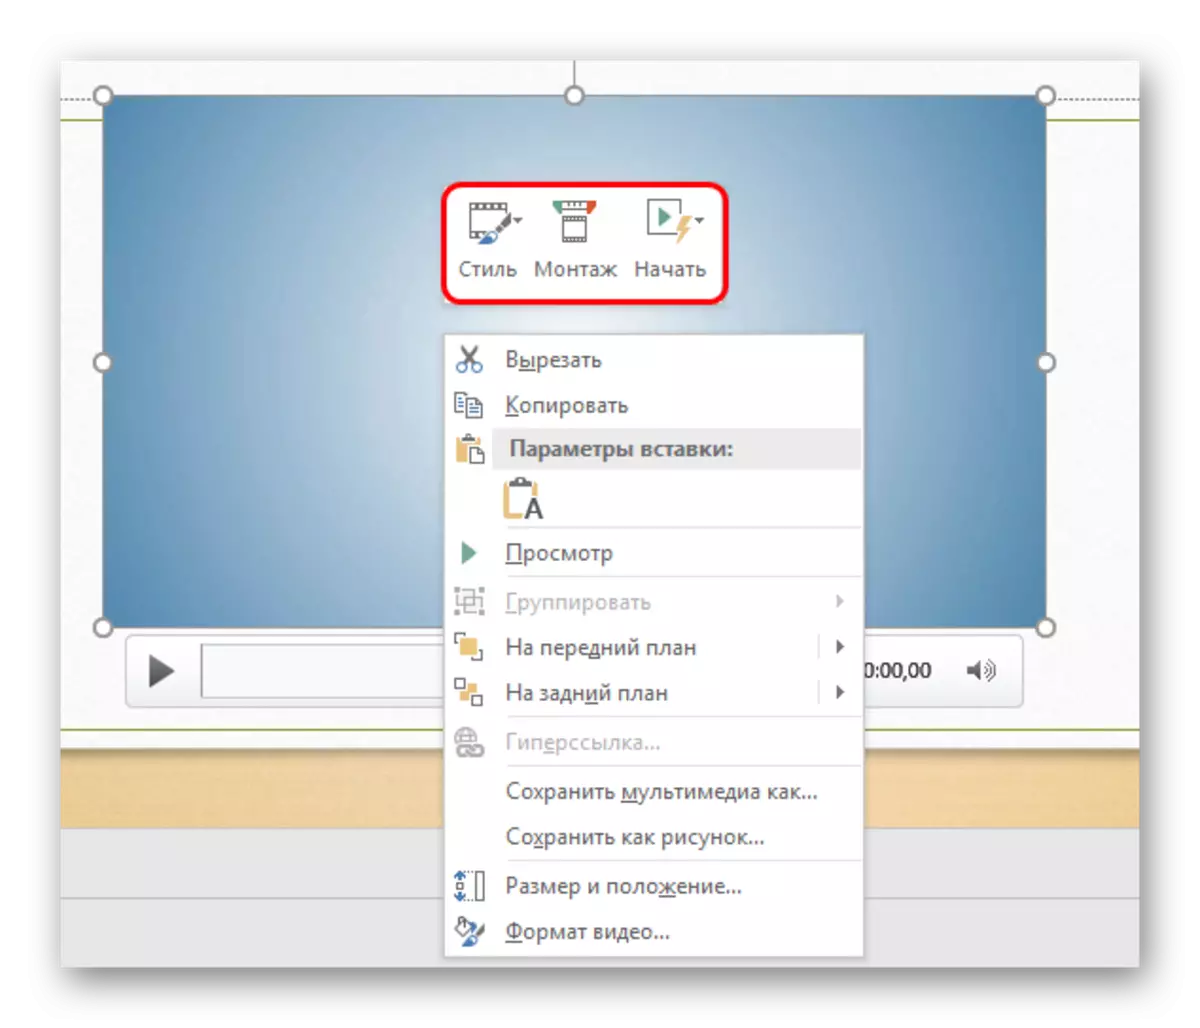
It is worth noting a separate panel with three buttons, which pops apart from the main menu - from below or from above. Here you can quickly adjust the style, go to the installation or put the style of start video.
Video clips in different versions of PowerPoint
It is also worth paying attention to the older versions of Microsoft Office, since they are different aspects of the procedure.PowerPoint 2003.
In earlier versions, also tried to add the ability to insert a video, but here this function did not gain normal performance. The program worked just with two video formats - AVI and WMV. Moreover, both required individual codecs, it was often buggy. Later, the proven and finalized versions of PowerPoint 2003 significantly increased the stability of the playback of clips during the views.
PowerPoint 2007.
This version has become the first in which a wide range of video formats began to be supported. Here, types like ASF, MPG and others were added here.Also in this version, an insertion option was supported by a standard way, but the button here is not called "video", but "movie". Of course, the adding clips from the Internet, then and speech did not go.
PowerPoint 2010.
Unlike 2007, this version has learned to handle the FLV format. The other changes were not - the button was also called the "film".
But there was an important breakthrough - for the first time, it was possible to add video from the Internet, in particular from YouTube.
Additionally
Several additional information about adding video files in PowerPoint presentation.
- Version from 2016 supports a wide range of formats - MP4, MPG, WMV, MKV, FLV, ASF, AVI. But with the latter there may be problems, since the system may require additional codecs that are not always standard installed in the system. The easiest way will be converted to another format. Best PowerPoint 2016 works with MP4.
- Video files are not stable objects for applying dynamic effects. So it is best not to impose an animation on the clips.
- Video from the Internet is not inserted directly to the video, only the player is used here, which reproduces the clip from the cloud. So if the presentation is displayed not on the device where it was created, then you should follow the new machine to access the Internet and to source sites.
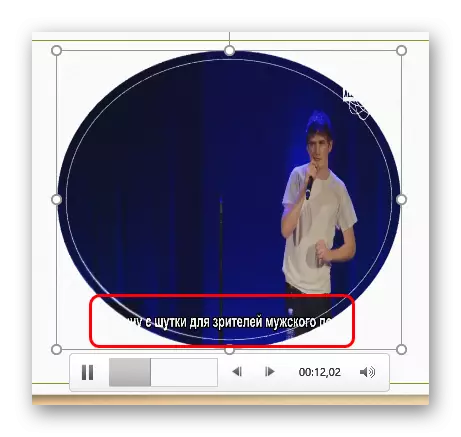
- You should be careful when specifying the video file of alternative forms. This may negatively affect the display of certain elements that will not fall into the selected area. Most often, it affects subtitles, which, for example, in a round window may not fully fall into the frame.
- The video files inserted from the computer add a considerable weight. This is especially noticeable when adding high quality long films. In the event of the provision of regulations, the insert video from the Internet is best suited.
This is all that you need to know about the insertion of video files in the PowerPoint presentation.