
After installing a new drive to a computer, many users face such a problem: the operating system does not see the connected disk. Despite the fact that it is physically working, the operating system does not displays. To start using HDD (to SSD, the solution to this problem is also applicable), it should be initialized.
HDD initialization
After connecting the drive to the computer, you must initialize the disk. This procedure will make it visible for the user, and the drive can be used to record and read files.
To initialize the disk, follow these steps:
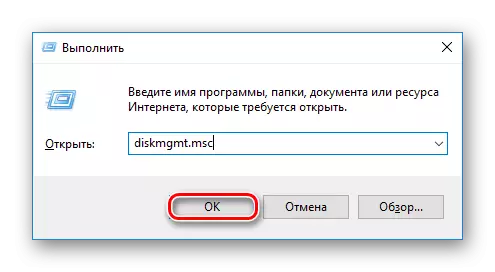
- Run "Drive Management" by pressing the Win + R keys and speaking the DiskMGMT.msc command in the field.
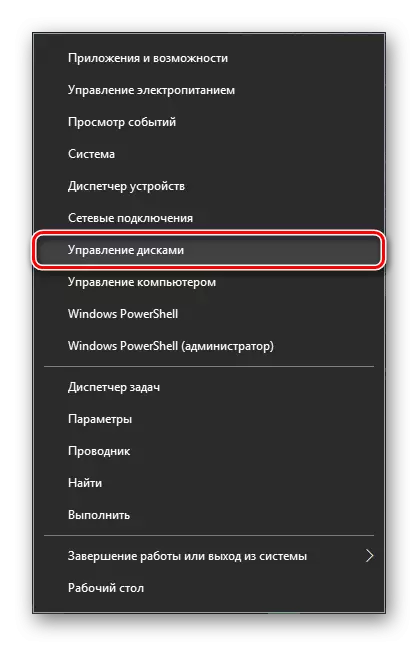
In Windows 8/10, you can also click on "Start" with the right mouse button (hereinafter referred to as PCM) and select "Disk Management".
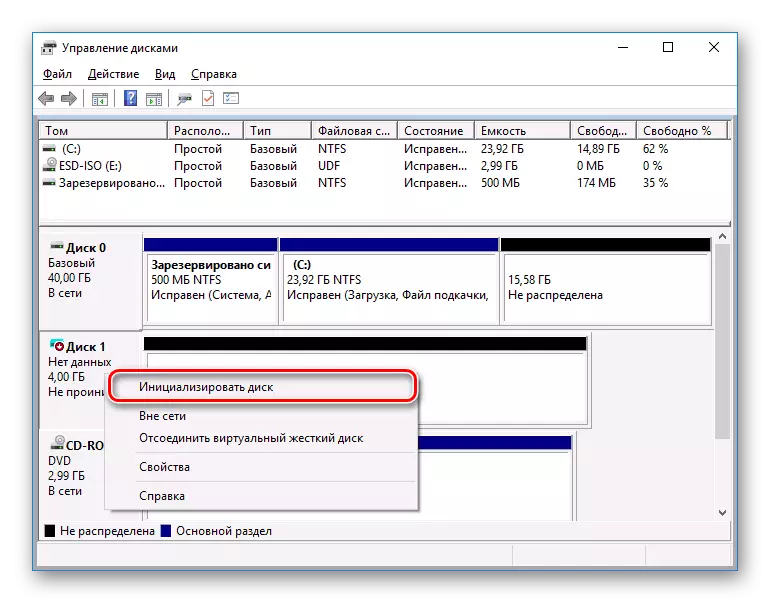
- Find a non-initialized drive and press the PCM on it (you need to click on the disk itself, and not on the area with space) and select "Initialize the disk".
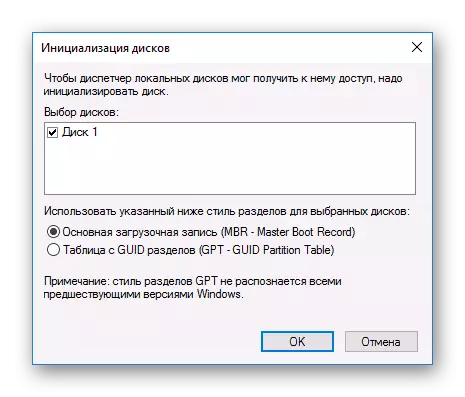
- Highlight the disk with which you will make a scheduled procedure.
Two sections are available to the user: MBR and GPT. Select MBR for a drive less than 2 TB, GPT for HDD more than 2 TB. Pick up the appropriate style and click OK.
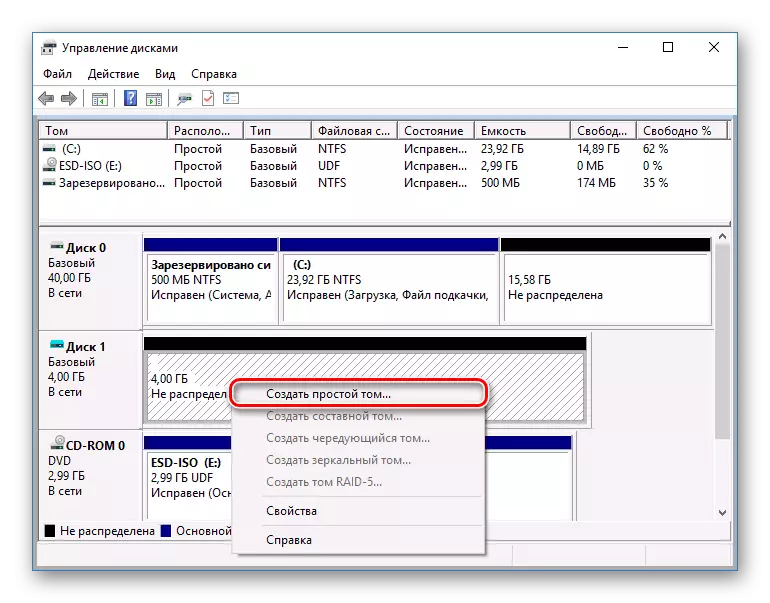
- Now the new HDD will have the status "not distributed". Click on the PCM on it and select "Create a simple volume".
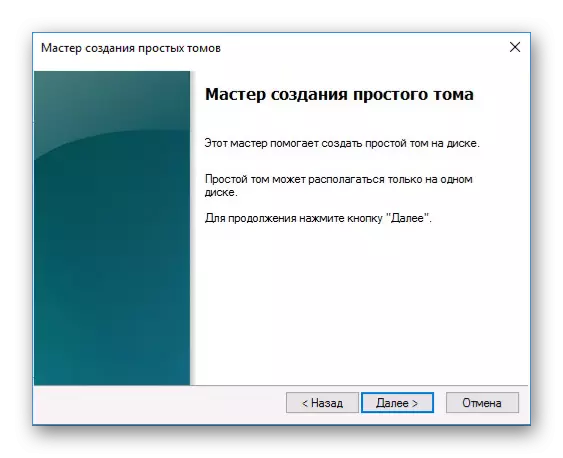
- It will be launched "Wizard of the Simple Tom", click "Next".
- Leave the default settings if you plan to use all disk space, and click Next.

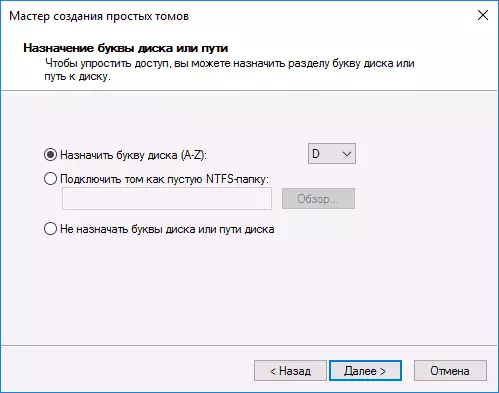
- Select the letter you want to assign a disc, and click "Next".
- Select NTFS format, write the name of the volume (this name, for example, "local disk") and check the box next to the "Fast Formatting" item.
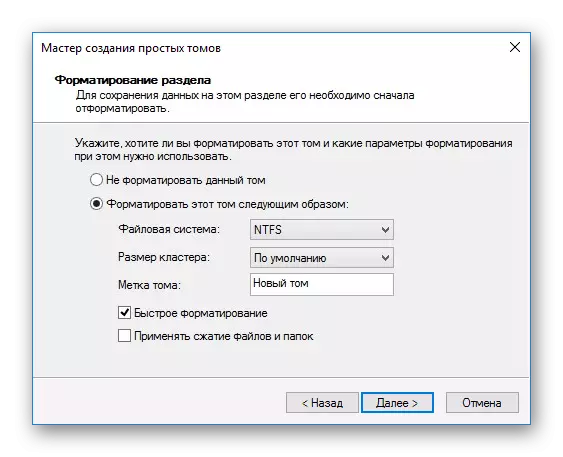
- In the next window, check the selected parameters and click Finish.

After that, the disk (HDD or SSD) will be initialized and will appear in the "My Computer" conductor. They can use the same as the rest of the drives.