

Most users prefer any program used to configure themselves. But there are people who simply do not know how to change the configuration of one or another software. This article will be devoted to just such users. In it, we will try to describe the process of changing the parameters VLC Media Player as much as possible.
Types of Settings VLC Media Player
VLC Media Player is a cross-platform product. This means that the application has versions for various operating systems. In such versions, the settings can be somewhat different from each other. Therefore, in order not to confuse you, we immediately note that this article provides a manual for configuring VLC Media Player for Windows devices.Also note that this lesson is focused more on novice users of VLC Media Player, and those people who are not particularly dealt with the settings for this software. Professionals of this region are unlikely to find something new here. Therefore, we will not go into the smallest details in detail and to pour specialized terms. Let's proceed directly to the player configuration.
Interface configuration
Let's start with the fact that we will analyze the parameters of the VLC Media Player interface. These options will allow you to configure the display of various buttons and regulators in the main player window. We will note that the cover in the VLC Media Player can also be changed, but it is done in another section of the settings. Let's analyze a detailed process of changing the interface parameters.
- Run VLC Media Player.
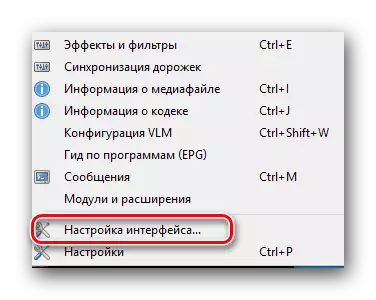
- In the top area of the program you will find a list of sections. You must click on the "Tools" string.
- As a result, the drop-down menu appears. The required subsection is called - "Setting up the interface ...".
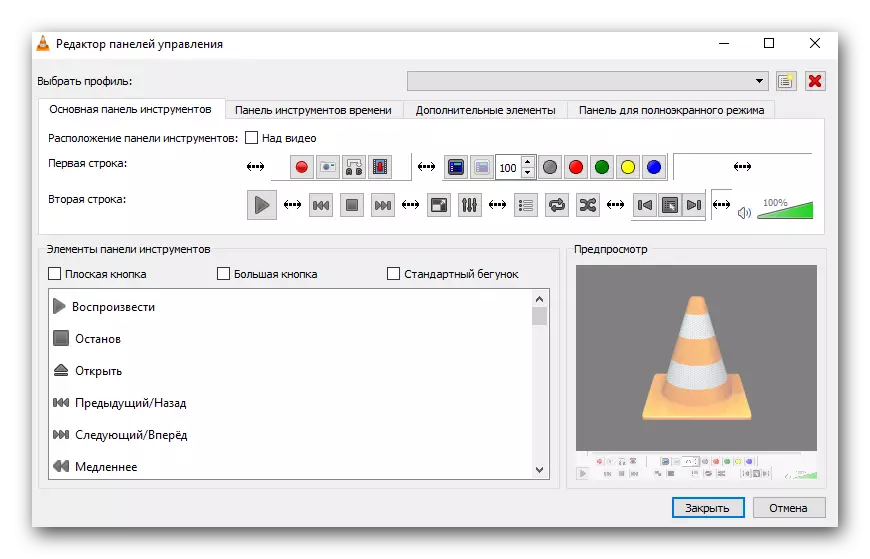
- These actions will display a separate window. It is in it that will be set up the player interface. This window is as follows.
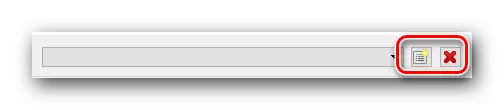
- At the very top of the window there is a menu with presets. By clicking on the string with the direction directed by the arrow, the context window will appear. It can choose one of the options that integrated the default developers.
- Next to this line are two buttons. One of them allows you to save your own profile, and the second, in the form of a red cross, removes the preset.
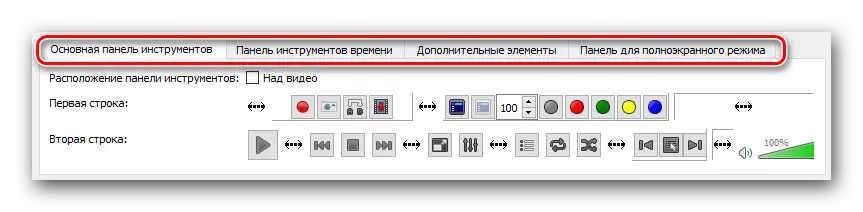
- In the area below you can select that section of the interface in which you want to change the location of the buttons and the slider. Switching between such areas allow four bookmarks located down a little higher.
- The only option that can be turned on or off here is the location of the toolbar itself. You can leave the default location (downstairs), or move it above by putting a mark on the right line.
- Edit buttons themselves and the slider is extremely simple. It is enough for you to clamp the desired element with the left mouse button, then transfer it to the desired place or remove it at all. To remove an item, you just need to drag it for the workspace.
- Also in this window you will find a list of elements that can be added to different toolbar. This area looks as follows.
- Elements are added in the same way as they are removed - simple tightening to the desired location.
- Above this area you will find three options.
- Putting or removing the mark near any of them, you change the appearance of the button. Thus, the same element may have a different appearance.
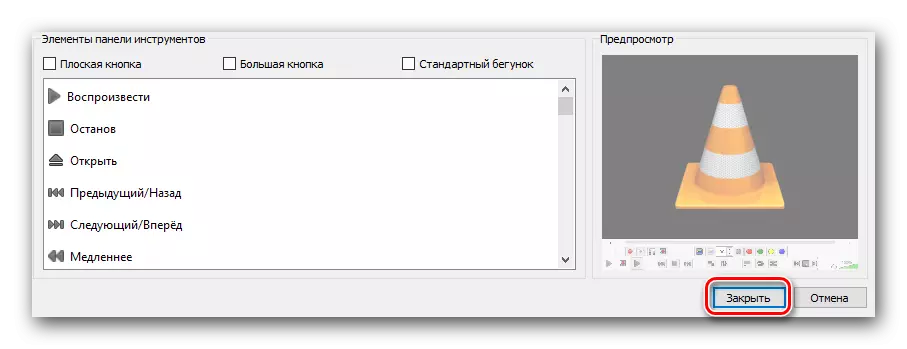
- You can view the result of changes without prior saving. It is displayed in the preview window, which is located in the lower right corner.
- At the end of all changes you will need to simply click the "Close" button. This will save all settings and take a look at the result in the player itself.


On this interface configuration process is completed. Moving further.
The main parameters of the player
- In the list of sections at the top of the VLC MEDIA Player window, click on the "Tools" string.
- In the drop-down menu, select the "Settings" item. In addition, to call the window with basic parameters, you can use the key combination "Ctrl + P".
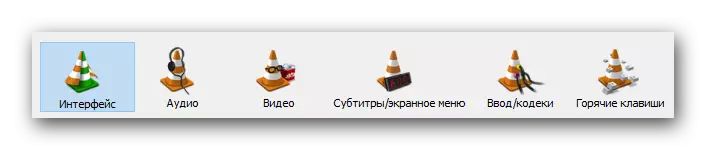
- As a result, a window opens, which is called "Simple Settings". It contains six tabs with a specific set of options. We briefly describe each of them.

Interface
This set of parameters differs from the above described. At the highest area, you can select the desired information display language in the player. To do this, just click on a special line, then select the desired option from the list.

Next, you will see a list of parameters that allow you to change the cover of VLC Media Player. If you want to apply your own skin, then you need to put a mark near the "Other Style" line. After that, you need to select a file with a cover on the computer by clicking the "Select" button. If you want to see the entire list of available skins, you need to click on the button marked on the screen below the number 3.
Please note that after changing the cover, you need to save the setting and restart the player.
If you use standard skin, then you will be available to an additional set of options.
At the bottom of the window you will find areas with playlist and privacy parameters. Options here are a bit, but they are not the most useless.
The last setting in this section is binding files. By clicking on the "Configure Binding ..." button, you can specify the file with which extension should be opened using VLC Media Player.
Audio
In this subsection you will be available settings related to sound playback. To start, you can enable or disable the sound. To do this, we simply put or remove the mark next to the corresponding string.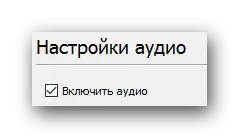
In addition, you are entitled to set the volume level when you start the player, specify the sound output module, change the playback speed, enable and configure normalization, as well as align the sound. You can also include the surround sound effect (Dolby Surround), adjust the visualization and turn on the "Last.fm" plugin.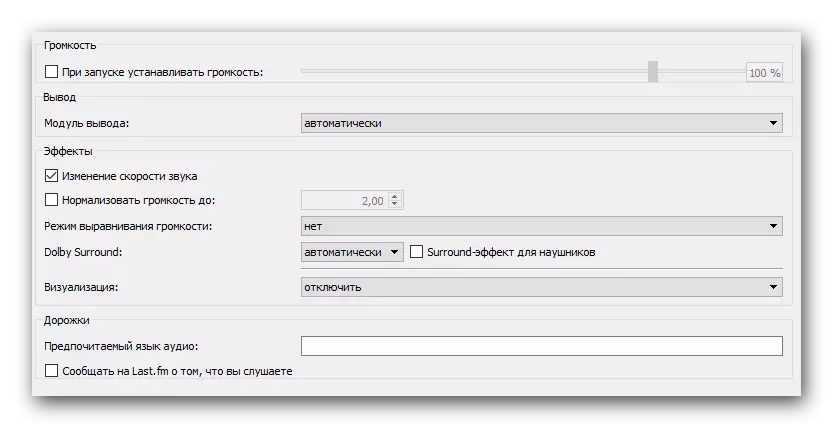
Video
By analogy with the previous section, the settings of this group are responsible for the display of video display and related functions. As in the case of "Audio", you can disable the video display at all.
Next, you can set the image output parameters, window design, and set the display option to the player window on top of all other windows.
Slightly below are the lines responsible for settings for the display device (DirectX), the interlaced interval (the process of creating one entire frame of two half-frames), and the screenshot creation parameters (location of files, format and prefix).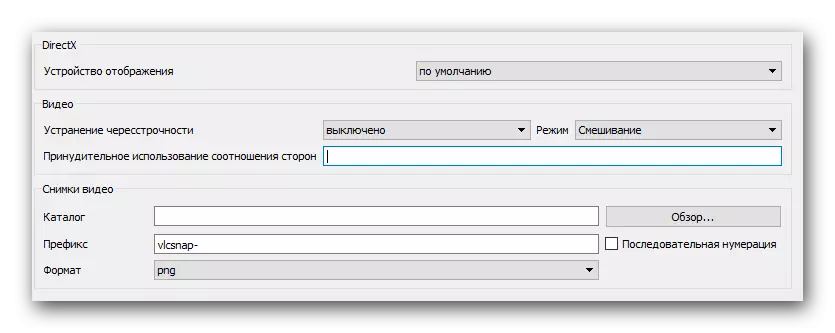
Subtitles and on-screen menu
There are parameters that are responsible for displaying information on the screen. For example, you can enable or disable the display name of the playback video, as well as indicate the location of such information.
The remaining adjustments relate to subtitles. Optionally, you can enable or disable them, configure effects (font, shadow, size), preferred language and encoding.
Enter / codec
As follows from the name of the subsection, there are options that are responsible for the playback codecs. We will not advise any specific codec settings, since they are all set relative to the situation. You can reduce the quality of the picture by increasing productivity and vice versa.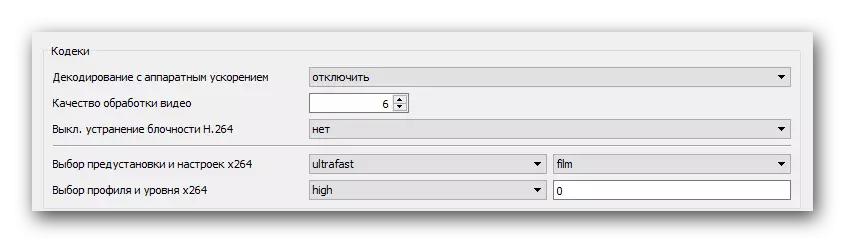
A slightly lower in this window are the options for saving video records and network parameters. As for the network, you can specify a proxy server if you play information directly from the Internet. For example, when using streaming broadcasting.
Read more: How to set up streaming broadcasting in VLC Media Player

Hotkeys
This is the last subsection related to the basic parameters of the VLC Media Player. Here you can bind certain actions of the player to specific keys. Settings here are a lot, so we cannot advise something specific. Each user configures these parameters to its own way. In addition, you can immediately install actions associated with the mouse wheel.
These are all the options we wanted to mention. Do not forget to save any changes before closing the parameter window. Please note that any option can be found in more detail if you simply hover the mouse pointer to the string with its name.
It is also worth mentioning that the VLC Media Player has an extended list of options. You can see it if you mark the "All" string at the bottom of the window with the settings.
Similar parameters are more oriented on experienced users.
Installation of effects and filters
As likely to any player, the VLC Media Player has parameters that are responsible for various audio and video effects. To change those you need to do the following:
- Open the "Tools" section. This button is located at the top of the VLC Media Player window.
- In the list that opens, click on the "Effects and Filters" string. An alternative can be the simultaneous press of the "Ctrl" and "E" buttons.
- A window will open, which contains three subsections - "audio effects", "video effects" and "synchronization". Let's give separate attention to each of them.


Audio effects
We go into the specified subsection.
As a result, you will see another three additional groups.

In the first group "Equalizer" you can enable the option specified in the title. After turning on the equalizer itself, the sliders are activated. Moving them up or down, you will change the sound effect. You can also use ready-made blanks that are located in an additional menu next to the inscription "Preset".

In the group "Compression" (it is also compression) there are similar sliders. To adjust them, you need to first turn on the option, after which you already make changes.

The last subsection is called "Volume Sound". There are also vertical sliders. This option will allow you to enable and adjust the virtual surround sound.

Video effects
In this section, a few more subgroups. As it is clear from the title, all of them are aimed at changing the parameters associated with displaying and playing video. Let's run through each category.
In the "Main" tab, you can change the image options (brightness, contrast, and so on), clarity, grain and elimination of the rigid strip. Previously, you must enable the option to change the settings.

Subsection "Crochement" will allow you to change the size of the displayed area on the screen. If you enroll the video at once in several directions, we recommend setting the synchronization parameters. To do this, you need to check the box in the same window opposite the desired line.

The group "Colors" allows you to make a color correction video. You can extract some particular color from the video, specify the saturation threshold for a specific color or turn on the inversion of the paints. In addition, there are immediately available options that allow you to enable sepia, as well as set up a gradient.

Next to the queue Tab "Geometry". The options of this subsection are aimed at changing the video position. In other words, local options will allow you to flip the picture to a certain angle, apply an interactive increase to it or turn on the effects of a wall or puzzle.

We apply to one of our lessons to this parameter.
Read more: Learn to turn video in VLC Media Player
In the next section "Overlay" you can apply your own logo on top of the video, as well as change the parameters of its display. In addition to the logo, you can also on the playback video to impose arbitrary text.

A group called "Atmolight" is fully dedicated to the settings of the filter of the same name. Like the other options, this filter must first turn on, and then you can change the parameters.

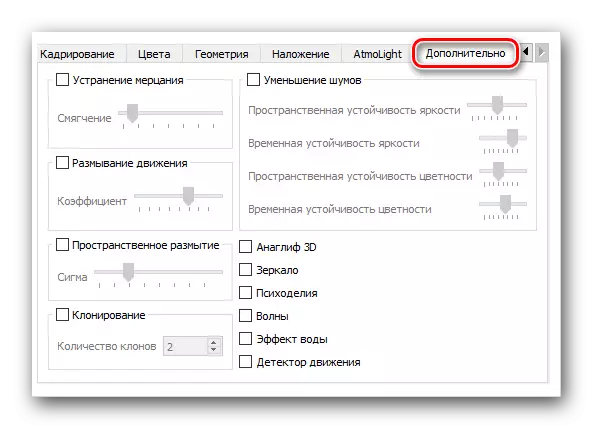
In the last subsection called "additionally" all other effects are collected. You can experiment with each of them. Most of the options can be used only optionally.
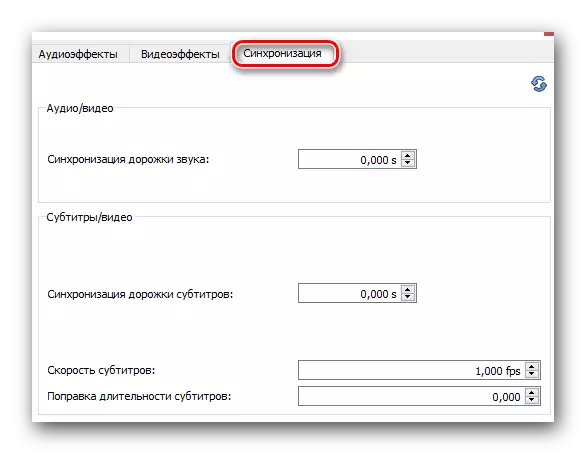
Synchronization
This section contains one single tab. Local parameters are invented in order to help you synchronize audio, video and subtitles. Perhaps you have had situations when the audio track is a little ahead of the video. So, using these options, you can correct this defect. The same applies to subtitles that are ahead or lagging behind other tracks.
This article comes to an end. We tried to cover all sections that will help you set up VLC Media Player to your taste. If in the process of familiarization with the material you will have questions - please please in the comments.