

Each person can register his channel in YouTube and download your own videos, even have some profit from them. But before proceeding to download and promote your videos, you must properly configure the channel. Let's go through the main settings and will understand with the editing of each.
Create and configure a channel in YouTube
Before setting, you need to create your own channel, it is important to do it right. You just need to follow several steps:
- Log in to YouTube through your Google mail and go to the creative studio by clicking on the appropriate button.
- In a new window, you will see a proposal for creating a new channel.
- Next, enter the name and surname that will display the name of your channel.
- Confirm account to get additional features.
- Select a confirmation method and follow the instructions.


Read more: Creating a channel on YouTube
Channel decoration
Now you can proceed to visual configuration. In your access, changing the logo and caps. Let's look at the actions that need to be performed to make the channel design:
- Go to the "My Channel" section, where in the top panel you will see your avatar you choose when creating a Google account, and the "Add Channel Decor" button.
- To change the avatar, click on the editing icon near it, after which you will be offered to go to your Google + account, where you can change the photo.
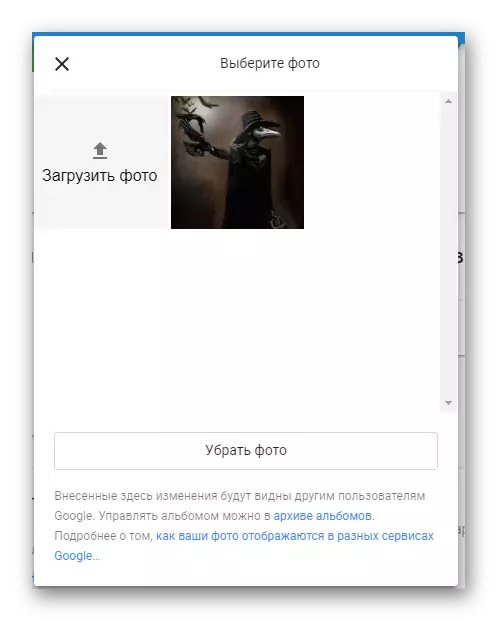
- Next, you can only click on "Upload a photo" and choose the desired one.
- Click on "Add Channel Decor" to go to the selection of the header.
- You can use already downloaded photos, download your own, which is on your computer, or use ready-made templates. Immediately you can see how the design will look at different devices.

To apply the selected click "Select".


Adding contacts
If you want to attract more people, as well as that they can keep in touch with you or were interested in other your pages on social networks, you must add links to these pages.
- In the upper right corner of the channel caps, click on the edit icon, then select "Change Links".
- Now move you to the page with the settings. Here you can add a link to email for business offers.
- Source a little lower to add additional links, such as its social networks. In the string on the left, enter the name, and in the opposite line - insert the link itself.


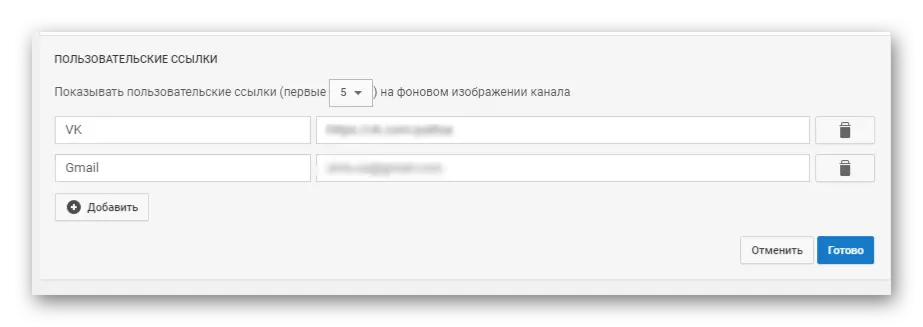
Now in the header you can see clickable links to the pages that you added.

Adding a channel logo
You can configure the display of your logo in all loaded videos. To do this, only you need to choose a certain image that was processed in advance and is given in a beautiful view. Please note that it is advisable to use the logo that will have .png format, as well as the image should not weigh more than one megabyte.
- Go to the Creative Studio in the "Channel" section, select "Corporate Style", After that, in the menu on the right, click "Add Channel Logo".
- Select and download the file.
- Now you can configure the display time of the logo and on the left you can see how it will look like on the video.


After saving to all your already added and the rollers that you will add, your logo will be superimposed, and when the user will click on it, it will automatically redirect to your channel.
Additional settings
Go to the Creative Studio and in the "Channel" section, select the "Advanced" tab to familiarize yourself with the other parameters that can be edited. Let's wonder them in more detail:
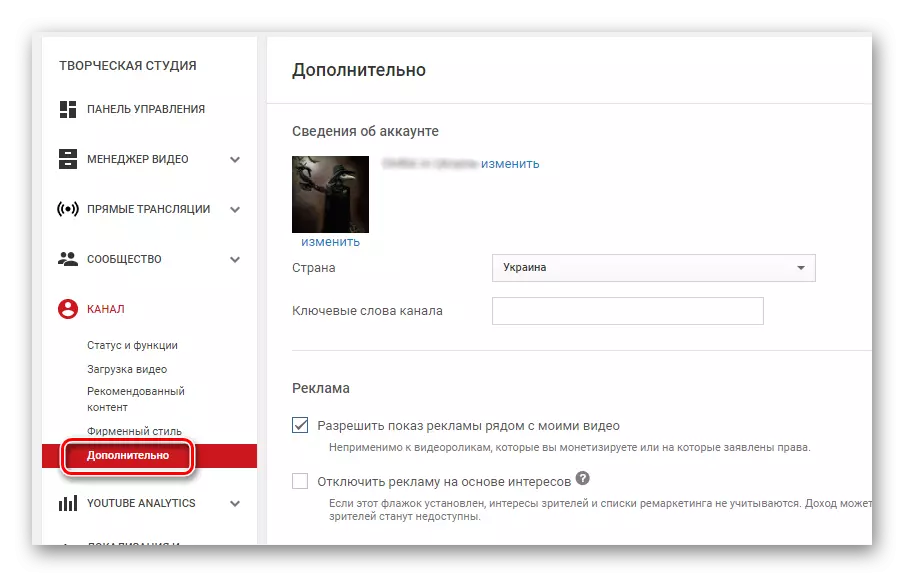
- Account information. In this part you can change the avatar and the name of your channel, as well as choose the country and add keywords for which it is possible to find your channel.
- Advertising. Here you can configure the display of advertising next to the video. Please note that such an advertisement will not be shown next to the rollers that you independently monetize or which copyright has been filed. The second item is "disable advertising based on interests." If you put a tick opposite this item, the criteria for which advertising is selected to show your audience will change.
- Communication with AdWords. Tie your YouTube account with AdWords account to get an analytics of advertising efficiency and help promoting video. Click "Tie accounts".

Now follow the instructions that will be displayed in the window.

After the registration is completed, complete the binding setting by selecting the necessary parameters in the new window.
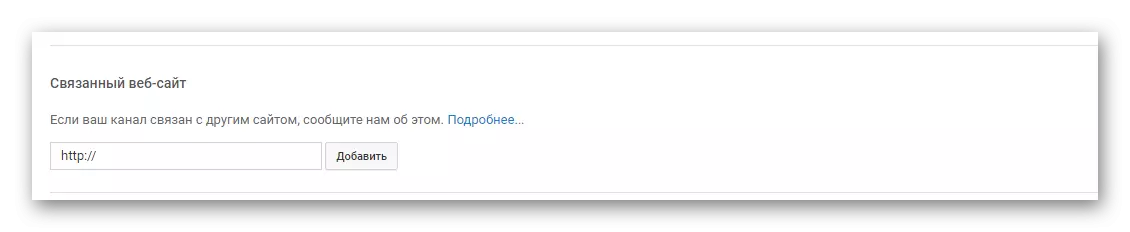
- Related site. If the profile on YouTube is dedicated or somehow contacts a specific site, you can mark this by specifying a link to this resource. The added link will be displayed when viewing your rollers.
- Recommendations and number of subscribers. Everything is simple here. Do you choose whether to show your channel in the listings of the recommended channels and whether to show the number of your subscribers.

Read more: Changing the name of the channel on YouTube


Community settings
In addition to settings that are directly related to your profile, you can also edit the community parameters, that is, to interact in various ways with users that are browsing you. Let's figure it out in this section More.

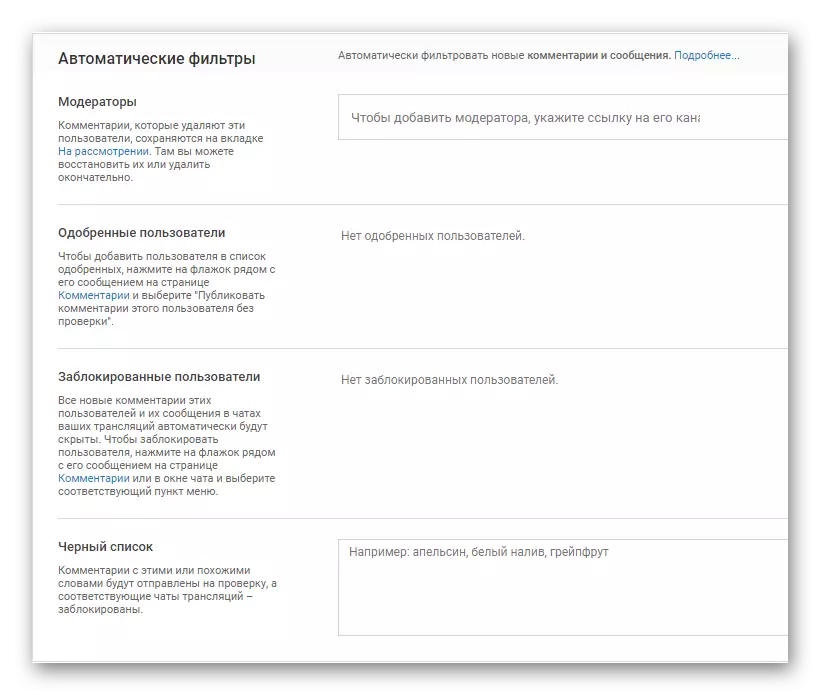
- Automatic filters. In this subsection, you can assign moderators who can, for example, delete comments under your rollers. That is, in this case, the moderator is a person responsible for any process on your channel. Next comes "Approved Users". You are just looking for a comment of a certain person, click on the checkbox next to him, and its comments will now be published without checking. Blocked users - their messages will be hidden automatically. Blacklist - Add words here, and if they meet in the comments, then such comments will be hidden.
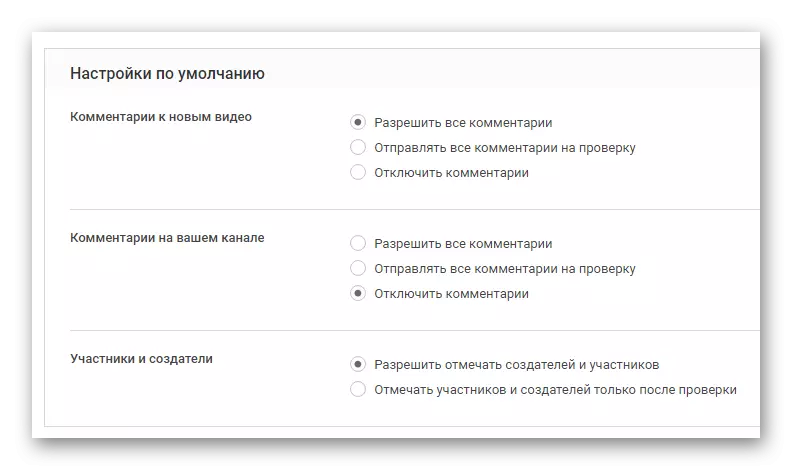
- Default settings. This is the second subsection on this page. Here you can configure commenting under your video and edit the marks of the creators and participants.
These are all the basic settings that I would like to tell. Please note that many parameters affect not only the convenience of using the channel, but also on the promotion of your rollers, as well as directly to your earnings from the YouTube resource.