

Many social networks have the opportunity to create a community in which you can collect people in interest to distribute some information or news. That's the resource of classmates is not inferior to the social networks.
Creating a community on the site classmates
With the fact that now the site classmates and VKontakte one company owner, then many parts of the functional have become similar between these resources, moreover, in classmates to create a group even slightly easier.Step 1: Search for the desired button on the main page
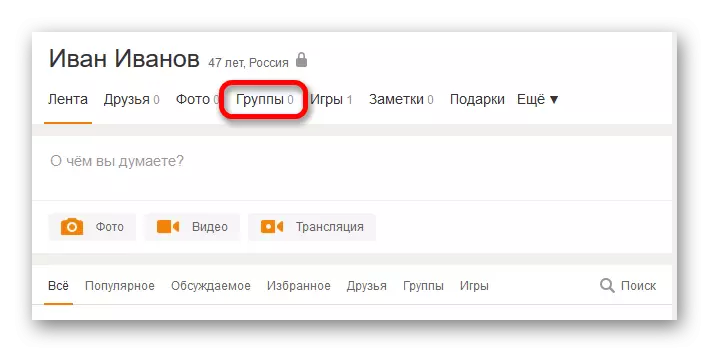
To go to the creation of a group, you need to find the corresponding button on the main page, which will allow you to go to the list of groups. You can find this menu item under your name on the personal page. It is there that the "Group" button is located. Click on it.
Step 2: Transition to the creation
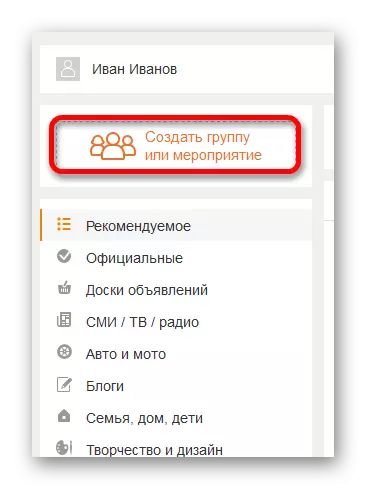
This page will feature a list of all groups in which the user is currently. We need to create your own community, so in the left menu we are looking for a large "Create Group or Event" button. Boldly click on it.
Step 3: Choosing a community type
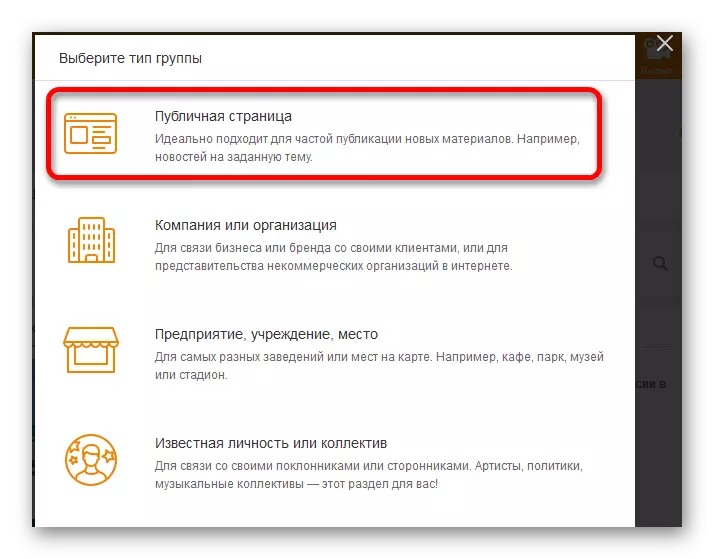
On the next page, you need to select the type of group that will be created in a few more clicks.
Each community type has its own characteristics, advantages and disadvantages. Before making choices, it is better to study all the descriptions and understand why a group is created for.
We choose the desired type, for example, a "public page", and click on it.
Step 4: Group creation
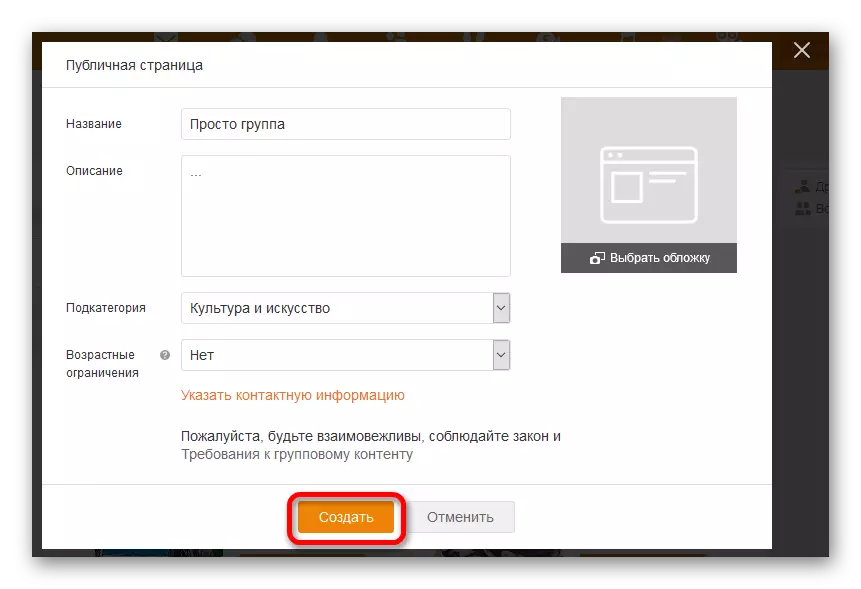
In a new dialog box, you must specify all the necessary data for the group. First of all, we specify the name of the community and the description so that users understand what is its essence. Next, select a subcategory for filtering and age limitations, if necessary. After all this, you can download the cover of the group so that everything looks stylish and beautiful.
Before continuing it is recommended to explore the requirements for content in groups so that there are no problems with other users and the administration of the social network of classmates.
After all actions, you can safely press the "Create" button. As soon as the button is pressed, the community is created.
Step 5: Work on content and group
Now the user has become the administrator of the new community on the site classmates, which must be supported by adding relevant and interesting information, inviting friends and third-party users, advertising page.
Create a community in classmates is quite simple. We succeeded in a few clicks. The most difficult will be to recruit subscribers to the group and maintain it, but here it all depends on the administrator.