

Connecting your own domain using Yandex mail is a sufficiently convenient feature for blog owners and similar resources. So, instead of standard @ yandex.ru, after the sign @ you can enter the address of your own website.
Connecting a domain using Yandex.mounts
To configure, do not require special knowledge. First, you must specify its name and add a file to the root directory of the site. For this:
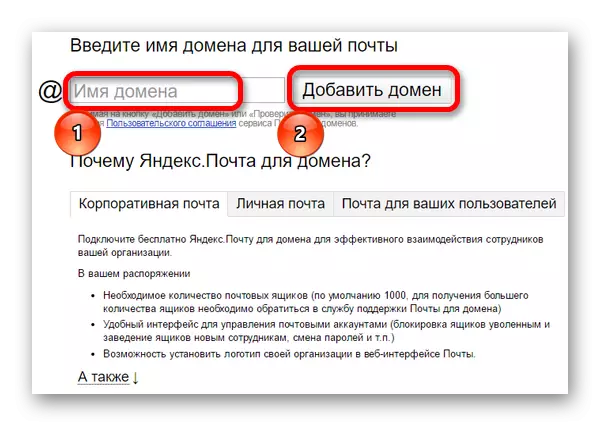
- Log in to the Special Yandex Page to add a domain.
- In the existing form, enter the domain name and click "Add".
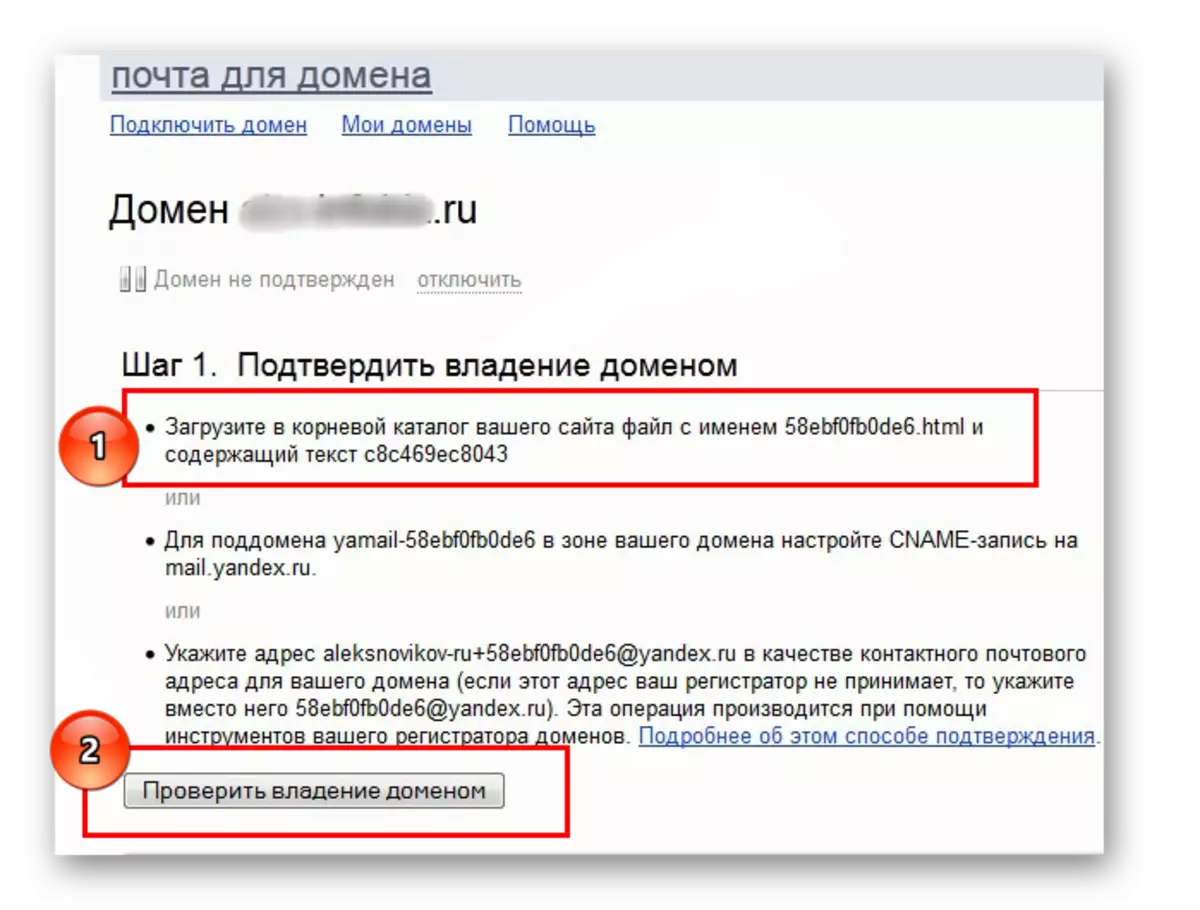
- Then it will be necessary to confirm that the user is the owner of the domain. To do this, a file with the name and content is added to the root directory of the resource (there are several other options for confirmation, depending on what is more convenient to the user).
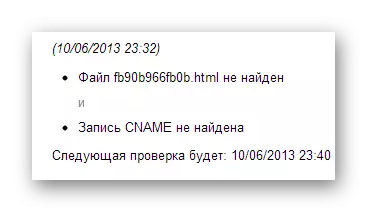
- The service will check the presence of a file on the site after a couple of hours.
Confirmation of domain ownership
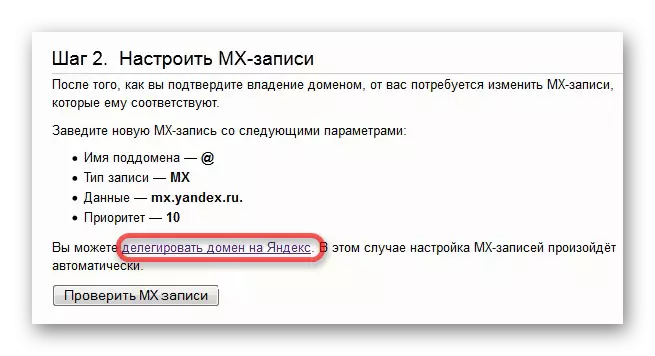
The second and last step is to bind a domain to mail. This procedure can be performed in two in different ways.Method 1: Domain Delegation
The simplest connection option. It has a convenient DNS editor and rapid adoption of changes made. This will require:
- In the MX recording window that appears, the "delegate domain on Yandex" option is offered. To use this feature, you will need to go to the hosting used and logged in (in this embodiment, work with RU-CENTER will be shown as an example).
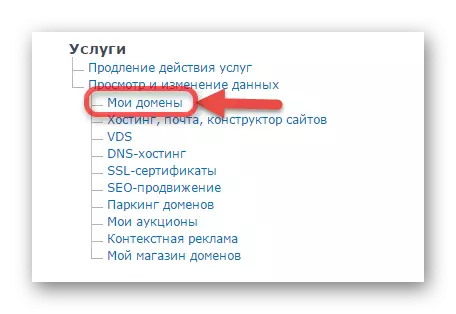
- In the window that opens, find the "Services" section and in the existing list, select My Domains.
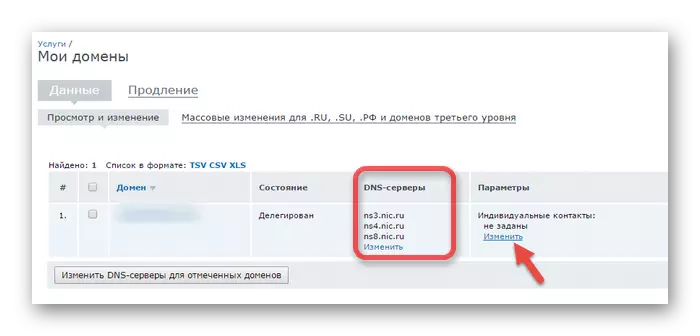
- The table shown has a "DNS servers" column. It needs to click "Change" button.
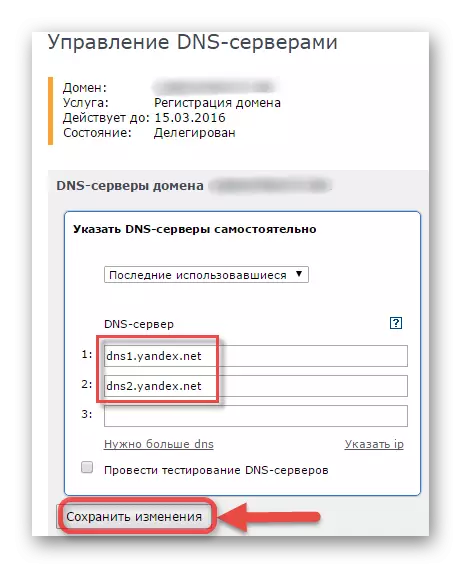
- It will be necessary to clear all the available data and enter the following:
- Then click "Save Changes". Within 72 hours, new settings will start acting.
DNS1.yandex.net
DNS2.yandex.net
Method 2: MX recording
This option is more complex and verifying the changes made may take a larger period of time. To configure this method:
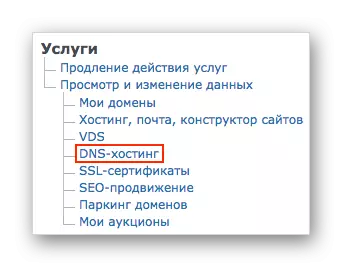
- Enter the hosting and in the Services section select "DNS hosting".
- You will need to delete existing MX records.
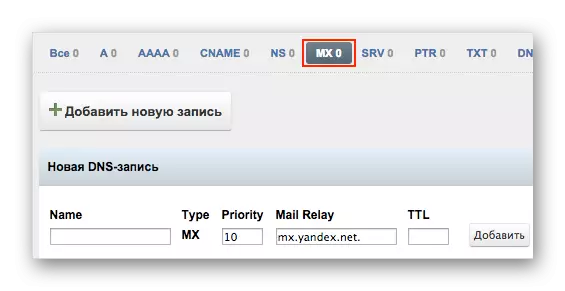
- Then click "Add a new record" and enter the following data only in two fields:
- Wait for the changes made. By time it will take from 3 days and more.
Priority: 10.
Mail Relay: MX.yandex.net
A detailed description of the procedure for most well-known hosting providers is available on the Yandex help page.
After the service updates the data and the changes made will take effect, the ability to create an e-mailbox with a connected domain will appear.
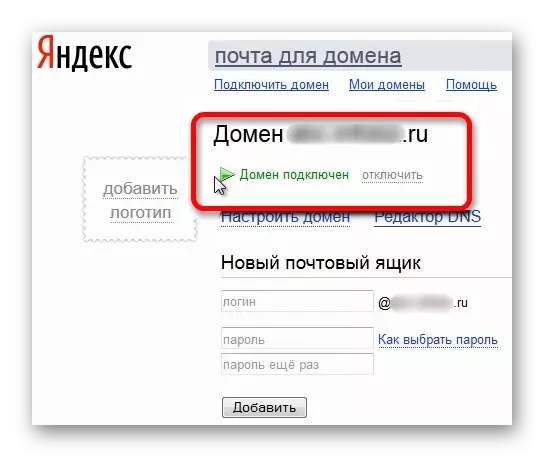
The process of creating and connecting may take a long time, since checking all these data can last up to 3 days. However, after you can create postal addresses with a personal domain.