

CentOS is one of the popular Linux-based systems, and for this reason, many users want to meet her. Installing it as the second operating system on your PC - option is not for everyone, but instead you can work with it in a virtual, isolated environment called VirtualBox.
Step 2: Creating a CENTOS Virtual Machine
In VirtualBox, each installed operating system needs a separate virtual machine (VM). At this stage, the type of system is selected, which will be installed, a virtual drive is created and additional parameters are configured.
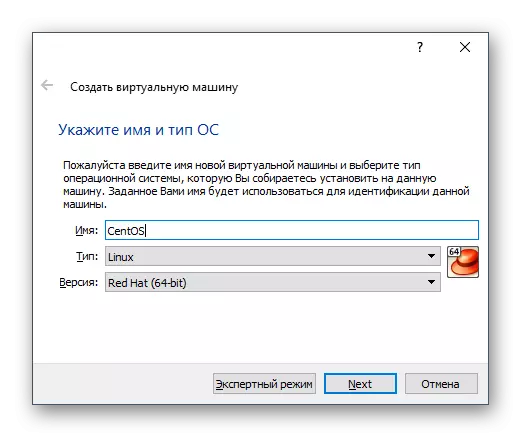
- Run the VirtualBox Manager and click on the "Create" button.

- Enter the name of the CentOS, and the other two parameters will be filled automatically.
- Specify the amount of RAM that you can select to start and operating the operating system. Minimum for comfortable work - 1 GB.
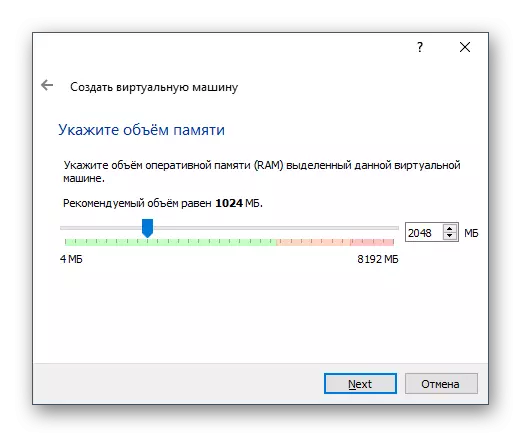
Try to take as much RAM as possible under systemic needs.
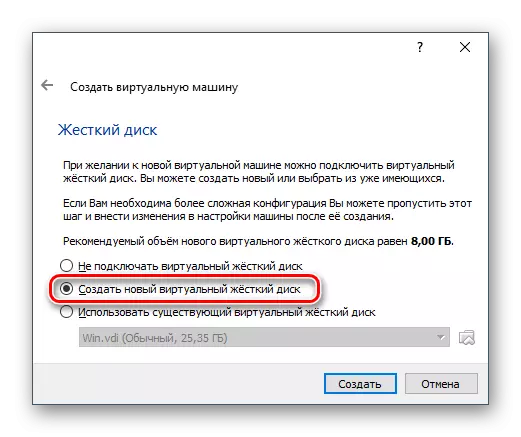
- Leave the "Create a new Virtual Hard Disk" selected item.
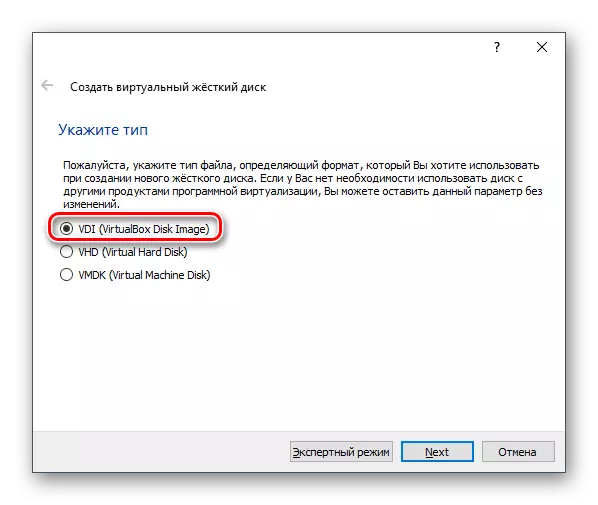
- Type Do not change and leave VDI.
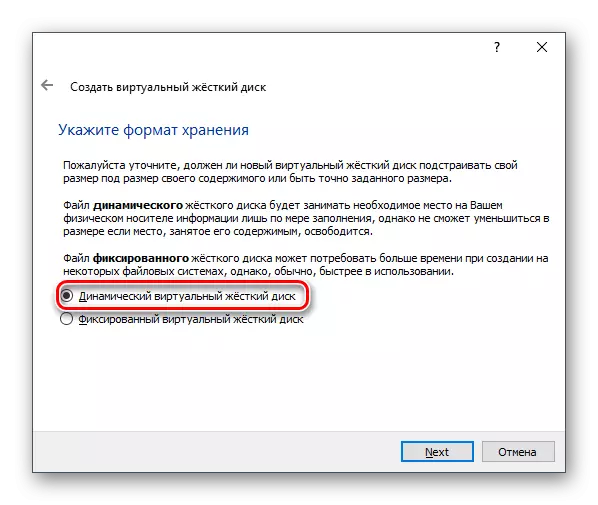
- The preferred storage format is "dynamic".
- Size for virtual HDD Select based on the available free space on the physical hard disk. For the correct installation and update OS, it is recommended to remove at least 8 GB.
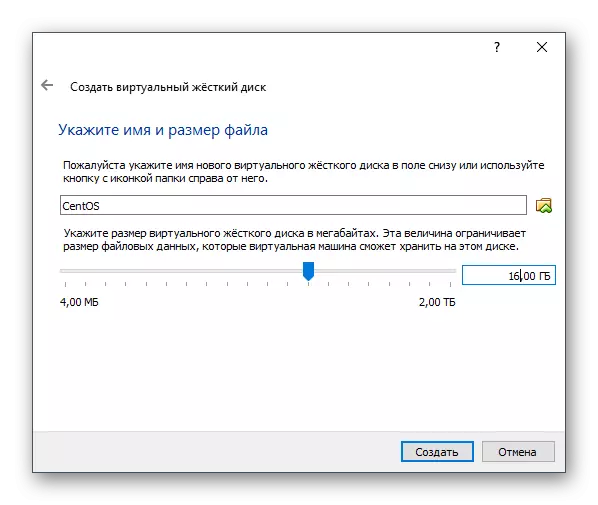
Even if you select more space, thanks to the dynamic storage format, these gigabytes will not be occupied until this place is occupied inside the CentOS.
On this installation VM ends.
Step 3: Setting up a virtual machine
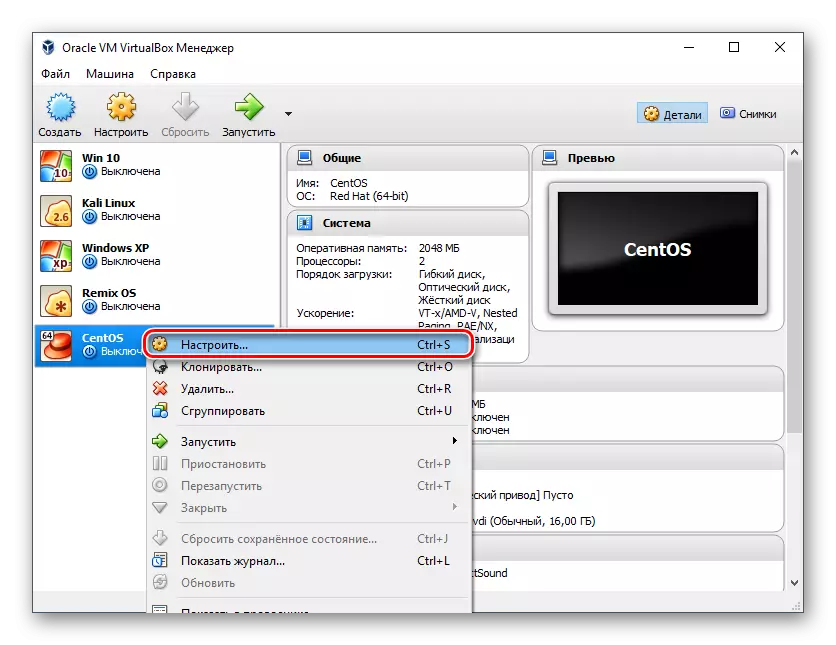
This stage is optional, but will be useful for some basic settings and shared familiarization with what can be changed in VM. To enter the settings, you need to right-click on the virtual machine and select the "Configure" item.
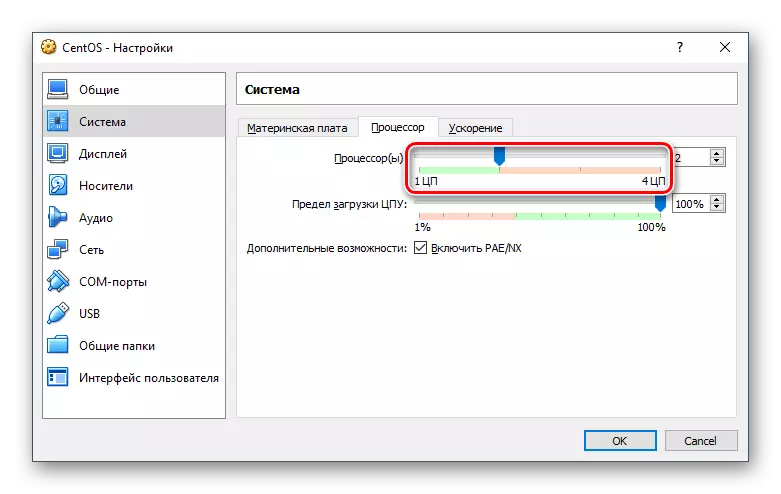
In the System tab, the Processor can increase the number of processors to 2. This will give some increase in the performance of the CentOS.
Going to "Display", you can add some MB to the video memory and turn on the 3D acceleration.

The remaining settings can be set at your discretion and return to them at any time when the machine is not running.
Step 4: Install Centos
The main and last stage: the installation of the distribution, which was already downloaded.
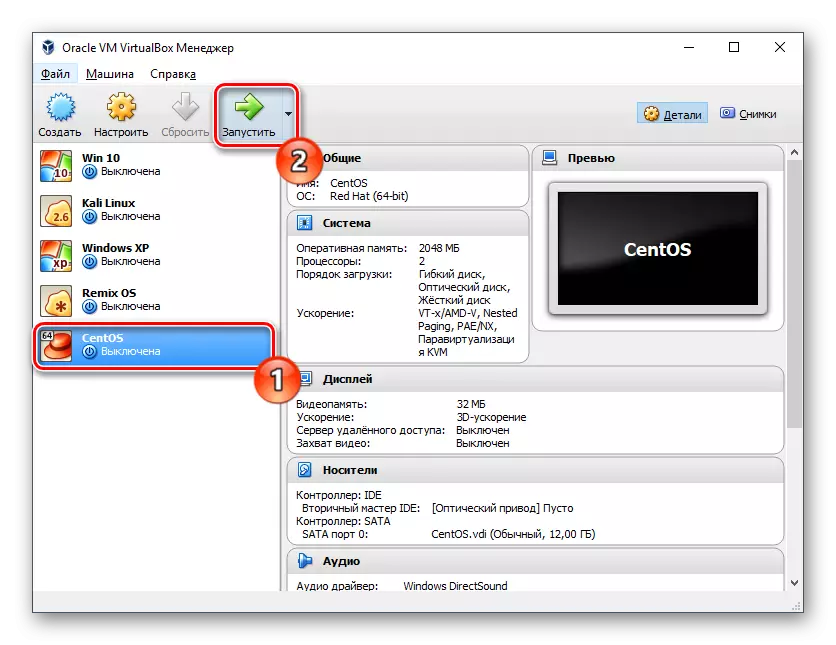
- Highlight the mouse click the virtual machine and click on the "Run" button.
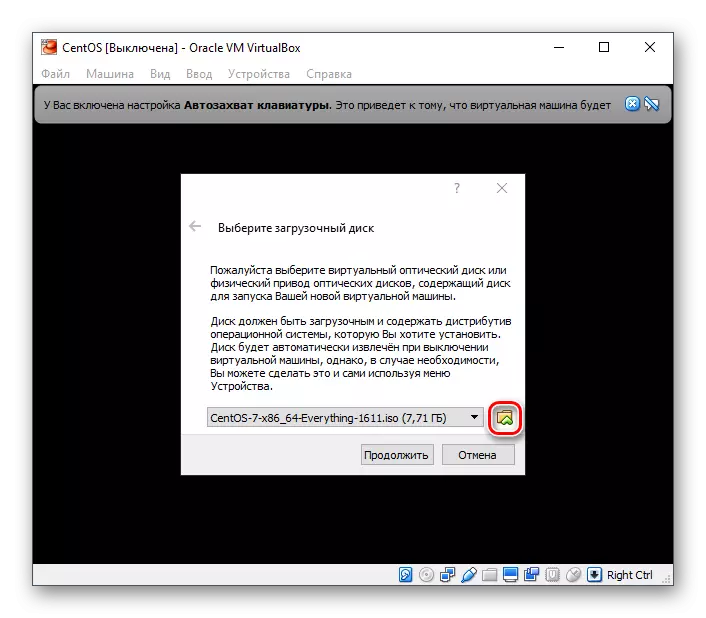
- After starting the VM, click on the folder and through the standard system conductor, specify the location where you downloaded the OS image.
- The system installer will start. Using the up arrow on the keyboard, select "Install Centos Linux 7" and press ENTER.

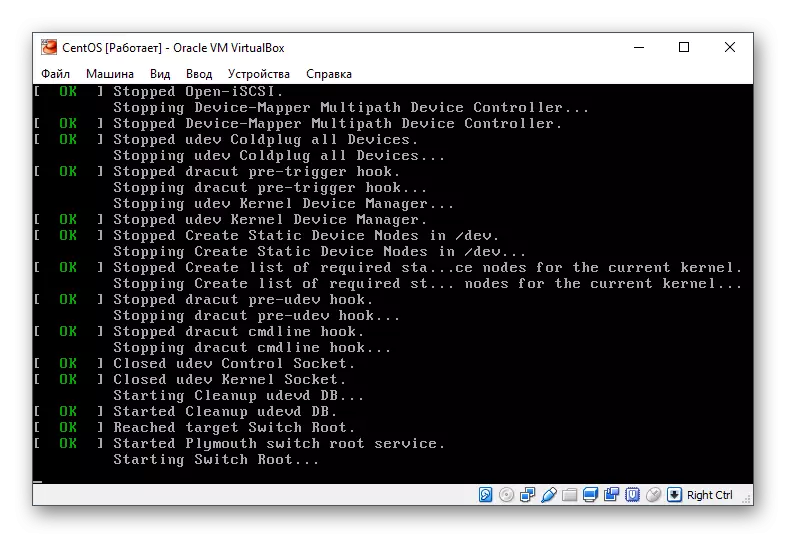
- In automatic mode, some operations will be produced.
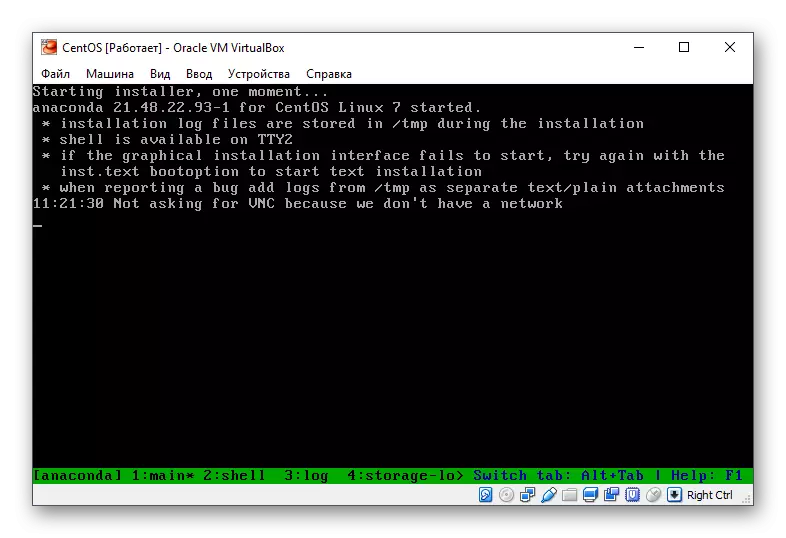
- Start the start of the installer.
- The CentOS graphics installer will start. Immediately, we want to notice that this distribution has one of the most worked and friendly installers, so it will be very simple to work with it.
Choose your language and its kind.

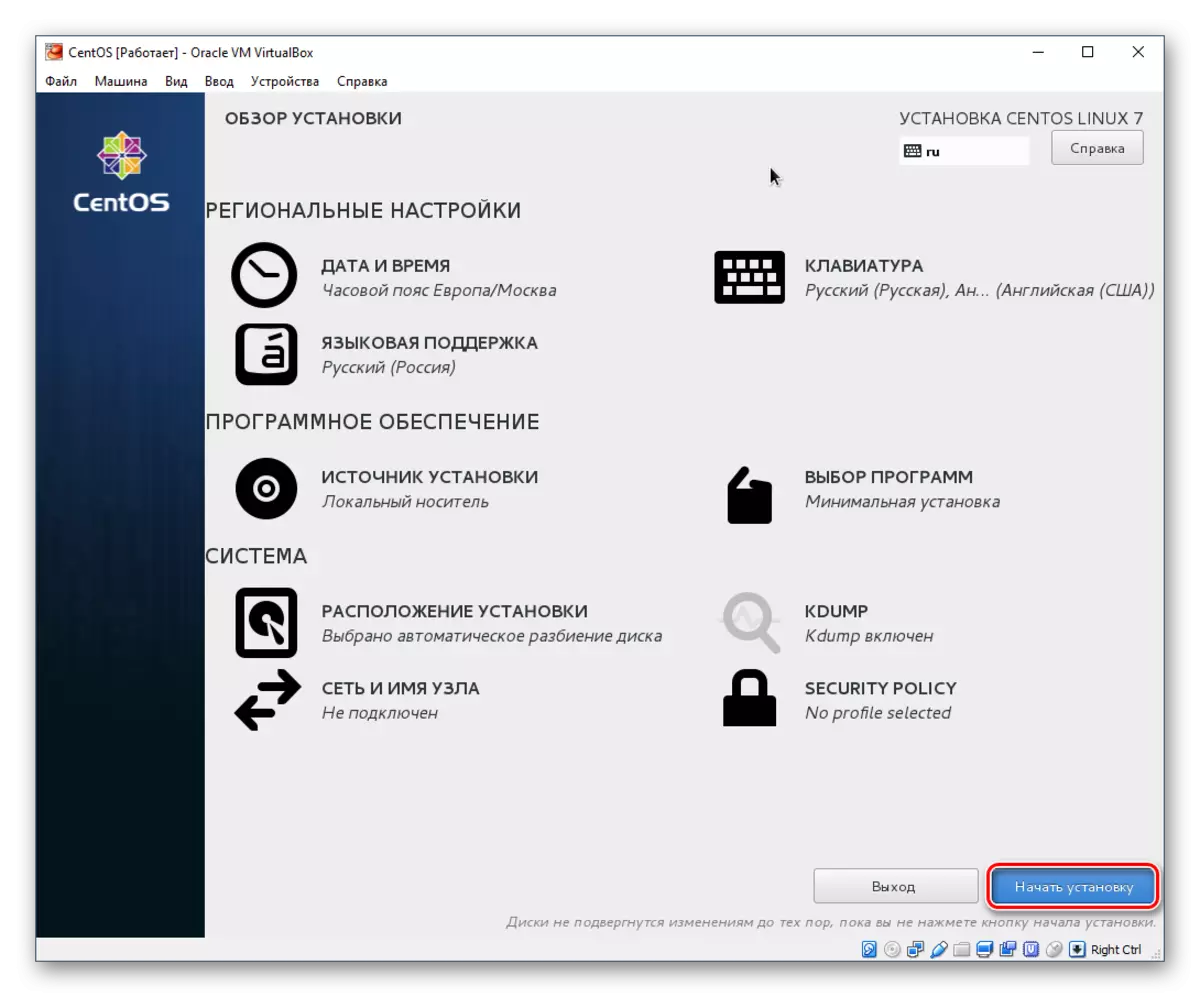
- In the Settings window, configure:
- Timezone;
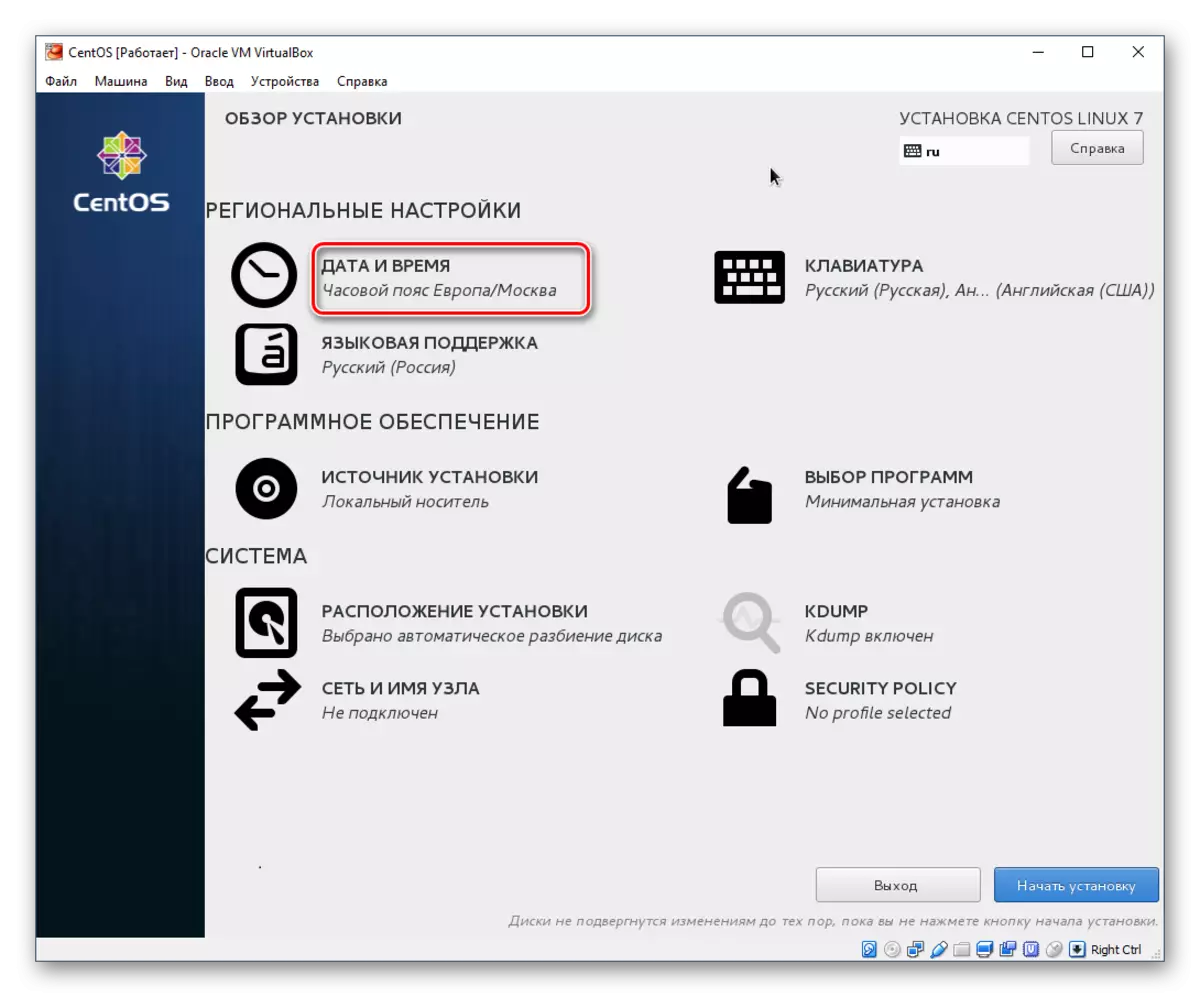
- Setting the installation.
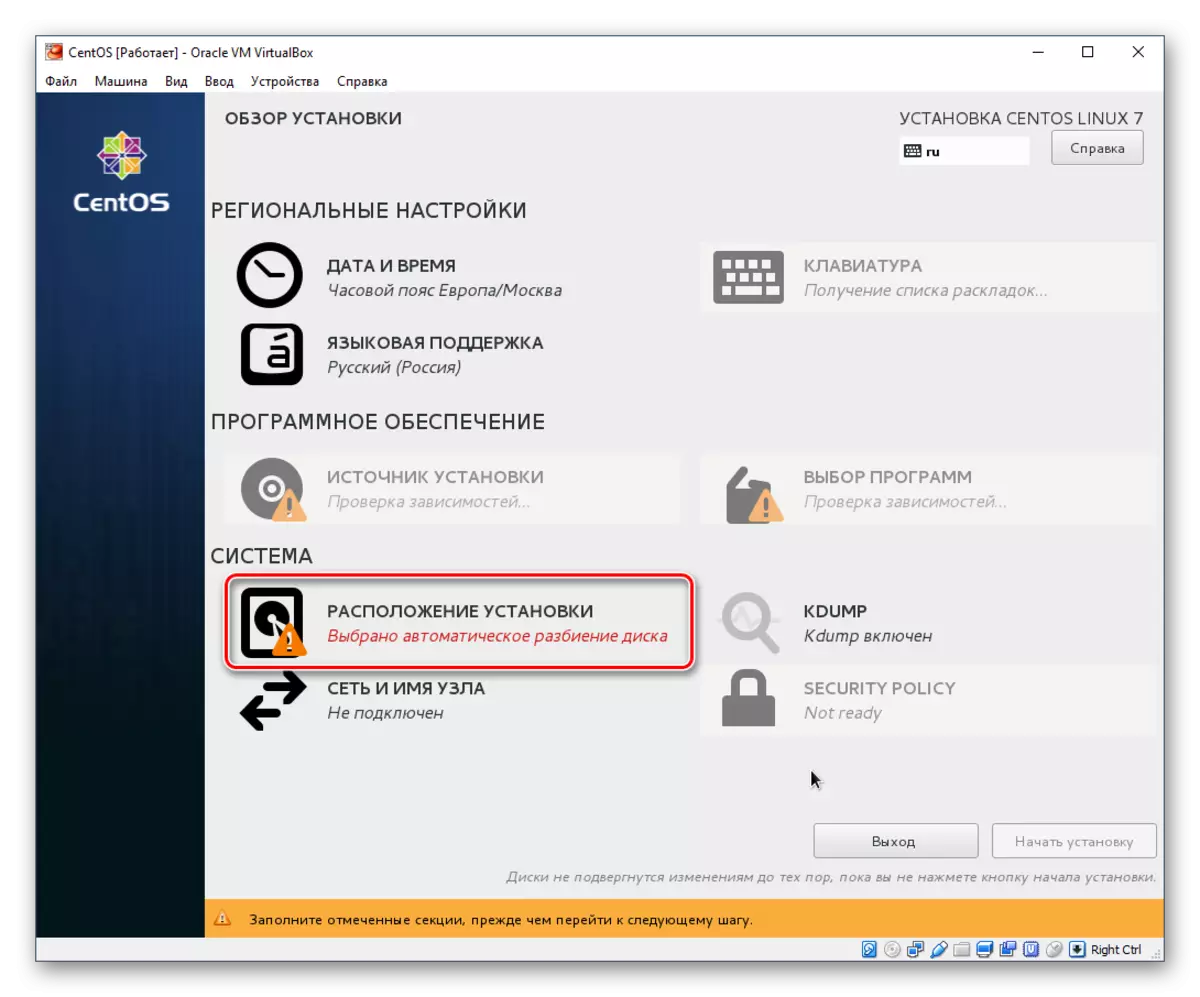
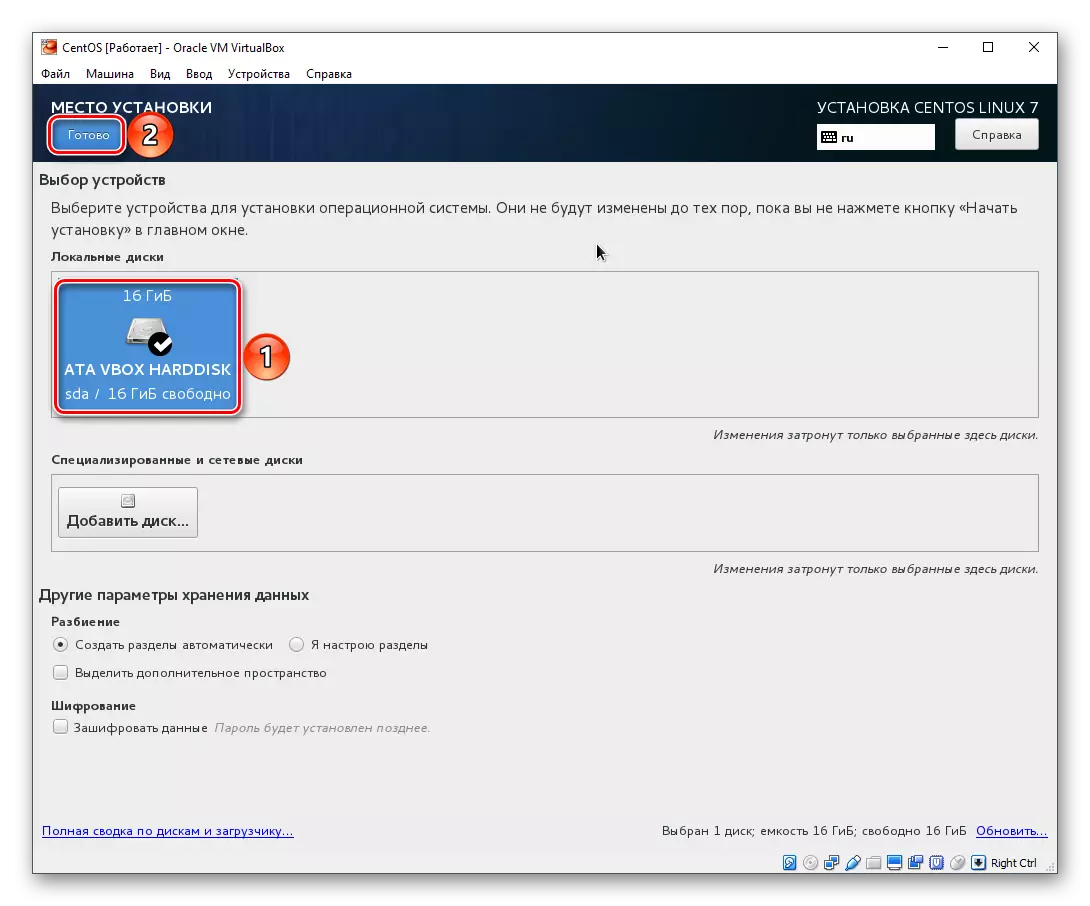
If you want to make a hard disk with one section in a centos, just go to the menu with the settings, select the virtual drive, which was created with the virtual machine, and click Finish;
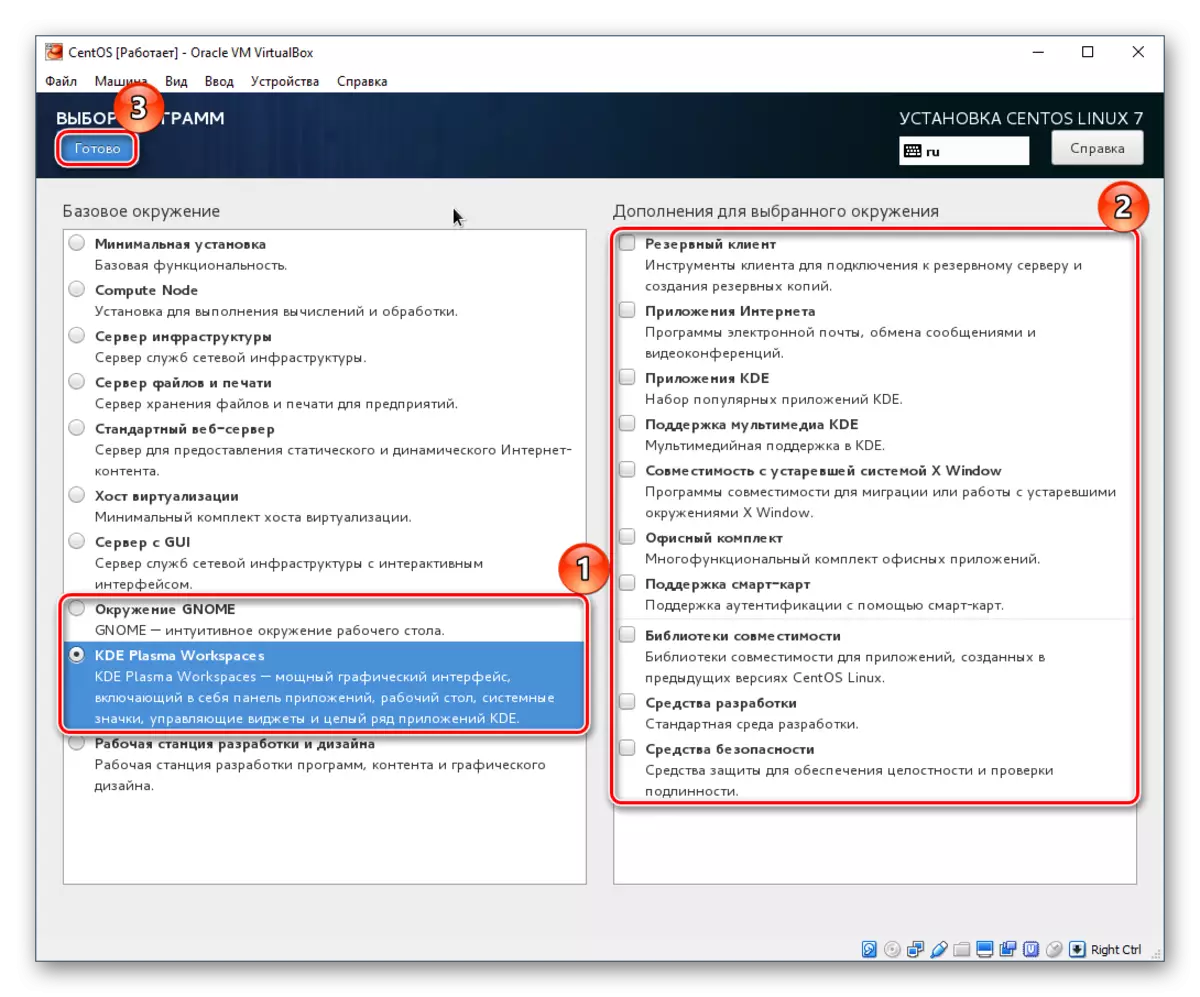
- Select programs.
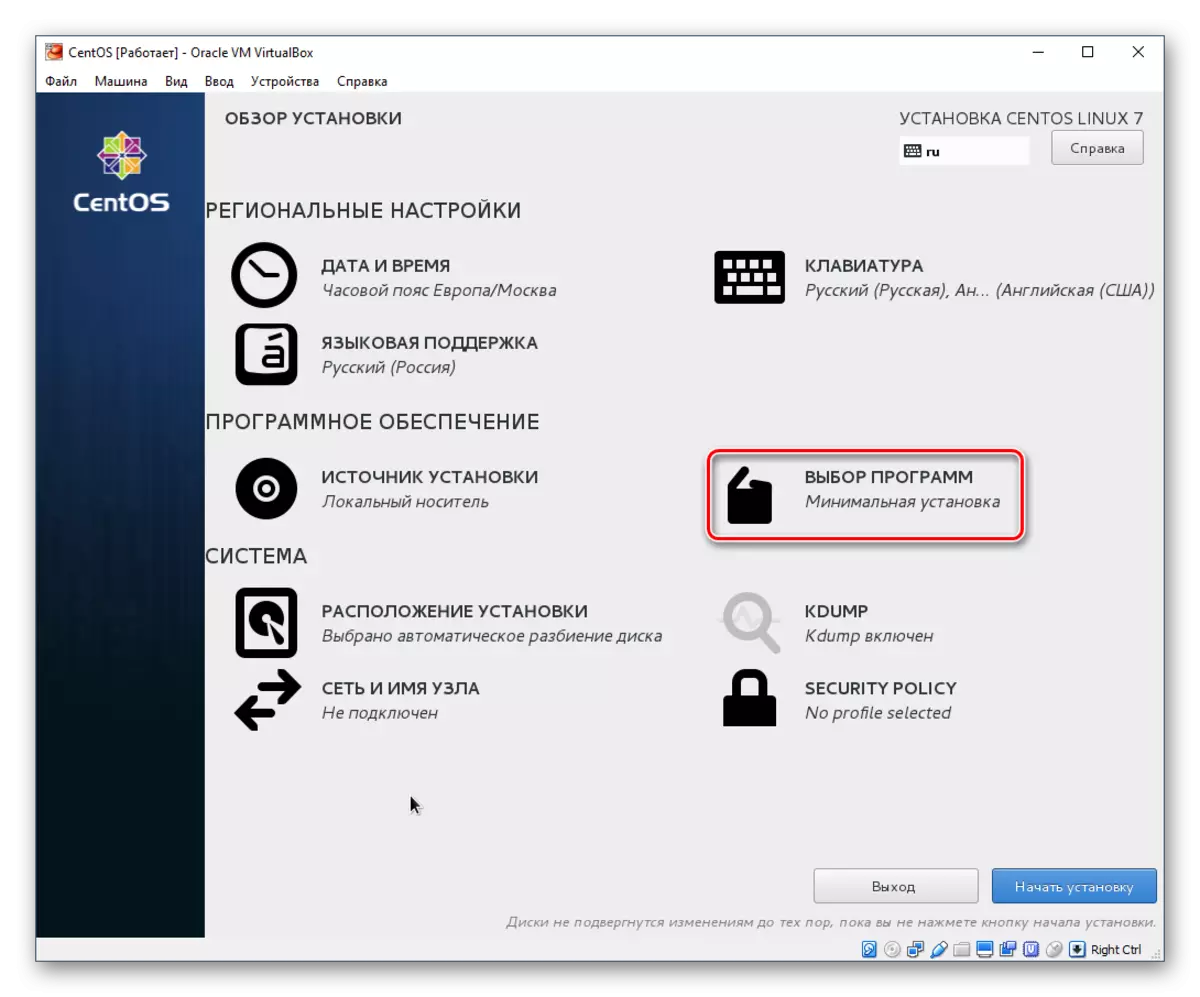
The default is the minimum installation, but it does not have a graphical interface. You can choose which medium the OS is installed: GNOME or KDE. The choice depends on your preferences, and we will look at the installation with the KDE environment.
After selecting the shell on the right side of the window, add-ons will appear. Ticks can be noted what you would like to see in the CentOS. When the selection is completed, click Finish.
- Timezone;
- Click on the Start Installation button.
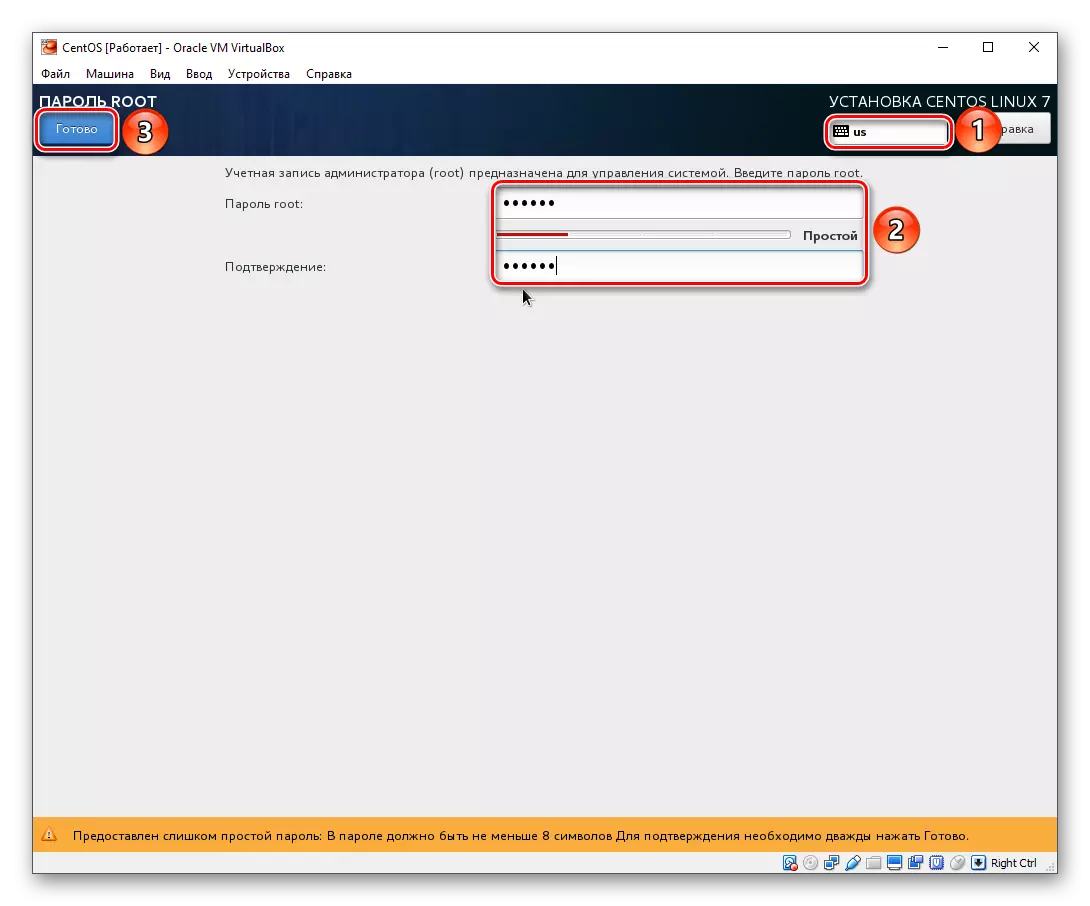
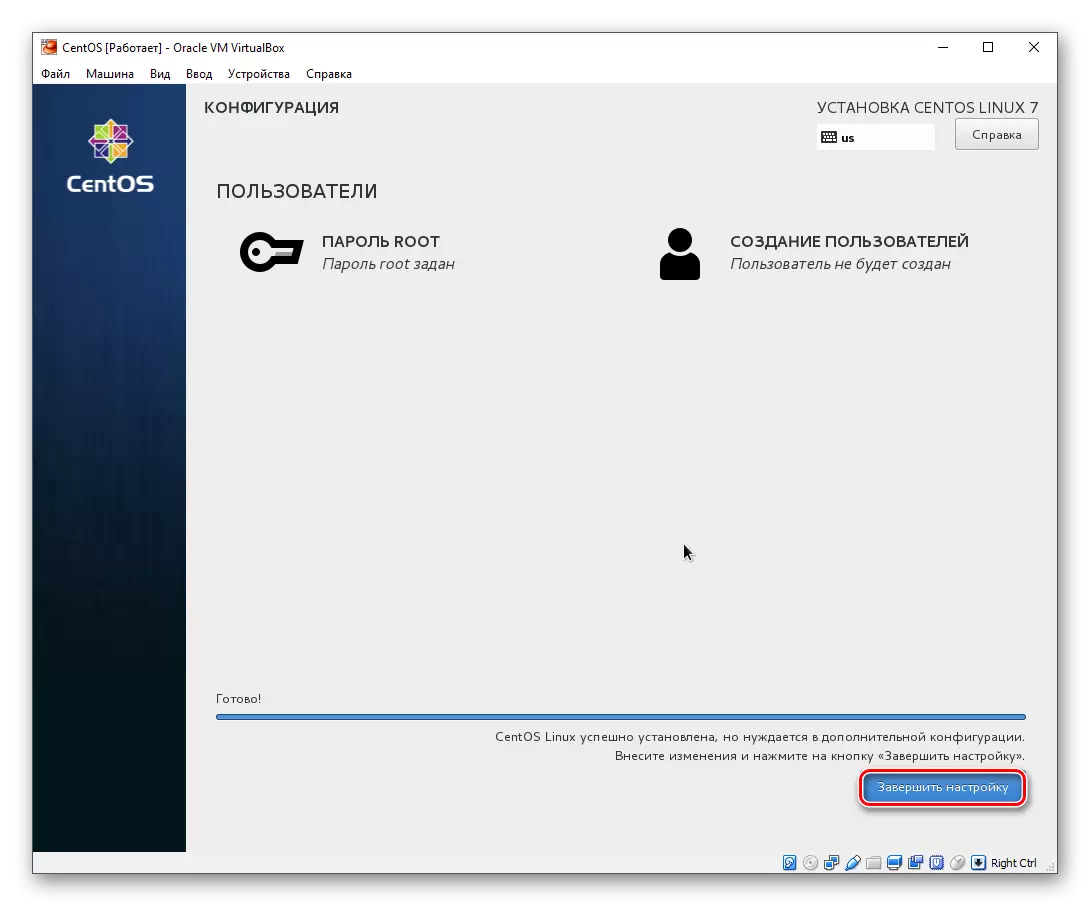
- During installation (the state is displayed at the bottom of the window as a progress bar) you will be prompted to come up with a root password and create a user.

- Enter the password for ROOT rights (superuser) 2 times and click Finish. If the password is simple, the "Finish" button will need to click twice. Do not forget to first switch the keyboard layout into English. The current language can be seen in the upper right corner of the window.
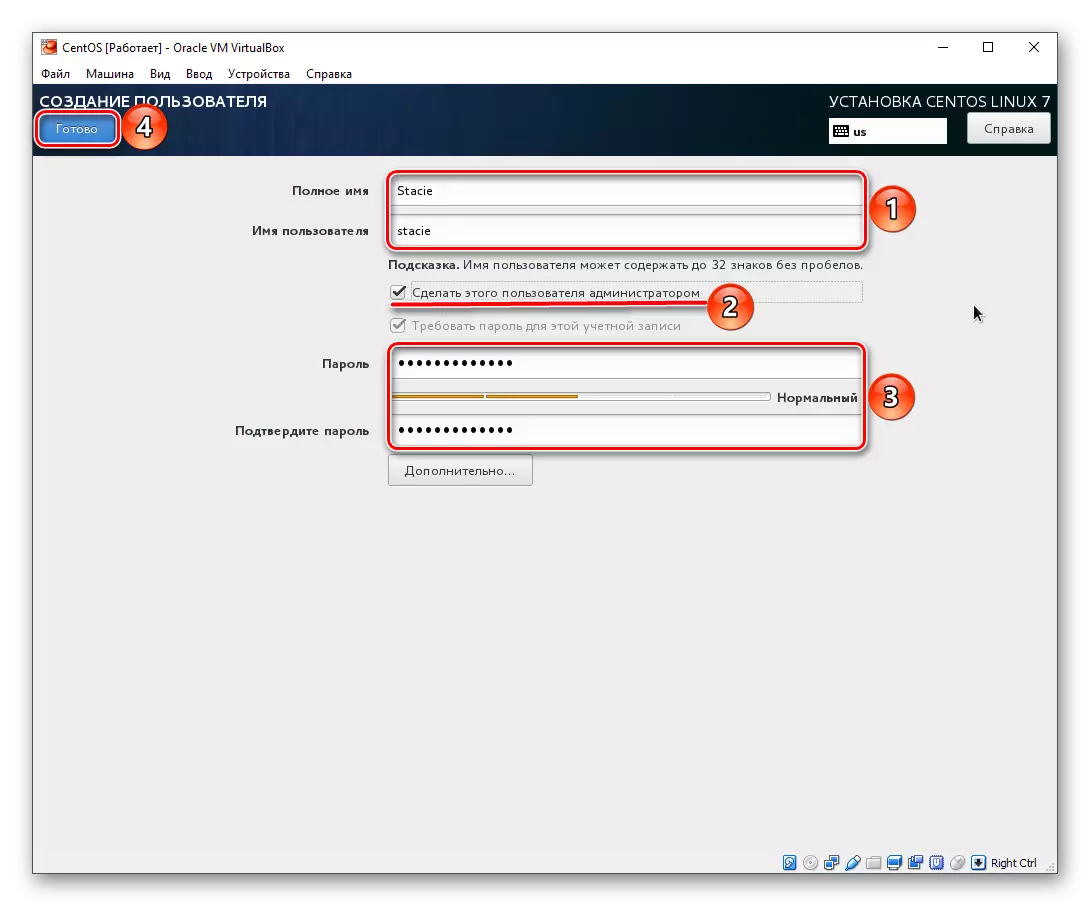
- Enter the desired initials in the "Full Name" field. The "Username" line will be filled automatically, but it can be changed manually.
If you wish, assign this user by the administrator by setting the appropriate check mark.
Come up with a password for an account and click Finish.
- Wait for the OS installation and click on the "Complete Settings" button.
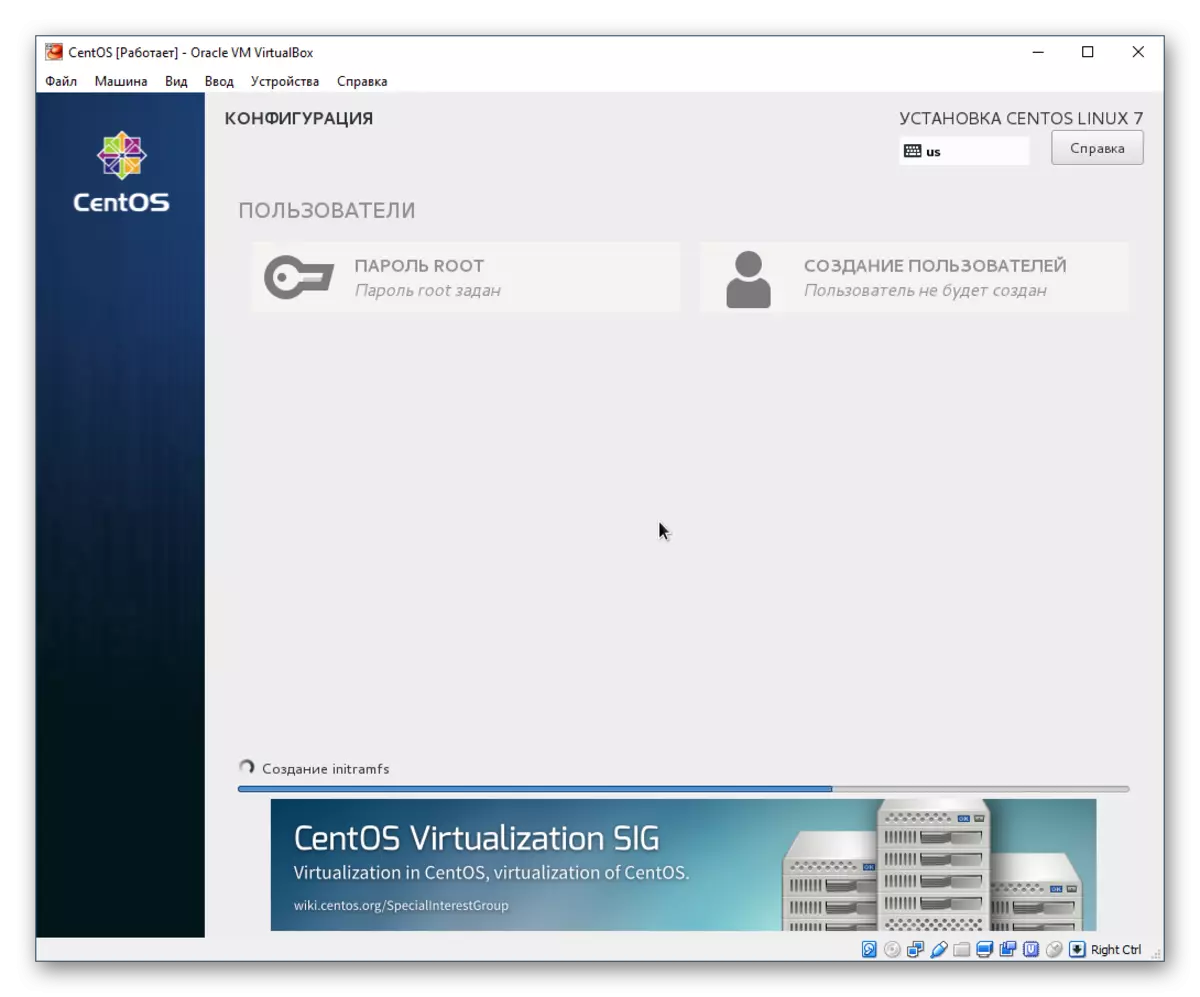
- There will be more settings in automatic mode.
- Click on the Restart button.

- A GRUB boot will appear, which by default, last 5 seconds will continue to load the OS. You can do it manually, without waiting for the timer by clicking on ENTER.

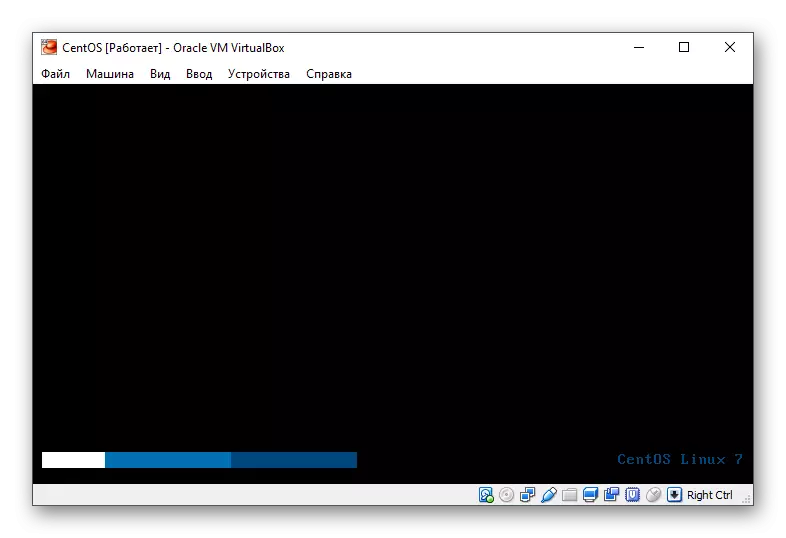
- The CENTOS boot window appears.
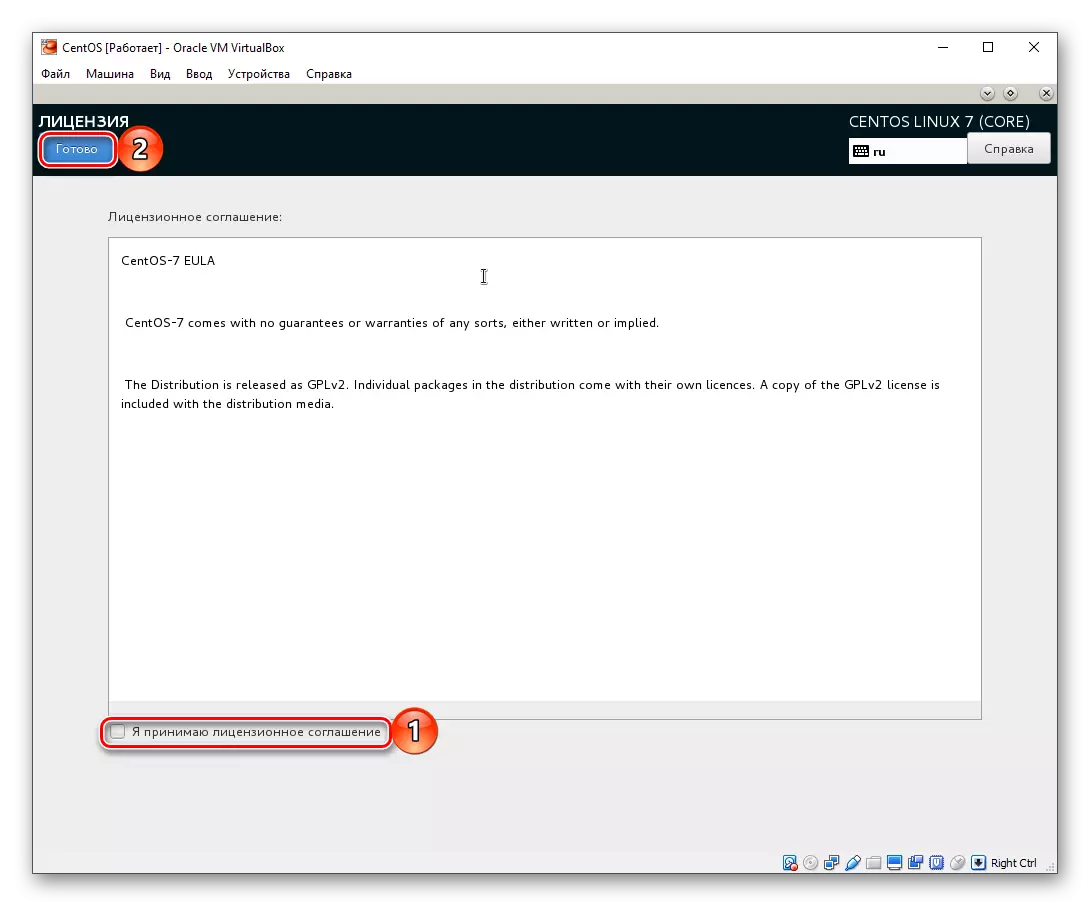
- The settings window will appear again. This time you need to accept the terms of the license agreement and configure the network.

- Tick in this short document and click Finish.
- To turn on the Internet, click on the "Network and Node Name" parameter.
Click on the regulator, and it will move to the right.
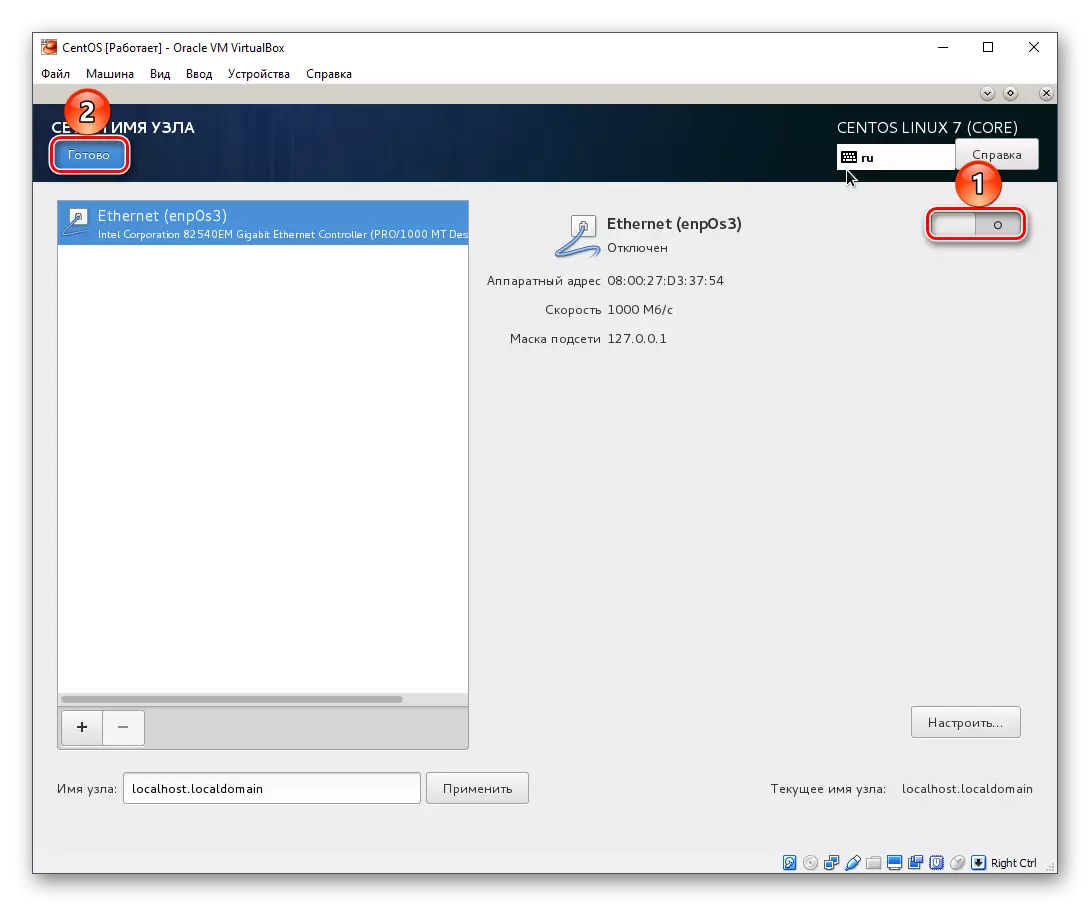
- Click on the Finish button.

- You will fall on the login screen. Click on it.
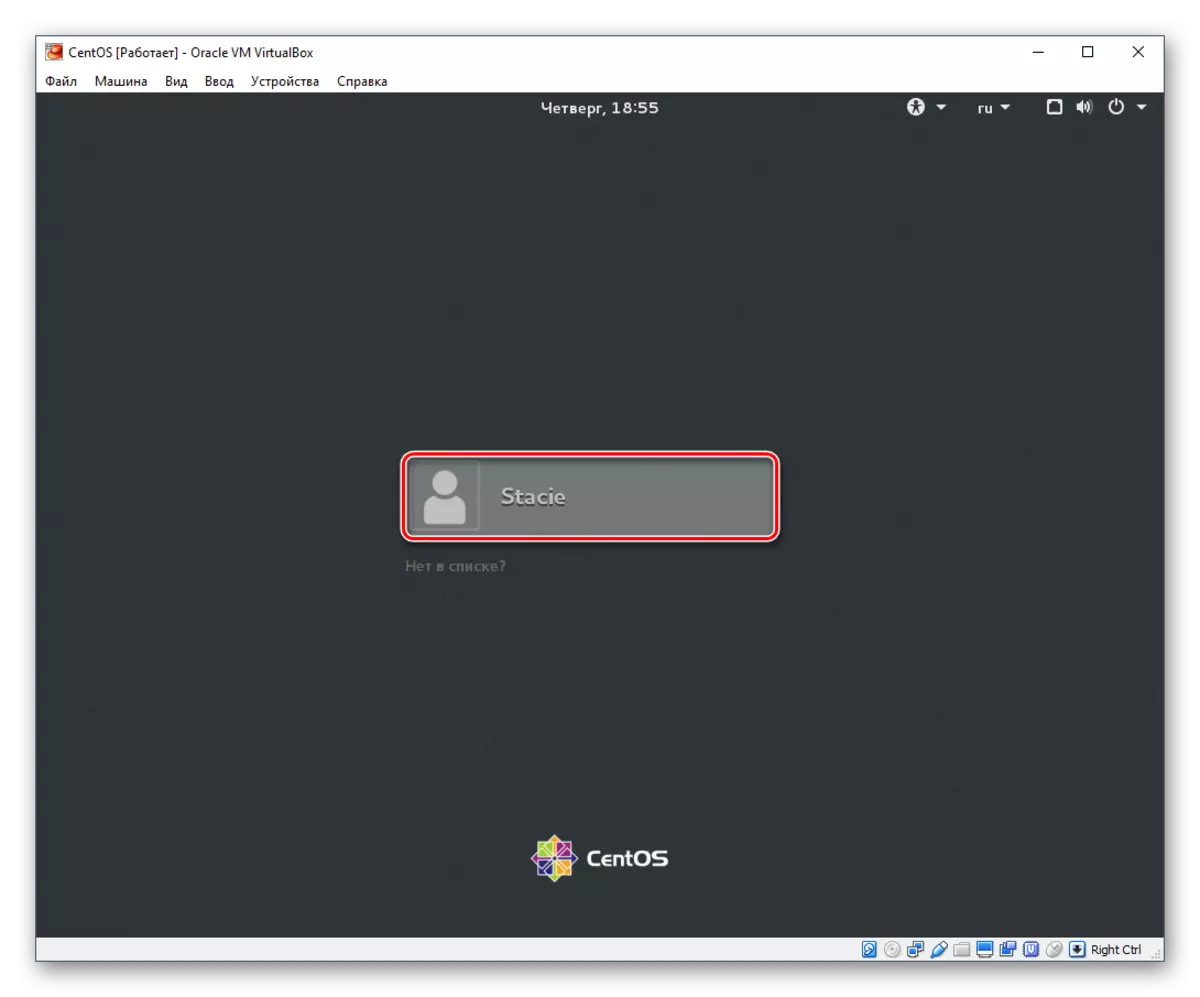
- Switch the keyboard layout, enter the password and click Login.

Now you can start using the CENTOS operating system.

Installing CentOS is one of the easiest, and can be easily made even a newcomer. This operating system according to the first impressions will noticeably differ from Windows and be unusual, even if you previously used Ubuntu or MacOS. However, in the development of this OS, there will be no special difficulties due to the convenient surrounding of the desktop and the advanced set of applications and utilities.