Option 1: Mobile device
When it comes to editing the video before downloading it to Titstok, use the smartphone or tablet is much more convenient. Even the editor embedded in the app provides a large number of useful tools that allow you to place the clip as it is necessary to the user. This also applies to the creation of polls, for which the program corresponds to a special function. Let us consider the option with writing the text if the classic voting representation is not suitable for you.Method 1: Built-in Editor
We will analyze the entire video shooting process, editing and downloading it in Tiktok to clearly demonstrate, at what stage the survey is created, how this tool is configured and what needs to be done next when the clip will start collecting views.
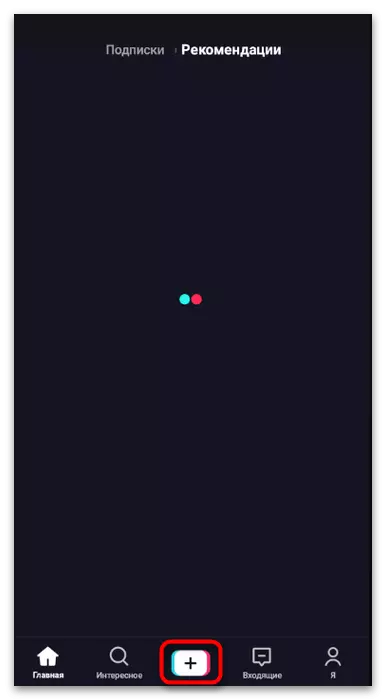
- Run the tick and press the button in the form of a plus to proceed to the creation of content.
- Use the "Download" button to open an existing roller, and select the appropriate mode and tap on the start button.
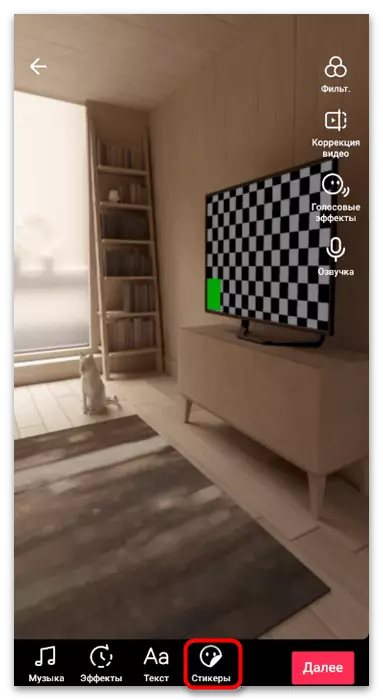
- Upon completion, confirm the creation of the video and wait for the editor page download. It is interested in the section "Stickers".
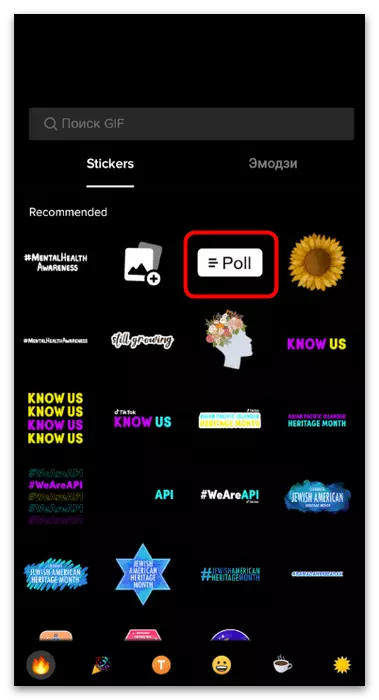
- Among them, find "Poll" and select this sticker. If you manually do this fails, enter the query in the search bar, specifying the name of the sticker.
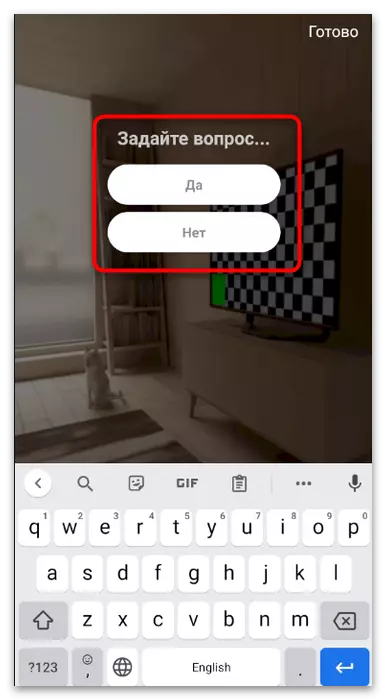
- Get edited. First ask the question to which the audience should answer.
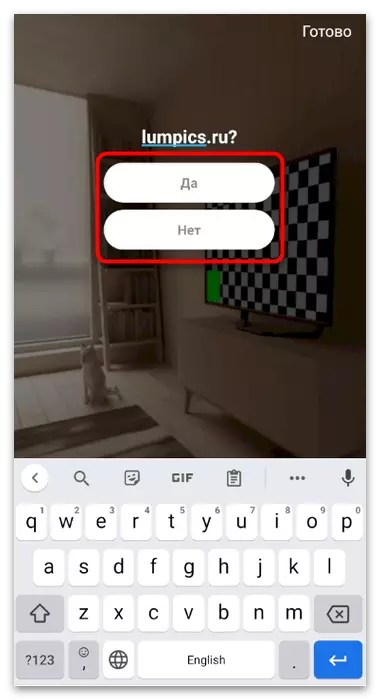
- Next, click on the answer option and change the text if you need it. Do the same with the second tile.
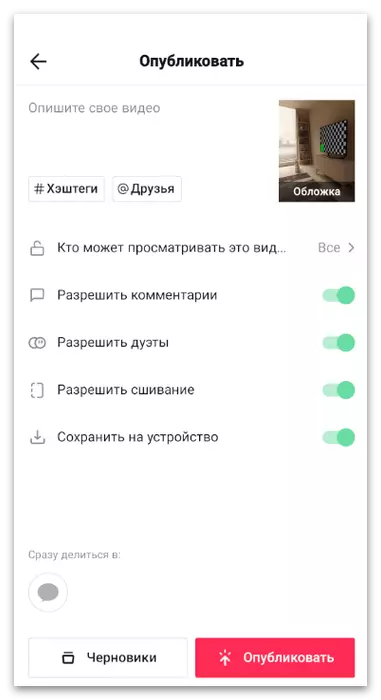
- Position the survey at a suitable place, add any other design you want, then proceed to publication.

After publication when at least several votes are scored, you can play video and press voting to view the results. This is the main advantage of using this tool built into the video editor in Tiktok, because in other decisions discussed further, this will not be implemented.
Method 2: third-party applications
Most of the means for editing video in Android or iOS are designed to perform basic actions: trimming, applying filters, stickers, effects. Only certain supports interaction with geometric shapes to create a full-fledged survey as it was demonstrated in the previous instruction, but in many cases it is enough to add text to the video, which is written in more detail in another article on our website as follows the following link.
Read more: How to add text on video in Tiktok

Available survey methods through video in Titstok can still be attributed to leave the appropriate comments in the roller or through the description. In this case, each user will have to manually write what he chooses from the proposed one. The same creates difficulties in counting, but it allows you to submit at least the exemplary results of the opinion of the majority.
Option 2: Using a computer
At the owners of computers engaged in the design of a video for TIKTOs using special programs, there is no possibility to create an interactive survey as it was shown in the one of the previous option. Instead, graphic and video edits are used to compile the visual component and further premises it on video. We divide the process of creating a voting to the steps to immediately move to the required and implemented the instructions.Step 1: Creating a poll block
It is necessary to start with the fact that most modern video edits are supported by the text, but do not allow it to arrange it so that the viewer it was nice to see a picture or the inscription itself was in a block having transparency and other visual elements. Especially for this, we propose to use a graphic editor by creating a block with a ready-made polling in the form of a transparent picture, which will later be placed directly on the clip in the installation program.
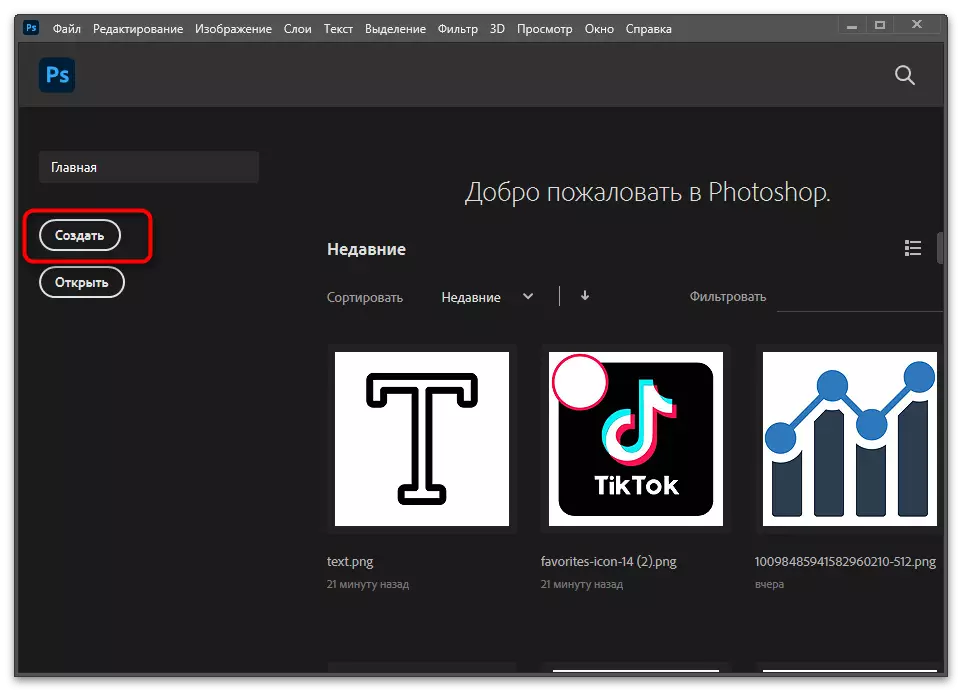
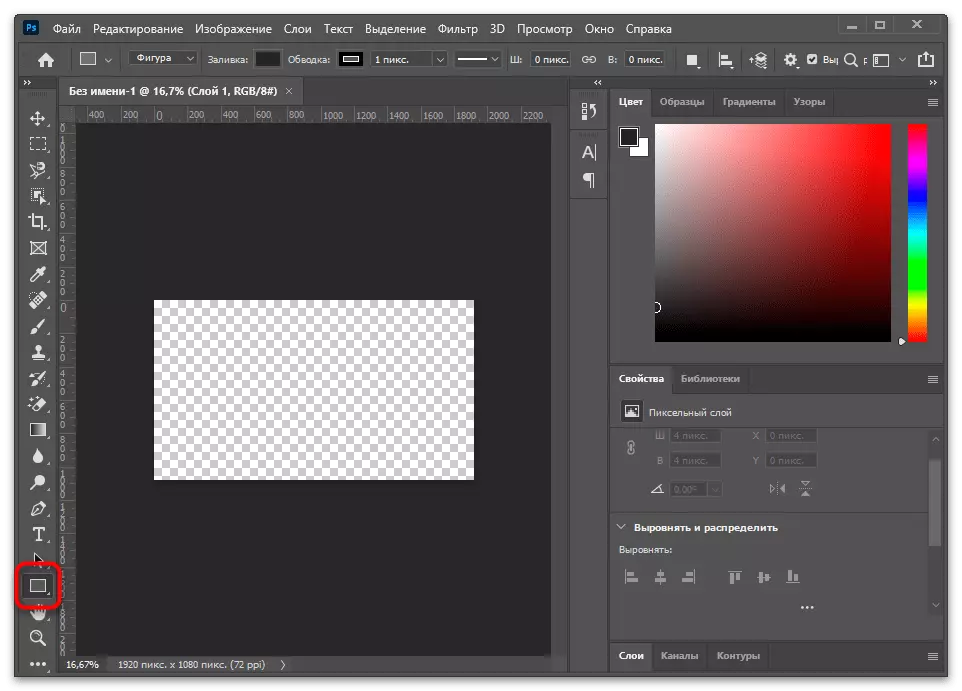
- This manual is presented on the example of Adobe Photoshop, but you can choose its analogue in the form of any other similar program in which you prefer to edit images. You only have to find the same tools and independently perform the actions described, adjusting the image under your goals and the vision of the future clip. It all starts with creating a new sheet, so run the software and open the net project.
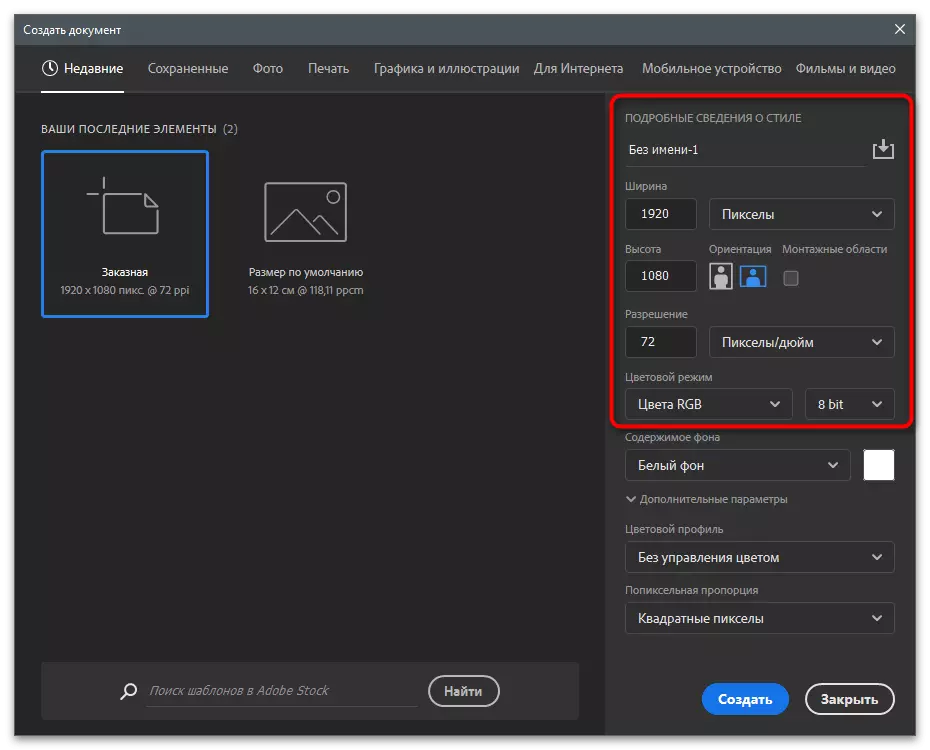
- During its creation, specify any width and height in pixels, but it is desirable that it does not have more final permission of the video itself to avoid further extra manipulations with the size of the polling block.
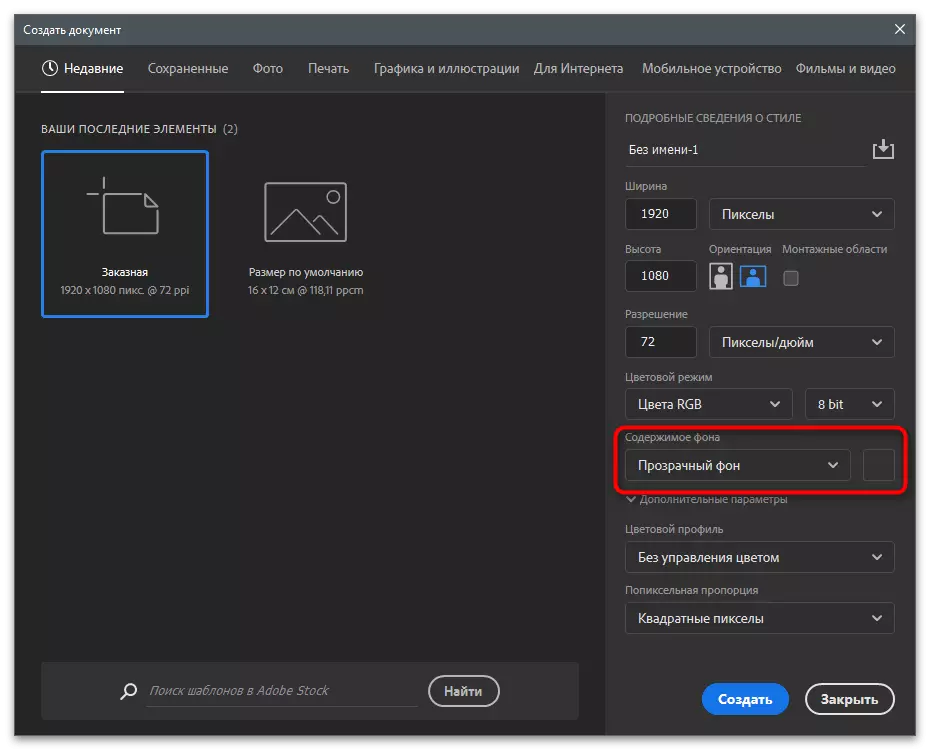
- Be sure to set the value "Transparent Background" for the "Background Content" parameter, so that when you apply a picture on the video, it did not have a rear plan and only a block with a survey was on top of the clip.
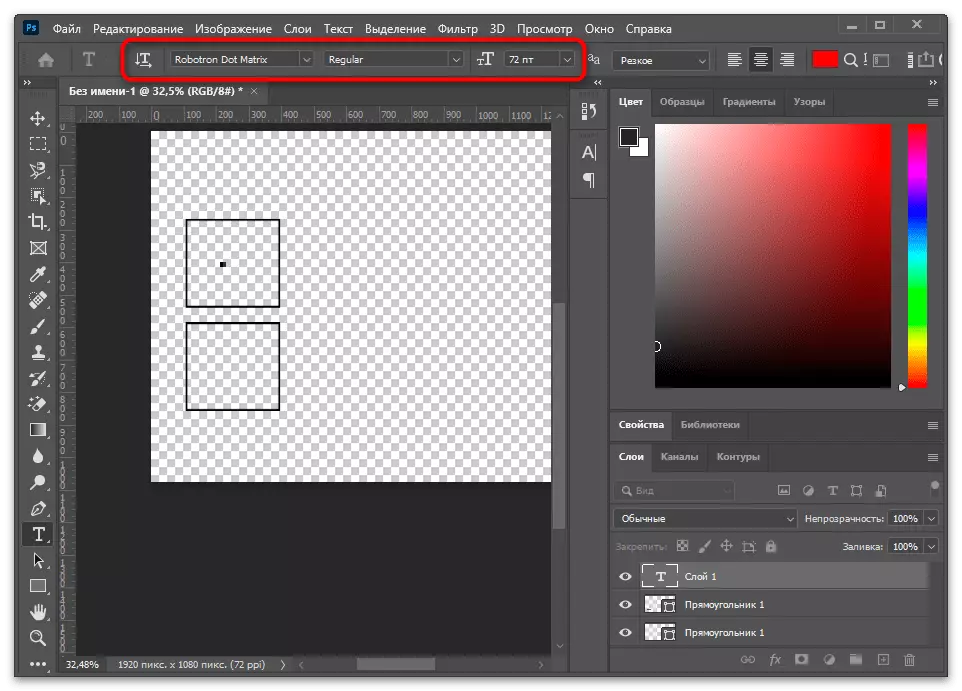
- We will make a survey allocated to simplify an understanding of what options and separation of the entire text to understandable blocks. To do this, select any geometric shape in which you want to submit a block. It is best to use a rectangle.
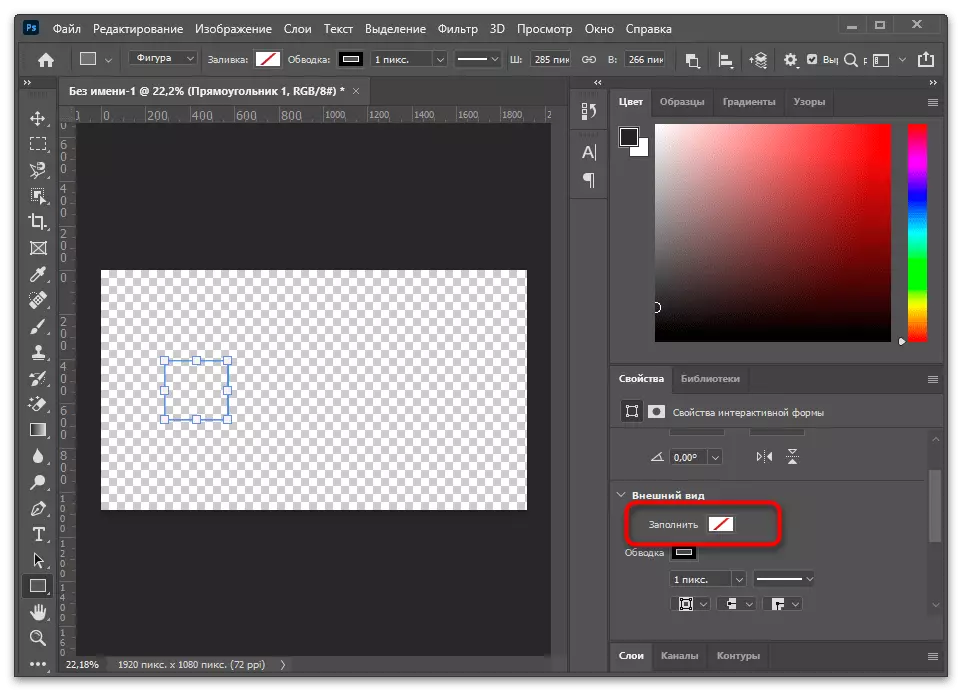
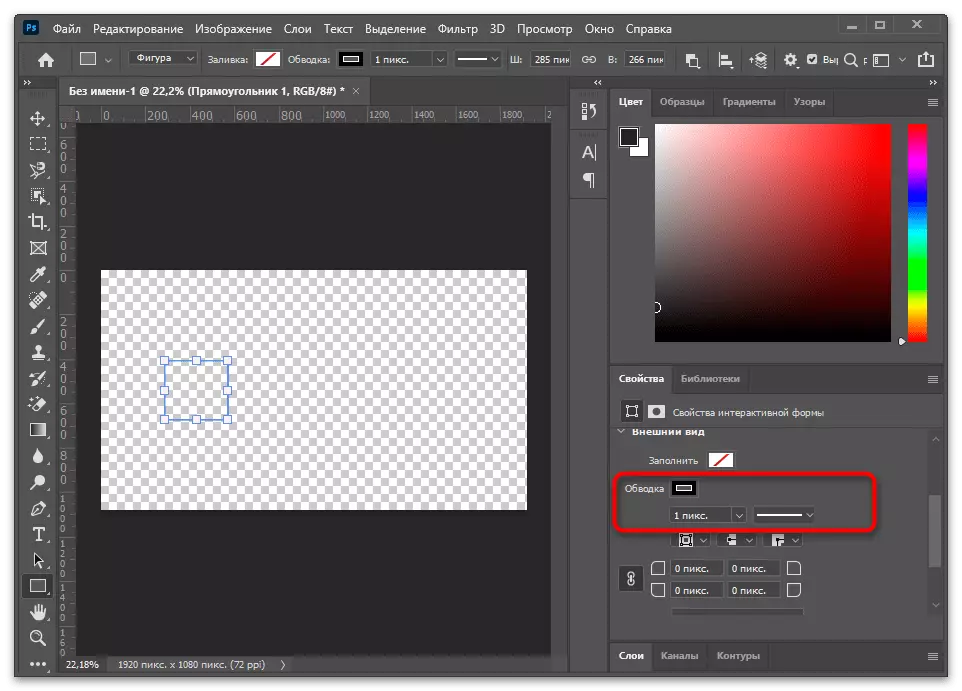
- Draw it on the canvas and remove the fill so that it remains transparent inside, but with the stroke outside.
- By the way, right now you can change the color of the stroke and the style of its design, if you want, for example, make the angles rounded.
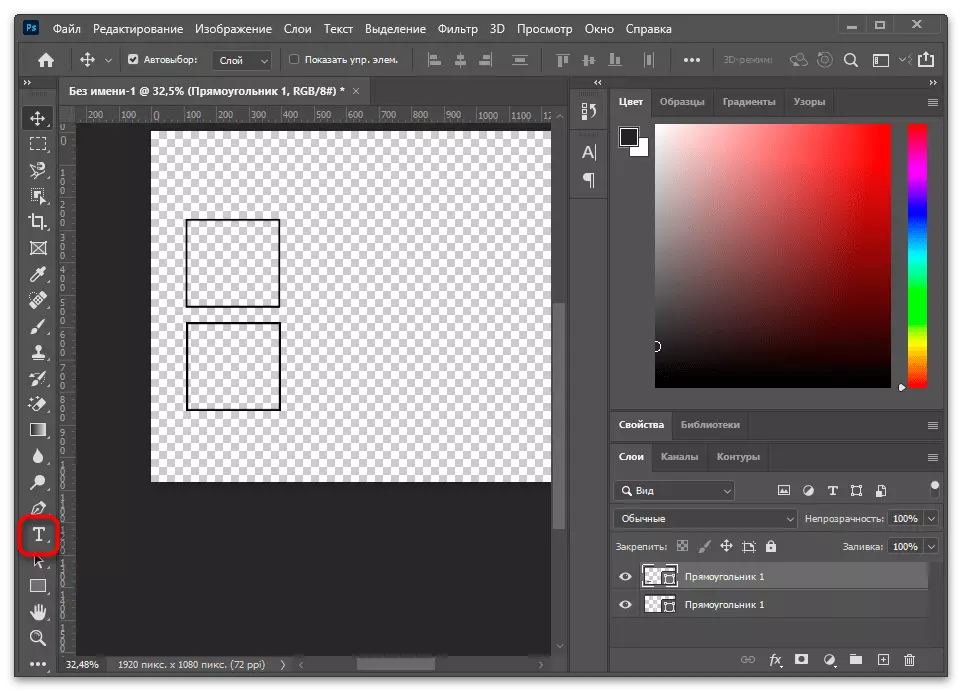
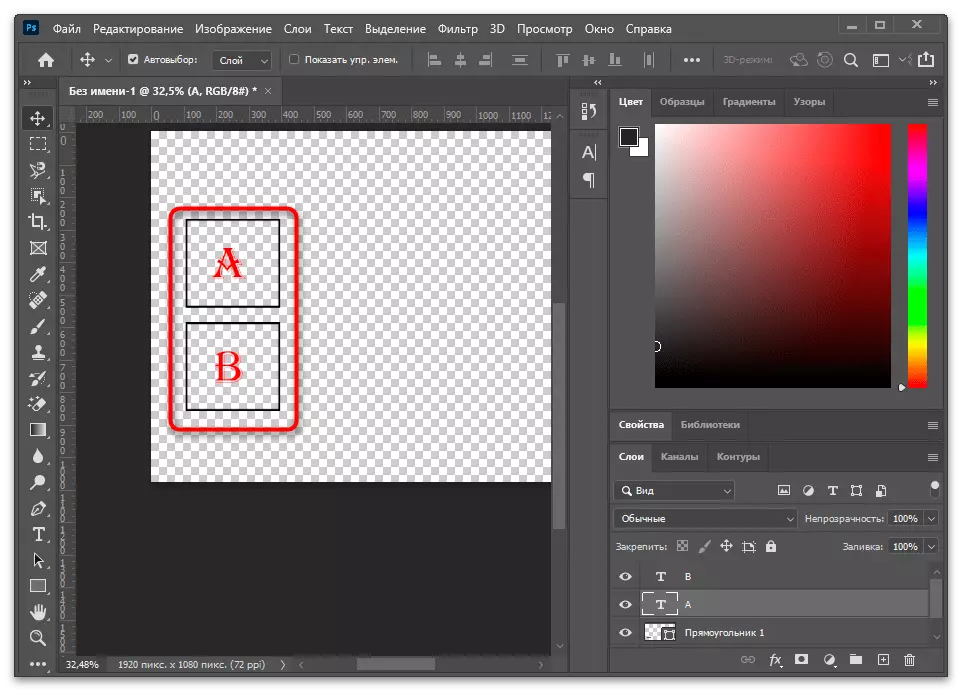
- Copy the resulting layer and immediately paste it using the sequential press of the Ctrl + C and Ctrl + V keys combinations. Place the second layer so that blocks are formed on the canvas with the answer options, as is done in any written tests.
- Now on the left panel, select the Text tool, because it has time to do a block with voting.
- After its activation on the panel, the available settings will appear. So you can change the text style, its size, color and position.
- In our case, there will be only two options for the answer, and for the simplicity of their writing in the comments, each question we note the letter A and B.
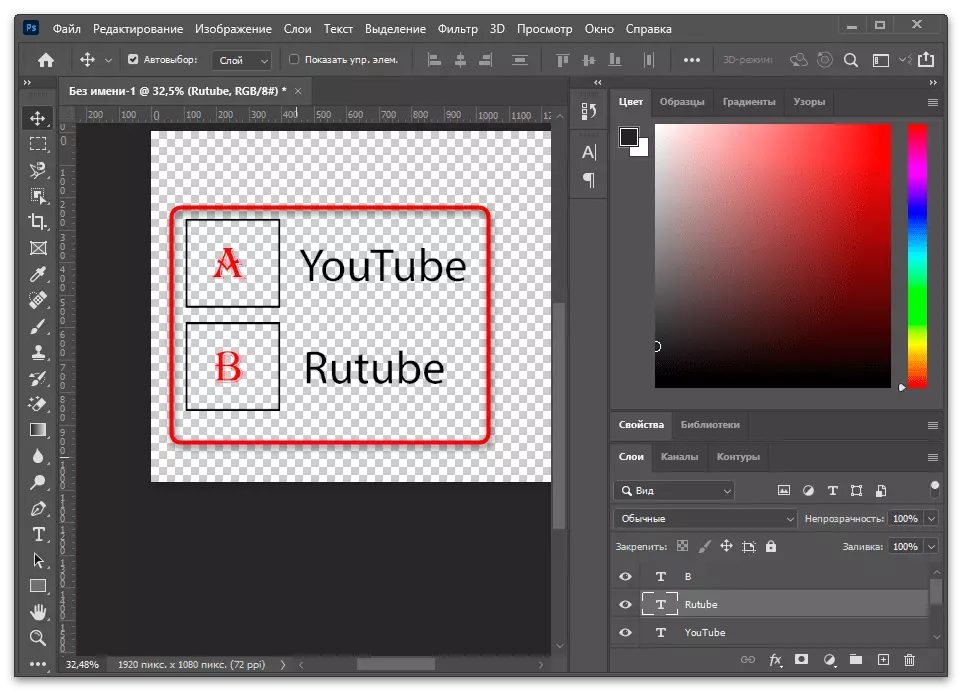
- Then right, with the help of the same tool "Text", write the question itself or any expression, which is an answer option in the survey. Pay attention to the following screenshot to understand how about the idea of the vote.
- You can make completely any changes, experiment with block size, colors, design and text. Upon completion, open the "File" menu and find the "Save As" item.
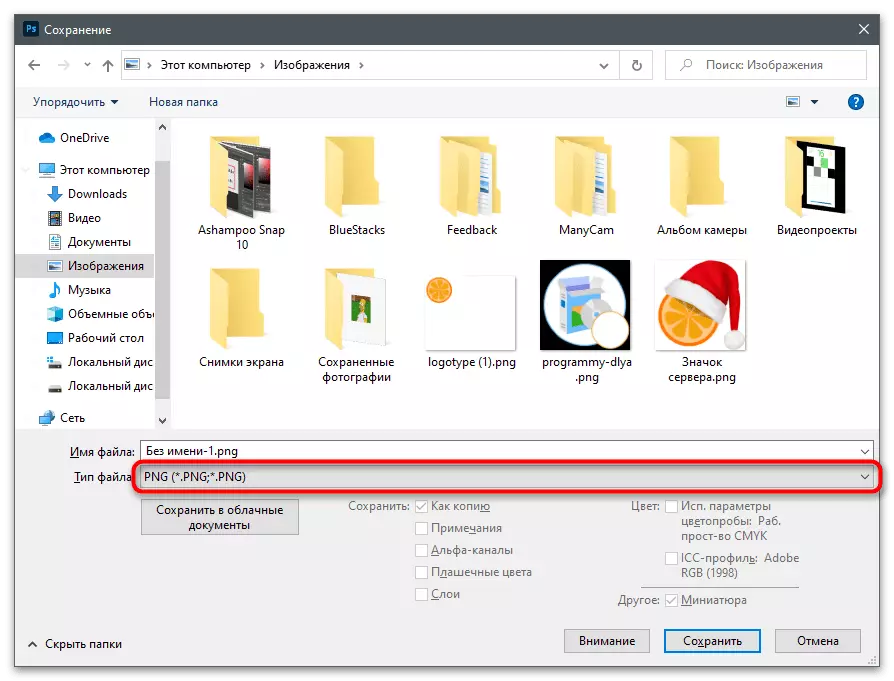
- Be sure to keep the image in PNG format, the name can be any.


On our site there is a separate manual for work in Photoshop, which demonstrates how to create a beautiful inscription. Use these recommendations when making polls if you want to change their appearance.
Read more: How to make a beautiful inscription in Photoshop
Step 2: Interview Insert in Video
It is clear that you can apply a completely none tool to create a transparent image with a survey, which you need to insert directly into the clip. Voting will not be interactive and automatically collecting information will not happen: everyone who wants to vote, must independently indicate the response in the comments, and the calculations depend solely on the author. If this method does not suit you, return to the beginning of the article and read how the "Poll" function works in the TIKTOK editor, since this is the only method of implementing an interactive vote.
Davinci Resolve.
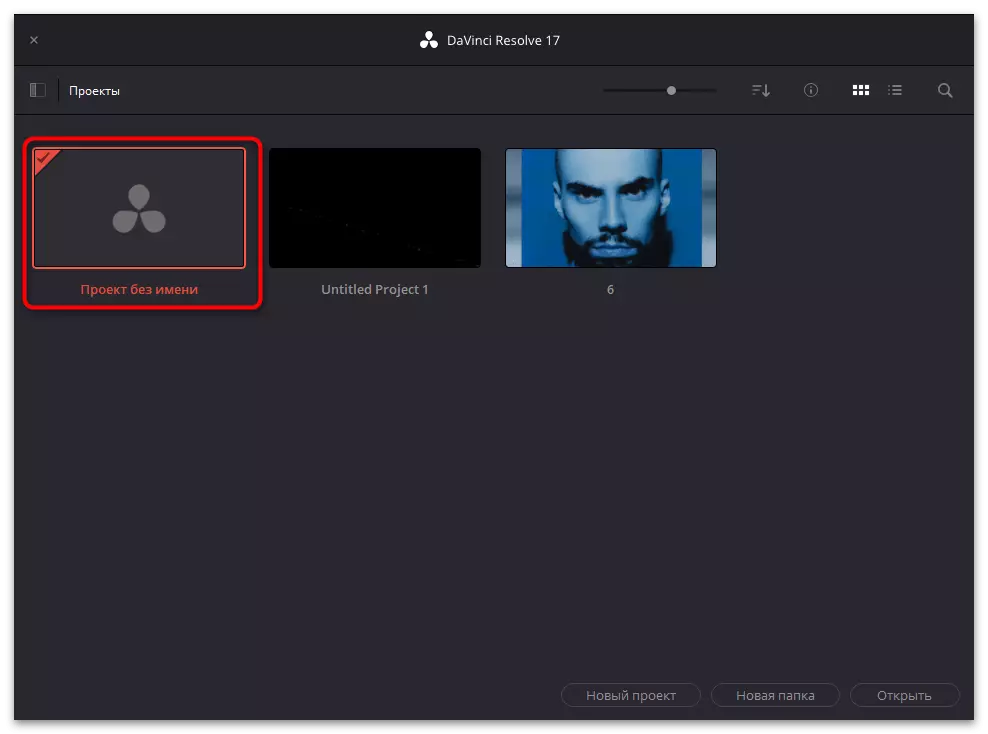
As part of this step, consider two popular programs that will allow you to implement the task, that is, insert a ready image in the video. The first is called Davinci Resolve, it applies to free and provides all the necessary tools for professional installation. After starting, create a standard project.
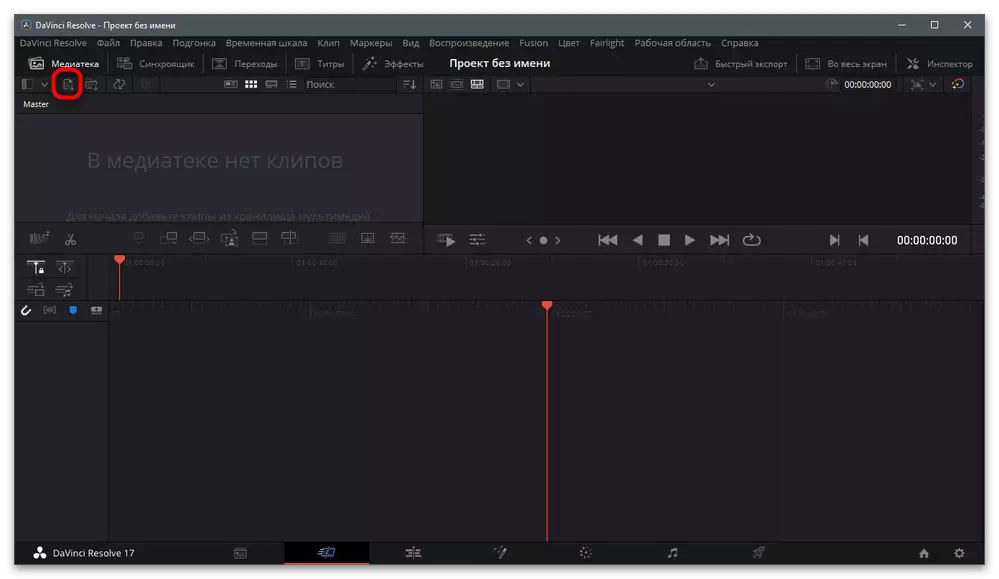
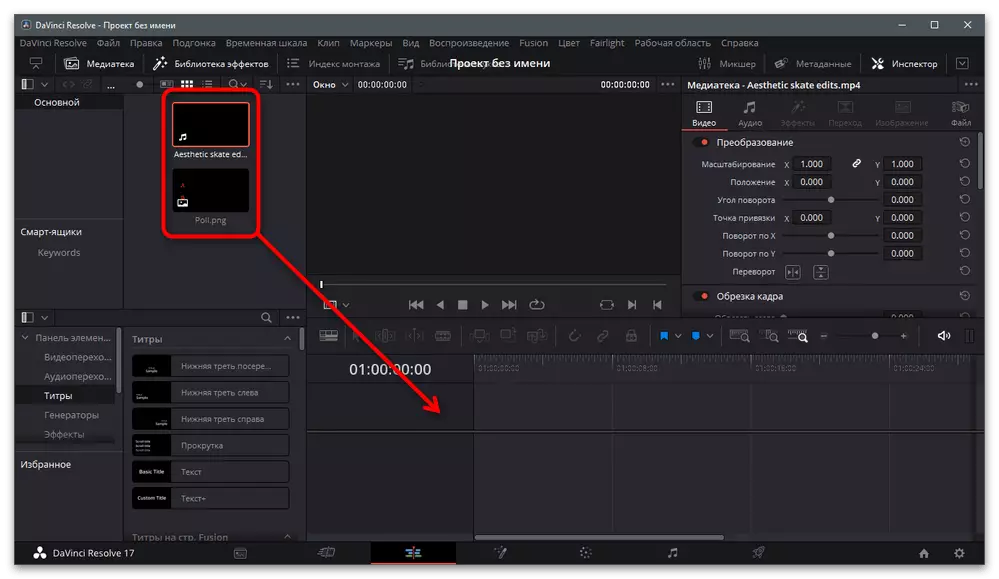
- Click the button in the media file block to insert the video into the program.
- Lay it through the "Explorer" window and double-click to add.
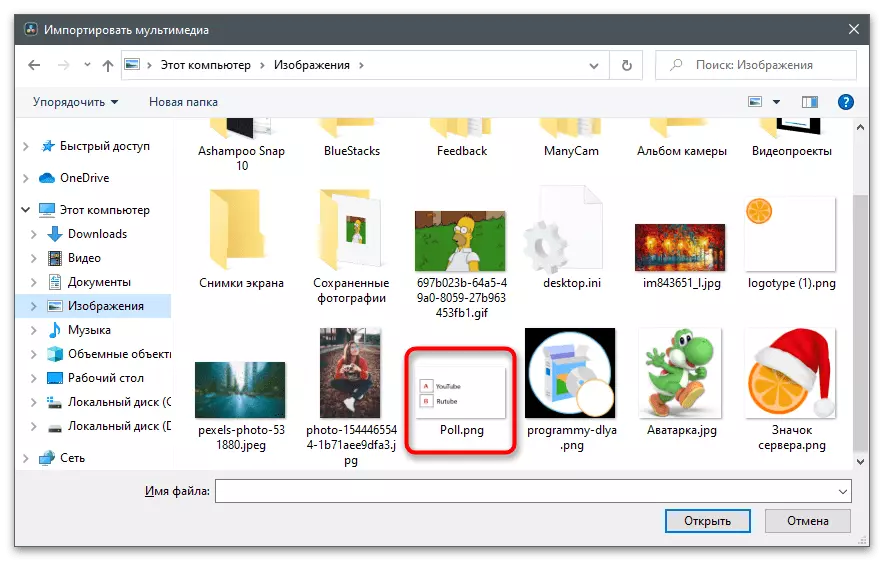
- Make the same with a pre-harvested transparent voting picture.
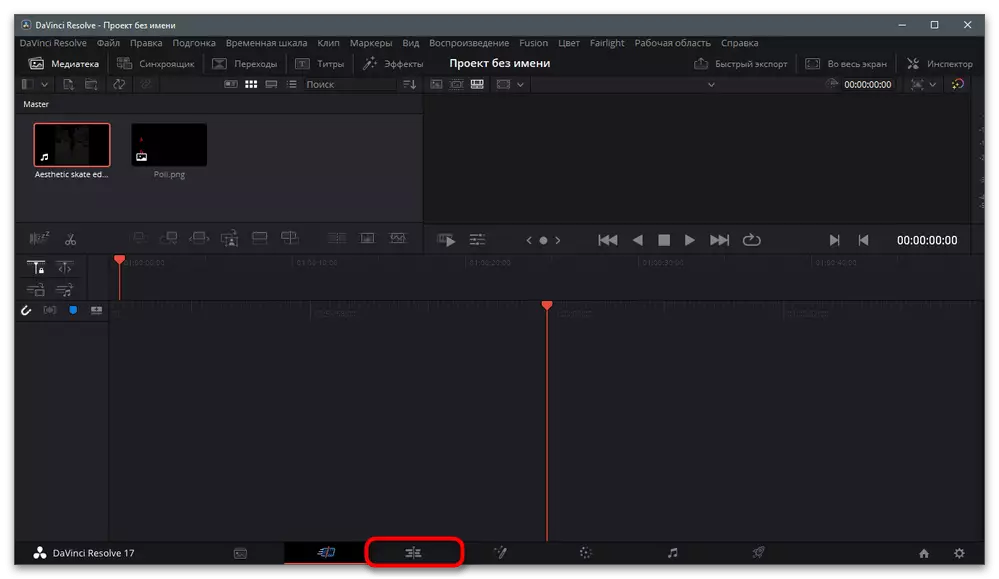
- Go to a user-friendly development environment by pressing the appropriate button on the bottom panel.
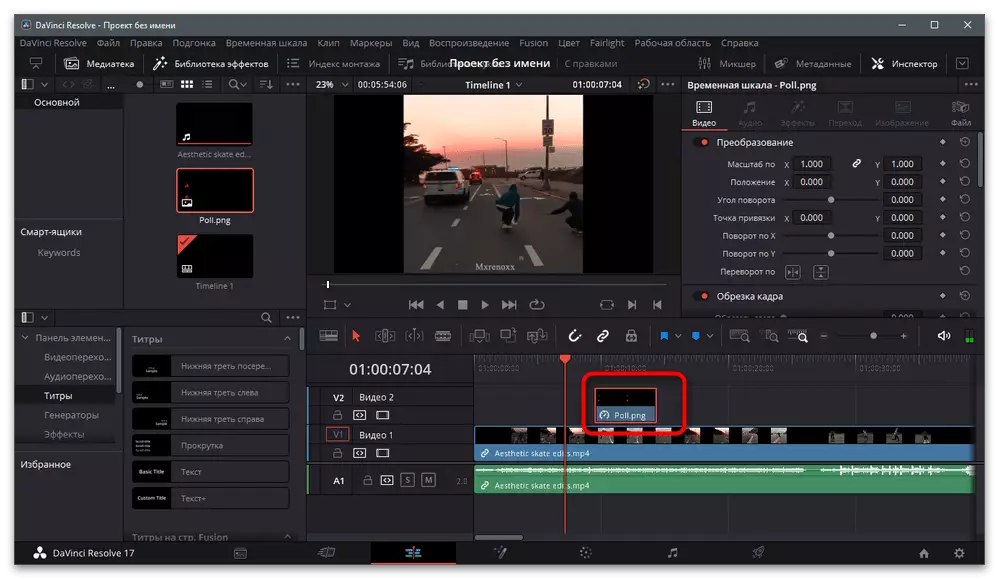
- Drag the previously added clips on the timeline.
- Consider that the picture with the voting should be above the layer with the video so that it does not blocked the text.
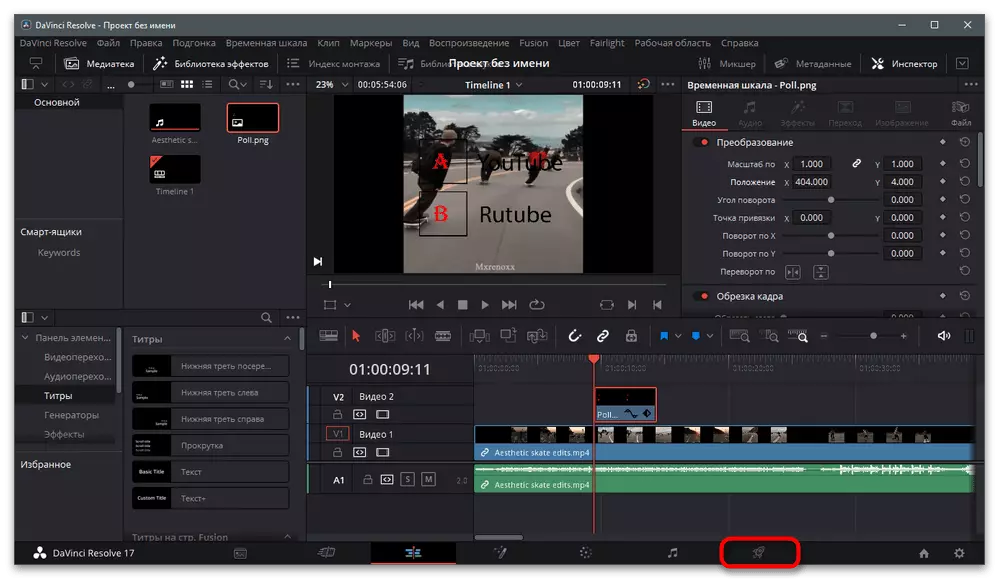
- There is no transformation block in the preview window, so that the text is not in the very necessary place.
- To change the location along the X and Y axis, use the "position" parameter by changing its values.
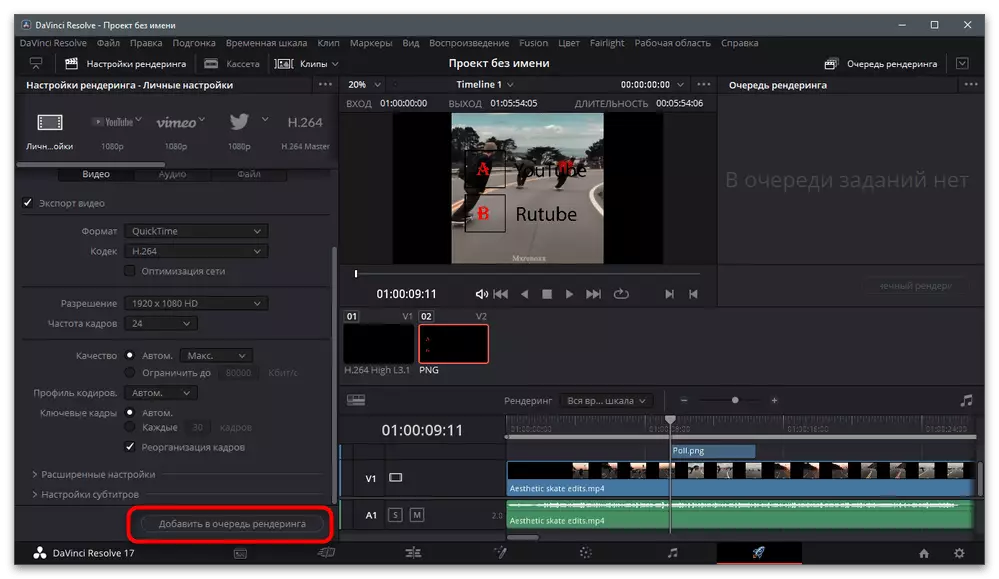
- If Davinci Resolve is the main work program, make other changes, after which go to the last work area to start exporting video.
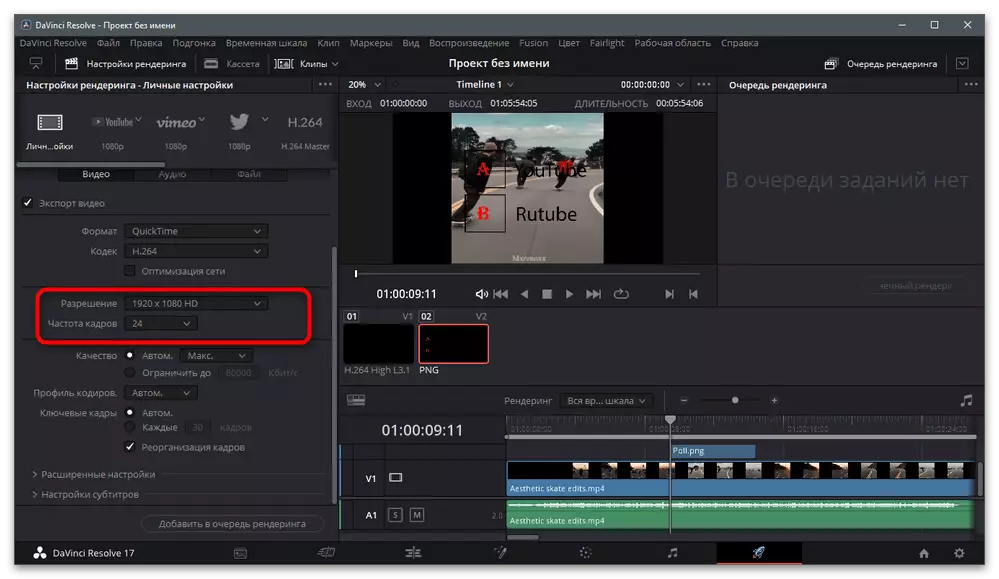
- Install the appropriate format and codec for it.
- Do not forget to check the output permission so that it corresponds to the one in which you want to load it into the ticks.
- Once the processing parameters are specified, click on the "Add to Rendering Queue" button.
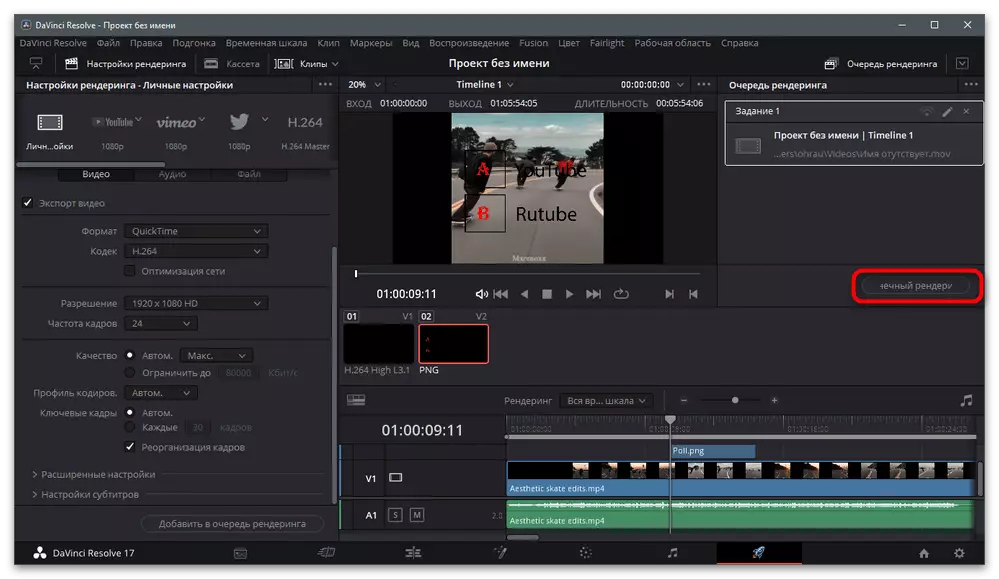
- The "Explorer" window is displayed, in which select the location for saving and set the file name.
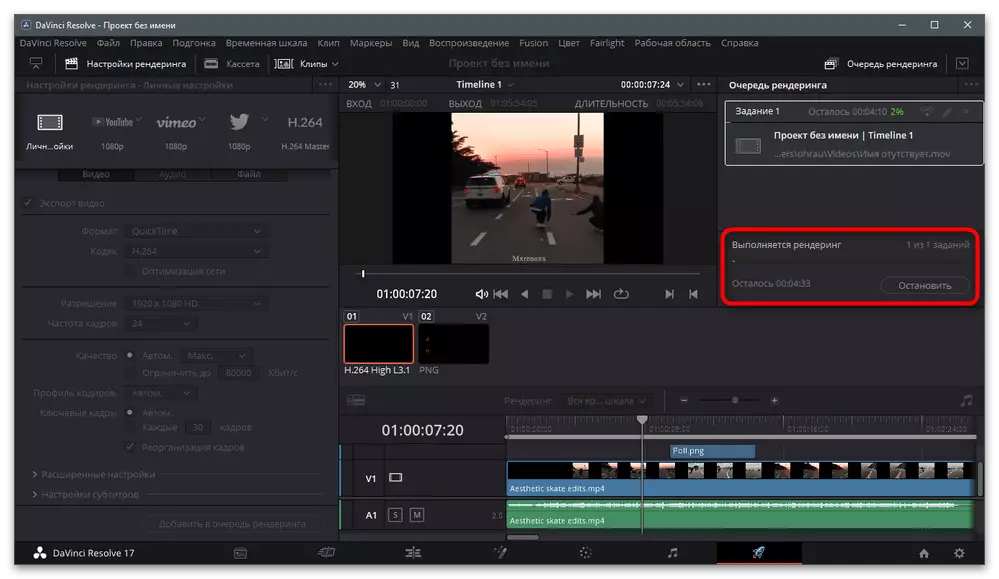
- Run rendering and wait for a slider that indicates the processing process.
- Upon completion, you can close Davinci Resolve, but at first it is better to play the clip and make sure that it is saved correctly.


Adobe After Effects.
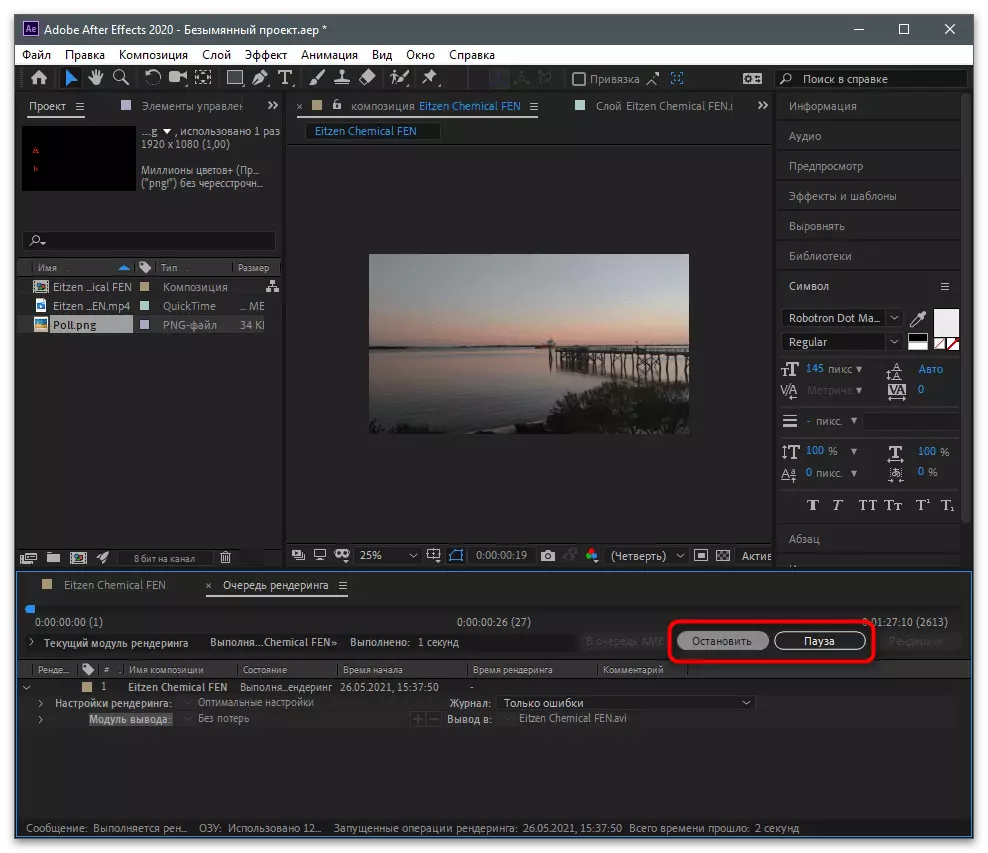
As an example, consider another popular software, which is often used to process video before downloading to Tiktok. It is called Adobe After Effects and for the most part it is designed to work with different filters or unusual processing tools, however, and to overlay the finished image over the clip, too.
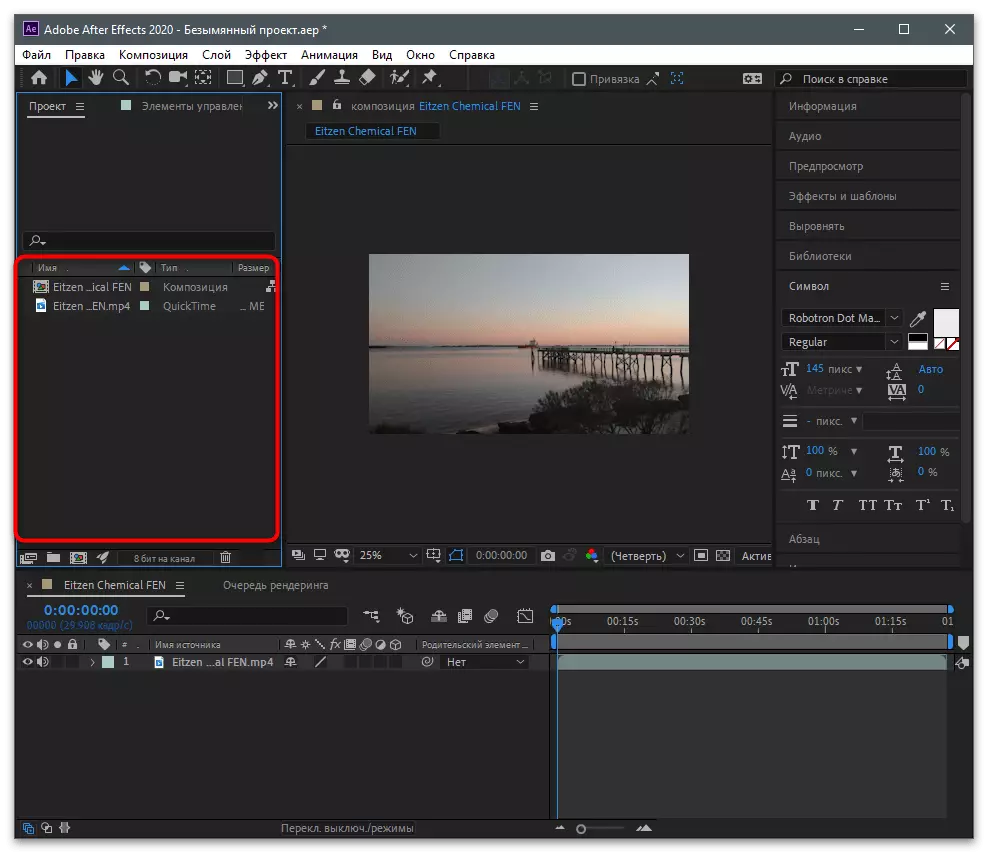
- In the main window of the program, select the option "Create a song from a video".
- Through the "Explorer", find the video and insert it into the editor. Press in the empty location of the unit with media files to add missing.
- Find the image and open it.
- Move the picture to the timeline by closing it with the left mouse button.
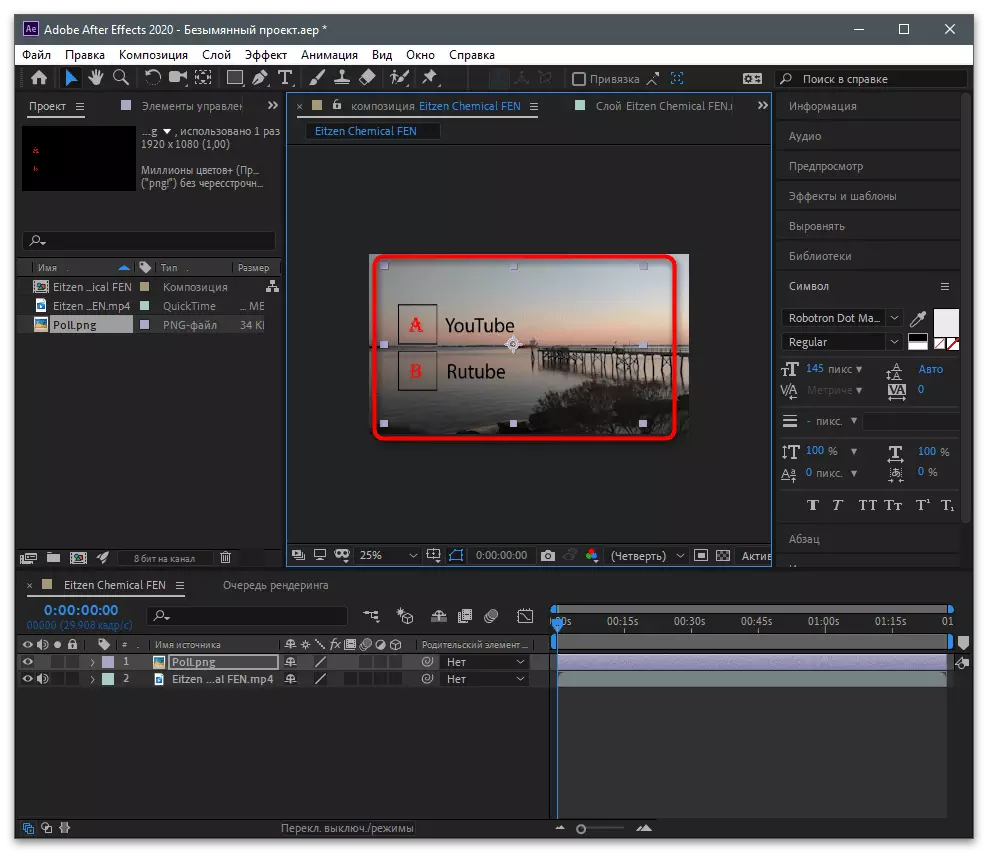
- Be sure to place it with a layer above the video so that the text is displayed on top of the main image. Use the scaling block that appears to change the scale and position of the image in the frame.
- In the following screenshot, you see an example of how to add a survey.
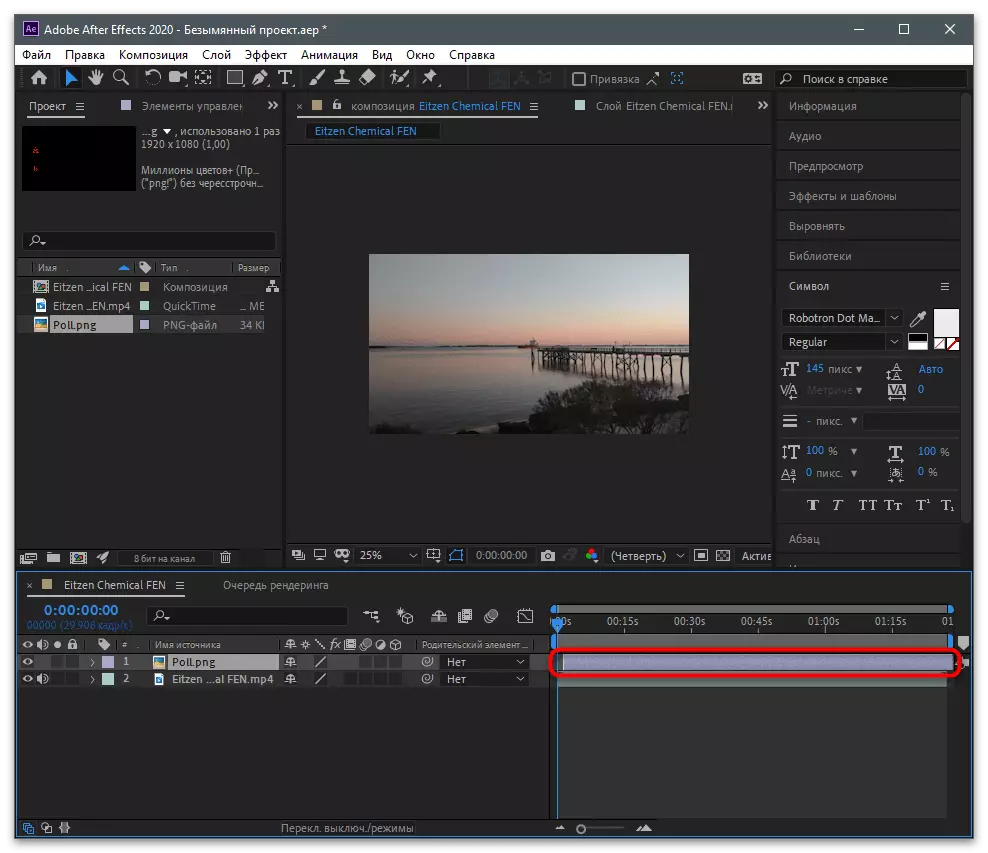
- If the text is visible on the screen only at a certain period of time, be sure to configure it on the timeline, changing the corresponding line.
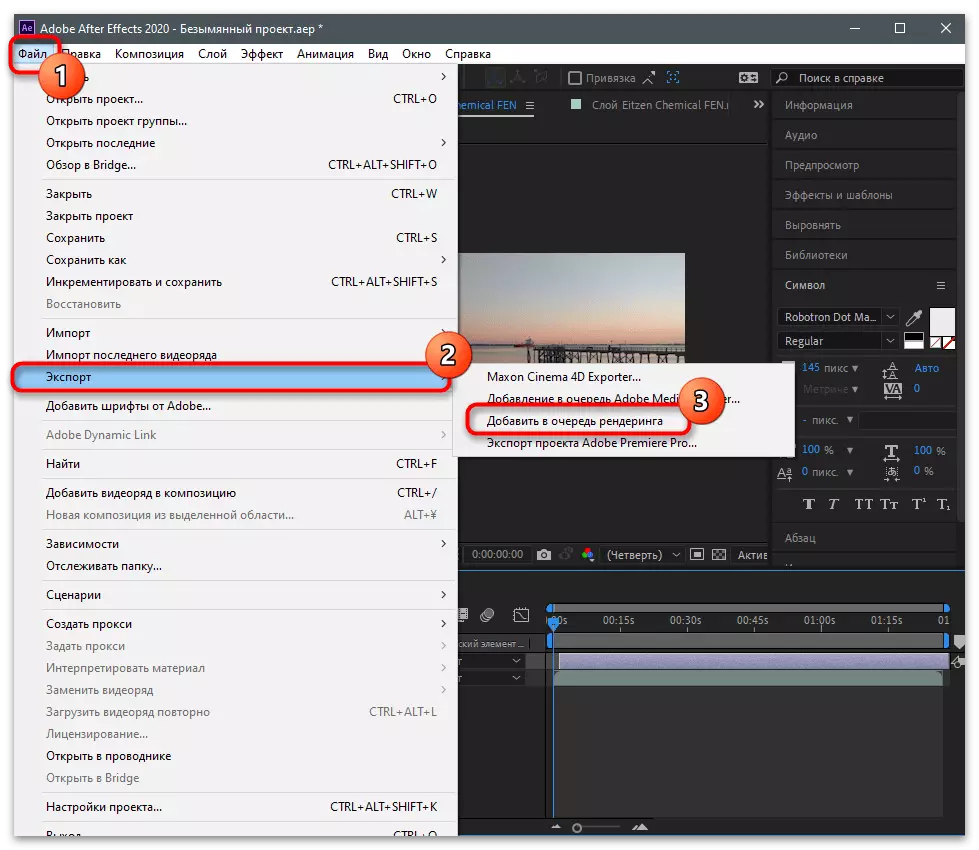
- As soon as the project is completed, open the "File" menu, hover the cursor to the "Export" line and from the list that appears, select "Add to the render queue".
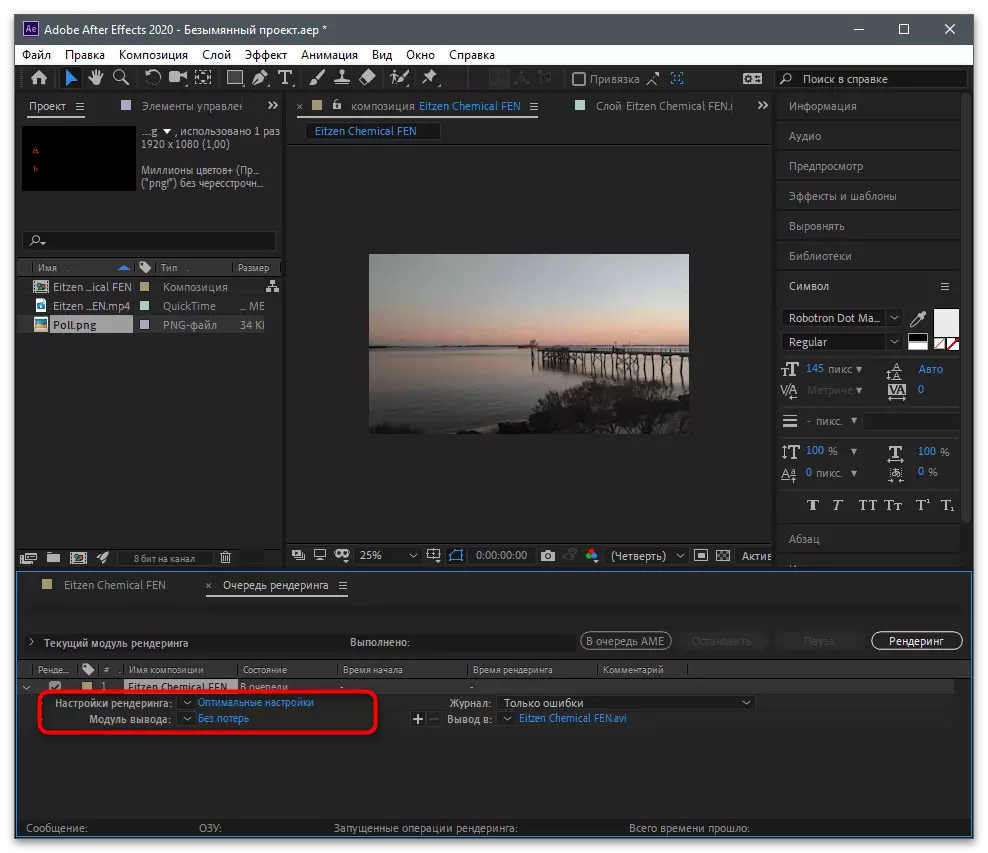
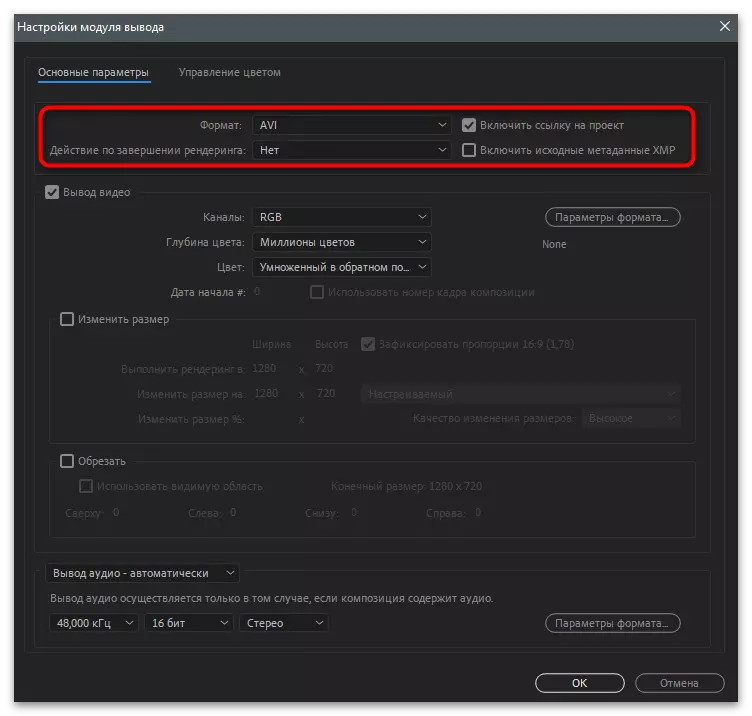
- In a new window "Current Rendering Module" you will find two parameters: "Rendering Settings" and "Output Module". Click on the blue links opposite each row to change the output settings.
- Pick up the appropriate format, codec and video resolution.
- Run rendering and use the stop or pause buttons if you want to control it. At the end, turn on the video and make sure its correct playback.


Nothing prevents from choosing any other program convenient for installation, as they are quite a lot. If you are just starting your acquaintance with this sphere, pay attention to the article on the following link in which it is written about the most popular thematic solutions.
Read more: Video installation programs
Step 3: Loading video on the channel
It remains only to load the resulting material on the channel so that users watched the video and left their voices in the comments. To do this, follow a simple action algorithm:
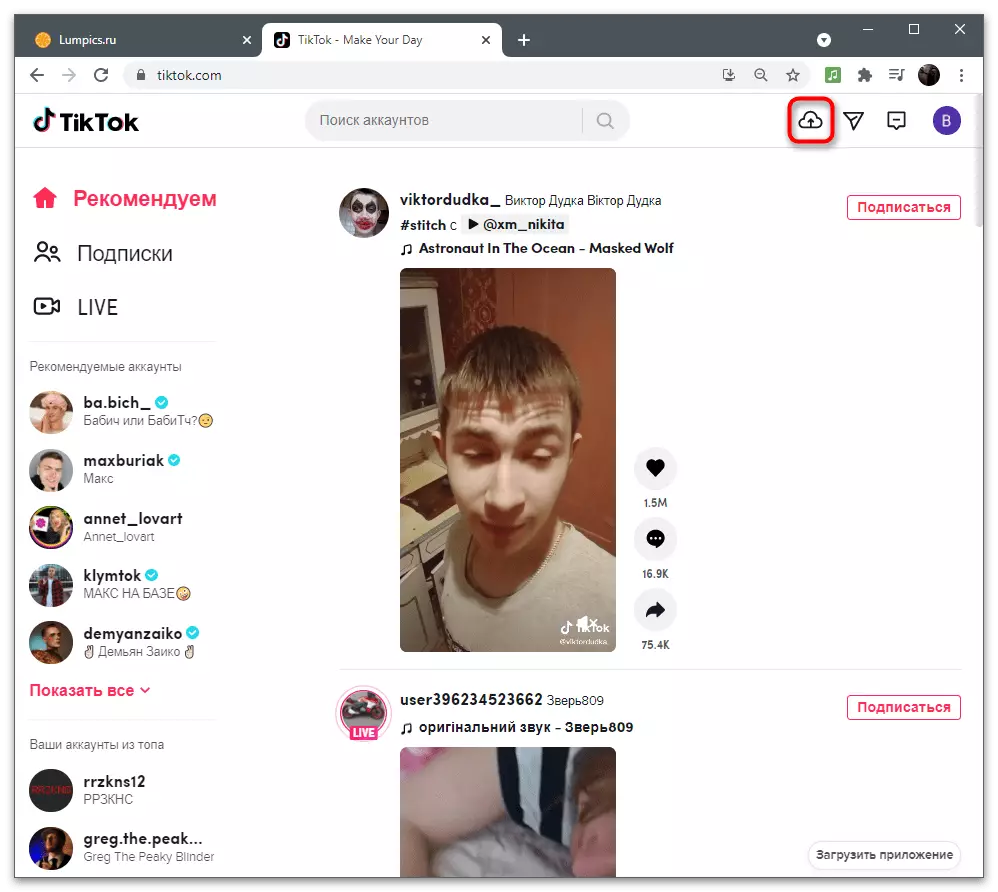
- Open the official website on your computer, log in and click the download button of the new video.
- Drag it to the selected area or click on it to add a file through the "Explorer".
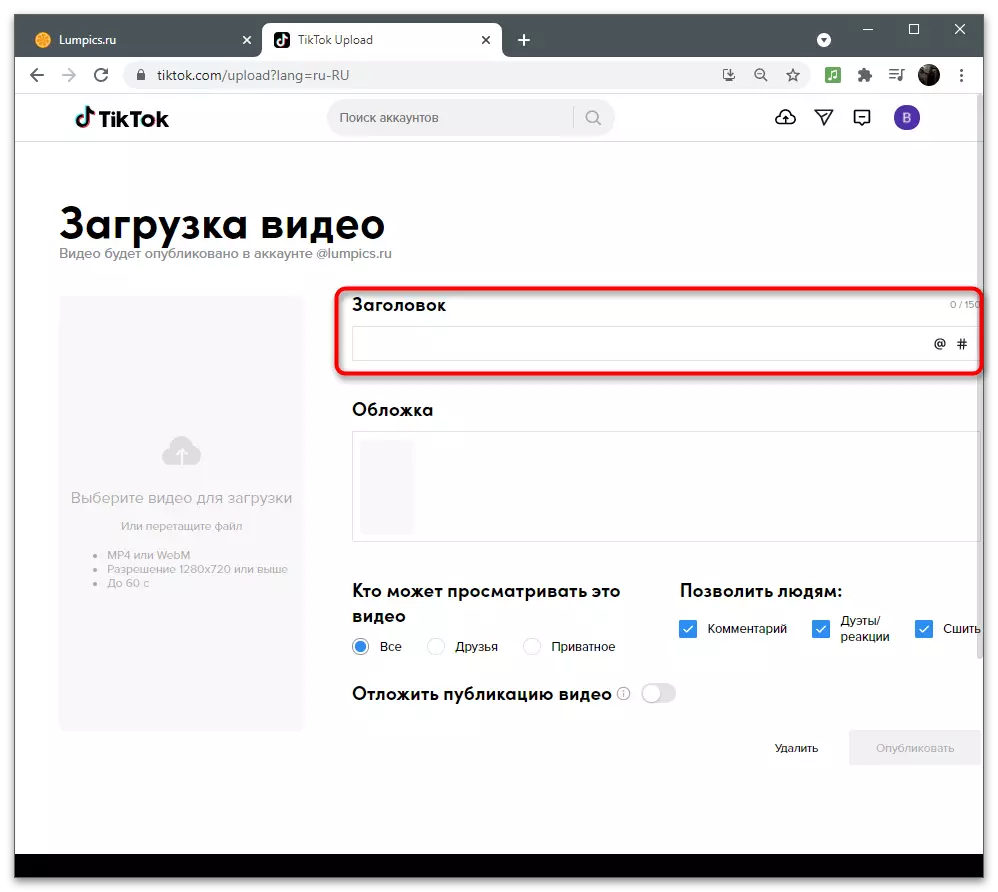
- Specify the title for it, where it is better to specify that there is a survey in the video, the answers to which you need to be left in the comments.
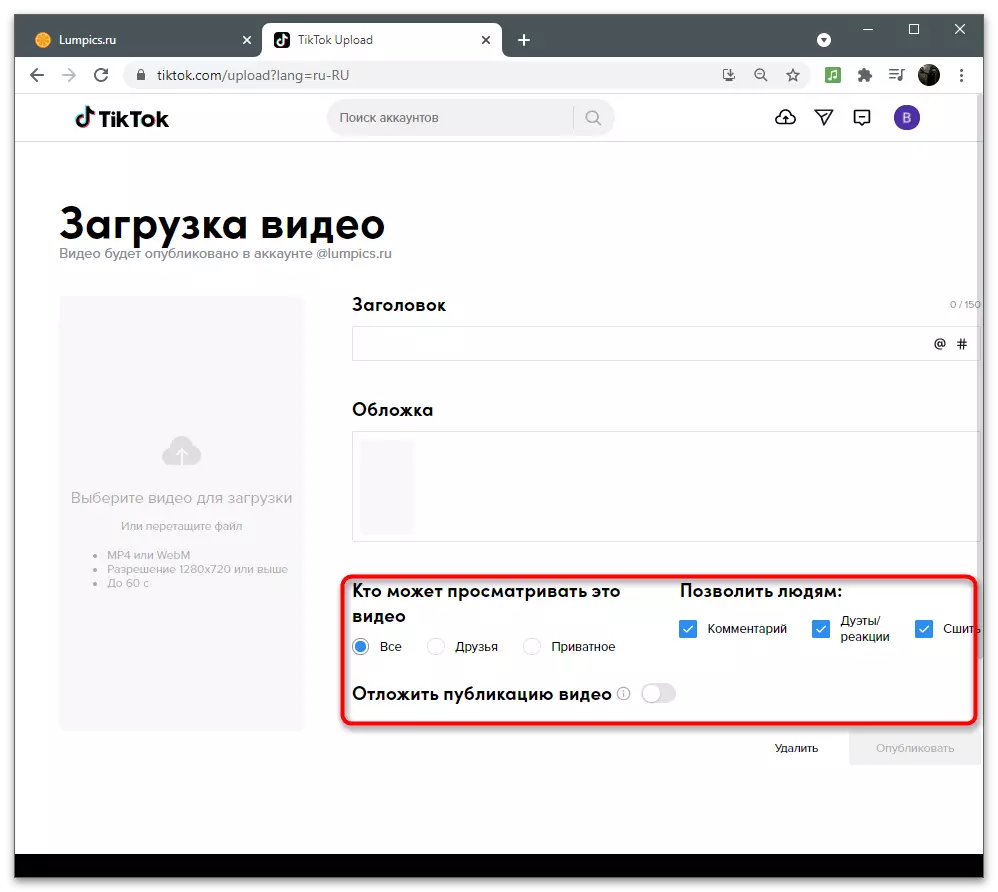
- Change additional options, be sure to open access to comments, because so the answers will not arrive, then confirm the download or make a deferred publication.