
With VirtualBox, you can create virtual machines with the most different operating systems, even with mobile Android. From this article you will learn how to establish a fresh version of Android as a guest OS.
Setting up a virtual machine
Before starting, configure Android:
- Click on the "Configure" button.
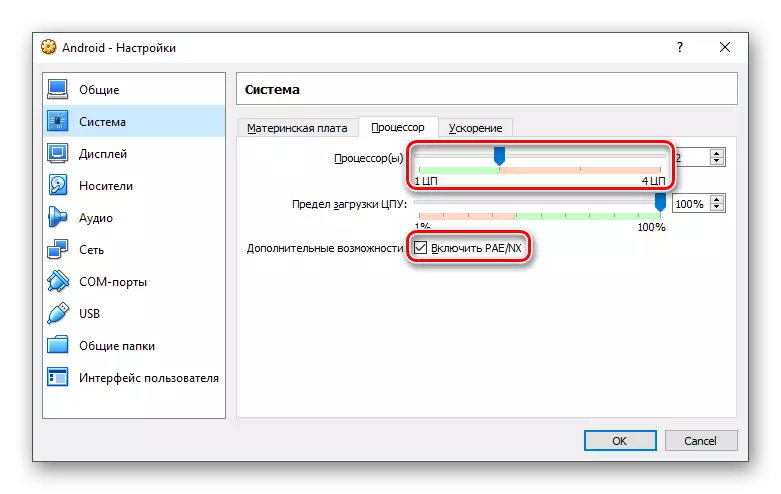
- Go to "System"> "Processor", set 2 cores of the processor and activate the PAE / NX.
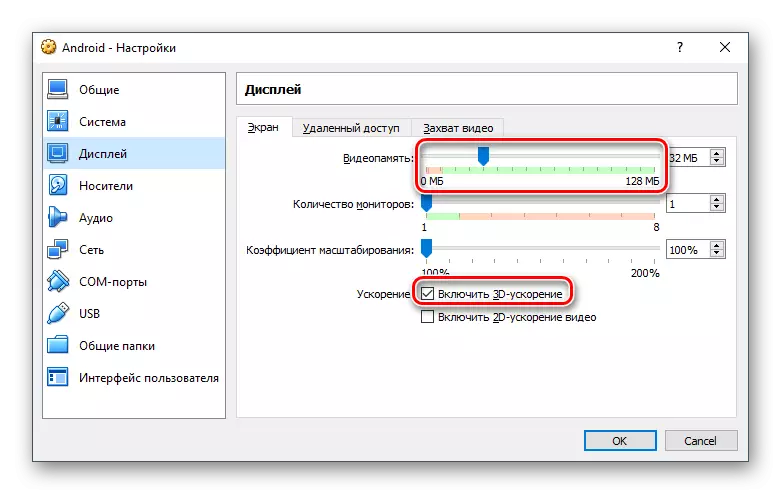
- Go to "Display", set the video memory to your discretion (the more, the better), and turn on the 3D acceleration.
The remaining settings are at your request.
Installing Android
Run the virtual machine and install Android:
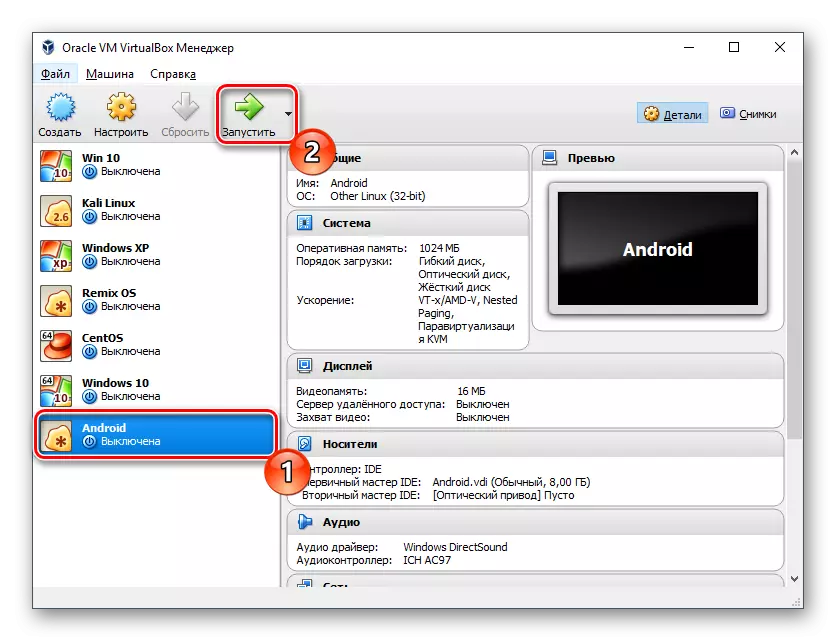
- In the VirtualBox Manager, click on the Run button.
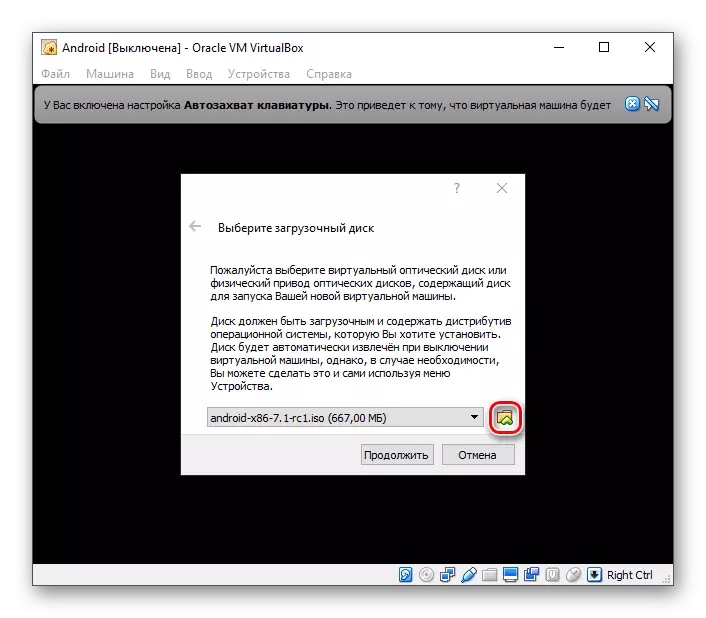
- As a boot disk, specify the image from the Android you downloaded. To select a file, click on the folder icon and find it through the system conductor.
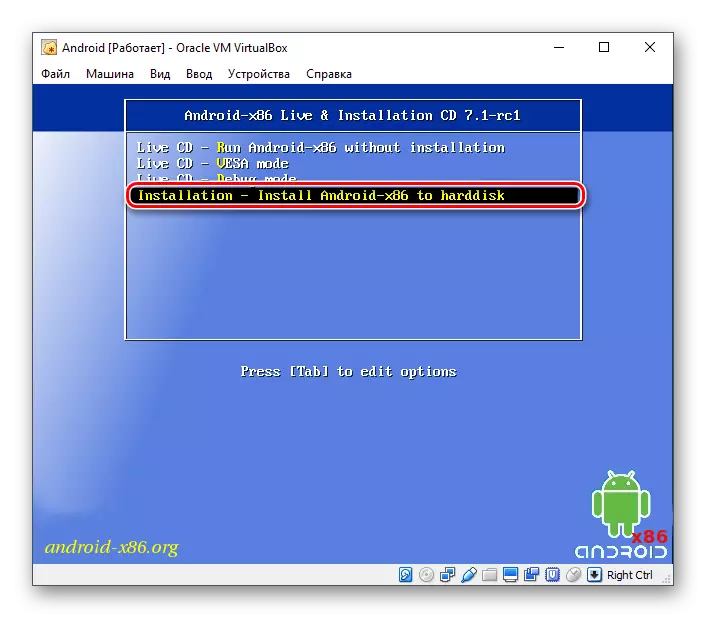
- The boot menu opens. Among the available ways, select "Installation - Install Android-X86 to Harddisk".
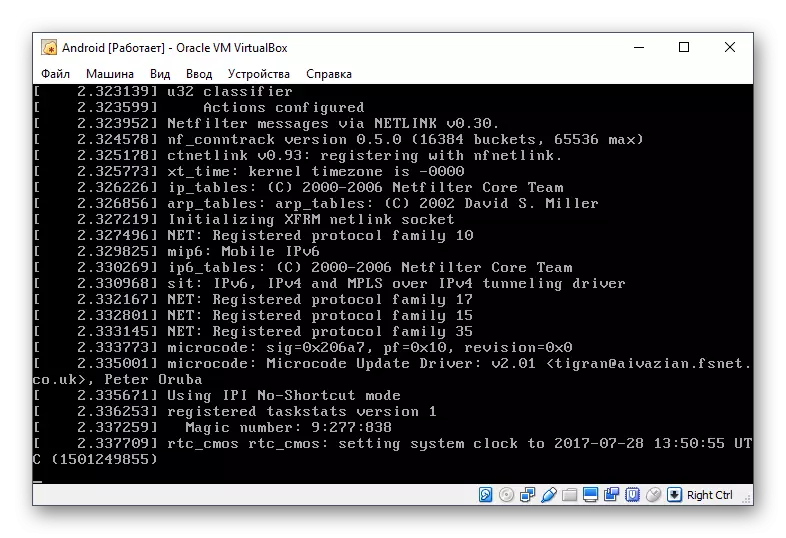
- Starting the installer will start.
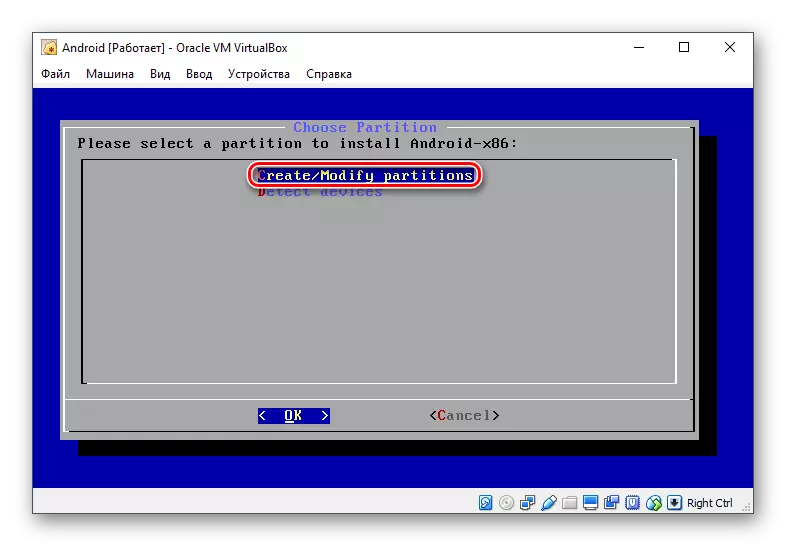
- You will be prompted to choose a section to install the operating system. Click "CREATE / MODIFY PARTITIONS".
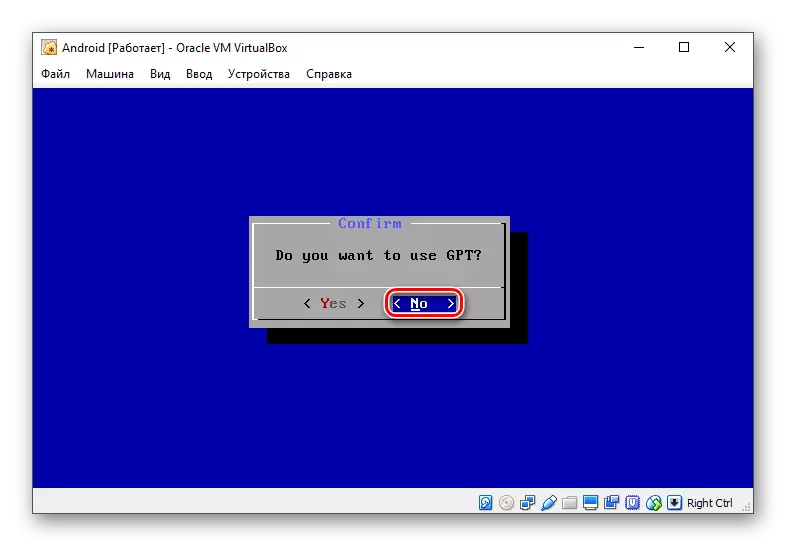
- On offer Use GPT Answer NO.
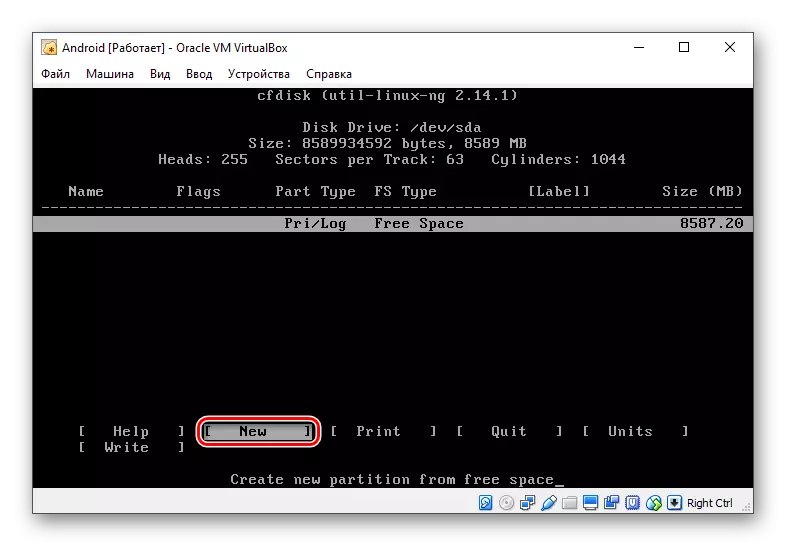
- The CFDISK utility will be loaded in which you will need to create a section and set some parameters to it. Select "New" to create a section.
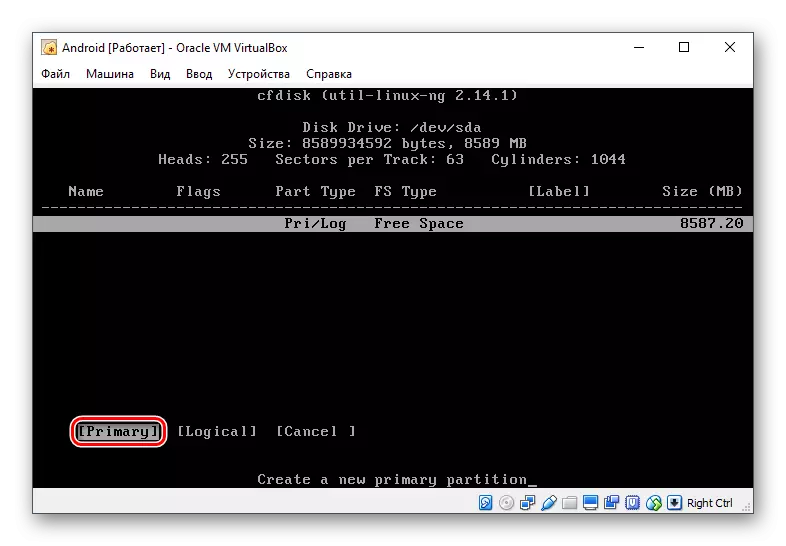
- Assign the section Main by selecting "Primary".
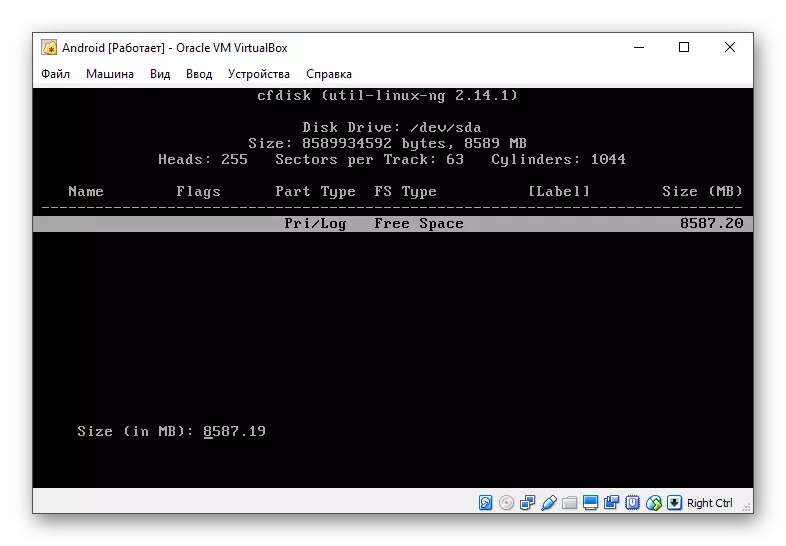
- At the selection phase, use the entire available. By default, the installer has already entered all disk space, so just press ENTER.
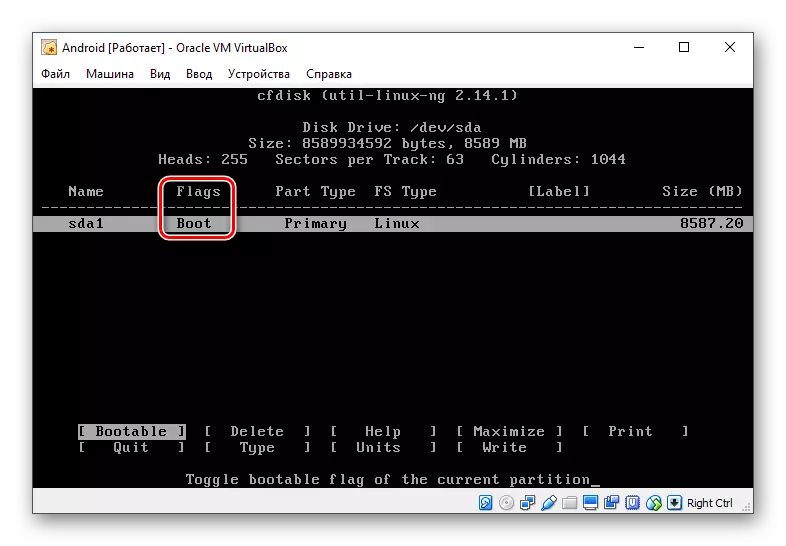
- Make a loading section by setting it the Bootable parameter.
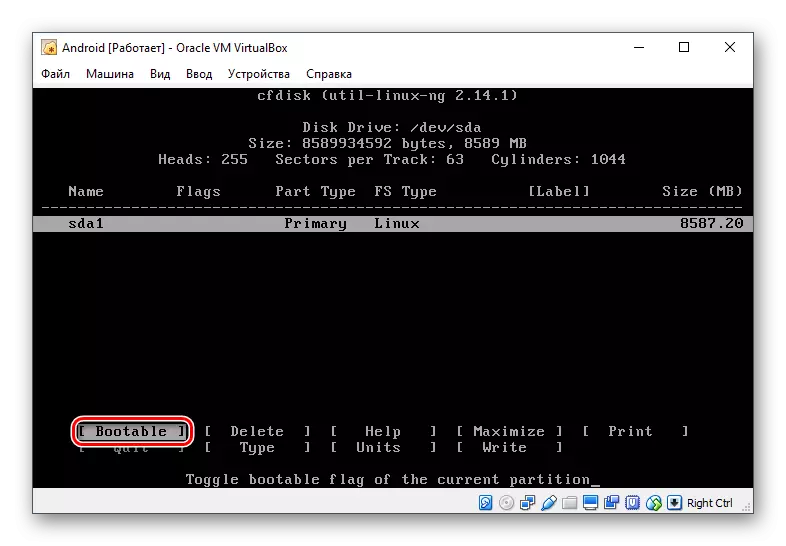
This will be displayed in the Flags column.
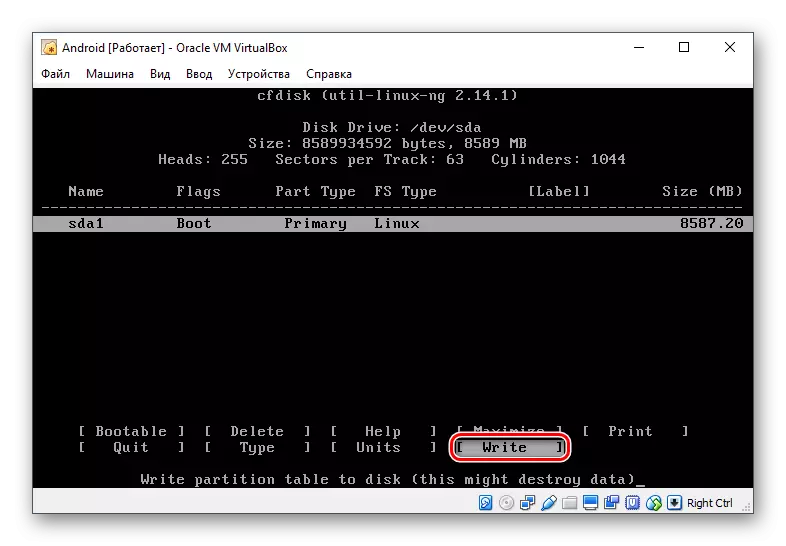
- Apply all selected options by selecting the Write button.
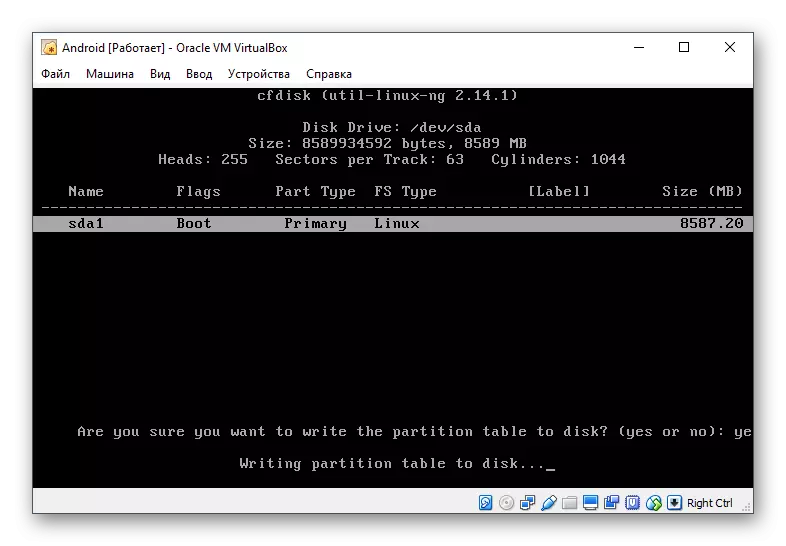
- To confirm, write the word "yes" and press ENTER.

This word is displayed not entirely, but prescribed completely.
- The use of parameters will begin.
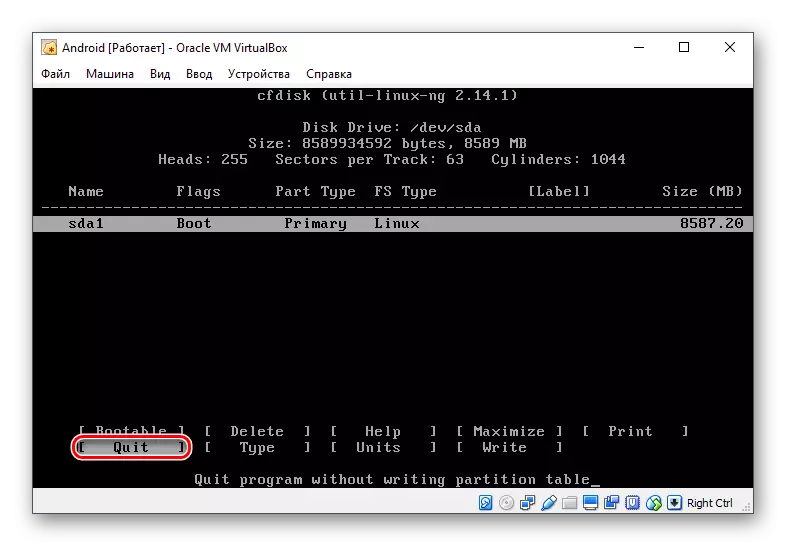
- To exit the CFDisk utility, select the "quit" button.
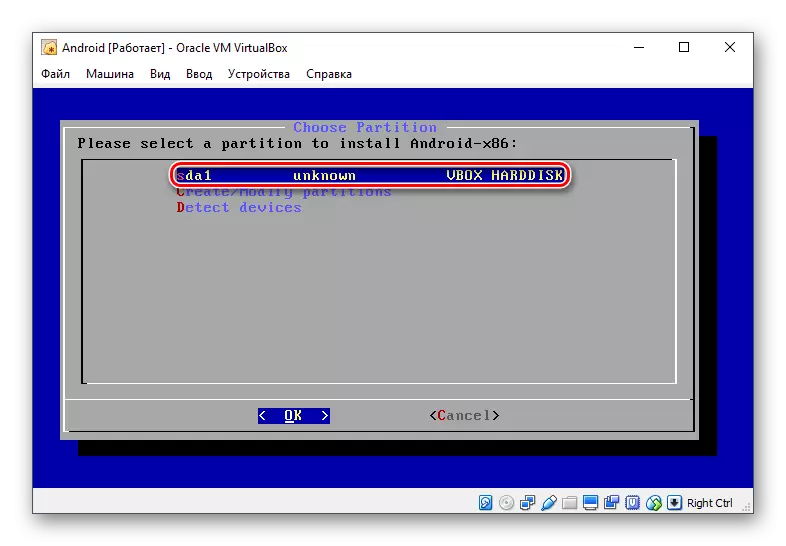
- You will come to the installer window again. Select the created section - Android will be installed on it.
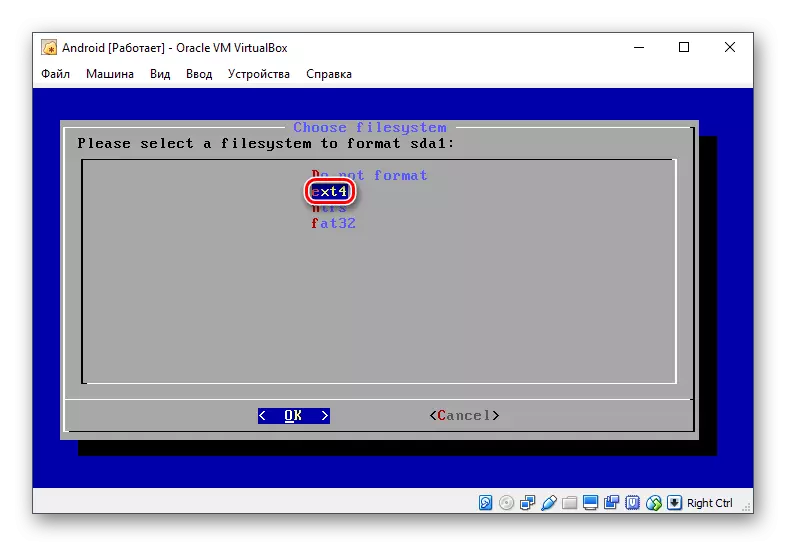
- Format the section into the "EXT4" file system.
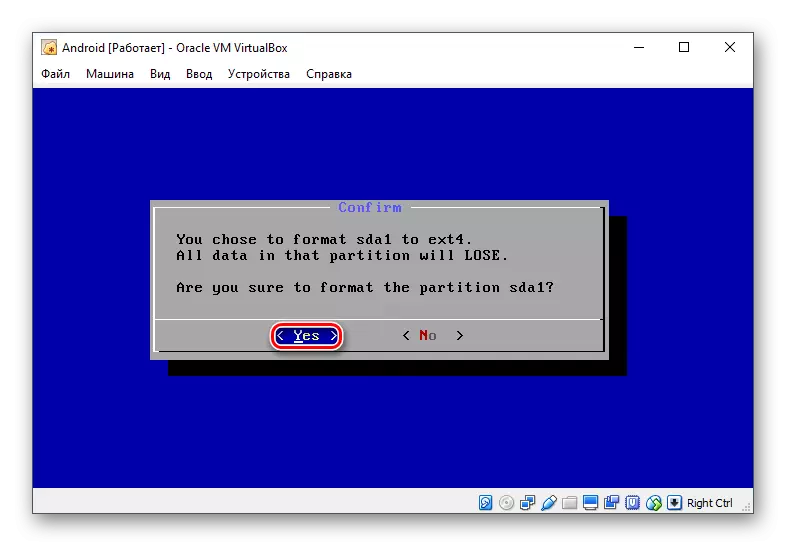
- In the format confirmation window, select "YES".
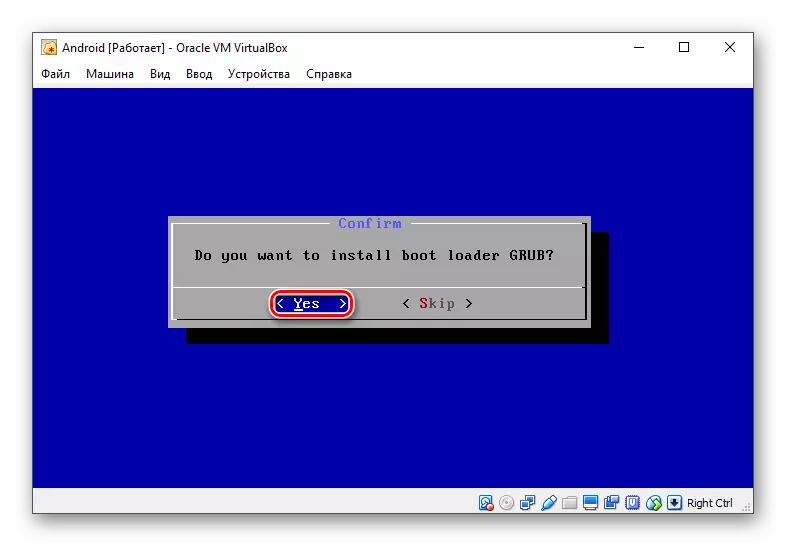
- On the offer to install the GRUB bootloader Answer YES.
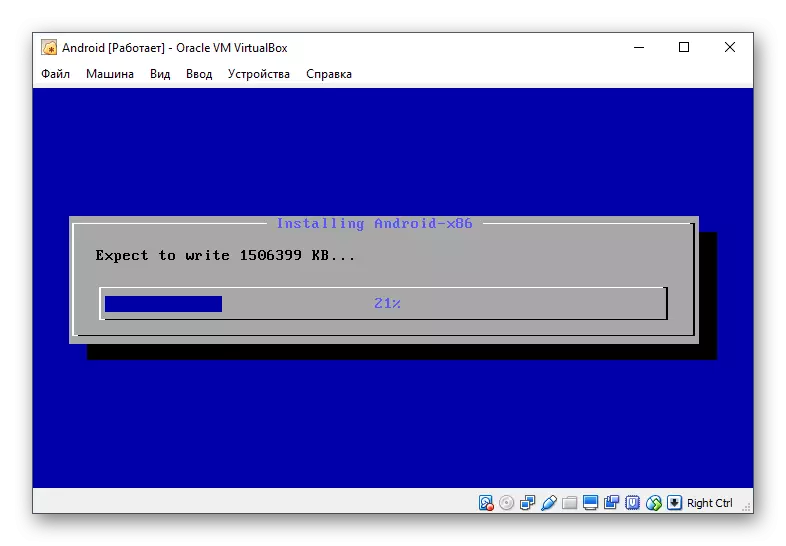
- Android setting starts, wait.
- When the installation is completed, it will be prompted to start the system or restart the virtual machine. Select the desired item.

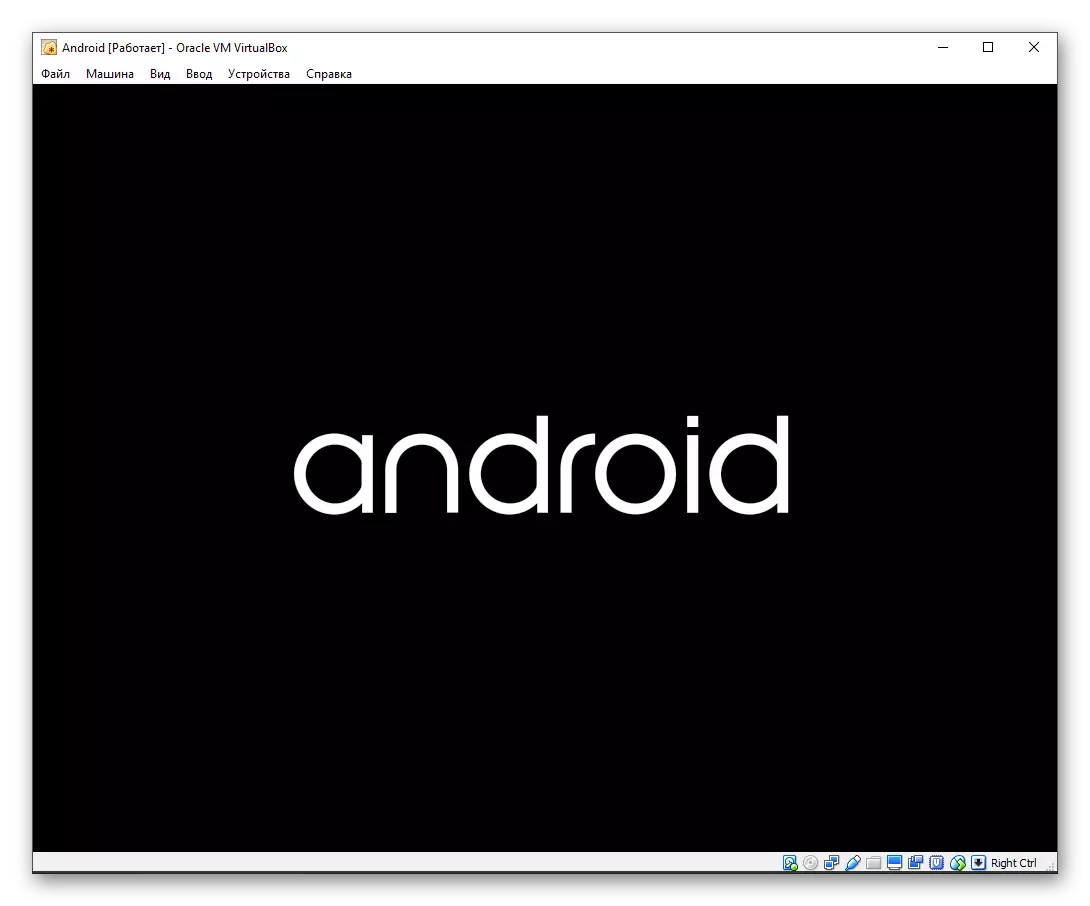
- When you start Android, you will see a corporate logo.
- Next, the system needs to be designed. Select the desired language.
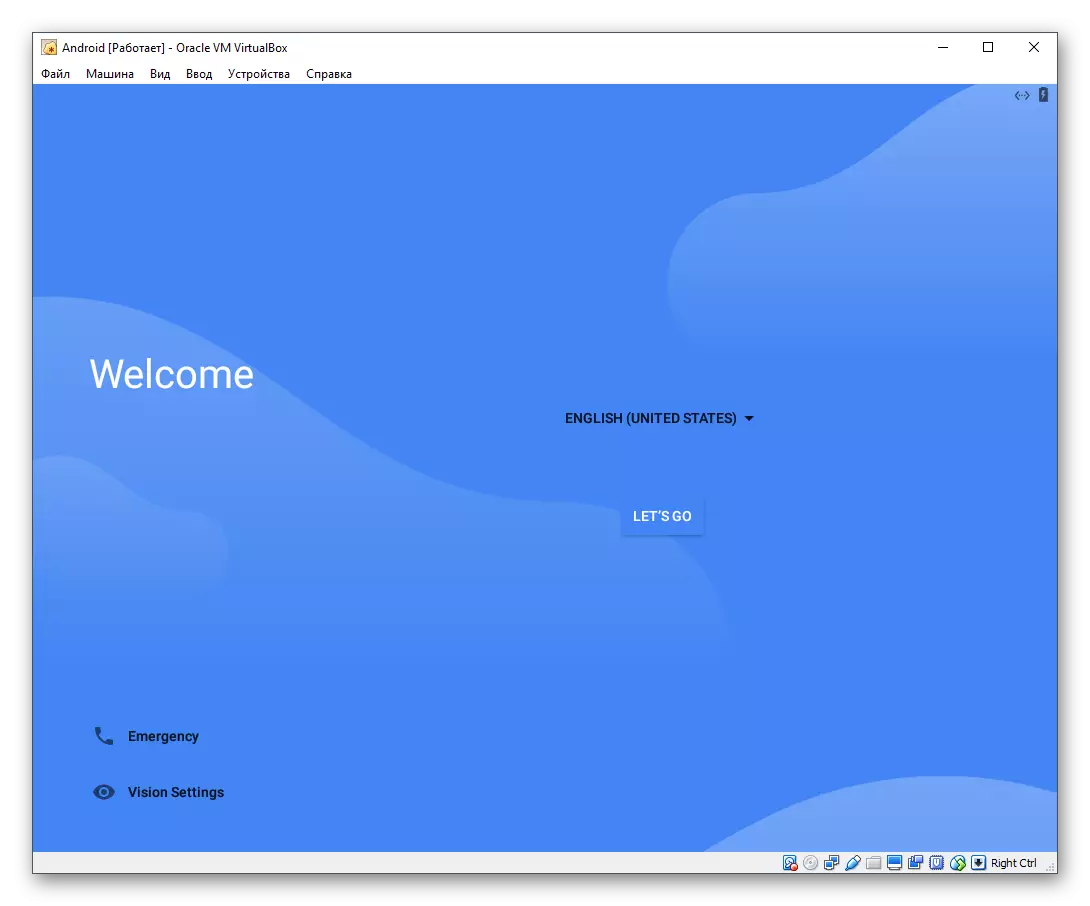
Control in this interface may be inconvenient - to move the cursor, the left mouse button must be clamped.
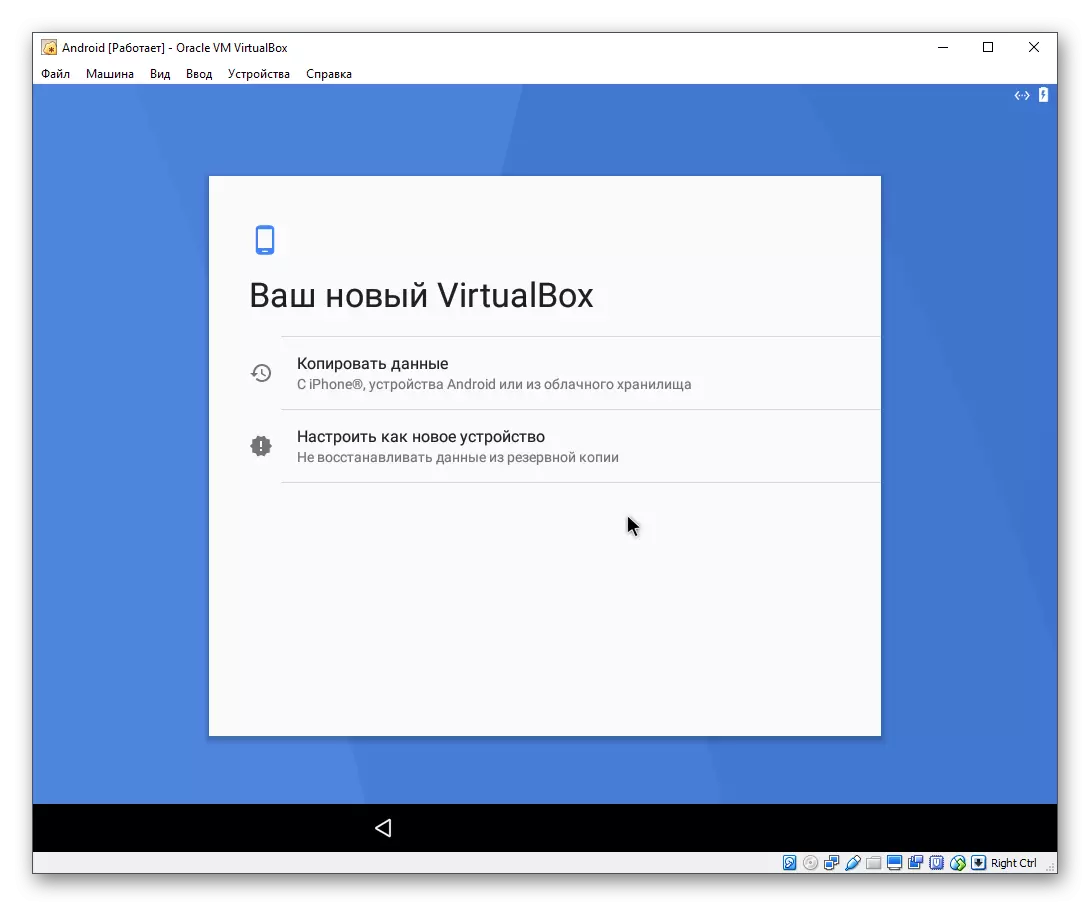
- Select, whether you will copy Android settings from your device (from a smartphone or from a cloud storage), or want to get a new, clean OS. Preferably select 2 options.
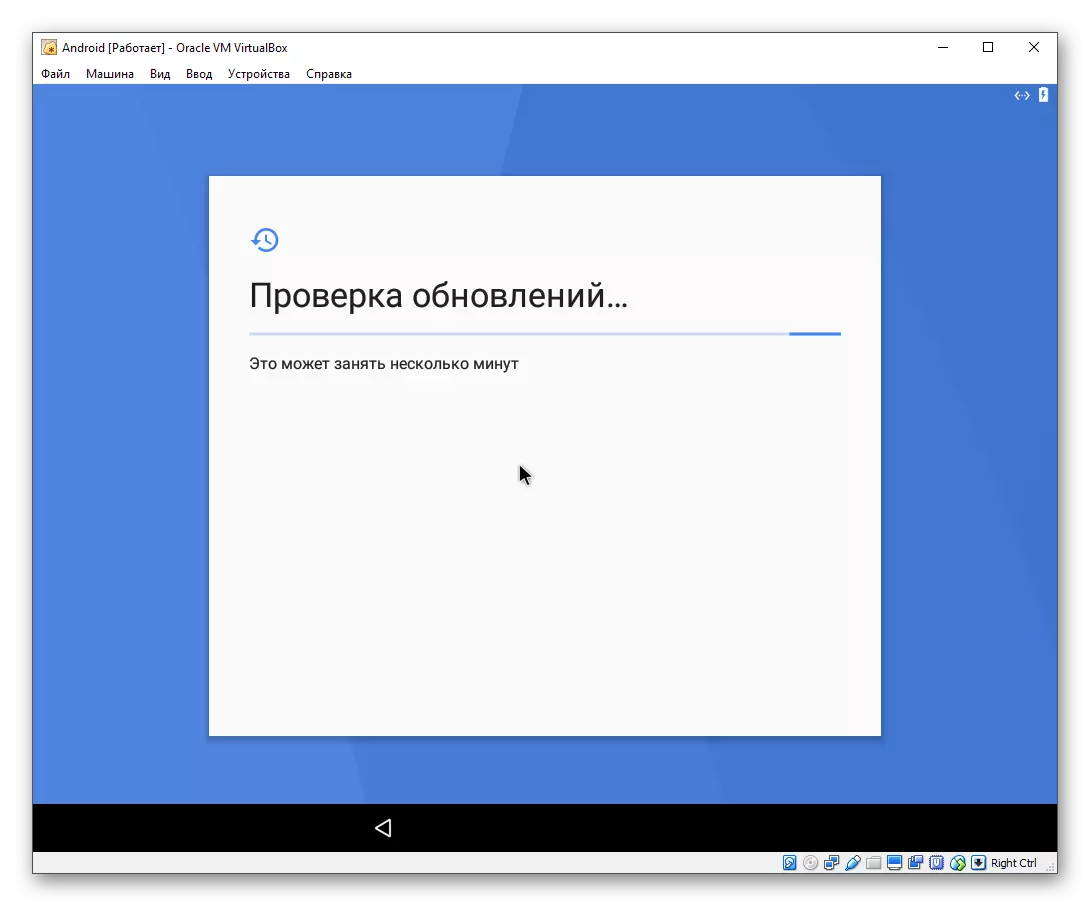
- Check updates will begin.
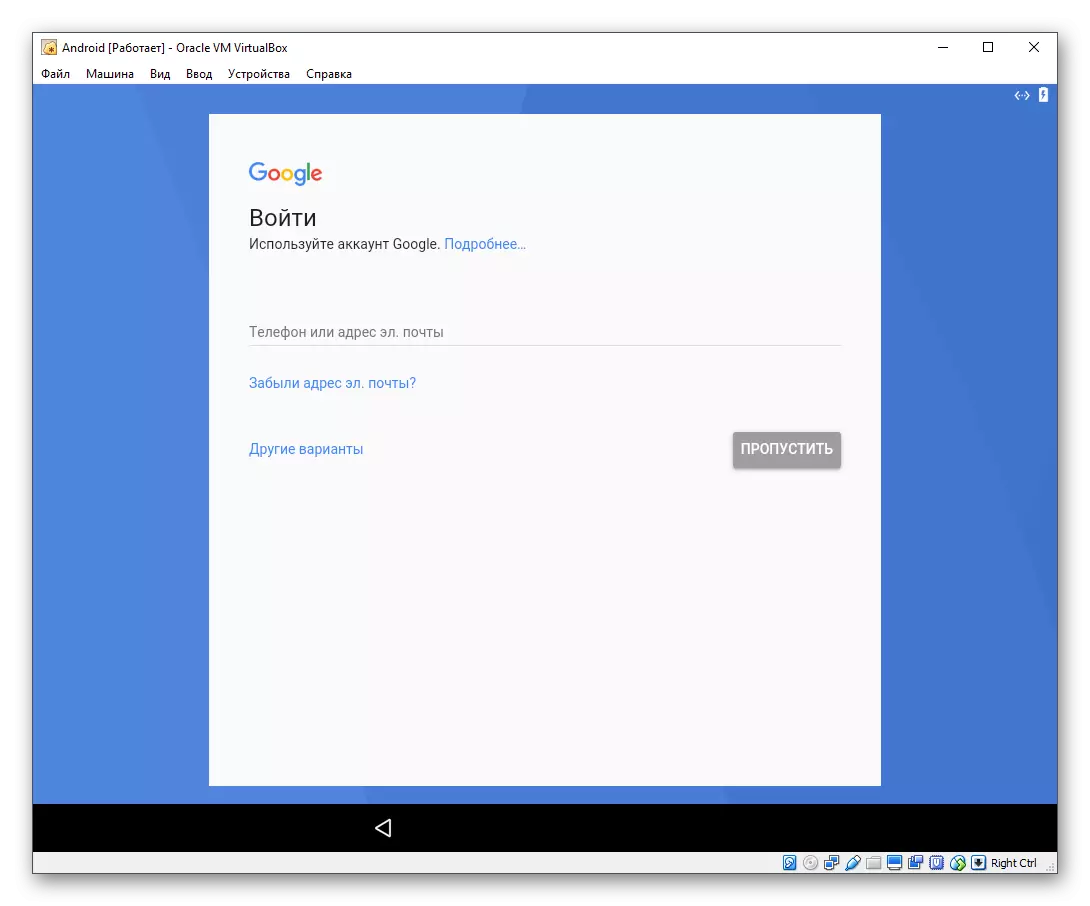
- Make an entrance to Google account or skip this step.
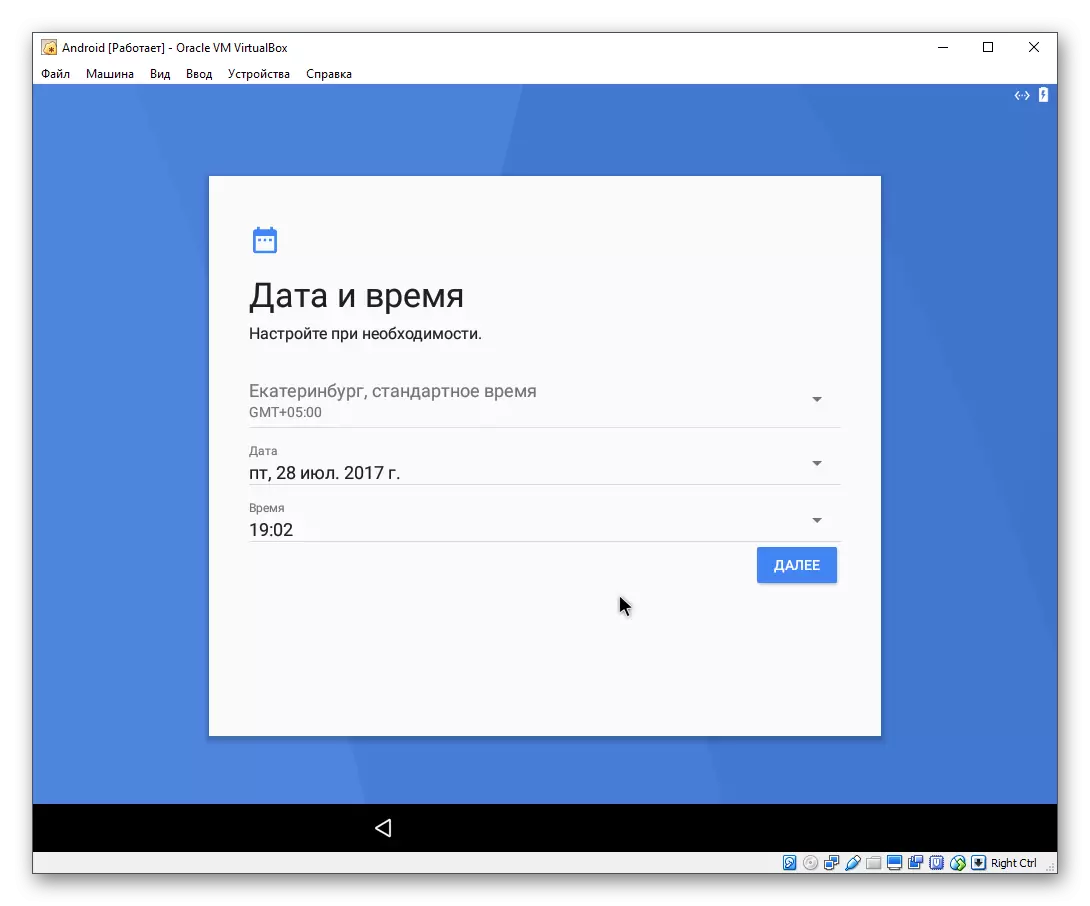
- Configure the date and time if necessary.
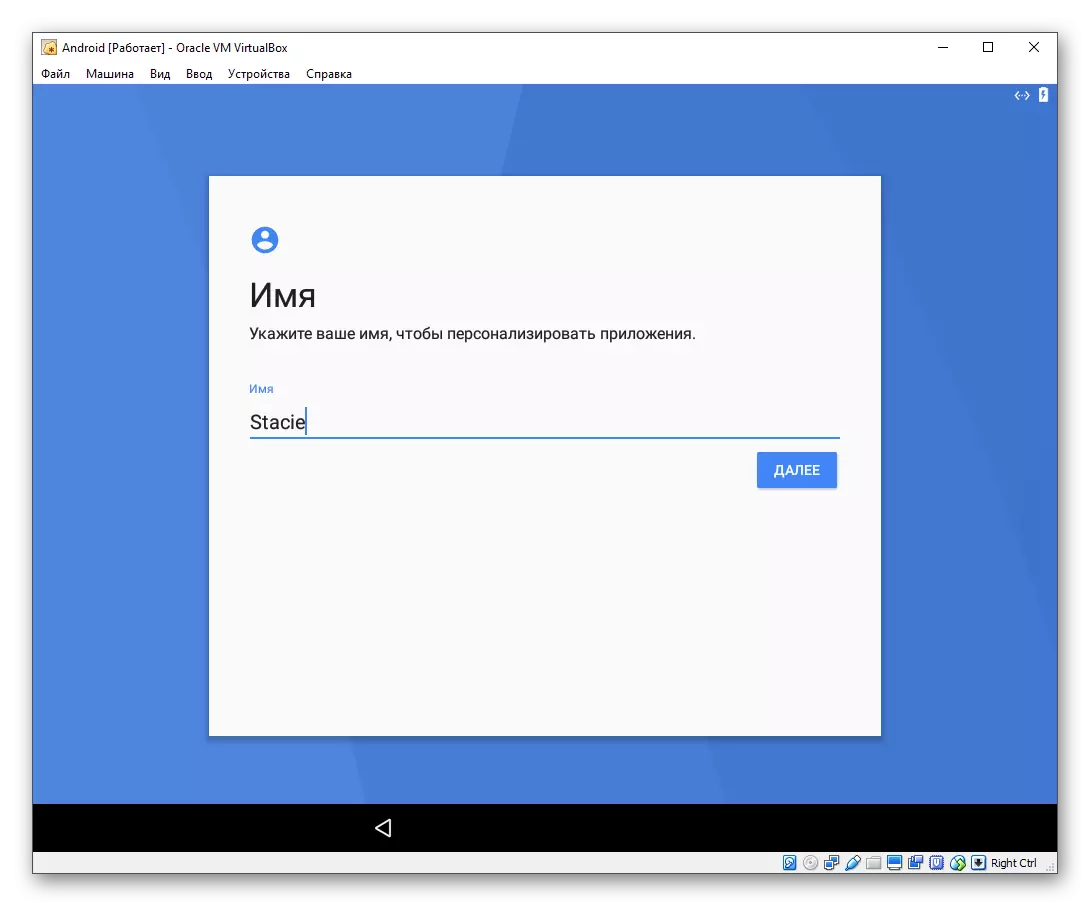
- Specify the username.
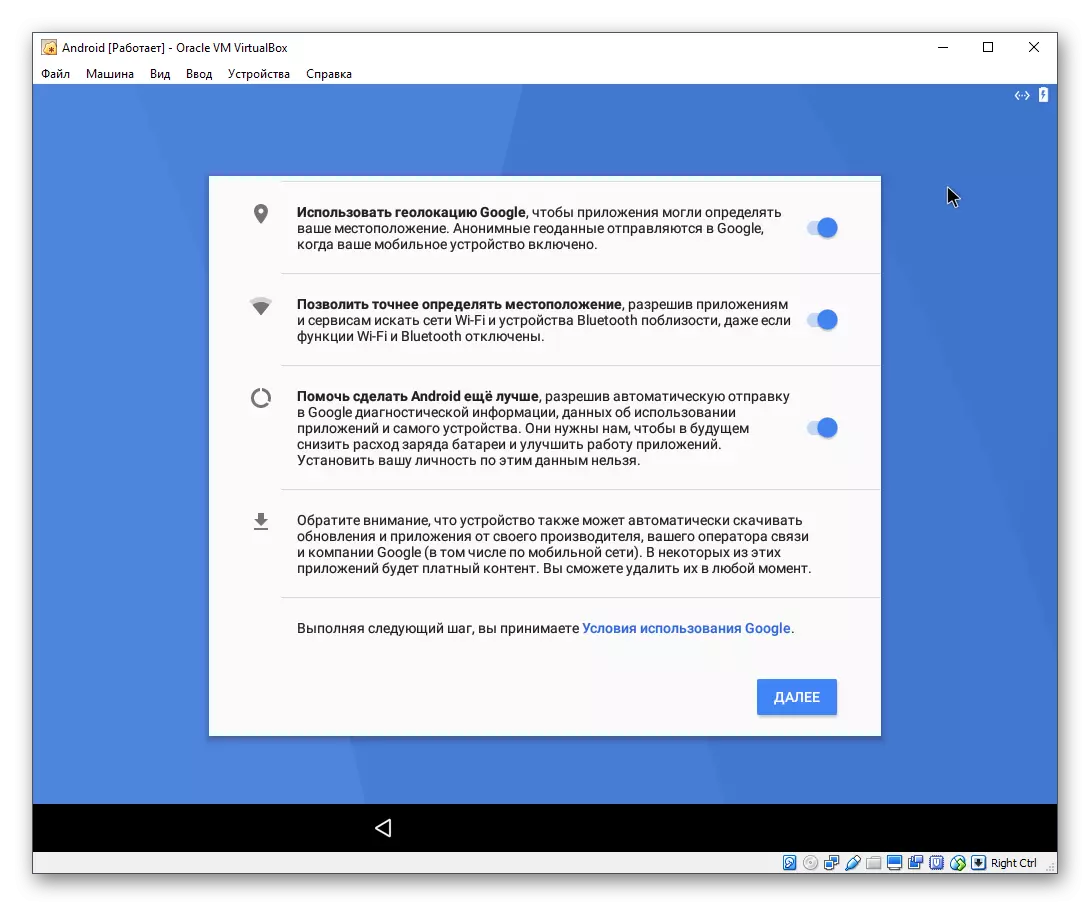
- Configure the parameters and disconnect those that you do not need.
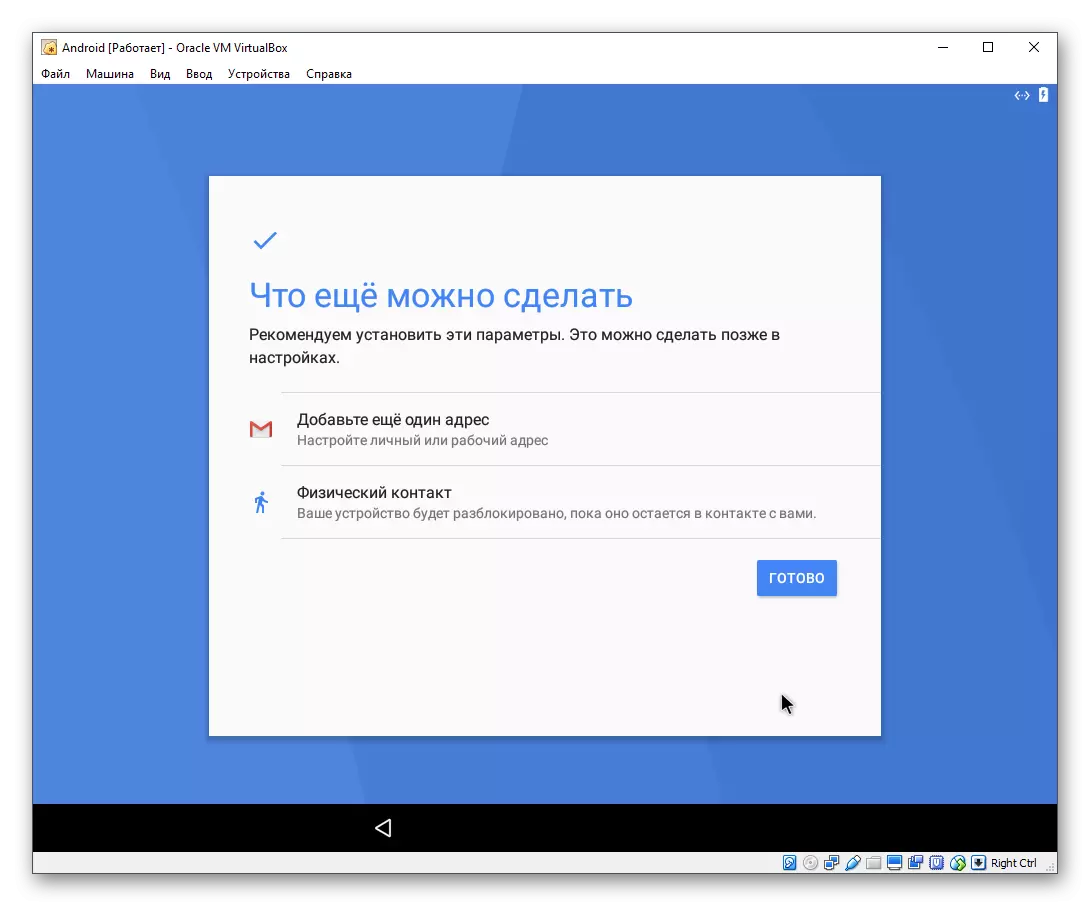
- Adjust additional options if you want. When you are ready to finish with the primary configuration of Android, click on the "Finish" button.
- Wait until the system processes your settings and creates an account.

Here and then perform the installation using the ENTER key and the arrow on the keyboard.
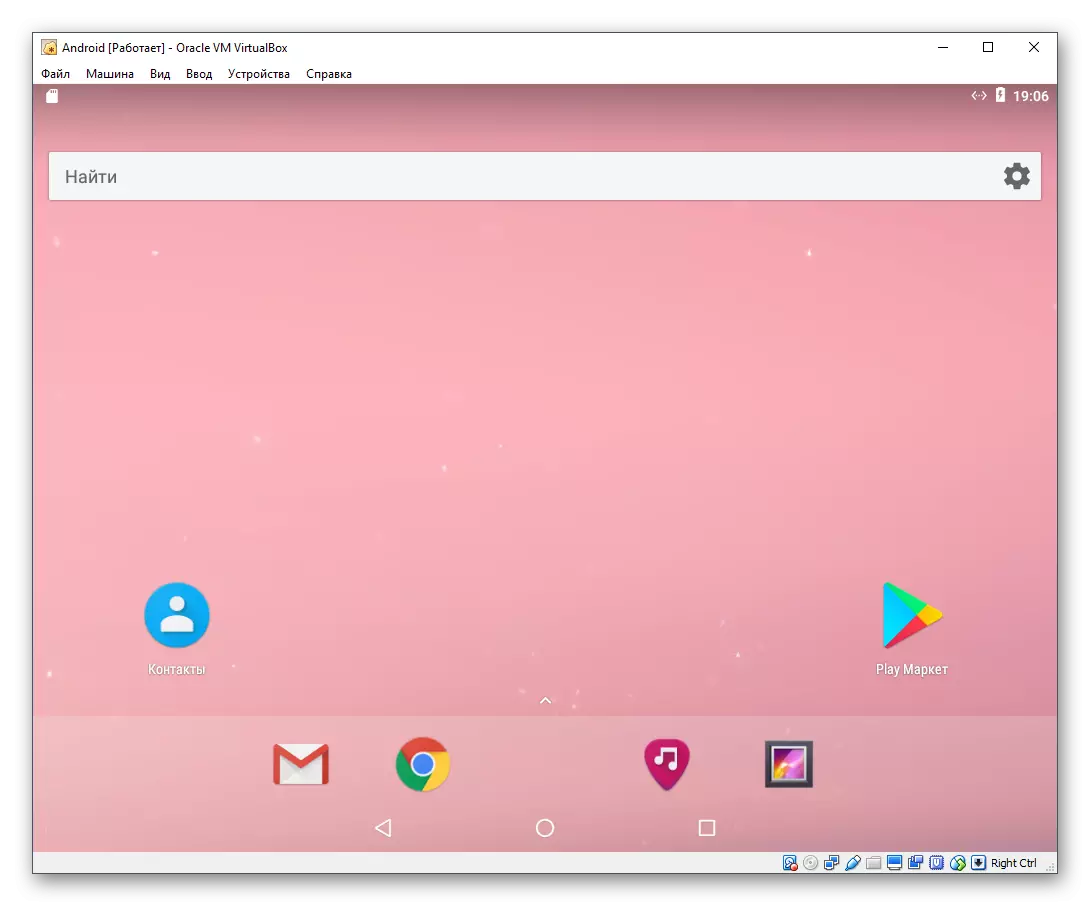
After successful installation and settings, you will get to the Android desktop.
Run Android after installation
Before the subsequent launches of the Android virtual machine, you must remove the image that was used to install the operating system from the settings. Otherwise, instead of launching the OS every time a boot manager will be loaded.
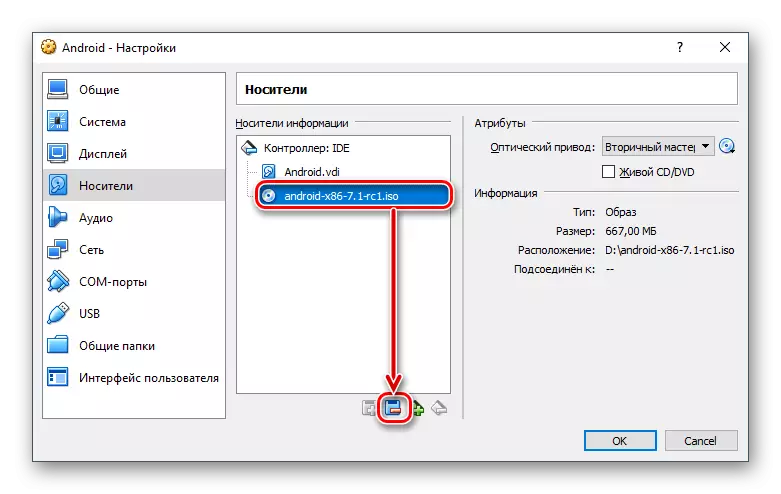
- Go to the settings of the virtual machine.
- Click the "Media" tab, select the ISO image of the installer and click on the removal icon.
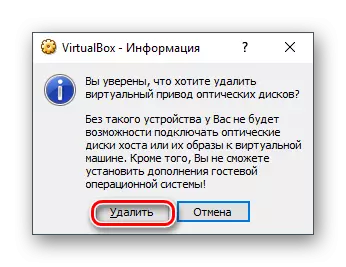
- VirtualBox will request confirmation of your actions, click on the "Delete" button.
The Android installation process on the virtual box is not very complex, but the process of working with this OS can be understood not to all users. It is worth noting that there are special Android emulators that may be more convenient for you. The most famous of them is bluestacks, which works more smoothly. If he does not suit you, check out his analogues emulating Android.