Definitely, each of us has repeatedly faced unwanted letters in his mailbox - spam. Despite the fact that the electronic correspondence of this kind is filtered already at the stage of server processing of messages, absolutely unnecessary advertising and even fraudulent newsletters still often seep into the "incoming".
If you use the BAT!, A higher level of protection against spam and phishing, you can provide a higher level of protection against spam and phishing using the AntispamSniper plugin.
What is antispamsniper
Despite the fact that The Bat! By default, it has a fairly high degree of protection against malicious threats, the built-in antispam filter is not here. And for the rescue in this case, there is a plugin from third-party developers - AntisPamsniper.
Due to the fact that the mail client from RitLabs is equipped with a modular expansion system, it can use connected solutions to protect against viruses and spam. One of these is the product in this article.
Antispamsniper, as the most powerful anti-spam and anti-spike instrument, shows really excellent results. With a minimum number of filter errors, the plugin fully cleans your mailbox from unwanted letters. In addition, this tool may simply not download most of the spam messages by removing them directly from the server.
And at the same time, the user can fully control the filtering process, restoring, if necessary, deleted letters using a built-in log.
This antispam for The Bat! It is good because it has a statistical student algorithm in arsenal. The plugin analyzes in detail the contents of your personal correspondence and on the basis of the data obtained produces filtering already incoming correspondence. With each letter in your drawer, the algorithm becomes more smarter and improves the quality of the message classification.
The distinguishing features of AntisPamsniper also include:
Close integration with the online database of spam and phishing emails.
The ability to set up user filtering rules for incoming correspondence. This feature is especially useful for removing messages with specific combinations of characters in headlines and content.
The presence of a black and white list of addressees. The second can be replenished automatically, based on the outgoing messages of the user.
Support for filtering graphic spam of various kinds, namely images with references and animated pictures.
The possibility of filtering unwanted correspondence on sending IP addresses. Information about such antispam module receives from DNSBL database.
Checking the URL domains from the contents of incoming letters on black URIBL lists.
As you could understand Antispamsniper, probably the most powerful decision of its kind. The program is able to successfully classify and block even the most complex from the point of determining the spam of the letter, the contents of which consists only of investments or partially represents absolutely incoherent text.
How to install
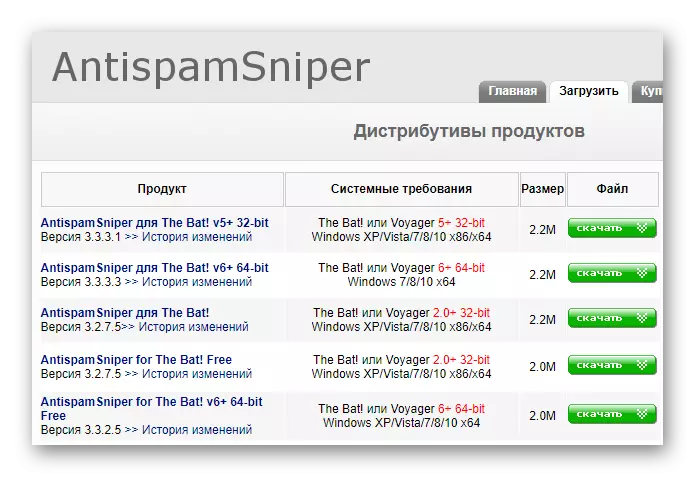
To start installing the module in The Bat!, You first need to download it .exe file, suitable for system requirements and corresponding to the target postal client. You can do this on one of the pages of the official website of the program.
Download antispamsniper
Simply select the plugin that is suitable for your OS and click the "Download" button on the contrary. Note that the first three links allow you to download the commercial version of Antispamsniper with a primitive period of 30 days. The following two lead to the installation files of the free version of the module.
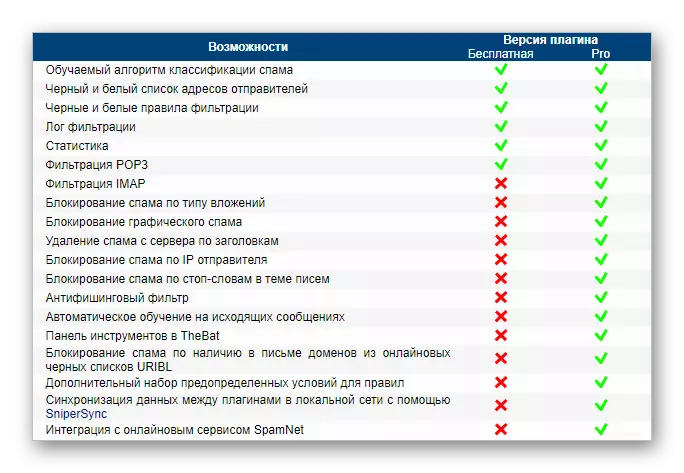
Immediately it should be noted that the functional differences between both options are very serious. In addition to the lack of additional varieties of message classification, the free version of AntisPamsniper does not support mail filtering transmitted via the IMAP protocol.
Therefore, to understand whether you need all the functionality of the program, it is necessary to try an informational version of the product.
By downloading the extension module you need, go to its direct installation.
First of all, we find the downloaded installer and run it, simultaneously clicking on "Yes" in the account control window.
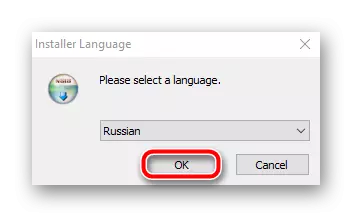
Then in the window that appears, select the desired language of the installation program and click "OK".
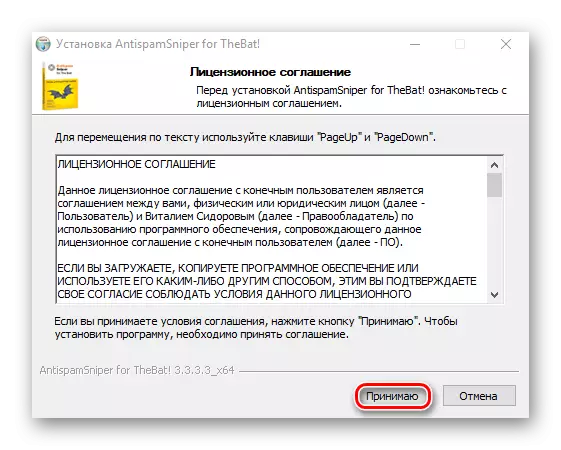
We read and accept the license agreement by pressing the "Accept" button.
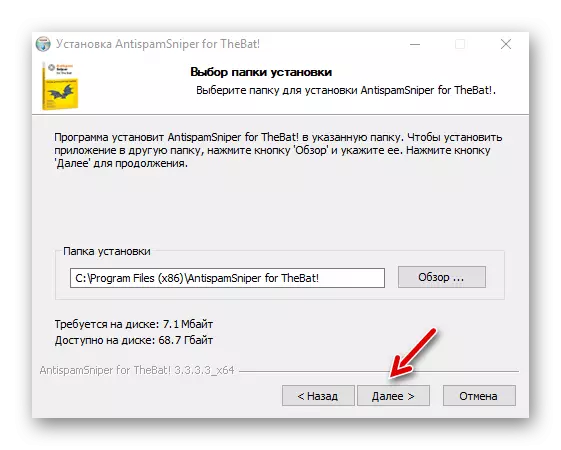
If necessary, correct the path to the plugin installation folder and click "Next".
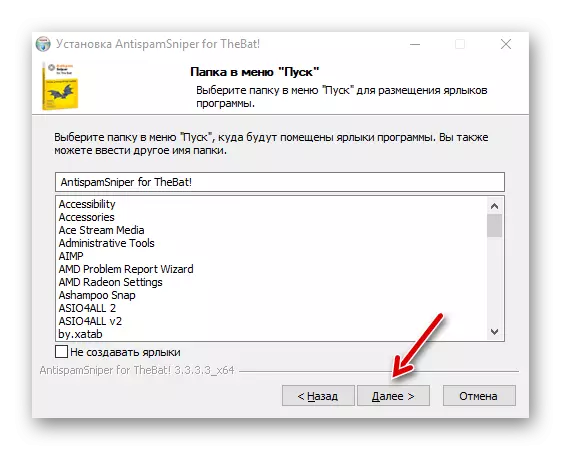
In a new tab, by wishes, change the name of the folder with the program labels on the desktop and again press "Next".
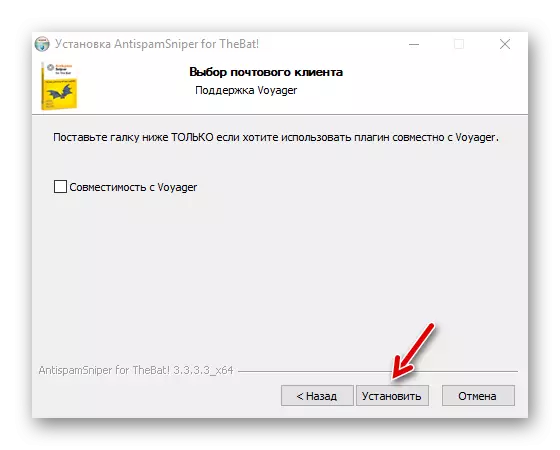
And now simply click on the "Set" button, ignoring the compatibility point for antispam plugin with the Voyager client. We add a module exclusively in The Bat!
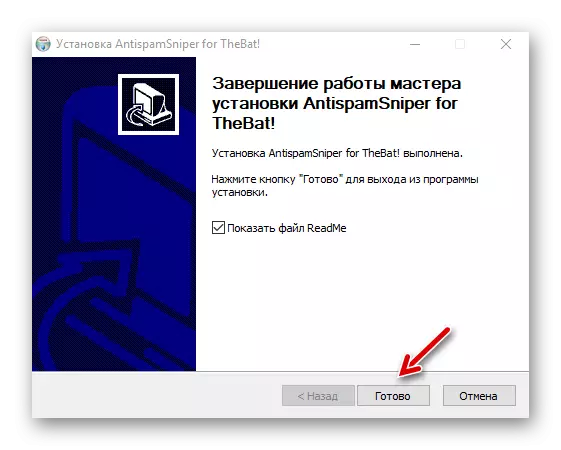
We are waiting for the end of the installation process and click "Finish".
So we installed the antispam module into the system. In general, the process of installation of plugins is as simple as possible for each.
How to use
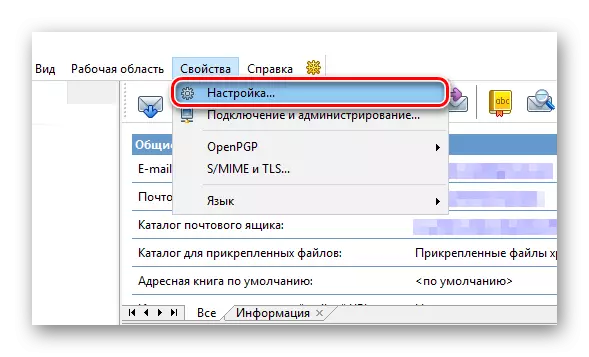
AntisPamsniper is an extension module for The Bat! And, accordingly, at first it needs to be integrated into the program.
To do this, open the mail client and go to the "Properties" category of the menu panel where you select the "Setup ..." item.
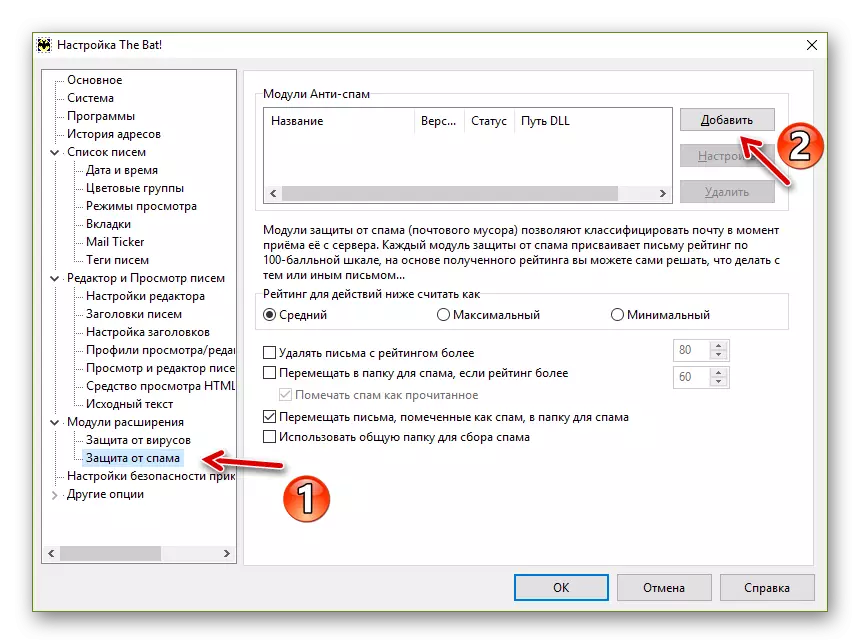
In the window that opens, "Setting the Bat!" We choose the category "Expansion Modules" - "Spam Protection".
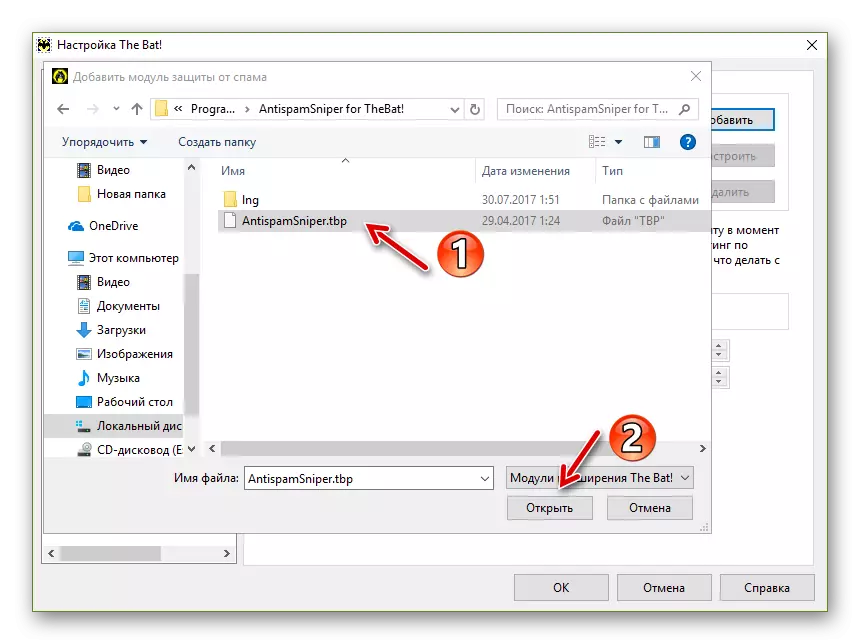
Here click on the "Add" button and find the .tbp file of the plug-in in the conductor. It is located right in the Antispamsniper installation folder.
Usually the path to the file you need looks like this:
C: \ Program Files (x86) \ Antispamsniper for thebeat!
Then press the "Open" button.
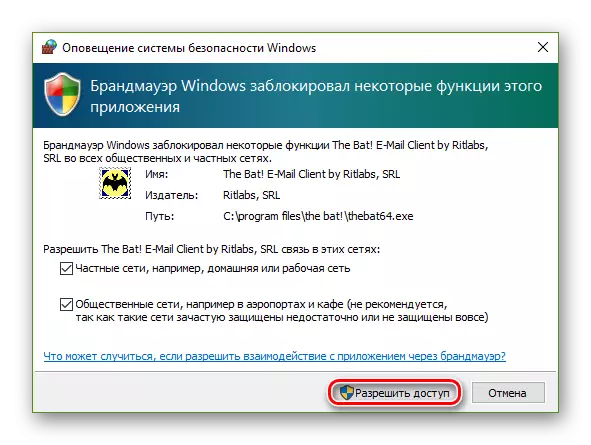
Next, allow the program to access the Windows Functions in Windows Firewall and restart the mail client.
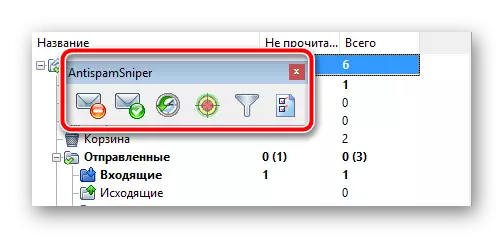
Opening the Bat! You can immediately mark the appearance of the floating toolbar AntisPamsniper.
Simple dragging it can be attached to any menu in Maler.
Setting plugin
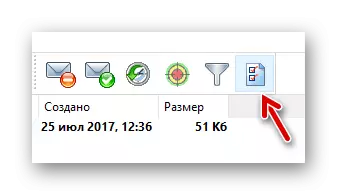
Now let's go to the immediate configuration of the antispam module. Actually, all the parameters of the plug-in you can find by clicking on the last icon on the right in its toolbar.
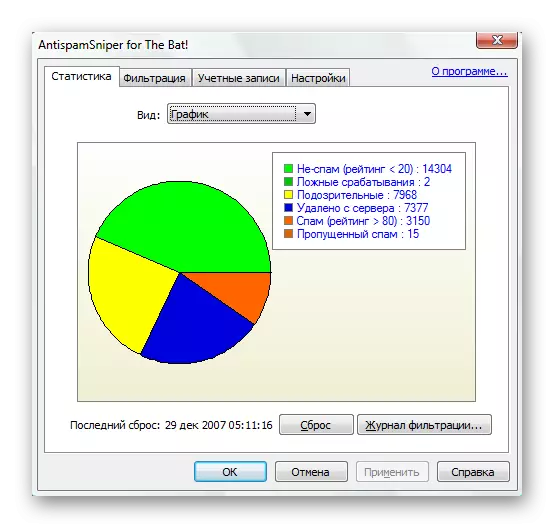
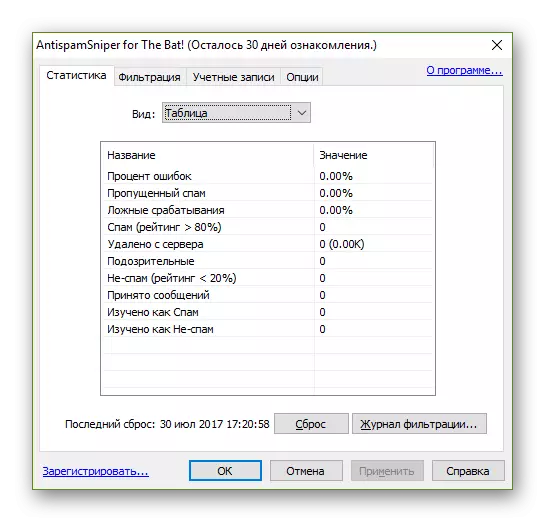
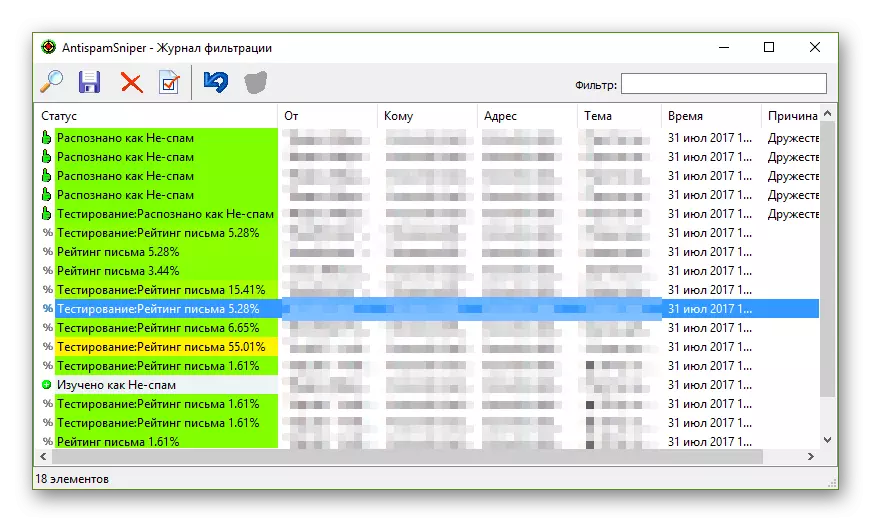
On the first tab of the opening window, it is available for detailed statistics on blocking unwanted letters. Here in the percentage ratio displays all filter errors, skipped spam and false responses of the module. There is also statistics on the total number of spam letters in the box, suspicious and deleted directly from the message server.
At any time, all numbers can be reset or detail with each individual case classification in the filtration log.
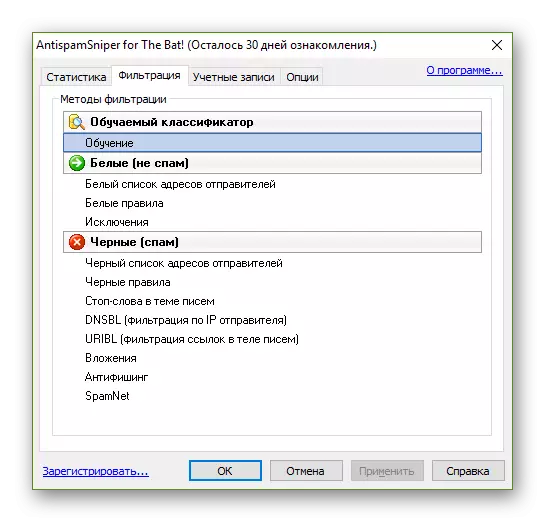
You can start configuring AntispamSniper in the "Filtering" tab. This section allows you to configure the filtering algorithm in detail by setting certain rules for it.
Thus, the "Training" item contains the settings for automatically learning the module on outgoing correspondence, and also provides the ability to control the parameters of the intelligent replenishment of black and white address lists.
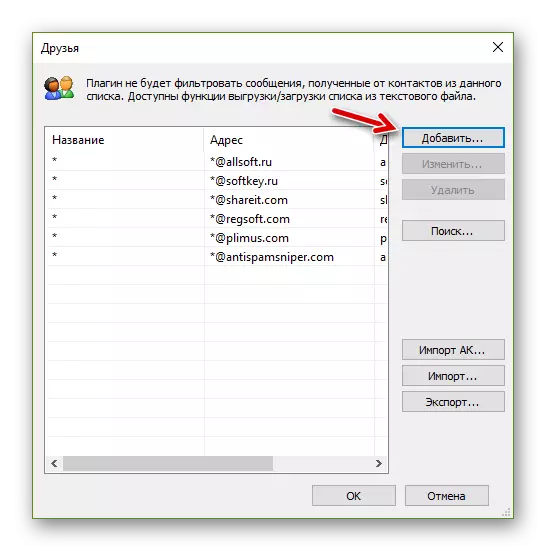
The following filtering settings groups at the initial stage of using antispam-plugin absolutely do not require any changes. The exception is only the immediate compositions of the black and white lists of the senders.
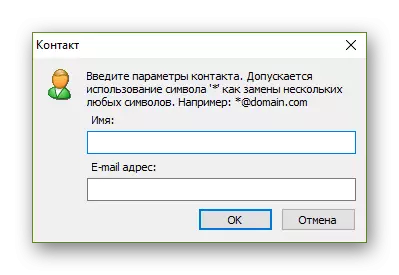
If any candidates are available, just click "add" and specify the name of the sender and its email address in the corresponding fields.
After that, click on the "OK" button and watch the selected destination in the corresponding list - black or white.
Next tab - "Accounts" - Allows you to manually add mail accounts to plugin to filter messages.
Frequently, a list of accounts can either manually, or with the activated function "Add account Accounts automatically" - without user participation.
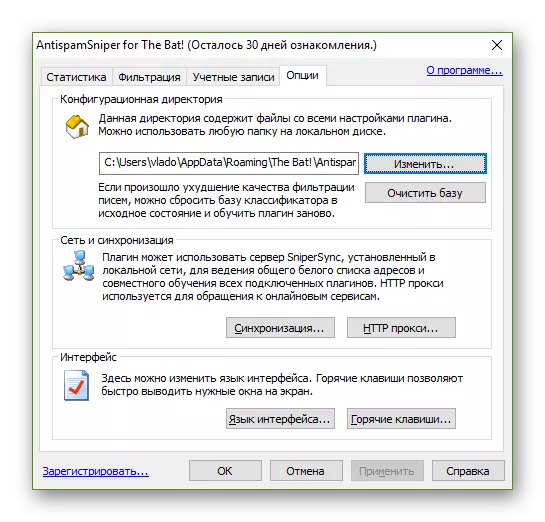
Well, the Options tab represents the general settings of the AntisPamsniper module.
In the Configuration Directory item, you can change the path to the folder where all the settings of the antispam plugin are stored, as well as data on its operation. A more useful here is the Classifier base cleaning function. If the quality of filtering letters suddenly deteriorated sharply, simply open the settings and click "Clean the database".
The "Network and Synchronization" section allows you to configure the server for maintaining a general white list and joint training of plug-ins on the local network. Immediately you can set the proxy parameters to access online services.
Well, in the Interface section, you can set the key combinations to quickly access the AntisPamsniper functions, as well as change the module interface language.
Working with module
Already immediately after installation and minimum configuration, Antispamsniper begins to quite successfully classify spam in your mailbox. However, for more accurate filtering, the plugin at least for some time should be trained as manually.
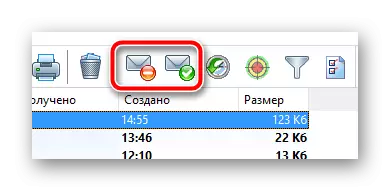
Actually, there is nothing difficult in this - you just need to marry acceptable letters from time to time as "non-spam", and unwanted, naturally, marked as "spam". You can do this using the appropriate icons on the toolbar.
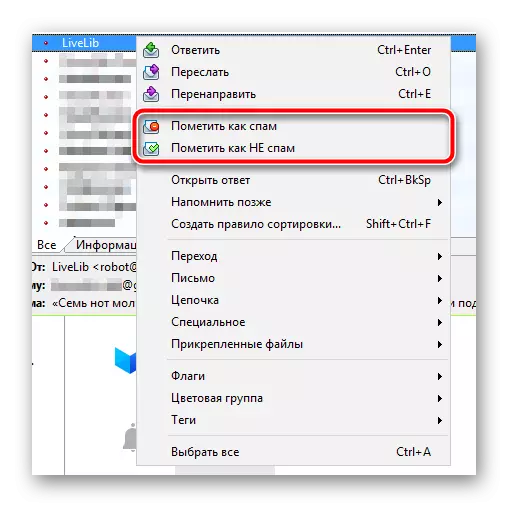
Another option is to "mark as spam" and "mark as not spam" in the context menu The Bat!
In the future, the plugin will always take into account the features of letters in a certain way and classify them in accordance with you.
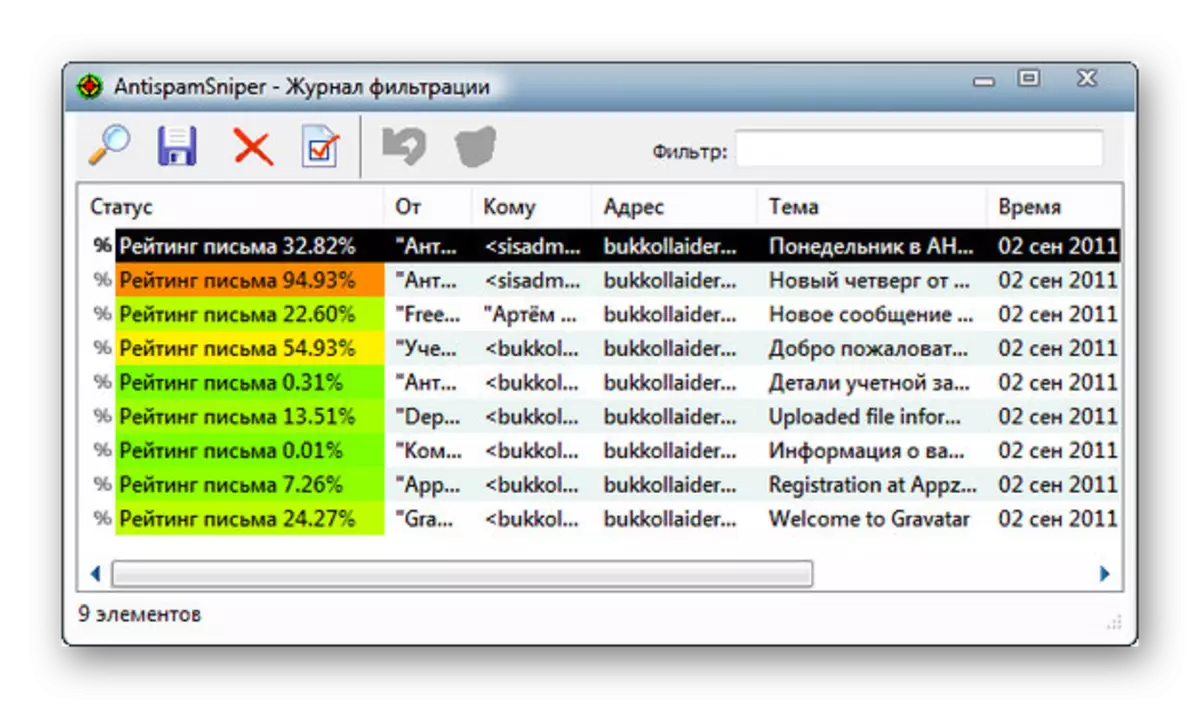
To view information on how recently antispamsniper filtered certain messages, you can use the filtering log available from the same extension module toolbar.
In general, the work of the plug-in is unnoticed and does not require frequent intervention from the user. You will only see the result - a significantly reduced amount of unwanted correspondence in your mailbox.