

If you sleep in the same room in which the computer is located (although it is not recommended), then there is an opportunity to use a PC as alarm. However, it can be applied not only to wake a person, but also with the intention to remind him of something that signs the sound or other action. Let's find out various options to do it on a PC running Windows 7.
Ways to create alarm clock
Unlike Windows 8 and newer versions of the OS, in the "seven" there is no special application embedded in the system, which would perform the alarm function, but, nevertheless, it can be created using an exceptionally built-in toolkit, for example, by applying the "job scheduler". But you can use a simpler version by setting a special software, the main task of which is the execution of the function discussed in this topic. Thus, all the ways to solve the task set before us can be divided into two groups: solving the problem using the built-in system tools and the use of third-party programs.Method 1: Maxlim Alarm Clock
First, we will focus on solving the task using third-party applications using the Maxlim Alarm Clock program for example.
Download Maxlim Alarm Clock
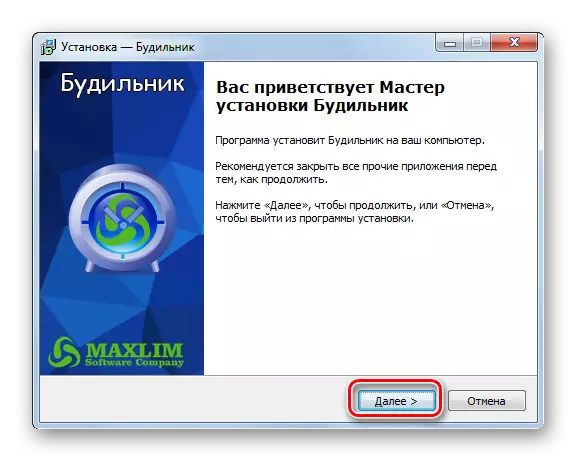
- After downloading the installation file, make it launch. A welcome window "Installation Wizard" opens. Press "Next".
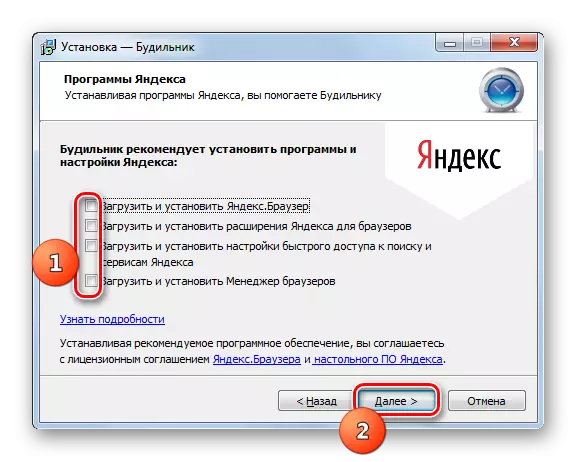
- After that, there is a list of applications from Yandex, which program developers are advised to install with it. We do not advise you to install different software. If you want to install some kind of program, then it is better to download it separately from the official site. Therefore, we remove the checkboxes from all points of the sentence and click "Next".
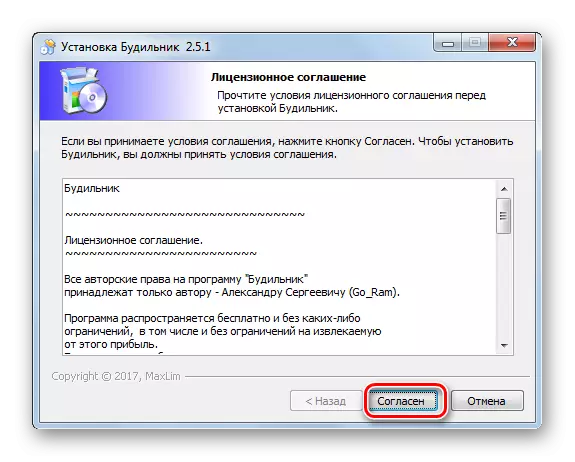
- Then the window opens with the license agreement. It is recommended to read it. If everything suits you, press "agree".
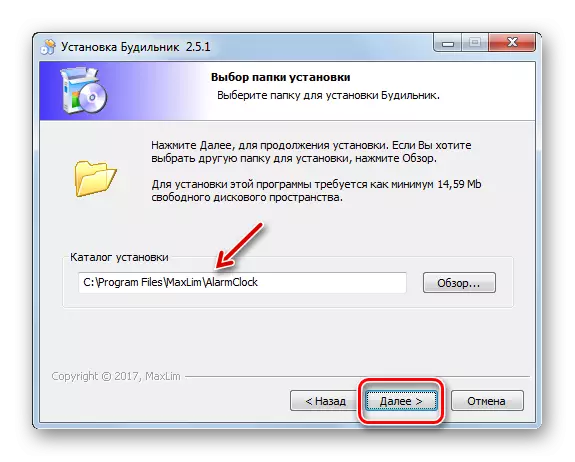
- The new window registed the installation path. If you do not have good arguments against, then leave it as it is and press "Next".
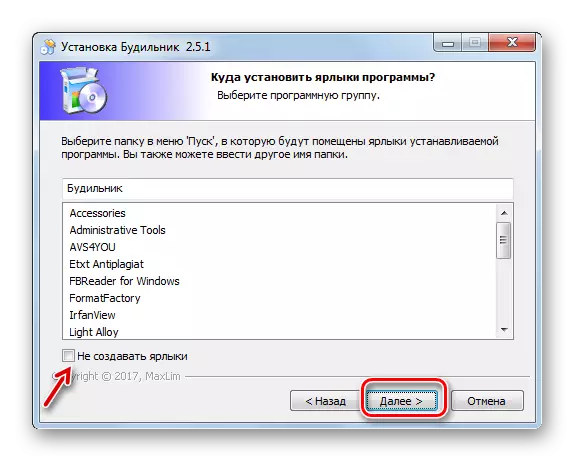
- Then the window is open, where it is proposed to select the Start menu folder where the program label is located. If you do not want to create a shortcut at all, then check the box near the item "Do not create shortcuts". But we advise you in this window, too, leave everything without change and click "Next."
- Then you will be asked to create a shortcut on the "desktop". If you want to do this, then leave a tick about the "Create a shortcut on the desktop" item, and in the opposite case delete it. After that, click "Next".
- In the window that opens will be displayed the main settings of the installation based on the data that you have been entered earlier. If something does not satisfy you, and you want to make some changes, then in this case, press "back" and perform adjustments. If everything is satisfied, press "Set" to start the installation process.
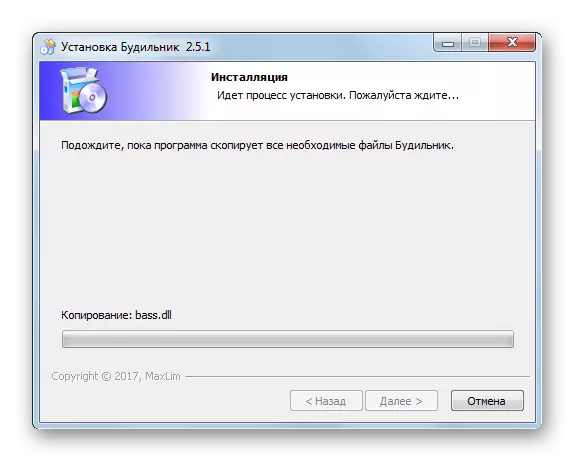
- The Maxlim Alarm Clock installation procedure is performed.
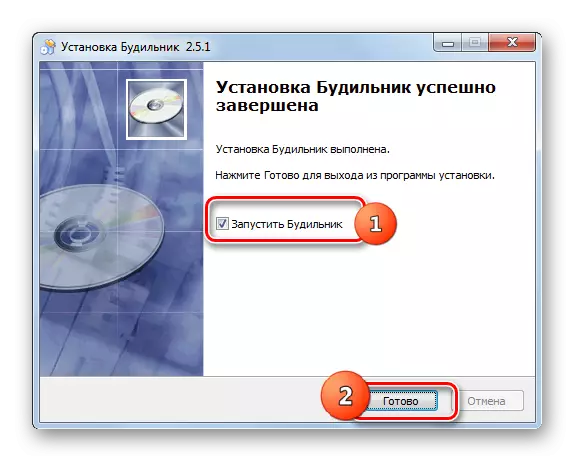
- After its completion, the window will open in which it will be said that the installation was performed successfully. If you want the MAXLIM ALARM CLOCK application to be running immediately after closing the "Installation Wizard" window, then in this case, make sure that the "Start alarm" parameter has been installed. In the opposite case it should be removed. Then click "Finish".
- Following this if you agreed to launch the program, the Maxlim Alarm Clock will be open at the final step in the "Installation Wizard". First of all, you will need to specify the interface language. By default, it corresponds to the language that is installed in your operating system. But just in case, make sure that the "Select Language" (Select Language) parameter is set to the desired value. If necessary, change it. Then press OK.
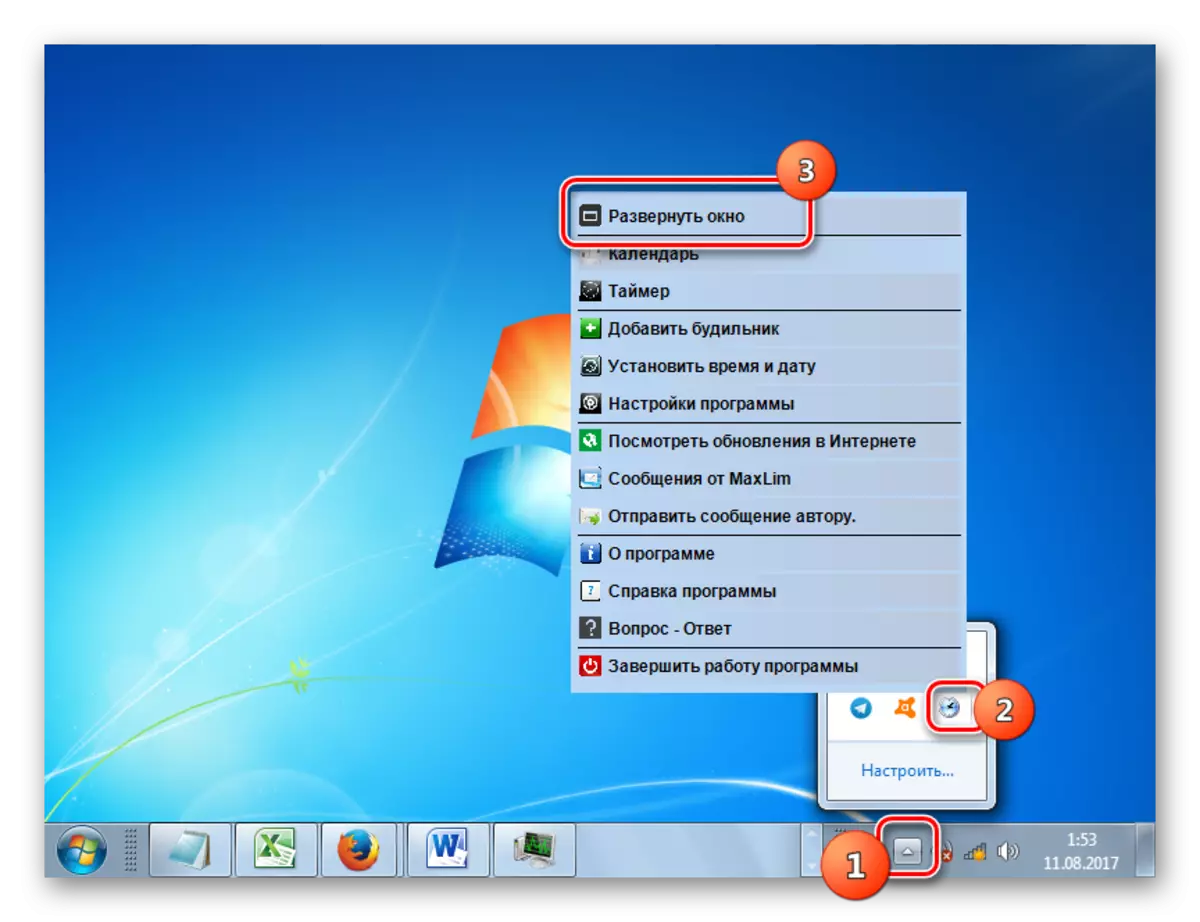
- After that, the Maxlim Alarm Clock application will be launched in the background, and its icon will appear in the tray. To open the setup window, click on this icon right mouse button. In the open list, choose "Expand the window".
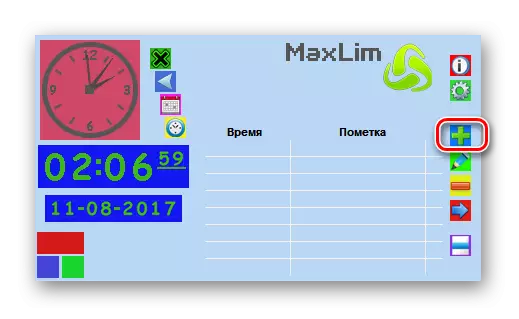
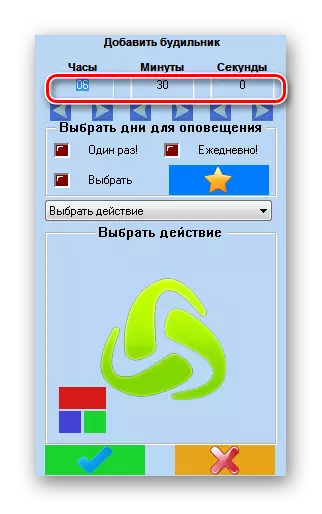
- The program interface is launched. In order to create a task, click on the Icon in the form of a plus game "Add alarm".
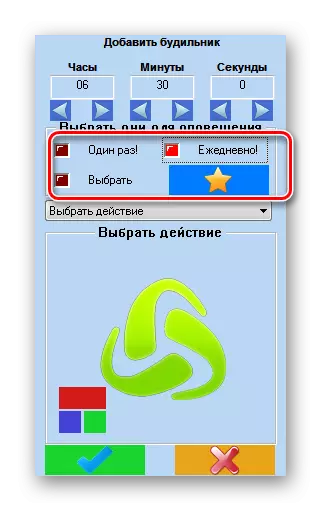
- The settings window starts. In the fields "Clock", "Minutes" and "Seconds", ask the time when the alarm must work. Although the specification of seconds is performed only for very specific tasks, and most users are satisfied only by the first two indicators.
- After that, go to the "Choose days to alert" block. By setting the switch, you can set the trigger only once or daily by selecting the appropriate items. Near the active item will display the light-red indicator, and near other values - dark red.
You can also set the switch to the "Select" state.
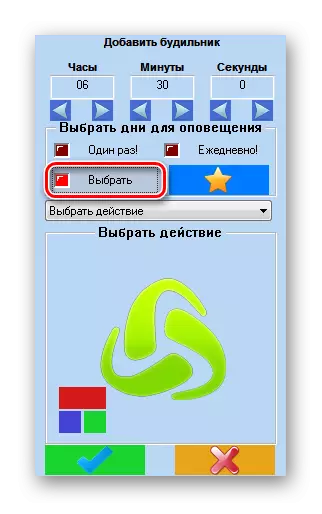
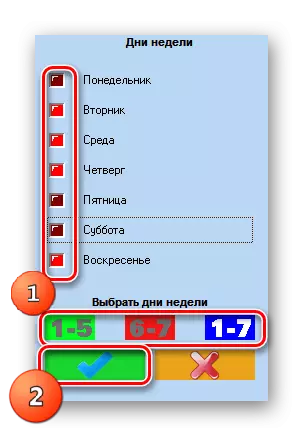
A window opens where you can choose the individual days of the week for which the alarm clock will work. At the bottom of this window there is a possibility of group selection:
- 1-7 - all days of the week;
- 1-5 - weekdays (Monday - Friday);
- 6-7 - Weekends (Saturday - Sunday).
When choosing one of these three values, the relevant days of the week will be marked. But there is an opportunity to choose every day separately. After the choice is perfect, click on an icon in the form of a tick on a green background, which in this program plays the role of the "OK" button.
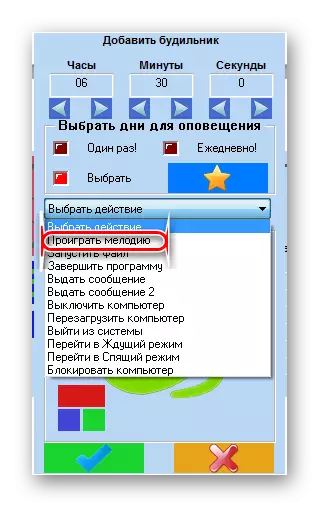
- In order to set a specific action that the program will perform when the specified time occurs, click on the "Select Action" field.
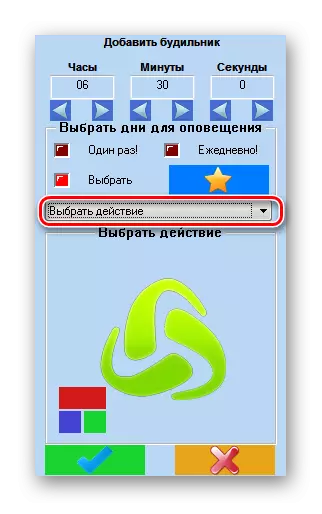
A list of possible actions opens. Among them are the following:
- Lose the melody;
- Give a message;
- Run the file;
- Reload the computer and others.
Since, for the purpose of awakening a person among the described options, only "lose the melody" is suitable, choose it.
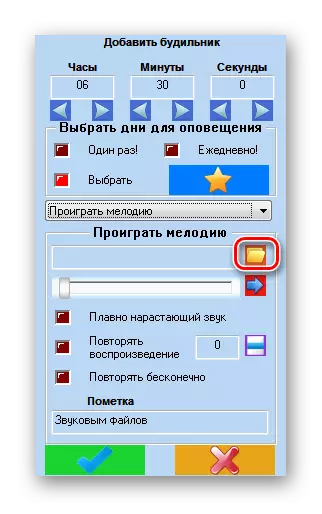
- After that, an icon in the form of a folder appears in the program interface to go to the selection of the melody that will be played. Click on it.
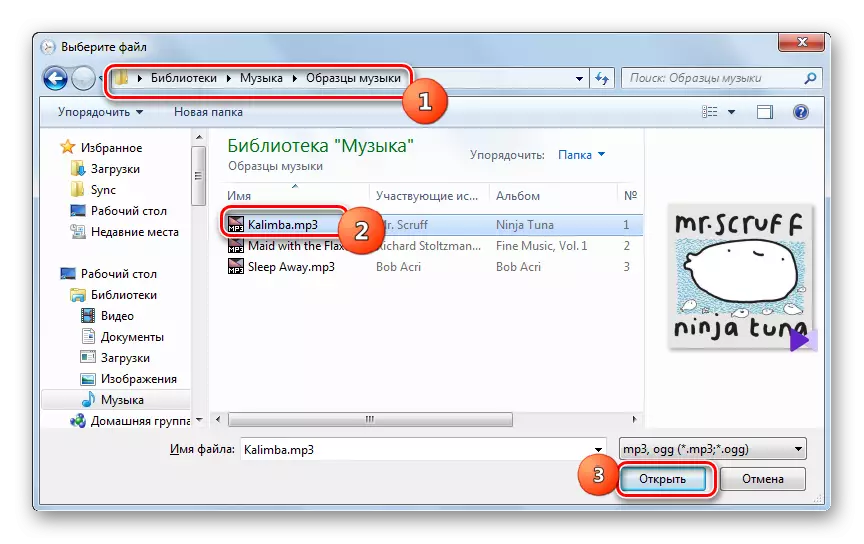
- A typical file selection window is launched. Move in it to the directory where the audio file is located with the melody you want to install. Having selecting the object, click "Open".
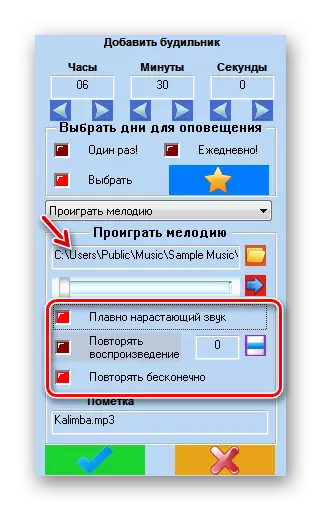
- After that, the path to the selected file will be displayed in the program window. Next, go to additional settings consisting of three items at the bottom of the window. The "smoothly increasing sound" parameter can be enabled or disabled, regardless of how two other parameters will be displayed. If this item is active, then the loudness of the playback of the melody when an alarm is activated will gradually increase. By default, the melody is played only once, but if you set the switch to the "Repeat Playback" position, you can specify the number of times that the music will be repeated in front of it. If you put the switch to the "Repeat Infinitely" position, then the melody will be repeated until the user itself turns off. The last option is definitely the most effective in order to wake a person.
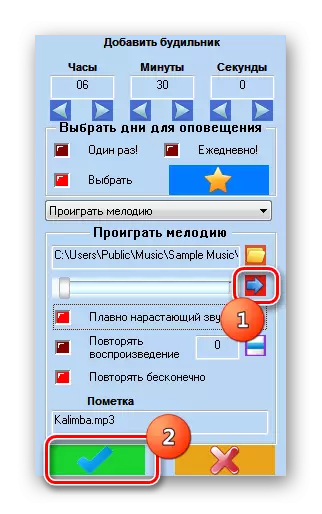
- After all settings are set, you can pre-listen to the result, clicking on the "Run" icon in the form of an arrow. If you all satisfy you, click at the bottom of the window on the tick.
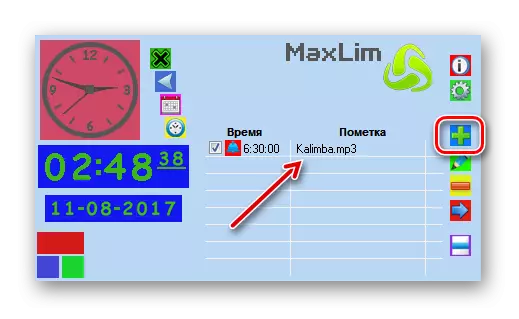
- After that, the alarm will be created and the record will be displayed in the main window Maxlim Alarm Clock. In the same way, you can add more alarms installed at another time or with other parameters. To add the next item again, click on the "Add alarm" icon and continue to adhere to those instructions that have already been described above.


Method 2: FREE ALARM CLOCK
The next third-party program considered by us, which can be used as alarm clock is Free Alarm Clock.
Download Free Alarm Clock
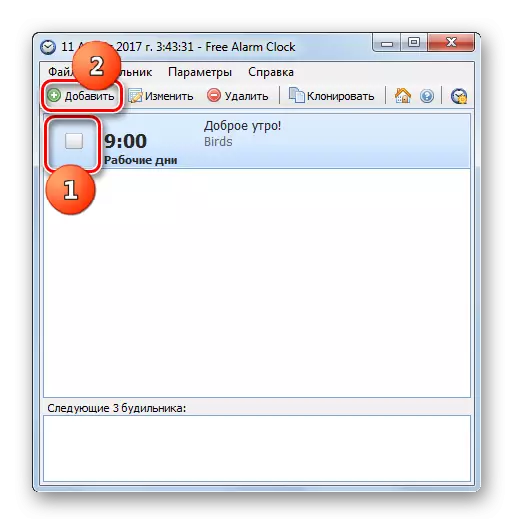
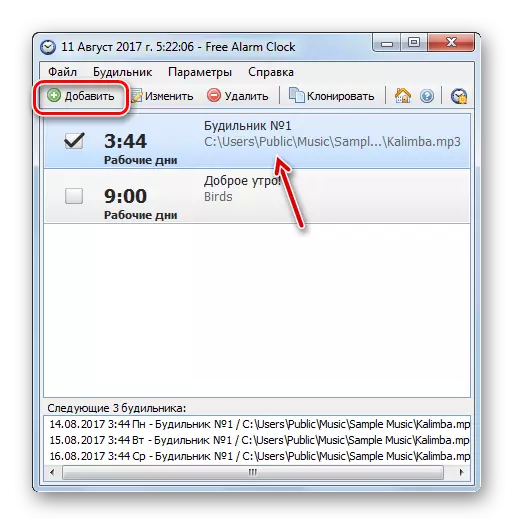
- The procedure for installing this application for a low exception almost fully complies with the Maxlim Alarm Clock installation algorithm. Therefore, additionally, we will not describe it. After installation, launch Maxlim Alarm Clock. The main application window will open. As not strange, by default, one alarm clock is already included in the program, which is set at 9:00 on the weekly days of the week. Since we need to create your own alarm clock, we remove the checkbox corresponding to this entry, and click on the Add button.
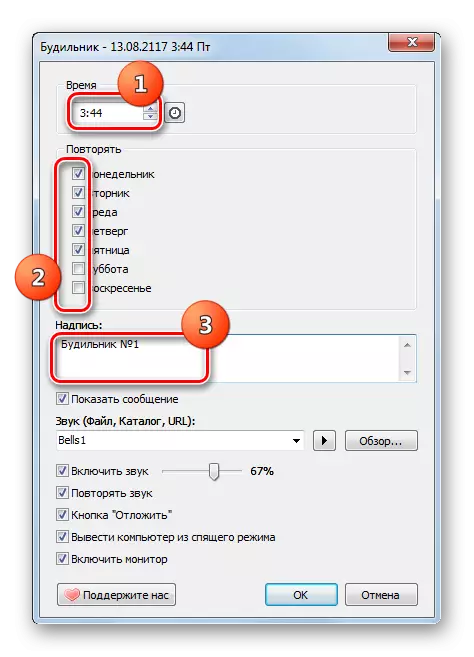
- The creation window is started. In the "Time" field, specify the exact time in the clock and minutes when the signal to the awakening should be activated. If you want the task to be executed only once, then in the bottom group of settings "Repeat", remove the checkboxes from all points. If you want the alarm clock to be included on the specific days of the week, then install the checkboxes near the items that match them. If you need it to work for every day, then put the ticks near all items. In the "Inscription" field, you can set your own name to this alarm.
- In the "Sound" field, you can select a ringtone from the list provided. In this, the unconditional advantage of this application before the previous one, where he had to pick up a music file.
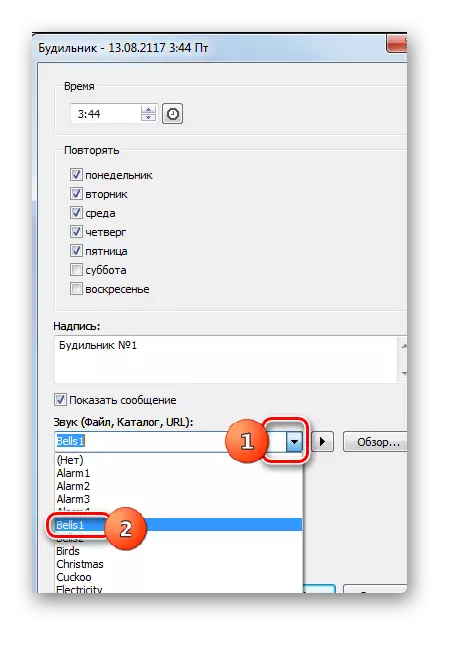
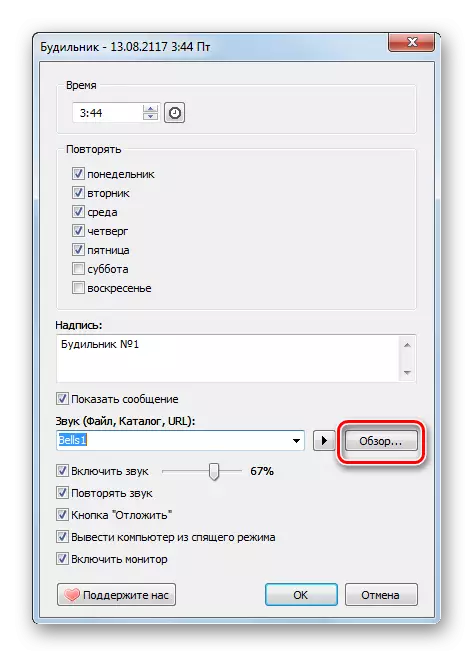
If you have not satisfied the choice of pre-installed melodies and you want to ask your user melody from a previously prepared file, then this possibility exists. To do this, click on the "Overview ..." button.
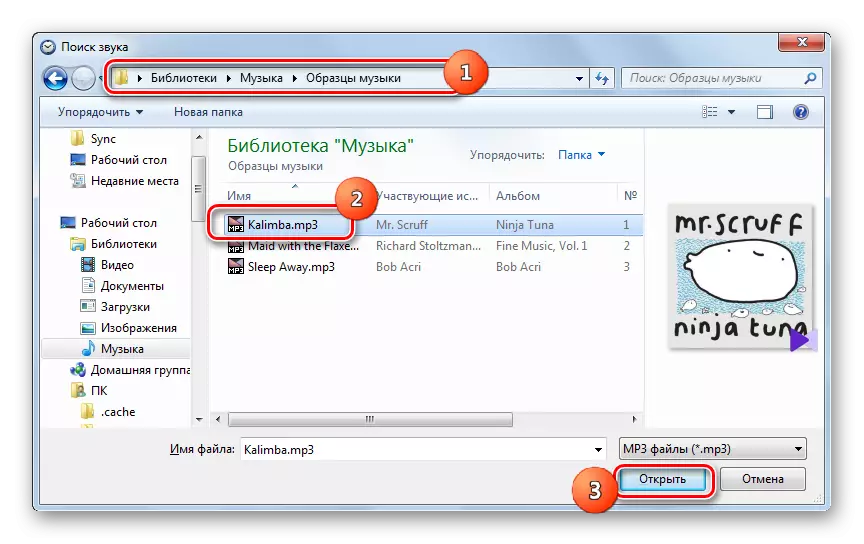
- The "Sound Search" window opens. Go to it in that folder in which the music file is located, select it and press "Open".
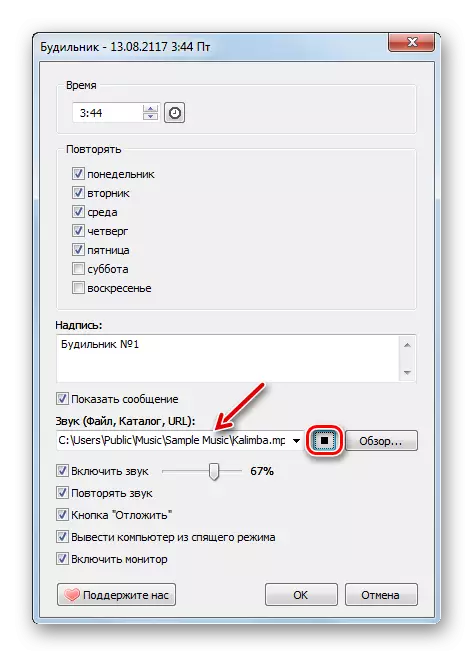
- After that, the file address will be added to the settings window field and its preplay will start. Playing can be paused or run again by pressing the button to the right of the field with the address.
- In the bottom unit, you can enable or disconnect the sound, activate the repetition, until it is turned off manually, output the computer from the sleep mode and turn on the monitor by installing or removing the ticks near the respective items. In the same block by dragging the slider to the left or right, you can adjust the volume of the sound. After all settings are specified, click "OK".
- After that, the new alarm clock will be added to the main program window and will work in the time you specified. If you wish, you can add a practically unlimited number of alarm clocks, configured at different times. To go to the creation of the next record, click "Add" and perform actions according to the algorithm that was listed above.

Method 3: "Task Scheduler"
But it is possible to solve the task and using the built-in tool of the operating system, which is called the "job scheduler". It is not so simple as when using third-party programs, but it does not require the installation of any additional software.
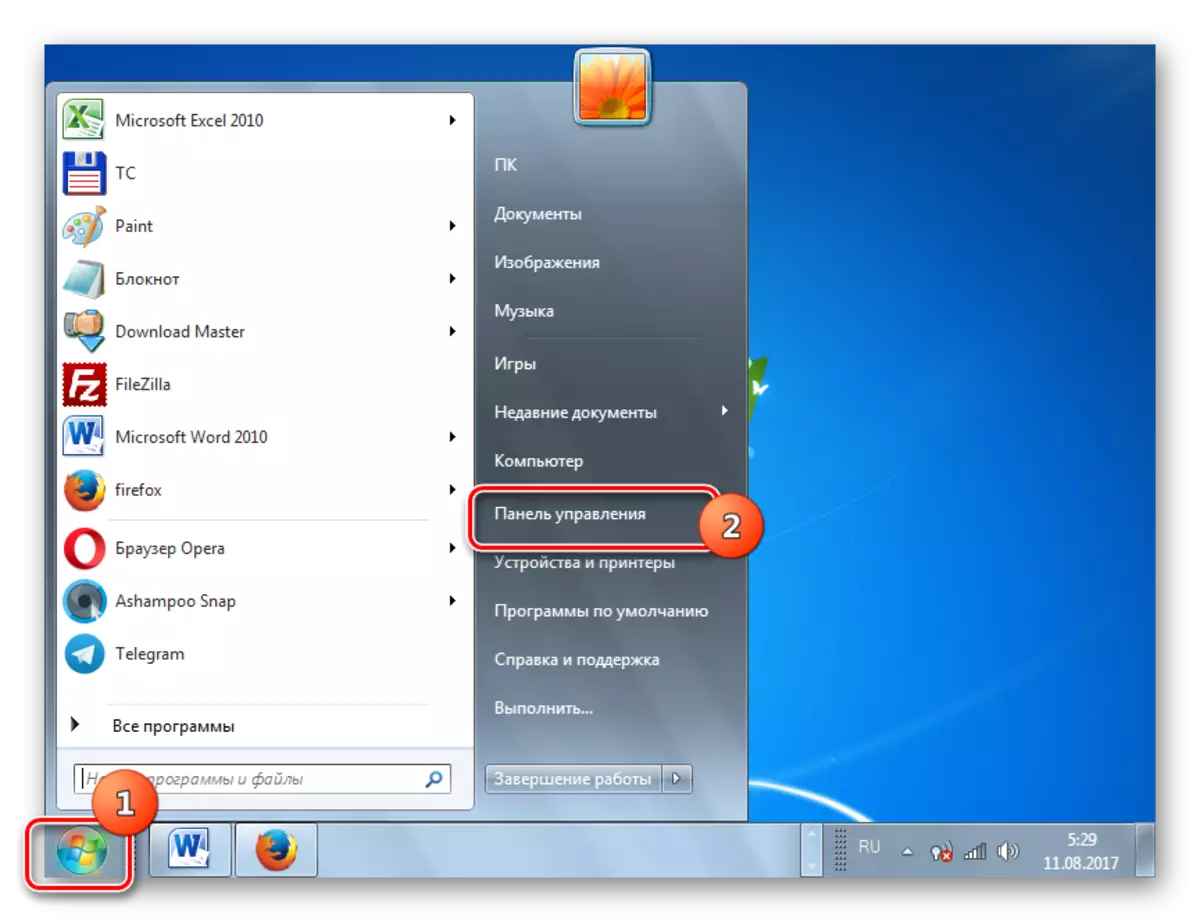
- To go to "Task Scheduler" click the Start button. Go to "Control Panel".
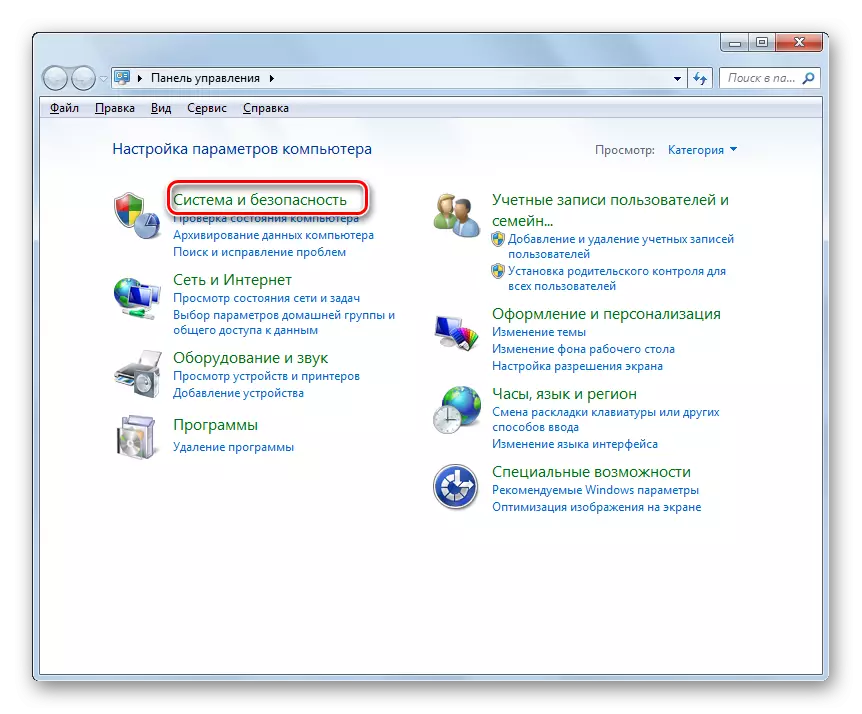
- Next click on the inscription "System and Security".
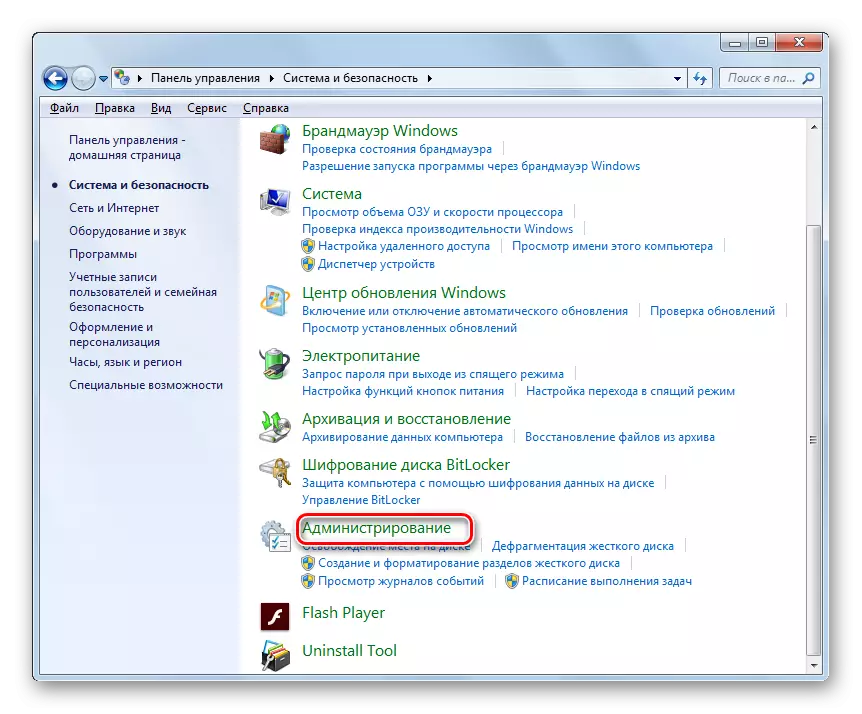
- Go to the "Administration" section.
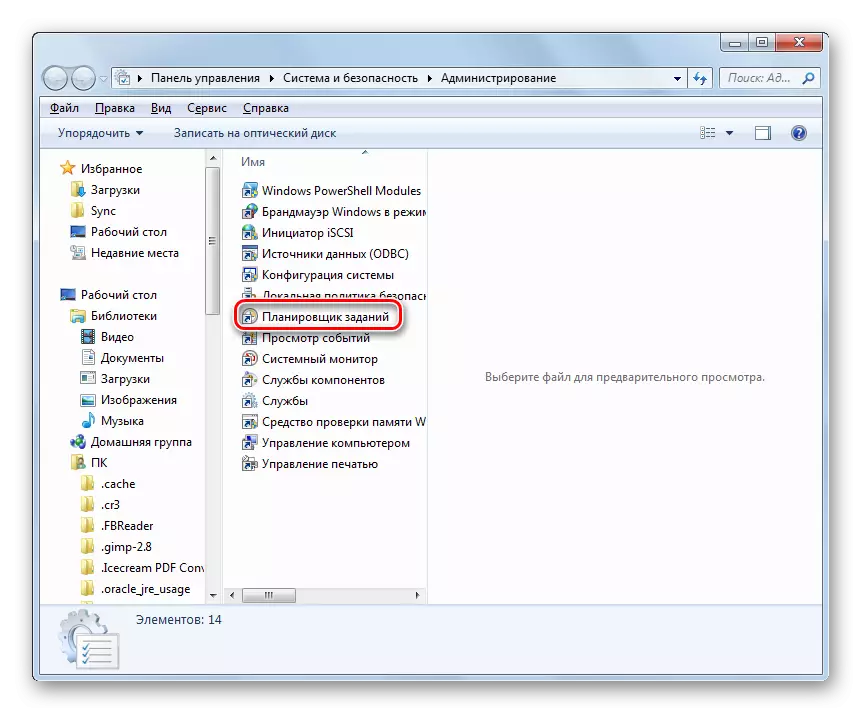
- In the list of utilities, select "Task Scheduler".
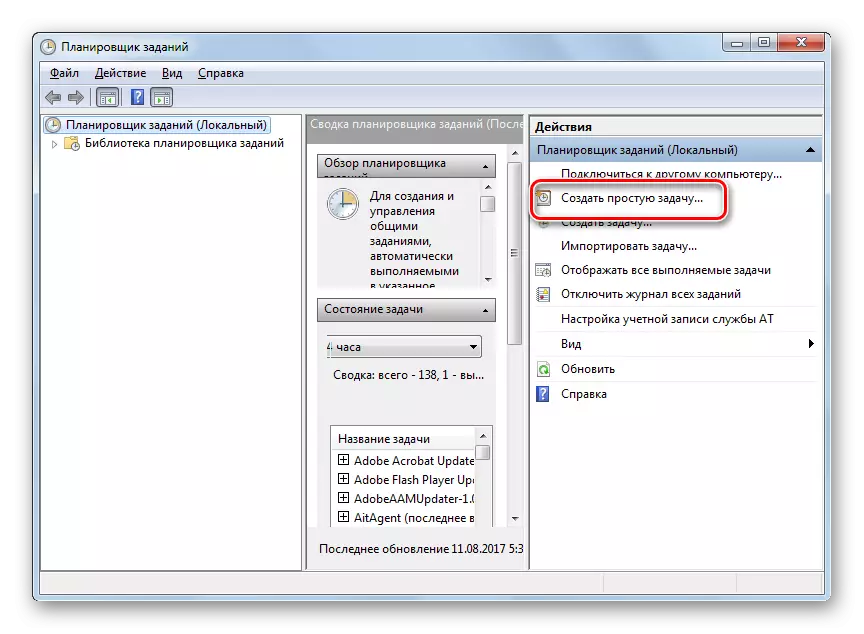
- The shell of the job scheduler is launched. Click on the item "Create a simple task ...".
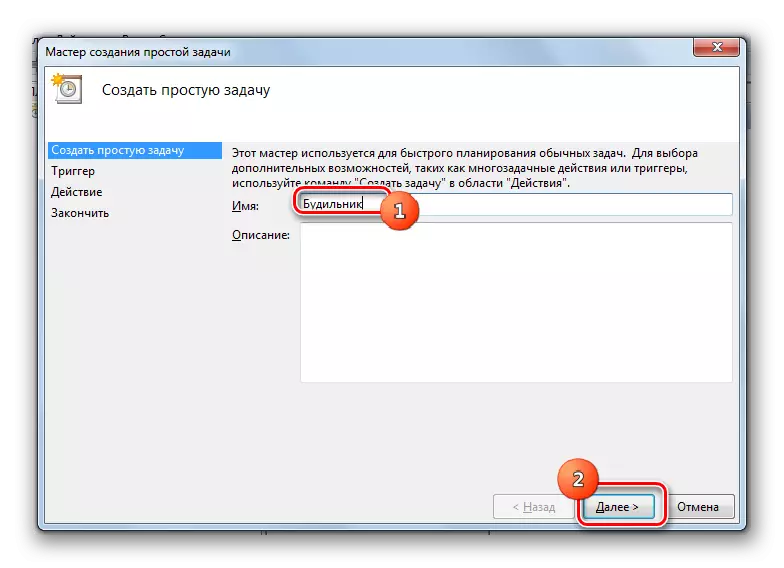
- "Wizard creating a simple task" starts in the "Create a simple task" section. In the "Name" field, enter any name for which you will identify this task. For example, you can specify this:
Alarm
Then press "Next."
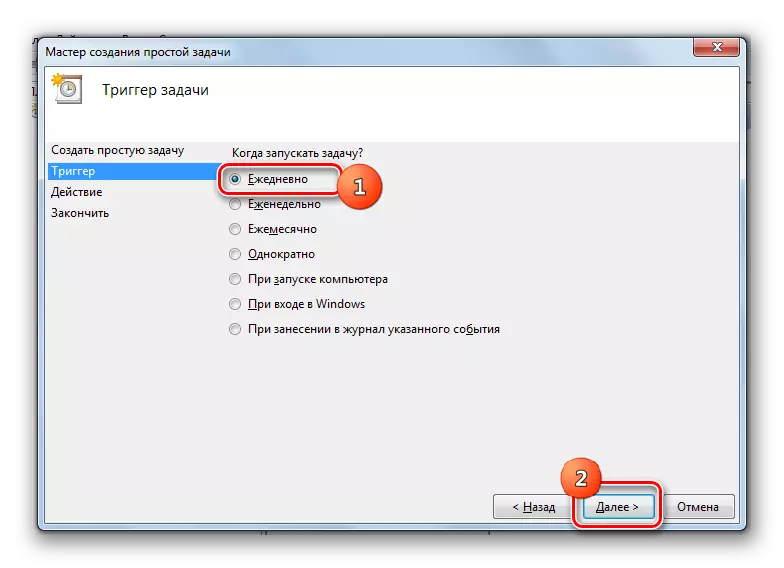
- The Trigger section opens. Here by installing radiocans near the relevant items, you must specify the frequency of activation:
- Daily;
- Once;
- Weekly;
- When running a computer, etc.
For our purpose, the items "daily" and "once" are suitable, depending on whether you want to run alarm clock every day or only once. Check and press "Next".
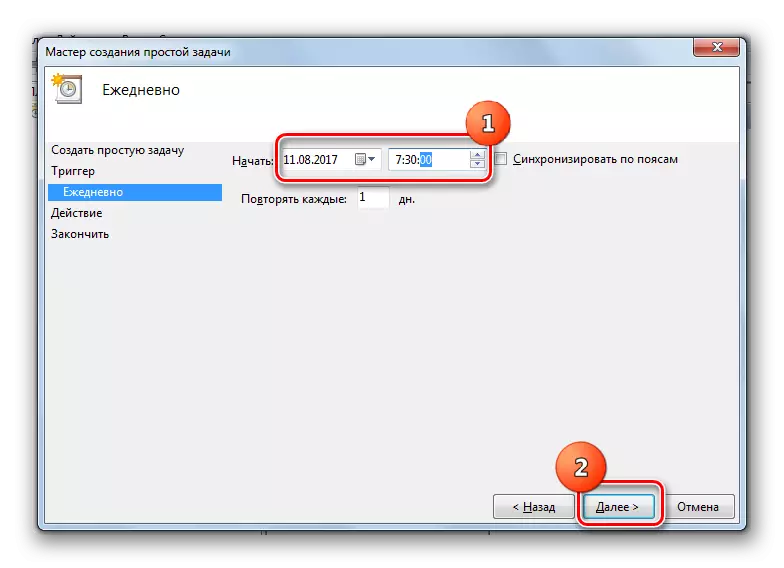
- After that, the subsection opens in which you need to specify the date and time of the task starter. In the "Start" field, specify the date and time of the first activation, and then press "Next".
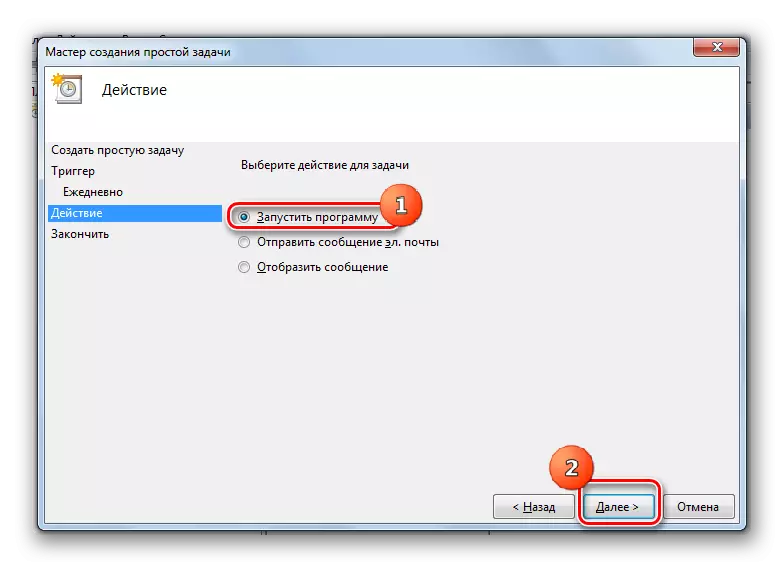
- Then the "Action" section opens. Install the radio button to "Run the program" position and press "Next".
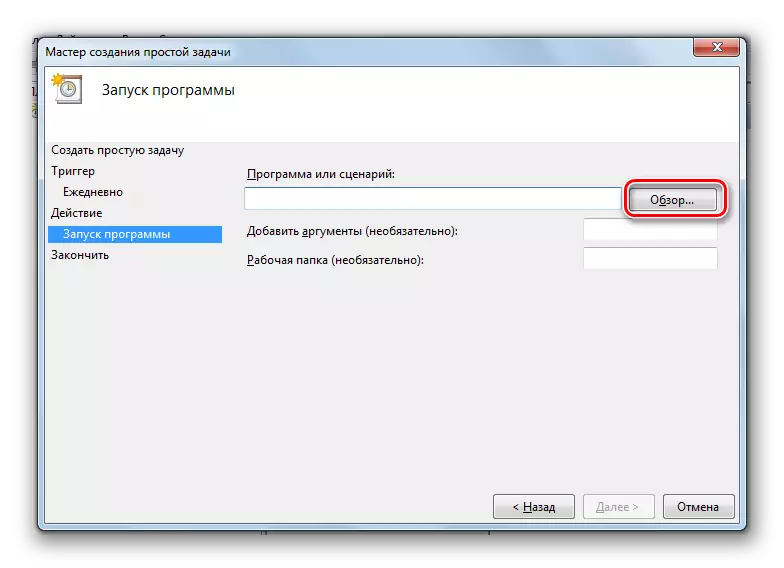
- The "Starting Program" subsection opens. Click on the "Overview ..." button.
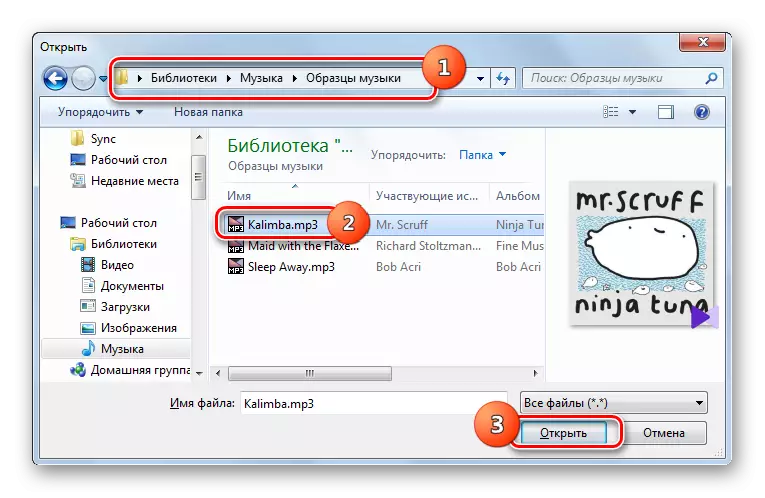
- A file selection envelope opens. Move where the audio file with the melody you want to install is located. Select this file and press "Open".
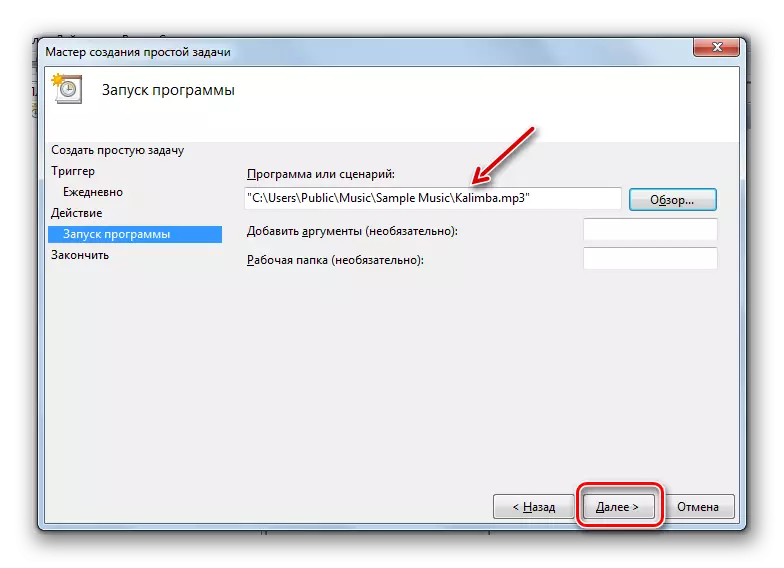
- After the path to the selected file is displayed in the program or script, click "Next".
- Then the section "Finish" opens. It presents the final information about the formed task based on user-entered data. In case you need to fix something, press "back". If everything suits, check the box near the "Open Properties window" option after clicking the "Finish" button and click "Finish".
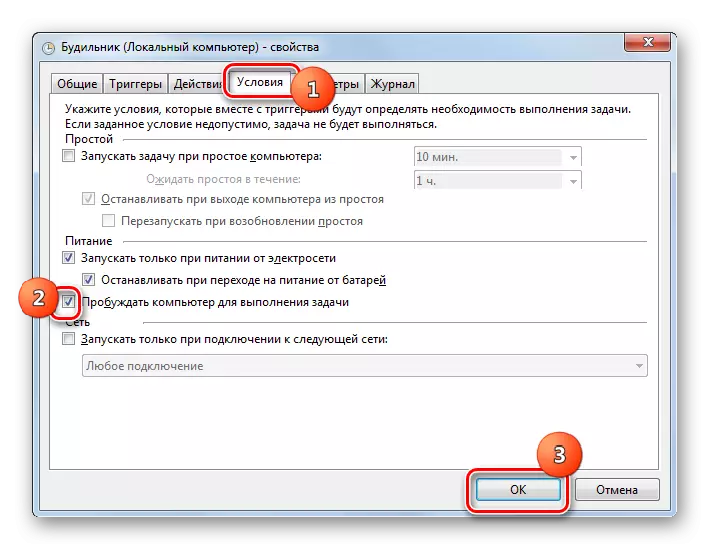
- The properties window starts. Move to the "Conditions" section. Install a tick near the "Disconnect Computer to perform the task" and press "OK". Now the alarm clock will turn on even if the PC is in sleep mode.
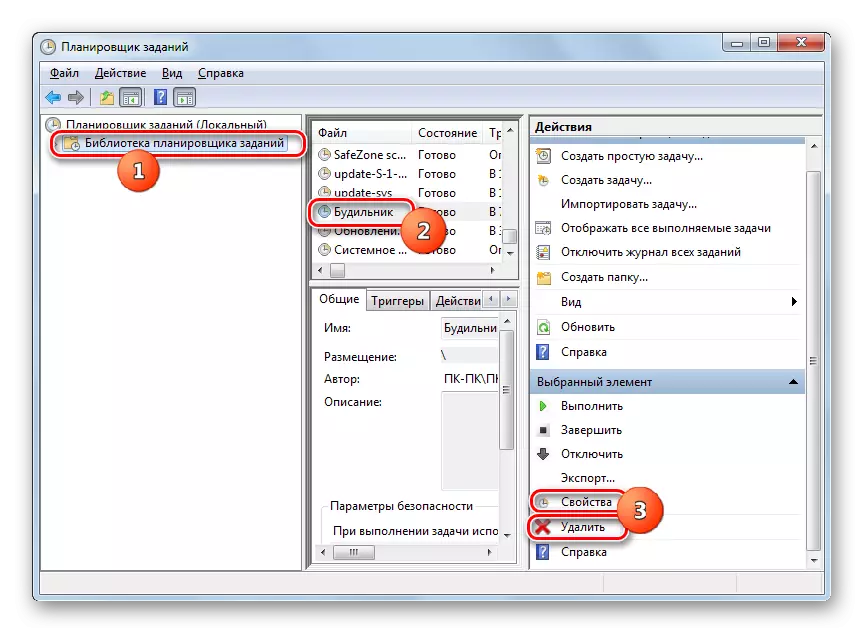
- If you need to edit or delete an alarm clock, then in the left domain of the main window "job scheduler" click on the "job scheduler library". In the central part of the shell, select the name of the task you created and highlight it. On the right side, depending on whether you want to edit or delete the task, click on the "Properties" or "Delete" item.

If desired, the alarm clock in Windows 7 can be created using the built-in tool of the operating system - the "job scheduler". But it is still easier to solve this task by installing third-party specialized applications. In addition, as a rule, they have a wider functionality for setting up alarm.