
ImgBurn is one of the most popular applications for today to record various information. But besides the main function, this software has a number of other useful properties. In this article we will tell you about what you can do with imgburn, and how exactly it is implemented.
What can I use ImgBurn
In addition to the fact that you can write any data to the disk media using ImgBurn, you can also easily transfer any image to the drive, create it from a disk or suitable files, as well as transfer individual documents to the carrier. We will negotiate about all these features further in the current article.Recording
The process of copying data on the CD or DVD drive using imgburn looks like this:
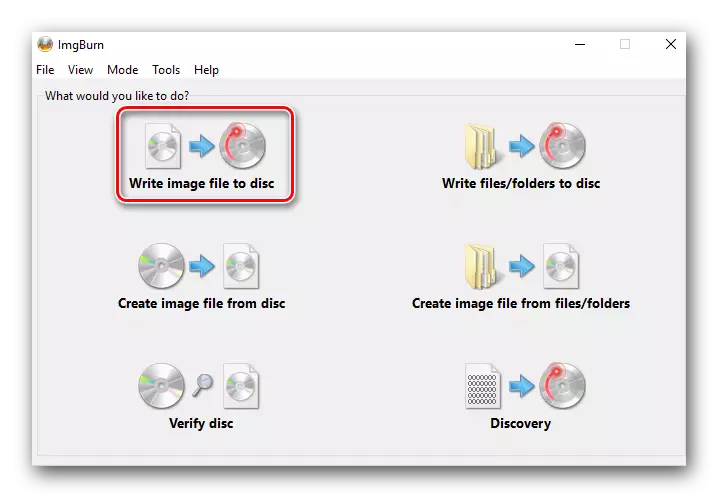
- Run the program, after which the list of available functions will appear on the screen. You need to click the left mouse button on the point with the name "Write Image File To Disc".
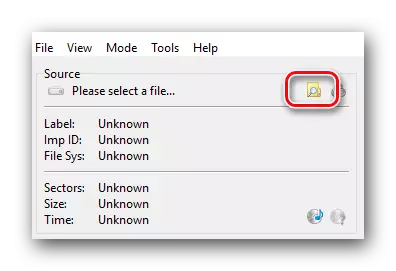
- As a result, the following area will open in which you want to specify the process parameters. At the very top, on the left side, you will see the "Source" block. In this block, you must click on the button with the image of a yellow folder and magnifying glass.
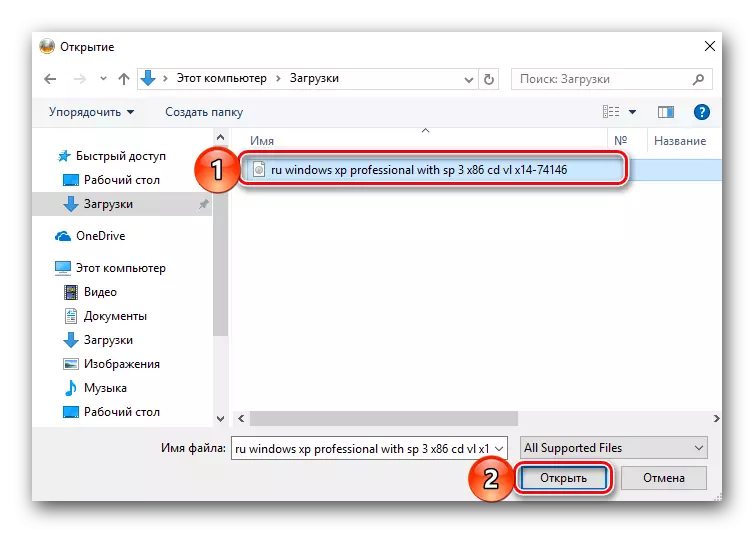
- After that, a window will appear on the screen to select a source file. Since in this case, we copy the image to the blank, we find the desired format on the computer, we note it with a single press of the LKM by name, after which we press the value to "open" in the lower area.
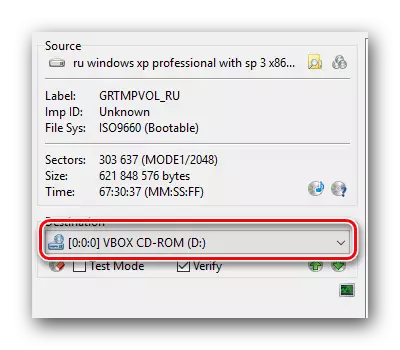
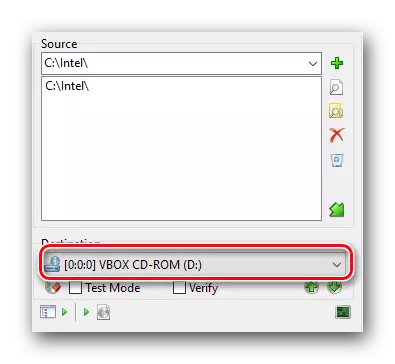
- Now insert a clean media into the drive. After selecting the desired information for recording, you will return to the recording process configurations. At this moment, you will also need to specify the drive with which the entry will occur. To do this, simply select the desired device from the drop-down list. If you have one, then the equipment will have already been selected automatically by default.
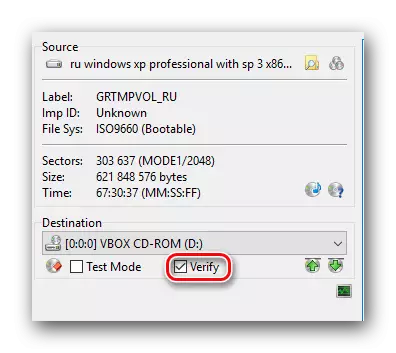
- If necessary, you can enable media check mode after recording. This is done using the mark in the appropriate checkbox, which is located opposite the Verify string. Please note that the total operation time when the check function is enabled.
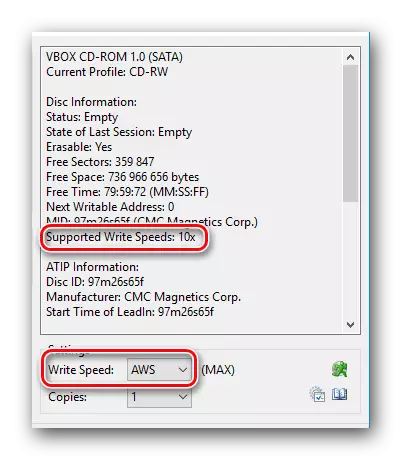
- You can also manually configure the speed of the recording process. To do this, in the right window of the window with parameters there is a special string. By clicking on it, you will see the drop-down menu with the list of available modes. Please note that with overwhelmed speeds there is a possibility of unsuccessful burning. This means that the data can be applied incorrect to it. Therefore, we recommend either to leave the current item without changes, or, on the contrary, reduce the recording speed for greater reliability of the process. Permissible speed, in most cases, is indicated on the disk itself or it can be seen in the appropriate area with the settings.
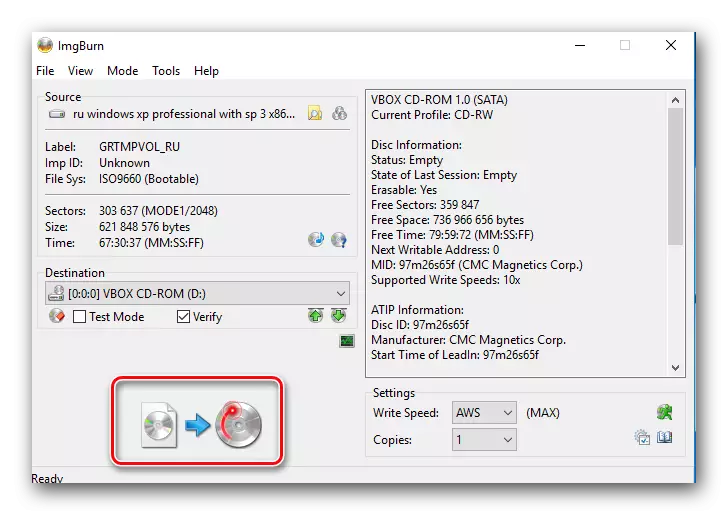
- After setting all the parameters, you should click on the area marked in the screenshot below.
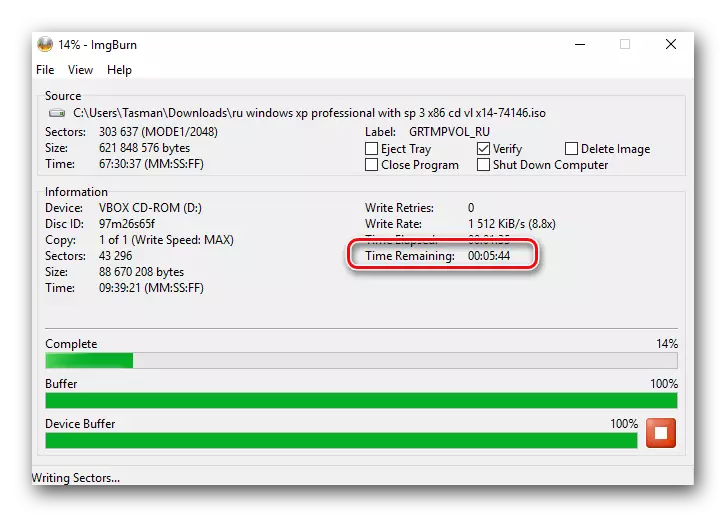
- Next will appear an image progress image. In this case, you will hear the characteristic sound of the rotation of the disk in the drive. It is necessary to wait for the end of the process without interrupting it without much necessity. Approximate time before completion can be seen opposite the string "Time Remaining".
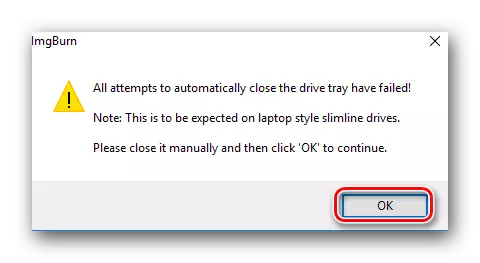
- When the process is completed, the drive automatically opens. On the screen you will see a message that the drive must be closed back. This is necessary in cases where you included the check option, which we mentioned in the sixth paragraph. Just press "OK".
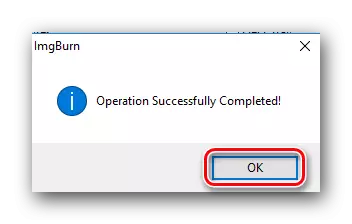
- The verification process will automatically begin the verification of all recorded information on the disk. You must wait a few minutes while the screen appears on the successful end of the check. In the shown window, click the "OK" button.
After that, the program will redirect the recording parameters window again. Since the drive was successfully recorded, then this window can be simply close. This imgburn function is complete. Having done such steady actions, you can easily copy the contents of the file to the outer medium.
Creating a disk image
Those who are constantly useful by any drive, will be useful to learn about this option. It allows you to create an image of physical media. Such a file will be stored on your computer. This is not only convenient, but also allows you to save the information that may be lost due to the wear of the physical disk in its regular use. We will proceed to the description of the process itself.
- Run imgburn.
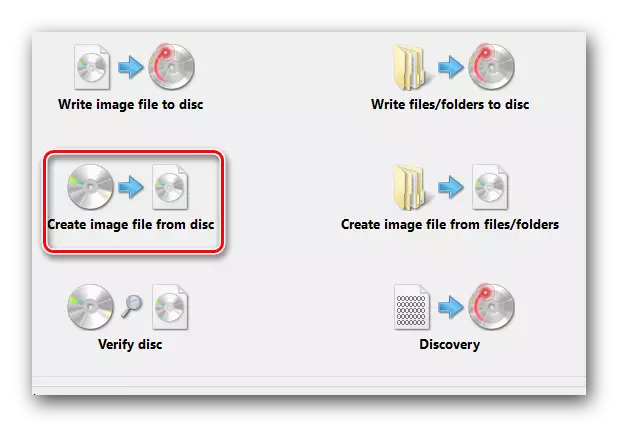
- In the main menu, select the "Create Image File From Disc" item.
- The next step must select the source from which the image will be created. Insert the media into the drive and from the corresponding drop-down menu at the top of the window select the desired device. If you have one drive, then you don't need to choose anything. It will be indicated automatically as a source.
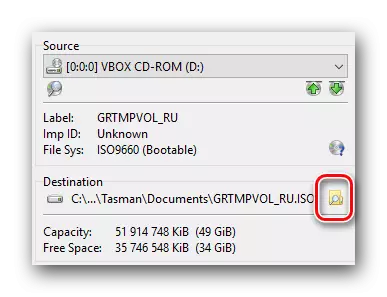
- Now you need to specify the place where the created file will be saved. You can do this by clicking on the icon with the image of the folder and the magnifying glass in the "Destination" block.
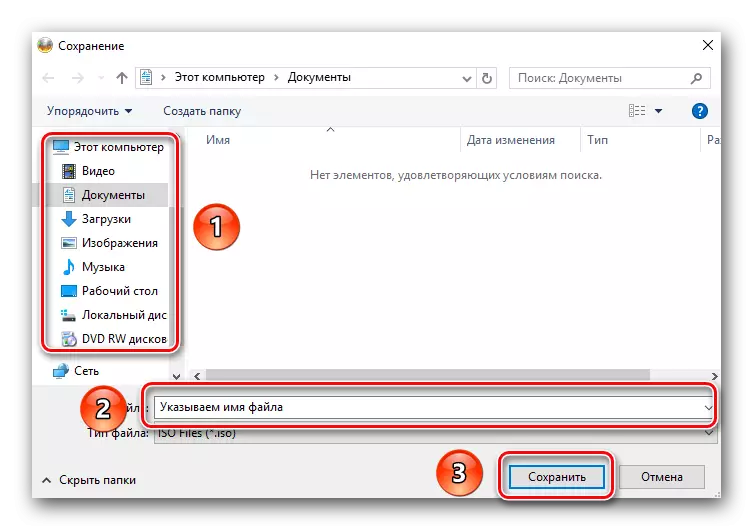
- By clicking on the specified area, you will see the standard conservation window. You must select the folder and specify the name of the document. After that, click "Save".
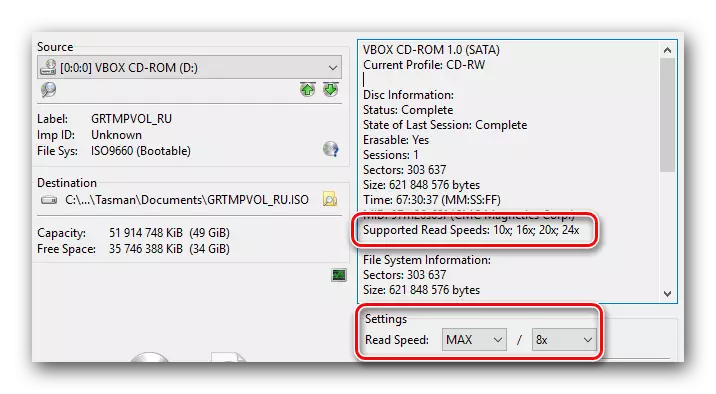
- In the right side of the pre-setup window, you will see general disk information. A slightly lower tabs are located with which you can change the speed of reading data. You can leave everything unchanged or specify the speed that the disk supports. This information is above the specified tabs.
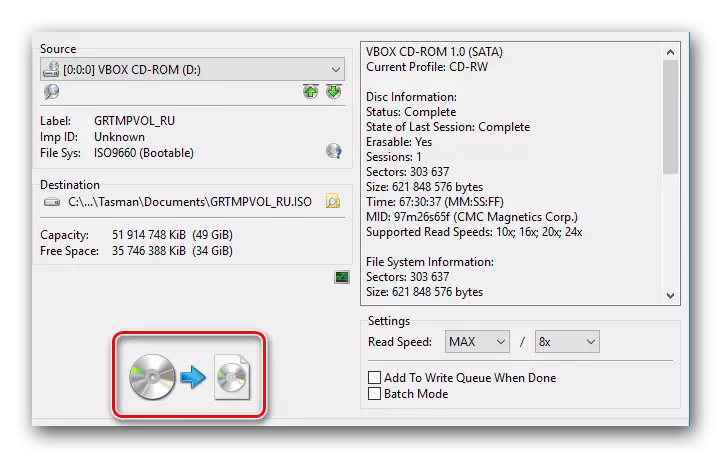
- If everything is ready, we click on the area shown in the picture below.
- A window will appear on the screen with two rows of progress. If they are filled, then the recording process went. We wait for his end.
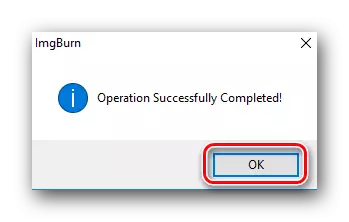
- The next window will indicate the successful end of the operation.
- It needs to click on the word "OK" to complete, after which you can close the program itself.

This is a description of the current function completed. As a result, you will receive a standard disk image that can be immediately used. By the way, such files can be created not only with imgburn. This is perfect for the software described in our separate article.
Read more: Programs for creating a disk image
Recording individual data to disk
Sometimes there are situations when it is necessary to write an image to the drive, but a set of any arbitrary files. It is for such cases in IMGBURN there is a special feature. This recording process in practice will have the following form.
- Run imgburn.
- In the main menu, you should click on the image that is signed as "Write Files / Folder to Disc".
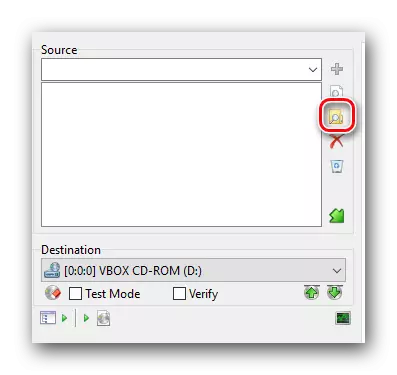
- On the left side of the next window you will see the area in which the data selected for recording will be displayed as a list. In order to add your documents or folders to the list, you need to click on the area in the form of a folder with a magnifying glass.
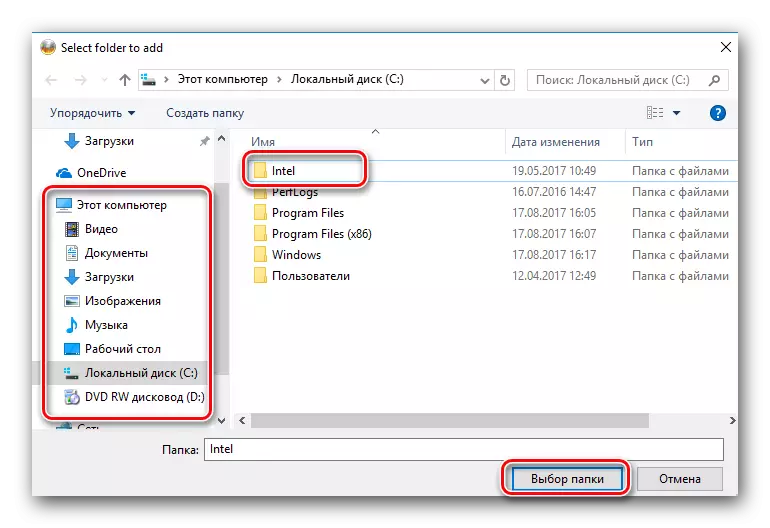
- The window that opened is quite standard. You should find on the computer the desired folder or files, allocate them with a single press of the left mouse button, then click the "Folder" button in the lower area.
- Thus, you need to add exactly so much information as necessary. Well, or until free space will end. You can find out the residue of the available space when you press the button as a calculator. It is in the same area of settings.
- After that you will see a separate window with a message. It is necessary to click the Yes button.
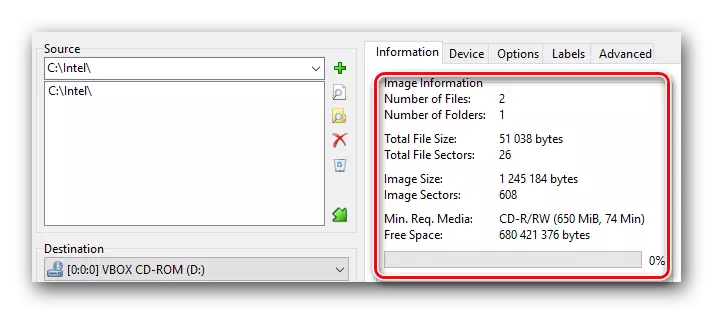
- These actions will make information about the drive in the specially designated area, including the remaining free space.
- The penultimate step will be a choice of drive for recording. Click on a special line in the "Destination" block and select the desired device from the drop-down list.
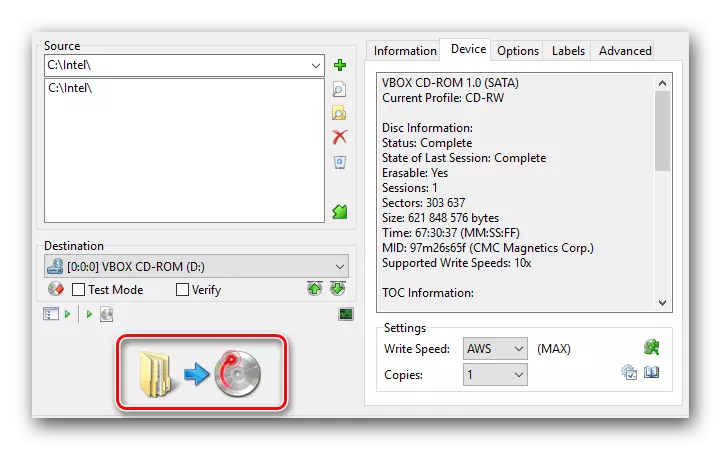
- By selecting the desired files and folders, you should click on the button with an arrow from the yellow folder to the disk.
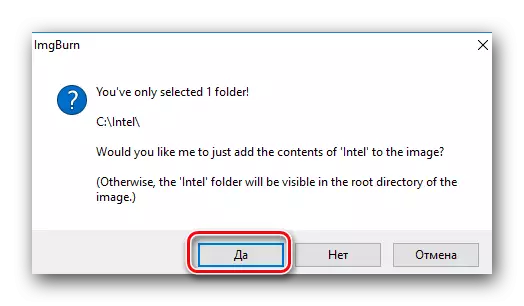
- Before you start recording information onto the media, you will see the next window with the message on the screen. It needs to click the "Yes" button. This means that all the contents of the selected folders will be in the root of the disk. If you want to save the structure of all folders and nested files, then you should select the "no" option.
- Next, you will be offered to configure Tom Tags. We recommend to leave all the specified parameters without changes and simply click on the "YES" inscription to continue.
- Finally, a notification is notified with general information on the recorded data folders. It displays their total size, file system and volume label. If all right, click "OK" to start recording.
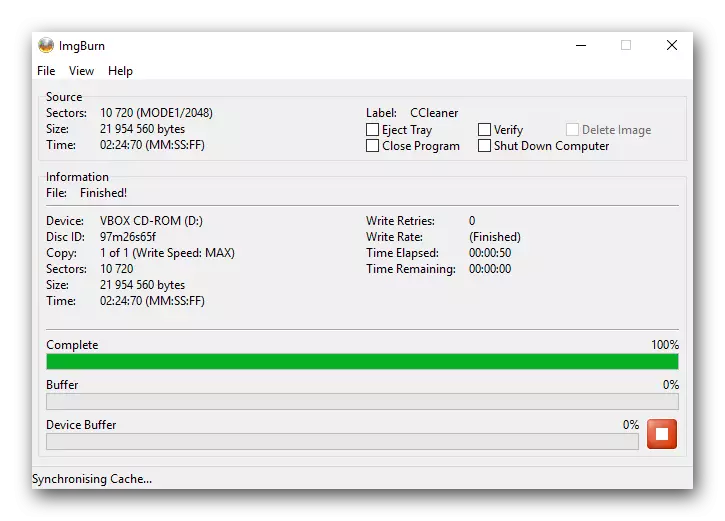
- After that, the recording of the previously selected folders and information on the disk will begin. As usual, all progress will be displayed in a separate window.
- If the burn will end successfully, you will see the appropriate notification on the screen. It can be closed. To do this, click "OK" within this window.
- After that, you can close the rest of the program windows.

Here, in fact, the whole process of writing files to disk using imgburn. Let us now move on to the remaining software functions.
Creating an image from specific folders
This feature is very similar to that we described in the second paragraph of the above article. The only difference is that you can create an image from your own files and folders, and not just those present on some disk. It looks like this.
- Open imgburn.
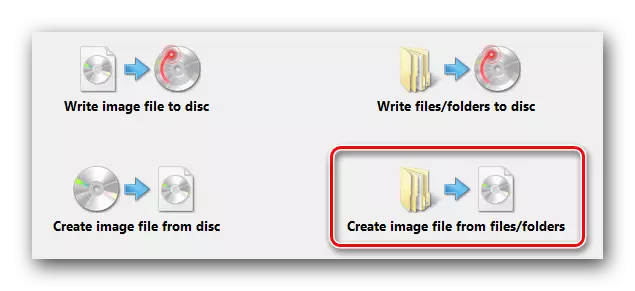
- In the initial menu, select the item we noted in the image below.
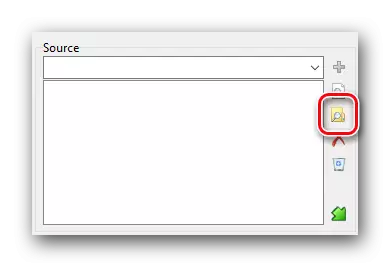
- The next window looks almost the same as in the process of writing files to the disk (previous item). On the left side of the window is the area in which all selected documents and folders will be visible. You can add them using the already familiar button in the form of a folder with a magnifying glass.
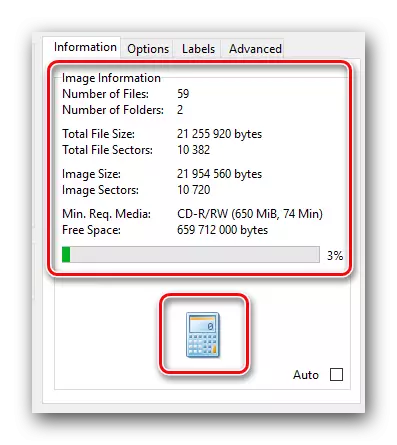
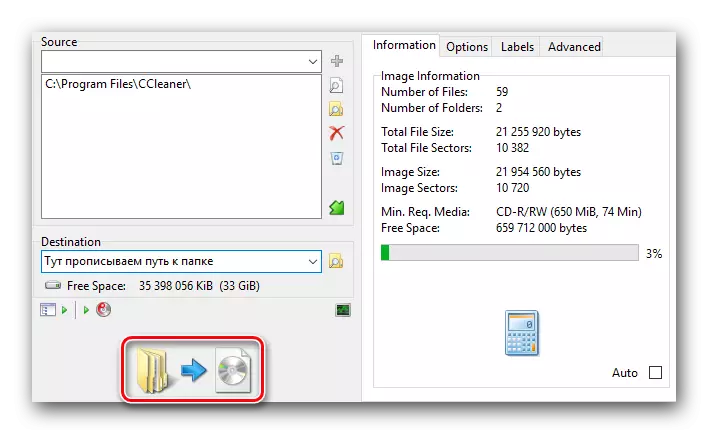
- You can calculate the remaining free space using the button with the image of the calculator. By clicking on it, you will see in the area above all the details of your future image.
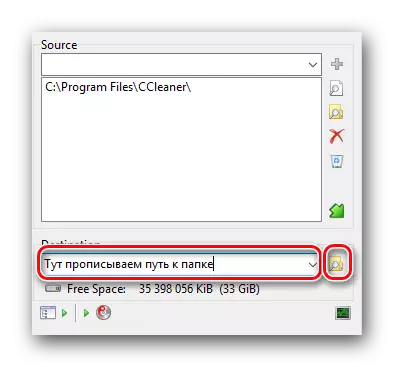
- Unlike the previous function, you need to specify a disk as a receiver, but a folder. It will be saved the end result. In the area called "Destination" you will find an empty field. You can register the path to the folder itself or click the right button and select the folder from the common catalog of the system.
- By adding all the necessary data to the list and selecting a folder to save, you need to click the starting start button.
- Before creating a file, a window will appear with the possibility of choice. By clicking the "Yes" button in this window, you allow the program content of all folders to display immediately into the root of the image. If you select "No", then the hierarchy of folders and files will be completely saved, as in the source.
- Next, you will be offered to change the parameters of the volume tag. We advise not to touch the items specified here, but simply click "Yes".
- Finally, you will see the basic information about the recorded files in a separate window. If you do not create the image, click the OK button.
- The image creation time will depend on how many files and folders you are added to it. When the creation is completed, a message appears on the successful end of the operation, exactly as in the previous IMGBURN functions. Click "OK" in such a window to complete.
That's all. Your image is created and is in the place that was previously indicated. This function approached the end.
Cleaning a disc
If you have a rewritable medium (CD-RW or DVD-RW), then the described function can be useful. As it is clear from the title, it will afford all the available information from such media. Unfortunately, there is no separate button in ImgBurn, which allows you to clean the drive. Make it can be specifically.
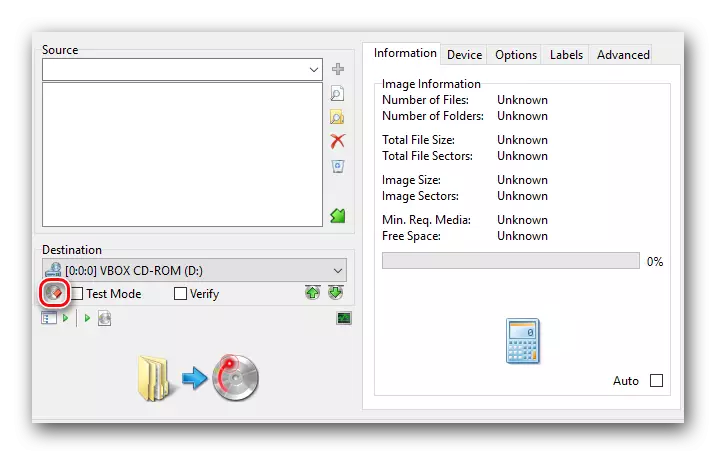
- From the Start menu IMGBURN, select the item that will redirect you to the file records and folder panel to the media.
- The optical drive cleaning button you need is very small and hidden it in this window. Click on the one as a disk with an eraser nearby.
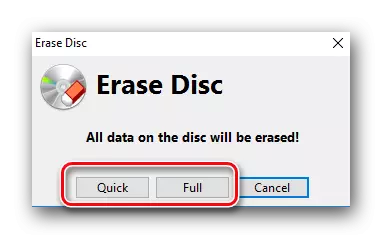
- As a result, a small window will appear in the middle of the screen. You can choose the cleaning mode. They are similar to those that offer you a system when formatting a flash drive. If you click the "Quick" button, then cleaning will pass superficially, but quickly. In the case of the "FULL" button, everything is accurate to the opposite - time will need much more, but cleaning will be as high as possible. By selecting the mode you want, click on the appropriate area.
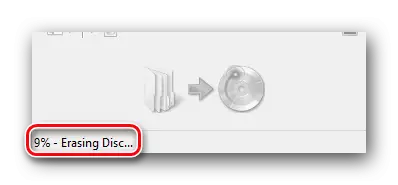
- Next, hear how the drive starts to rotate in the drive. In the lower left corner of the window will be displayed. This is the progress of the cleaning process.
- When information from the media is completely removed, a window will appear with a message that we have already mentioned today repeatedly.
- Close this window by pressing the "OK" button.
- Now your drive is empty and ready to record new data.
It was the last of the IMGBURN functions, which we wanted to tell today. We hope our leadership will be delometric and will help without any particular difficulties to fulfill the task. If you need to create a boot disk from the boot flash drive, then we recommend you to familiarize yourself with our separate item that will help in this matter.
Read more: Make a boot disk from the boot flash drive