
One and directions to convert files that you have to apply to users is to convert TIFF format to PDF. Let's deal with what exactly you can perform this procedure.
Methods of transformation
Windows operating systems do not have built-in tools for changing the TIFF format on PDF. Therefore, these goals should use either web services for conversion or specialized third-party software manufacturers. It is methods for converting Tiff in PDF by using various software that are the central theme of this article.Method 1: AVS Converter
One of the popular document converters capable of converting TIFF to PDF is considered to be Document Converter from AVS.
Install the Converter document
- Open the converter. In the group "Output format" press "in PDF". You need to proceed to add TIFF. Click on "Add Files" in the Interface Center.

You can also click on the exact same inscription at the top of the window or apply Ctrl + O.

If you are used to acting through the menu, then use "File" and "Add Files".
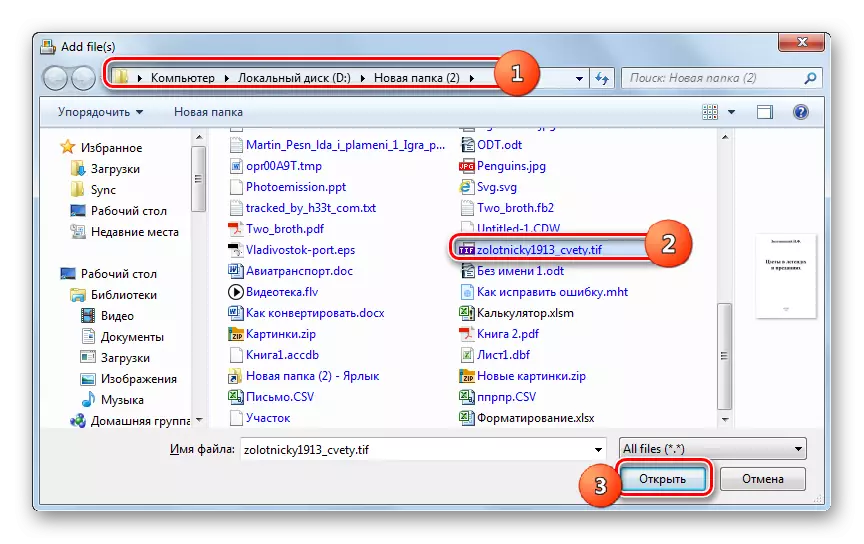
- The object selection window is launched. Go to it where the target TIFF is stored, check and apply "Open".
- Download the image package to the program will begin. If TIFF is volumetric, then this procedure may take a significant amount of time. Its progress in the form of interest will be displayed in the current tab.
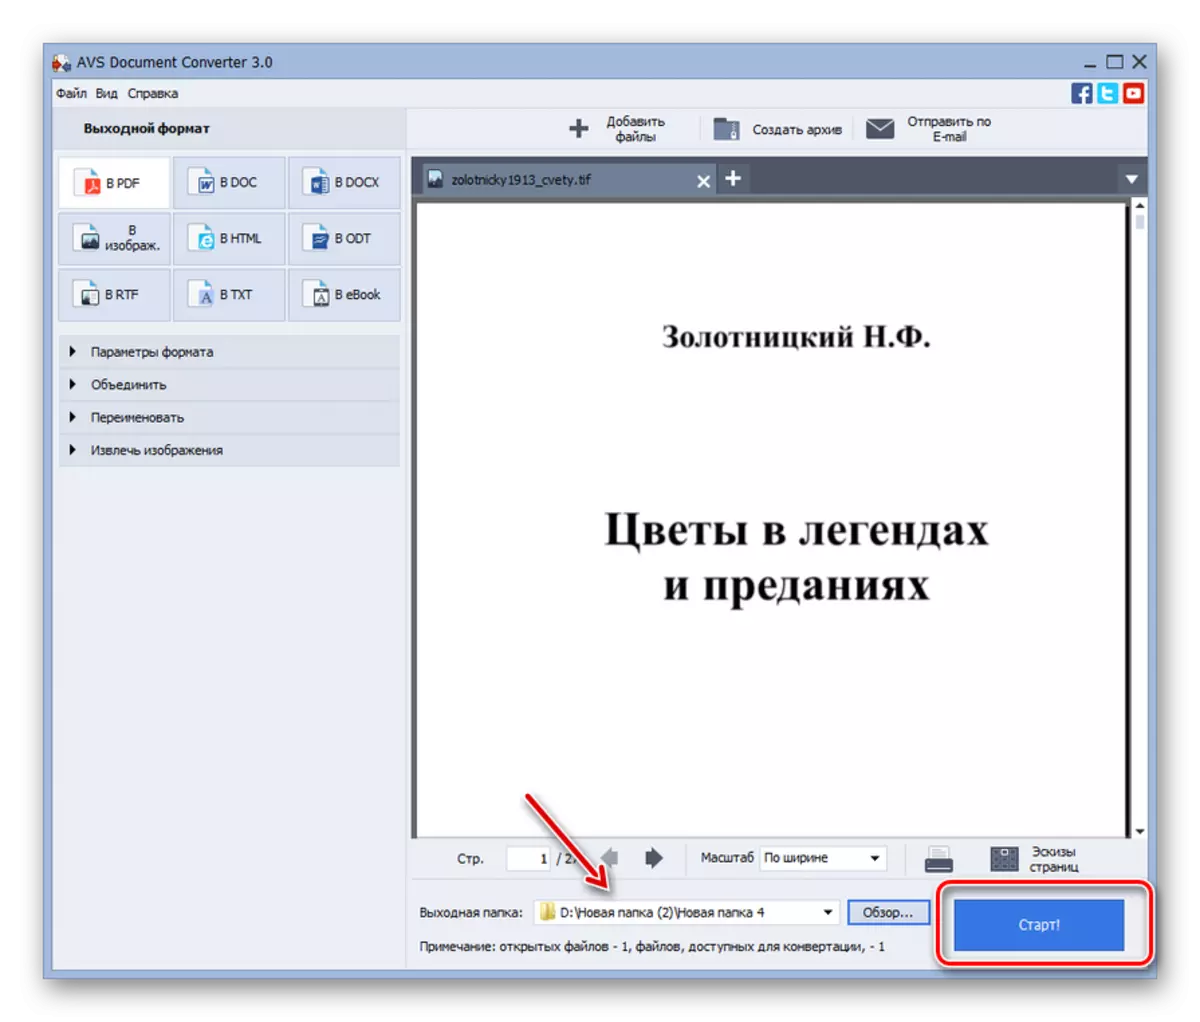
- After the download is complete, the contents of TIFF will appear in the Document Converter shell. To make a choice where exactly the finished PDF will be sent after reformatting, click "Review ...".
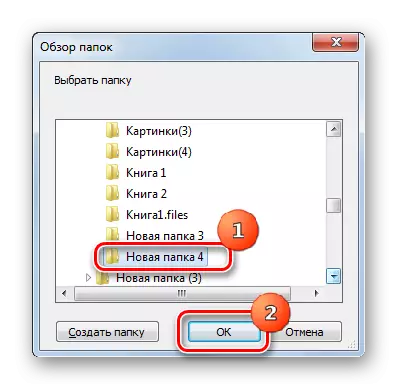
- The folder selection envelope starts. Move to the desired directory and apply "OK".
- The selected path will be displayed in the "Output folder" field. Now everything is ready to start the reformatting procedure. To start it, press "Start!".
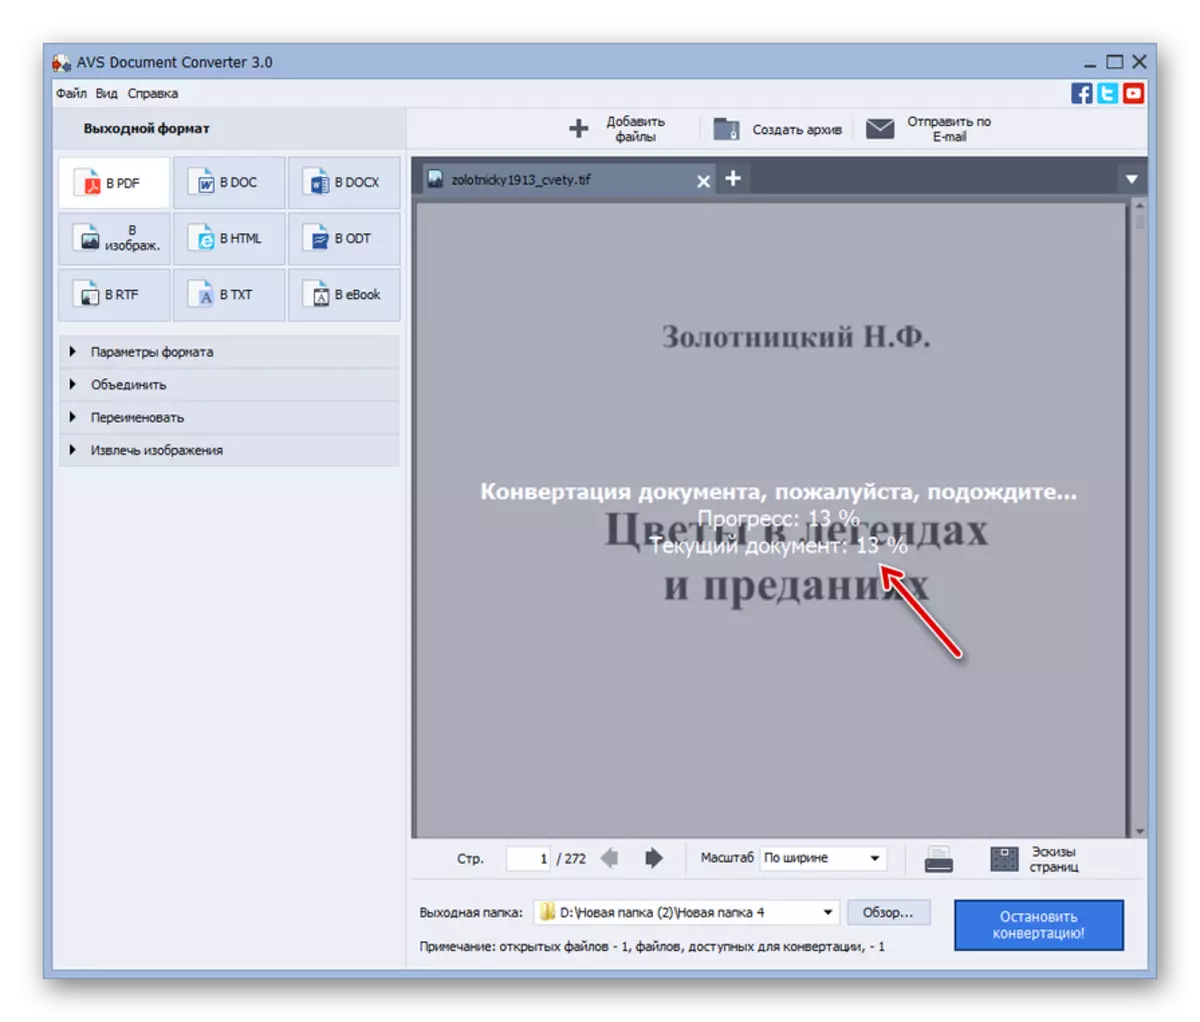
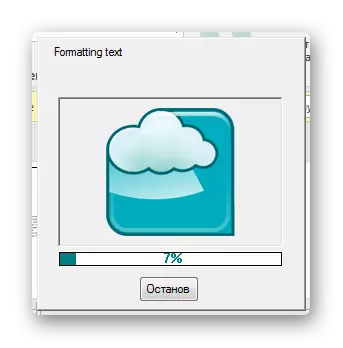
- The conversion process is running, and its progress will be displayed as percentage.
- Upon completion of this task, a window will appear where information is reported about the successful completion of the reformatting process. It will also be prompted to visit the folder for the placement of the finished PDF. To do this, click "Open. folder. "
- The "Explorer" will open, where the finished PDF is located. Now you can produce any standard manipulations with this object (read, move, rename, etc.).


The main disadvantage of this method is the subjectivity of the application.
Method 2: Photo converter
The next converter who can convert Tiff in PDF is a program with the speaker name photo converter.
Install photo converter
- After running the photo converter, move to the "Select Files" section, press "Files" next to the "+" form icon. Select "Add Files ...".
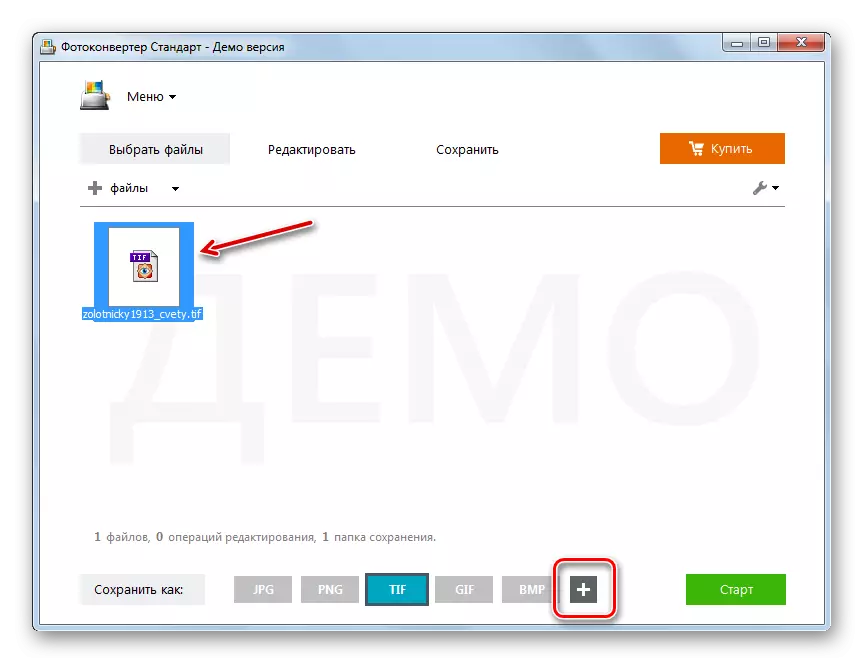
- The "Add File (S)" tool opens. Move to the place of storage of the TIFF source. Designating Tiff, press "Open".
- The element is added to the photo converter window. To select the conversion format in the "Save As" group, click on the "More Formats ..." icon in the form of "+".
- A window opens with a very large list of various formats. Click "PDF".
- The PDF button appears in the main application window in the "Save As" block. It automatically becomes active. Now move to the "Save" section.
- In the section that opens, you can specify the directory in which the transformation will be implemented. This can be done by rearrangement by radio button. It has three positions:
- The source (the result is sent to the same folder where the source) is located);
- Invested in the source folder (the result is sent to a new folder posted in the source material location directory);
- Folder (this position of the switch allows you to select any location on the disk).
If you have chosen the last position of the radio button, then in order to specify the end directory, press "Change ...".
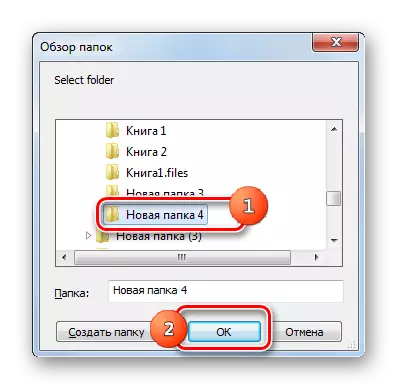
- The folder overview starts. With this tool, specify the directory where the reformatted PDF will be sent. Click "OK".
- Now you can start the conversion. Press "Start".
- Starts converting Tiff in PDF. It can be monitored by its progress using a dynamic green indicator.
- Ready PDF can be detected in the directory that was specified earlier when settings in the Save section.


"Minus" of this method is that the photo converter is paid software. But this tool you will still be able to apply freely during the fifteen-day test period.
Method 3: Document2PDF Pilot
The following Document2PDF Pilot tool, in contrast to previous programs, is not a universal document converter or photographs, and is intended solely to convert objects to PDF.
Download Document2PDF Pilot.
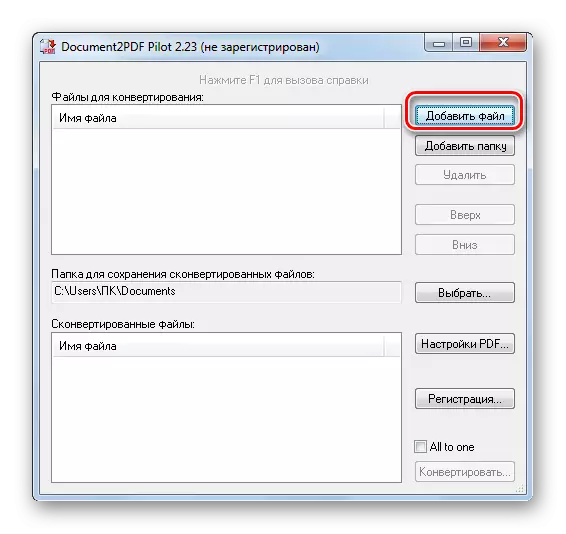
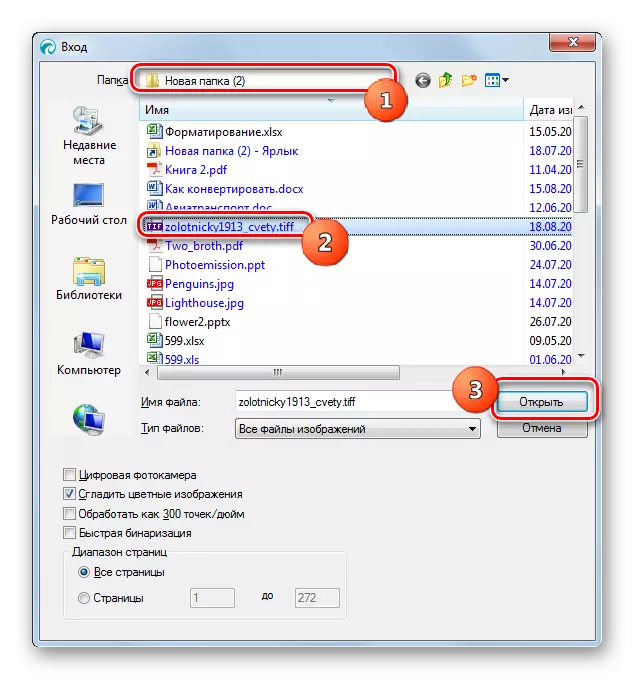
- Run Document2PDF Pilot. In the window that opens, click "Add File".
- The "Select File (s) to convert" is launched. With it, you move to where the target TIFF is stored and after selecting, click Open.
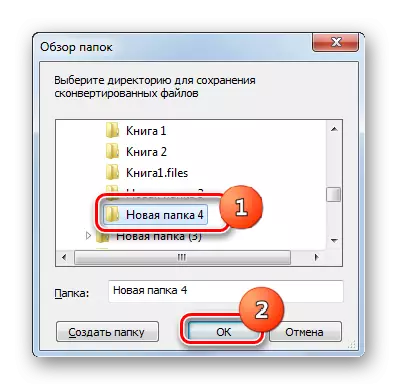
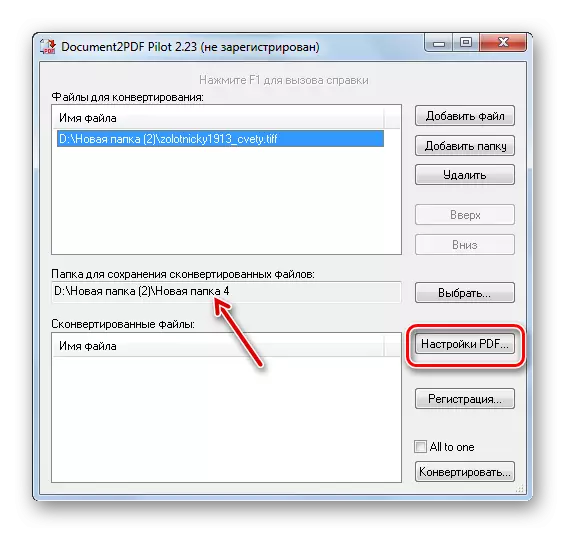
- The object will be added, and the path to it will be displayed in the base window Document2PDF Pilot. Now you need to specify the folder to save the converted object. Click "Choose ...".
- Get familiar to the previous programs "Folder Overview" window. Move where the reformatted PDF will be stored. Press "OK".
- The address where converted objects will be sent will appear in the folder area to save the converted files. Now you can start the conversion process itself. But it is possible to set a number of additional parameters for the outgoing file. To do this, press "PDF ..." settings.
- The settings window starts. There is a huge number of parameters of the final PDF. In the "Compression" field, you can select transformation without compression (default) or use simple zip compression. In the PDF version field, you can specify the version of the format: "Acrobat 5.X" (default) or "Acrobat 4.x". It is also possible to specify the quality of JPEG images, page size (A3, A4, etc.), orientation (book or landscape), specify the encoding, indents, the width of the page and much more. In addition, you can enable document protection. Separately, it is worth noting the possibility of adding metategs to PDF. To do this, fill out the "Author" field, "Theme", "Title", "key. the words".
Having done everything you need, press "OK".
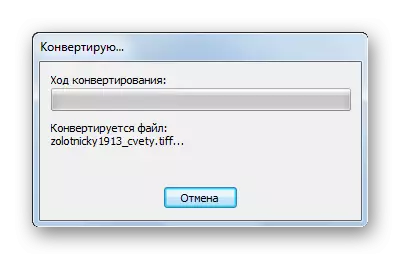
- Returning to the main window Document2pdf Pilot, press "convert ...".
- Running conversion. After his end, you will be able to pick up the finished PDF in the place that indicated to store it.


The "minus" of this method, as well as the above described options, is presented in that the Document2PDF Pilot is a paid software. Of course, they can be used for free, and unlimited time, but then watermarks will be applied to the contents of PDF pages. The unconditional "plus" of this method before the previous ones is the more advanced settings of the outgoing PDF.
Method 4: Readiris
The following software that will help the user to implement the reformatting direction studied in this article is an application for scanning documents and digitizing the Readiris text.
- Run readiris and click on the "Home" tab on the "File" icon. It is represented in the form of the catalog.
- The Opening window starts. It is necessary to go to the TIFF object, highlight it and click "Open".
- The TIFF object will be added to readiris and automatically starts the recognition procedure of all pages that it contains.
- After the recognition is completed, click on the "PDF" icon in the "output file" group. In the opening list, press "PDF Setup".
- The PDF settings window is activated. In the top field from the opening list, you can choose the type of PDF, which will reformatize:
- With the possibility of searching (by default);
- Image text;
- As an image;
- Text image;
- Text.
If you check the box next to the "Open after Save" item, the transformed document immediately, as will be created, will open in the program that is listed below. By the way, this program can also be selected from the list if you have several applications that work with PDF on your computer.
Special attention to ensure that the "Save as a file" value is indicated below. If another is indicated, then replace it with the required. In the same window there are a number of other settings, for example, the parameters of the embedded fonts and compression. After completing all the settings you need for specific purposes, click "OK".
- After returning to the main Readiris section, click on the "PDF" icon in the "output file" group.
- The "output file" window starts. Set the disk space where you want to store PDF. This can be done by the usual transition to there. Click "Save".
- Conversion is launched, for which the progress of which can be monitored using the indicator and in percentage form.
- The finished PDF document will be able to find on the path that the user asked in the "output file" section.


The unconditional "plus" of this method of transformation in front of all previous previous is that the images of Tiff are transformed into PDF not in the form of pictures, but the text is digitizing. That is, the output turns out a full text PDF, the text in which you can copy or produce a search by it.
Method 5: GIMP
Convert Tiff in PDF can some graphic editors, one of the best among which GIMP is deservedly considered deservedly.
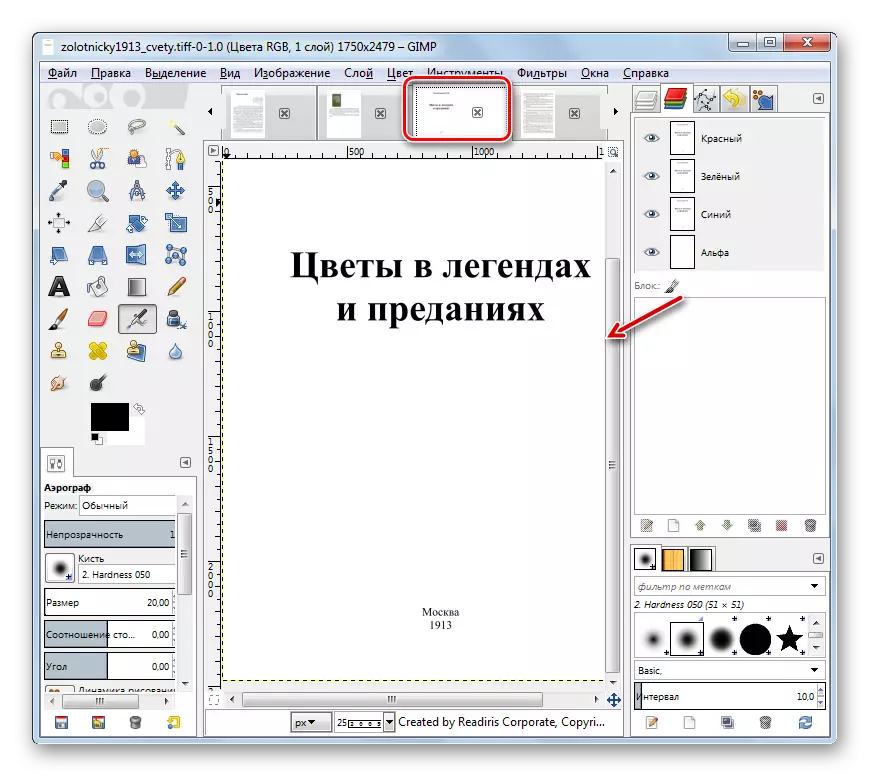
- Run GIMP and click "File" and "Open".
- Starts a picture selection tool. Go to where TIFF is placed. Noting Tiff, click Open.
- The TIFF import window opens. If you are dealing with a multi-page file, then, first of all, press "Choose everything". In the Open Pages area, move the switch to the "Image" position. Now you can click "Import".
- After that, the object will be opened. In the center of the GIMP window, one of the TIFF pages will be displayed. The remaining elements will be available in preview mode at the top of the window. In order for a specific page to be current, you just need to click on it. The fact is that GIMP allows you to reformat in PDF only each page separately. Therefore, we will have to be alternately every element to make an active and carry out a procedure with it, which is described below.
- After selecting the desired page and display it in the center, click "File" and then "Export AS ...".
- Export image tools opens. Go to where you place the outgoing PDF. Then click on the plus at about "select File Type".
- There is a bulk list of formats. Select the name "Portable Document Format" among them and press "Export".
- It is started to "export an image as PDF". If desired, by setting the flags here, you can set the following settings:
- Apply layer masks before saving;
- If possible, convert a raster in vector objects;
- Skip the hidden and completely transparent layers.
But these settings apply only if specific tasks are set with their use. If there is no additional tasks, you can simply "export".
- Export procedure is performed. After completing it, the ready-made PDF file will be in the directory that the user specified earlier in the Export Image window. But do not forget that the resulting PDF corresponds to only one TIFF page. Therefore, to convert the next page, click on its previews at the top of the GIMP window. After that, do all those manipulations that were described in this method, starting from paragraph 5. The same actions need to be done with all pages of the TIFF file that you wish to reformat in PDF.

Of course, the method using GIMP will take much more forces and time than any of the previous ones, since it involves the conversion of each TIFF page separately. But at the same time, this method has an important advantage - it is absolutely free.


As you can see, there are quite a few programs of different orientations that allow you to reformat TIFF in PDF: converters, application digitization applications, graphic editors. If you want to create a PDF with a text layer, then for this purpose, use a specialized software to digitize text. If you need to produce a mass transformation, and the presence of a text layer is not an important condition, then in this case the converters are most likely. If you need to convert to PDF one-page tiff, then individual graphic editors can quickly cope with this task.