

By default, Windows 10 after failures in programs offers to automatically enable compatibility mode, but not always in some of them. Manually enabling the compatibility mode, which used to (in previous OS) through the Program properties or its label, is not now available for all shortcuts and sometimes you need to use a special tool for this. Consider both methods.
Enable the compatibility mode through the Program or Label Properties
The first way to enable compatibility mode in Windows 10 is easy - right-click on the icon or executable file, select "Properties" and open, if it is found, the tab "Compatibility".
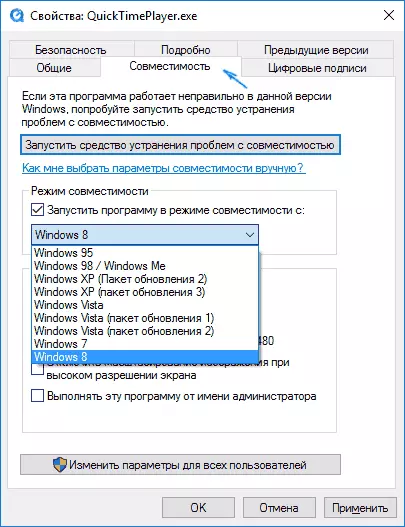
All that will be done is to set the compatibility mode settings: specify the Windows version in which the program started without errors. If necessary, enable the start of the program on behalf of the administrator or in a smaller screen resolution mode and low chromaticity (for completely old programs). Then apply the settings made. The next time the program will be launched with already modified parameters.
How to enable program compatibility mode with previous versions of OS in Windows 10 through troubleshooting
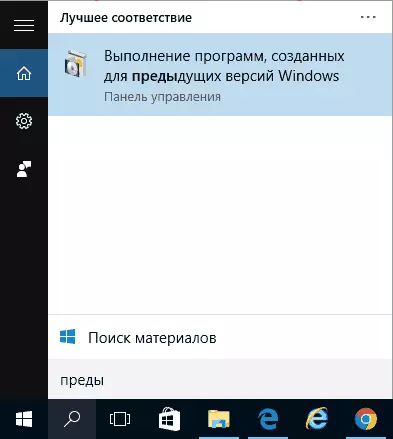
To start configuring program compatibility mode, you will need to run a special Windows 10 troubleshooting tool "Performing programs designed for previous versions of Windows."
You can make it either through the control panel "Troubleshooting" (the control panel can be opened via the right click on the Start button. To see the "Troubleshooting" item at the top on the right in the "View" field should stand "icons", and not "categories") or, faster, through the search in the taskbar.
The troubleshooting tool will be launched in Windows 10. It makes sense to use the "Run from the administrator" item when using it (this will allow you to apply the parameters to programs that are in folders with limited access). Click "Next".

After some waiting, in the next window it will be proposed to choose a program, with the compatibility of which there are problems. If you need to add your own program (for example, portable applications will not be displayed in the list), select "No in the list" and click "Next", then specify the path to the executable EXE program file.

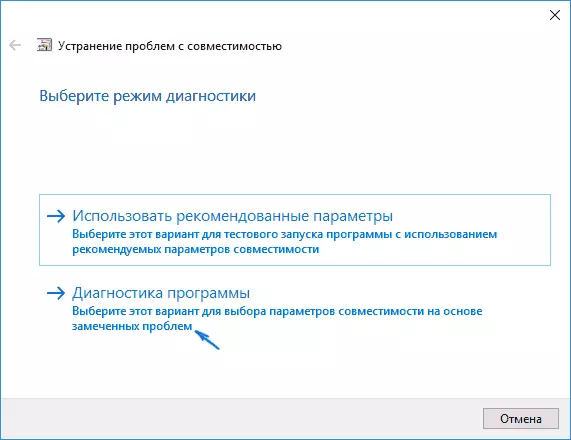
After selecting a program or specifying its location, it will be prompted to select the diagnostic mode. To manually specify a compatibility mode with a specific version of Windows, click "Diagnosing the Program".
The following window will prompted to specify the problems that have been seen when you start your program in Windows 10. Select "The program worked in previous versions of Windows, but not installed or not started now" (or other options, in terms of the situation).
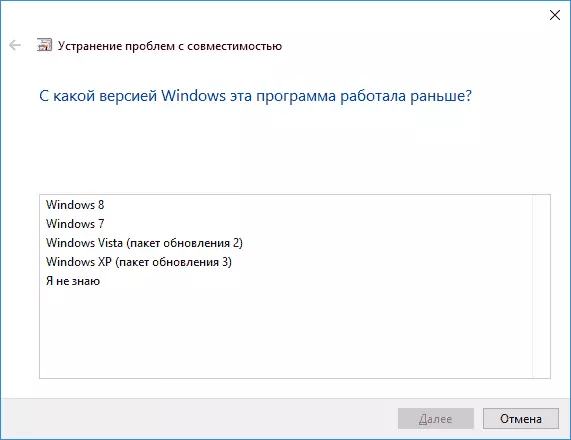
In the next window, you will need to specify which version OS enable compatibility - Windows 7, 8, Vista and XP. Select your option and click "Next".
In the next window, to complete the compatibility mode setting, you need to click "Check the program". After starting it, checking (which you perform yourself, optionally) and closing, click "Next".
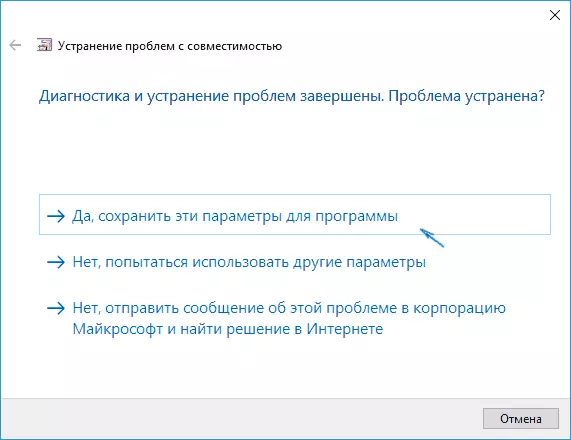
And, in conclusion, or save compatibility settings for this program, or use the second item if the errors remained - "No, try to use other parameters." Finish, after saving parameters, the program will work in Windows 10 in the compatibility mode you selected.
Enabling compatibility mode to Windows 10 - Video
In conclusion, everything is the same as described above in the video instruction format.
If you have any questions related to the work of the compatibility mode and in general programs in Windows 10, ask, I will try to help.