

Method 1: Canva
Online service providing ample opportunities for creating unique designs of various topics and orientation, one of the tools of which is a photo editor. Using it, you can cut your face in the image, and this operation will be performed in fully automatic mode. True, this will require a trial subscription, specifying payment data.
- Open the site on the link presented above. To start work, it is necessary to "register".
- Select a preferred input option and specify the data you need.

We will use Google's account.
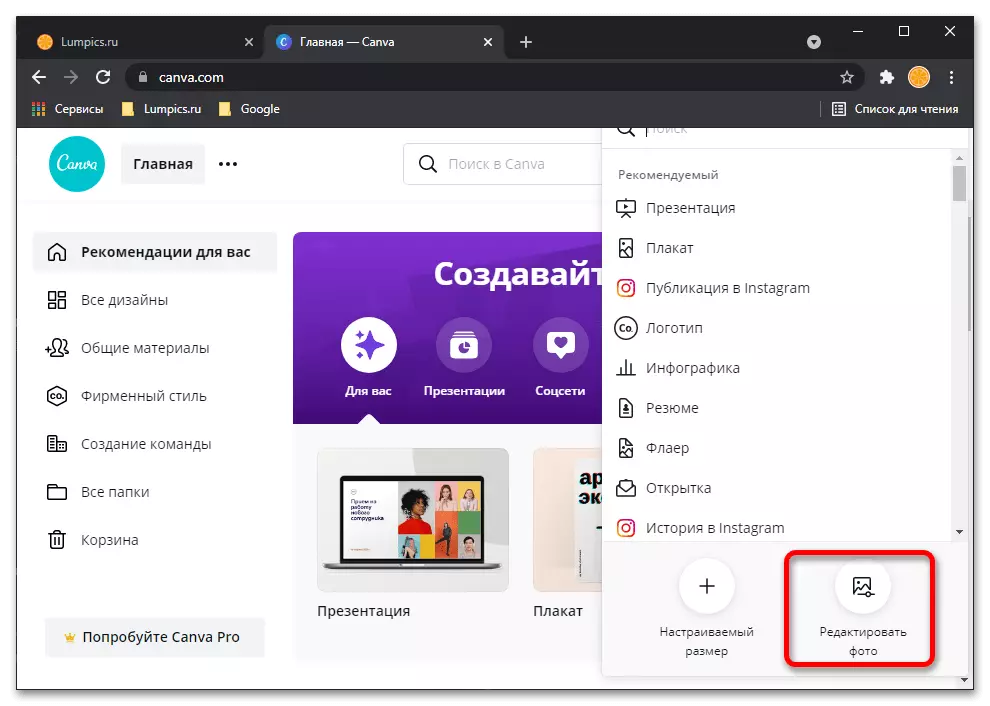
- Click on the "Create Design" button first,

And then "Edit Photos" in the menu that appears.
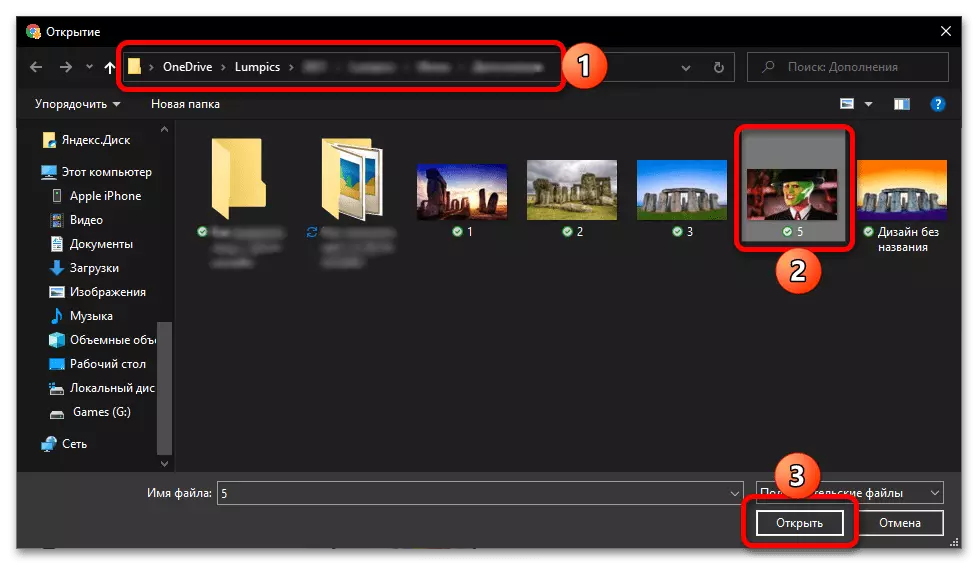
- Using a system "conductor", opened in a separate window, go to the image folder from which you want to cut face, select it and click Open.
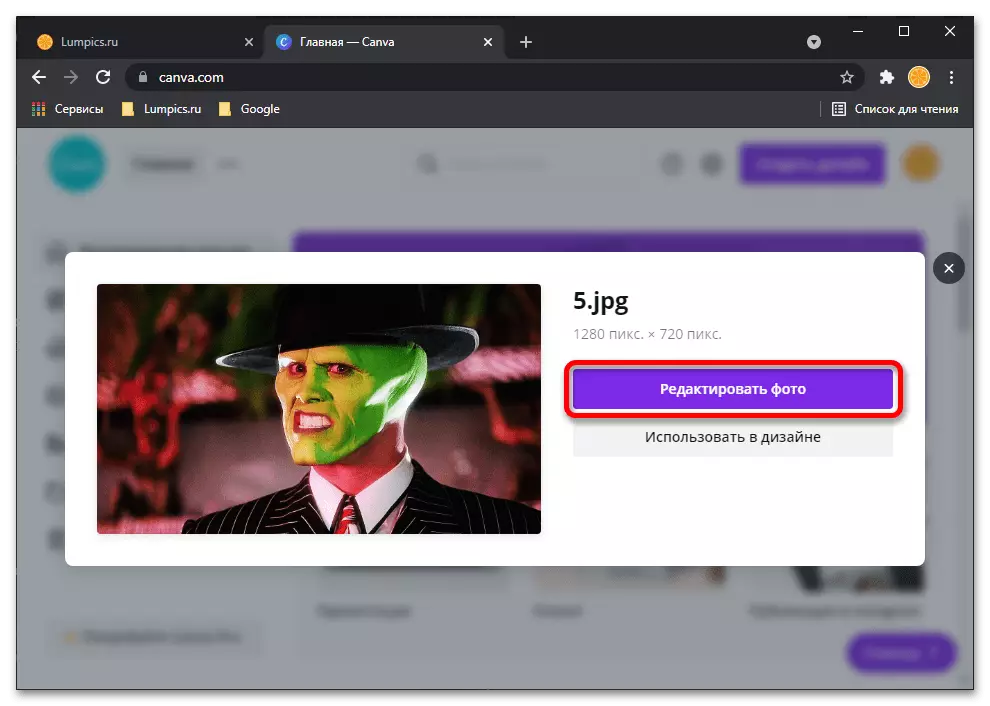
- As soon as the file is loaded into the CANVA service, you can proceed to its change. To do this, click "Edit Photos".
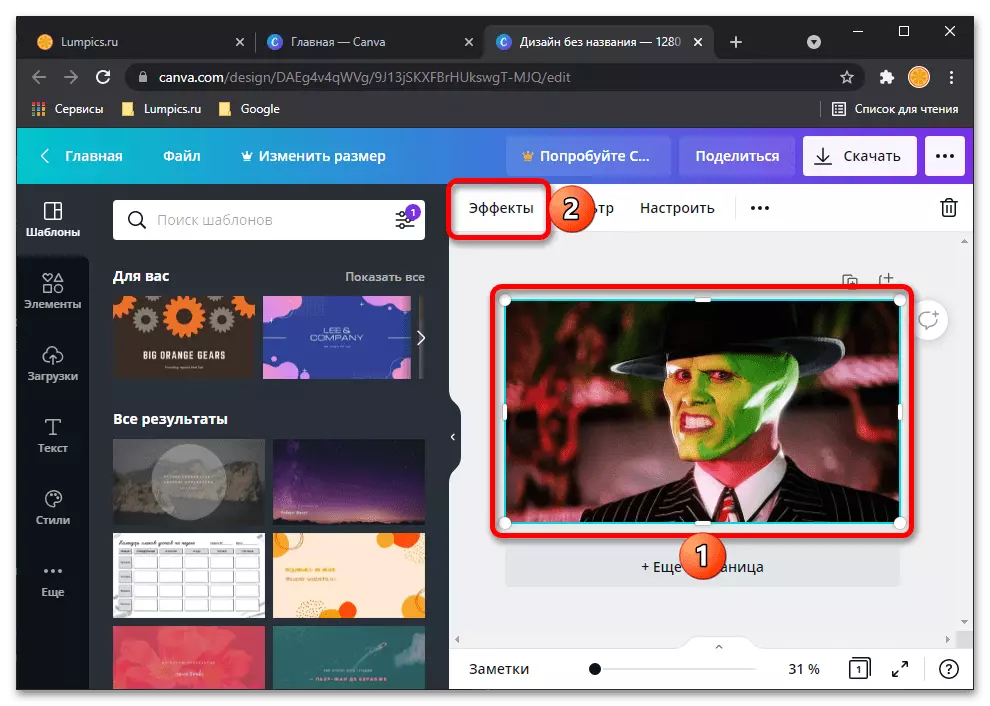
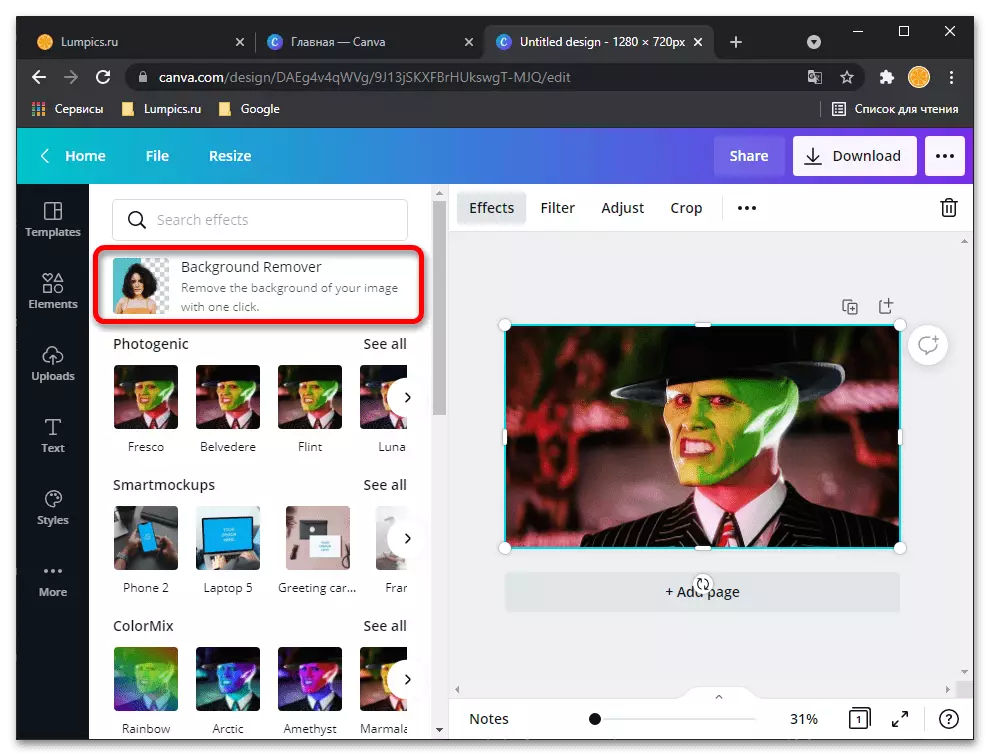
- Highlight the image by single clicking and go to the "Effects" tab.
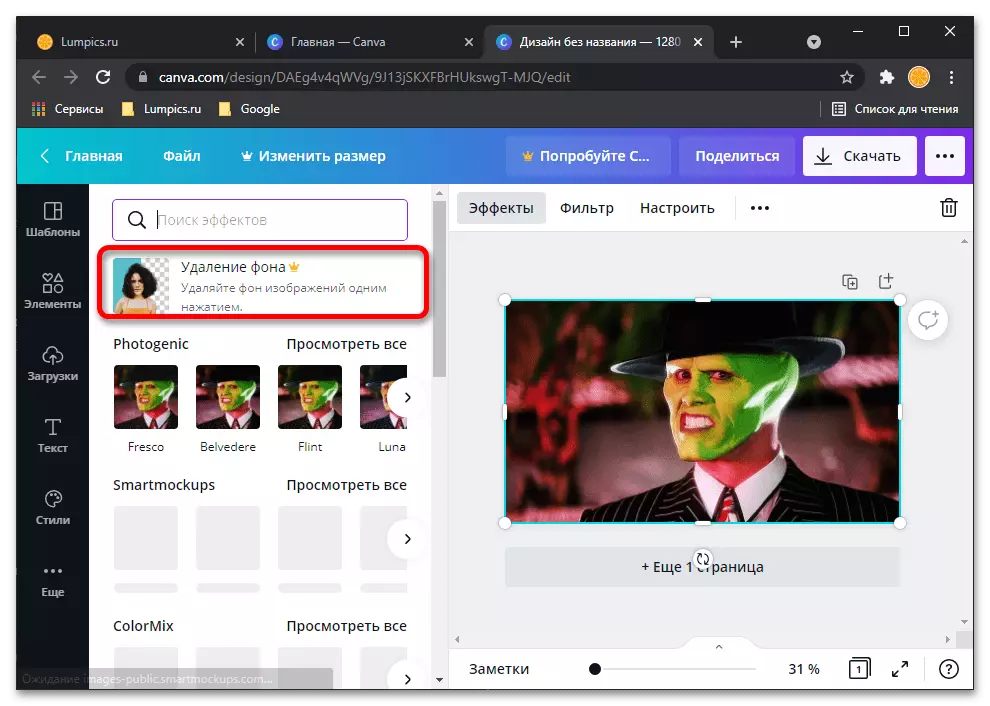
- Select the "Removal Background" tool appeared on the side panel.
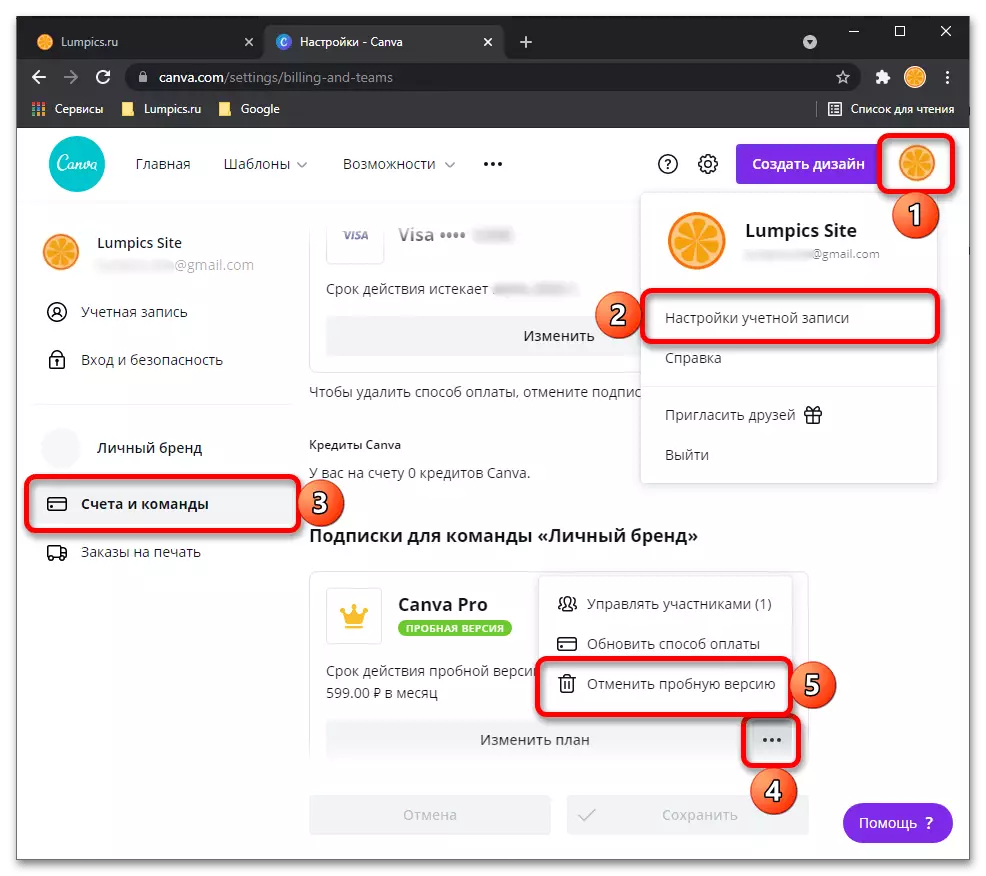
- Make a trial subscription to the online service. For this:
- Click "Try free for 30 days."
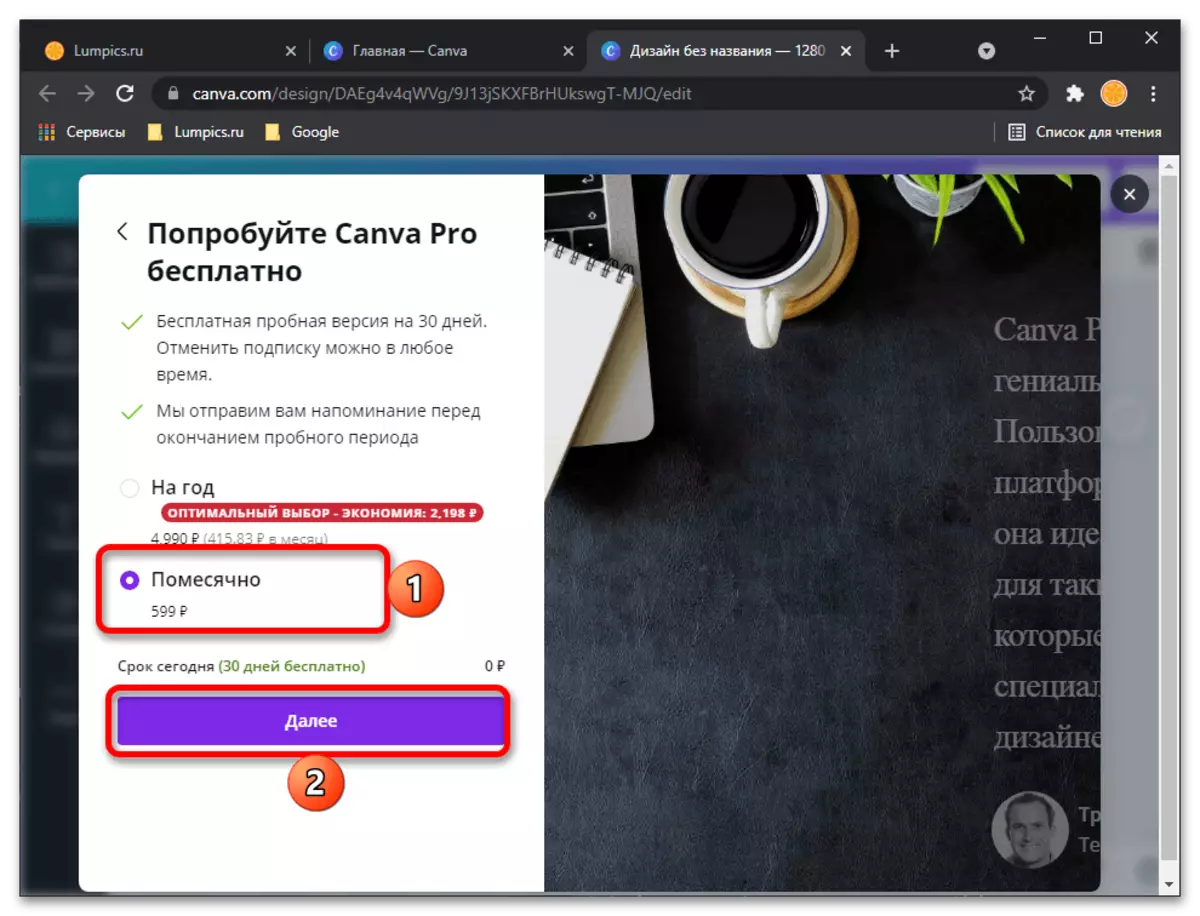
- Decide on the payment option - "for a year" or "monthly" (preferably) and proceed "Next";
- Select "Payment Method" - "Map" or "PayPal" - and specify the appropriate data, after which you can "get a trial version".


Note! When making a subscription with a CANVA-tied to the payment, a small amount spikes, but it will almost immediately return.
- Since the service is designed not only for self, but also for teamwork, including in large companies, after registration of the trial version will be asked to specify additional information
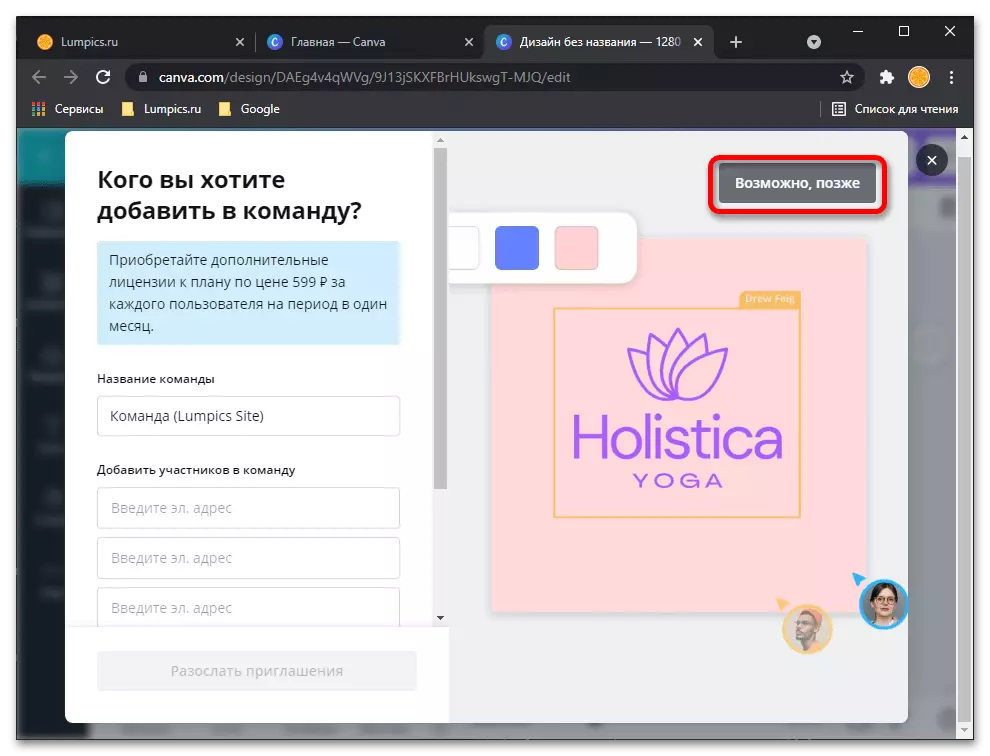
And what tasks you plan to solve with it.

All this can be "skip" and execute "not now."
- The CANVA interface language for incomprehensible reasons will change in English, but in our case it is not critical, since at this stage you only need to repeat the actions from clauses No. 6-7 of the current instruction, that is, highlight the image and click on the "Effects" tab (" Effects "),

And then select "Background Remover" ("Delete background").
- The face cutting operation in the photo, or rather, the removal of everything that is behind it will be done automatically, you will only remain apply the result - the "Apply" button.
- Check out the image received, if necessary, increasing it and / or opening on the entire screen. If the result suits you, download it by clicking "Download",
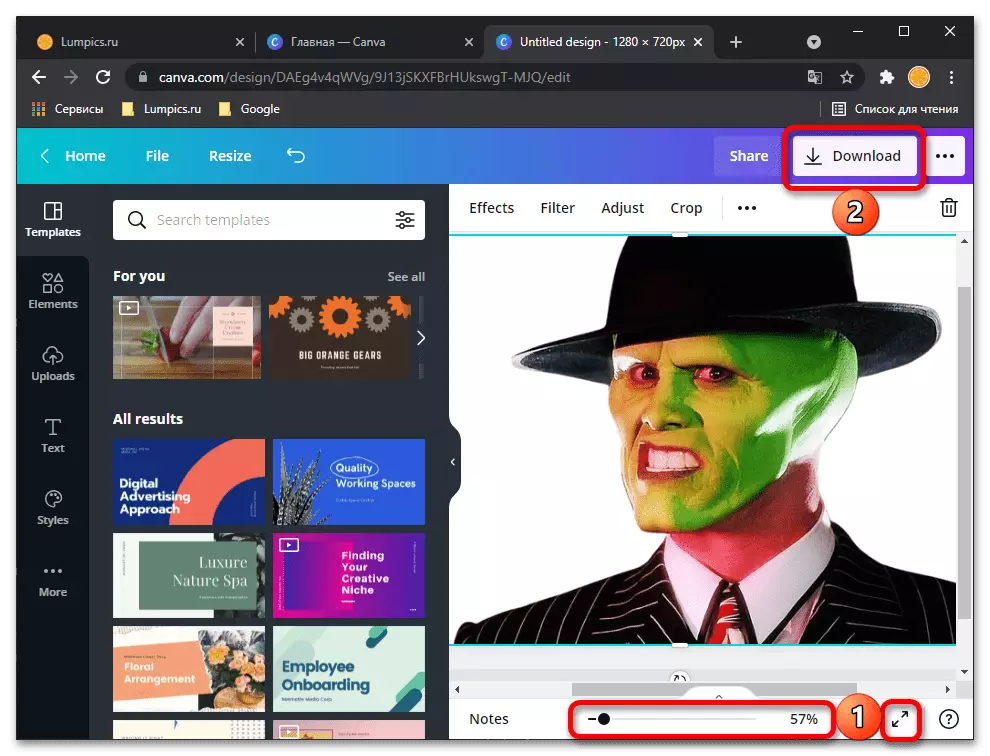
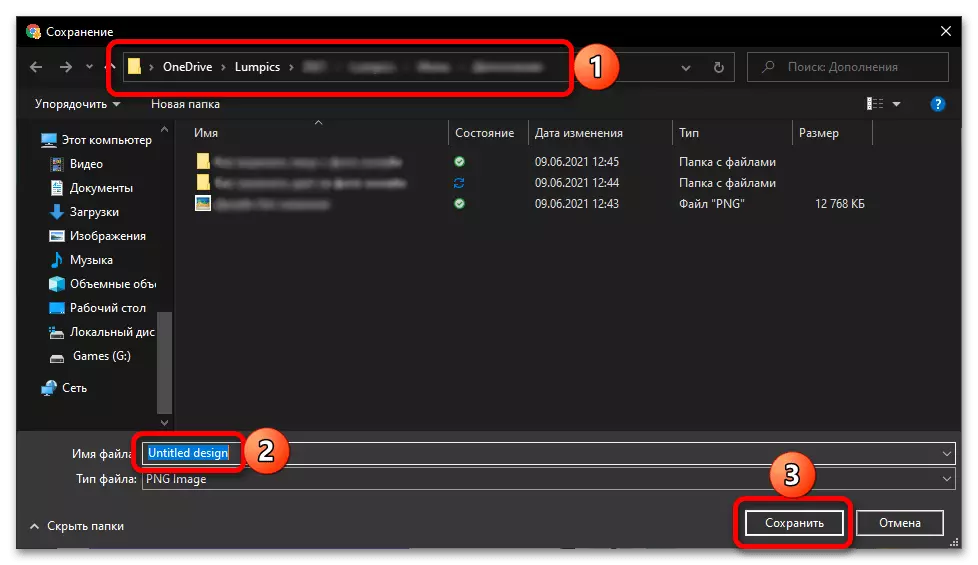
After selecting the preferred format (it is better to leave the recommended PNG), if you want to make the background transparent ("Transparent Background") and re-using the "download" button to confirm.

In the "Explorer", which will be opened on top of the browser, specify the folder for the processed photo, if desired, change the name and click "Save".


As you can see in our example, the online service canva is effectively coping with the task of the face clipping in the photo - the whole background is removed behind it, without exaggeration, perfect. True, it is necessary to obtain such a result not only to register on the site, but also to place a trial subscription, specifying payment data. Fortunately, it is possible to cancel its action at any time in your personal account.
Method 2: Photoscissors
PHOTOSCISSORS online service functionality is just focused on the removal of a particular object with a photo, placing it on a transparent background and retaining in PNG for the sake of further interaction. To do this, you will need to use only several built-in tools.
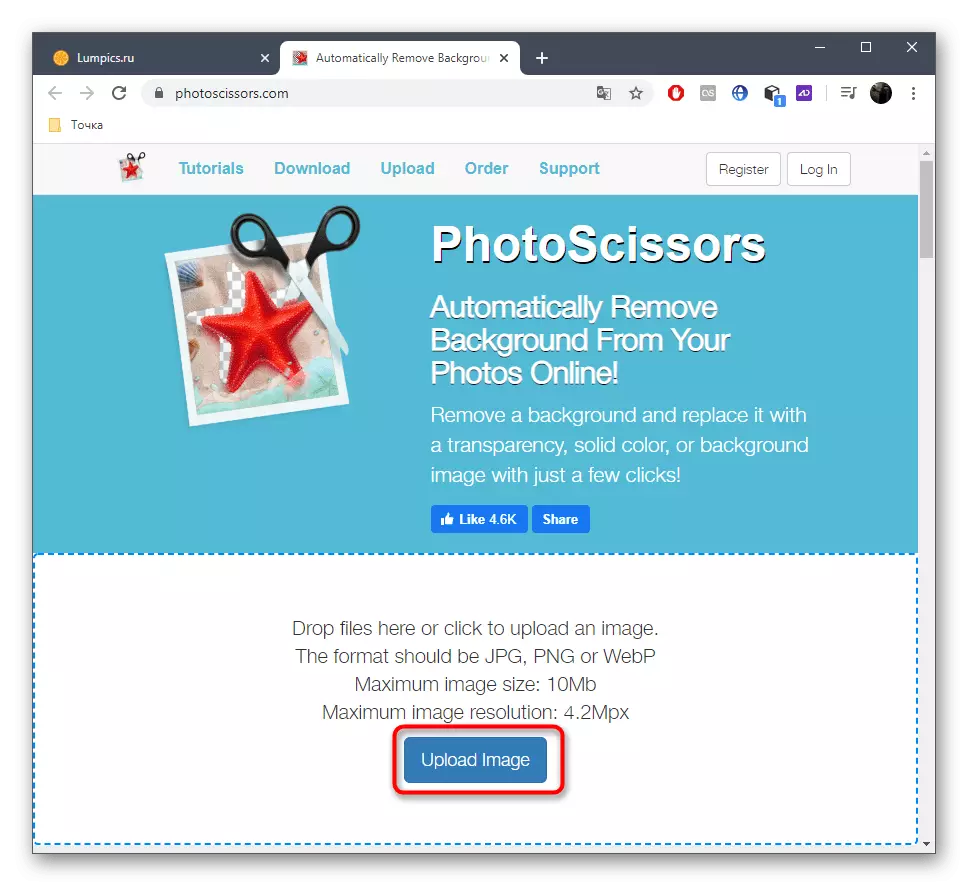
Go to online service photoscissors
- Click on the link above to get to the main page of the PHOTOSCISSORS website, where click on "Upload Image".
- The "Explorer" window opens, where to find and select the appropriate image.
- Its downloading to the server will take literally a couple of seconds.
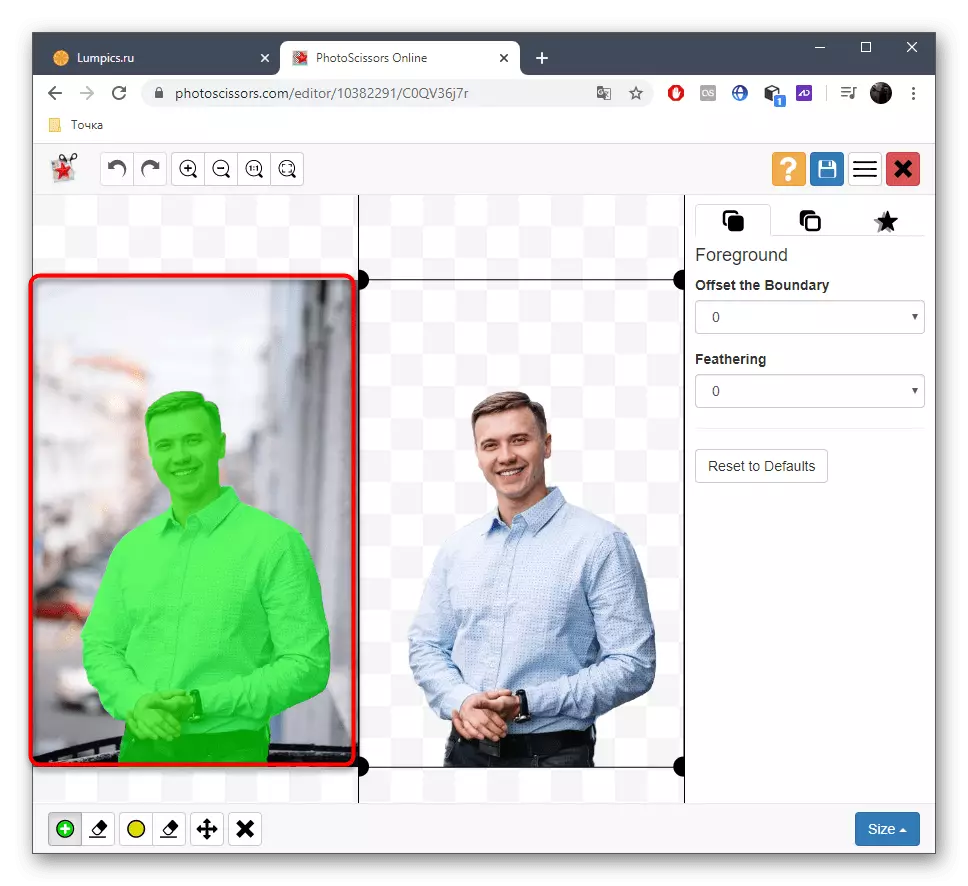
- If a person's silhouette is perfectly highlighted over the rest of the background, the service will automatically offer it to cut it entirely, but since now it is necessary to make other settings.
- Select a tool with an elastic sign on the bottom left pane.
- Start removing the green areas so that only a face fall into it.
- Use scaling to help imagine edges or closer snapshot to perform other actions.
- Check the result in the right menu of the preview, making sure that the object was successfully carved.
- Creating transform tools if you need to remove an empty area or give the face a little different form.
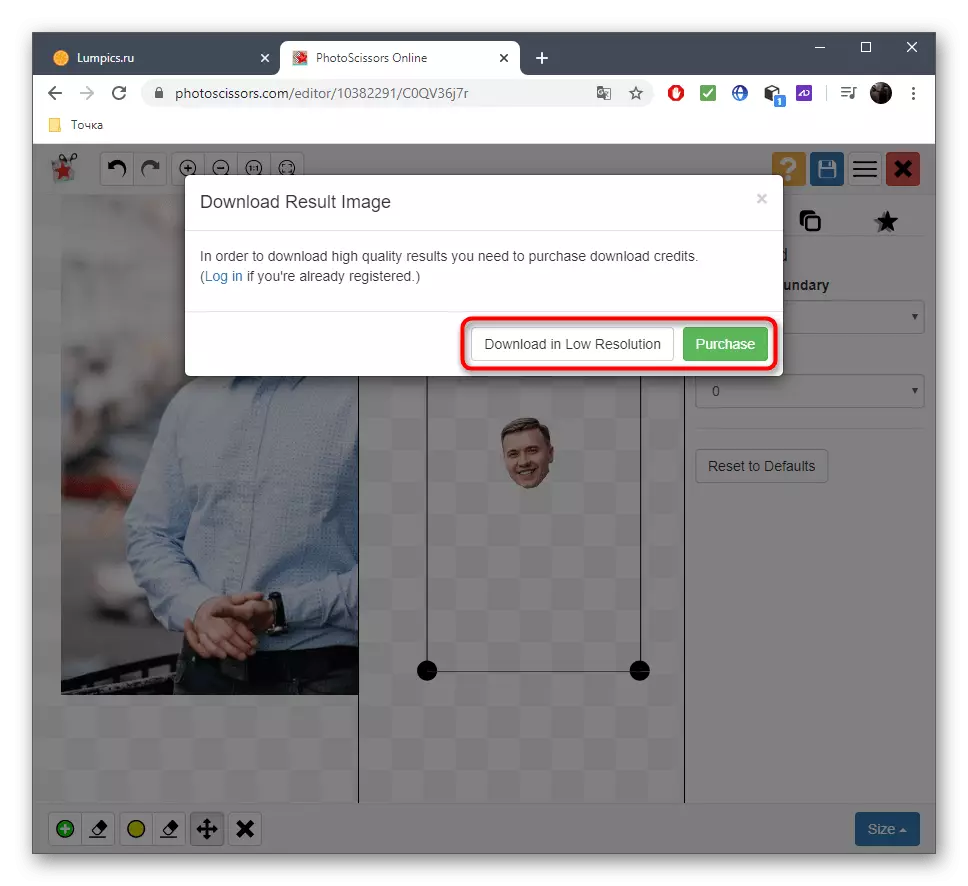
- Click on the "Save" button to save the result to your computer.
- Sign up to download pictures in higher quality or use low if you do not want to create an account.
- At the end of the download, proceed to further interaction with the photo.
- As you can see, we have successfully cut your face, and the PHOTOSCISSORS tool placed it on a transparent background. The PNG snapshot format will allow it in the future to use it in graphic editors to put on top of other pictures.


In the same way, through the online Tools of PhotosCissors, you can cut any object from any picture, and the remaining items will be placed on a transparent background. There are no restrictions on the number of treatments per day.
Method 3: ClippingMagic
If you are interested in the previous photo processing principle, but does not suit myself online service, we suggest paying attention to its paid analogue called ClippingMagic. You can familiarize yourself with the functionality by cutting your face in the photo, but the picture will be saved only after purchasing a subscription.
Go to the online service ClippingMagic
- Once on the website of the online service, click on "Upload Image" or drag the file itself into the area selected for this.
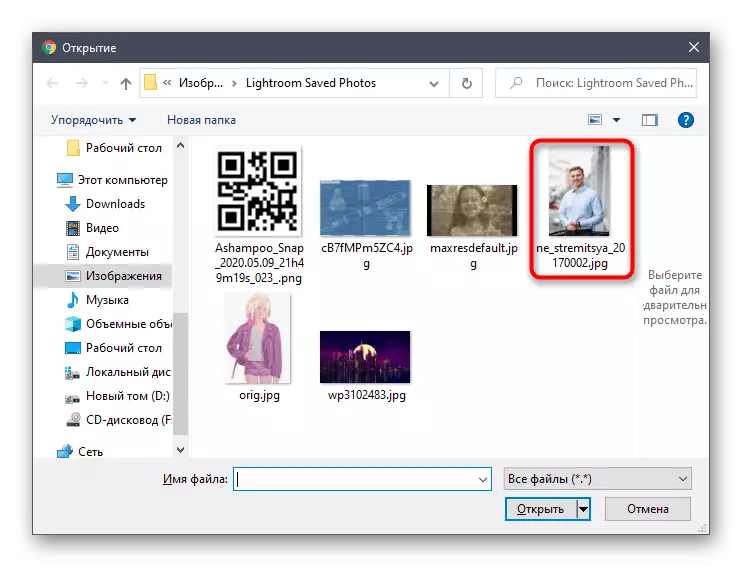
- If you have chosen the opening of the "Explorer", find it out there and specify the snapshot to be processed.
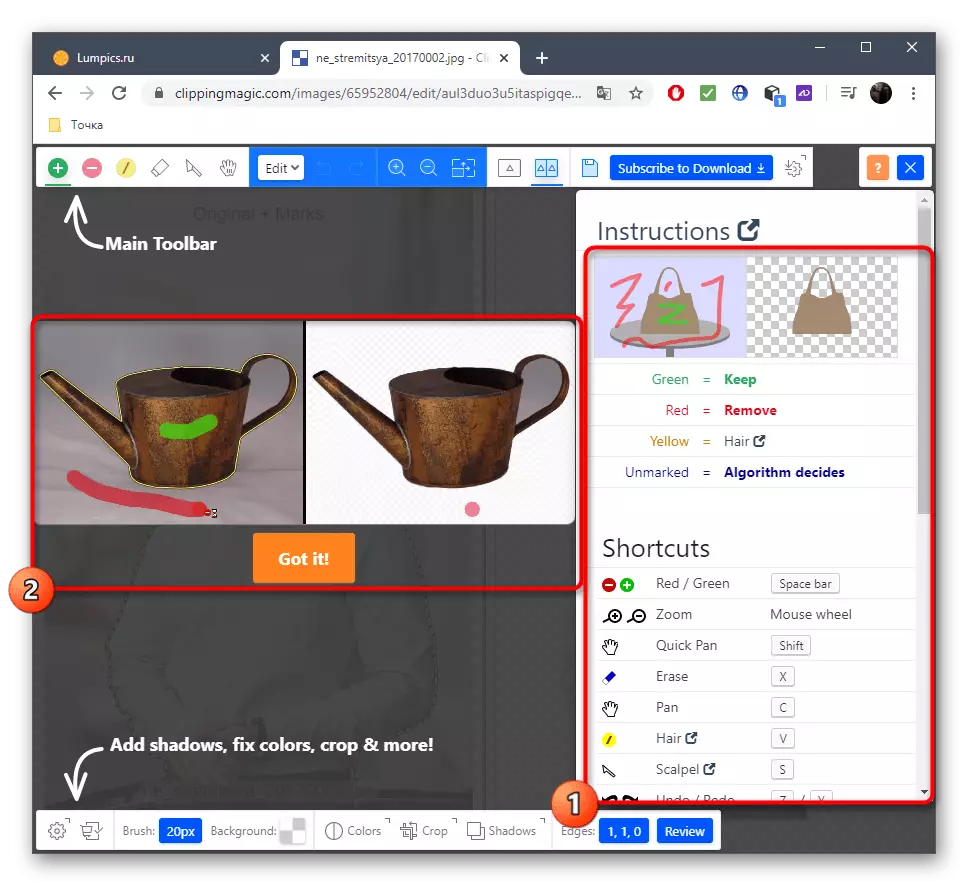
- Developers offer to get a brief excursion to interact with online service tools. On the right is a description of the operation of the allocation functions and hot keys responsible for calling the tools, and the animation is played on the left, showing an example of image processing. By readiness, click on "GOT IT" to cut your face yourself in the photo.
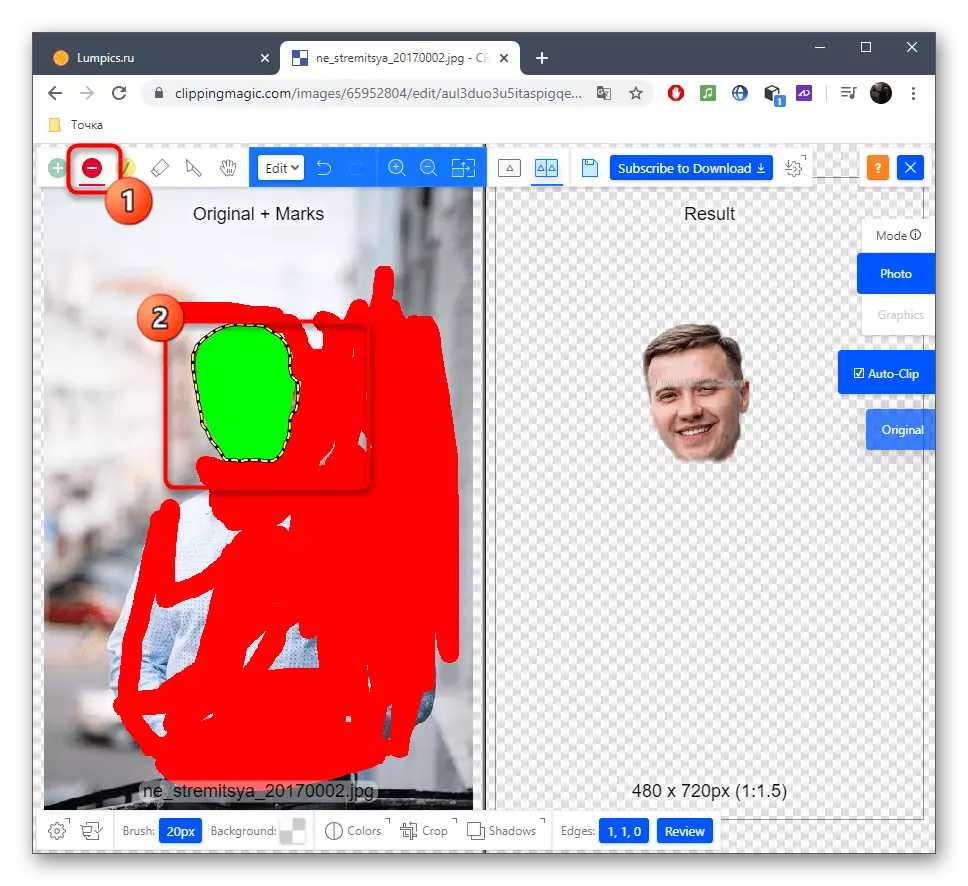
- In the editor, click on the button in the form of a plus and highlight the face only with green.
- Next, select the tool to remove the items and fill in the red space around the face.
- Use the bottom panel to trim the unnecessary edges of the picture, setting the size of the brush or the inclusion of shadows.
- Before saving, make sure that the cropping was performed correctly and no longer left on the snapshot, then click "Subscribe to download".
- After creating a personal profile, expect the end processing and downloading a file to local storage.


Method 4: PIXLR
Finally, let's talk about a free graphical editor running online. The principle of trimming of the face through Pixlr is different from those instructions that you have seen earlier, so let's consider the execution of this operation in more detail.
Go to online service PIXLR
- Go to the Located link above and on the PixLR page click "Advanced Pixlr E".
- Now you need to create a new project by clicking Open Image.
- In the "Explorer", select a picture.
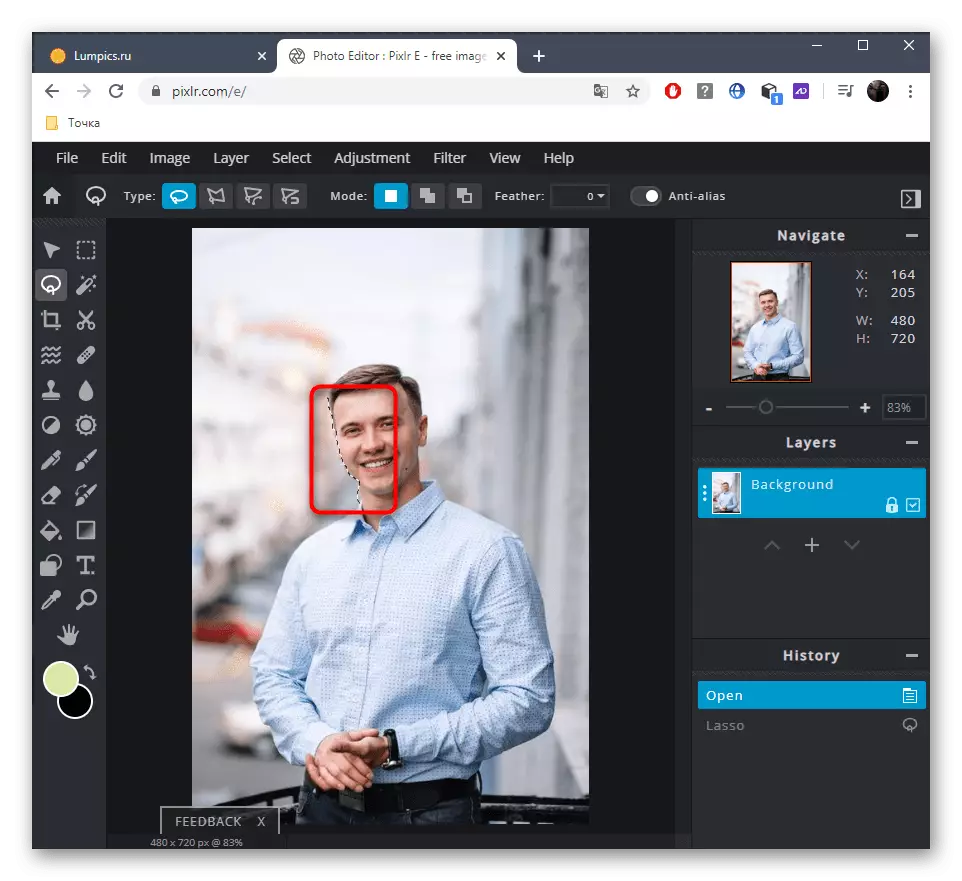
- As a tool, we will work with magnetic lasso.
- Start keep a dotted line by jumping out the area that you want to cut.
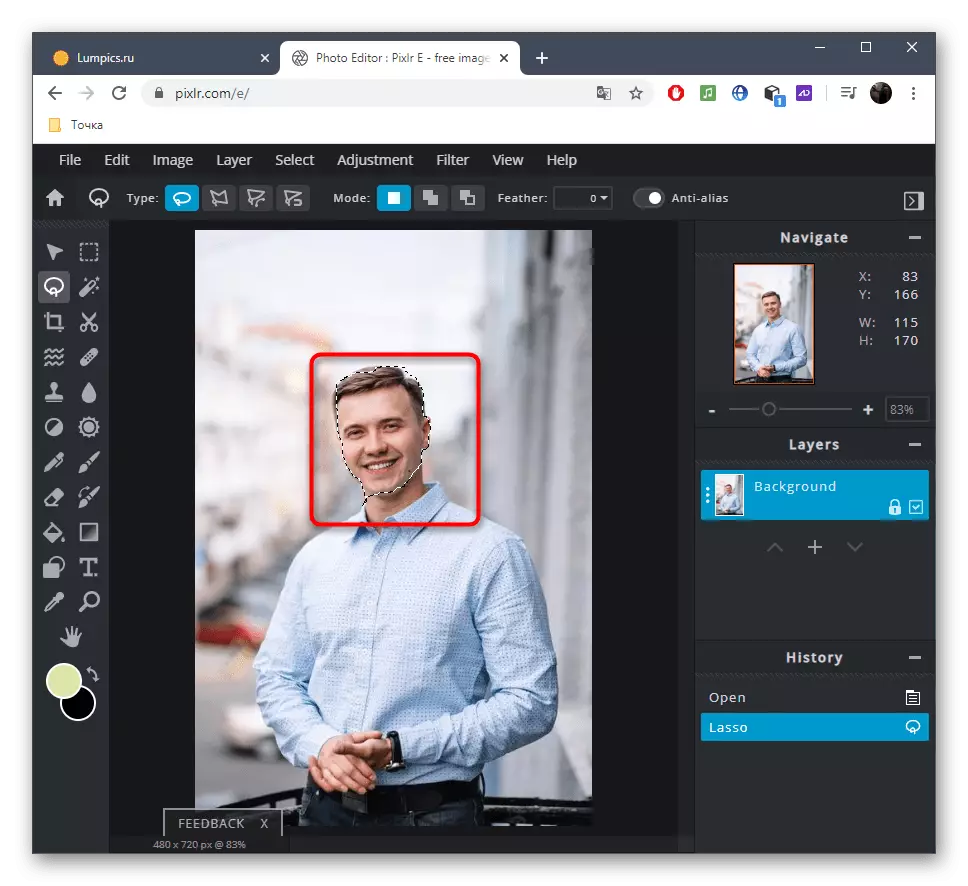
- At the end, connect Lasso's points and make sure that it is all right.
- Using the displacement tool, separate your head from a general picture.
- If you want to save the image separately, use the remaining service tools to complete editing.
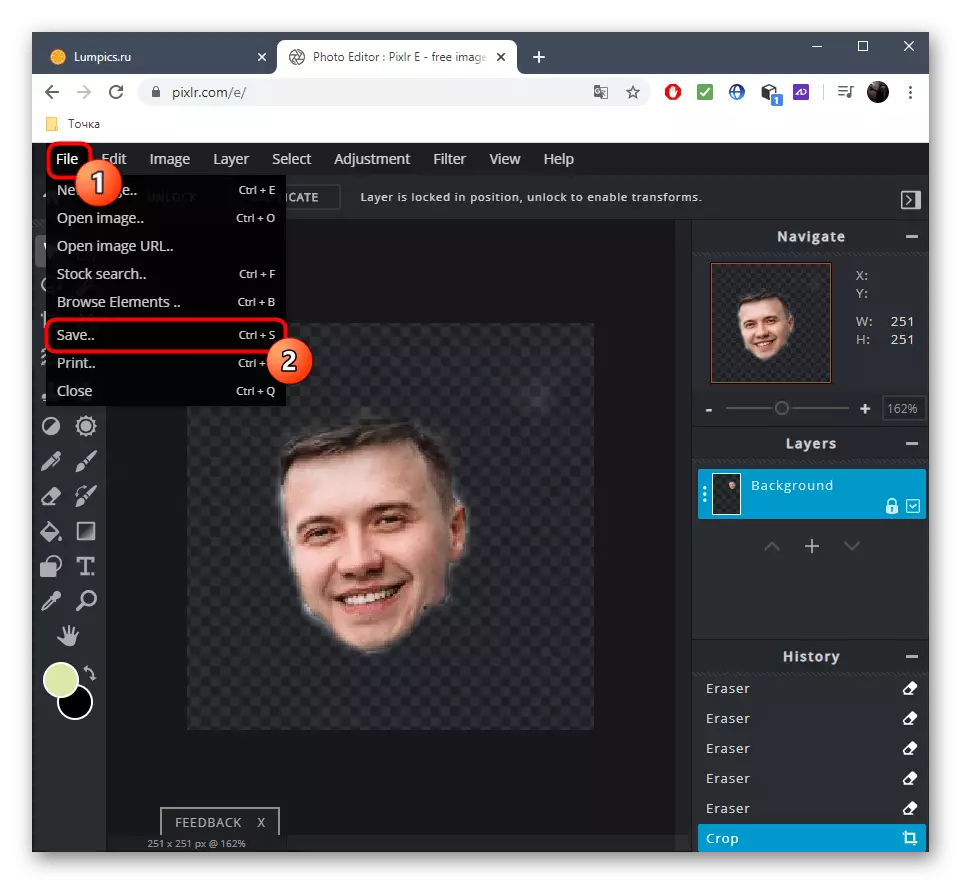
- After through the "File" menu, click "Save" or use the standard Ctrl + S key combination for this.
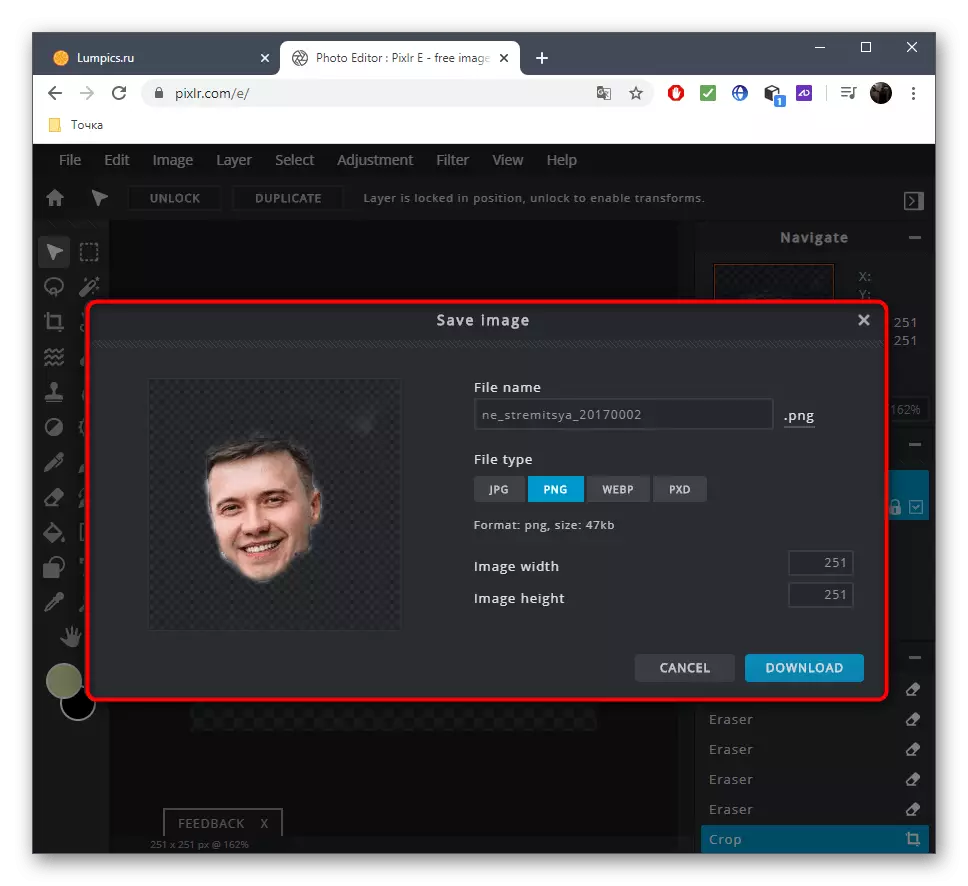
- Determine the optimal format for saving, set the file name and download it.


If you want to complete the processing in PIXLR, for example, by placing the face to another photo and impose effects, open the second picture and use standard tools.